240G Tank Stand & Canopy Build
- Thread starter xcali1985
- Start date
xcali1985
Active Member
Doors are on the stand that were made by an outside company and although the wood is pine its not the same as the paneling so they came out darker, once I get the canopy doors ill take them all off and sand them lighter.
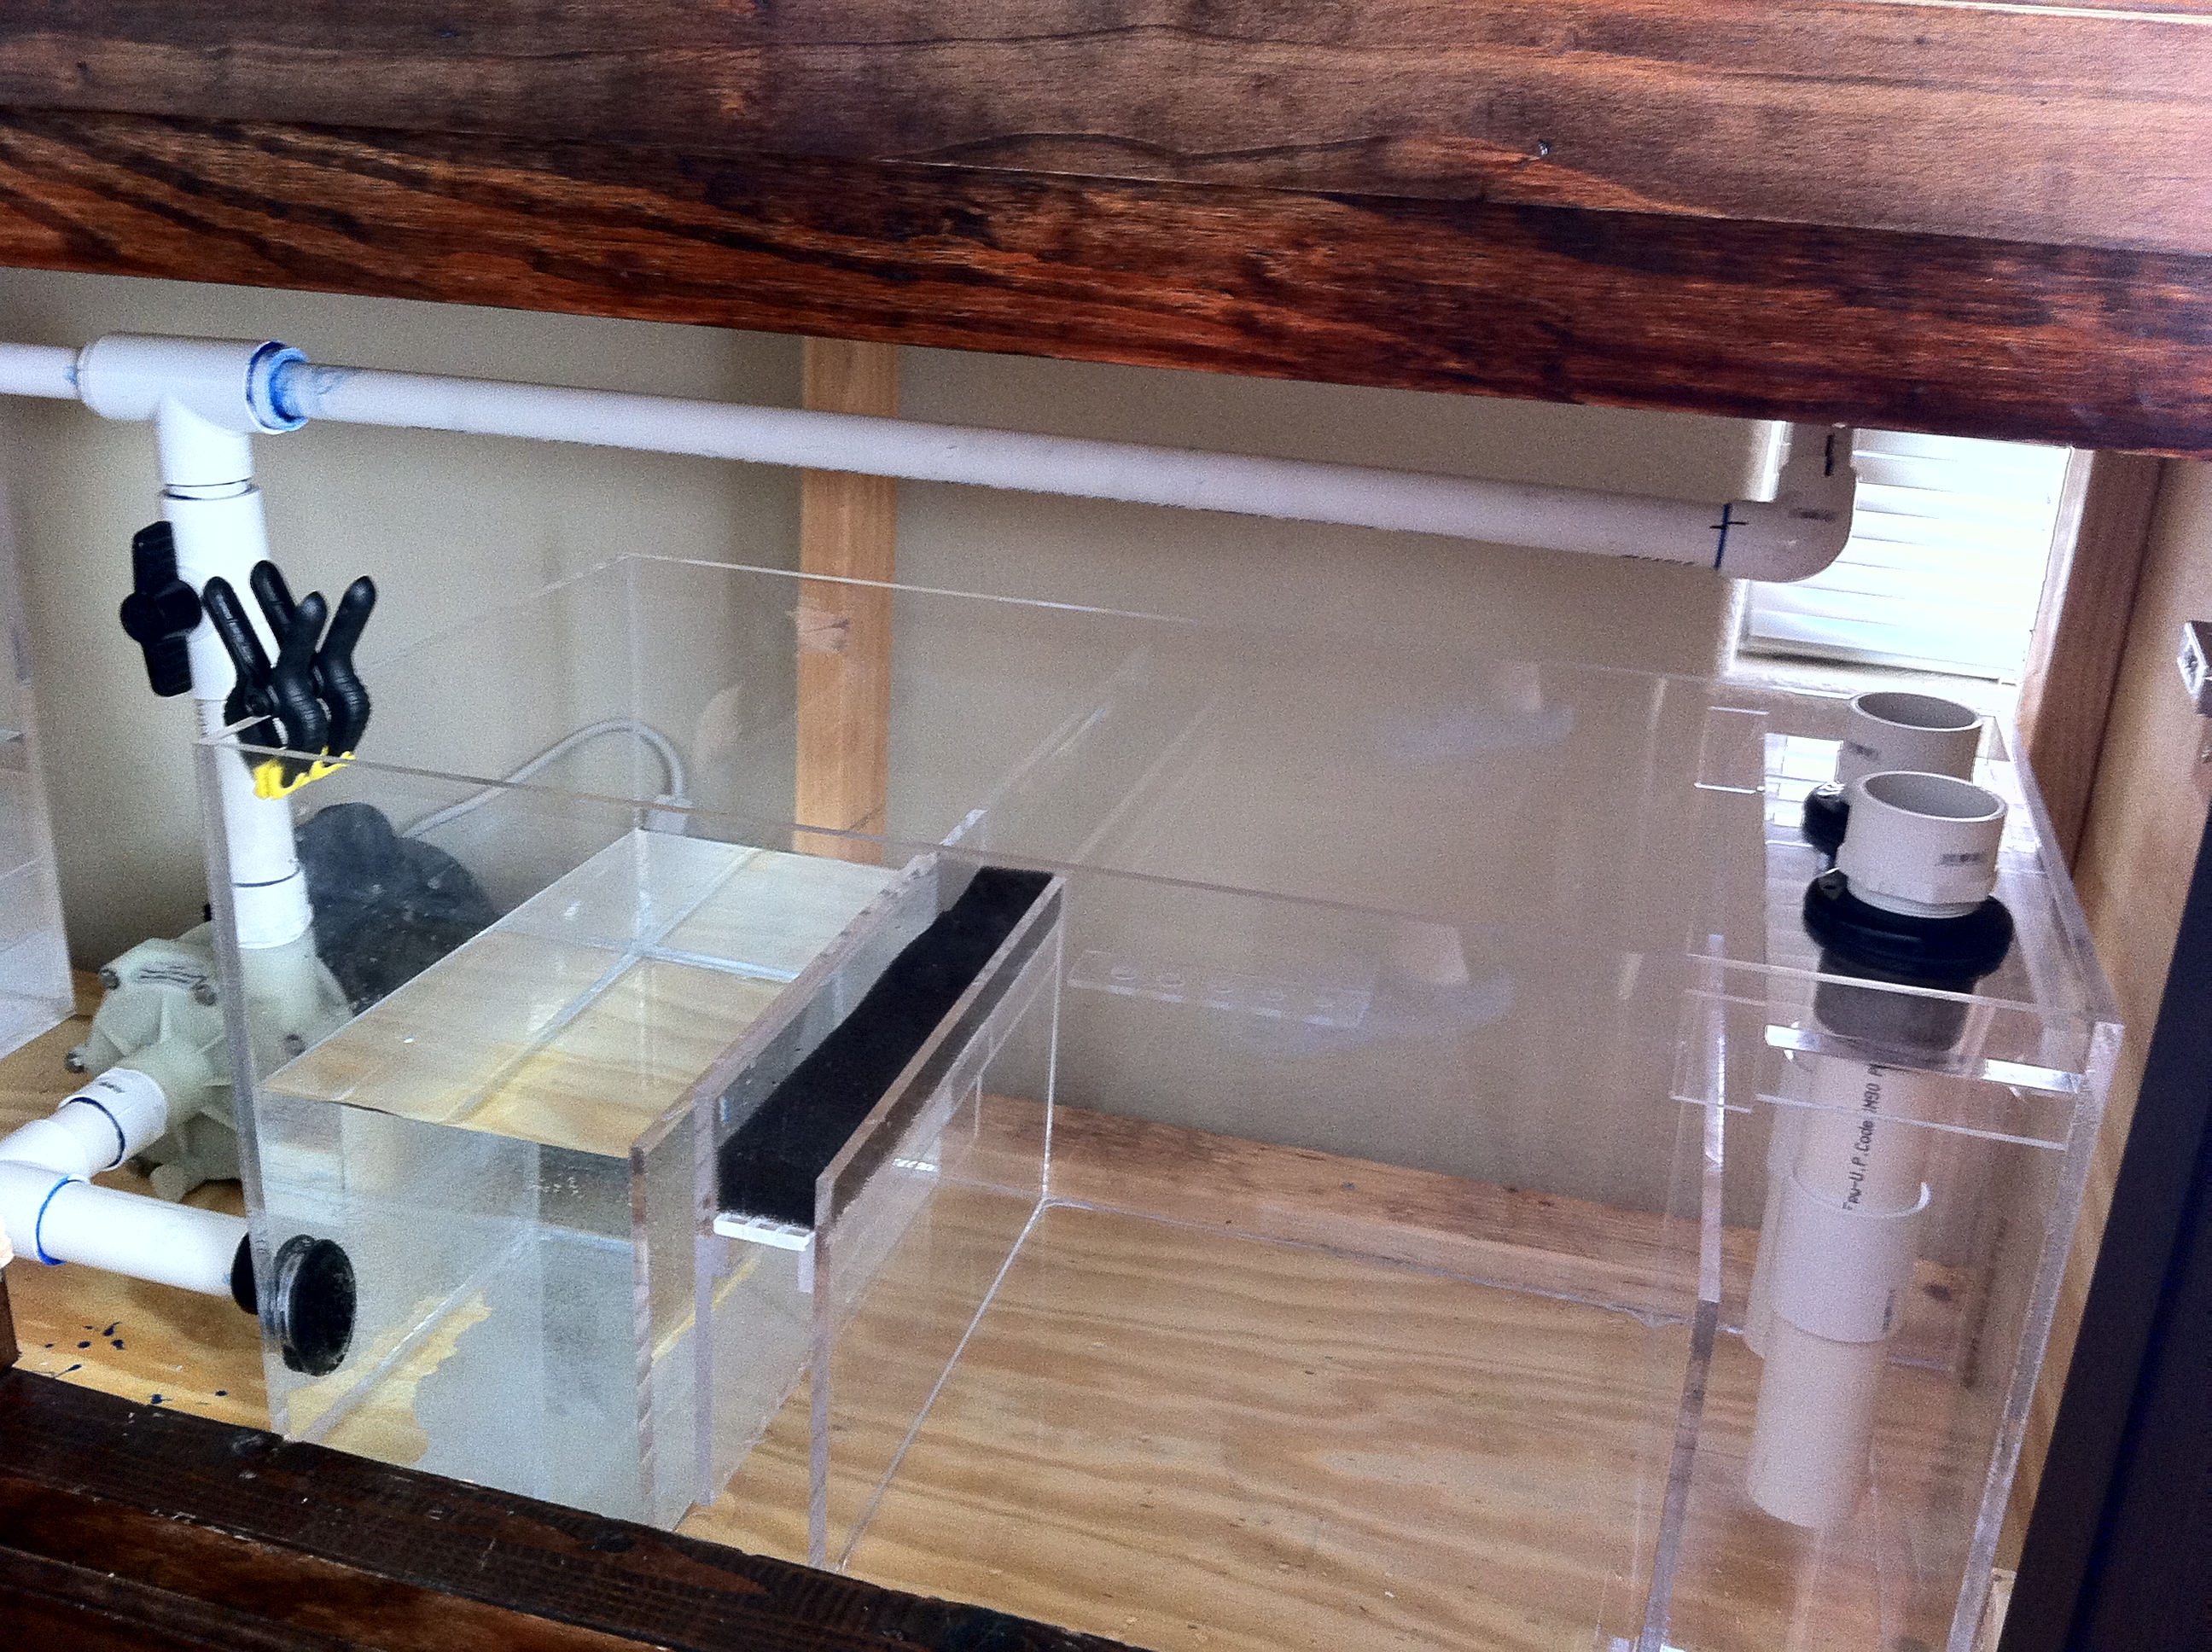
Also the sump and refuge came in I had them custom made. Going to be dual setup. Haven't installed the refugium yet so I only have a picture of the sump in place. Ill post a pic of the refuge once its in. Here we go. The canopy is next. Ill be moving over to the Tank Build section once the canopy is started and before the plumbing starts.
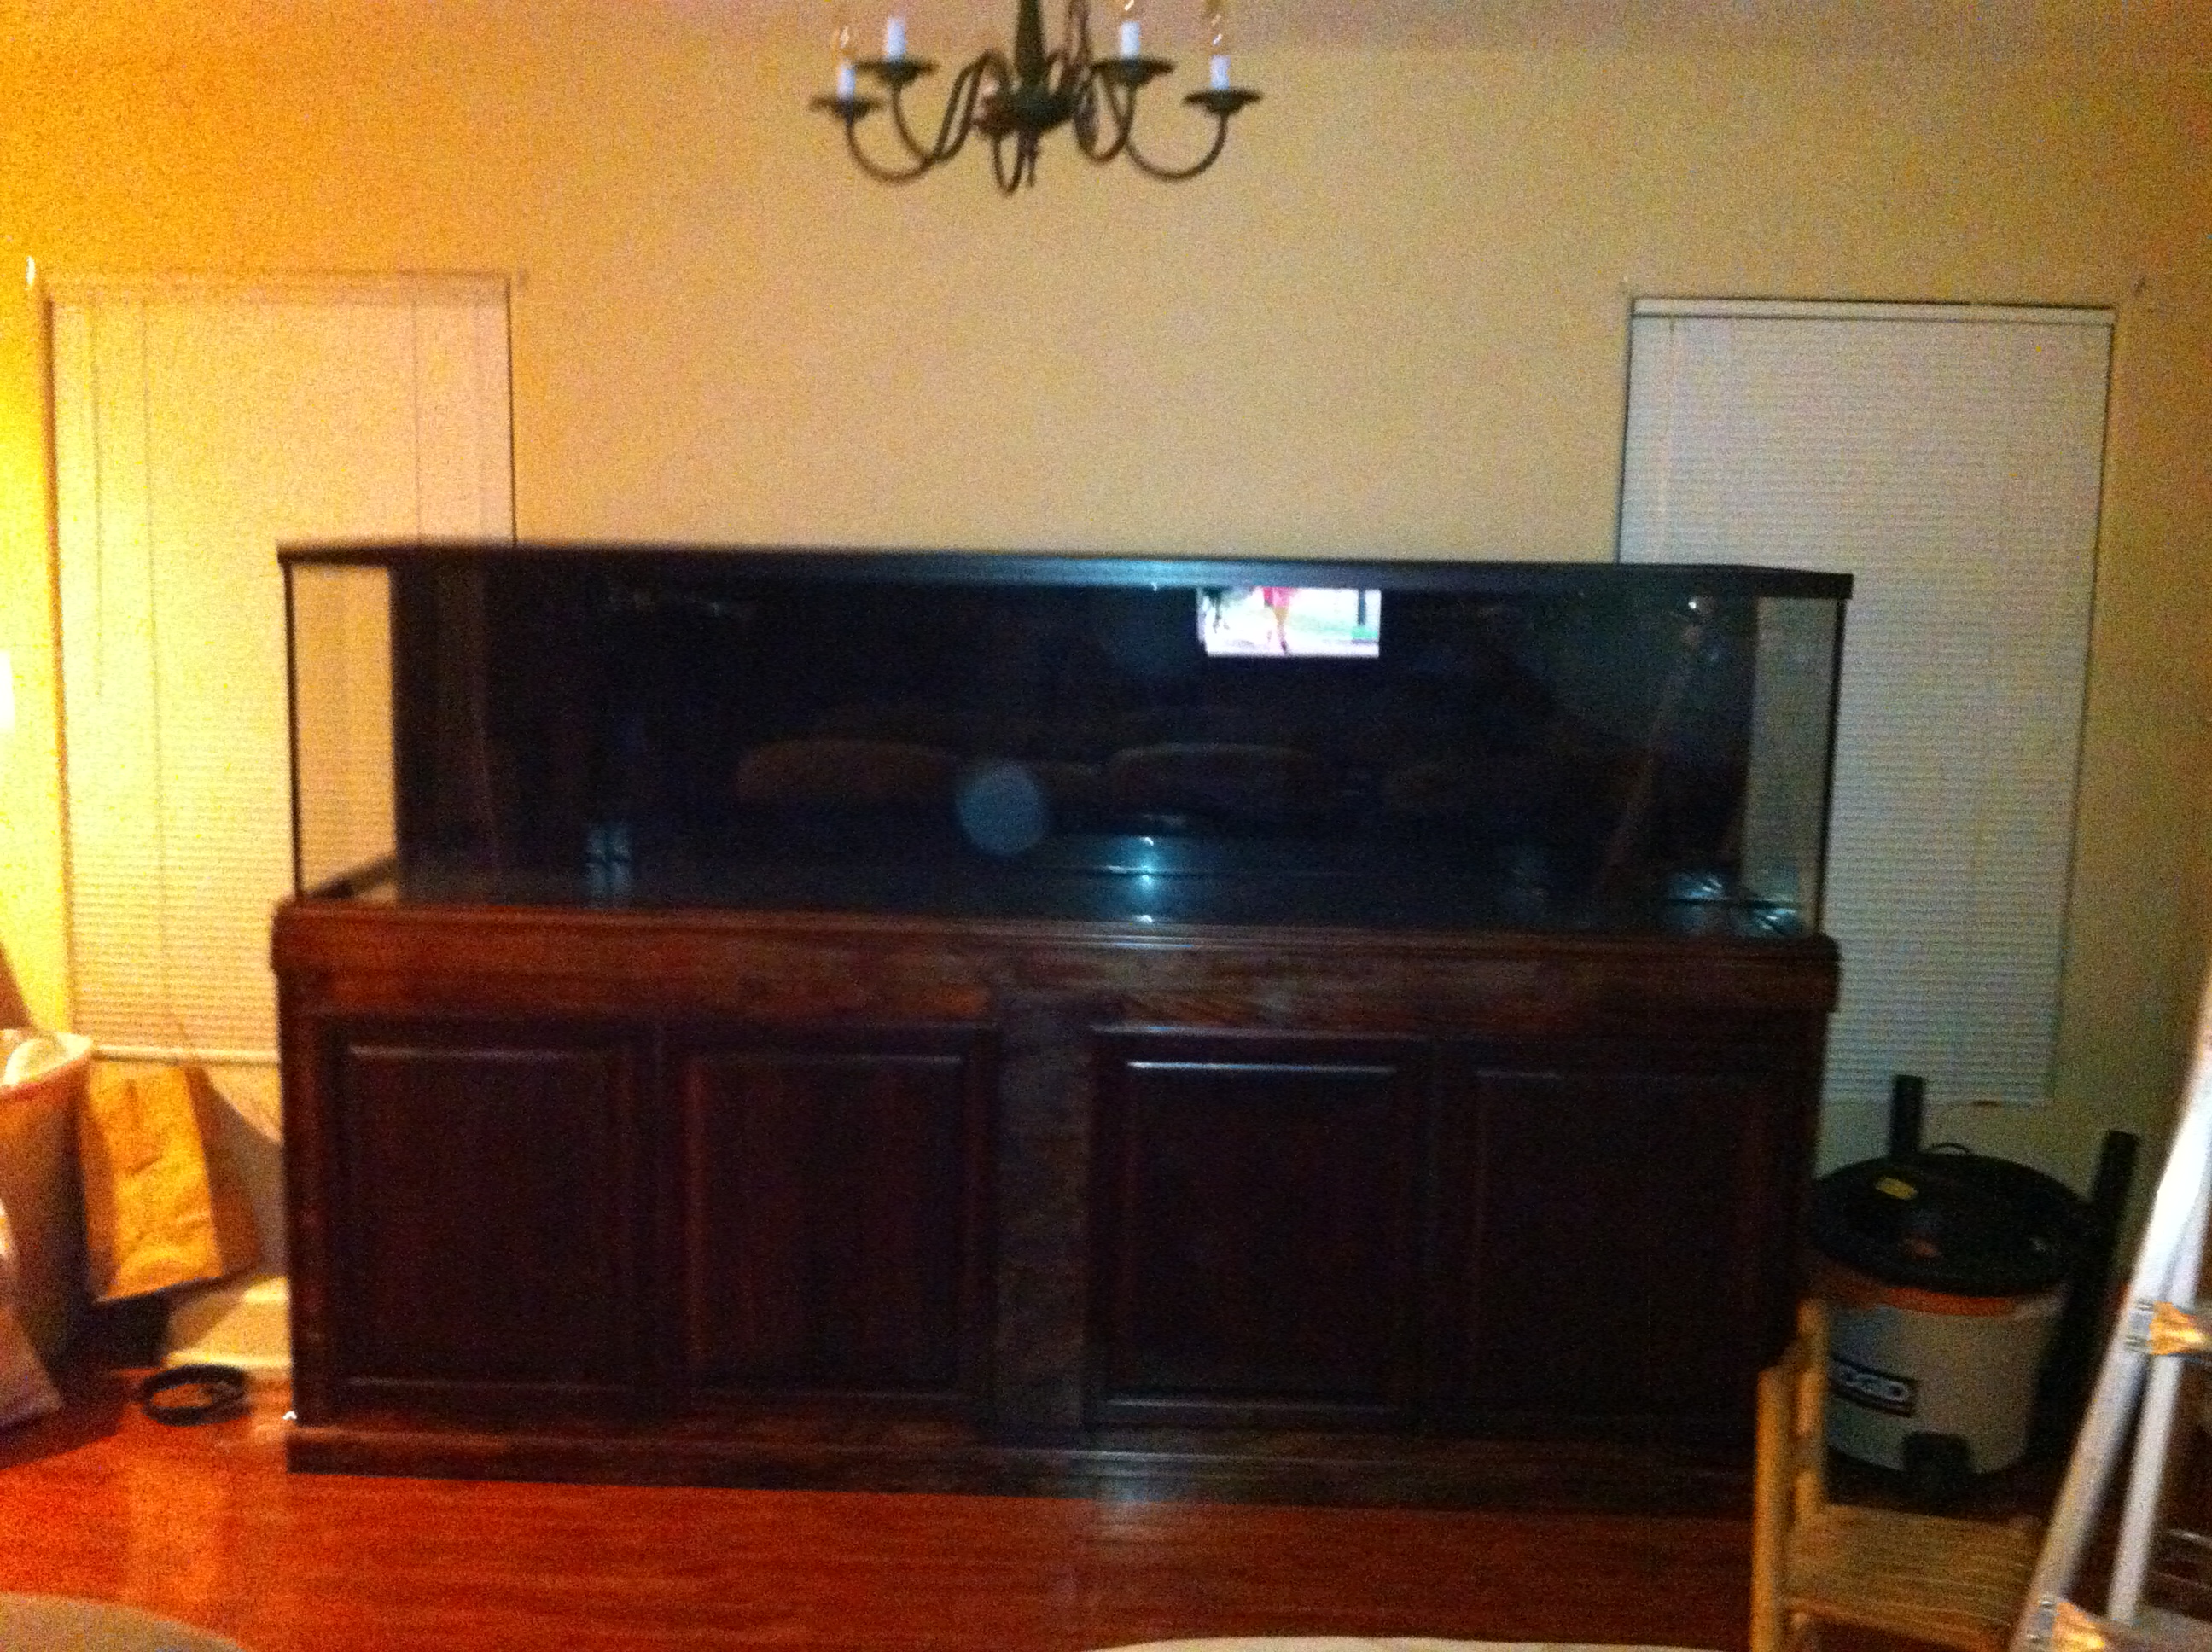
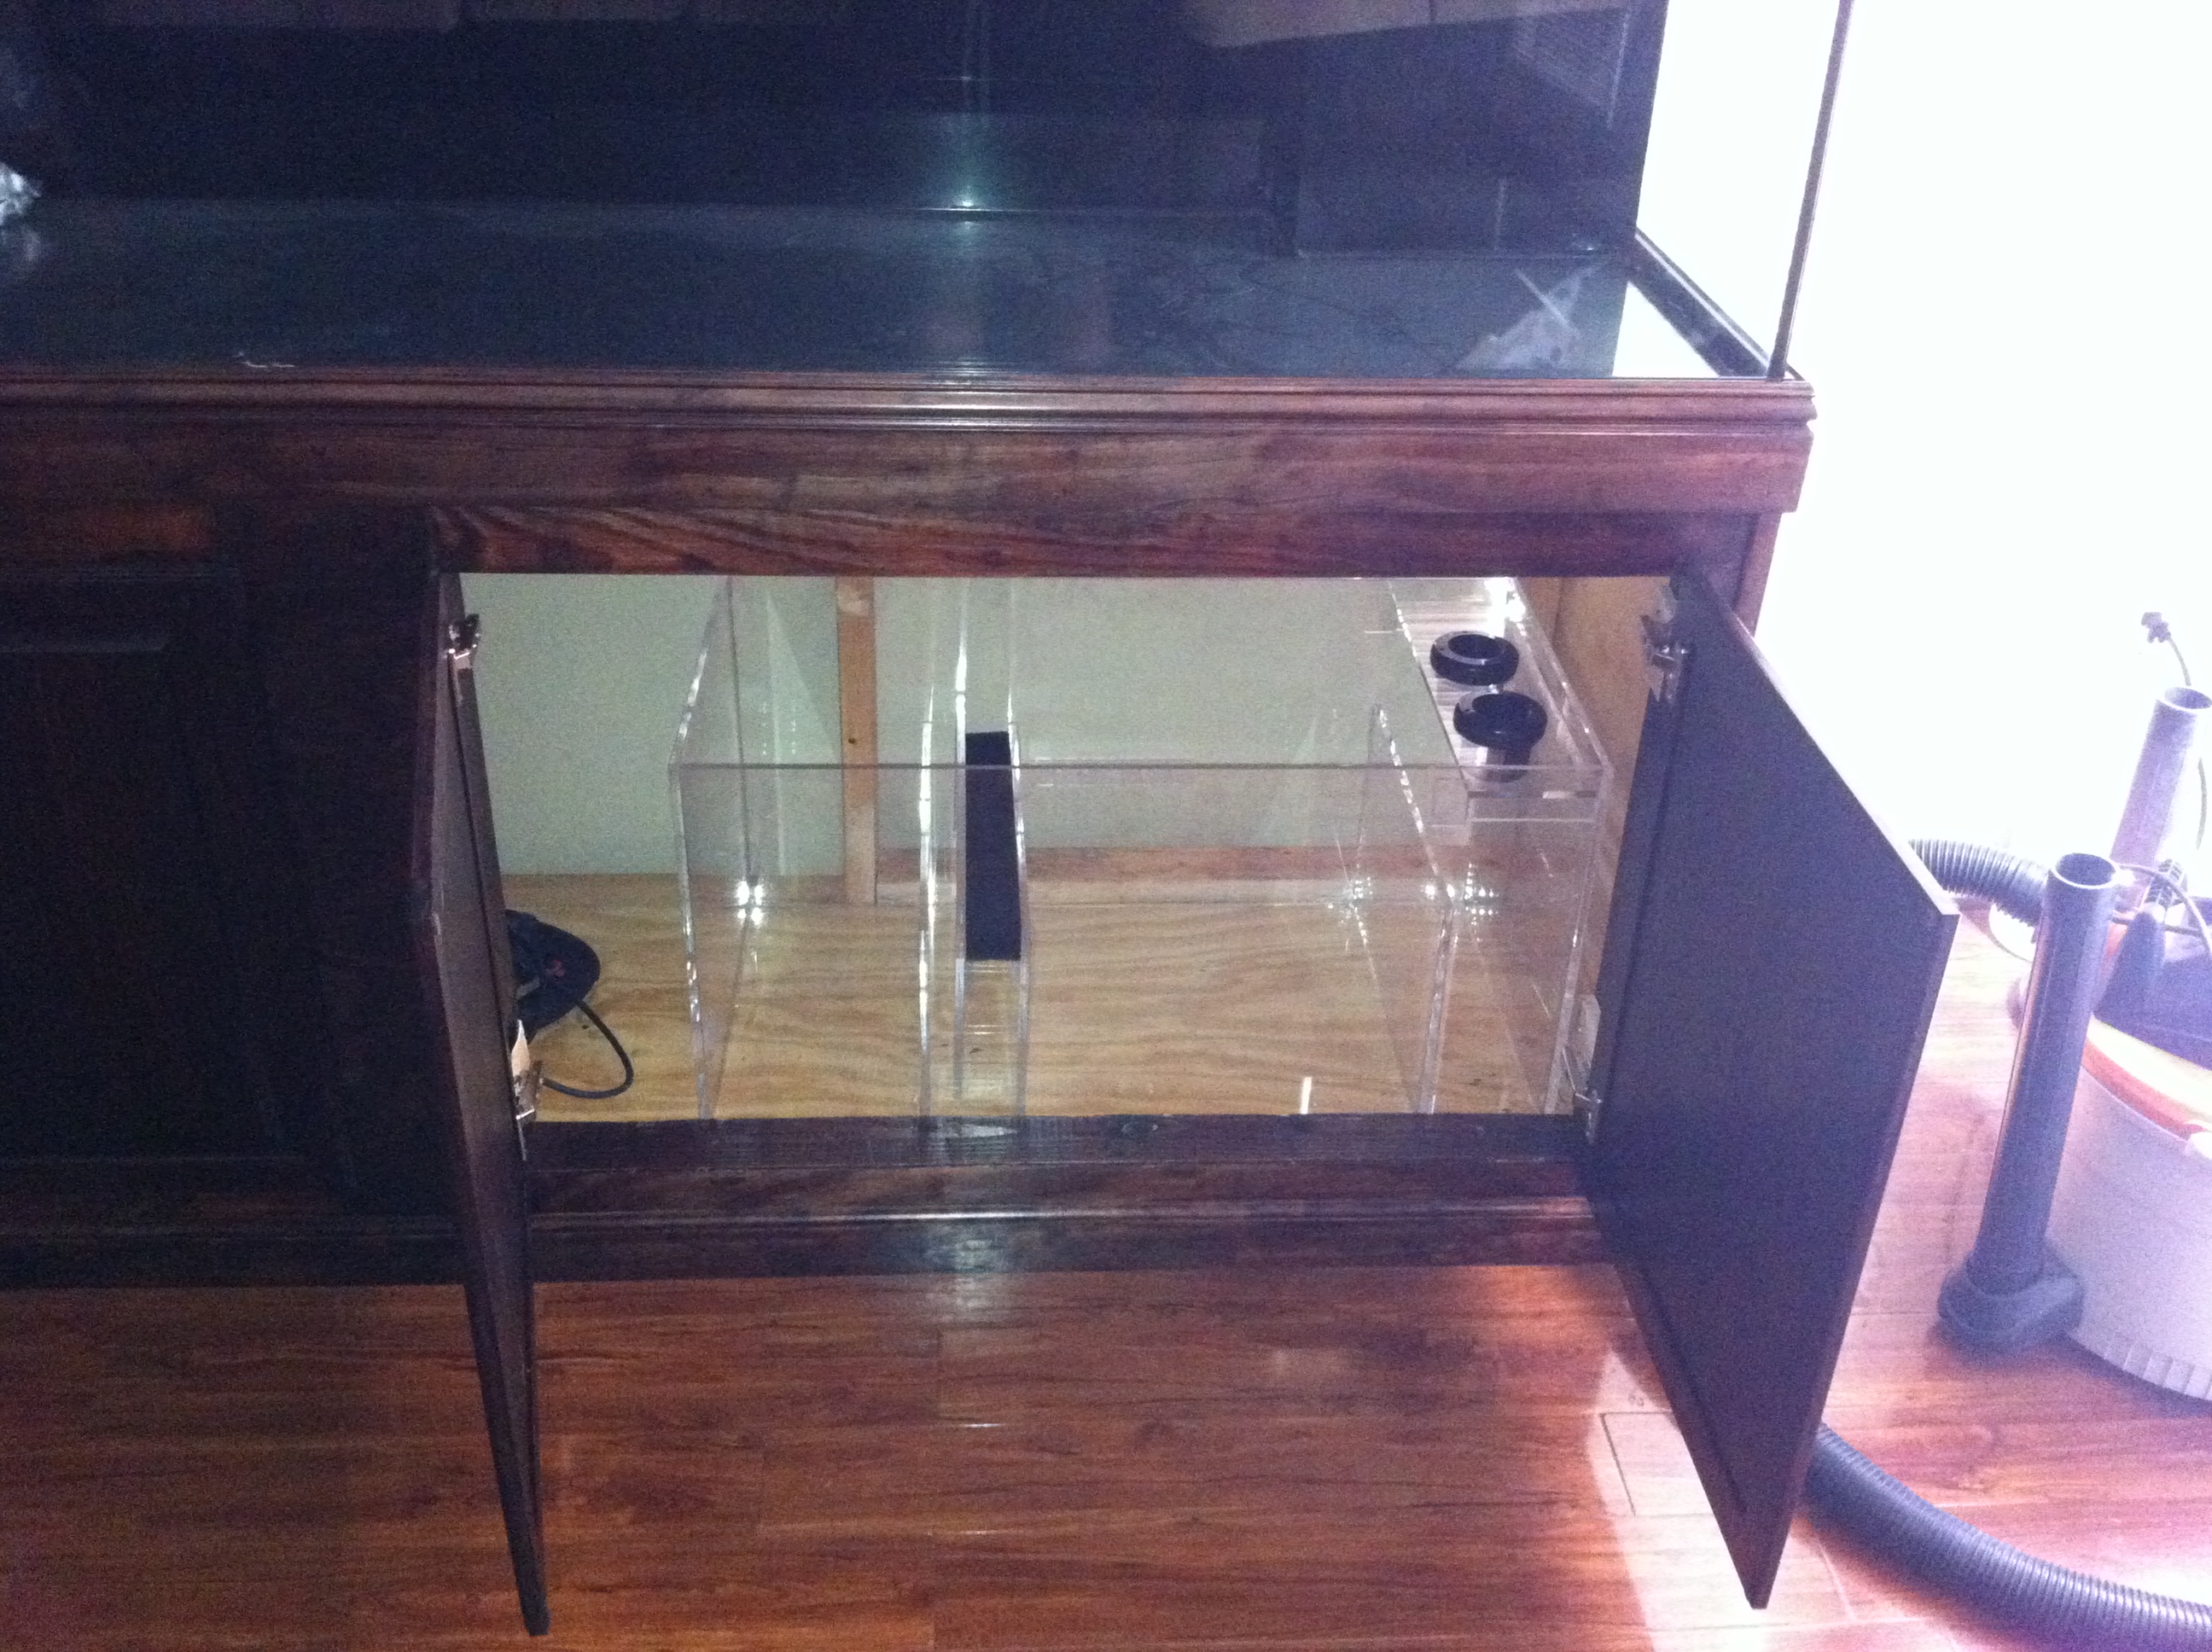
Also the sump and refuge came in I had them custom made. Going to be dual setup. Haven't installed the refugium yet so I only have a picture of the sump in place. Ill post a pic of the refuge once its in. Here we go. The canopy is next. Ill be moving over to the Tank Build section once the canopy is started and before the plumbing starts.
al&burke
Active Member
Looks fantastic the only thing I would suggest is putting a 3" high piece of plywood along the bottom back just to contain any unfortunate spills. Chaulk the whole bottom section and get some good paint and paint the inside of the stand. There will be a lot of moisture in the stand with evaporation this will help with clean ups and extend the life of the stand. JMHO
xcali1985
Active Member
Quote:
Originally Posted by Al&Burke http:///forum/thread/383662/240g-tank-stand-canopy-build/20#post_3381239
Looks fantastic the only thing I would suggest is putting a 3" high piece of plywood along the bottom back just to contain any unfortunate spills. Chaulk the whole bottom section and get some good paint and paint the inside of the stand. There will be a lot of moisture in the stand with evaporation this will help with clean ups and extend the life of the stand. JMHO
Stand has been completely sealed and is 100% water proof. However. I am still deciding on if I want to add a black tarp to the bottom and partically up the sides and back to actually collect any water so it doesnt have to sit on the wood at all. The inside of the stand has been covered with the same type of sealer and top coat they use to seal bar tops.
aquaknight
Active Member
Looks great so far! Do have a question though...
How are you going to get water from the refugium side, back to the sump side? I see the drain holes in each sump are identical heights. Raise one side up really high and have the plumbing run over the other? Or just connect the two, and have an in-sump return pump?
How are you going to get water from the refugium side, back to the sump side? I see the drain holes in each sump are identical heights. Raise one side up really high and have the plumbing run over the other? Or just connect the two, and have an in-sump return pump?
xcali1985
Active Member
Looks great so far! Do have a question though...
How are you going to get water from the refugium side, back to the sump side? I see the drain holes in each sump are identical heights. Raise one side up really high and have the plumbing run over the other? Or just connect the two, and have an in-sump return pump?
I'm using a reeflo gold hammer pump that is external. Rated at just under 5600 gph.
I am going to plum the tanks into a T coupler and then into the pump. I'll take a picture of the pump when I get home so you can see it or google the name.
I'm figuring with headloss I'll get around 4000 gph out of it. Divided by two sumps should be able turnover 8x the tank an hour.
Sumps are both 50 gallons each completely full.
xcali1985
Active Member
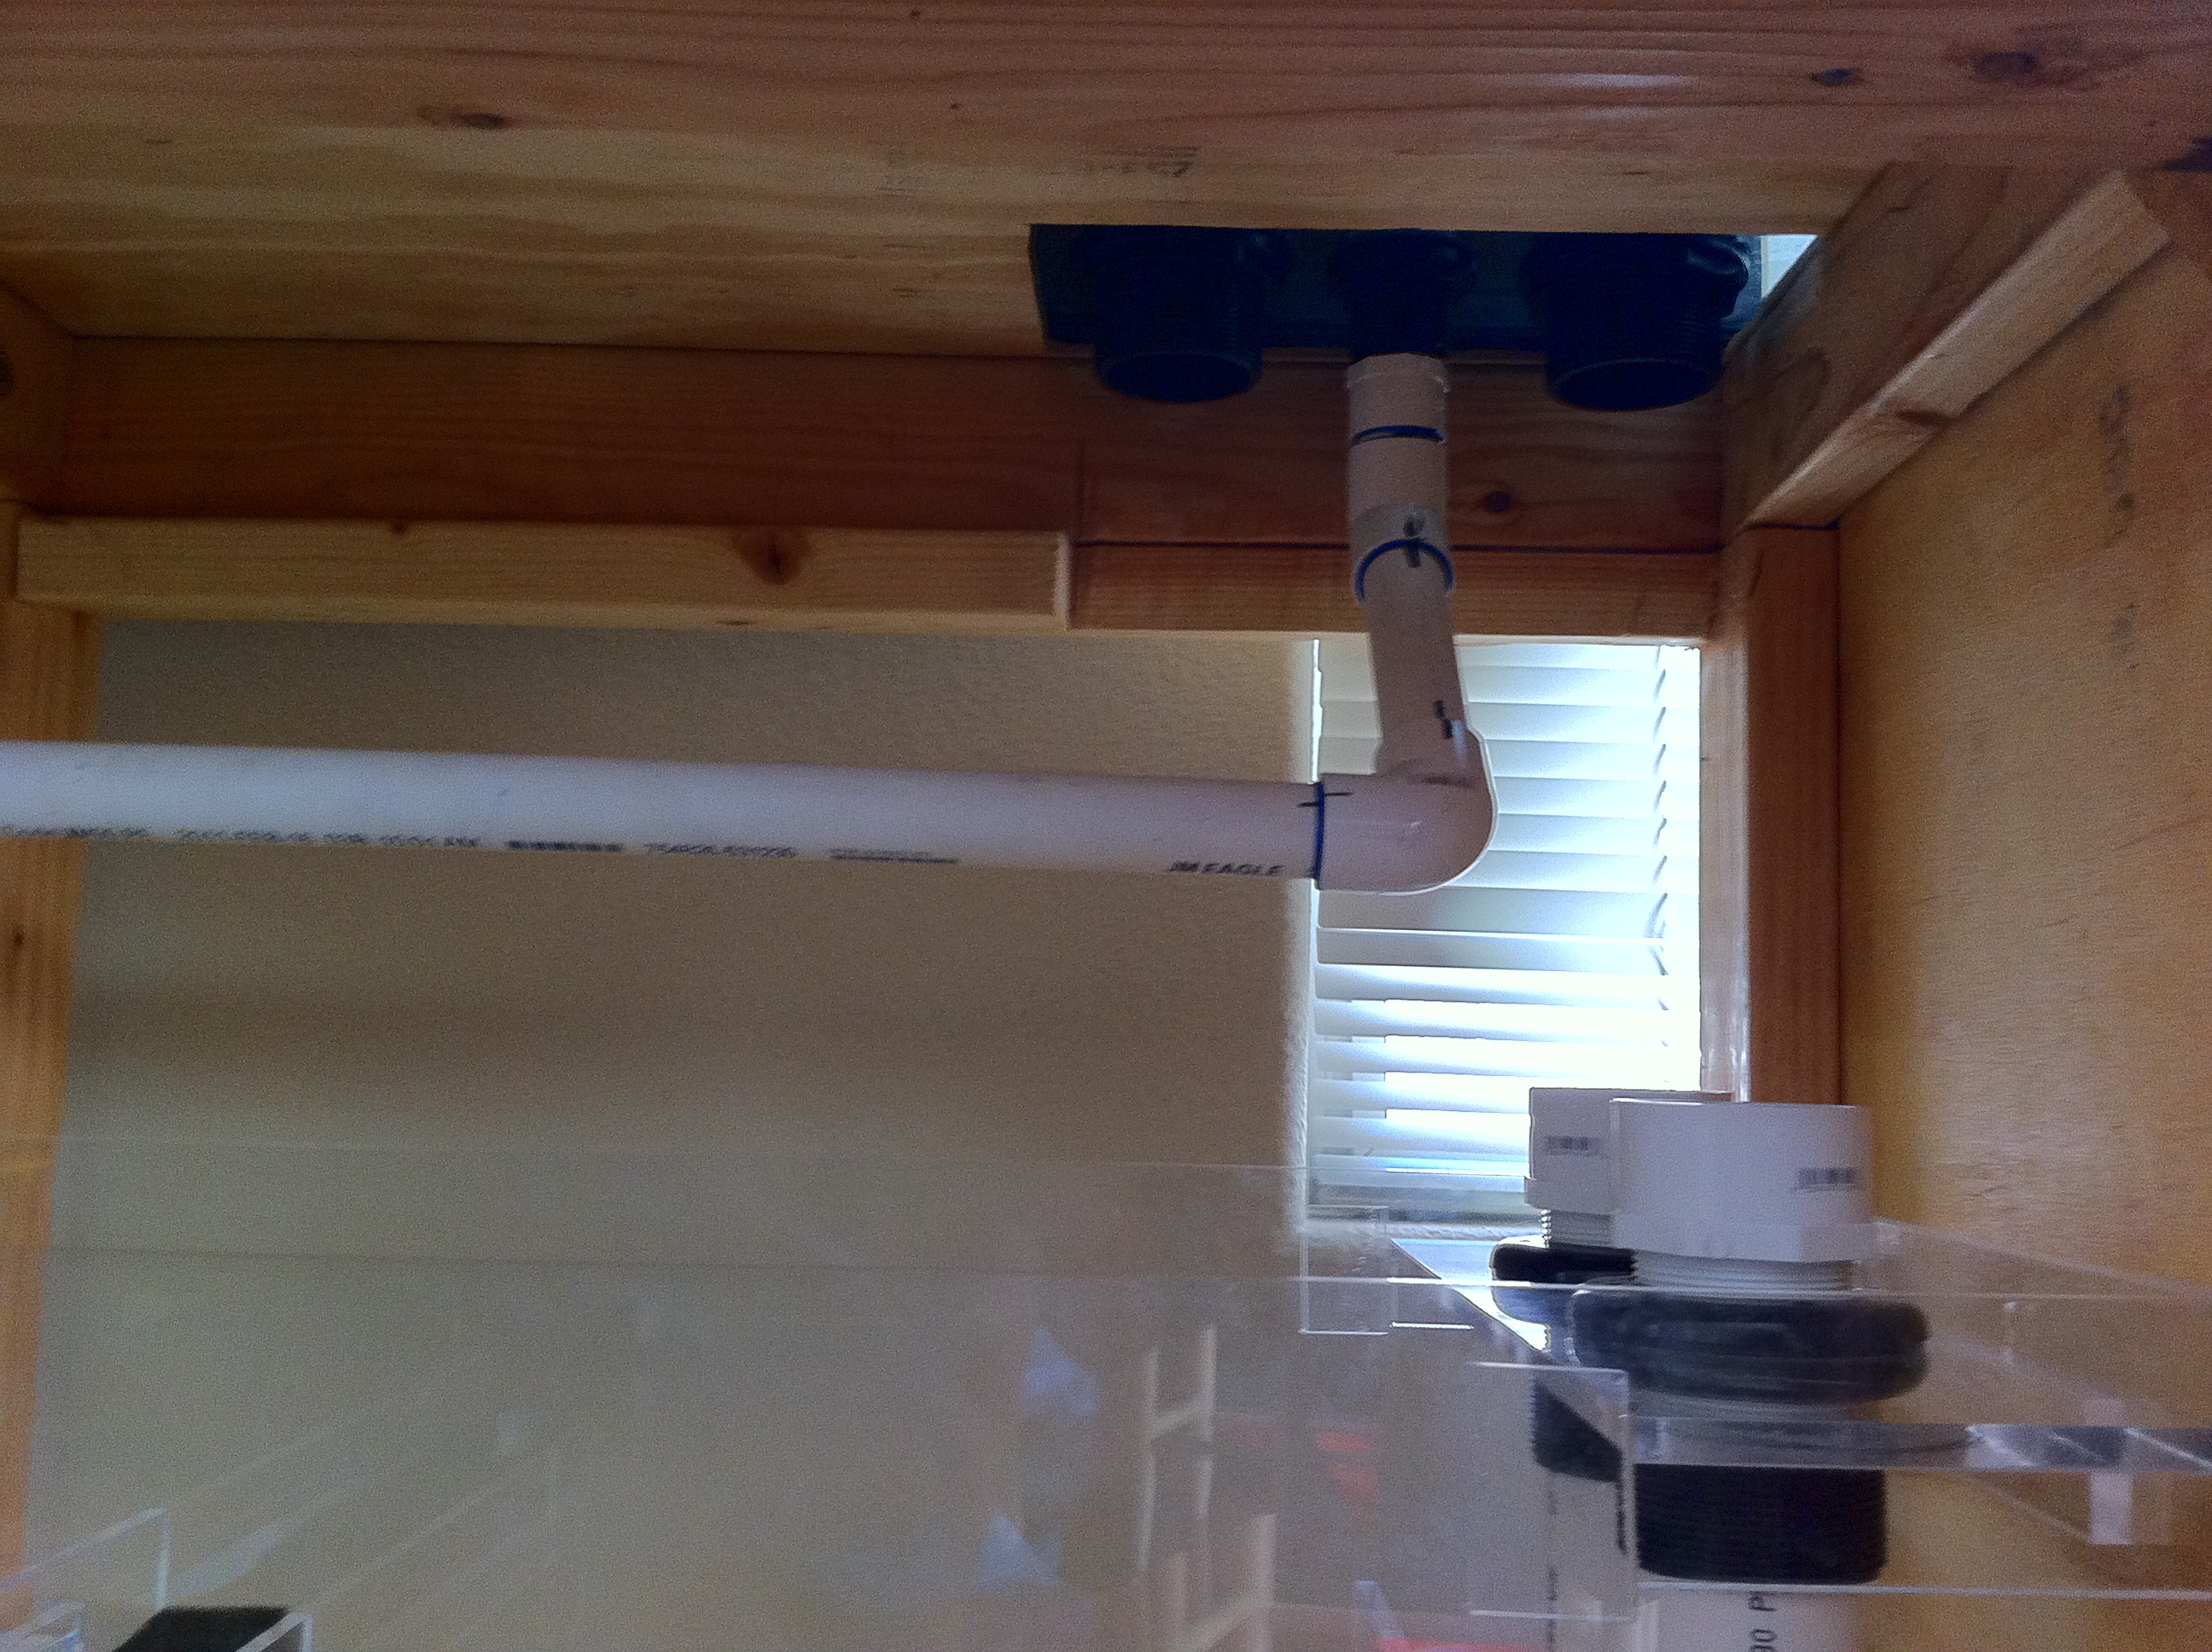
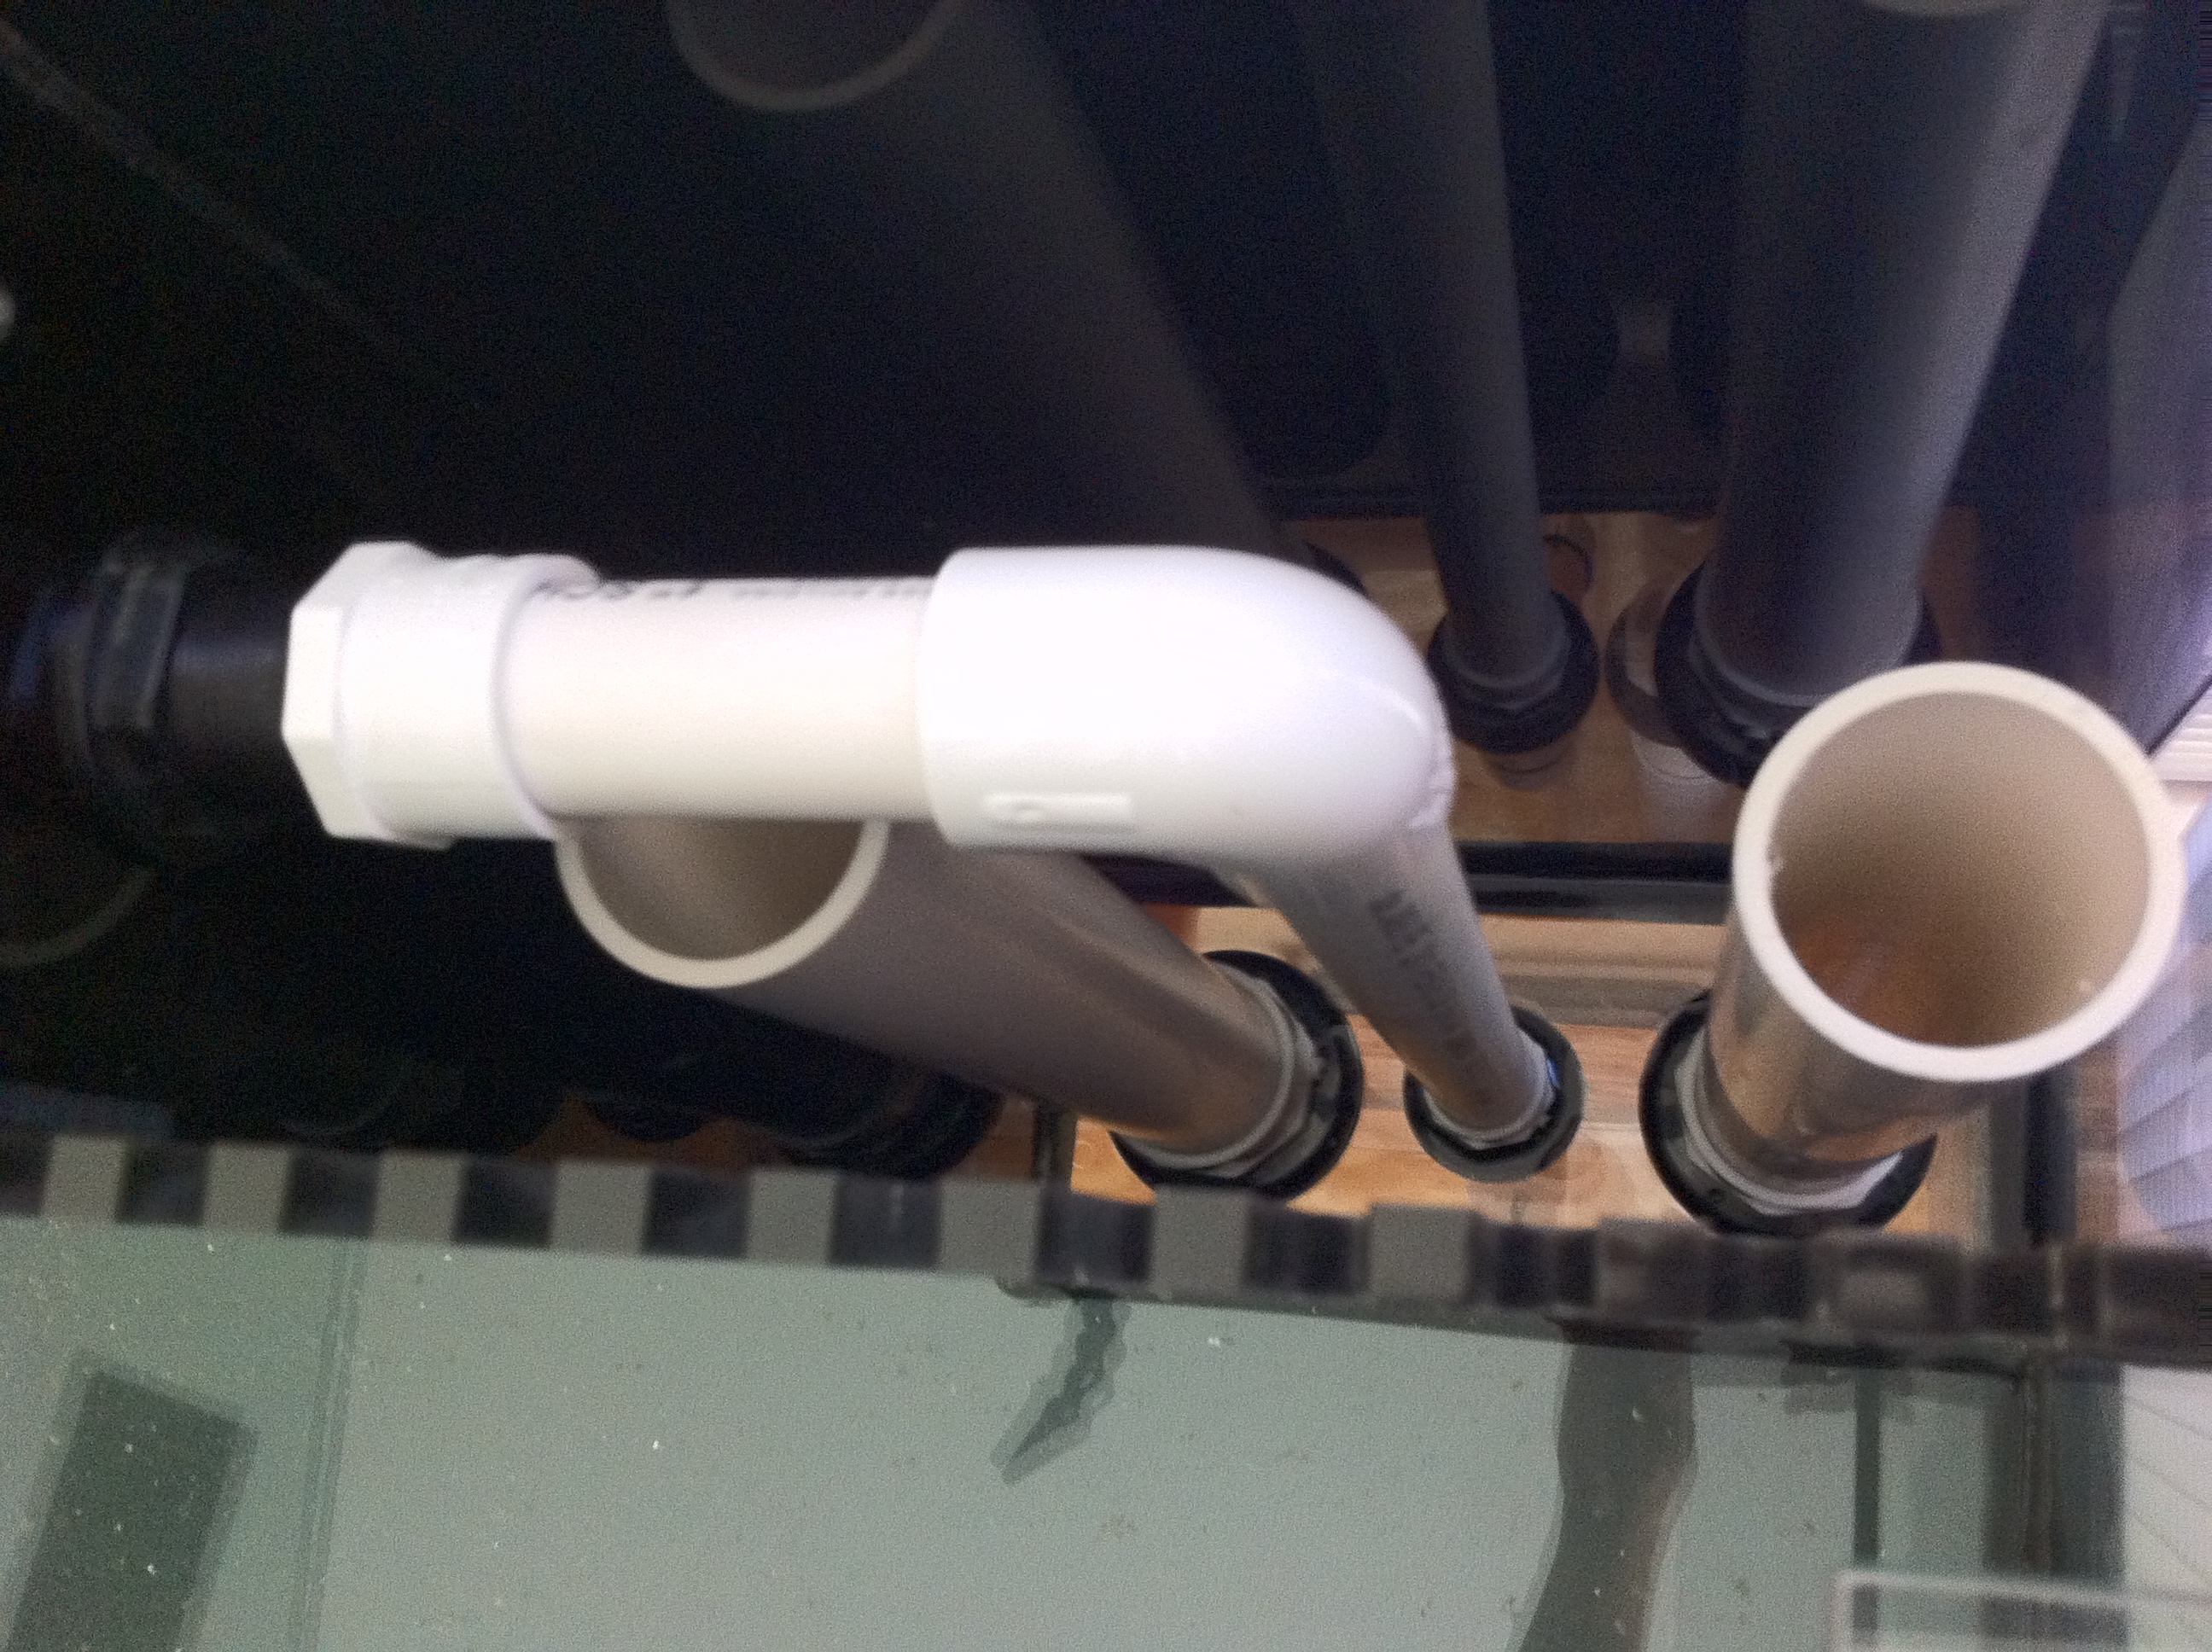
OK sumps plumbed and Return is completely plumbed. Have to go get the flex line for the overflows but after that will be ready to do a tap water test of flow then ill drain and fill with RO/DI water and mix the salt with it. Here are a few pictures of the setup. Only did one picture of overflow box. Exactly the same just opposite direction 
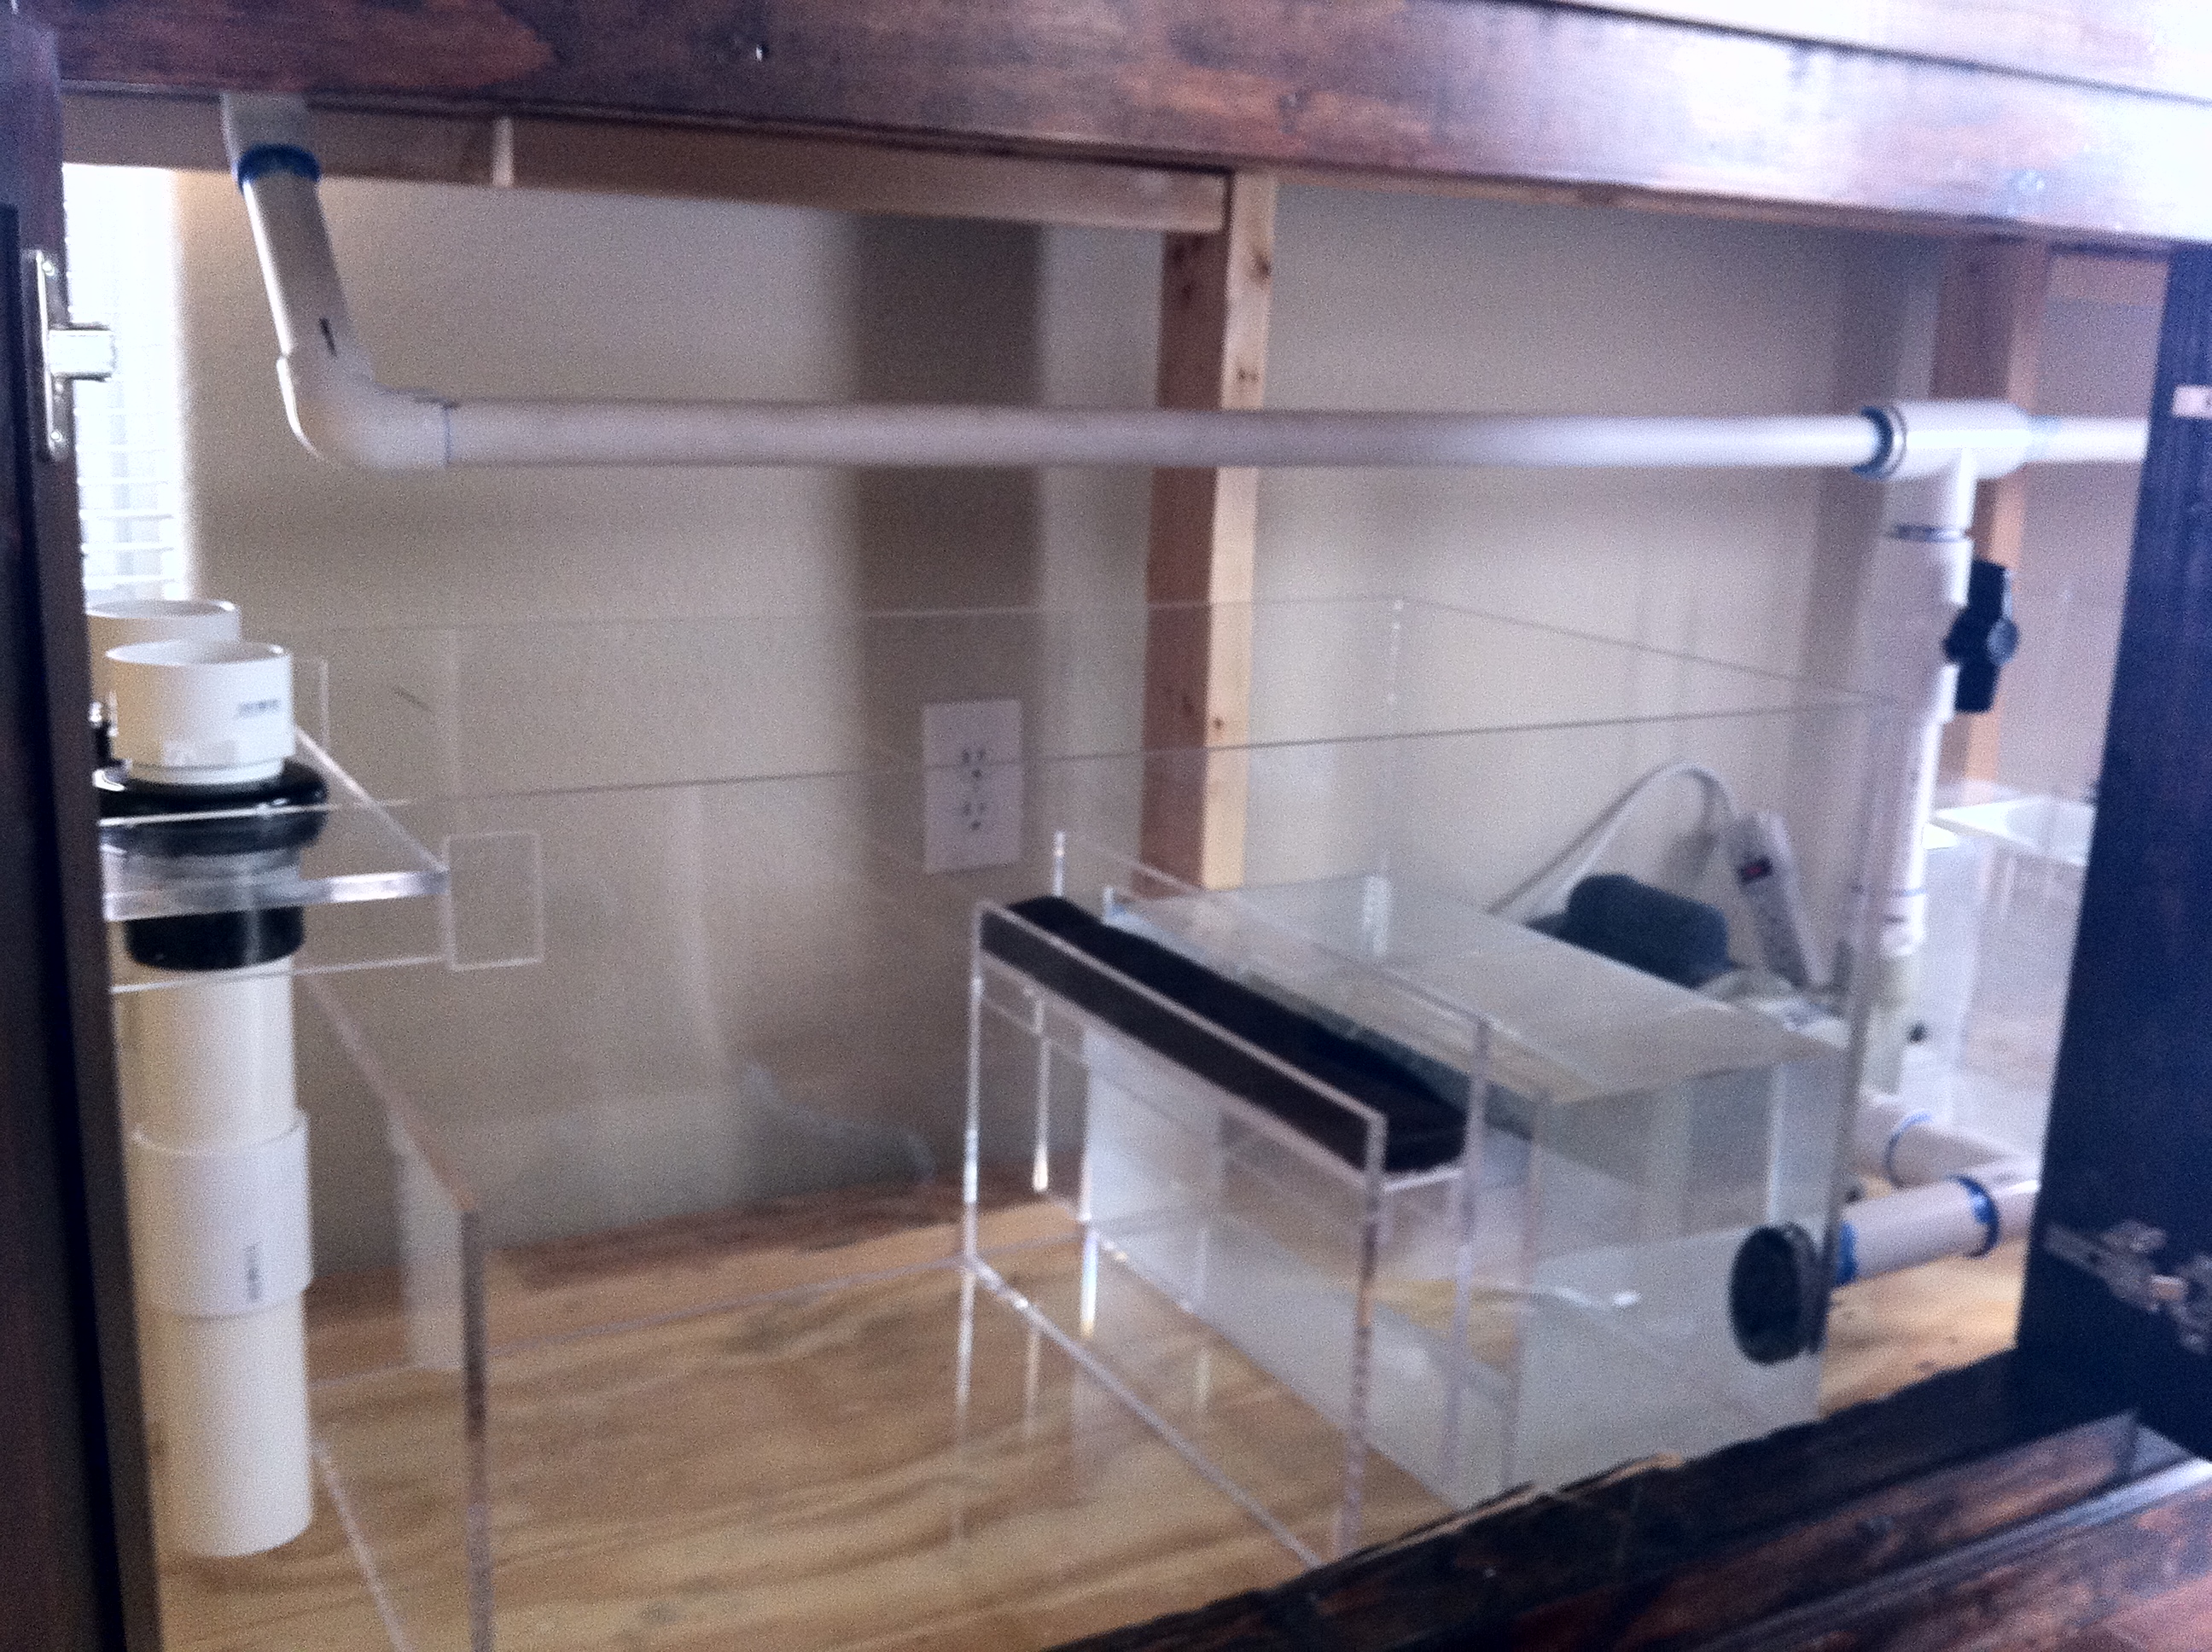
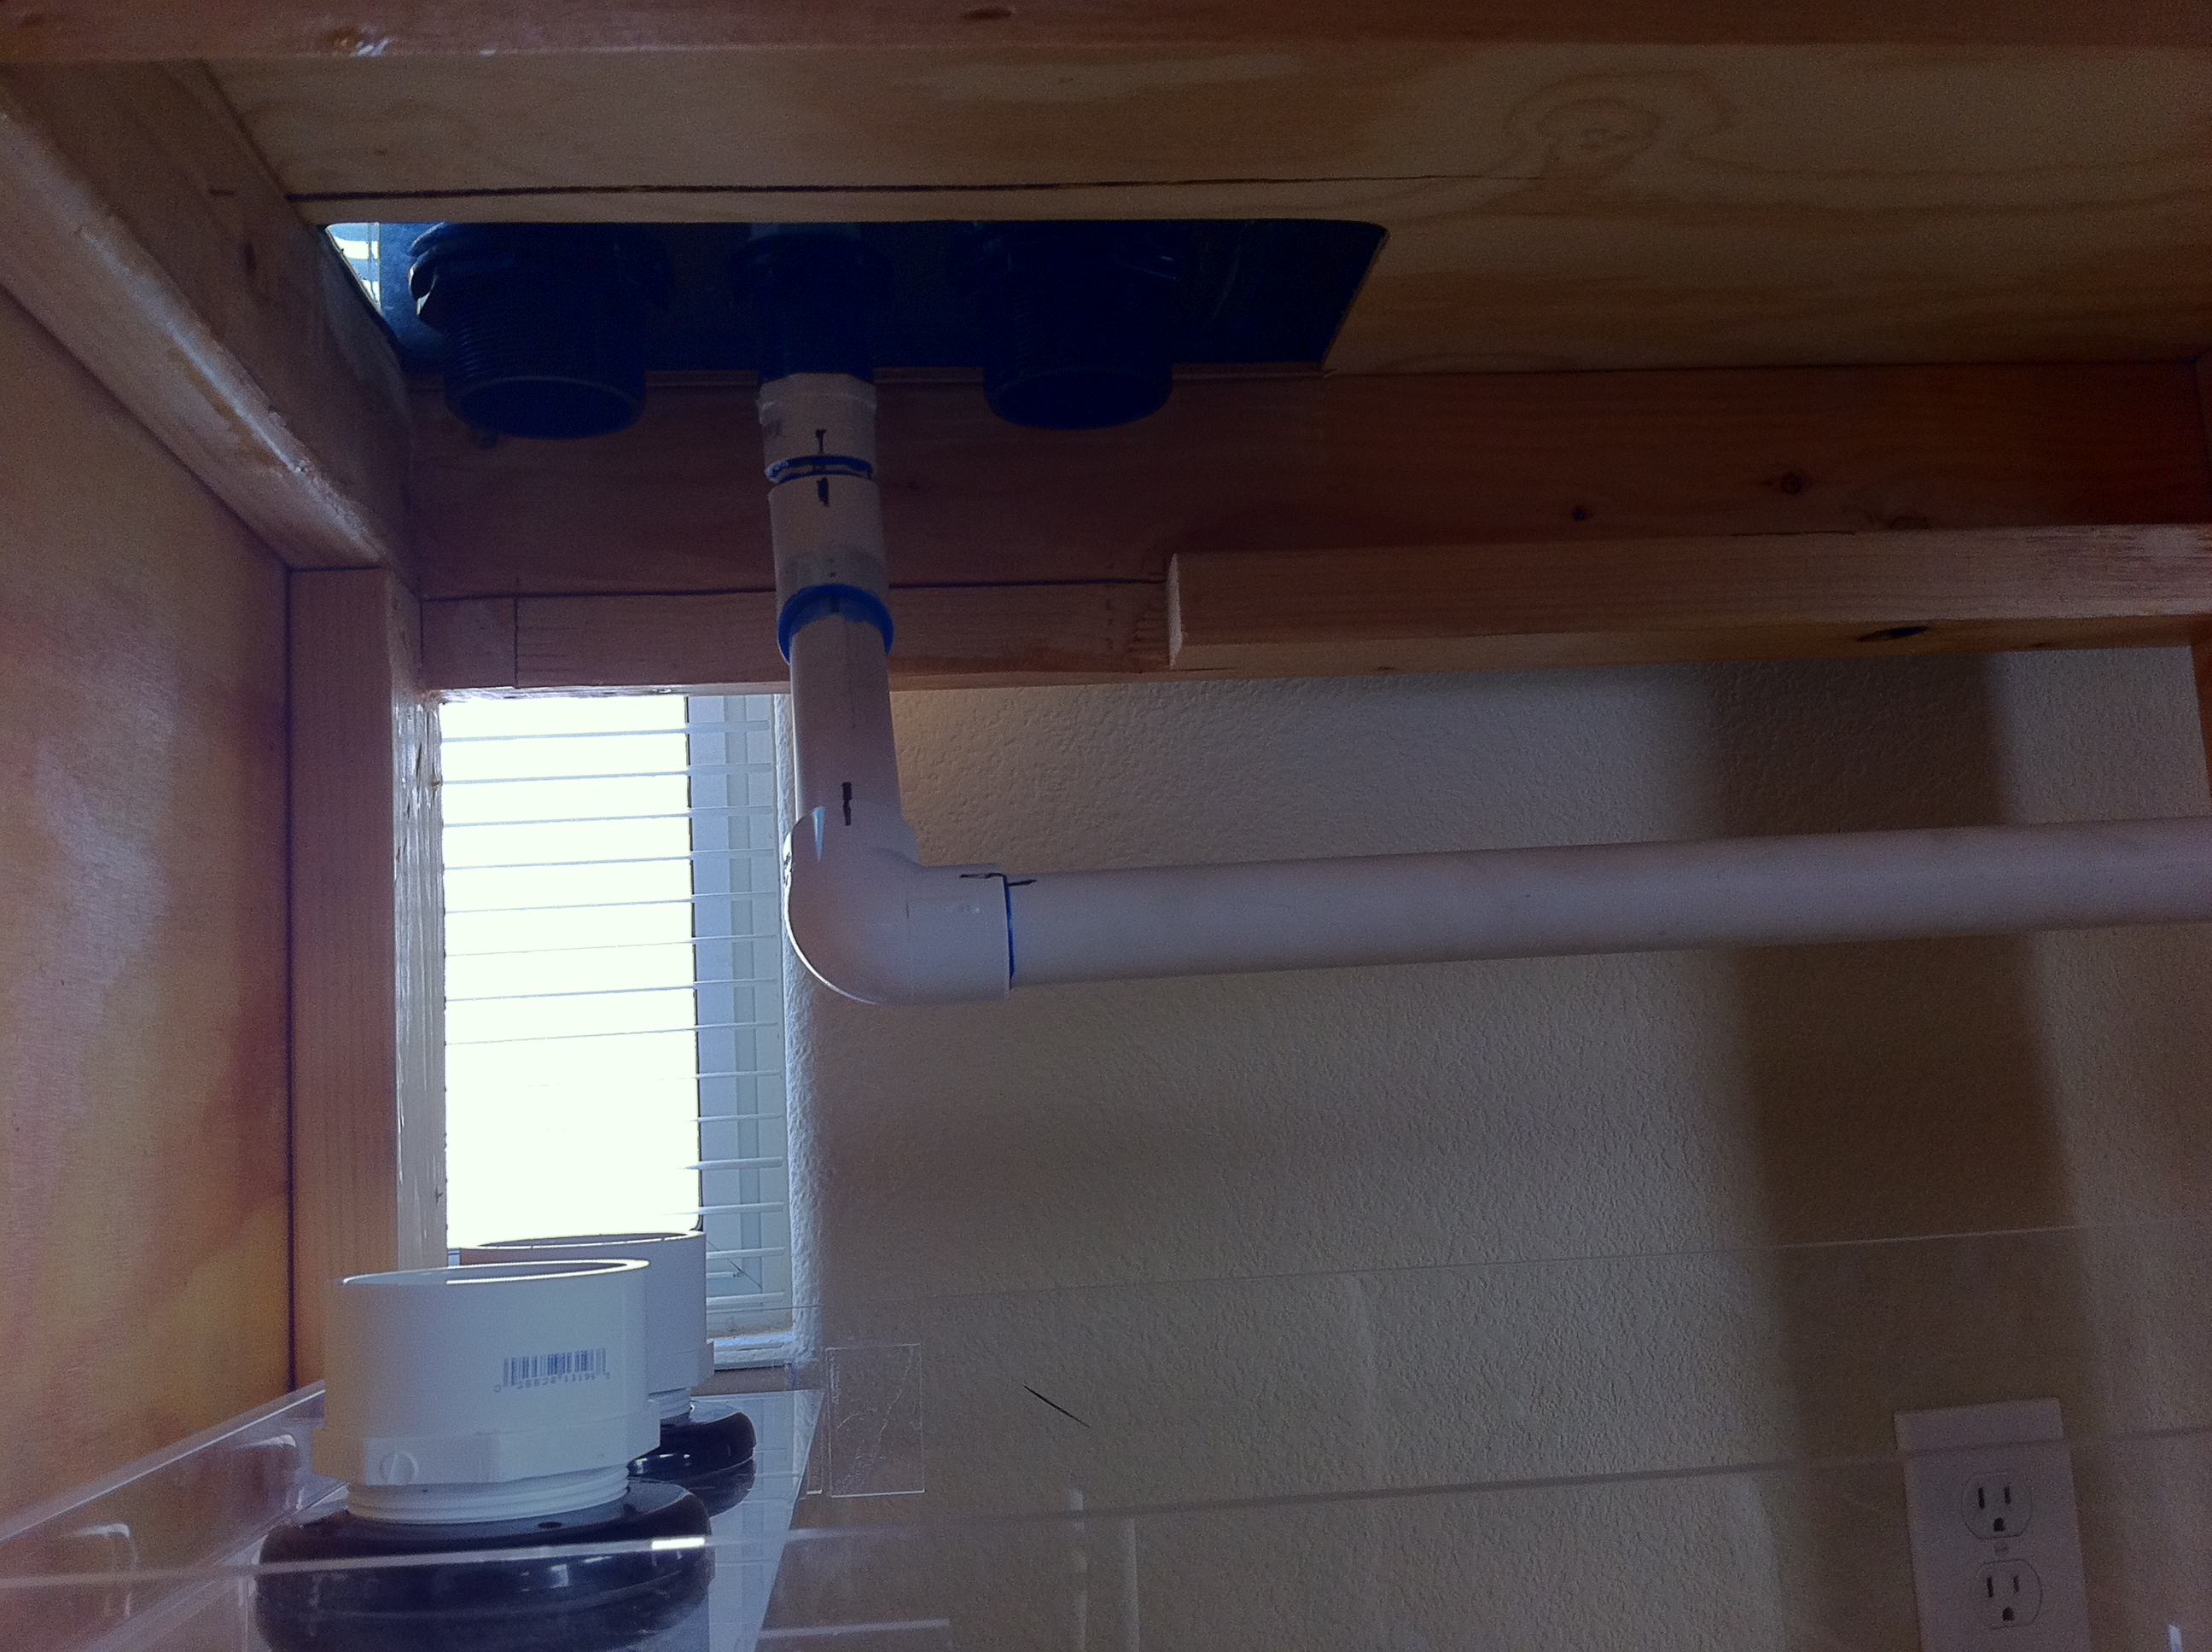
xcali1985
Active Member
Amazing what you can do with 9 fingers.
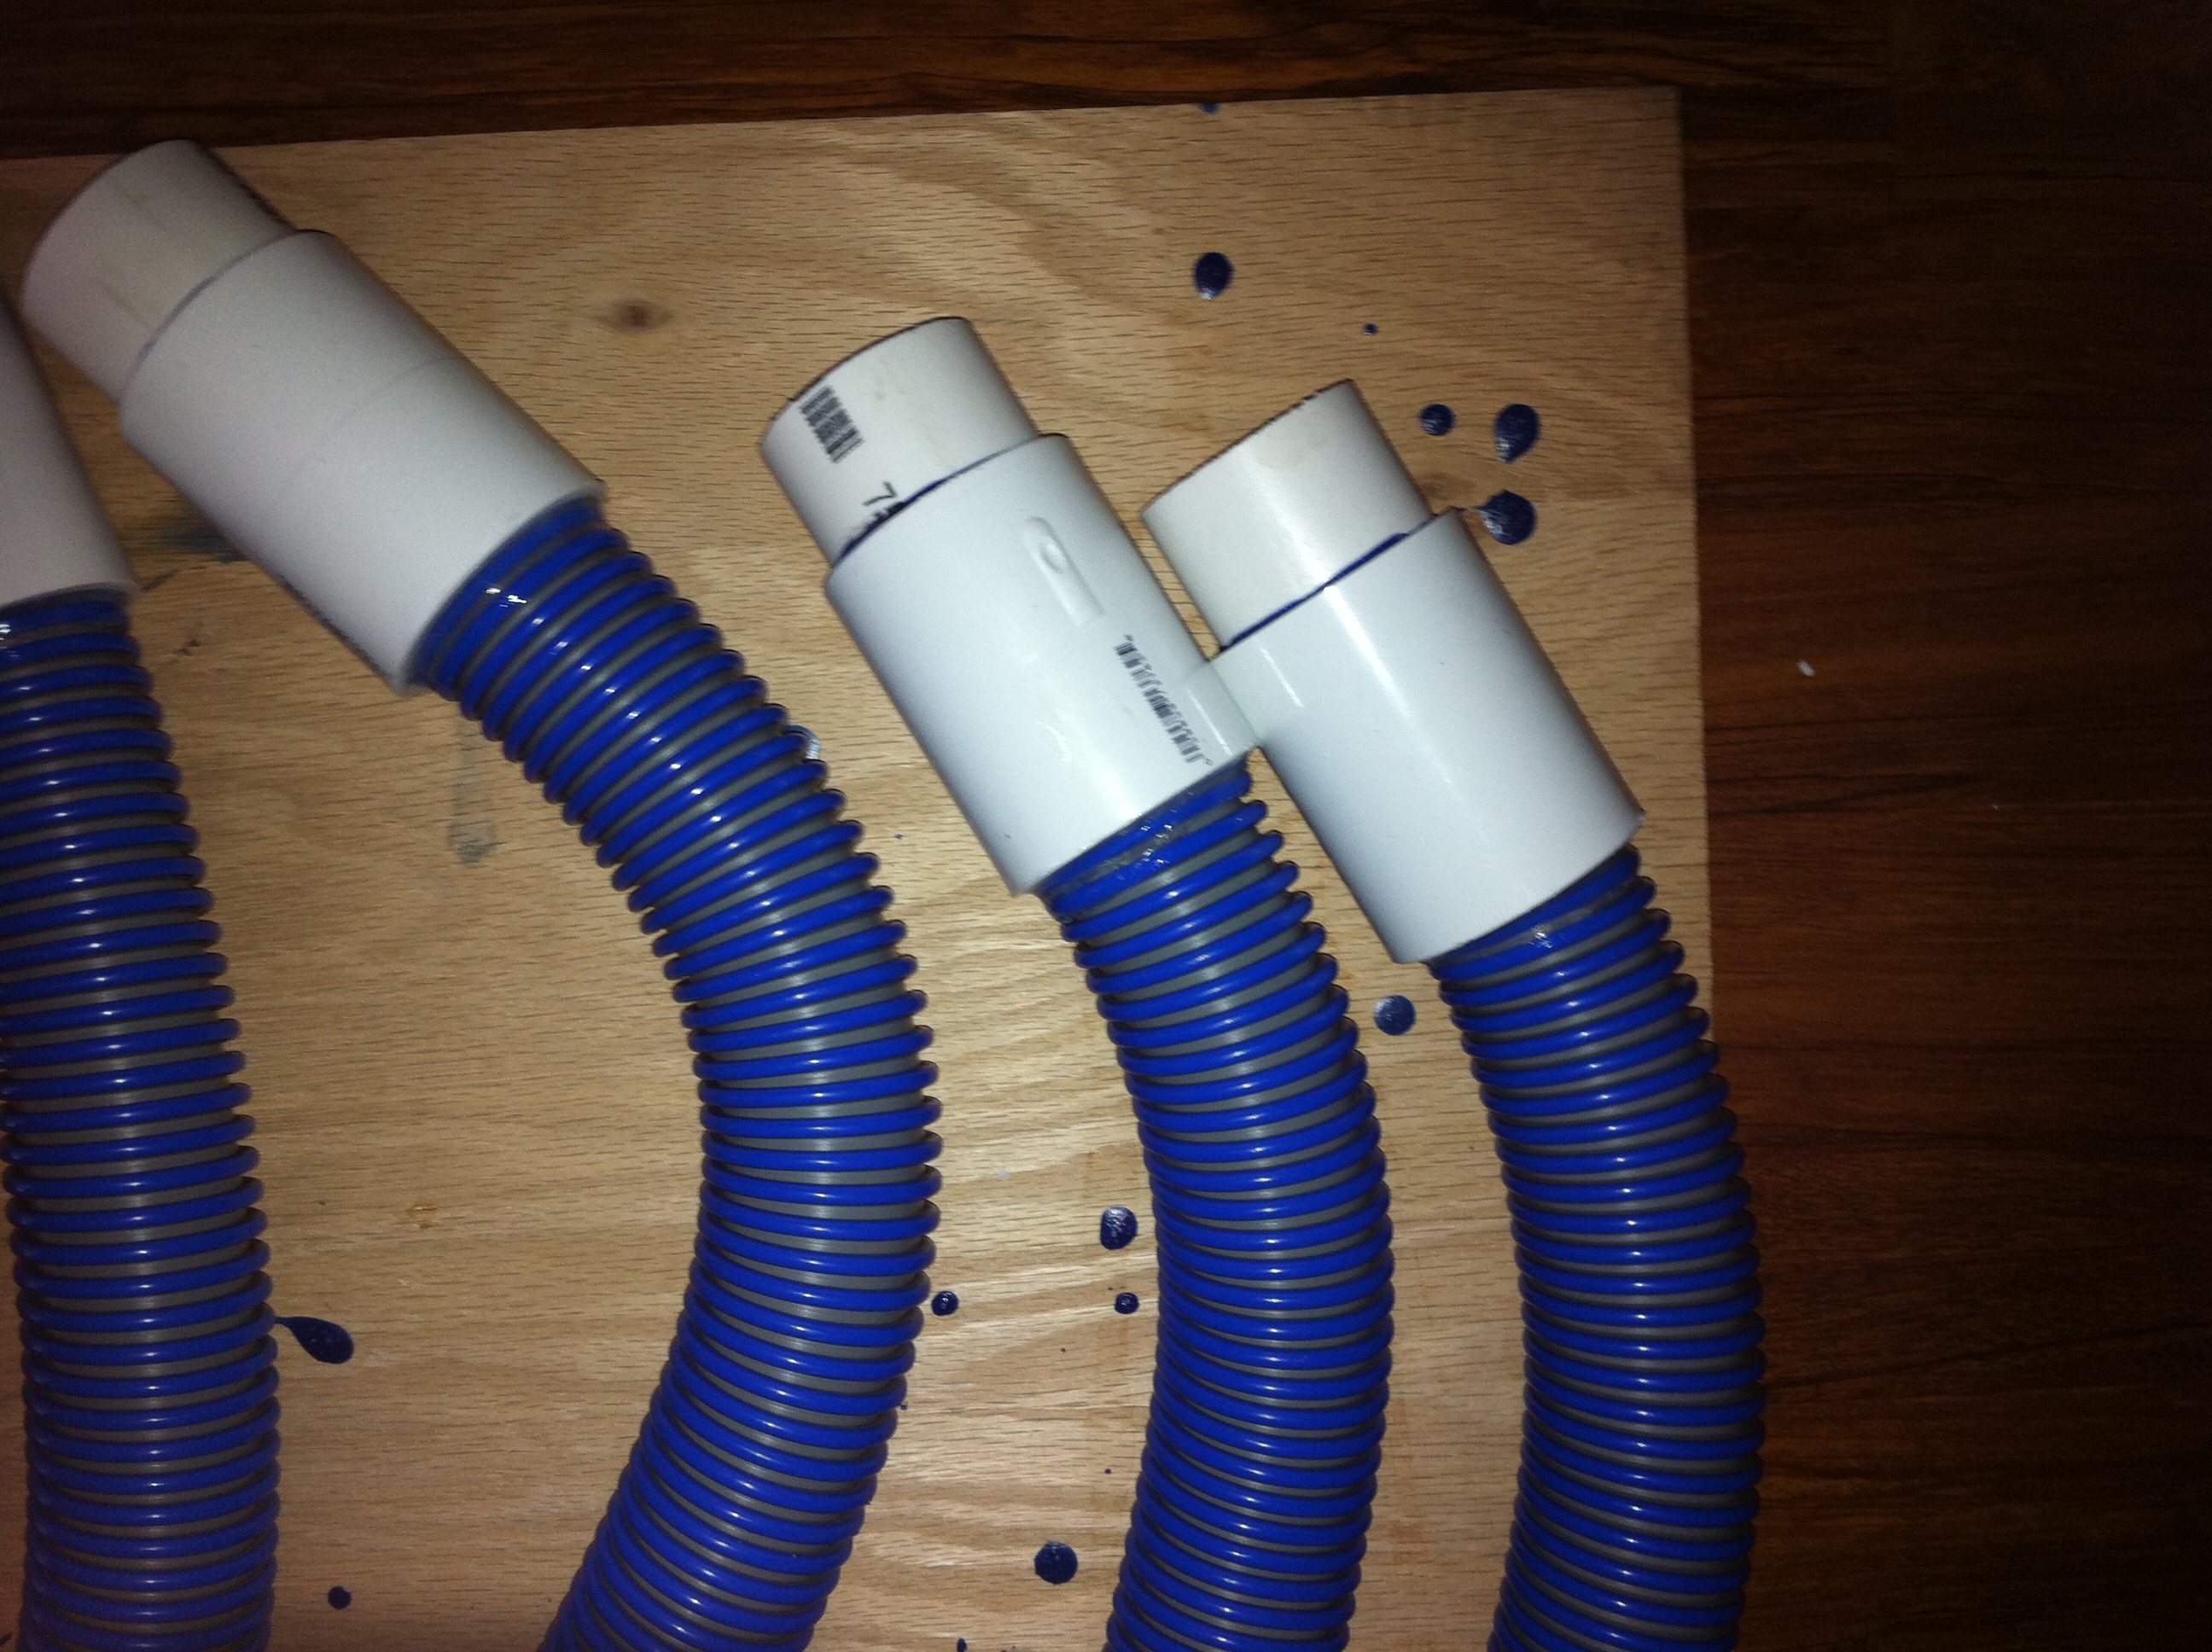
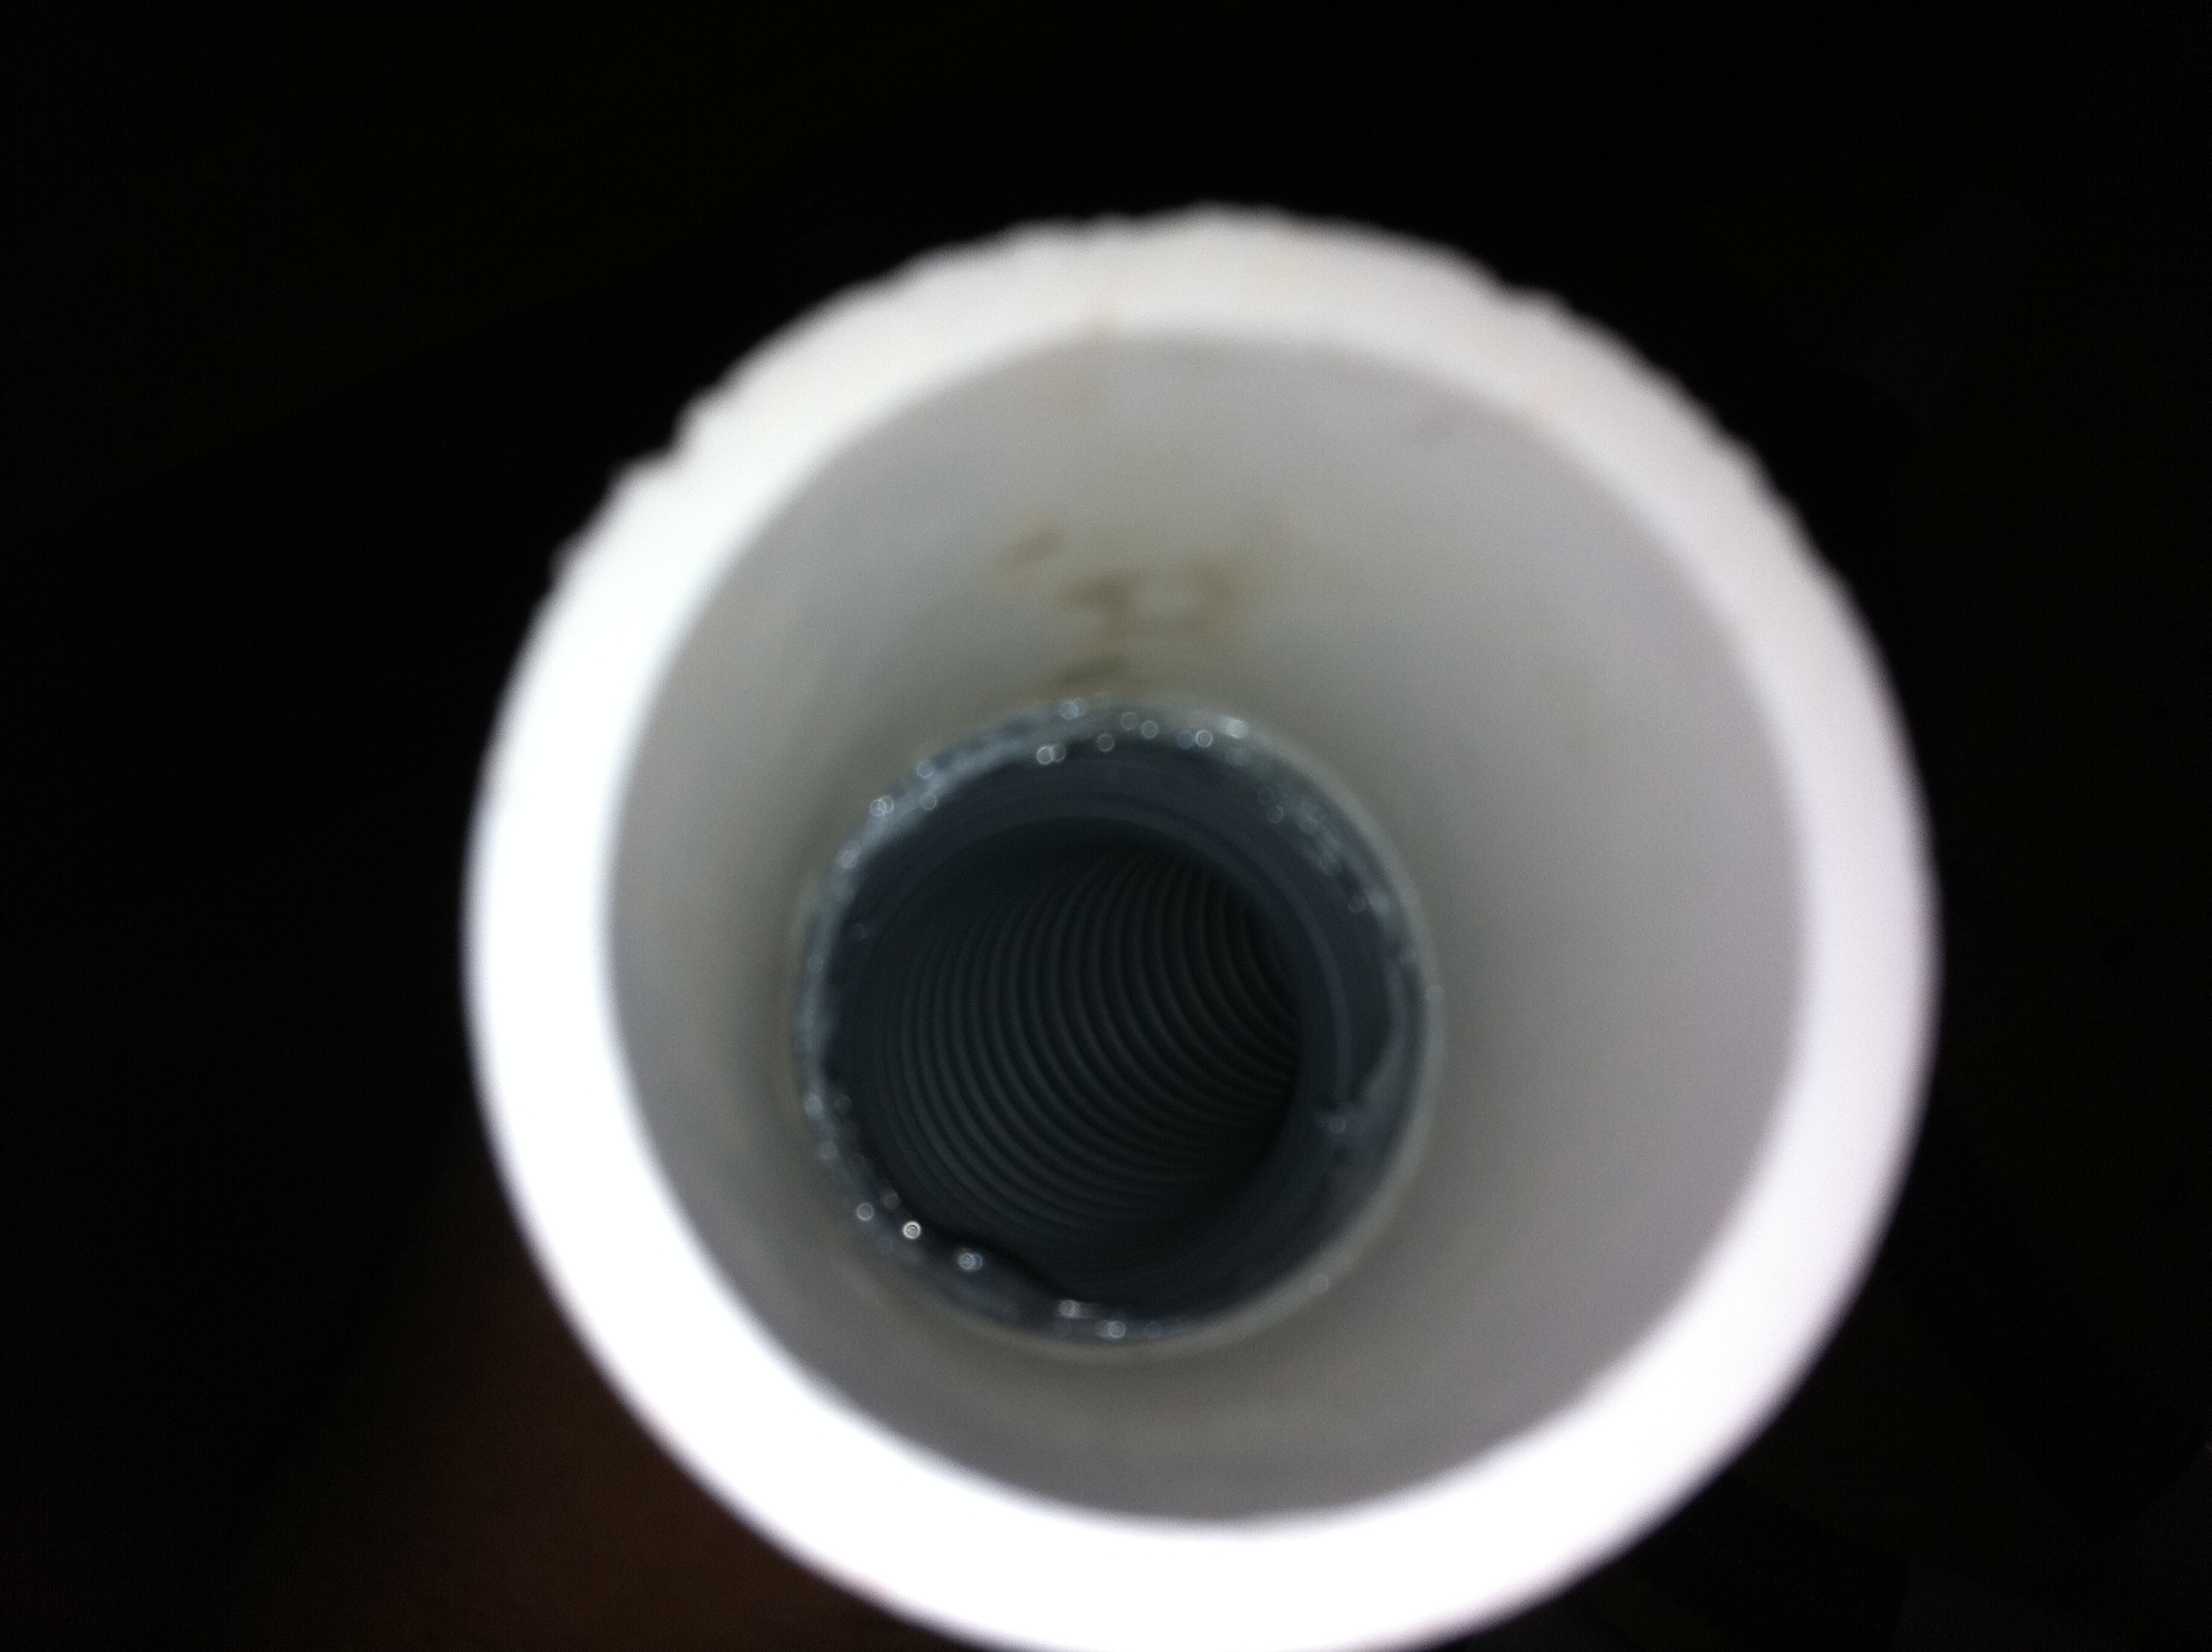
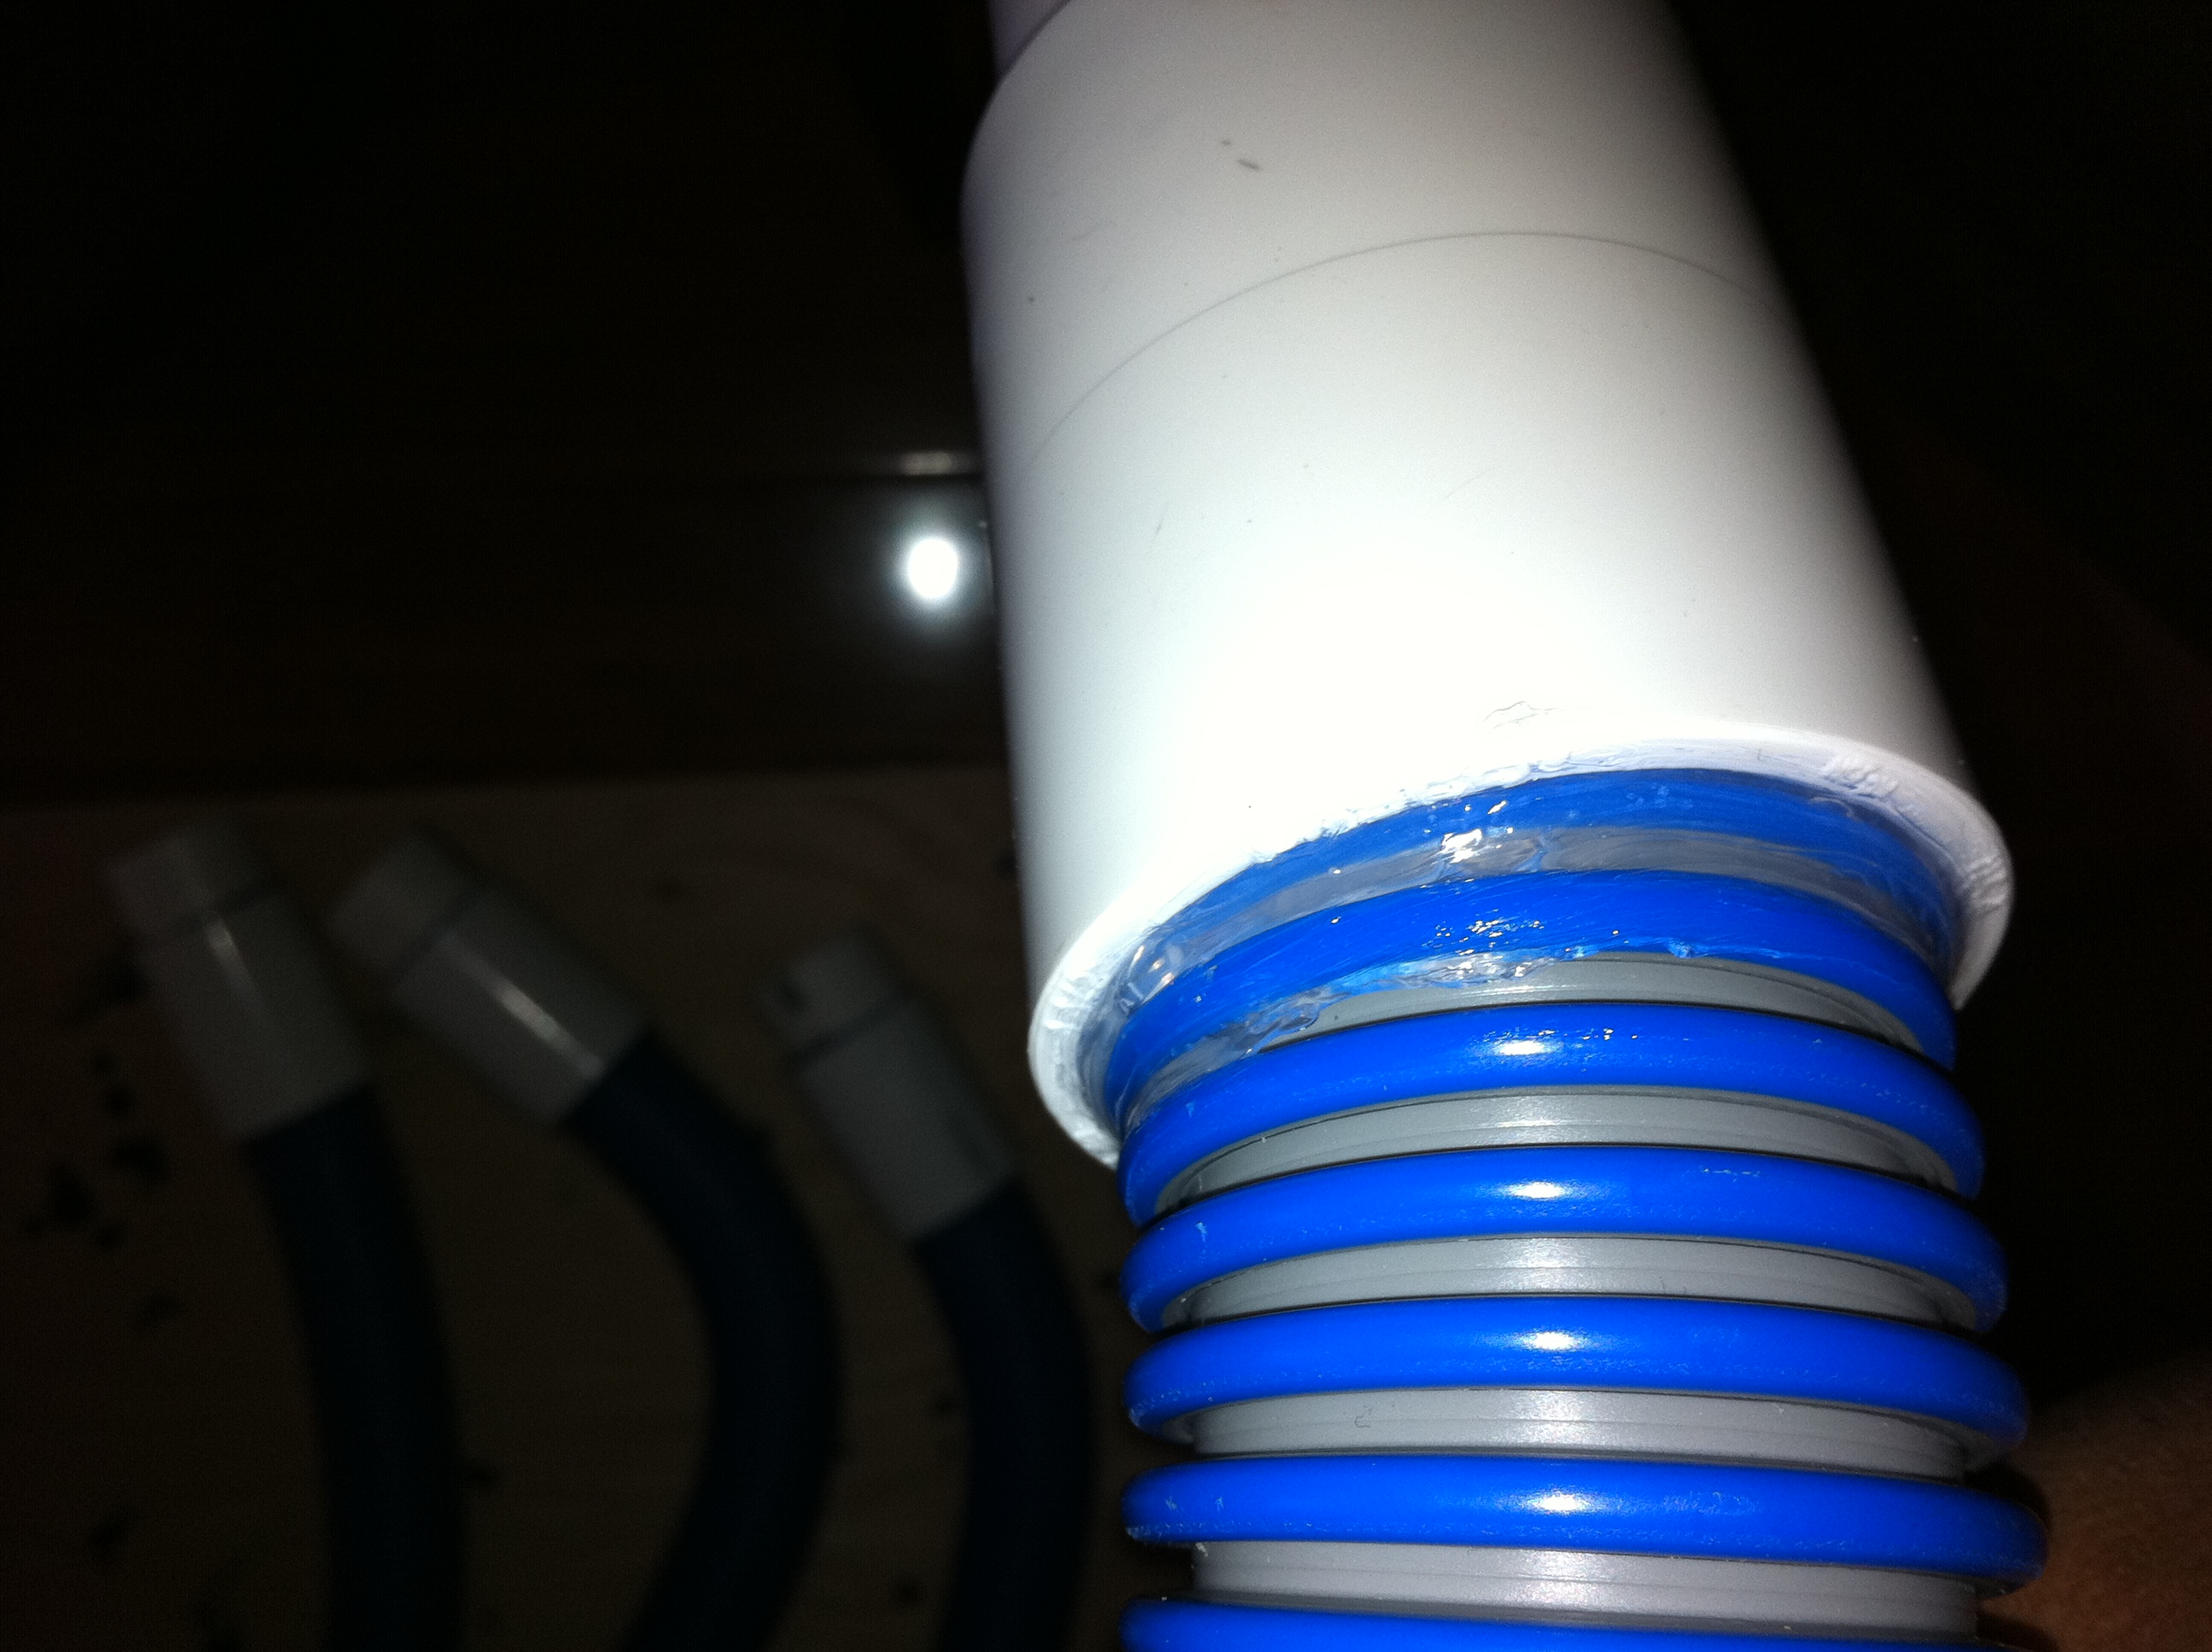
 Was able to silicone the tubing into place. Just for people in the future who are wondering what and how I made them. I used standard pool vacuum hose cut to size. Along with a PVC coupler. Then cut a 2.5" length of pipe and pvc glued into place that into one side of the coupler. Then I placed a 1/4-1/2" bead of silicone on the rim of the vacuum hose and placed into the other end of the coupler.
Then finger rubbed the inside of the tube to fill in cracks and smooth the connection. Let it site for a few hours for gel to slightly harder so it wouldnt slip off. I then took and place a bead on the outside around the rim of the coupler applying into the space between hose and coupler as much as I could. I then finger rubbed it smooth applying slight pressure to keep silicone in the crack. Let dry for 48 hours before use.
Ok so now here are the pictures.
xcali1985
Active Member
No theres a local hobbyist that is excellent with acrylic he basically helps out other hobbyist. Hell make sumps and believe it or not tanks up to 300 Gallons for cost of acrylic and a little more. All you need to do is let him know exactly how you want it designed and he can do it.
xcali1985
Active Member
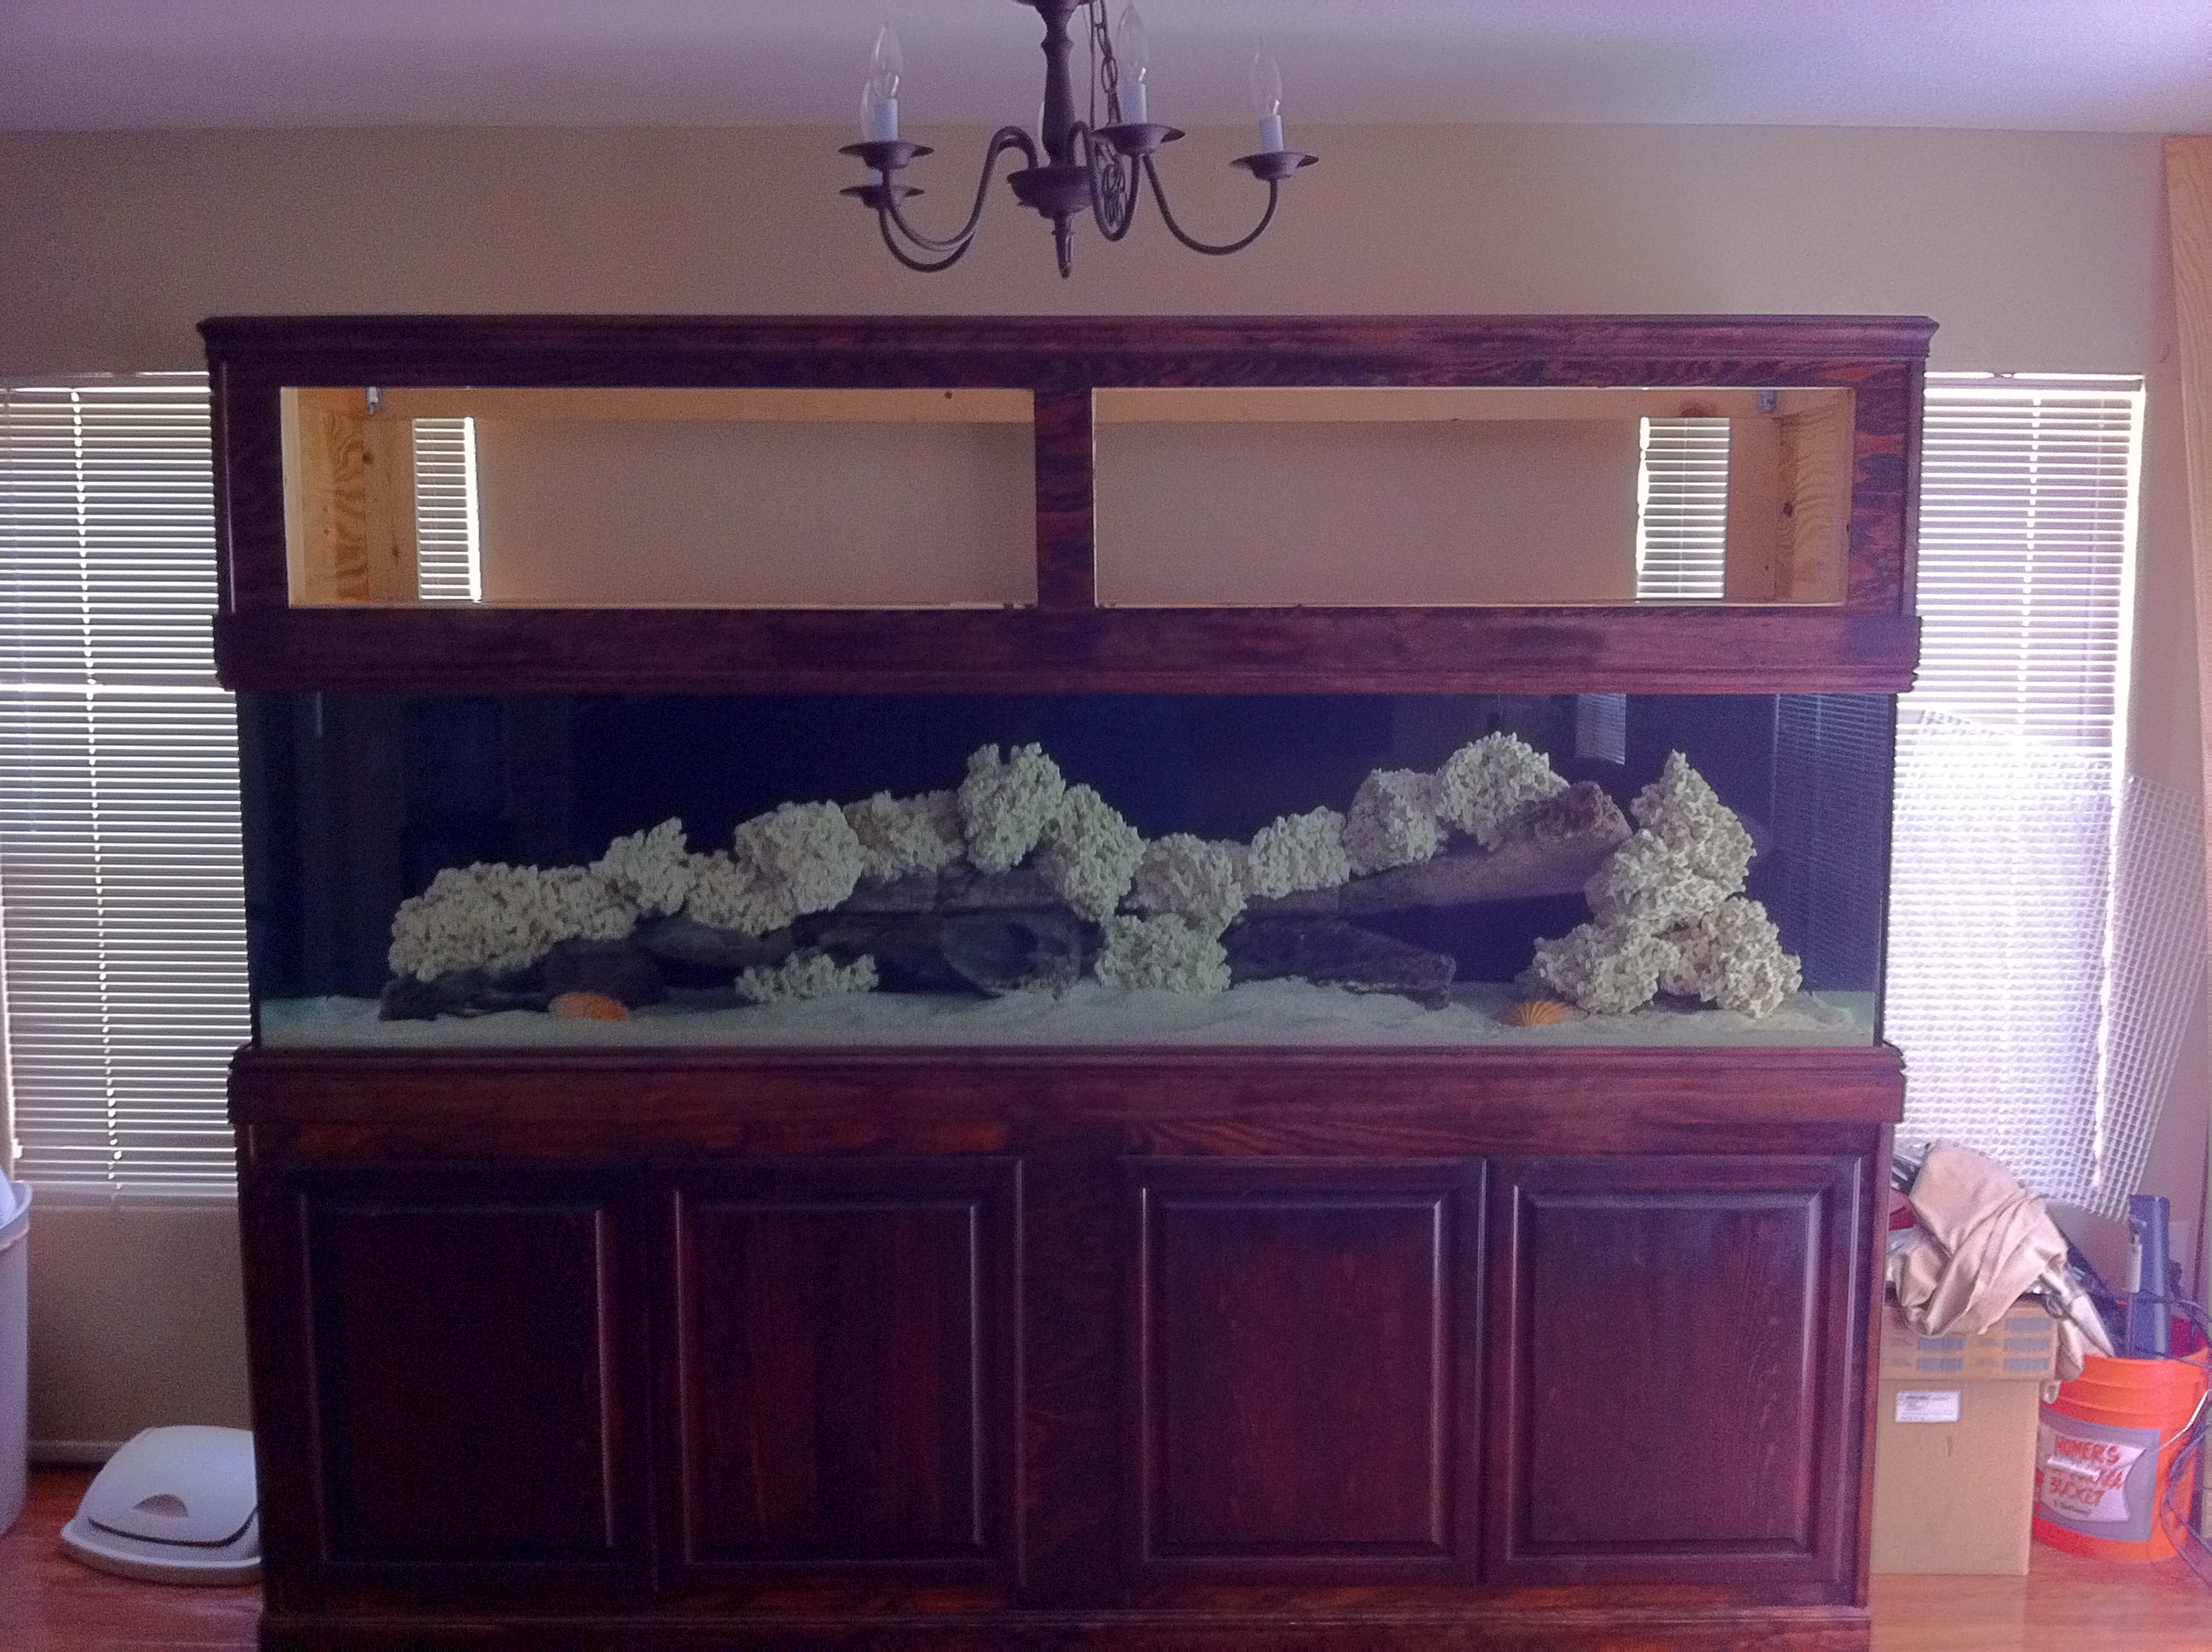
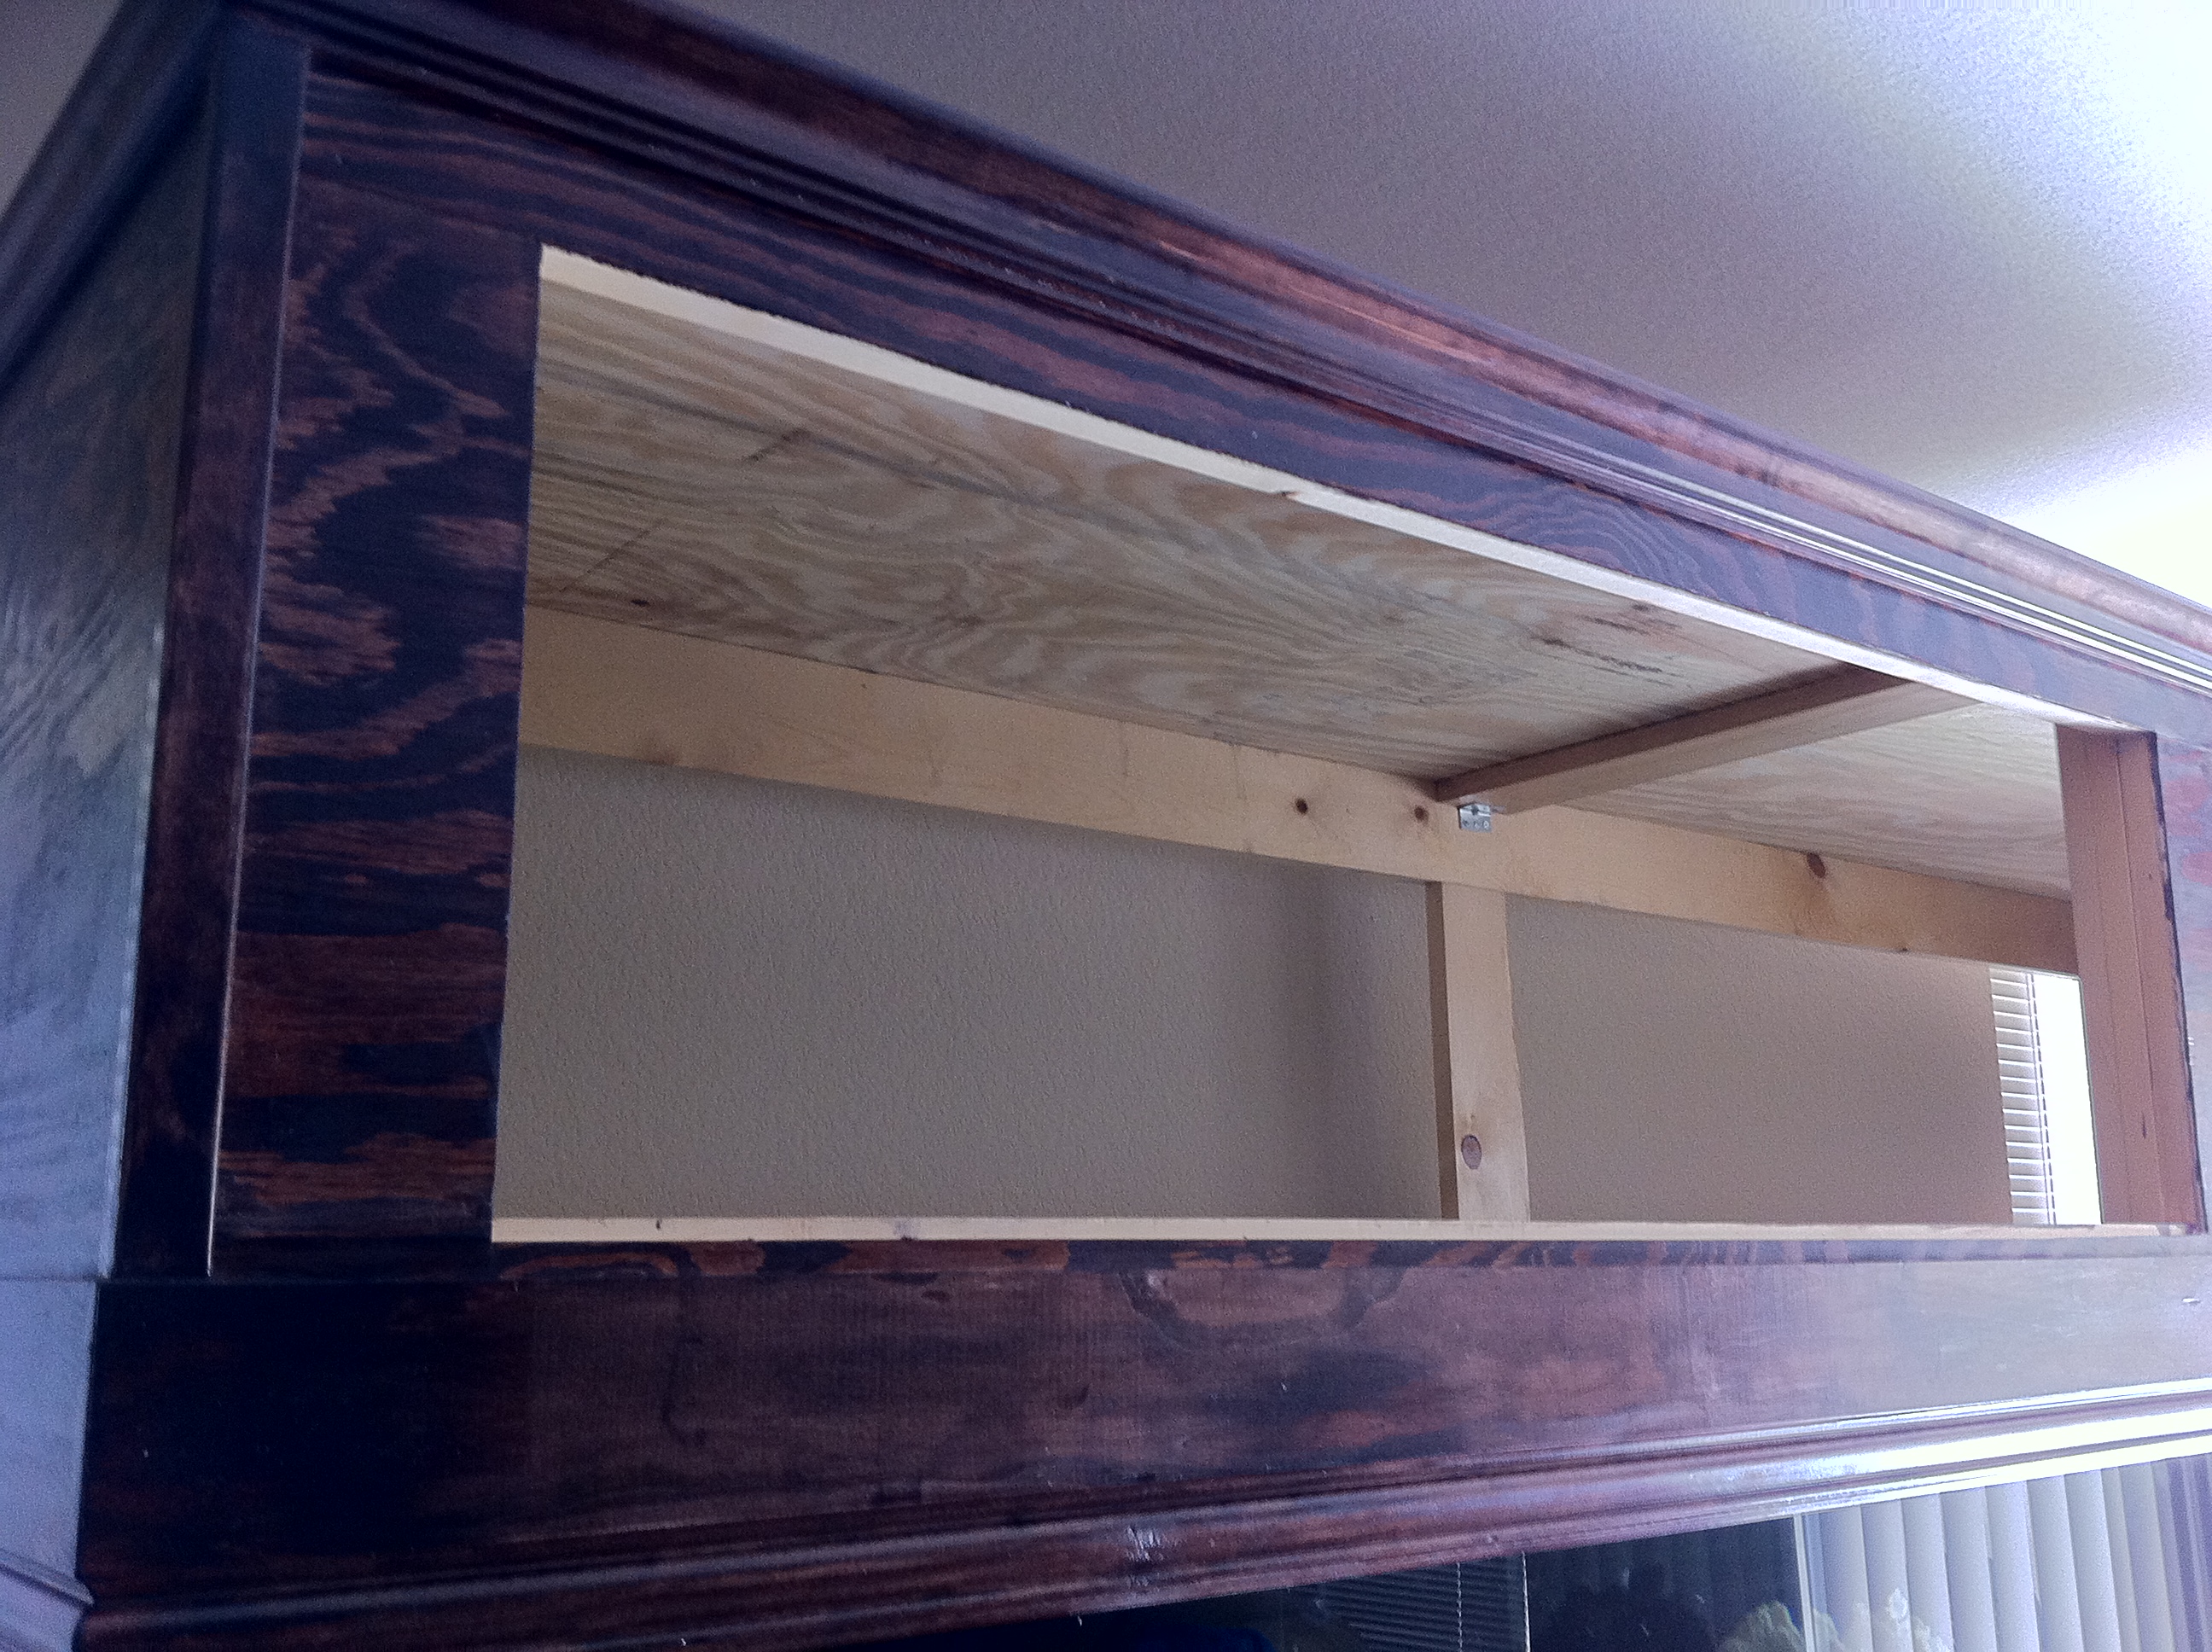
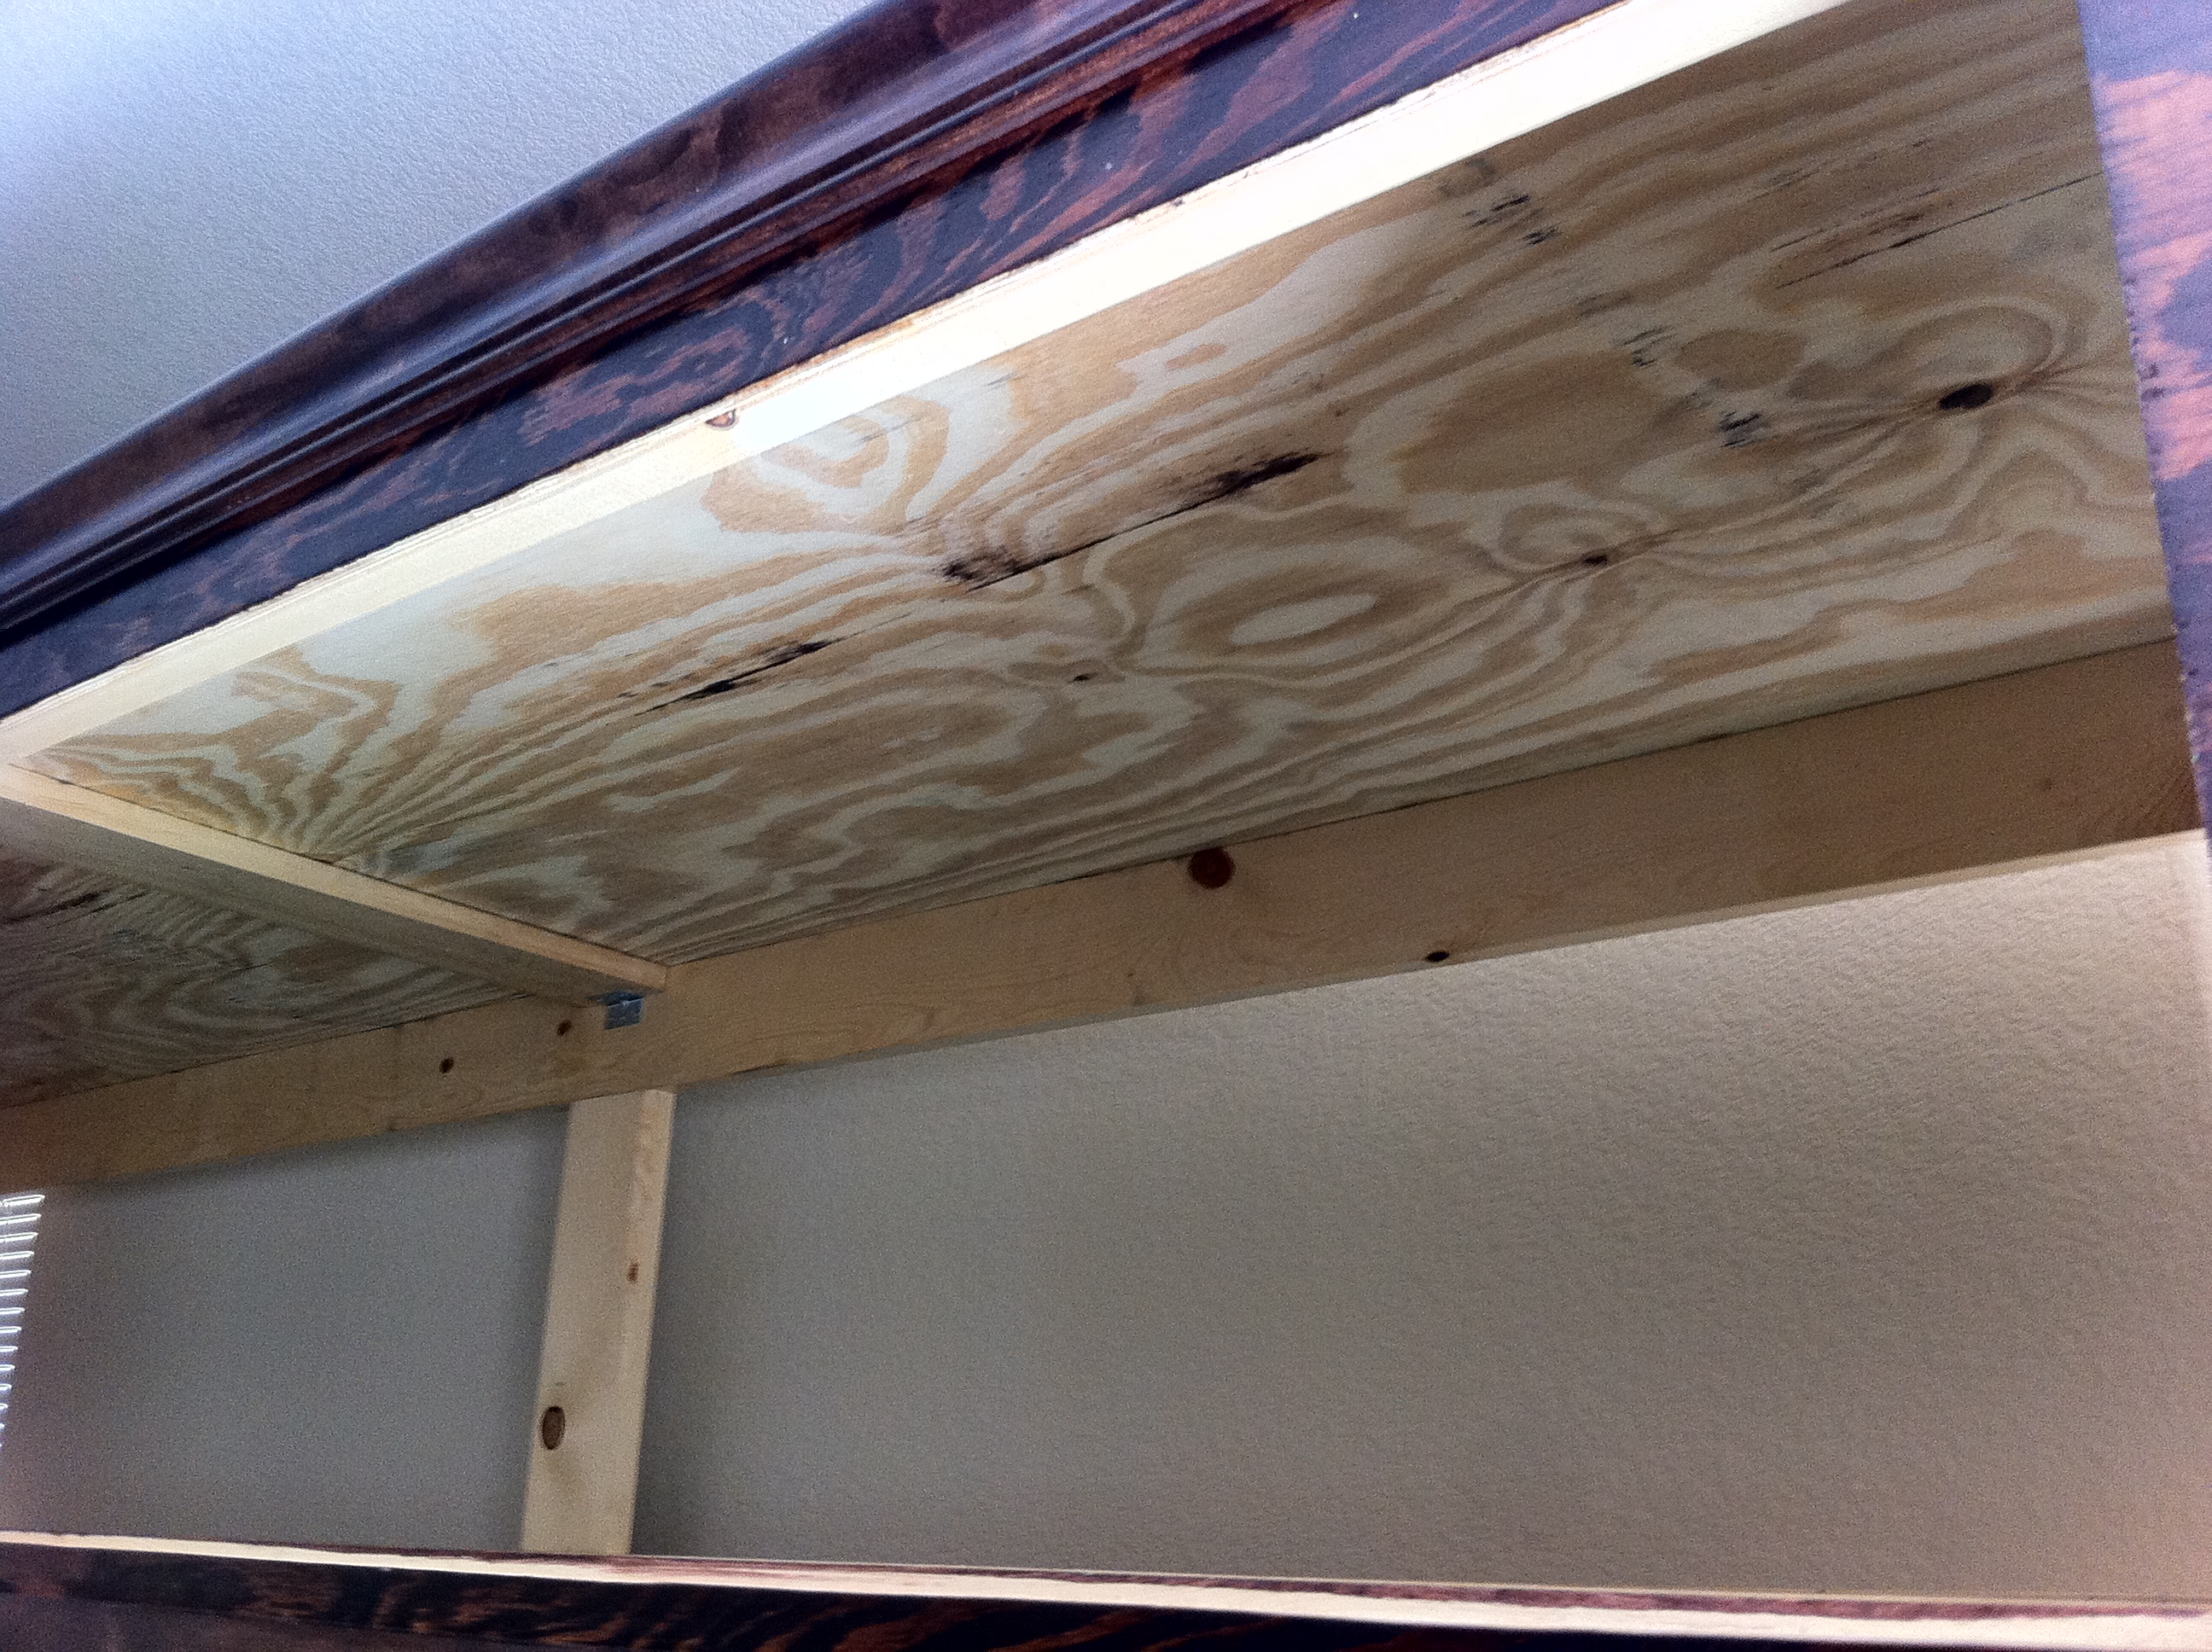
Ok, so it's been forever since ive updated this thread. I haven't done too much with this tank as I've had financial roadblocks here and there. However, over the last month things have started moving again. So here it is. I am 95% done with the canopy and its actually on the tank, however, doors are being made.
Secondly, I've stocked it with Rock and Sand all dry my live is in my current tank that ill be adding to it.
So here are a few pics of where its at now. Im going to be doing DIY led kits in this thread, once I go into the actual tank building part, this will be moved from the DIY to the Tank Build section.
Don't know if I mentioned it before, but im going for a log cabin feel to it. Pictures aren't very good, but the best I have. If you lads and gents want to see more from the actual build ask and ill post them.


xcali1985
Active Member
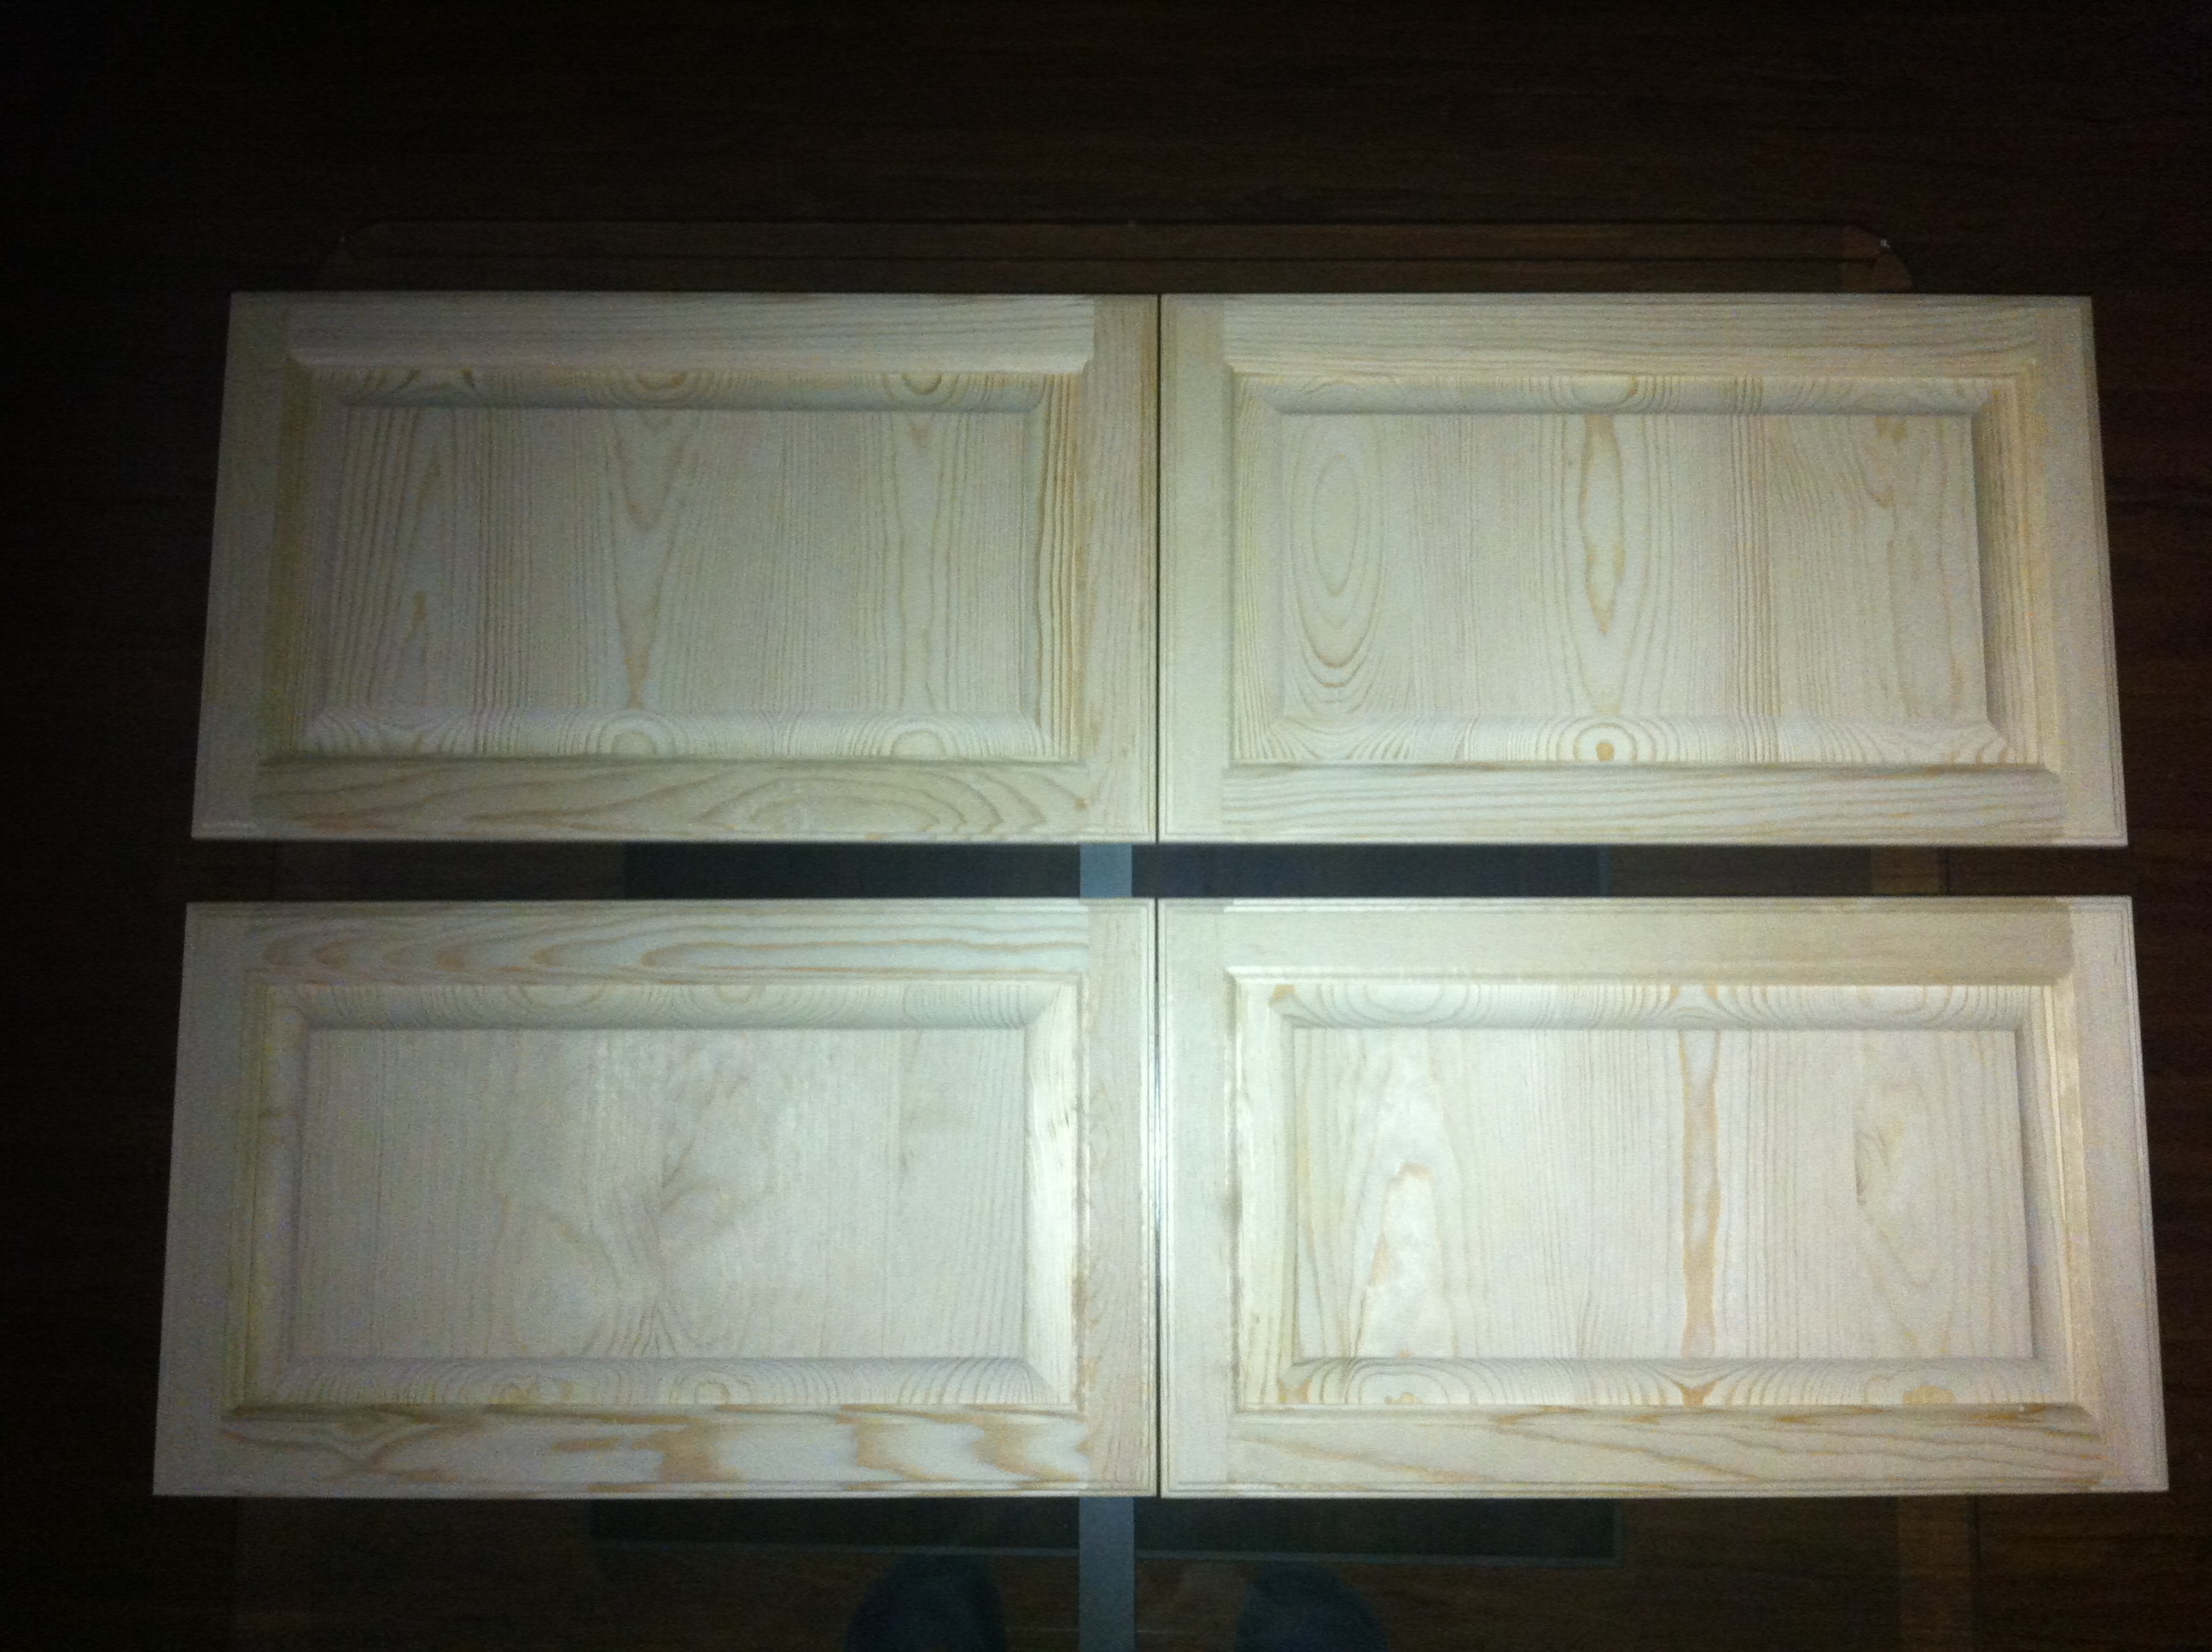
And the doors have finally arrived after several production delays. They are here. I pinned them up to the canopy and it's absolutely amazing how quite they make the tank even with the backend being completely open.
Anyways, they won't be stained until Wednesday and maybe sealed later that day for the first coat and then sealed again later in the week.
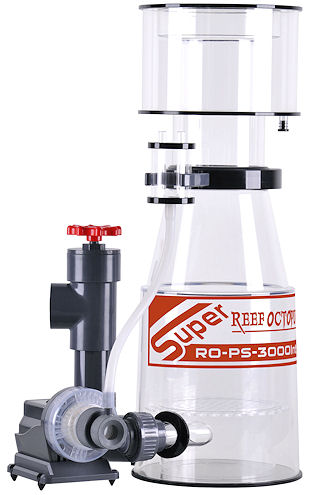
Ordered my skimmer ill post a picture of it also just for reference. Nothing but good reviews on it. It should be here by the end of the month as it was out of stock. It's a Reef Octopus SUPER
SRO 3000INT In-Sump Protein Skimmer w/ the automatic self cleaning neck attachment. Awesome!!!!
Anyways, here's a picture of the doors, I have to buy the hinges to attach and show it on the canopy.


