415 Gallon Plywood Tank Build

snakeblitz33

Well-Known Member
Yeah, I would really love to get some new pics of the overall system... the outside of the tank and the fishroom behind the tank.
Have you given more thought to your quarantine tanks and frag tanks? I know you said you didn't want to rack them last time we talked about it.
 

2quills

Well-Known Member
Shawn you should also be able to hook your fans up to the same channels as your leds on an Apex. You could also hook them up to your pots if you're running pots. That way you're fan speed increases or decreases along with the intensity of the lights.
 

acrylic51

Active Member
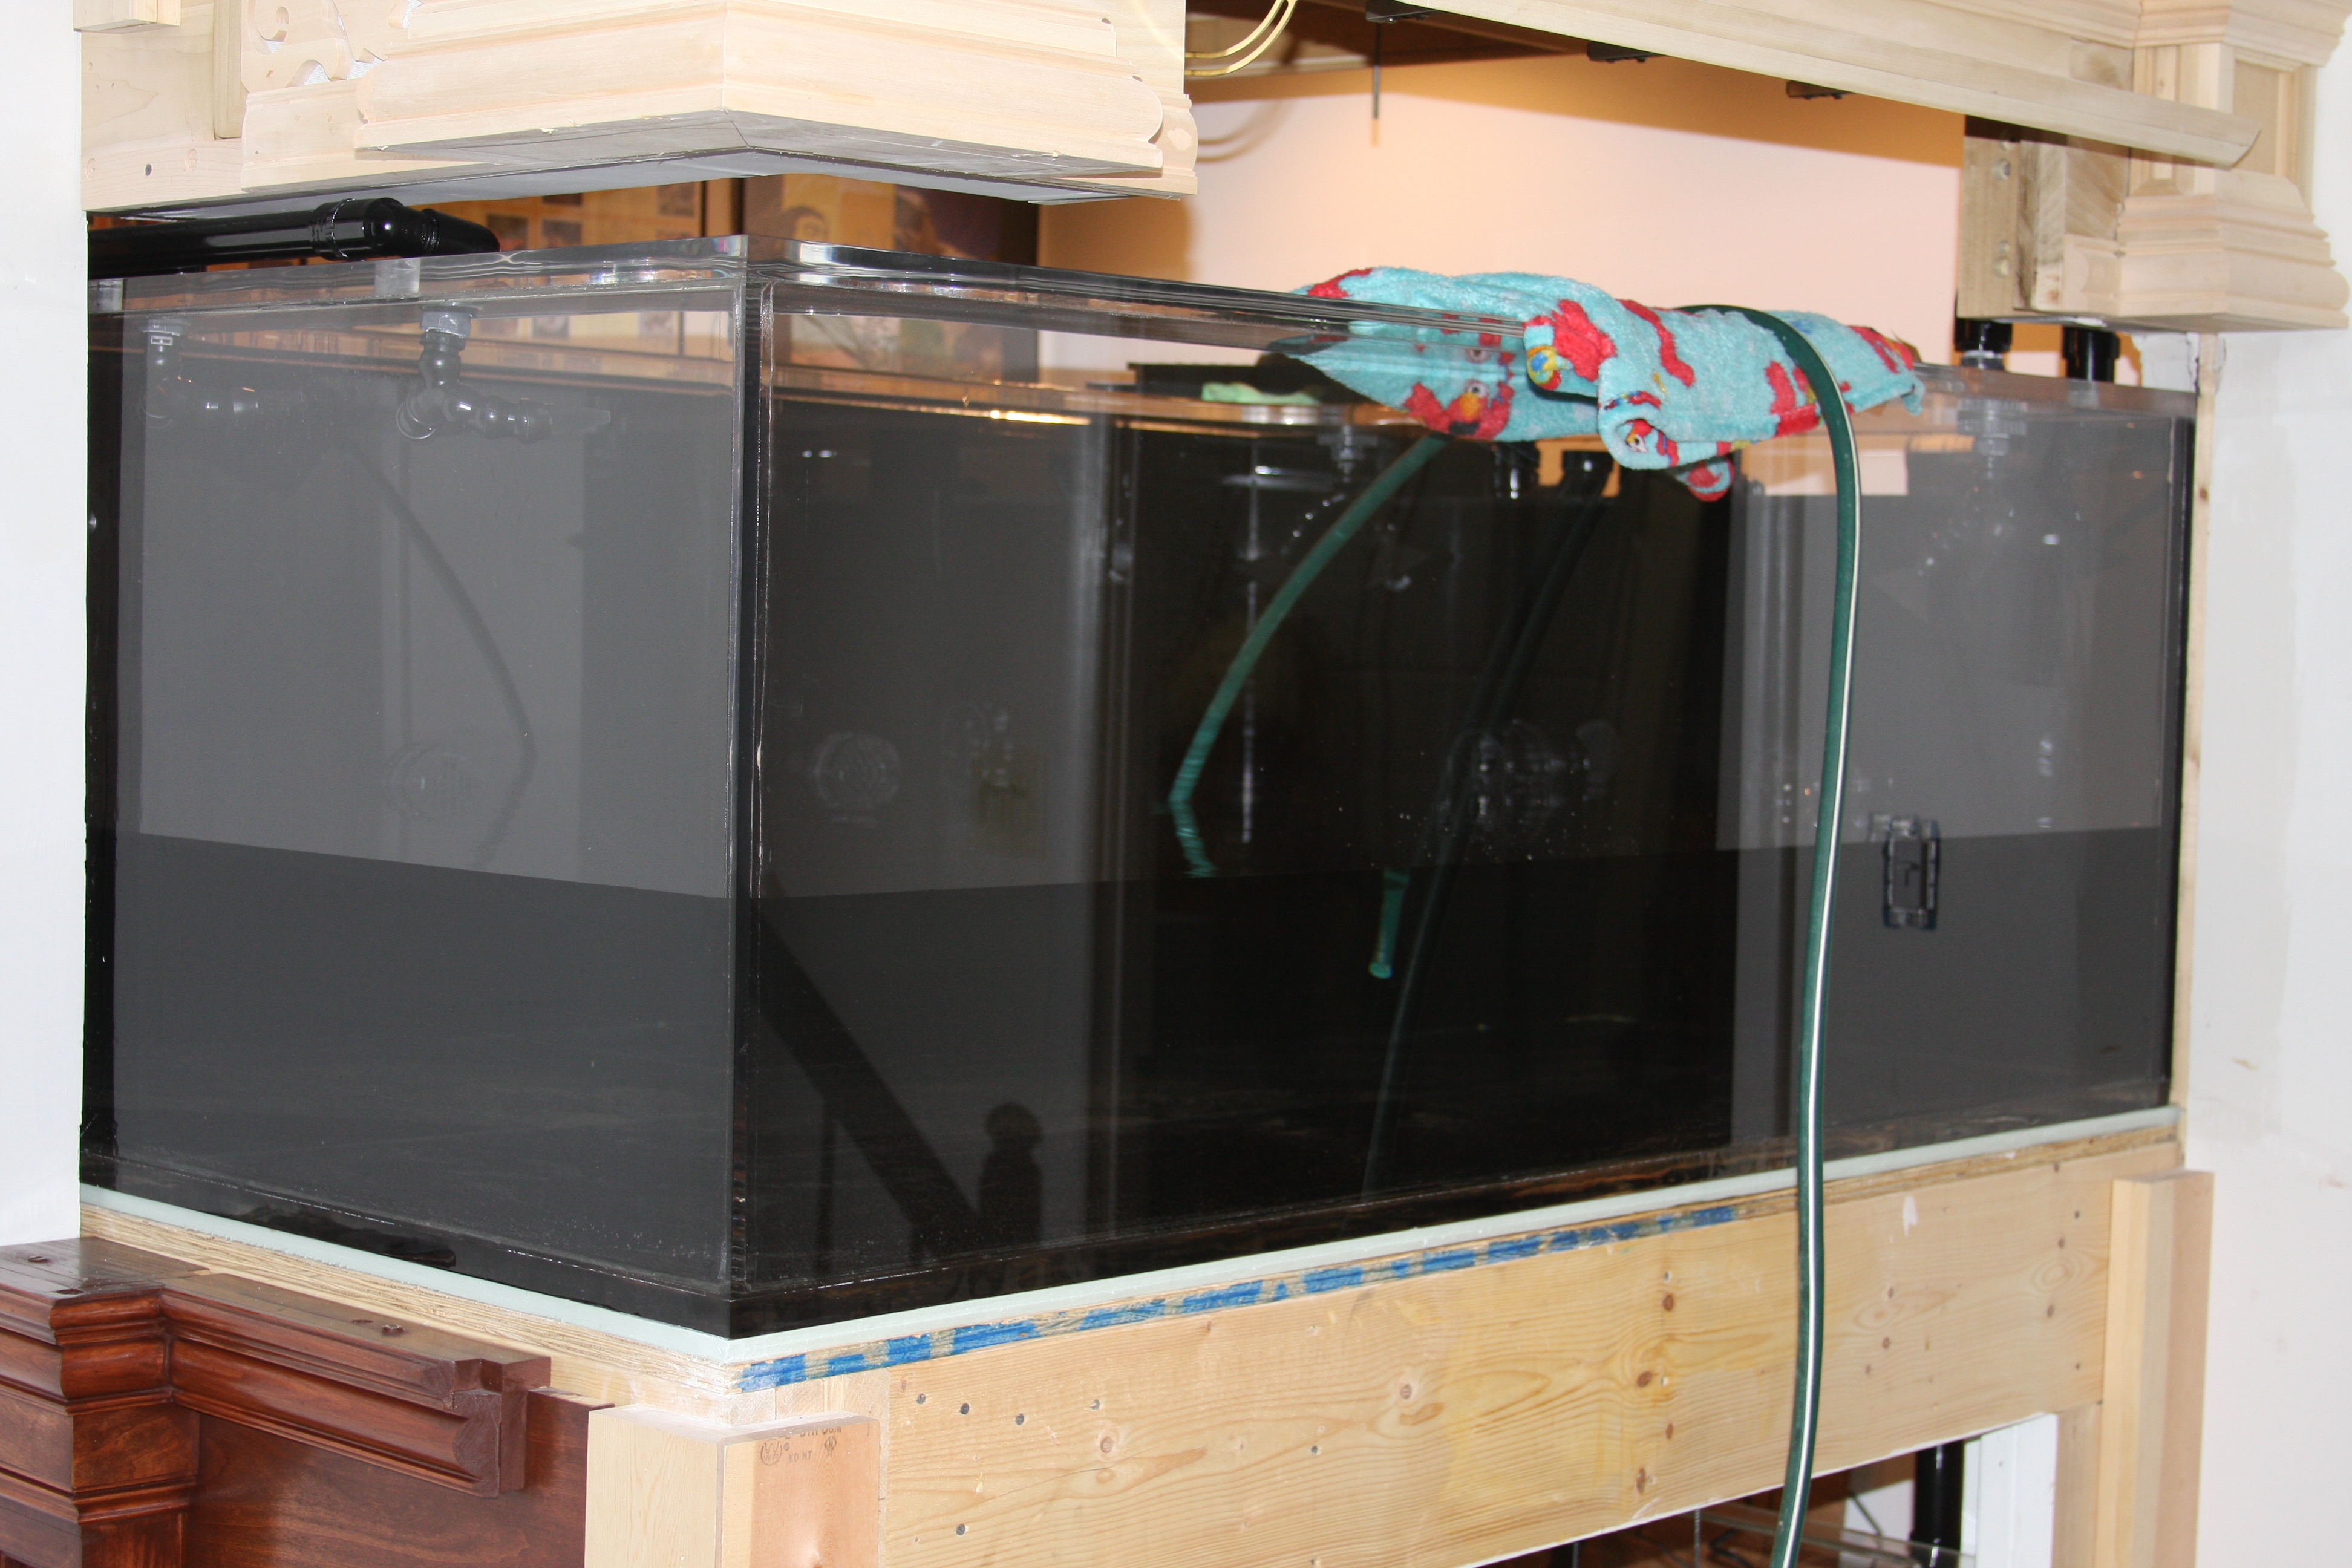
Here's some pics of the tank........

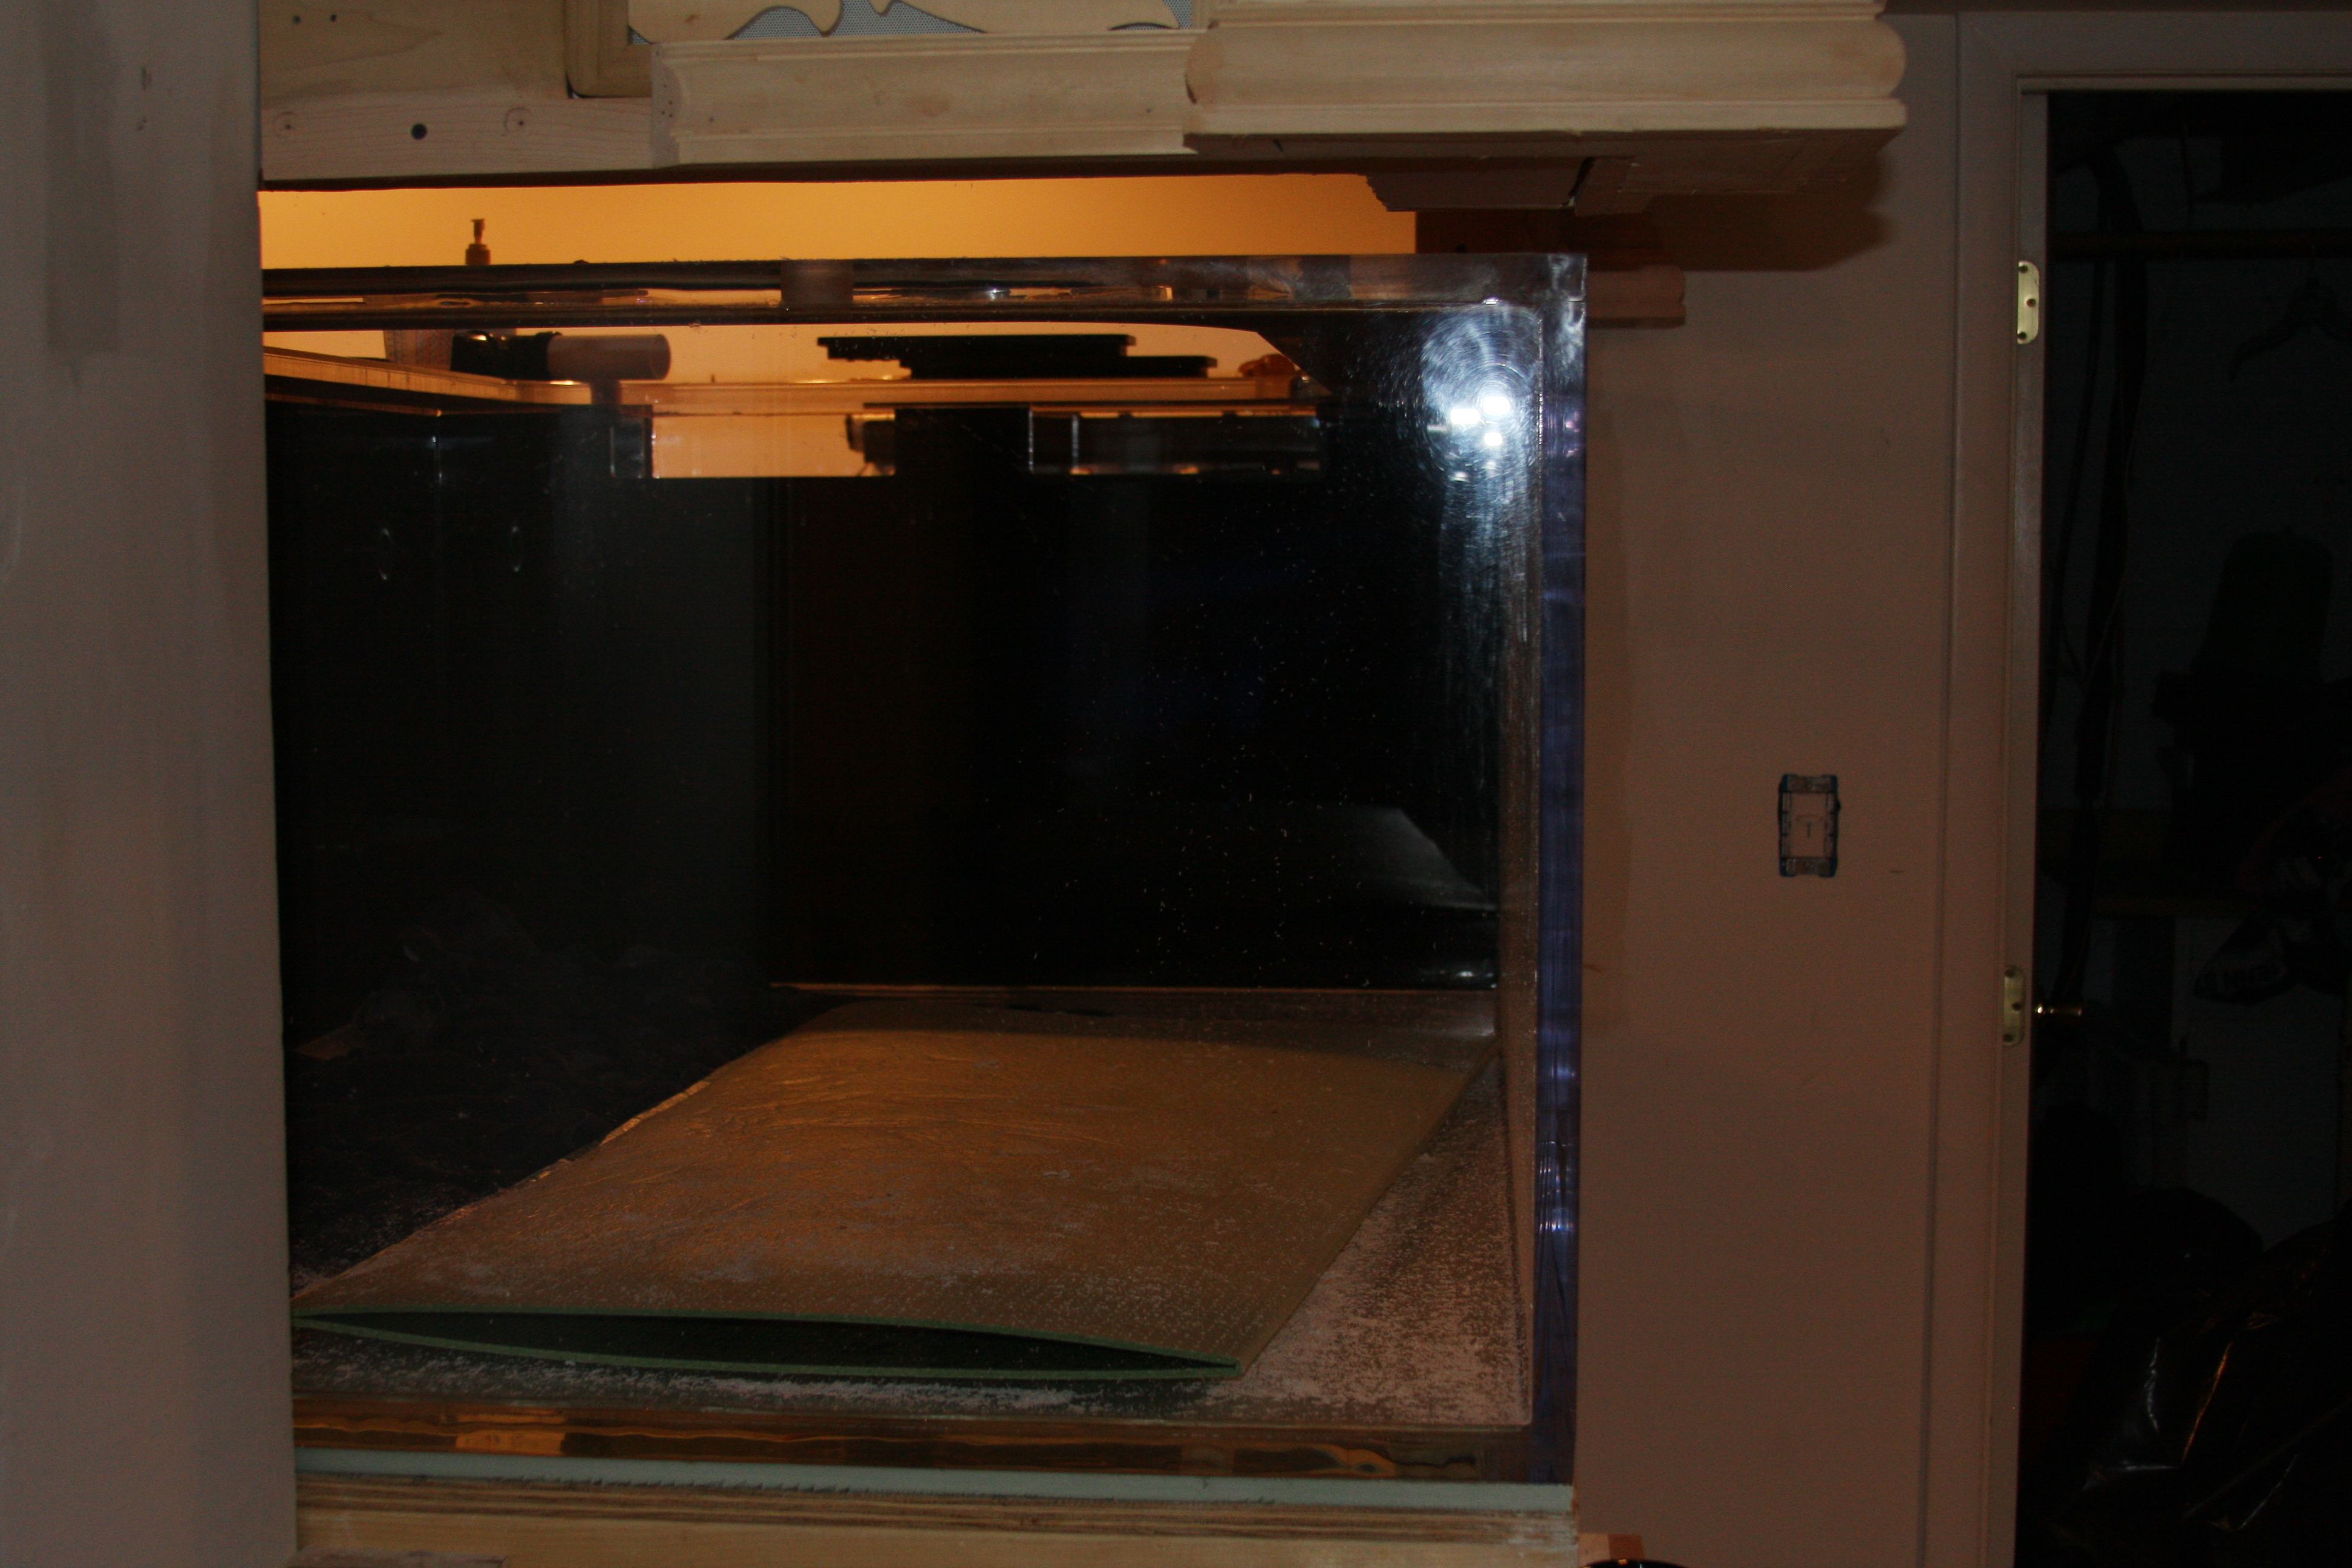
Henry here is a shot from the front side of the tank while being filled.....Actually rather hard to get a FTS of the tank due to where it sits in the family room.....Yes there is a fish room behind the tank.....Not very big not that it's starting to fill with stuff, but allows me room to work on the tank from behind.........

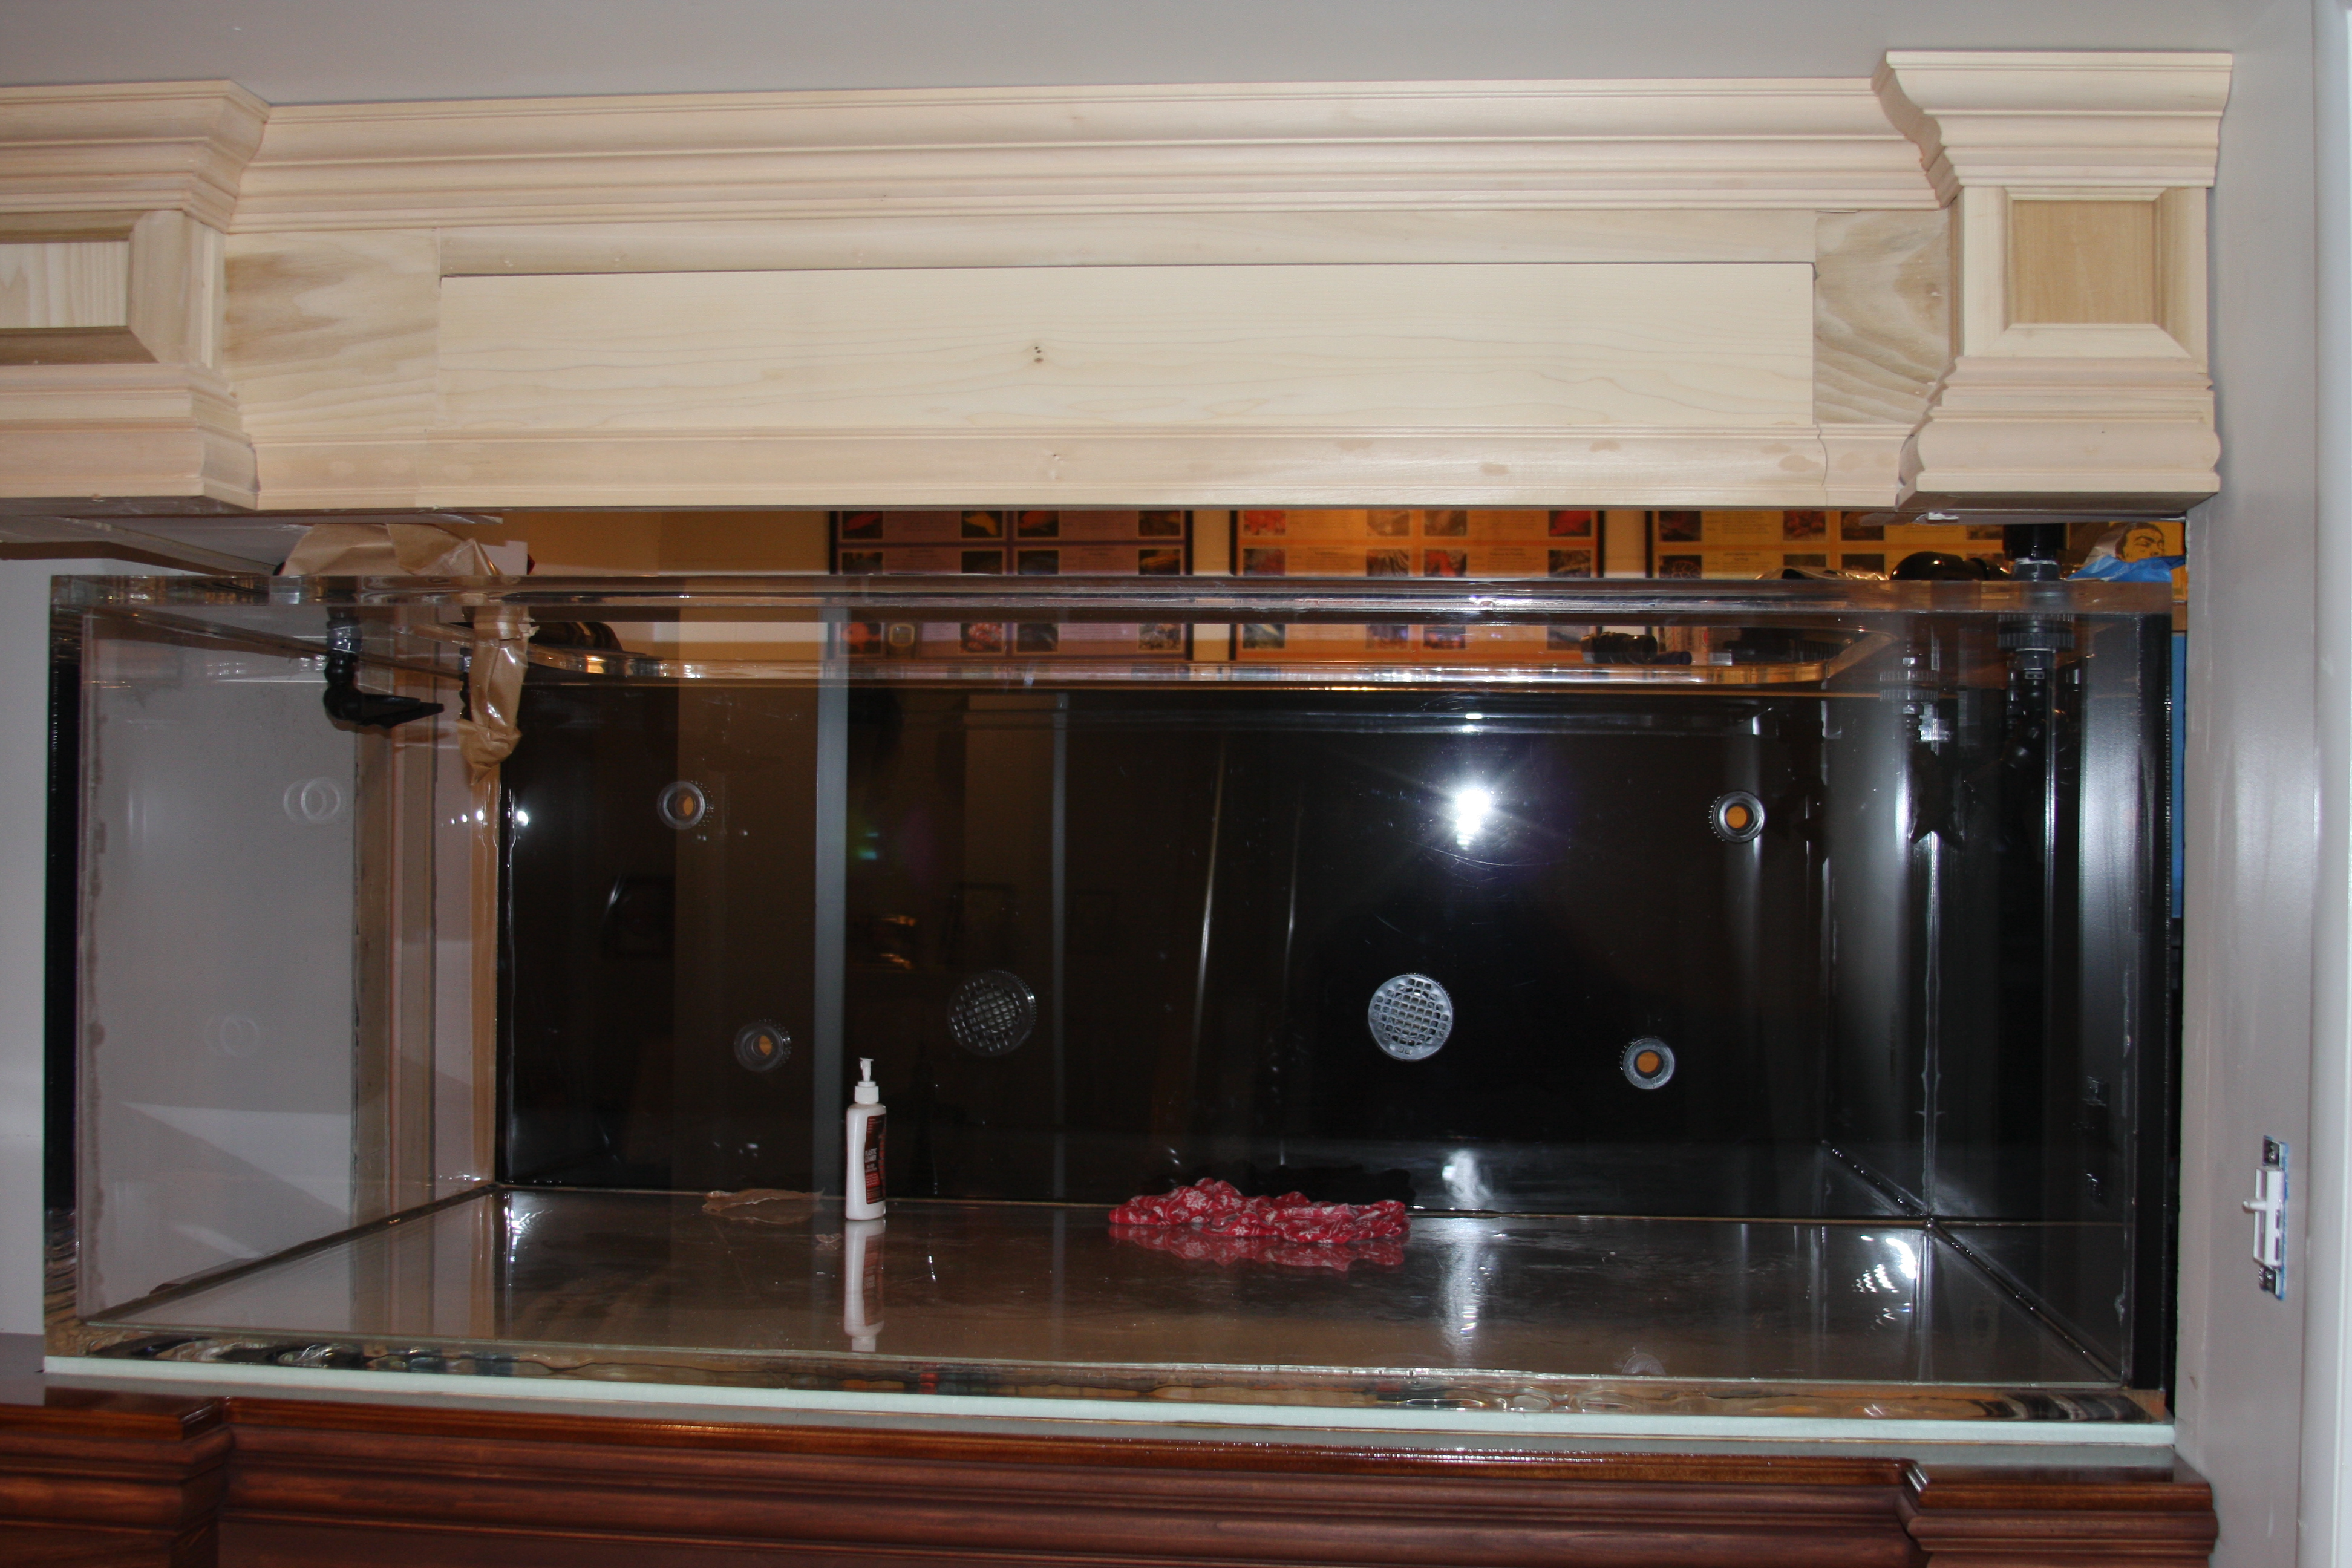
This is a FTS from the stairs coming down into the family room........

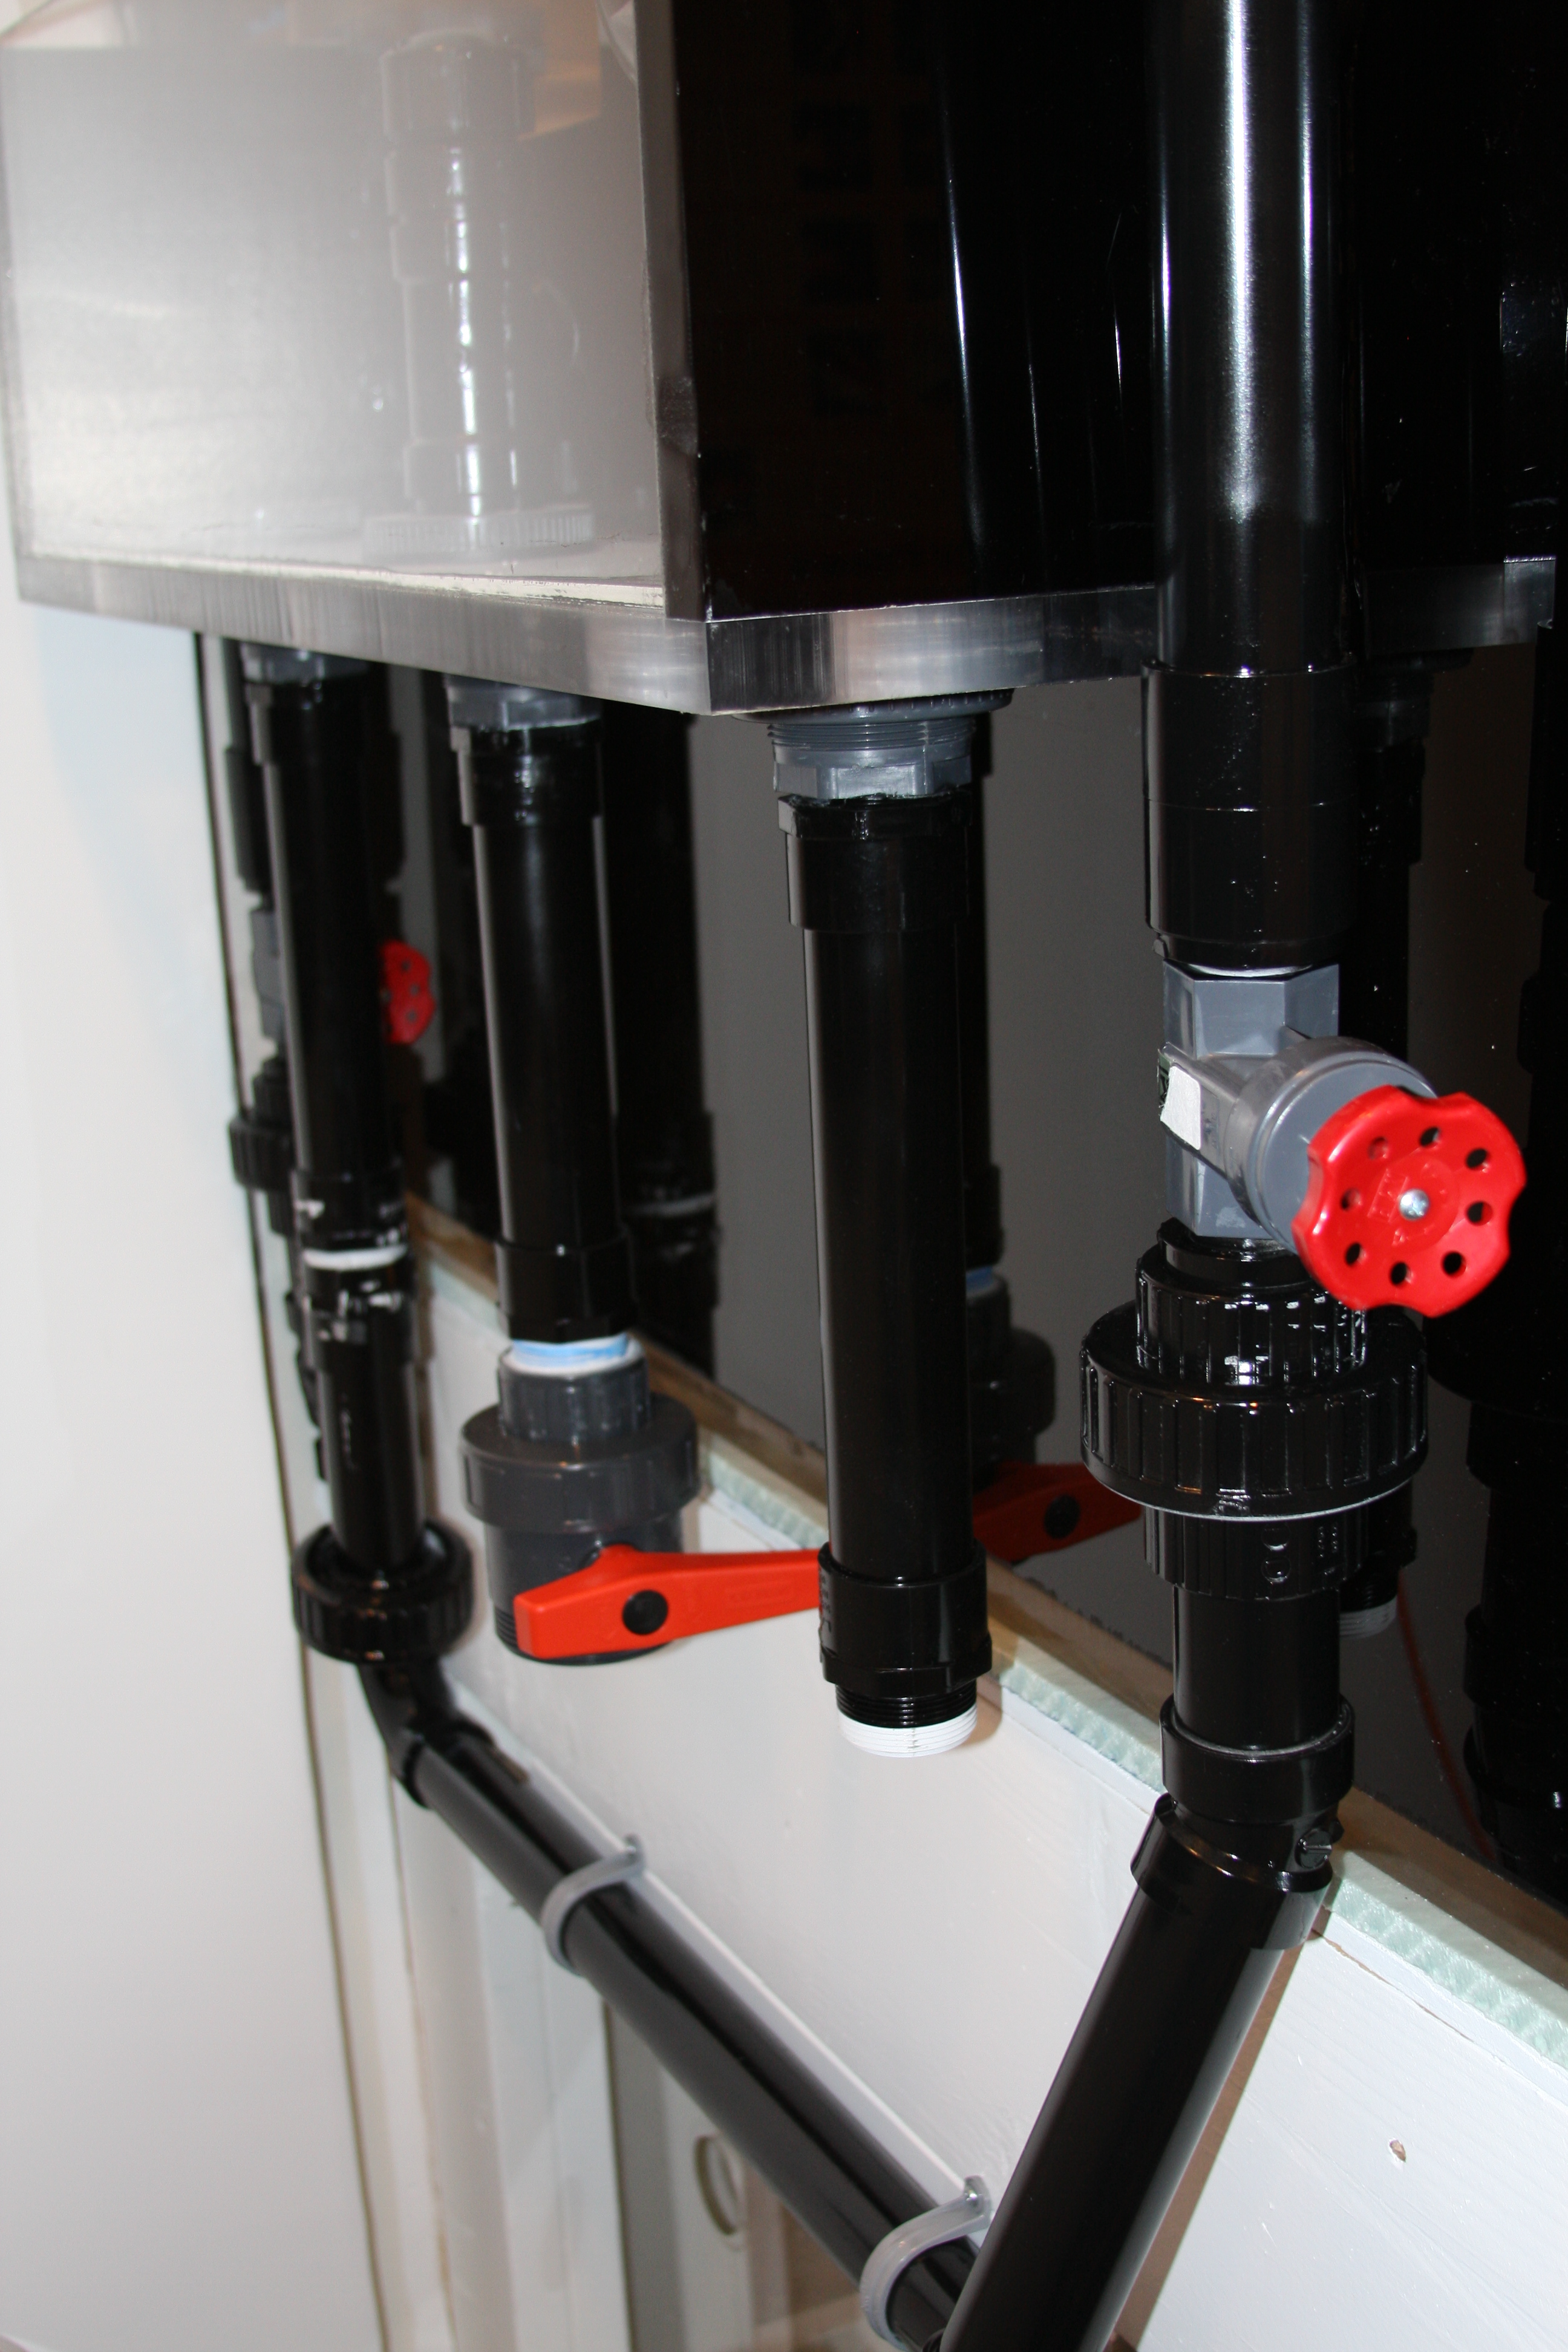
Here's a shot for you Henry looking into the fish room behind the tank......You can see some of the return plumbing coming up the 1 side of the tank, and also in the pic are the supplies for my CL pumps....Dual 2" bulkheads.....

Seth here's a somewhat pic of the plumbing coming off the overflow box that I'm using the BeanAnimal overflow system......Again as I mentioned in the other thread you only need the 1 valve to tune and run the system.....The gate valve in the pic closest is for the return on the back of the tank.....There is also another gate valve on the front return hidden behind the overflow box, but easily accessible to someone in the fish room......

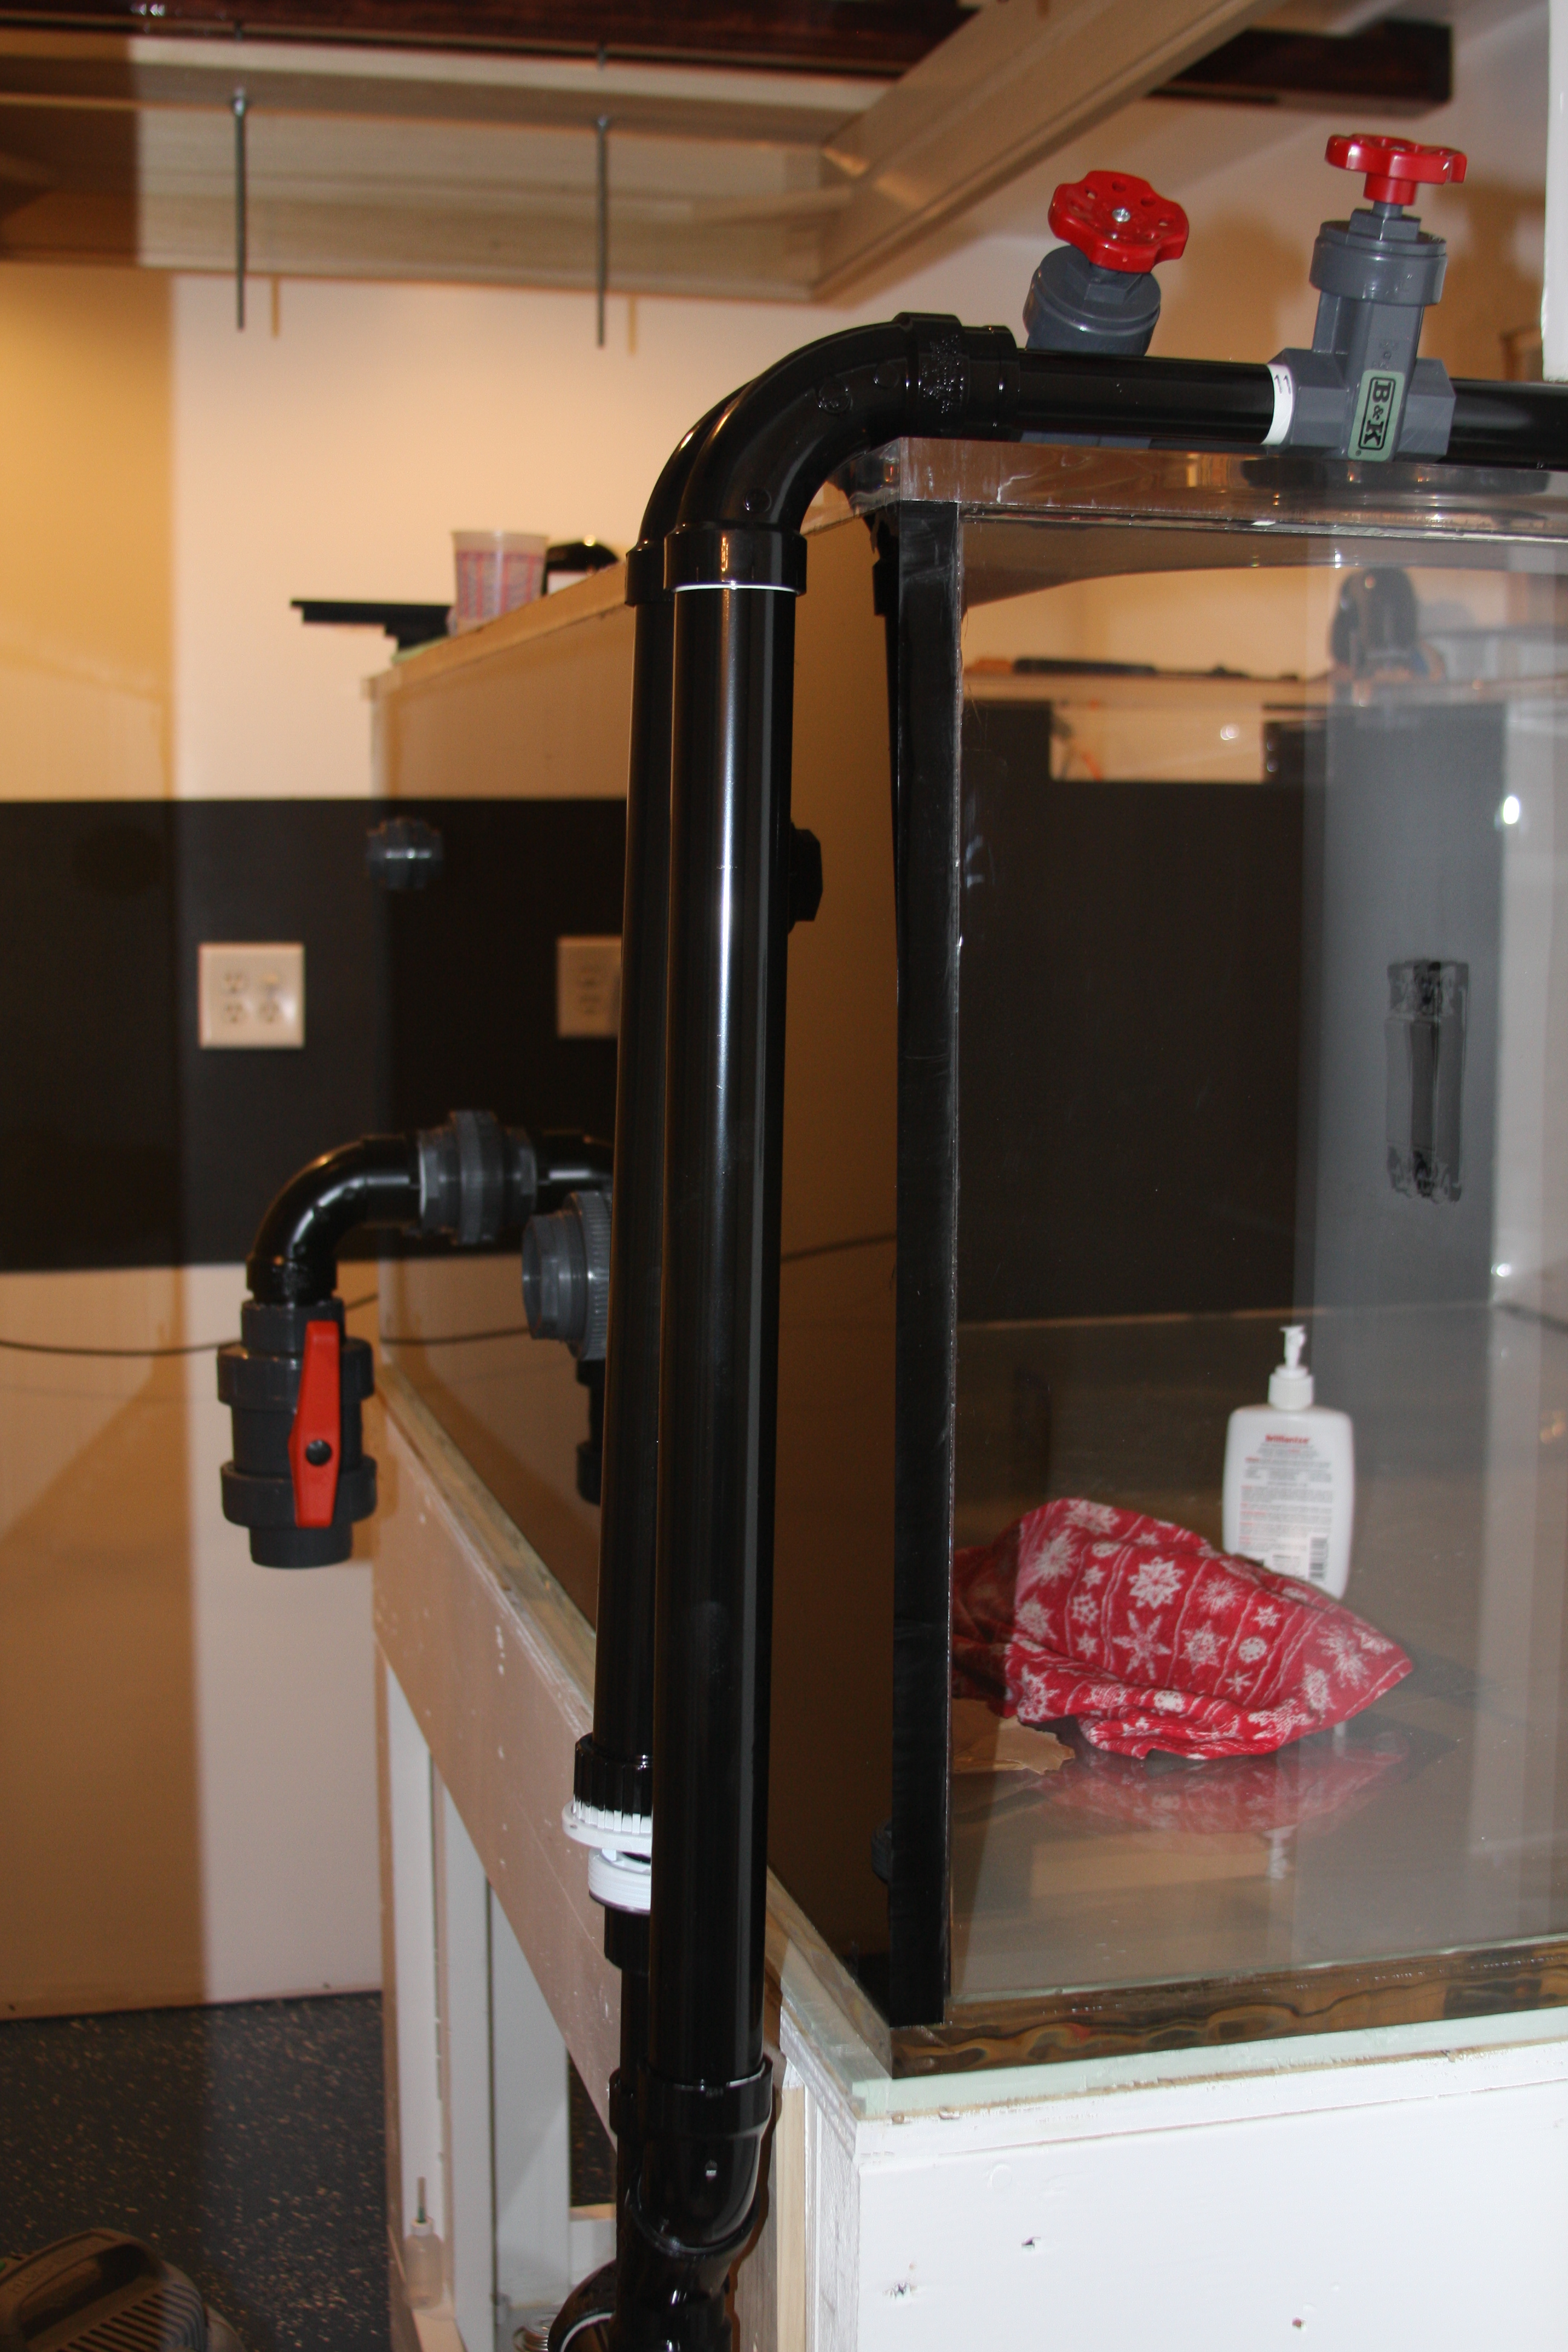
Henry a side shot looking in from the end of the tank....The other end of the tank is actually inside the fish room, and is done in black acrylic, so you can't see into the fish room.....By the way Seth I did laminate the black acrylic into the bottom of the tank.......

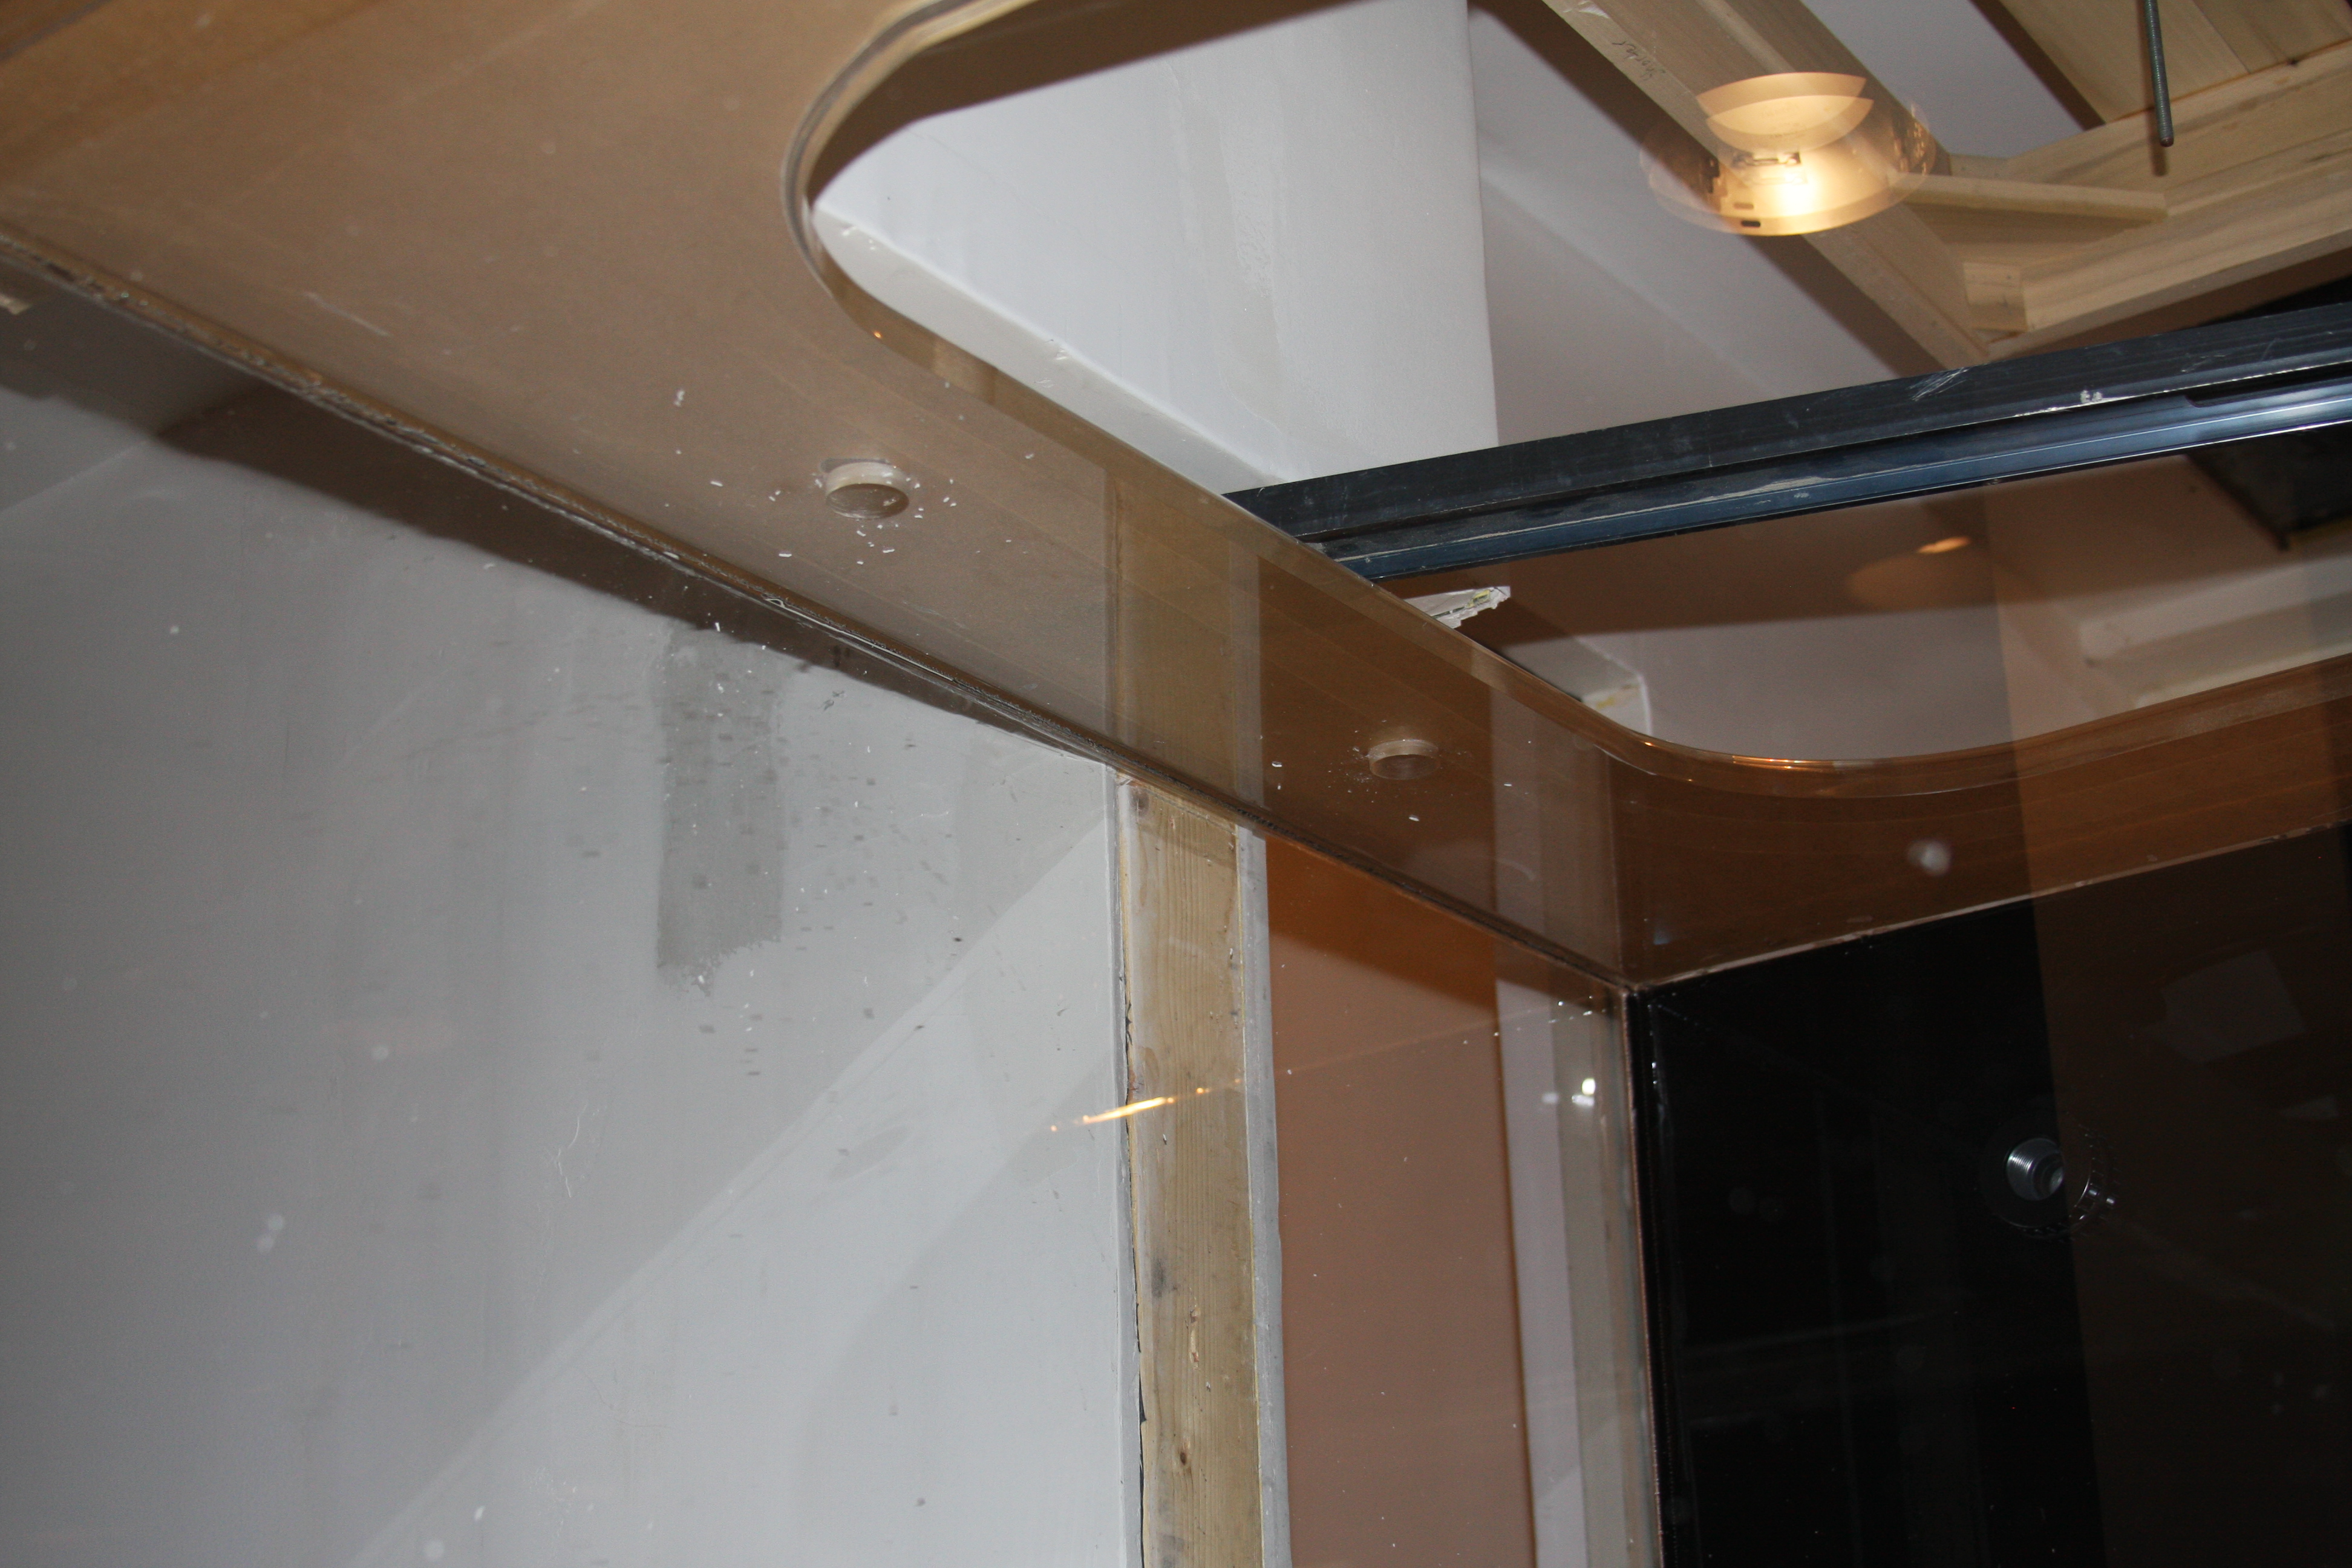
Here's a shot for anyone that hadn't seen how I drilled the euro bracing to accomodate the return lines coming from the return pump.....I wanted plumbing up out of the way and hidden as much as possible....

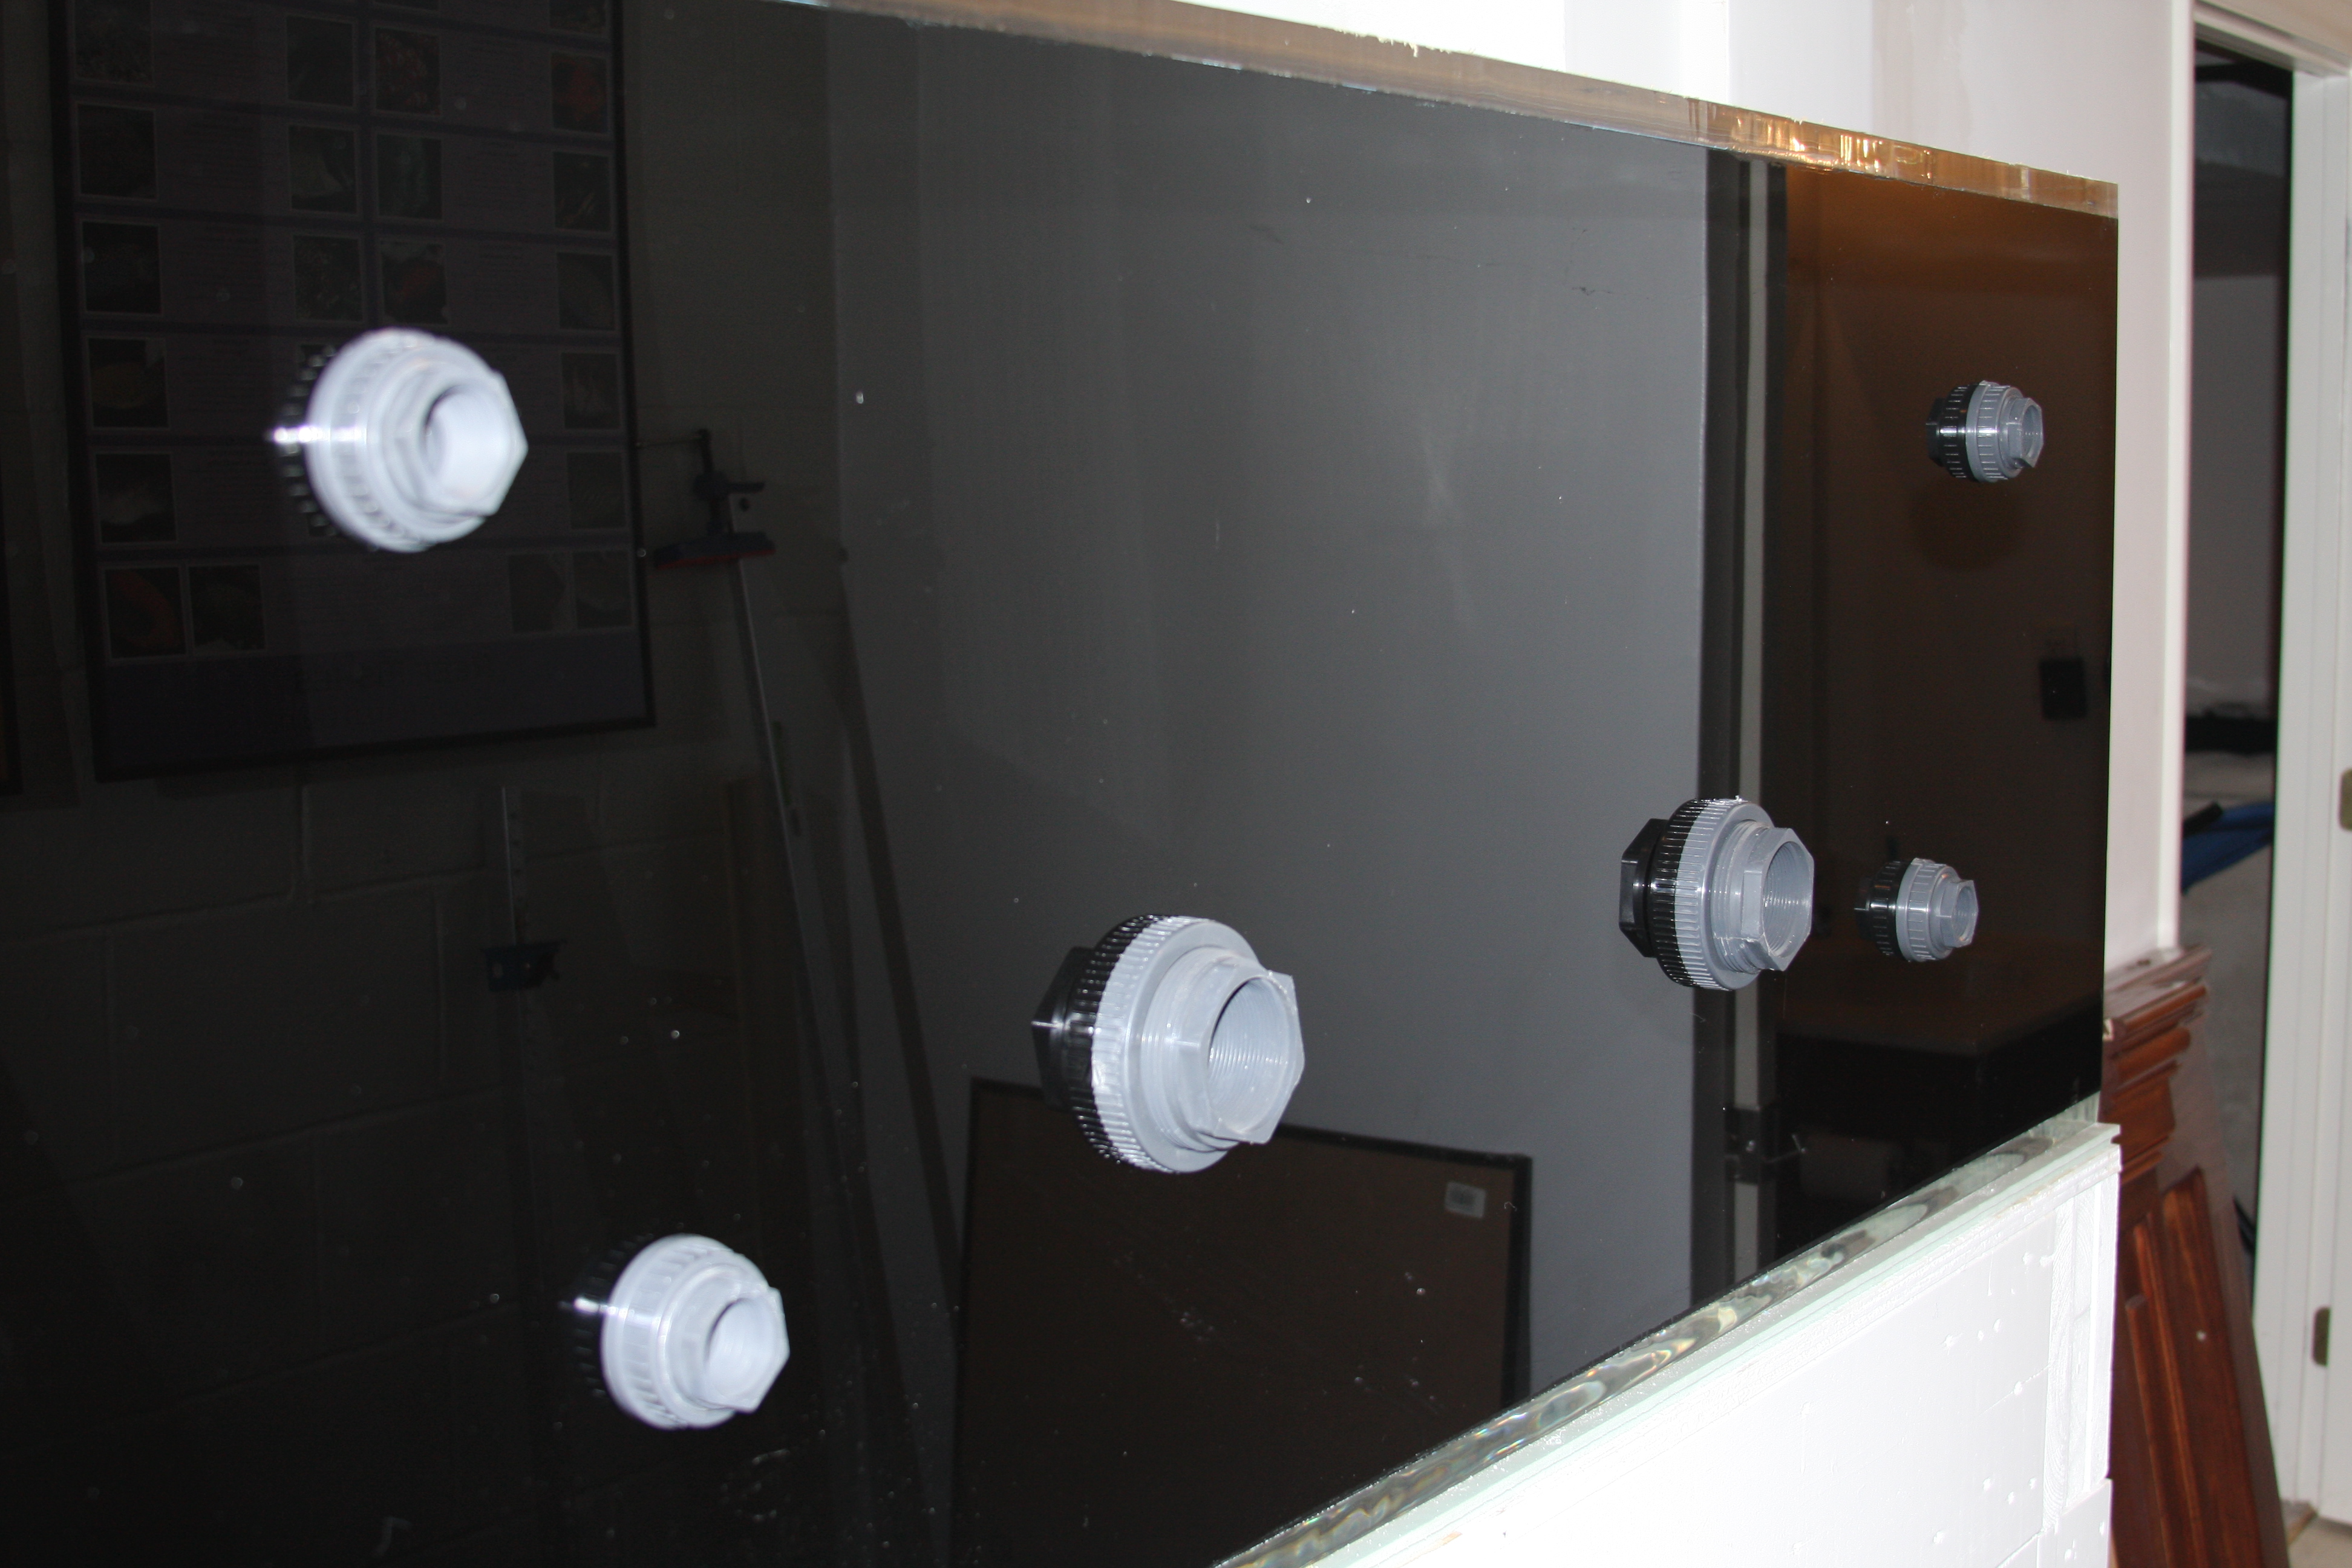
Henry here's the tank from behind in the fish room.....It's drilled with (4) bulkhead holes for my CL that will be plumbed with an OM 4Way, and the (2) bulkheads in the center are 2" supplies for the CL....
aterfish.com/image/id/612972/width/350/height/233" />
Here's a shot of the tank again from the end, but this pic shows the removable overflow teeth in place.....This took a lot of talking and calculations between some powerful minds, and in the end it couldn't have been planned any better.....If I open the pump wide open I can run the water level about a 1/4" up on the inside of the euro bracing..........Throttled back just a bit, the water level runs just under the euro bracing.....Again Thanks Corey and Al.....A lot of head scratching before cutting the teeth.....it was a once and done deal.

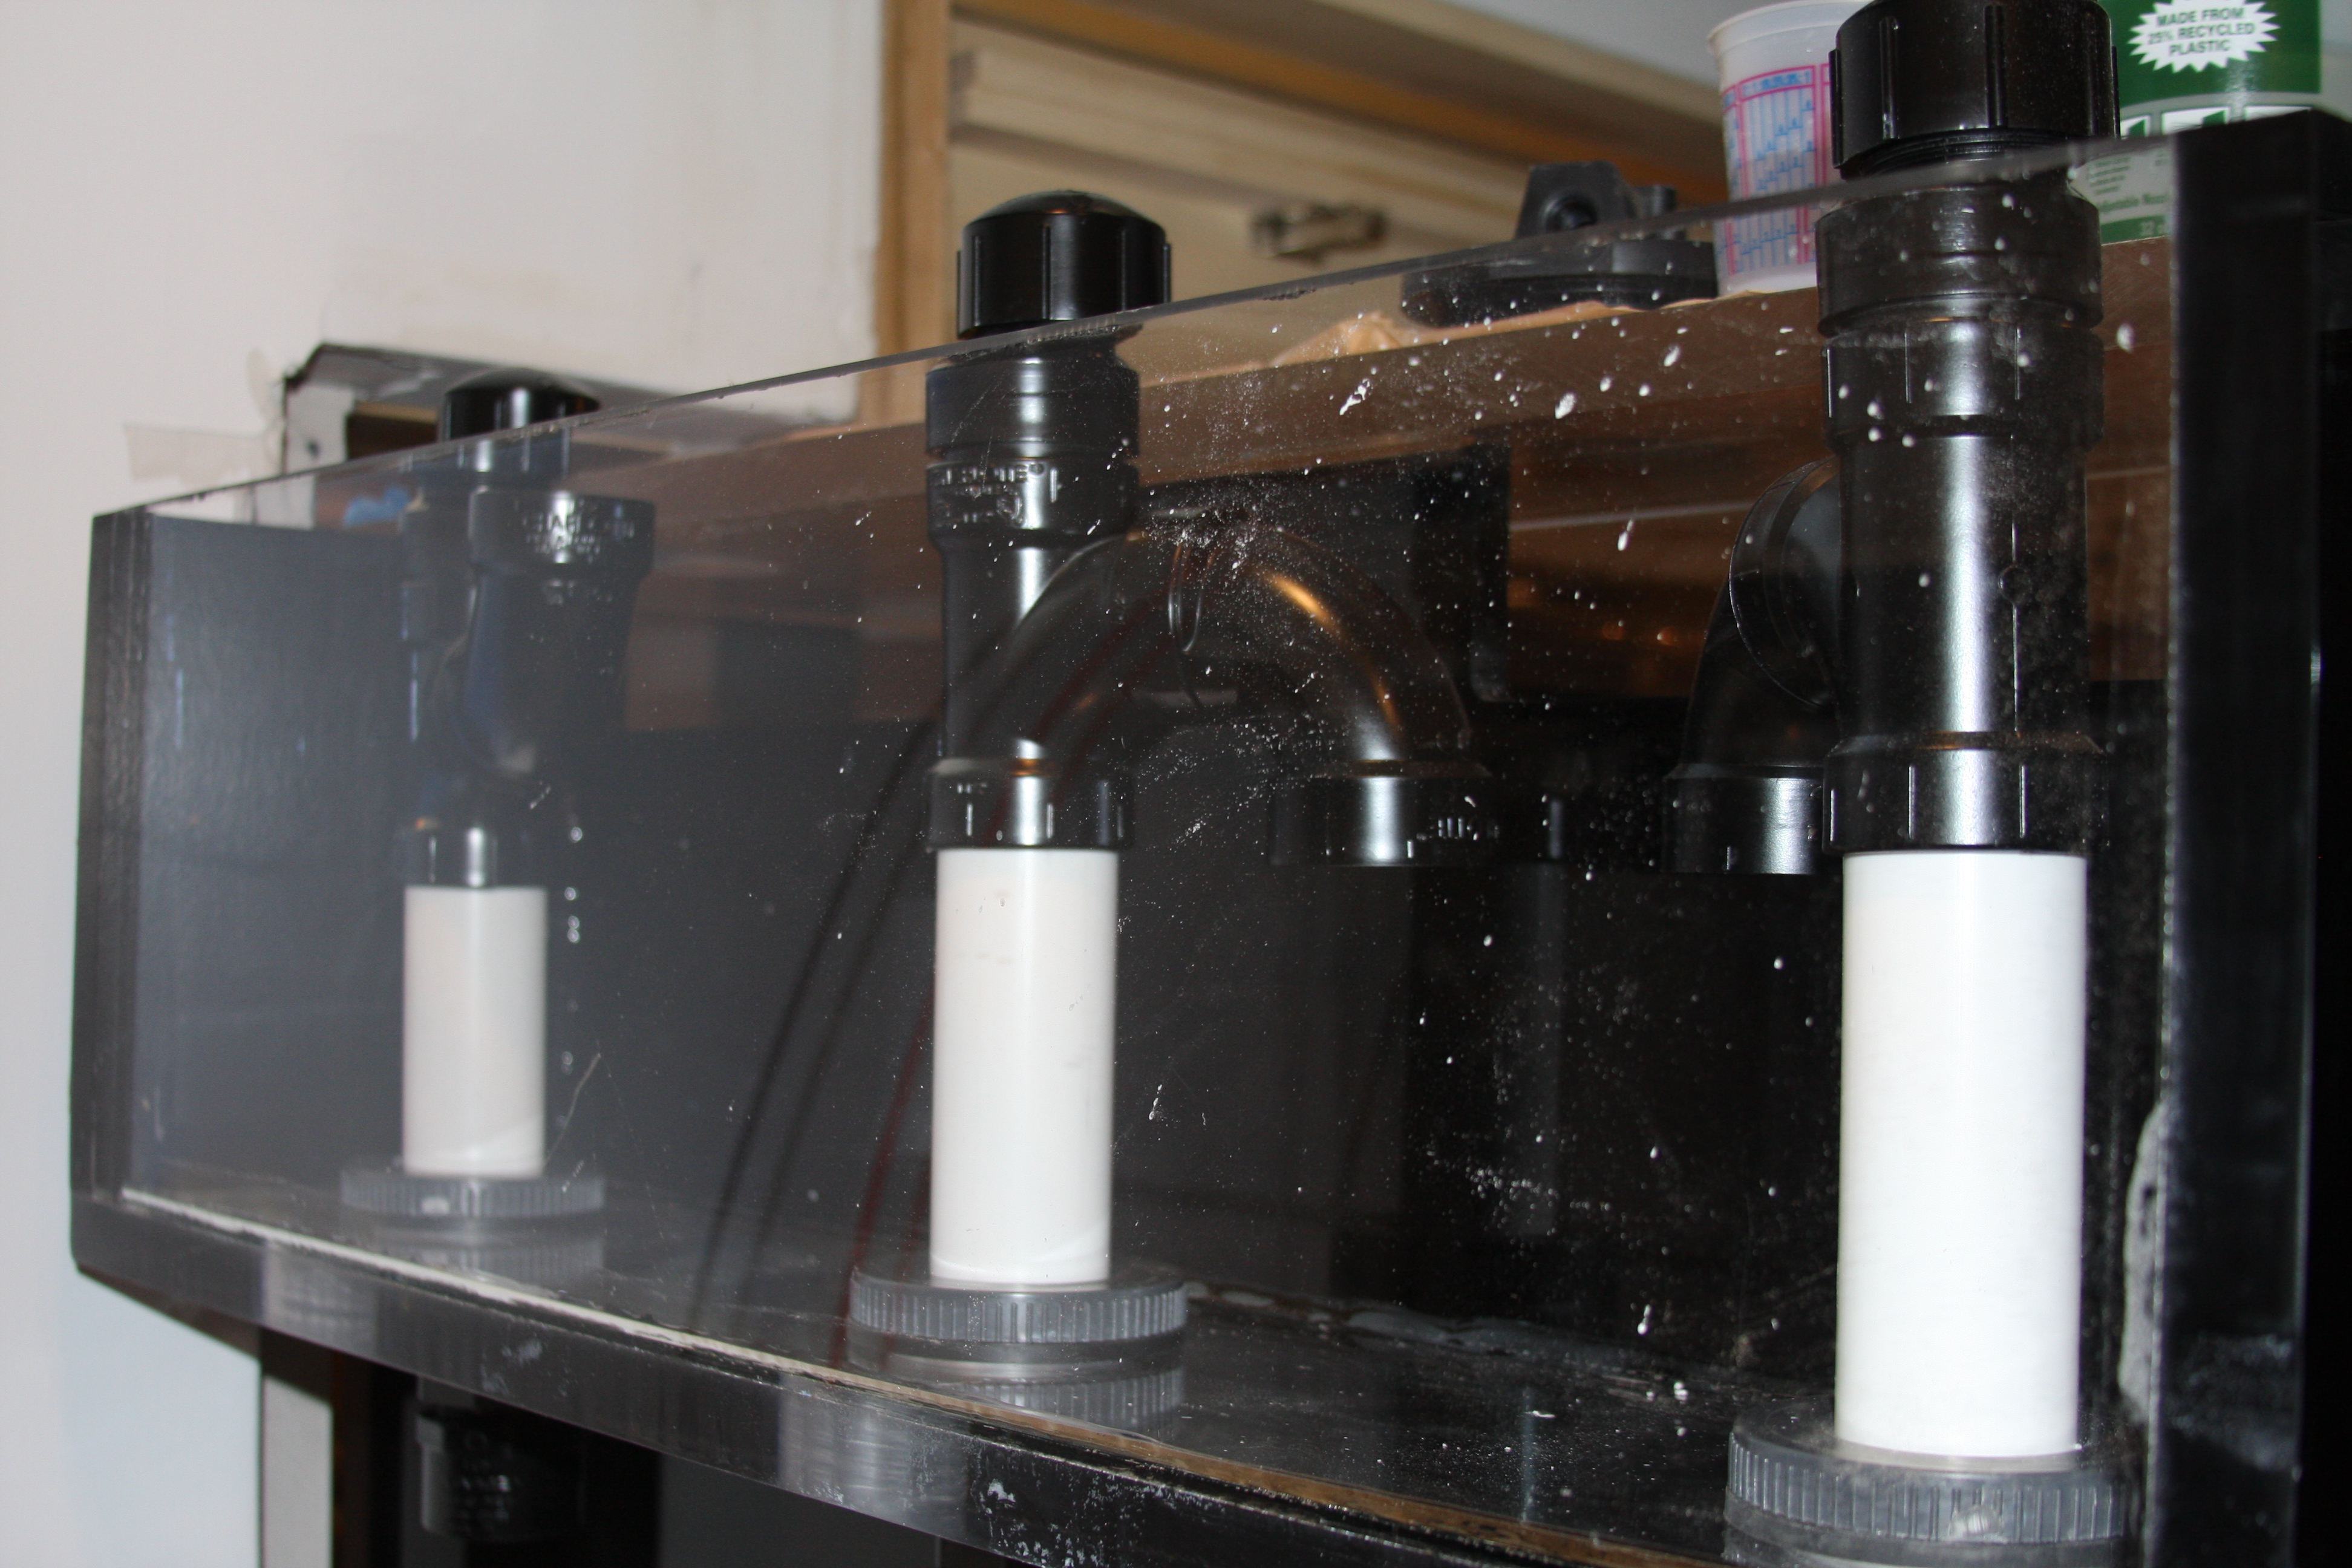
Seth this pic is for you!!!!!! Here is a shot of the plumbing work inside the overflow box on the BeanAnimal system....Actually as you said quite simple and that it is.....I think the only thing I didn't have done at this point was the 1/4" airline on the open channel pipe.....
 

acrylic51

Active Member
Quote:
Originally Posted by SnakeBlitz33 http:///t/376802/415-gallon-plywood-tank-build/1440#post_3458207
Yeah, I would really love to get some new pics of the overall system... the outside of the tank and the fishroom behind the tank.
Have you given more thought to your quarantine tanks and frag tanks? I know you said you didn't want to rack them last time we talked about it.
Haven't given much thought to the quarantine and frag tanks yet Seth......I have the 40 gallon I've chosen to use for the quarantine tank....Should be plenty big enough for my tangs in the future......As far as frag....I have a new 20 sitting in the family room I get evil eyes over, but might pick up another and use that for a coral quarantine system....That way I can plumb my actual frag tank to the main system, that way the water parameters are exactly the same, so when they are transferred from the frag to the DT, there wouldn't be any type of shock.....At some point the frag tank would be lit with LEDs as well.......
Quote:
Originally Posted by 2Quills
http:///t/376802/415-gallon-plywood-tank-build/1440#post_3458226
Shawn you should also be able to hook your fans up to the same channels as your leds on an Apex. You could also hook them up to your pots if you're running pots. That way you're fan speed increases or decreases along with the intensity of the lights.
I'm following you buddy......I didn't have any intentions of running pots on the LEDs.....Everything would be run through the Apex controller.....Been looking more into the cabling build to connect the LEDs to the Apex controller.....Off the top of my head each channel of the Apex can handle 5 per channel, so should be plenty of headroom......Not sure what advantage I would gain connecting the fans to the controller vs the separate temp controller, when "in my mind" I'm more concerned about temp when it's running, but I'm sure there's a way the Apex could be programmed to ramp the fans up and down depending on light intensities as well.......
Your thoughts..........
 

spanko

Active Member
Can't tell from the last pic but was it you that said you wanted the elbow strainers up against the bottom of the overflow box?
Everything looks great. Is your significant other involved at all, and I do mean other than complaining about the money you are spending?

Is the top where the lights will go open on the top for heat dissipation, or are the side vents?
Why would you put in the MP60's with all of the closed loop you have including the OM's?
I love the Euro bracing. Are you going to put some netting on top to keep Joe's royal Gramma from jumping out?

Everything looks great, very clean, can't wait to see some salt spray all over the place.

You have certainly put in a lot of thought and sweat equity here. Well done.
 

spanko

Active Member
I also like the idea of the fans being hooked to the temperature controller and only coming on when needed. Don't know why you would want to control the speed at that point. just let them rip at a certain temp and shut down when not needed. I think with the heat sink area you have you will find the fans not coming on for long or very often.
 

2quills

Well-Known Member
Quote:
Originally Posted by acrylic51 http:///t/376802/415-gallon-plywood-tank-build/1460#post_3458229
.Not sure what advantage I would gain connecting the fans to the controller vs the separate temp controller, when "in my mind" I'm more concerned about temp when it's running, but I'm sure there's a way the Apex could be programmed to ramp the fans up and down depending on light intensities as well.......
Your thoughts..........

Just saying that you can simply hook the fans up to the same channels as the dimming wires for your drivers on the Apex. The fans would kick on at the same time the lights do. And will ramp up in speed along with the lights as they ramp up in intensity. Therefore your fans would run slow/quieter during ramp up and down down. And during mid day they'd be running at a higher speed when you need it the most.
You could essentially forgo all of the extra heating sensors and all that. Unless you just simply want to have all the extra fan controller equipment. In which case I'd say go for it.
Just thinking out loud is all.
 

acrylic51

Active Member
Quote:
Originally Posted by spanko http:///t/376802/415-gallon-plywood-tank-build/1460#post_3458237
Can't tell from the last pic but was it you that said you wanted the elbow strainers up against the bottom of the overflow box?
Everything looks great. Is your significant other involved at all, and I do mean other than complaining about the money you are spending?

Is the top where the lights will go open on the top for heat dissipation, or are the side vents?
Why would you put in the MP60's with all of the closed loop you have including the OM's?
I love the Euro bracing. Are you going to put some netting on top to keep Joe's royal Gramma from jumping out?

Everything looks great, very clean, can't wait to see some salt spray all over the place.

You have certainly put in a lot of thought and sweat equity here. Well done.
Theoretically you might want your elbows to the bottom, but in that pic I had it setup that way and once firing the tank the noise of the water falling from the top of the overflow to the water level below was more than I wanted.....Again everything is contained in the fish room, so probably shouldn't worry about the noise when the stand skin and such are in place, but I want it dead silent or close to wide open with nothing in place......I am finding that as I let the system "run in" it has quieted down or I'm getting use to water flowing again......Either way it won't hinder the kids from watching TV....With dual 15's for subs, they will drown out anything........
My wife.........No she's not involved at all with the build....She does support the hobby.....Her only wish is that it could stop me from smoking which it hasn't as of yet, but it keeps me out of trouble......She knows I'm either at Lowes or HD , the garage fabricating something or online reading about fish stuff......
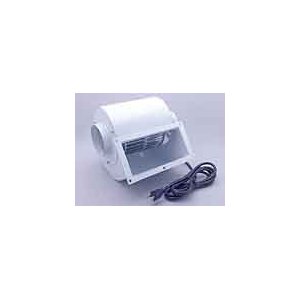
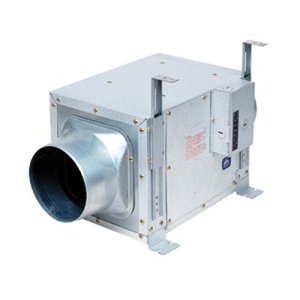
The top is completely open Henry......The tank was built with that specific aspect in mind....I don't like cross bracing, and after a lot of conversations and talks with James from Envision I built the tank with 1" Polycast acrylic...., the tank is 1" all the way around, even the bottom is 1". The euro bracing on the tank is also made from 1" and is off the top of my head 8 1/2" wide to provide the support needed to eliminate any cross bracing.......As far as heat dissipation or venting, there will be a exhaust fan that is already plumbed in the fish room, just need to buy the fan......Here are a couple of my choices.....


Hydrofarm ActiveAir Blower Fan - 465 CFM
by Hydrofarm

Panasonic FV-20NLF1 WhisperLine 240 CFM In-Line Fan, 6-Inch Duct
 

spanko

Active Member
You must be psycho. I was just going to ask.........Thermostatic, hygroscopic controls on the exhaust? Or humidistat?
 

acrylic51

Active Member
Quote:
Originally Posted by spanko http:///t/376802/415-gallon-plywood-tank-build/1460#post_3458237
Can't tell from the last pic but was it you that said you wanted the elbow strainers up against the bottom of the overflow box?
Everything looks great. Is your significant other involved at all, and I do mean other than complaining about the money you are spending?

Is the top where the lights will go open on the top for heat dissipation, or are the side vents?
Why would you put in the MP60's with all of the closed loop you have including the OM's?
I love the Euro bracing. Are you going to put some netting on top to keep Joe's royal Gramma from jumping out?

Everything looks great, very clean, can't wait to see some salt spray all over the place.

You have certainly put in a lot of thought and sweat equity here. Well done.
As far as flow the MP60's and OM CL's......They each offer something unique.......A big limiting factor I feel with the MP60's is you can't direct them....with the OM's I can direct the flow where I want or need......I spent a lot of time discussing water flow and movement with people, and I feel and so do others that a lot of us waste are effort and energy when it comes to returning water or moving water within our DT......
I am going to try to replicate the Gyre type of water movement within the tank......The MP60's were more an after thought......The original plan was to drill the tank in the bottom and install dual 4Way OM within the rock work.....Something I really wasn't looking forward to doing, and the MP60's filled that void at this point of the game.....Time will tell though once the rock work begins. One thing I might try through conversations with Paul from OM is plumbing a smaller pump into the CL system and during lights out the smaller pump would kick on taking the Reeflo pump off line, and continue the flow, but not to the extreme of the Reeflo pump.....Still working on ideas there though.....
Most of us just dump water back into the display tank......Where in affect we should be directing our flow with specific reasoning, and that reasoning how I plumbed and drilled my tank, is that the returns on the left side of the tank are being fired downward and trying to direct the flow across the bottom.....In essensce the MP60's are furthering the push across bottom of the tank towards the other end of the tank, and in return the force of the water being pushed across will force the water back upward towards the top of the tank where I have another set of returns firing back across the water surface. This in affect will/should keep "crap" suspended long enough in the water column to be directed back towards the water surface and the returns firing back towards the overflow box should in theory direct "crap" towards and into the overflow box where it can be removed from the DT.......
Not planning on this time of using any type of netting over the tank......If I use anything it would be a polycarb top for the tank.....No netting.....Some might argue gaseous exchange at the water surface, but the sump is wide open for gas exchange....Polycarb won't absorb water at the same rate as acrylic....so a better choice if I opt that way.......
Salt spray.......Naaaaaa........The only place I see salt spray is from my siphon break holes I drilled in 2 of the returns......Upon firing the return pump I get a odd spray for a second, but that's it........I might get a tad from the fuge flowing back into the return section, but only time will tell......
Thank you sir!!!!!!
 

acrylic51

Active Member
Quote:
Originally Posted by 2Quills http:///t/376802/415-gallon-plywood-tank-build/1460#post_3458242
Just saying that you can simply hook the fans up to the same channels as the dimming wires for your drivers on the Apex. The fans would kick on at the same time the lights do. And will ramp up in speed along with the lights as they ramp up in intensity. Therefore your fans would run slow/quieter during ramp up and down down. And during mid day they'd be running at a higher speed when you need it the most.
You could essentially forgo all of the extra heating sensors and all that. Unless you just simply want to have all the extra fan controller equipment. In which case I'd say go for it.
Just thinking out loud is all.
I'm following you dude!!!!! Very good idea.....I honestly haven't stumbled across anyone running their fans in conjunction like that with their controllers......What your saying is very true!!!!!!
 

acrylic51

Active Member
Quote:
Originally Posted by xandrew245x http:///t/376802/415-gallon-plywood-tank-build/1460#post_3458258
Can I come to your house....Your tank setup is amazing!
Hey!!!!! I've been meaning to shoot you a PM......You are so dang close......Your more than welcome.....Maybe you can give me that extra push to get back to work....been lazy this weekend.....Wifes birthday, Valentines Day......Damn does a man ever get a break!!!!! I'll shoot you a PM......
 

acrylic51

Active Member
I started my ventilation in the garage fish room with humidity control since my brother-in-laws an electrician and owns his own company and just happened to be over his shop 1 day playing hooky from work and just happened to see a couple laying around and he said take them and see if they'll work from you......They fit the bill at the time.....
 

acrylic51

Active Member
Actually that is a big concern of mine with the tank during the initial idea/build conception of the tank.......Humidity and moisture.....I was tracking the humidity and moisture before the tank was built, and after I filled it really started monitoring it closely and honestly at this point I've seen no noticeable increase at all.....Again there will be more factors as the tank progresses, but so far nothing to deter me as of yet.....
 
Top