415 Gallon Plywood Tank Build

acrylic51

Active Member
Quote:
Originally Posted by spanko http:///t/376802/415-gallon-plywood-tank-build/1420#post_3458133
I have had both, barebottom and sand. Have sand now. While I like both I think it a shame not to have the flora and fauna that a sandbed adds.


Inspired by your pics Henry!!!!!!!!
Always a good looking tank......I know what you mean, but invested so much into flow a shame to tame it down.....Besides if I would opt for sand it would definitely be a SSB......I hate more than anything seeing a tank mucked up with a DSB and the funky colors in the sand......just not my cup of tea.
 

acrylic51

Active Member
Henry's tanks always look sweet!!!!!!
I'm tempted to try a test....I've been curious about taking a small container of sand and placing in the tank, and seeing what happens......I'm more concerned about the sand area underneath the Vortech's. I'm curious if they will pull or suck sand upward.......
Again I'm running my Vortech's maybe 8" - 9" from the bottom of the tank....Most people run them higher, and I think some like to use them to get shimmer lines from their lighting......I'm purely after movement.....Keeping "crap" suspended in the water column so it can be skimmed out of the tank.....
 

spanko

Active Member
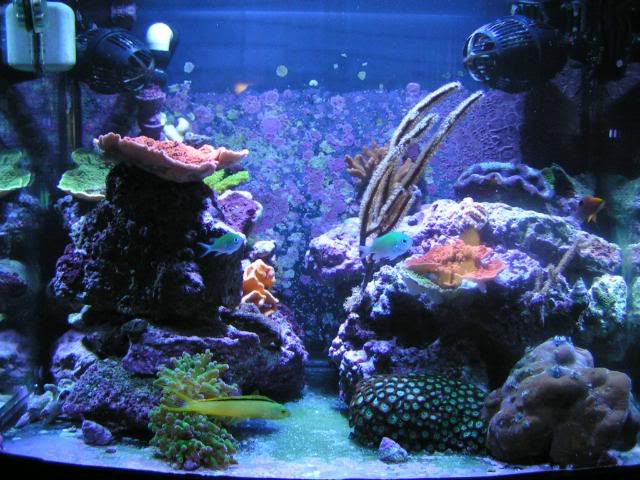
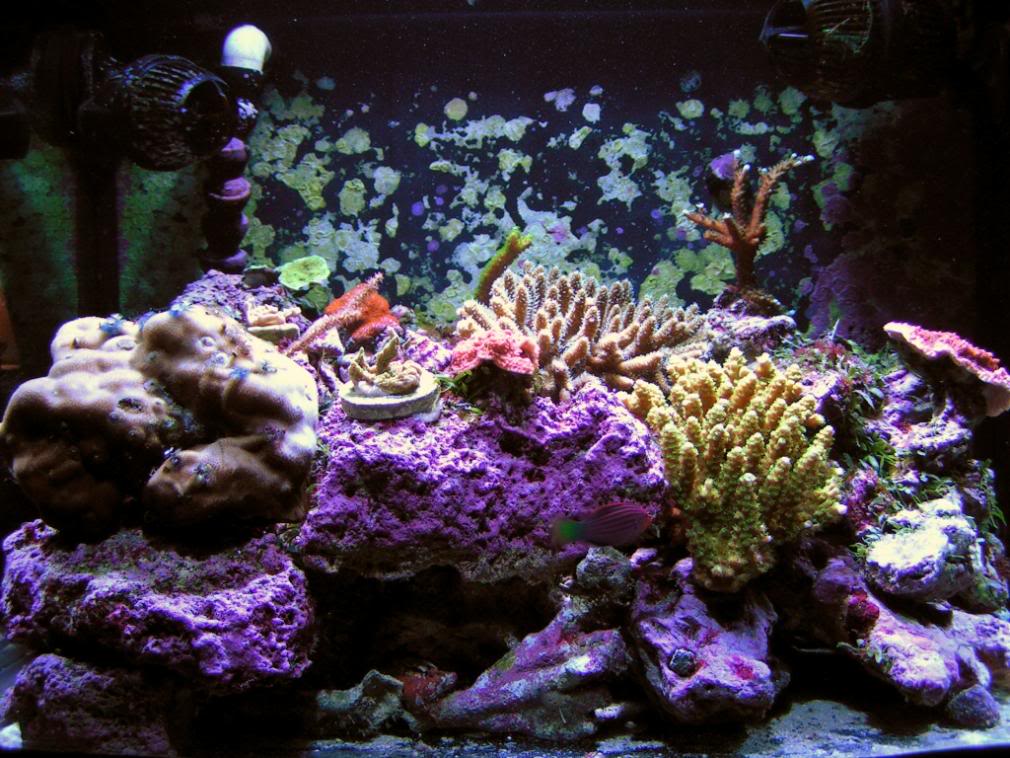
Thanx Seth. Those are old pictures. My tank is in a fairly constant mode of change.
My MP10 is about 9" above the sandbed. I have Aragonite fine with some crushed coral on the top. No ah.....em......sucking of sand.
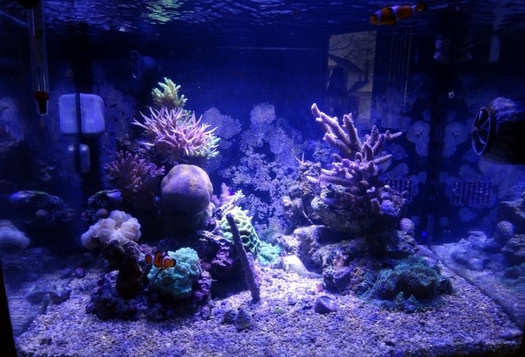
Here is the latest picture, it has changed again since then.
 

snakeblitz33

Well-Known Member
I think that the test container is a great idea. Have you seen some of the SPS tanks on RC that have sand and vortech MP40s? They have course grain sand - but even then they sometimes get whirlpool/vortex type of movement which makes the sand stir around in little tornado's. lol It's neat to watch... I think there's a video of it somewhere...
I just don't think that sand will work in your tank with all that flow... but that's just me. lol
 

snakeblitz33

Well-Known Member
Quote:
Originally Posted by spanko http:///t/376802/415-gallon-plywood-tank-build/1440#post_3458154
Thanx Seth. Those are old pictures. My tank is in a fairly constant mode of change.
My MP10 is about 9" above the sandbed. I have Aragonite fine with some crushed coral on the top. No ah.....em......sucking of sand.
I know, so is mine almost. lol. Always adding, taking away and tweaking somehow or another. lol But you really do have a beautiful tank. I go to your thread sometimes for ideas.
 

acrylic51

Active Member
Quote:
Originally Posted by spanko http:///t/376802/415-gallon-plywood-tank-build/1440#post_3458154
Thanx Seth. Those are old pictures. My tank is in a fairly constant mode of change.
My MP10 is about 9" above the sandbed. I have Aragonite fine with some crushed coral on the top. No ah.....em......sucking of sand.
Here is the latest picture, it has changed again since then.

I might give it a test whirl!!!!!! That was were I was worried most about sand issues was underneath the 60's
 

spanko

Active Member
Well the 60's are for sure gonna have more balls to them. But remember my tank is only a 29 gallon biocube so not really too deep like yours is.
I also think it may not be a true test just throwing a cupful or so of sand under the Vortech with all of the other open bottom area you will not have the damper that a sandbed everywhere would provide.
 

snakeblitz33

Well-Known Member
Eh, I wouldn't say it's a true test either. But, at least it's better than buying a bunch of sand and putting a sandbed in there that you have to take out and siphon out because you realize that it's too much flow.... that's a crap load of work to do if it doesn't work out.
 

acrylic51

Active Member
Been side tracked a little and not much attention to the tank lately.......I've been working with Al as some of you might know already he does excellent design work......I owe him big time for the time and hard work he's done with putting up with my ever changing fickle mind......We've been working on the initial layout for the LED build that will light the new tank.......Again Al excellent work and I owe you.......

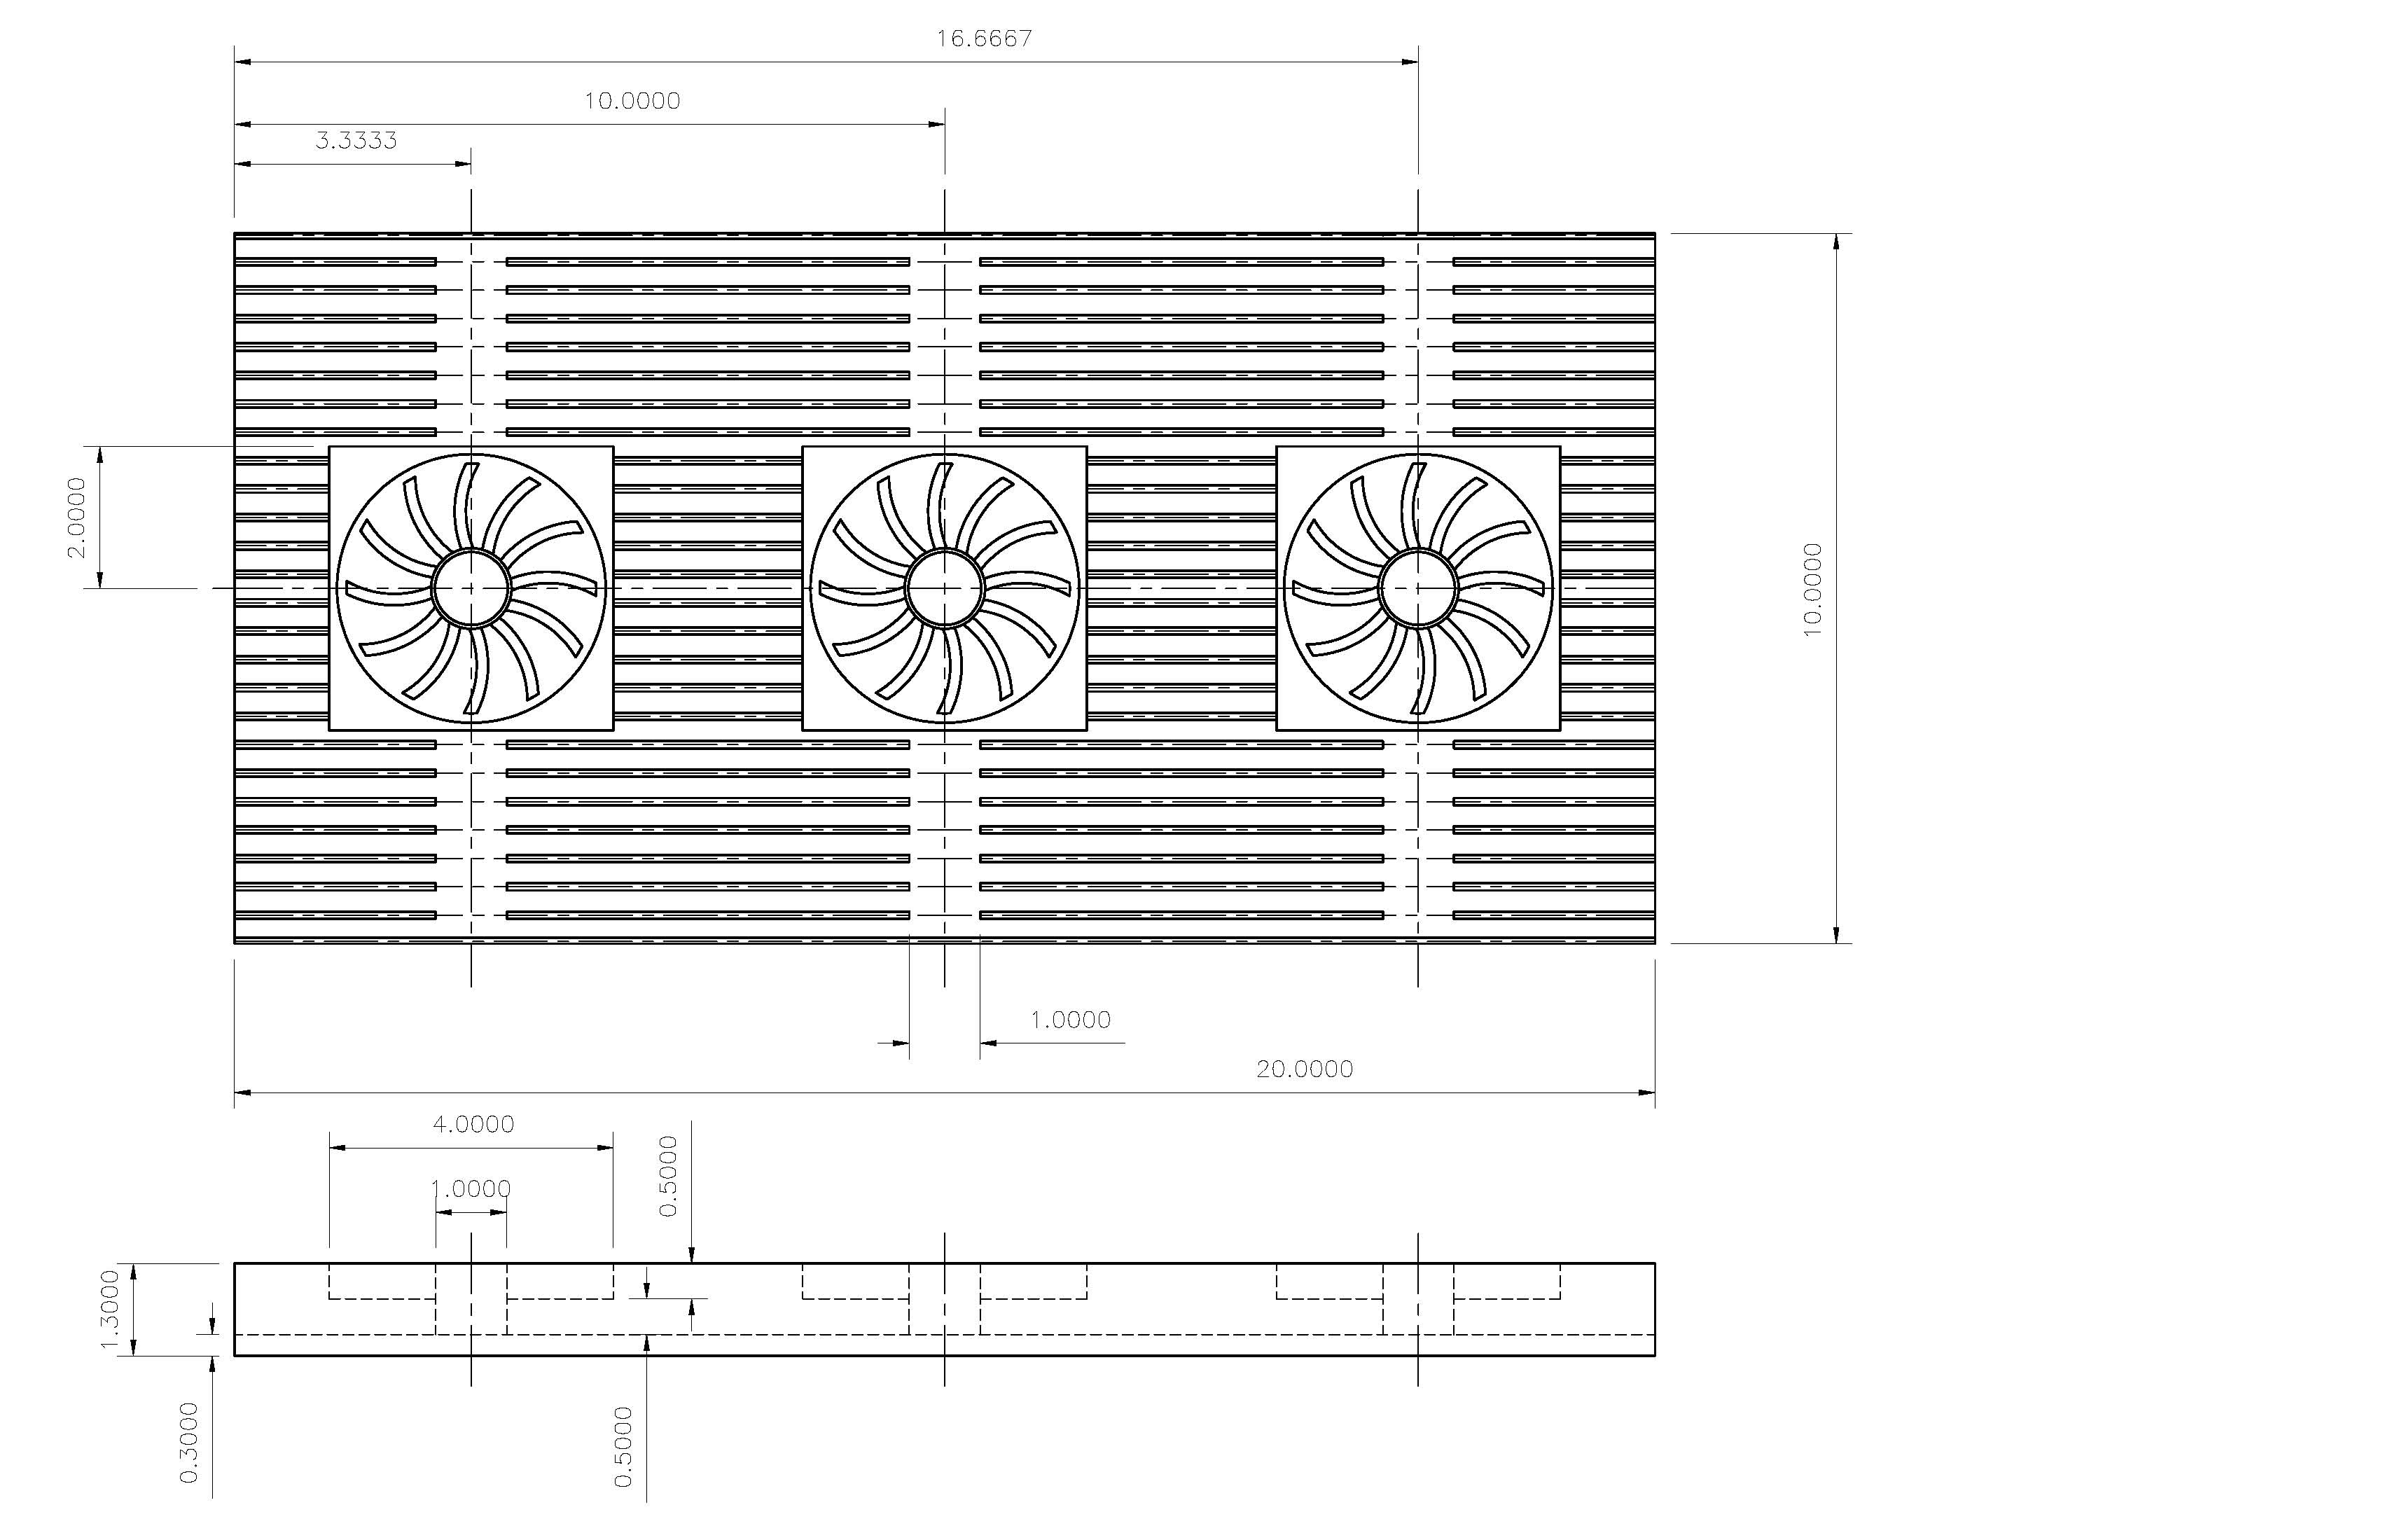
Here's a quick glimpse of the heat sink layout for the LED's.....Tentatively planning 4 heat sinks, but considering a total of 6, still not sure yet, but looking for thoughts and inputs on what I have so far.....I can't take any credit for the design.....There are so many guys out there doing incredible work, and stealing a lot from their excellent builds.....

The design is very similar to Corey's layout.....My heat sink size are 10"W x 20"L There will be 3 fans incorporated into the cooling of the system.......The heat sink will be sent out to a machine shop (to be determined) for the fin side to be milled to allow the fans to be mounted flush with the top of the fins. Basically they will be recessed into the heat sink......As Corey found the added cooling with adding the cut outs across the heat sink allowing the air to move completely over the fins of the heat sink. In the design there will be a cross cut out section in the middle of each fan mounting area.
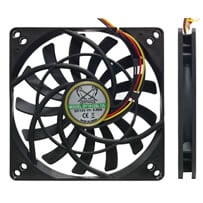
Here are the fans I'm considering using on the LED build.....Again reading tons of threads I came across these fans used in another build over on RC......This guy on the build went all out and loved so many aspects of his build.......


/>


Model Name:


Kaze Jyu Slim 100mm Case Fan


Model #:


Kaze Jyu 100mm Case Fan (1000rpm)


SY1012SL12L


Kaze Jyu 100mm Case Fan (2000rpm)


SY1012SL12M


Dimensions:


100 x 100 x 12 mm


3.94 x 3.94 x 0.47 inch


Connector:


3-pin (4-pin adaptor included)


Cable Length:


30cm / 11.81 inch


Bearing Type:


Sleeve


MTBF:


30,000 hours


Fan Speed


Noise Level


Air Flow


V


A


1000rpm Version

14.5dBA
/td>


15.23CFM


12V


0.09A


2000rpm Version


29.2dBA


27.60CFM


12V


0.16A


spanko

Active Member
Will the fans be temp controlled? The one on my AI is so quiet, comes on only if needed, and I never know it is on unless I happen to be over the light. It is not on very often when I do look.
Nice layout by the way and I think putting them in a cutout is a good idea.
 

acrylic51

Active Member
Al again with his wealth of wisdom and knowledge is talking to me about encasing the backside of the heat sink fin area with aluminum to aid in extra cooling capacity of the unit.....Might be a little overkill, but like his thinking and this would involve more CNC work, but I'll be sending the plans out later this evening to one of the places I'm looking at to have the work done.....After the heat sinks are milled, I'm also going to have them anodized black. It would have been sweet if I could have used the ones RapidLed has on their site, but they can't provide me with un drilled heat sinks, so I have to search other alternatives......
As far as controlling the fans on the heat sinks, again reading a thread in particular, and I know Corey read it as well, because when I seen him I called him about the setup.......Instead of having the fans run constantly or having to manually adjust the fans myself, I wanted the fans to be regulated......These are 2 of my choices to handle regulating the speed of the fans.....


Model Name:
Kaze Master II
Model-No.:
KM05-BK (Black)
Dimensions (W x H x D):
148.5 x 42.5 x 63 mm | 5.72 x 1.67 x 2.48 in
Display Measurements (W x H):
114 x 20 mm | 4.49 x 0.79 in
Length of the control knobs:
Retractable
r />
DC Input:
5 V or 12 V (From PC Power Supply Unit)
DC Output:
3.7 V (±10%) ~ 12 V (±10%)
Number of Fan Control Channels:
4 (Max. 1 Ampere and max. 12 W per Channel)
Fan Speed Range
0 - 9,990 rpm (Display: 30 rpm Steps)
Number of Temp Channels:.
4 (0 - 100°C / 32 - 199.9°F)
Weight:
Accessory:
6x Temperature Sensor Cables, 4x Fan Cables, 1x Power Cable, 4x Screws, Installation Manual


Size / Retractable knobs
The Kaze Master is designed to be installed into a 5.25" bay. As sticking-out control knobs would interfere with front panels of computer cases (not being able to close them), the Kaze Master II is equipped with retractable control knobs to make the usage with such models possible.
LCD Display
The LCD-display let`s the user check both fan rotations and the temperature. It is further possible to choose between Celsius and Fahrenheit.

Spin Up Voltage
The adjustable voltage range is between 3.7 to 12 volts. But as fans tend to have problems to "get going" in the lower ranges, this function ensures a 12 volt supply right from the start before settling down to the user`s set, desired voltage.
Setting of the Heat Alarm Function
The Kaze Master offers a wide range of adjustable temperature settings for the alarm to sound. The user can choose between 55 - 90 °C (131 - 194 F) in steps of 5 °C (41 F).
Power Feed Control
In case the Kaze Master II detects no fan movement for 15 seconds, for safety reasons the power supply will be cut automatically.
 

acrylic51

Active Member
Here's my other choice as far as fan controller.....

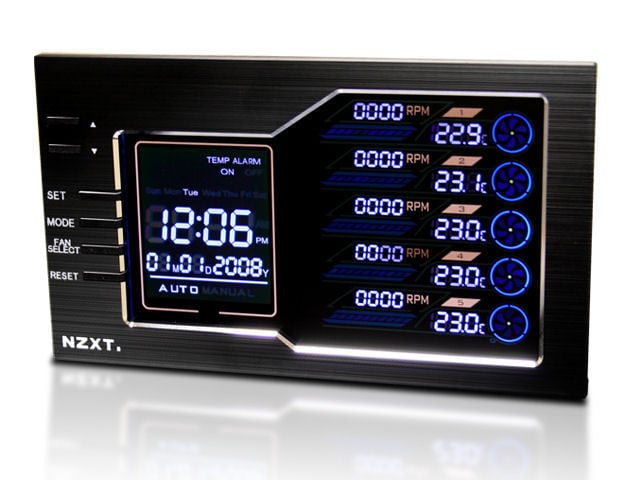
NZXT, a company built on realizing the dreams of gamers worldwide, is proud to announce the Sentry LX, a high-performance aluminum fan controller. Sentry LX boasts a robust feature set providing gamers and PC enthusiasts with the optimal setup for monitoring and adjusting temperatures throughout the PC.
• Simple Installation – Sentry LX slides easily into any dual 5.25” drive bay
• Complete Control – 5 Temperature Probes keep tabs on all areas of your system while the 5 Fan controllers adjust the fans’ RPM speed
• Auto/Manual Modes – Allows users to automatically adjust the fan speeds to correspond to a specific temperature or manually set your system for extreme overclocking capabilities or absolute silence
• Temperature Alarm – Instant notification if temps rise above a designated point
• Intuitive Interface and LCD Display – NZXT’s ergonomic interface design allows you to customize your airflow on the fly
• Sleek Design – Aluminum plated front panel is designed to match any high-end chassis

  • Large dual 5.25" LCD screen

  • NZXT designed intuitive control, set and change fan speeds and settings on the fly

  • Auto/Manual modes, let the LCD take control or set fan speeds to your liking

  • Temperature alarm
    Aluminum finish
    NZXT Designed graphical interface, easy to read and understand
    Saved Settings, calender and fan settings are stored even during system off so settings don't need to be redone
 

acrylic51

Active Member
Quote:
Originally Posted by spanko http:///t/376802/415-gallon-plywood-tank-build/1440#post_3458179
Will the fans be temp controlled? The one on my AI is so quiet, comes on only if needed, and I never know it is on unless I happen to be over the light. It is not on very often when I do look.
Nice layout by the way and I think putting them in a cutout is a good idea.
Yes Henry the fans will be temp controlled......I just listed 2 different controllers for handling that job.......I too like Al concept of putting them in a cut out, we'll have to see how much that adds to the overall CNC cost.....
 

acrylic51

Active Member
Quote:
Originally Posted by SnakeBlitz33 http:///t/376802/415-gallon-plywood-tank-build/1440#post_3458187
Lol, Shawn, No rock unturned. :D I like it.
This is stuff that was done months ago.....I wanna push the bar......I will have to track down the original thread that we looked at and seen it done.....It was totally cool all the hard work and effort that went into his build....Again taking a lot of things from his build, so truly nothing original from me.....
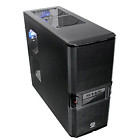
Here's what I plan to mount the fan controllers and the drivers inside as well......


Black coating makes stylish inside look


Bottom-placed PSU design for better and easier installation


Metal mesh front bezel for maximum air intake


Built-in filter in 5.25" drive bay and PSU to keep dust away


Rear 120mm silent fan with brilliant Blue LED


Case Type


Mid Tower


Material


SECC


Front Bezel Material


Plastic


Color


Black


Side Panel


Windowed


Motherboard Support


MicroATX
Full ATX


Motherboard Tray


No


5.25" Drive Bay


4


Ext. 3.5" Drive Bay


1


Int. 3.5" Drive Bay


4


Expansion Slots


7


Front I/O Ports


USB 2.0 x 2,
HD Audio ports


Cooling System


- Front (intake) :
120 x 120 x 25 mm (optional)
- Rear (exhaust) :
120 x 120 x 25 mm TurboFan (1300 rpm, 17 dBA, 50.0 CFM)
- Top(exhaust) :

120 x 120 x 25 mm (optional)
- Bottom(intake) :

120 x 120 x 25 mm (optional)


Liquid Cooling Capable


No


Liquid Cooling Embedded


No


Power Supply Supported


Standard ATX PSII(optional)


Power Supply Included


No


Dimension (H*W*D)


430(H) x 190(W) x 473(L) mm
16.9(H) x 7.5(W) x 18.6(L) in


Net Weight


4.8 kg
10.6 lb.
 

snakeblitz33

Well-Known Member
Holey bat crapman
That's sweet. You really are pushing it. I'm totally envious. lol. Most of us here take a couple of weeks to set up a tank - you've taken almost a year.
 

spanko

Active Member
Do you have a picture of the tank where it sits in the room and how it looks now? Sorry but is there a "fish room" also?
 
Top