Acrylic Bonding Techniques & Aquarium Construction
- Thread starter phixer
- Start date
2quills
Well-Known Member
Not so sure that I would build a tank out of it. Think of it as having the ability to make your own small gap filler if you ever find yourself in a pinch.
#3 and 4 are primarily methelene chloride.
#16 is methelene chloride with acrylic resin mixed in.
#40 and 42 are primarily acrylic resin and methyl polomer mixed with a catalist or a hardner essentially.
So 3 and 4 are a solvent where as 40 and 42 are more like an acrylic cement.
I haven't compared msds sheets of acrylic vs the components in 40, 42. But acrylic is made out of acrylic resin and a catalist is used. The material is poured and cast into sheets.
Slighlty different manufacturing methods used to produce cast vs extruded material.
piiqmark
New Member
makes sense - i guess extruded and cast have different property strengths. Would be awesome if it a pourable material were available.
What would you think of bracing the width of the tank across the bottom (with acrylic strips and using a fiberglass/epoxy combo poured between (and over) the bracing? I have built custom speaker boxes and other things out of fiberglass, the last one i build was strong enough to support the front wheel of a sports car we jacked up.
Just to be clear on this wacky idea - I am thinking of odd shapes that might not be the easiest cuts to make and support the bottom of the tank. Something pourable would make it much easier to work with, especially if the cut is far from perfect!
Also, looking into bending thicker sheets - the best or should I say simple way for a DIY'er to bend a thick sheet appears to be making a number of "slits" where the bend will be and using a source of heat. Once bent to the desired bend finish with the weld on 40. Wish I saved the link I would share it. I suppose a good table saw with the blade set to 3/4 the depth of the sheet would be the way to do this. Anyone ever tried that? This might be something I would try since I know how to set the blade height on my table saw and it has guides to help me make a straight cut! LOL
phixer
Active Member
Quote:
Originally Posted by 2Quills http:///t/196219/acrylic-bonding-techniques-aquarium-construction/40#post_3515933
Quote:
Originally Posted by Phixer http:///t/196219/acrylic-bonding-techniques-aquarium-construction/40#post_3515913
No, if using solvent to bond think of it as melting the two sections together into one. On thicker material solvent just dosent cover as well, so 2 part cements such as PS30 or 40 or #42 are used. These cements are extremely strong, recommended by Cyro and are what are used to seam the large panels together for public tanks. They are more forgiving of surface irregularities. Machining can cause tension within the material if done improperly which is when annealing would be required to relieve the internal stresses....in a small nutshell.
Actually that was another one of those questions in my head. Does using #40 or 42 negate some of the potential crazing that can often occur with a typical solvent joint such us with the more commonly used #3 or 4? Because for me if it can't be totally aesthetically pleasing after all that time, effort and cost that goes into a build then I'm not gonna be happy.
Man you're on par tonight lol.
Quote:
Originally Posted by acrylic51 http:///t/196219/acrylic-bonding-techniques-aquarium-construction/40#post_3515920
Corey I'm sure you saw the thread over on RC where the guy did it with a 10' tank....I actually followed that thread intently.......The joint area isn't stressed.....though you have to be very meticulous with finishing it though as to not overheat it or rush the sanding process......A big key to the joint not being compromised is it's not a simple butt joint, but a controlled cut something similar as to what I described to Phixer in an earlier post......Gambling.....possibly......I look at it as "faith" in my abilities.....Practice though....
Although it might be cheaper and more advantageous to just have 10' sheets brought in or whatever length you might need, but sometimes the cost just isn't worth it.......I wouldn't be using thin material as well for the project....Hopefully the other poster will chime in with more insight into what he's trying to accomplish.
Hey, Shawn. I do vaguely remember a build a while back I think where a guy did a 10 or 12 footer. But it's been a while so I don't remember the details. I do remember a bit of discussion on the big acrylic thread where James was providing a little of his insight as well. And a similar discussion came up but it wasn't very detailed. I do specifically remember James mentioning in regards to a miter joint vs the typical butt joint that a 45 degree miter joint (if done properly) is actually better because it provided more surface area for joining. I thought it made some sense to me in my head. But again, details are a tad hazy there as well.
My initial post wasn't so much questioning you guys as much as it was just about bringing up some more things to think about for anyone else who may be following along. This is one of the more interesting topics that I've seen brought up around here in a while.
Quill, it really depends on the application. Two part cements will not inhibit crazing if the base material is under tension. The best way to prevent crazing is to ensure your material is of the correct thickness to begin with for the tank size and that it is machined properly by not inducing internal stress into the material. Very often this is done by maintaining the proper feed rate and keeping the cutter head (blade or bit) cool.
Typically, IMO Ive seen machining stress not go more than .060 into the material and can be removed by light scraping. How can you check this before bonding. Some will cringe at what Im going to say but it works well if done properly. Wiping a freshly machined edge with denatured alcohol (normally you keep alcohol away from acrylic) will instanly reveal internal stress as crazing, if it crazes you scrape it down and repeat the process before bonding until you have a straight edge that dosent craze when wiped.
About annealing and crazing, think of it this way, if you were to strike the plastic hard enough to cause a dent in the material, it will naturally want to try to return to a relaxed state. Internal tension / stress is often imparted during machining by not keeping the blade or bit cool or by dull bits, acrylic is hard and dulls cutters quickly. When the joint is bonded with unrelieved internall stress this stress gets sealed in. It has to go somewhere, temps and humidity play a role in this also. As the material tries to rebound to it's natural state (equilibrium if you will) it is manifested as very small hairline fractures within the material i.e joint line. This is why you typically see crazing along machined joint lines or areas that have been thermoformed that havent been allowed to cool in increments allowing the molecules to re-align properly. The stored energy has to go somewhere. The process of annealing heats the material allowing it to expand to a relaxed state and then cooling it in increments over time. Kind of like soaking sore muscles in a hot tub. LOL
Something else to consider. Really large public tanks are often comprised of joining multiple panels together on site using 2 part polymerizable cements. Many are not annealed before joining because the sheets/panels are still too large for most annealing ovens unless your dealing with Reynolds or a small handful of others. The reason they can do this is because of the care taken when machining the edges. If no internal stress is imparted into the base material there is no reason to anneal. Remember, annealing is done to relieve internal stress prior to bonding. 2 part cement mfgs recommend this because it's the only stuff to use for the thicker material on the big tanks and these edges are often heavily machined (i.e beveled) which creates the potential for internal stress and thus a requirement for annealing. No stress = no annealing.
Sorry for the long winded answer. The shorter version is a simple no.
phixer
Active Member
Quills
Good idea, if you think you will need it. Just makes sure you set the superheat accordingly ...LOL
 no pun intended. HVAC is such a useful field for our hobby in so many ways especially when designing chillers. Air circulation and incremental control will be important for this. Any other projects in the work?
Good idea, if you think you will need it. Just makes sure you set the superheat accordingly ...LOL

2quills
Well-Known Member
Quote:
Originally Posted by Phixer http:///t/196219/acrylic-bonding-techniques-aquarium-construction/80#post_3516270
Good idea, if you think you will need it. Just makes sure you set the superheat accordingly ...LOL
 no pun intended. HVAC is a useful field for our hobby in so many ways especially when designing chillers. Air circulation and incremental control will be important for this. Any other projects in the work?
haha...well hopefully I won't be needing to cycle any refrigerant in this case. But if I do then I'll throw ya guys whatever superheat and subcooling measurements that I see.
For me it would probably just come down to cost effectiveness and if I was looking to start building more on a regular basis. Or perhaps even if I just planned on a handful of projects for the future. If the idea works then I think a weekend warrior guy such as myself could probably pull something off for under a couple of hundred. I see no reason why it couldn't be done for sheet sizes in the small, medium and medium/large build categories. And who knows, possibly even large ones
Off the top of my head I'm thinking of some sheets of fiberglass duct board to build essentially the kiln or oven structure. I mean we're not talking terribly high temps here right? Maybe even a couple of small in-line duct fans and flex ducting fashioned to the box with the inputs/outputs installed to create circular air motion within the box. Then really I'd just need maybe an infinite switch off an old oven, probably the thermal sensor too, and a voltage supply that I can tap into. I guess the only real question is what to use for an element? And what's a smart way to install it? Thinking heater coil stretched around the inner perimeter.
Sorry, Phixer. I don't have any other hobby related projects going at the moment. I have a 120g build that's been sitting on hold for a while but the sump and overflows are already done. Wifey and I just purchased a new home at the end of last year and closed at the beginning of this year that we picked up for a steal. Beautiful home, great neighborhood it was just in need of a little work. So my weekends have typically been busy with those projects. Had to throw in a new evaporator, condensing unit and line set before we ever moved in. Along with floors for the bedrooms, paint, appliances. Gee wiz the stuff adds up quick. Already spent quite a few weekends refinishing the pool, changed some plumbing + new pump. Layed some laminate plank down in the office room last weekend, still gotta finish the crown and paint. So yeah, I have no life on the weekends lol. I do hope to one day have the extra time and fundage to get back into the hobby again though.
But if and when I do I may just decide to nix the system that I've been working on and take a different path so that I may try my hand yet once again with some plastics. For now I'm just trying to stay fresh for when that day arrives.
Originally Posted by Phixer http:///t/196219/acrylic-bonding-techniques-aquarium-construction/80#post_3516270
Good idea, if you think you will need it. Just makes sure you set the superheat accordingly ...LOL

haha...well hopefully I won't be needing to cycle any refrigerant in this case. But if I do then I'll throw ya guys whatever superheat and subcooling measurements that I see.
For me it would probably just come down to cost effectiveness and if I was looking to start building more on a regular basis. Or perhaps even if I just planned on a handful of projects for the future. If the idea works then I think a weekend warrior guy such as myself could probably pull something off for under a couple of hundred. I see no reason why it couldn't be done for sheet sizes in the small, medium and medium/large build categories. And who knows, possibly even large ones
Off the top of my head I'm thinking of some sheets of fiberglass duct board to build essentially the kiln or oven structure. I mean we're not talking terribly high temps here right? Maybe even a couple of small in-line duct fans and flex ducting fashioned to the box with the inputs/outputs installed to create circular air motion within the box. Then really I'd just need maybe an infinite switch off an old oven, probably the thermal sensor too, and a voltage supply that I can tap into. I guess the only real question is what to use for an element? And what's a smart way to install it? Thinking heater coil stretched around the inner perimeter.
Sorry, Phixer. I don't have any other hobby related projects going at the moment. I have a 120g build that's been sitting on hold for a while but the sump and overflows are already done. Wifey and I just purchased a new home at the end of last year and closed at the beginning of this year that we picked up for a steal. Beautiful home, great neighborhood it was just in need of a little work. So my weekends have typically been busy with those projects. Had to throw in a new evaporator, condensing unit and line set before we ever moved in. Along with floors for the bedrooms, paint, appliances. Gee wiz the stuff adds up quick. Already spent quite a few weekends refinishing the pool, changed some plumbing + new pump. Layed some laminate plank down in the office room last weekend, still gotta finish the crown and paint. So yeah, I have no life on the weekends lol. I do hope to one day have the extra time and fundage to get back into the hobby again though.
But if and when I do I may just decide to nix the system that I've been working on and take a different path so that I may try my hand yet once again with some plastics. For now I'm just trying to stay fresh for when that day arrives.
acrylic51
Active Member
Quote:
Originally Posted by Phixer http:///t/196219/acrylic-bonding-techniques-aquarium-construction/80#post_3516261
Quill, it really depends on the application. Two part cements will not inhibit crazing if the base material is under tension. The best way to prevent crazing is to ensure your material is of the correct thickness to begin with for the tank size and that it is machined properly by not inducing internal stress into the material. Very often this is done by maintaining the proper feed rate and keeping the cutter head (blade or bit) cool.
Typically, IMO Ive seen machining stress not go more than .060 into the material and can be removed by light scraping. How can you check this before bonding. Some will cringe at what Im going to say but it works well if done properly. Wiping a freshly machined edge with denatured alcohol (normally you keep alcohol away from acrylic) will instanly reveal internal stress as crazing, if it crazes you scrape it down and repeat the process before bonding until you have a straight edge that dosent craze when wiped.
About annealing and crazing, think of it this way, if you were to strike the plastic hard enough to cause a dent in the material, it will naturally want to try to return to a relaxed state. Internal tension / stress is often imparted during machining by not keeping the blade or bit cool or by dull bits, acrylic is hard and dulls cutters quickly. When the joint is bonded with unrelieved internall stress this stress gets sealed in. It has to go somewhere, temps and humidity play a role in this also. As the material tries to rebound to it's natural state (equilibrium if you will) it is manifested as very small hairline fractures within the material i.e joint line. This is why you typically see crazing along machined joint lines or areas that have been thermoformed that havent been allowed to cool in increments allowing the molecules to re-align properly. The stored energy has to go somewhere. The process of annealing heats the material allowing it to expand to a relaxed state and then cooling it in increments over time. Kind of like soaking sore muscles in a hot tub. LOL
Something else to consider. Really large public tanks are often comprised of joining multiple panels together on site using 2 part polymerizable cements. Many are not annealed before joining because the sheets/panels are still too large for most annealing ovens unless your dealing with Reynolds or a small handful of others. The reason they can do this is because of the care taken when machining the edges. If no internal stress is imparted into the base material there is no reason to anneal. Remember, annealing is done to relieve internal stress prior to bonding. 2 part cement mfgs recommend this because it's the only stuff to use for the thicker material on the big tanks and these edges are often heavily machined (i.e beveled) which creates the potential for internal stress and thus a requirement for annealing. No stress = no annealing.
Sorry for the long winded answer. The shorter version is a simple no.
That's the preferred method to cleaning the edge/surface just before gluing.....Nothing wrong with it at all.....Do it all the time and so do others.....
phixer
Active Member
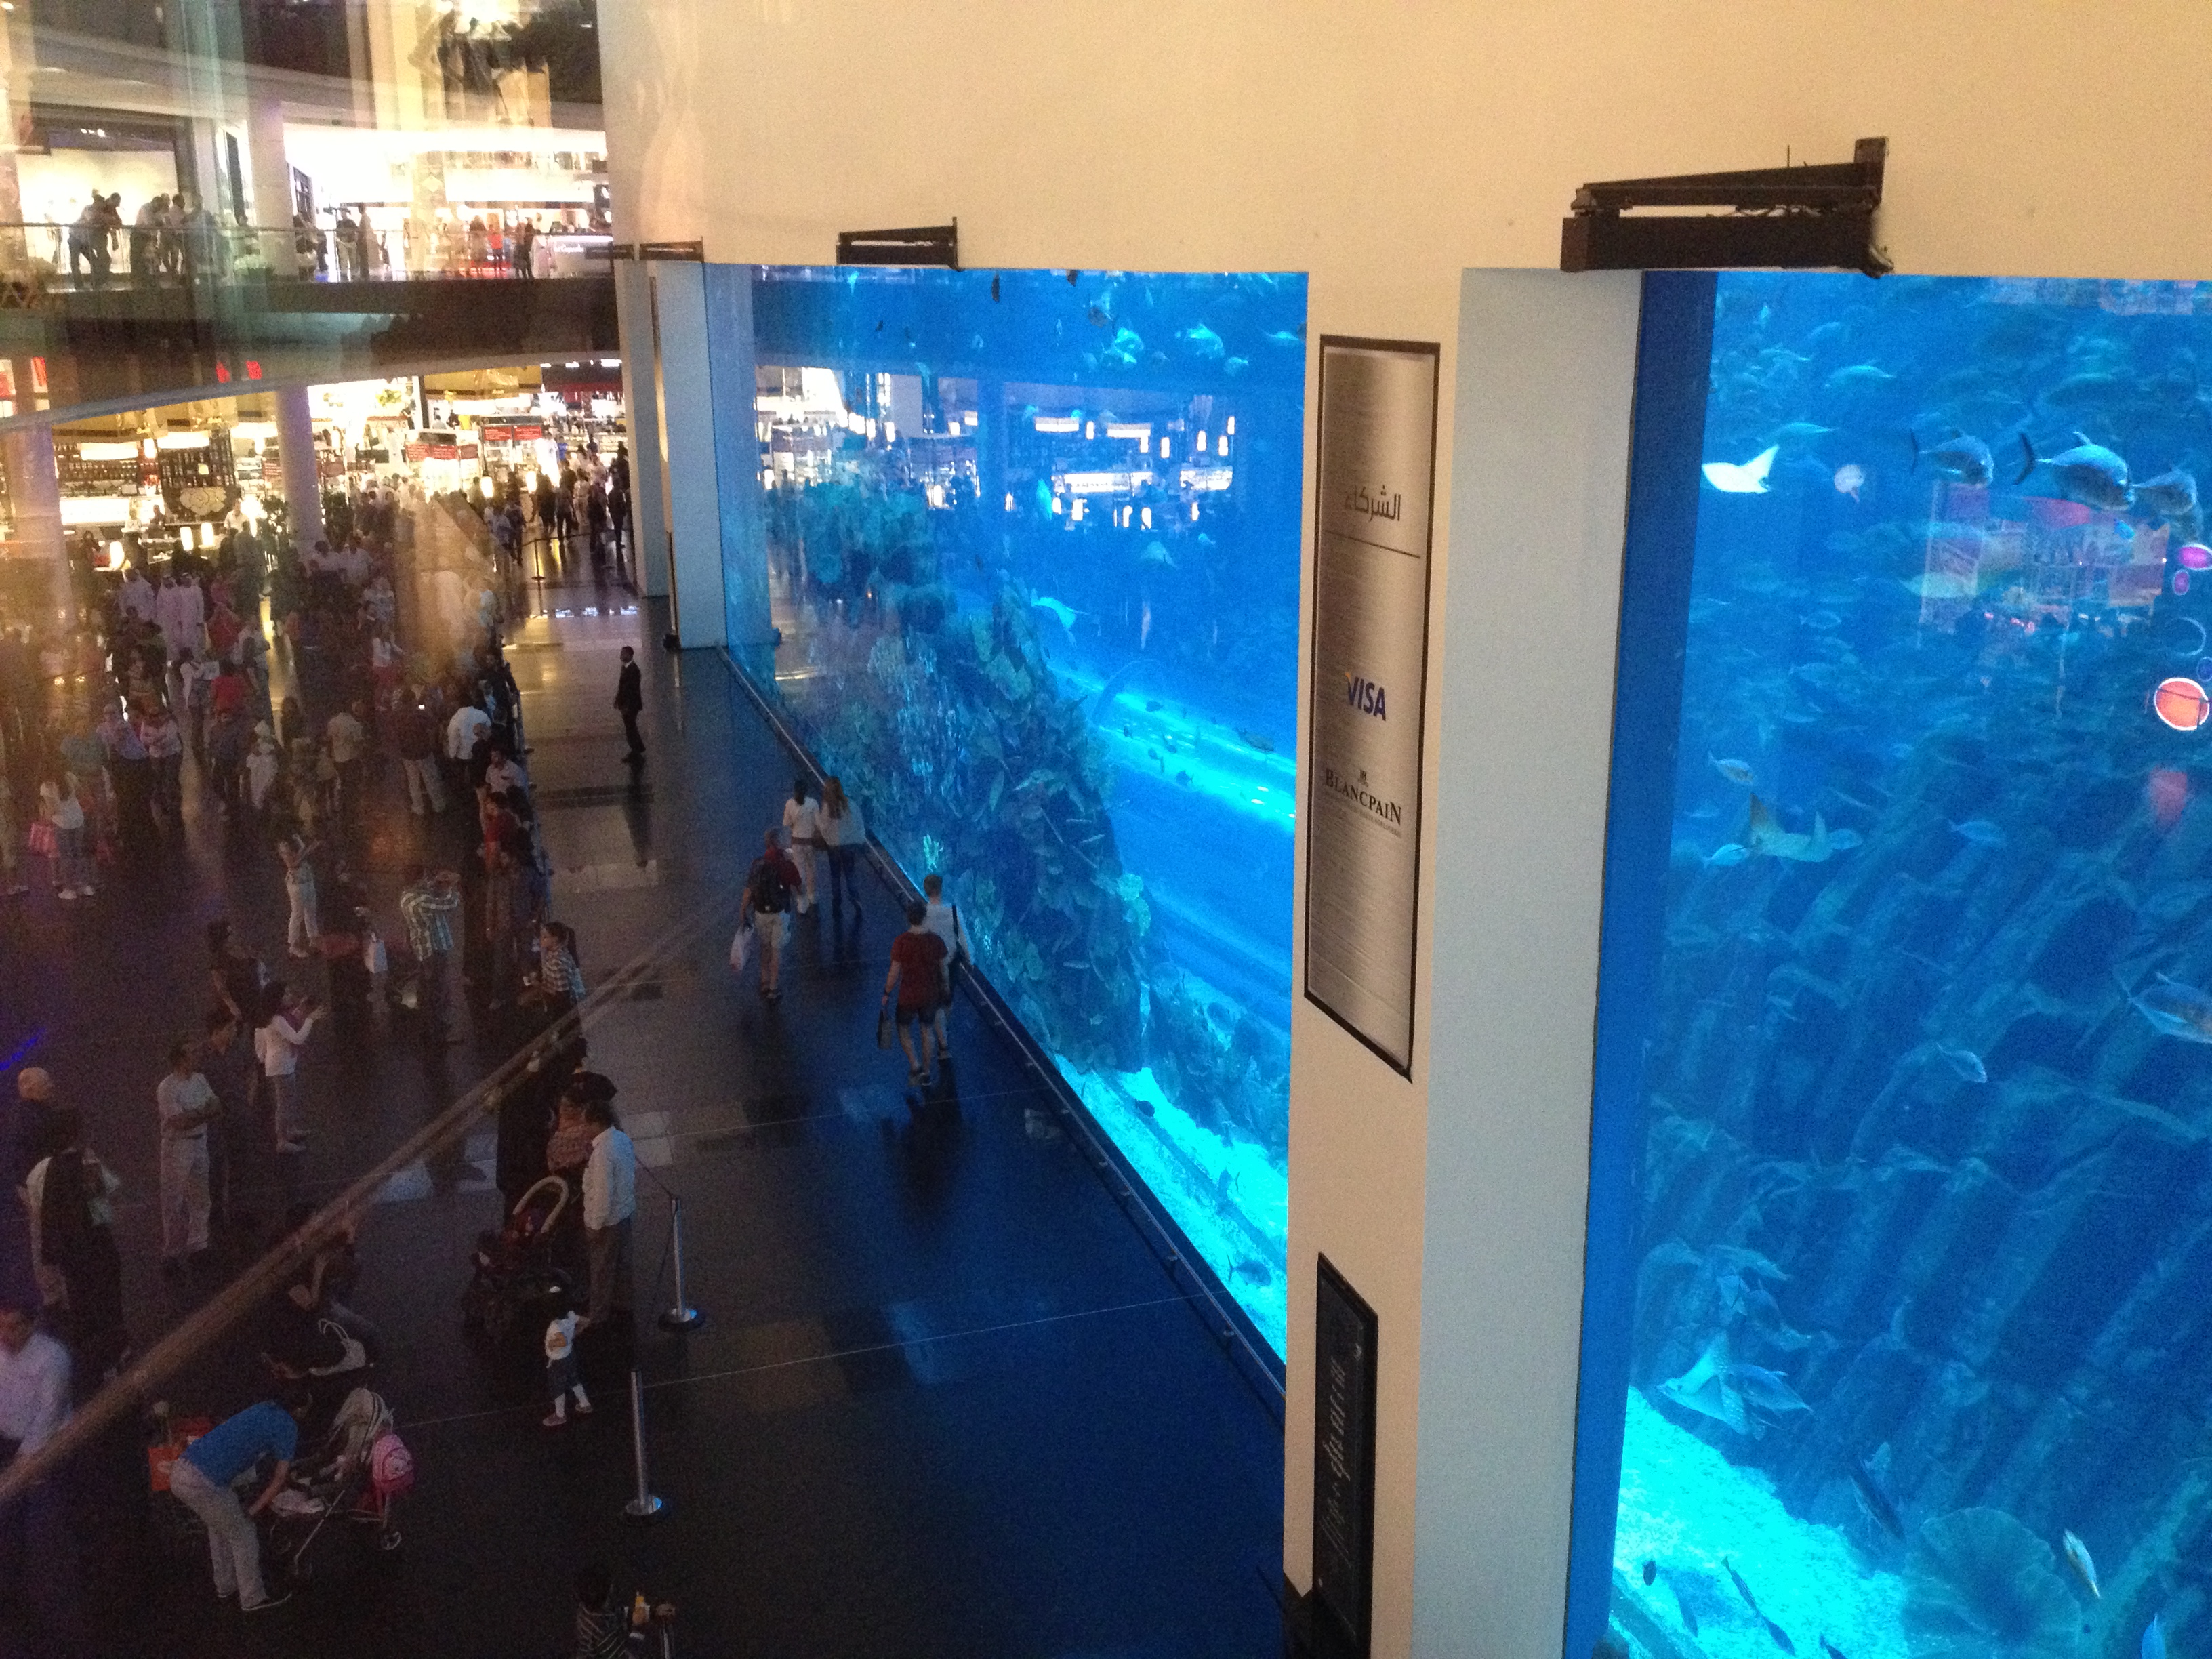
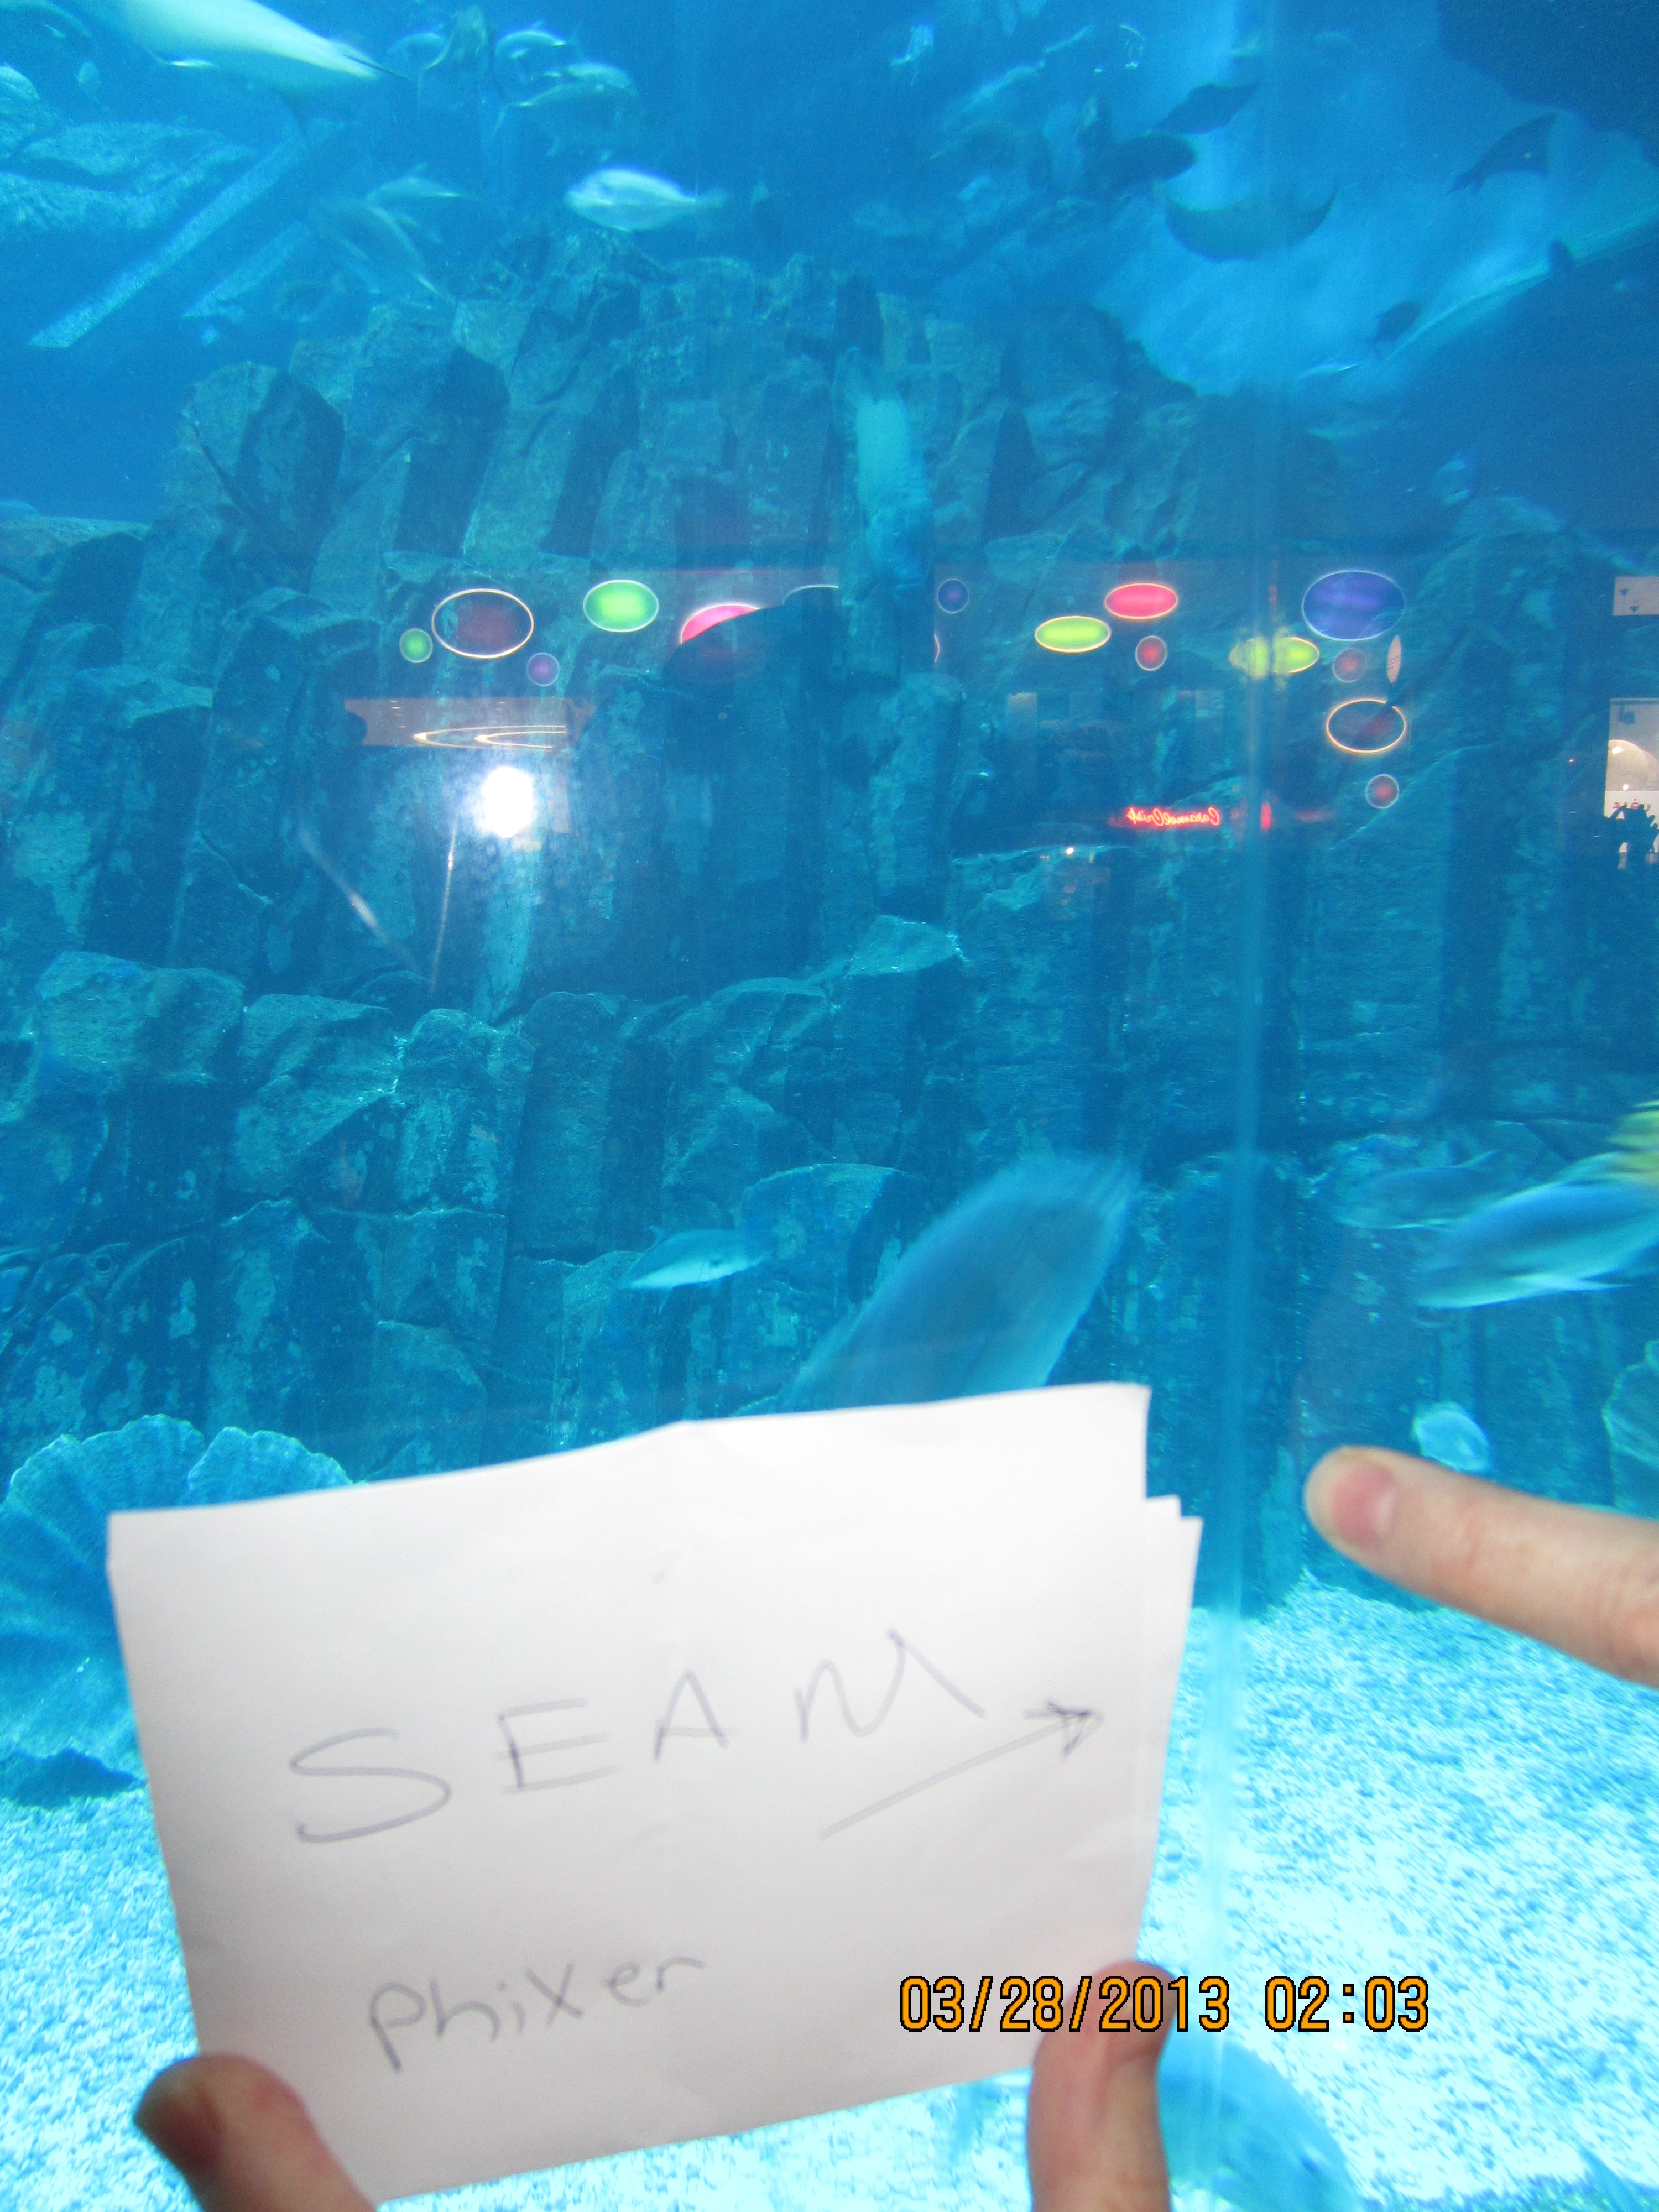
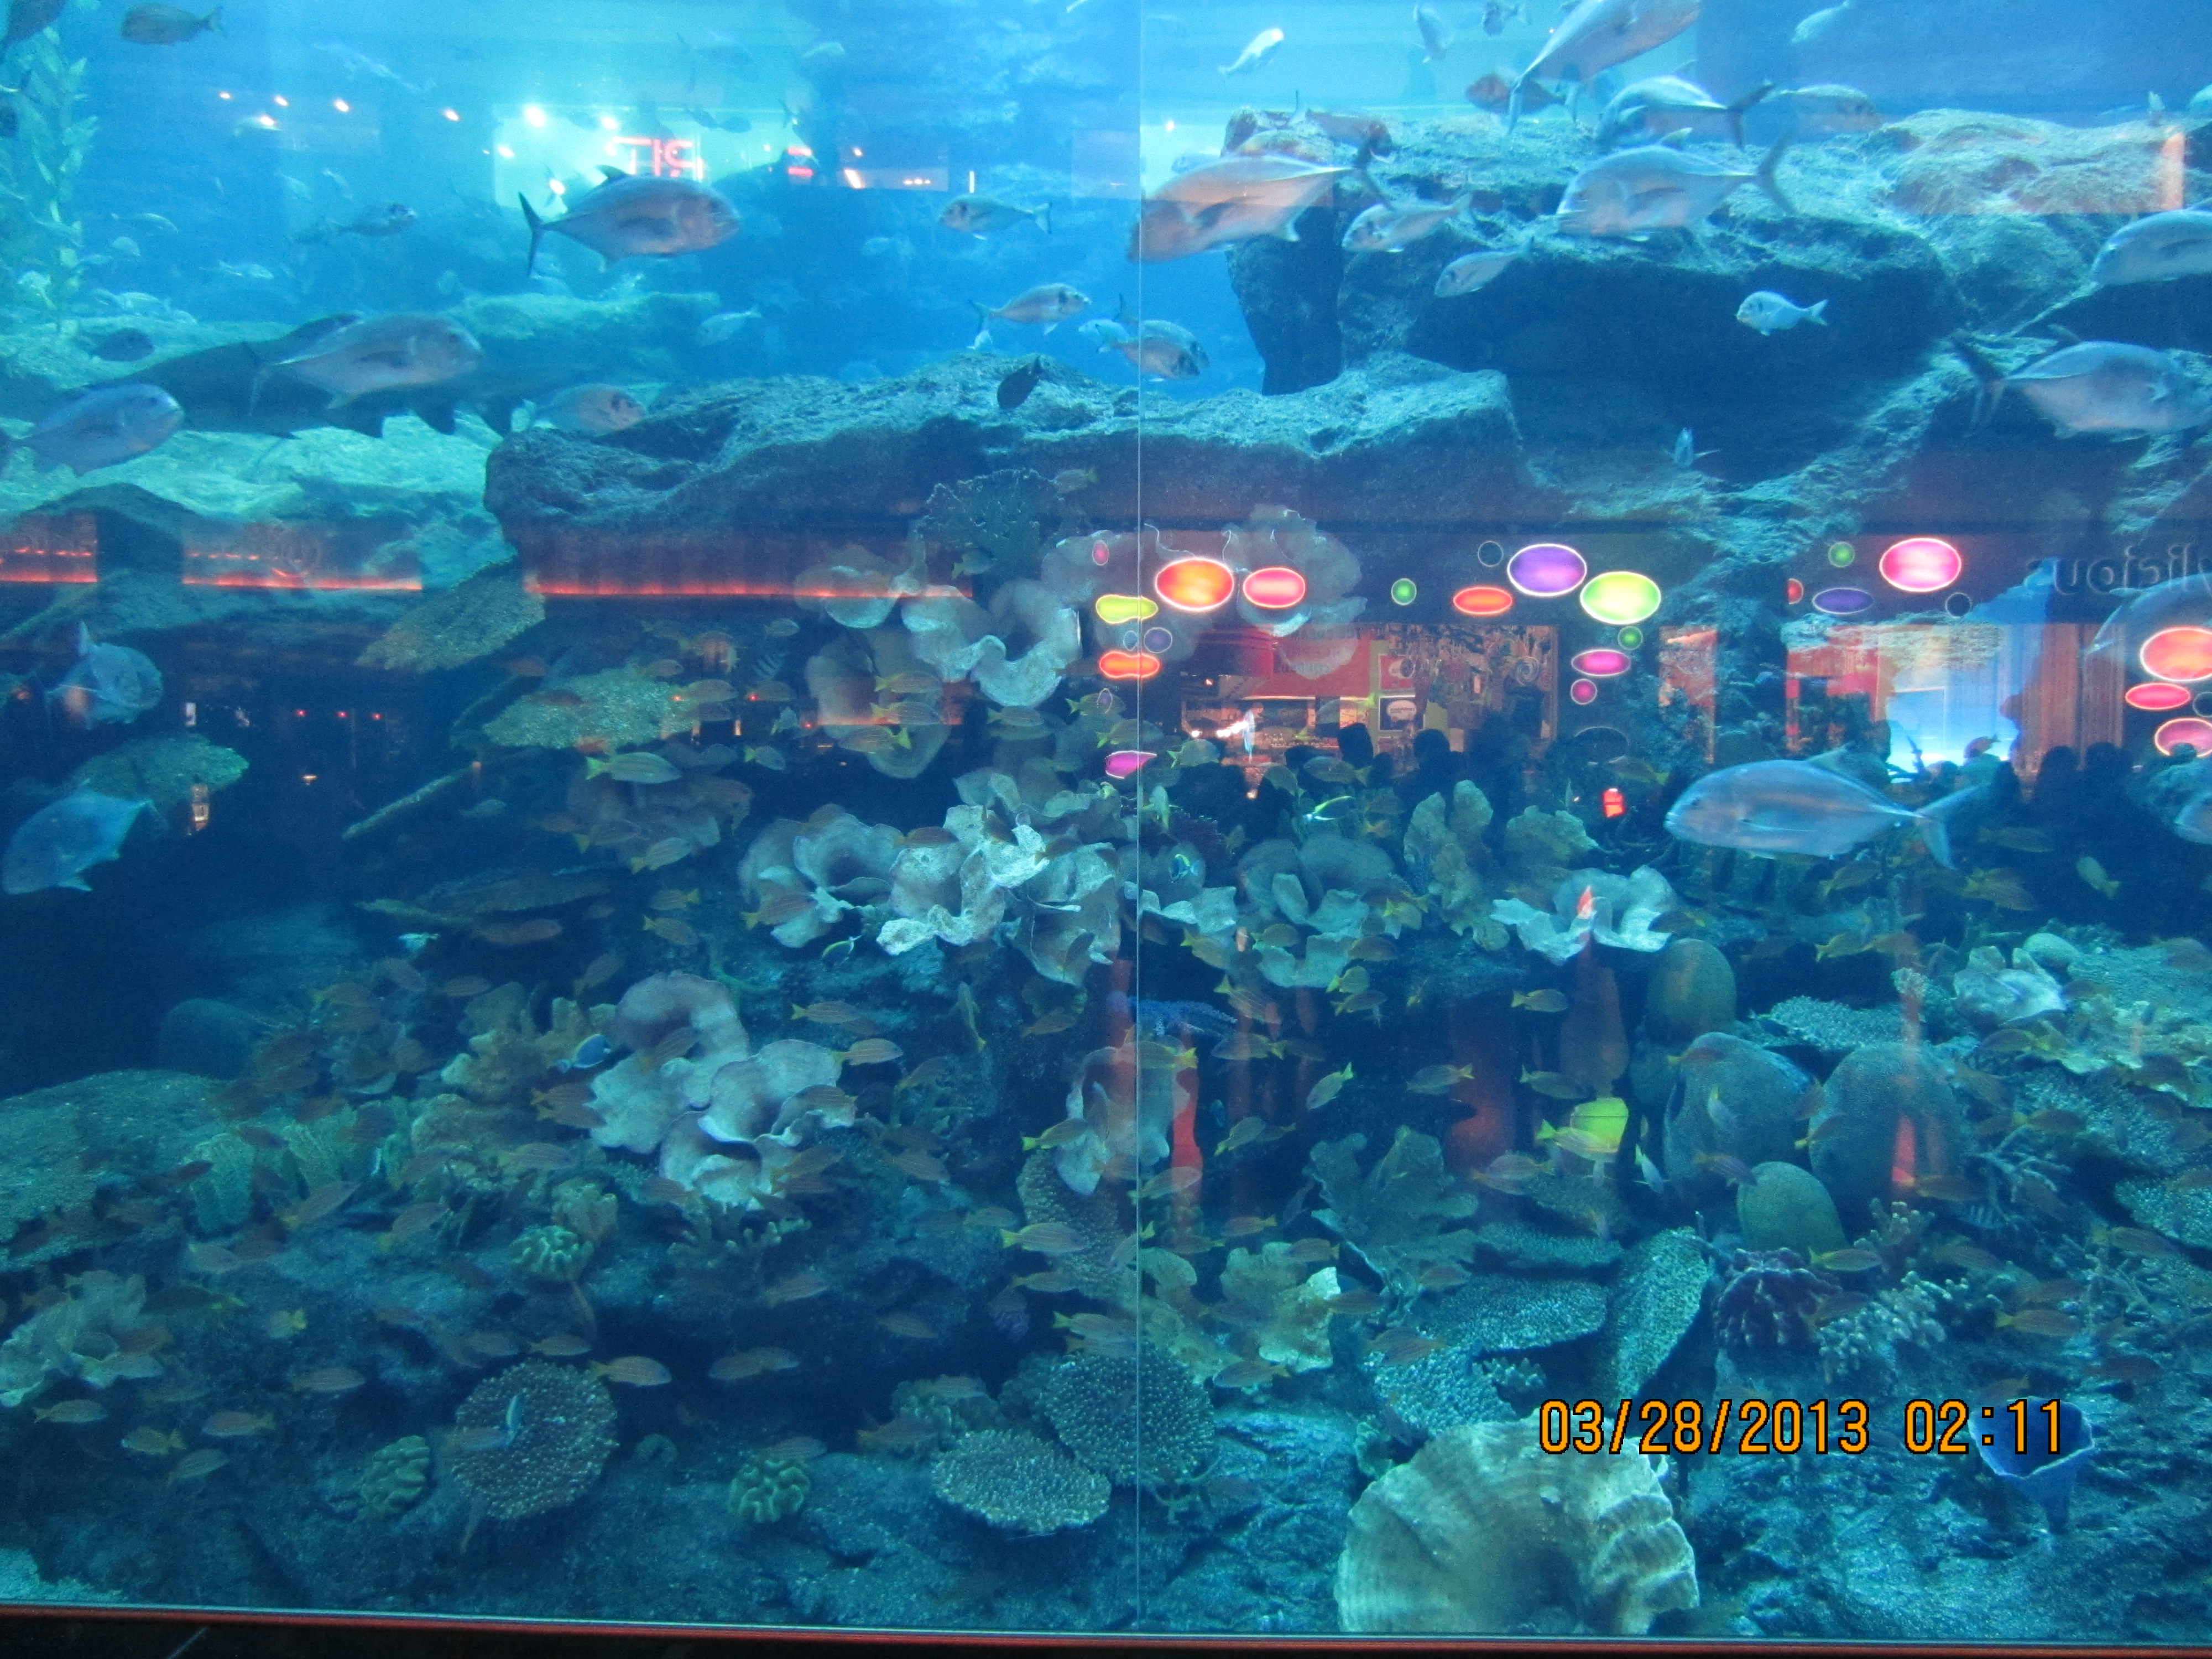
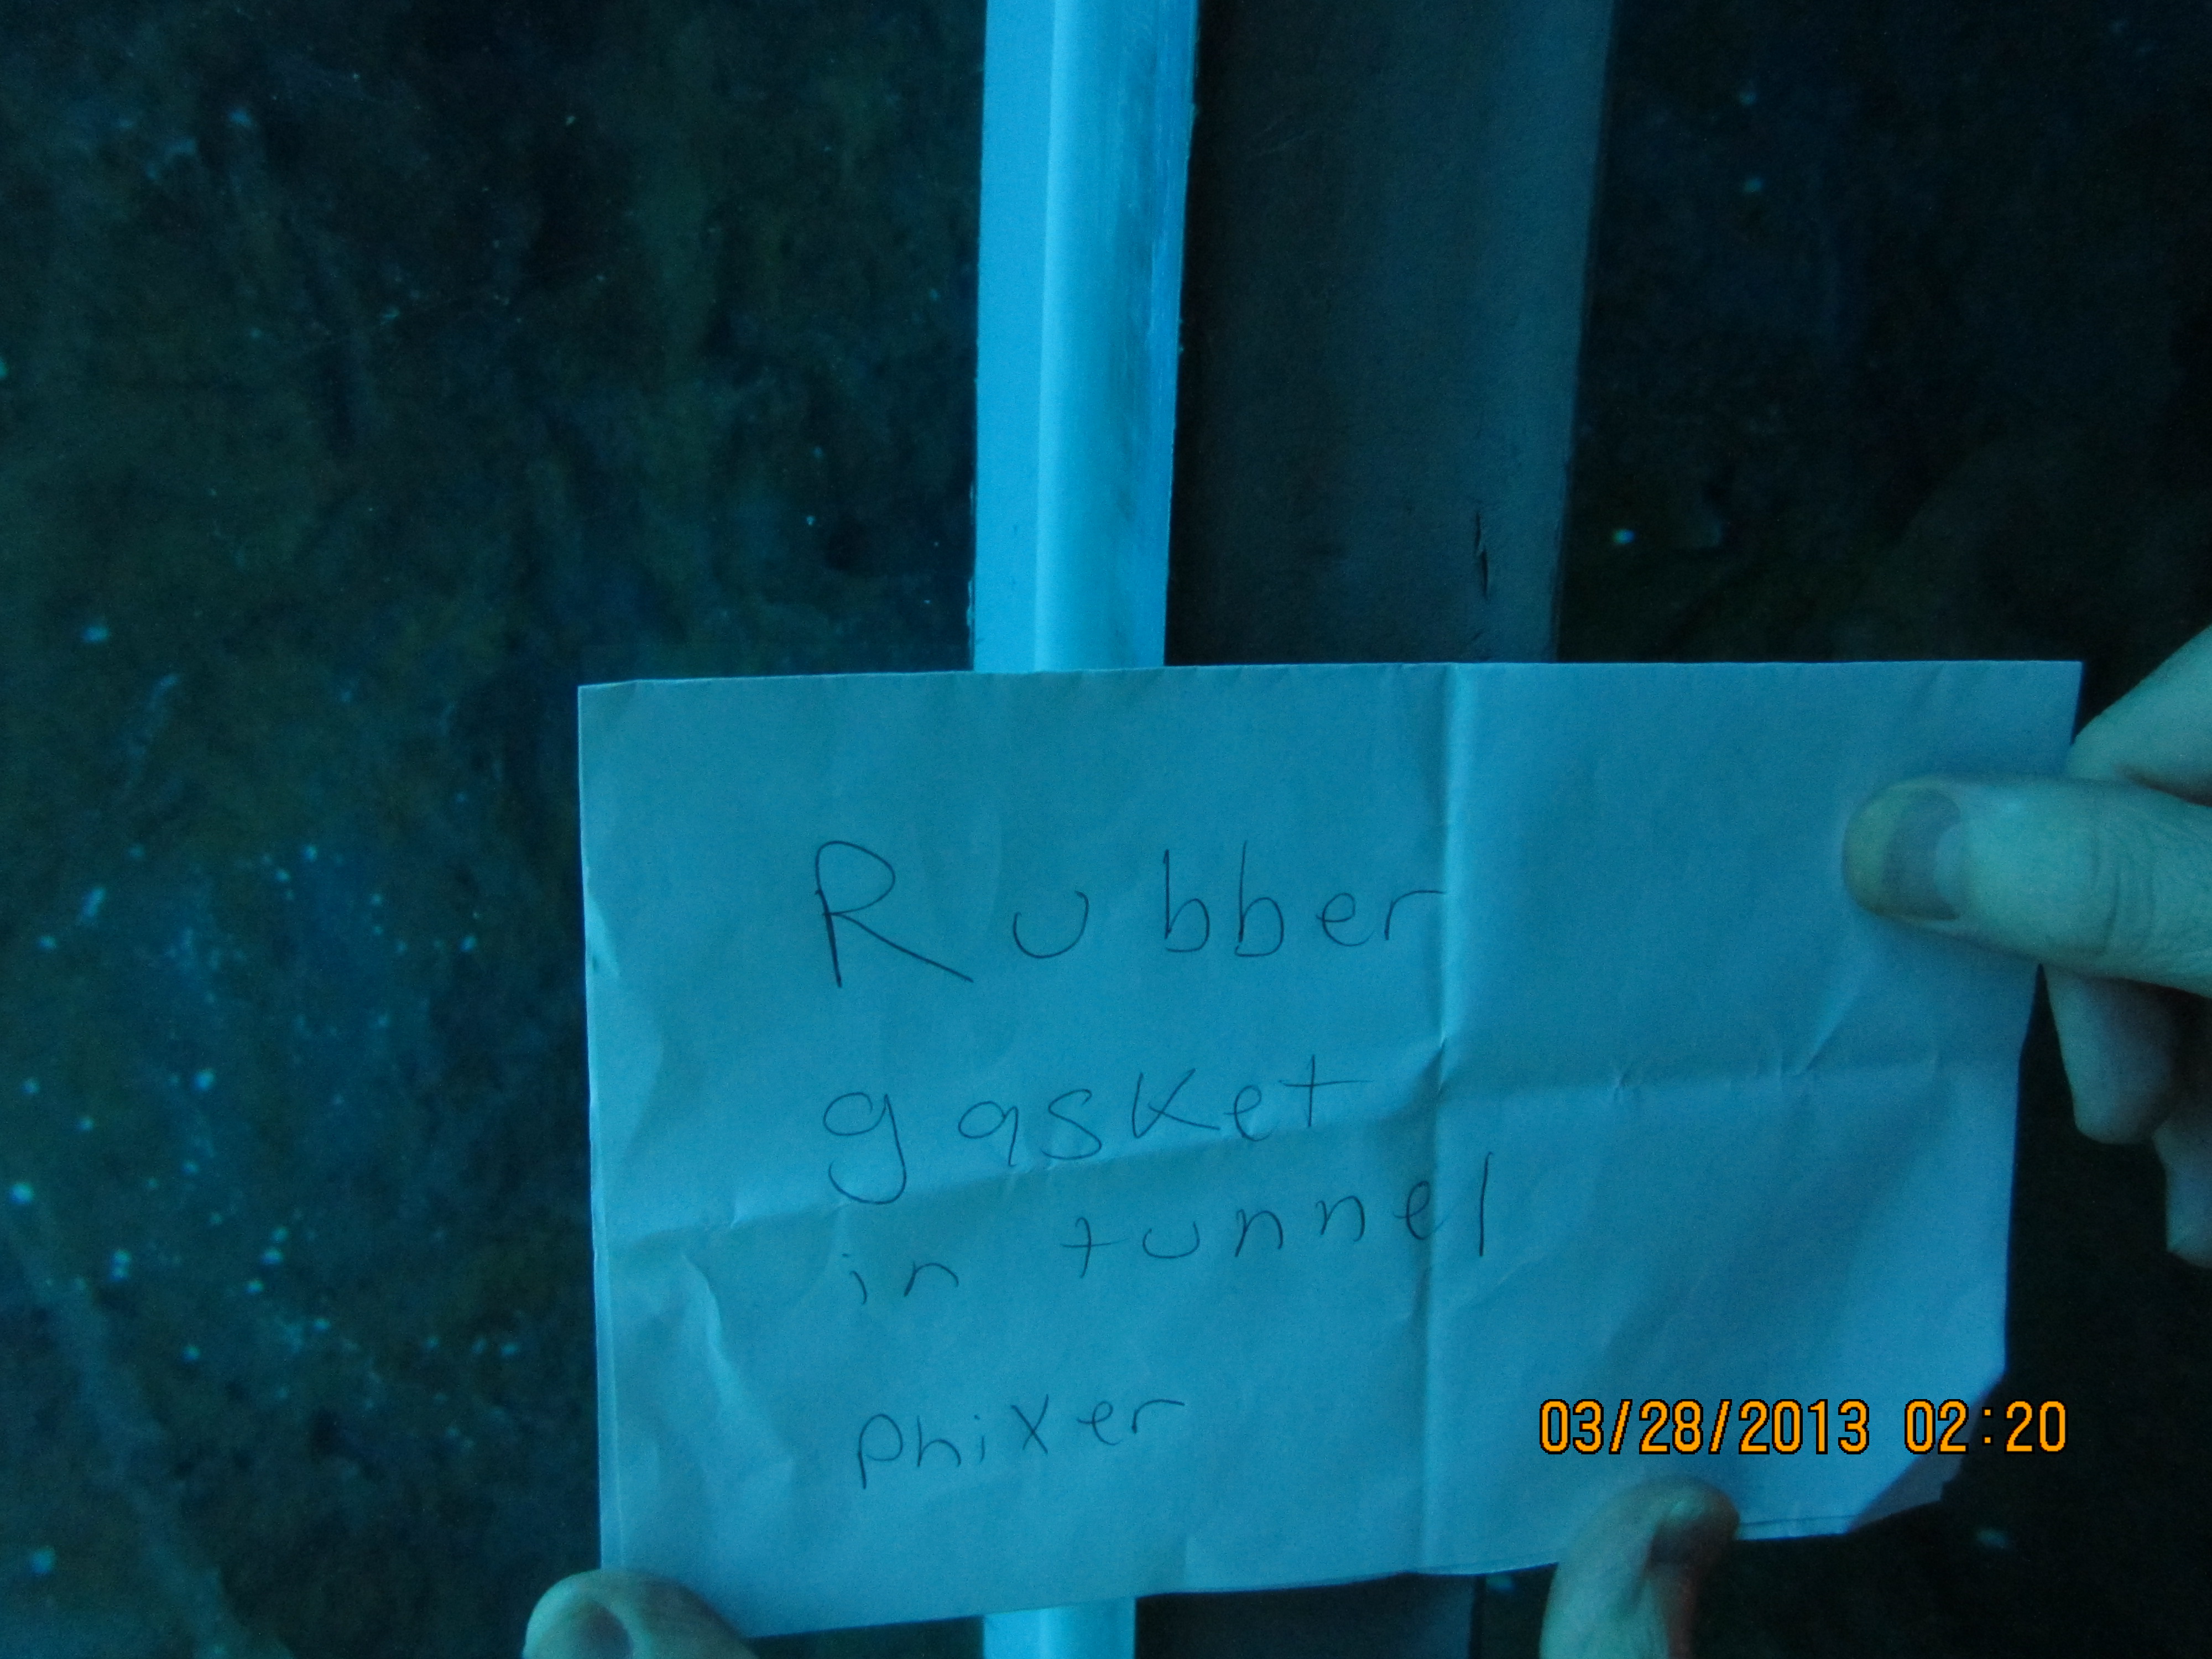
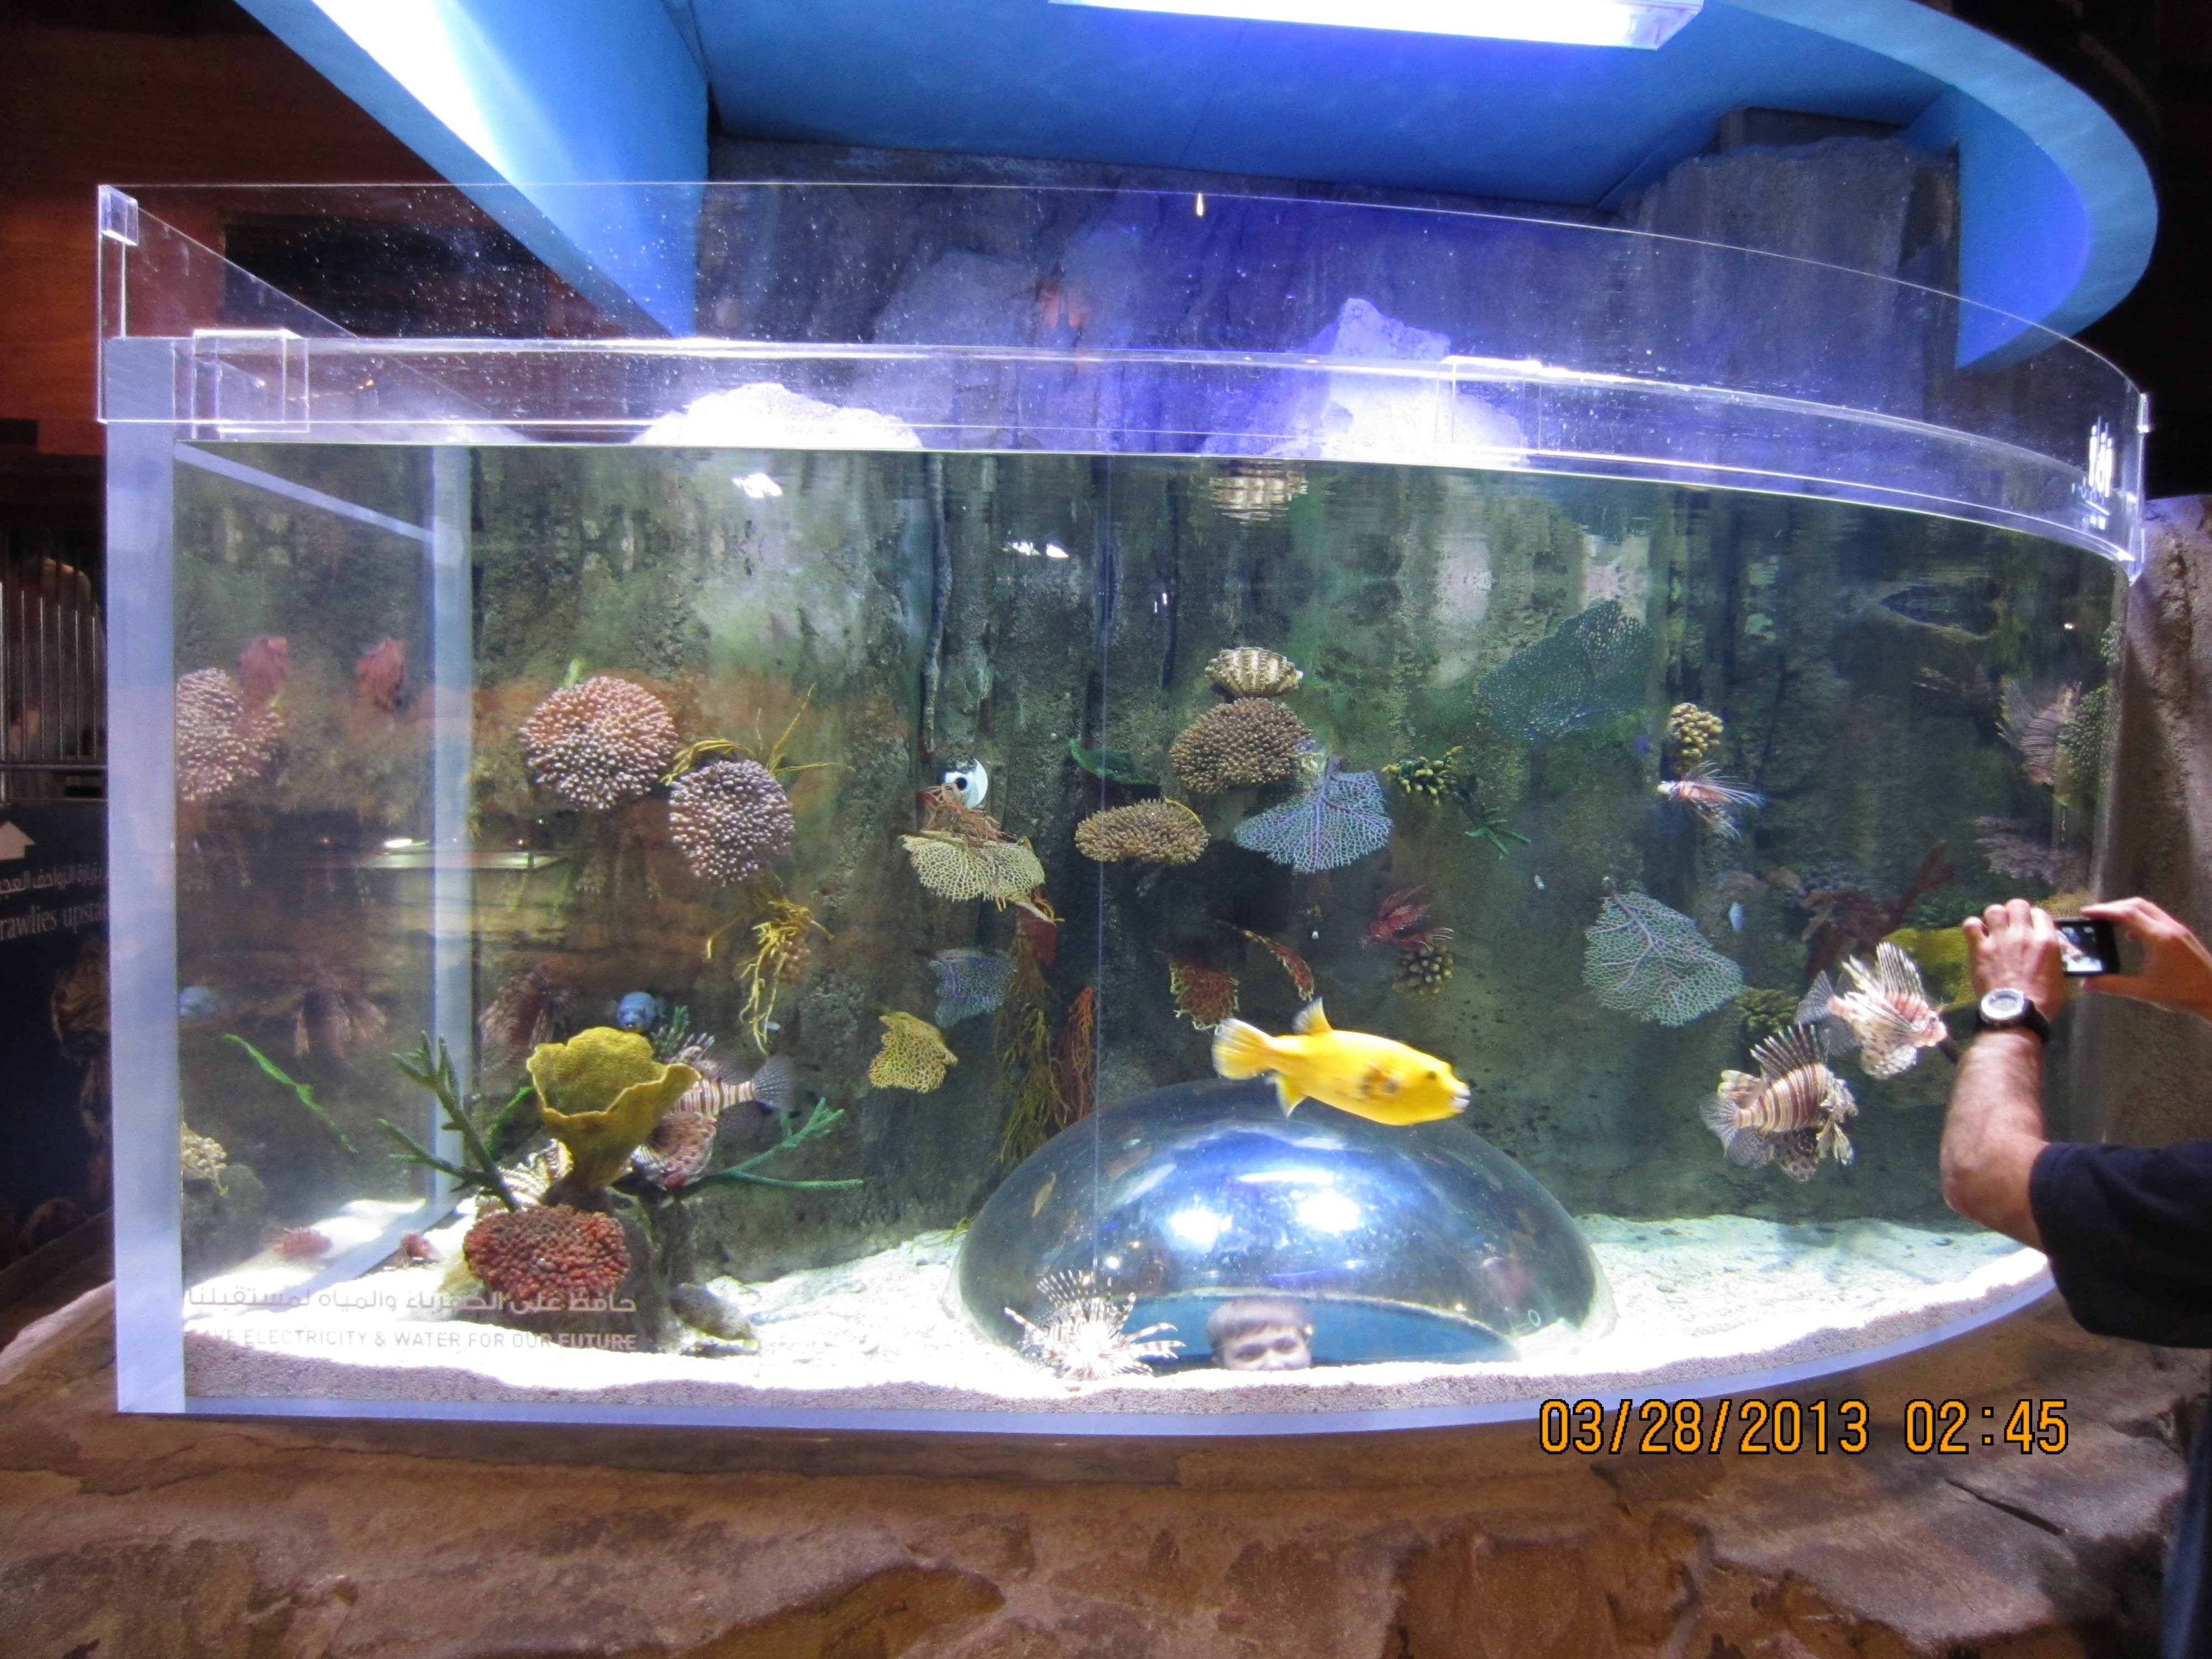
Went by the Dubai mall yesterday and took these pics. Although the thickness is measured in mms it looked to be about 2 ft thick laminated acrylic. The butt joints looked flat with no beveling. The rubber gaskets are from inside the tunnel. I'll post up close pics of the seams later, takes a long time to load.





2quills
Well-Known Member
Quote:
Originally Posted by acrylic51 http:///t/196219/acrylic-bonding-techniques-aquarium-construction/80#post_3516917
The joints would never look beveled if done correctly. Laminated panels present a special issue in itself. For structural integrity I'm positive the panel wasnt done with a simple butt joint.
Quote:
Originally Posted by Phixer http:///t/196219/acrylic-bonding-techniques-aquarium-construction/80#post_3516999
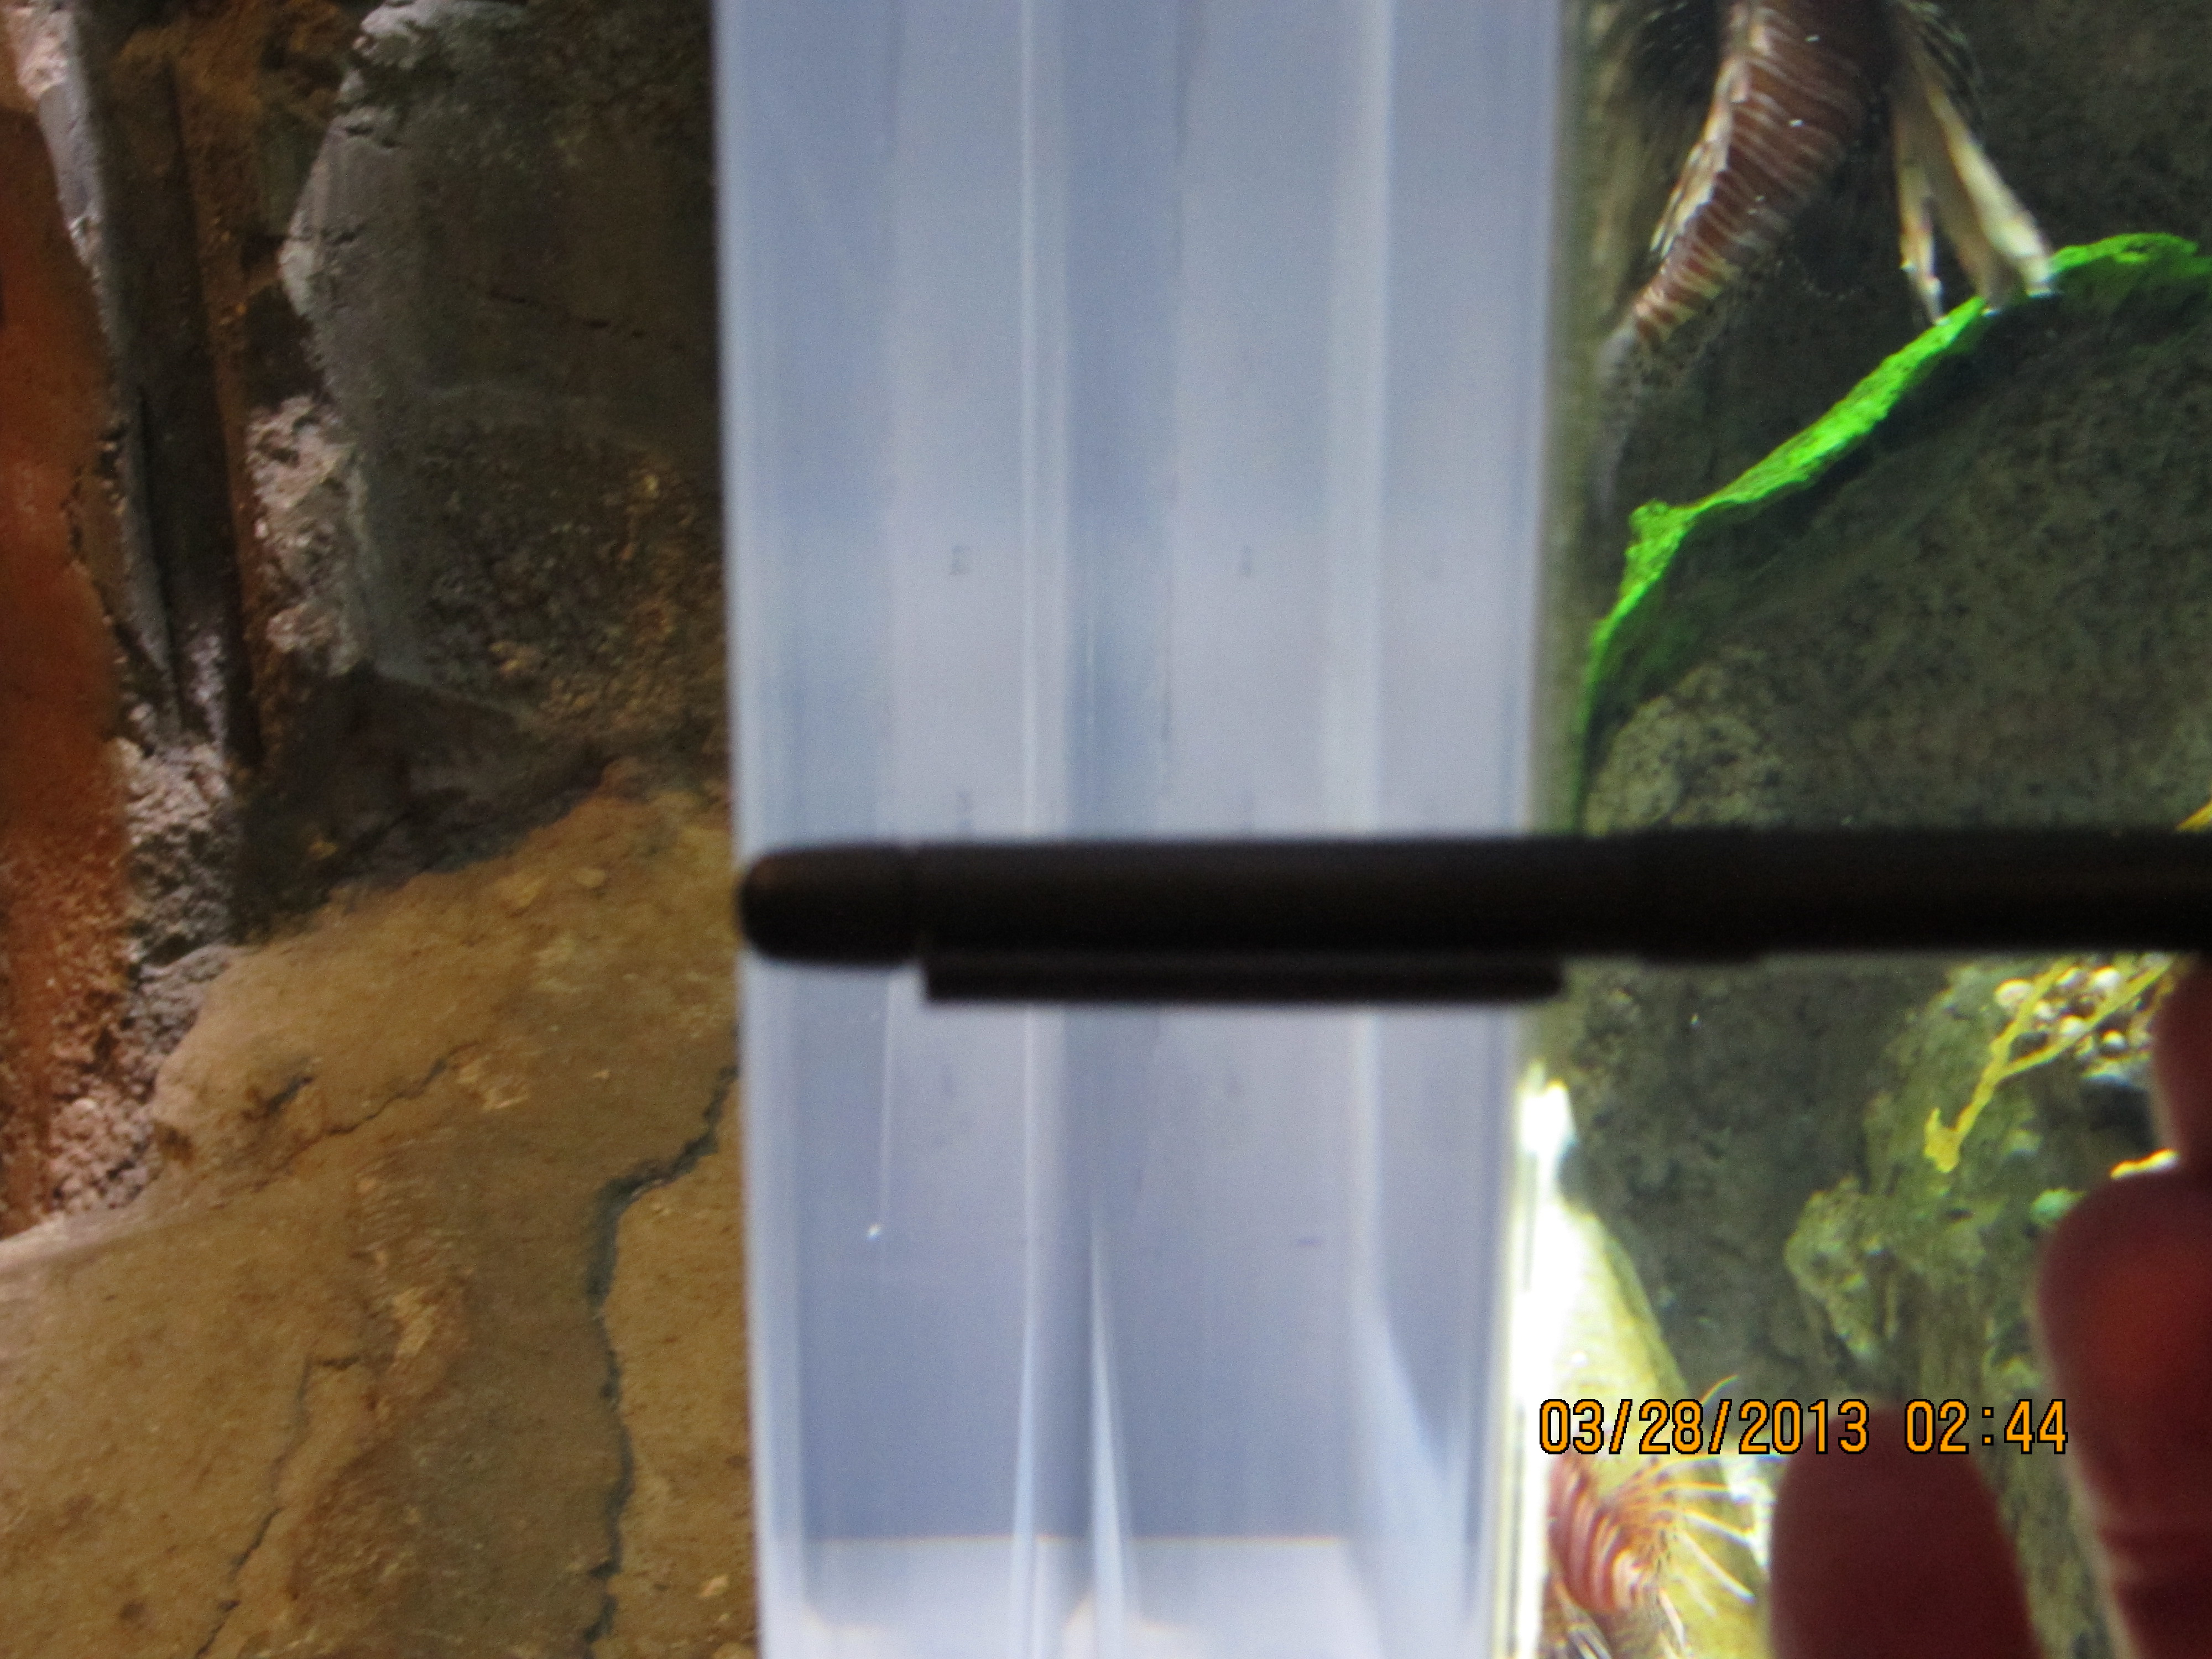
Going to try and get back there again to examine the seams closer. I wanted to see one from the top down but all of the tanks I could see from that vantage point were constructed from solid sheets. Put a pen next to the tank with the yellow puffer in it for scale.
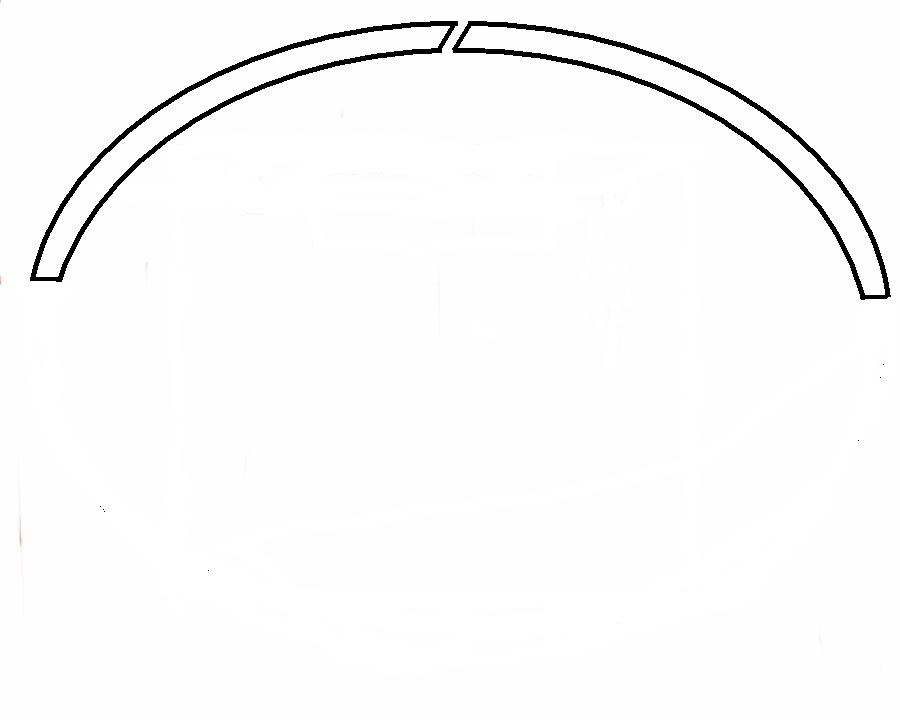
Caught a few minutes of the latest episode of tanked on t.v. tonight. They were doing a two tiered set up, arched paneled fronts. They showed a very brief shot of them fitting two panels together for the larger tank and the joint was slightly beveled but it didn't really look like it was a full 45 degrees.
It looked like this if you were viewing the panels from the top down...
Cool pics, phixer.
Originally Posted by acrylic51 http:///t/196219/acrylic-bonding-techniques-aquarium-construction/80#post_3516917
The joints would never look beveled if done correctly. Laminated panels present a special issue in itself. For structural integrity I'm positive the panel wasnt done with a simple butt joint.
Quote:
Originally Posted by Phixer http:///t/196219/acrylic-bonding-techniques-aquarium-construction/80#post_3516999
Going to try and get back there again to examine the seams closer. I wanted to see one from the top down but all of the tanks I could see from that vantage point were constructed from solid sheets. Put a pen next to the tank with the yellow puffer in it for scale.
Caught a few minutes of the latest episode of tanked on t.v. tonight. They were doing a two tiered set up, arched paneled fronts. They showed a very brief shot of them fitting two panels together for the larger tank and the joint was slightly beveled but it didn't really look like it was a full 45 degrees.
It looked like this if you were viewing the panels from the top down...

Cool pics, phixer.
2quills
Well-Known Member
Quote:
Originally Posted by Phixer http:///t/196219/acrylic-bonding-techniques-aquarium-construction/80#post_3517444
Interesting, should provide move surface area bonding it that way. I dont know if I will make it to this side of the world again and always heard about the Dubai tank so wanted to get some photos of it.
I checked out a couple of videos of that Dubai build and it looks pretty awesome. Were those silicone rubber gaskets that were used in the tunnel?
Quote:
Originally Posted by acrylic51 http:///t/196219/acrylic-bonding-techniques-aquarium-construction/80#post_3517098
Almost as if a 22.5 degree cut??
Possibly. I'll have to see if I can catch that episode again. The shot was so brief it was actually hard to tell. If I would have blinked I would have missed it. Happened right around 13-15 minutes into the episode. I remember because I told myself to remember in case I had to watch it again to be sure lol. All I can say with any certainty is that it appeared to be a beveled joint somewhere in between 25-45 degrees would be my guess.
Hey, have you guys seen those giant table saw looking things that stand vertically? They look like they're specifically built for cutting sheets? The sheet doesn't move, the saw slides/glides on a track.
2quills
Well-Known Member
I've seen them in action......Total Plastics has a big one like that locally I've seen in action a few times, my buddies at Grims has a smaller setup as well......
Yeah they look pretty nifty. Caught a video where a guy had one set up in his shop or garage. I want one lol.
Yeah they look pretty nifty. Caught a video where a guy had one set up in his shop or garage. I want one lol.
phixer
Active Member
Moving forward as the LA fish guy would say LOL...
Going to attempt a butt joint on some thicker stuff now. If I bevel each edge of two 4x8 sheets of 2.125" thick material and but them together to make a V and fill the V in with #42 whats the best way to keep the bubbles out? What degree bevel would you use for each edge? Have any of you used wax paper to keep it from sticking?
My plan is to bevel between 5-10 degrees on each edge, butt each together end to end with about 1/8 gap between the panels at the bottom. A sheet of plate glass clamped along the bottom with wax paper on it to keep the cement from running out of the 1/8 gap on the bottom. Then dispense into cup and pour slowly or dispense directly into void with slight overfill and then sand and polish flush.
Im going to make several trial runs on some scrap I picked up locally with different bevels and gaps to see what works best.
Sound like a logical, rational process for this thickness? What do you think?

