Aquacsaping, show me your best!

spanko

Active Member
Thought it might be cool to start a thread about how we go about aquascaping our tanks, why we did it that way etc. along with some pictures. Would give some of the new members a visual as well as written study in the ways of scaping.
So with that show me your scapes and tell us about them.
 

novahobbies

Well-Known Member
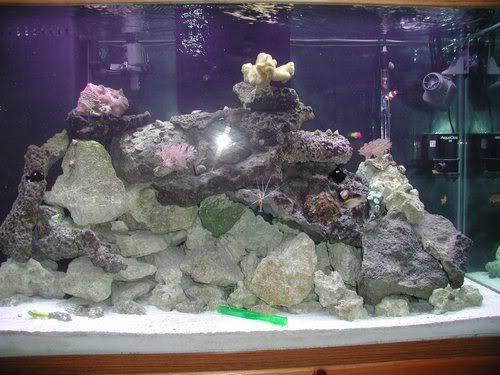
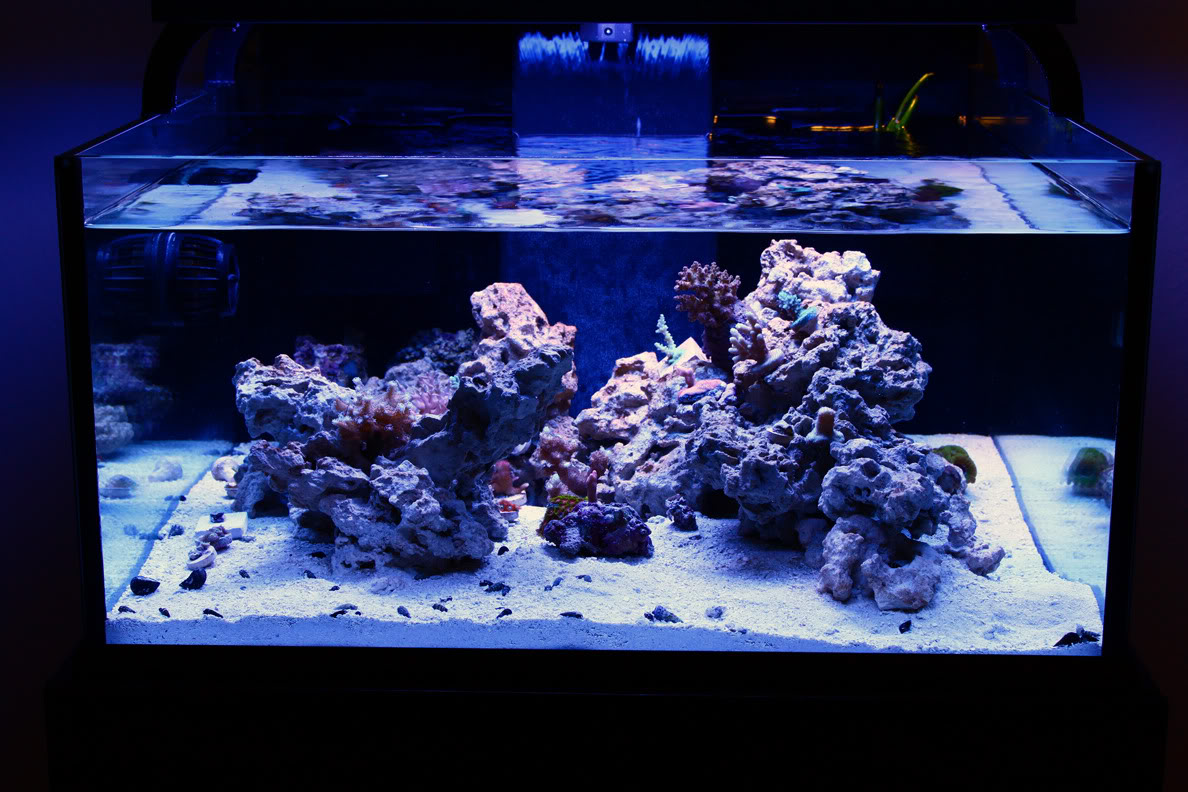
I decided to try a technique called "live framing" for my 110g tank that involved hanging live rock on a PVC frame. The technique was featured in a Saltwater Aquarium USA magazine a few years ago, and it seemed like a good idea for a tall tank like a 110. I took some pictures of it in my photobucket account while I was building: In Progress Build Pics.
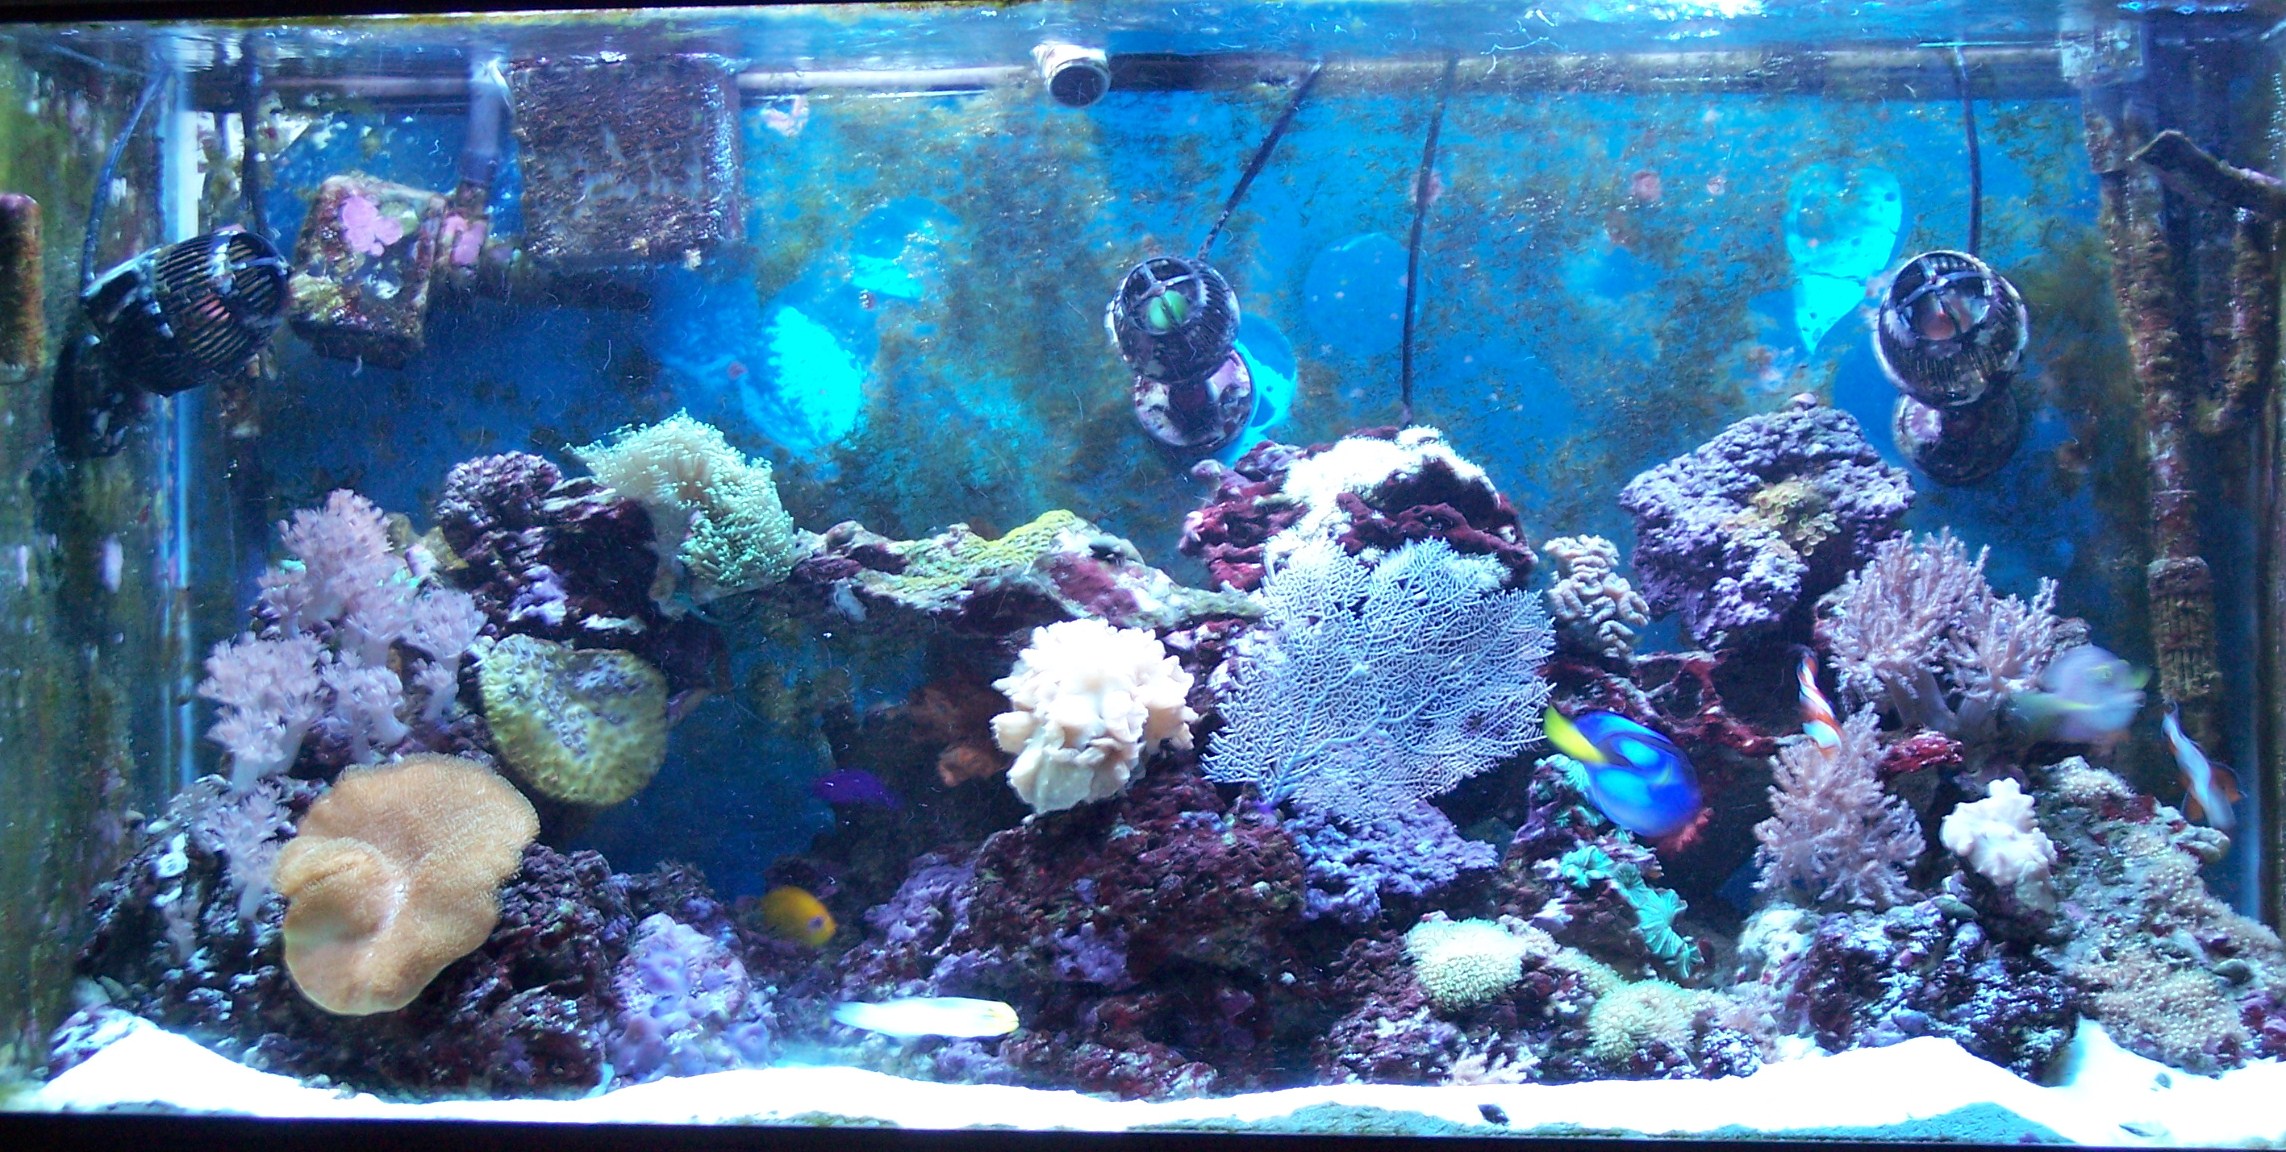
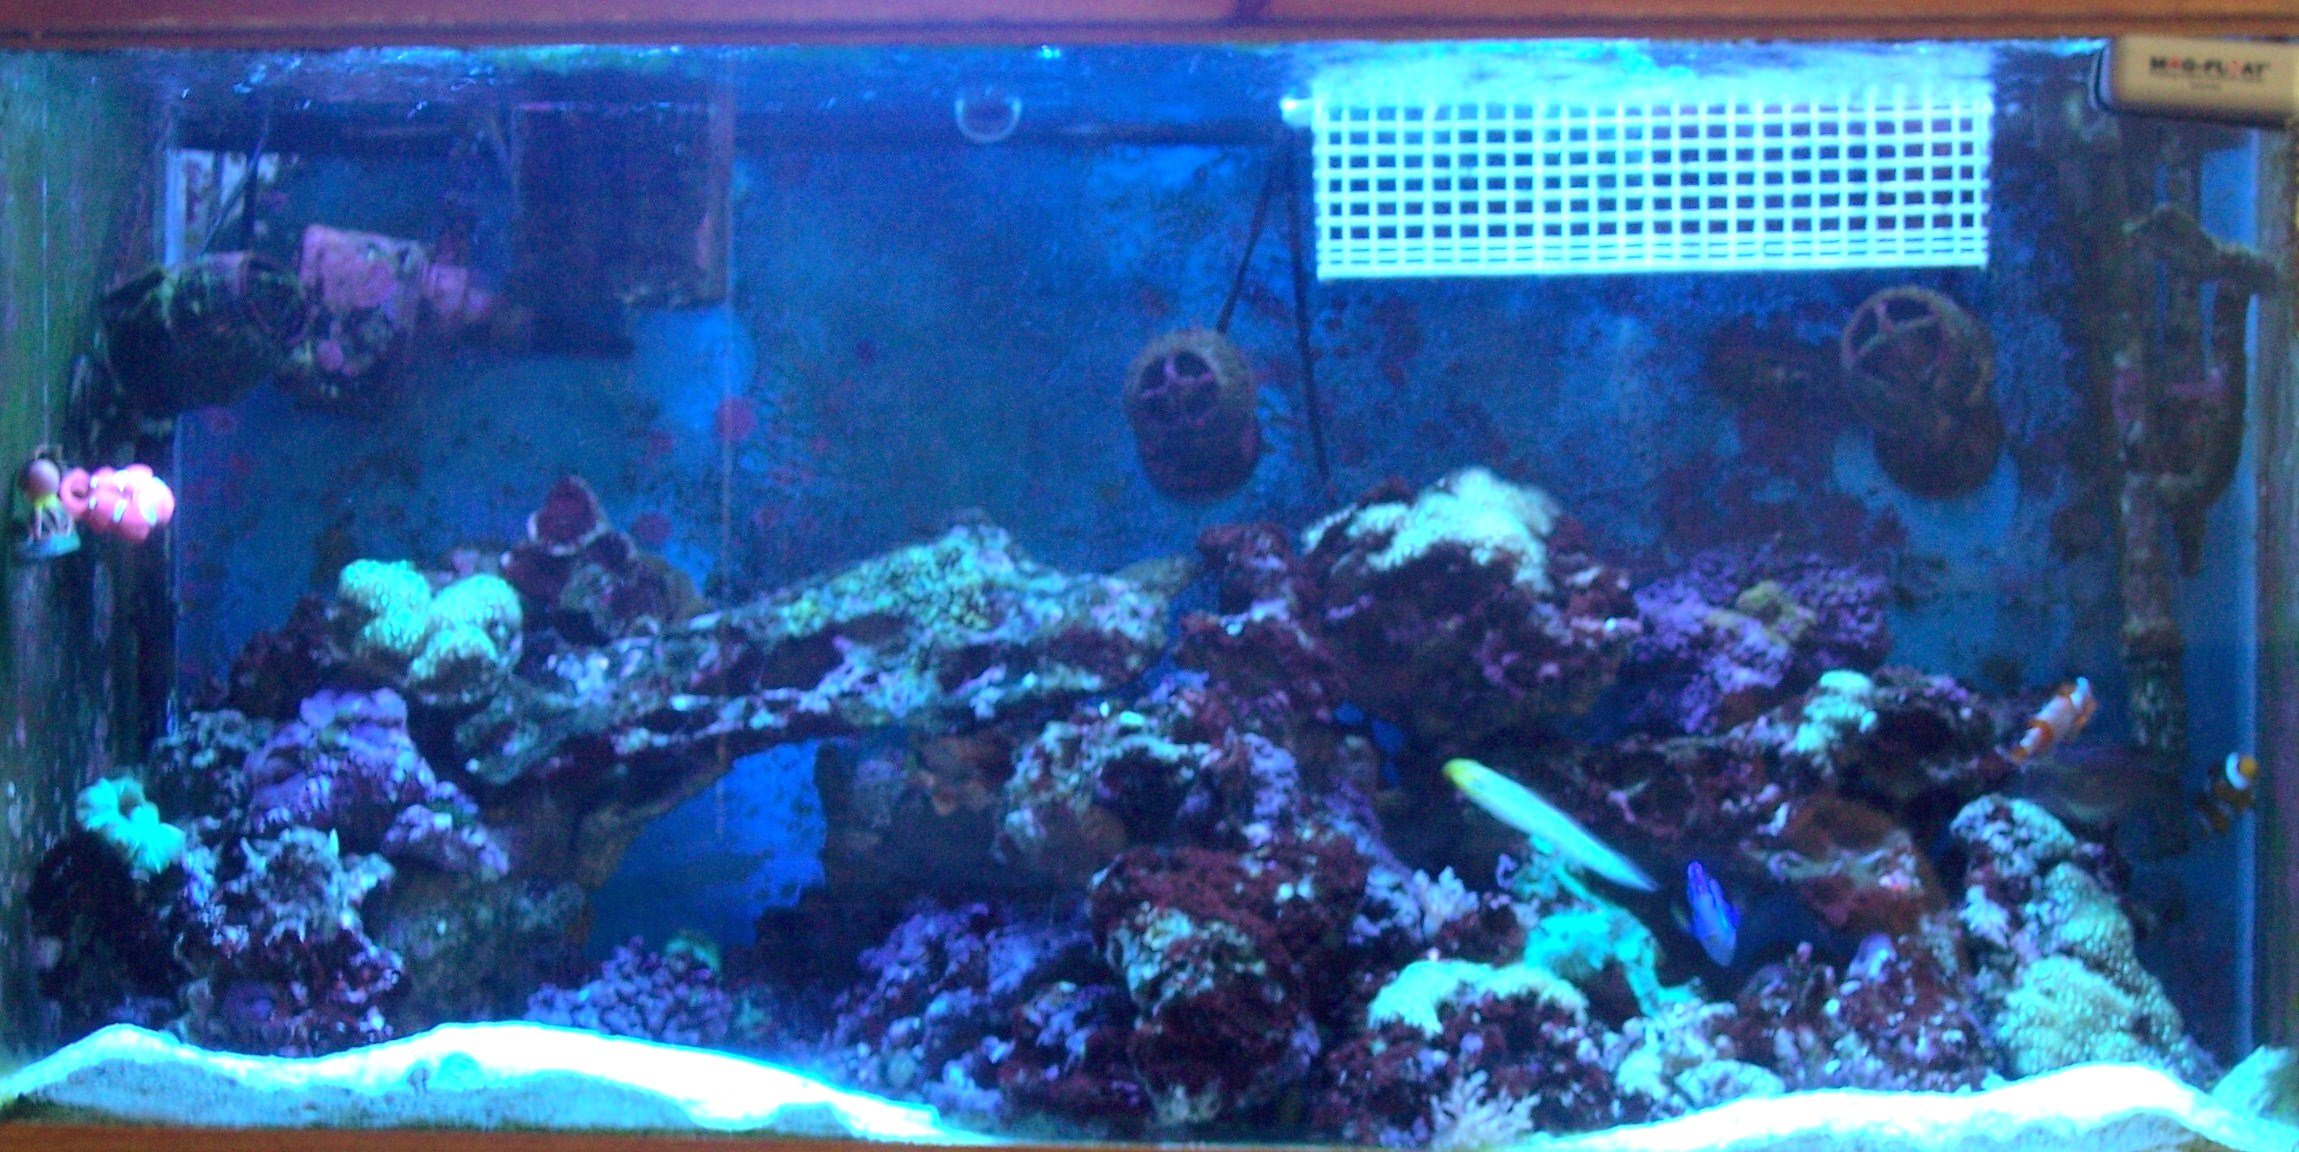
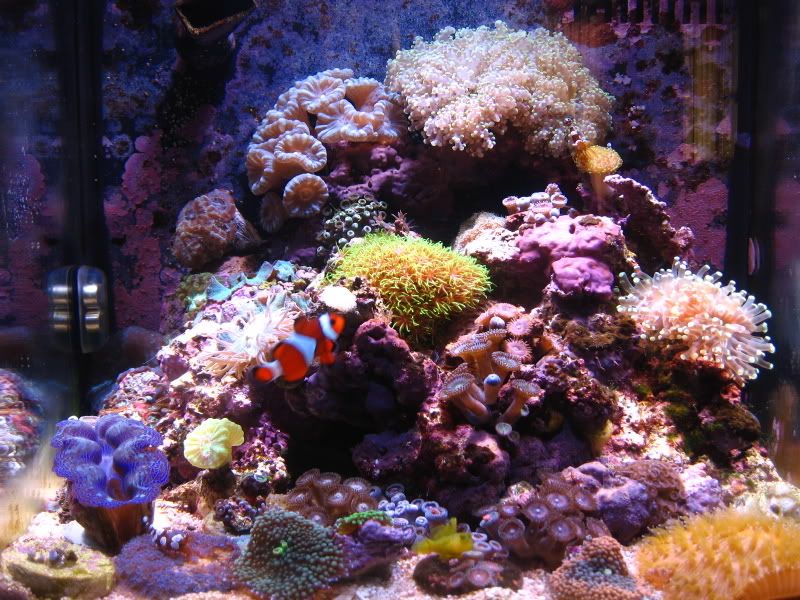
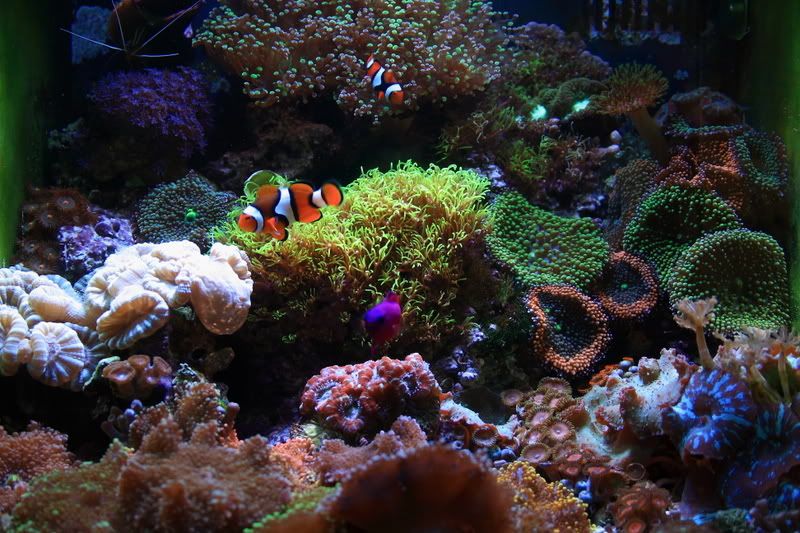
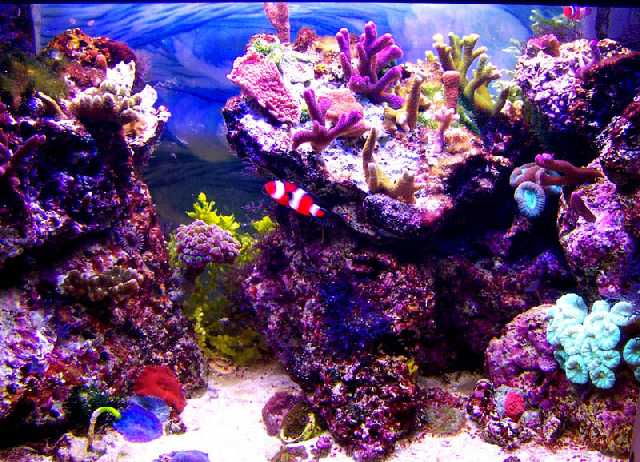
Also here's a couple of recent pics. The corals in this pic have been removed before i took this one in preparation for sale.
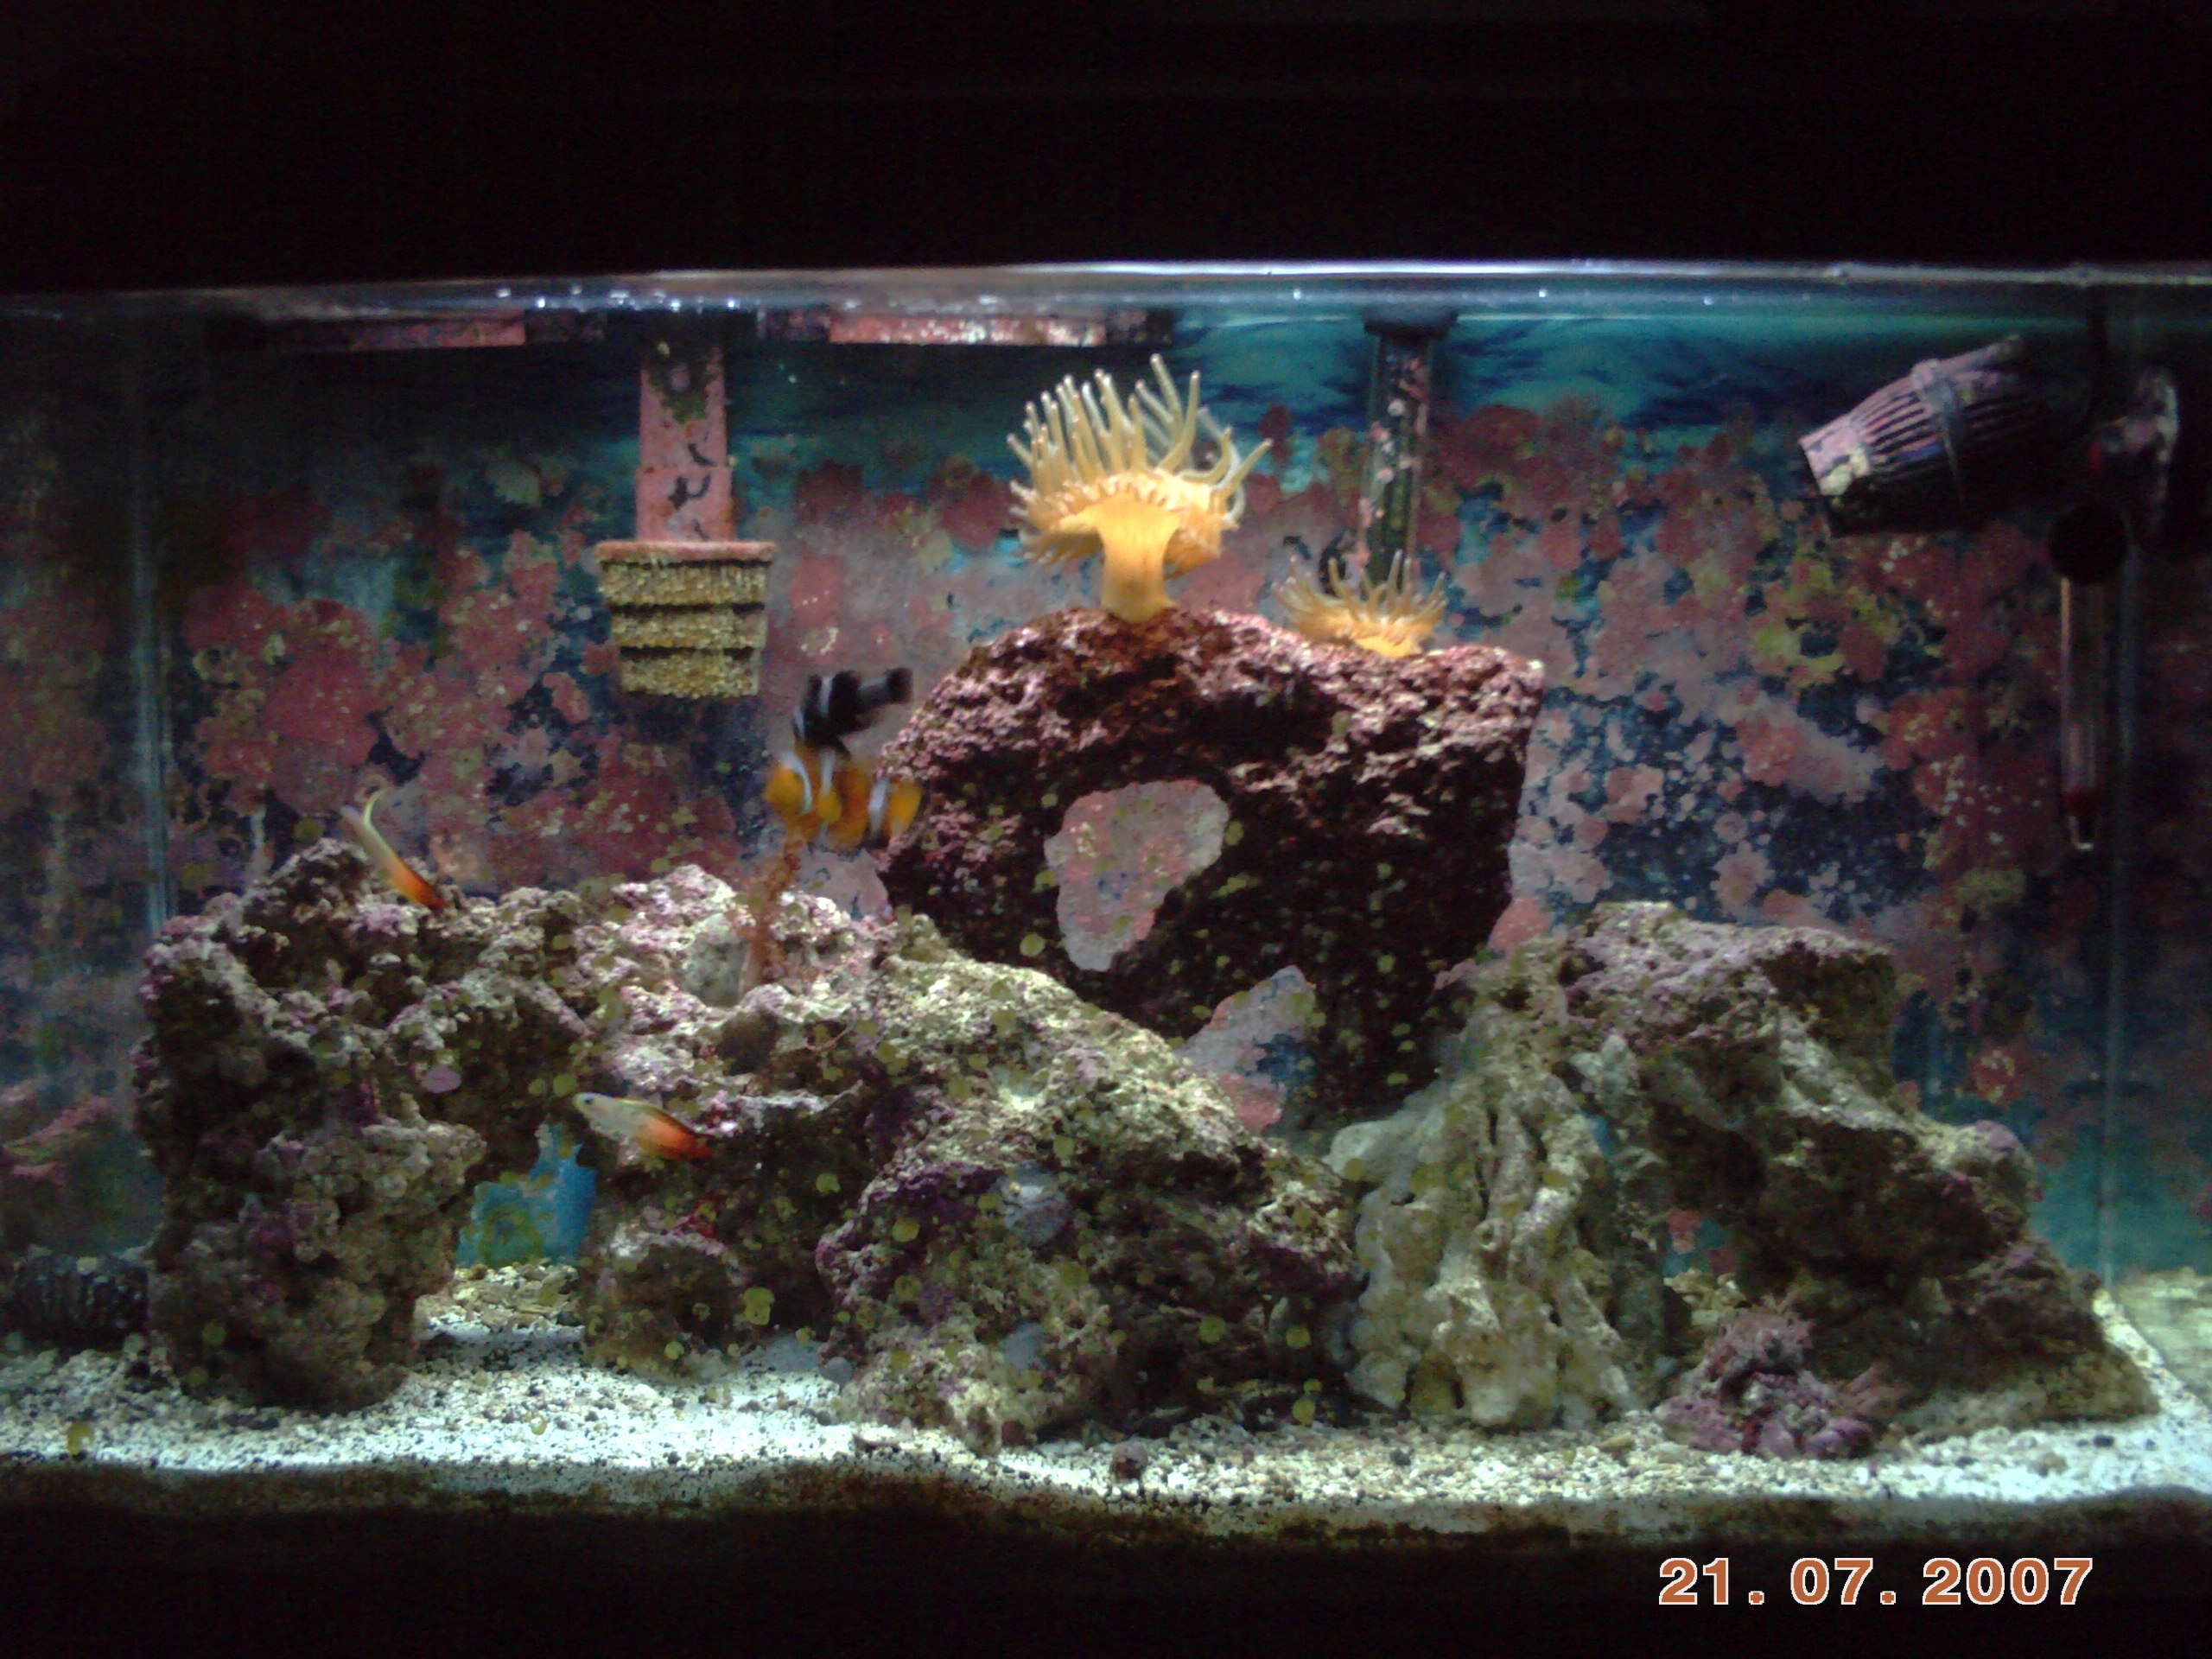
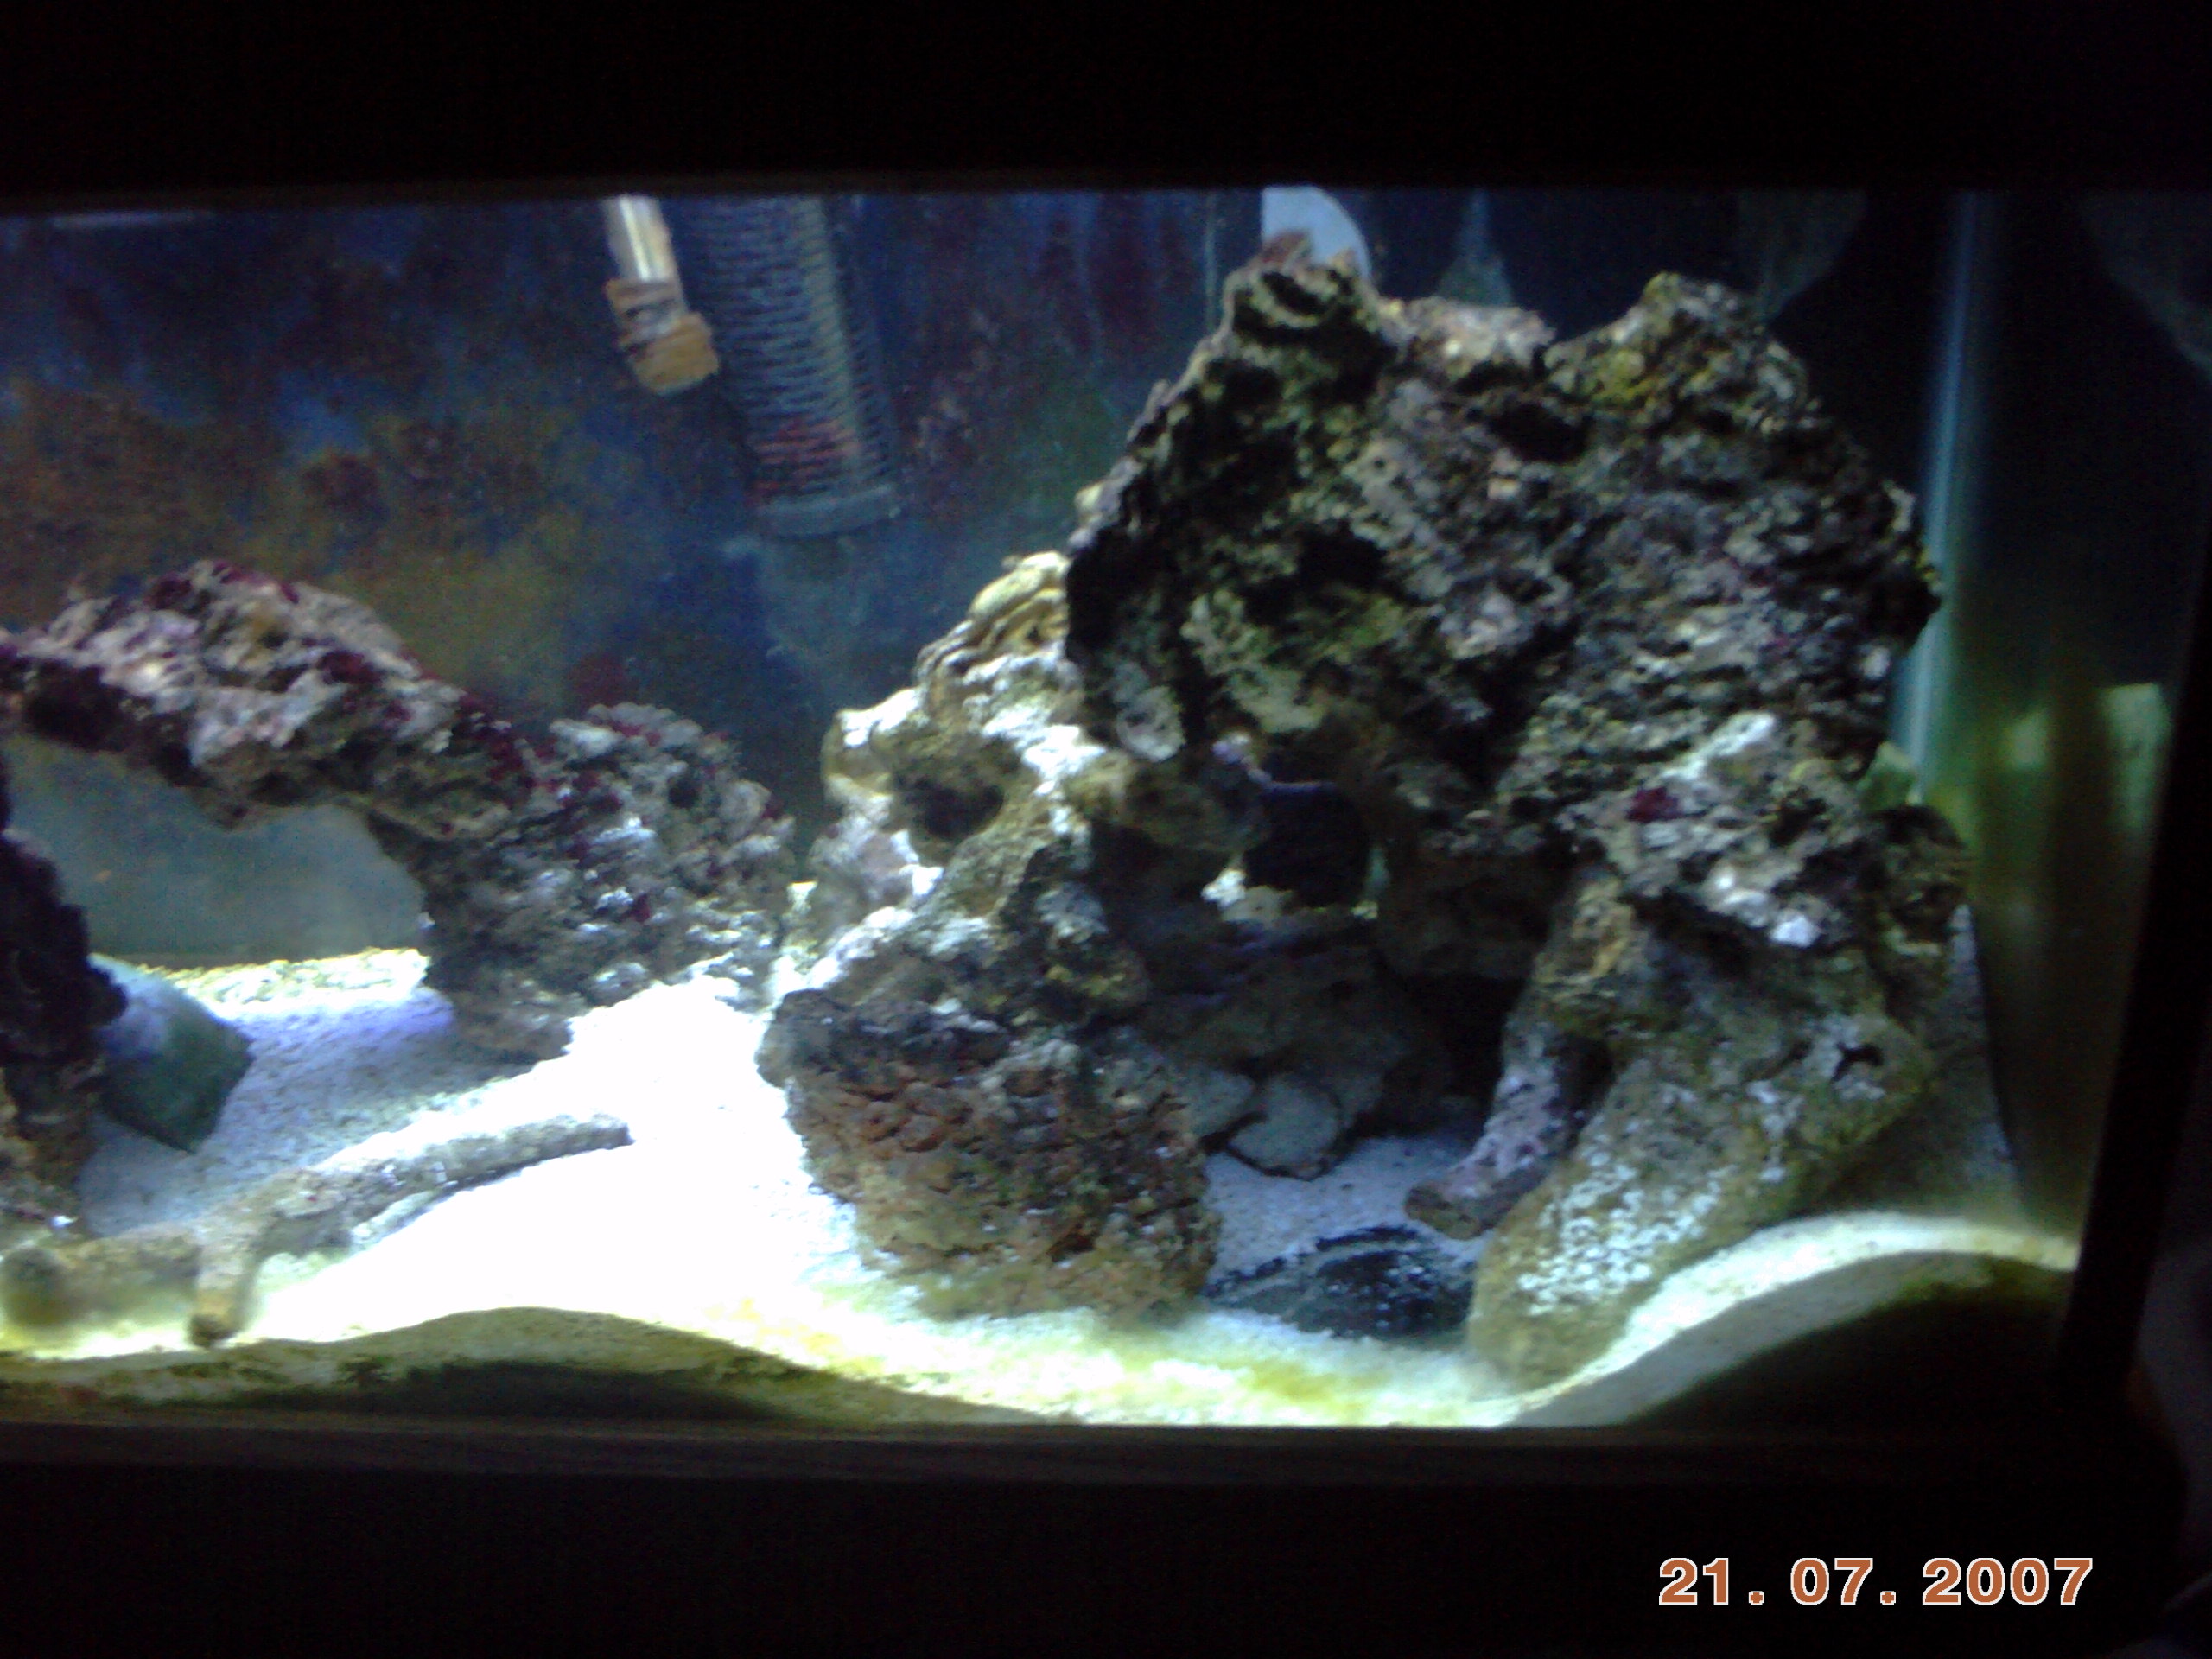
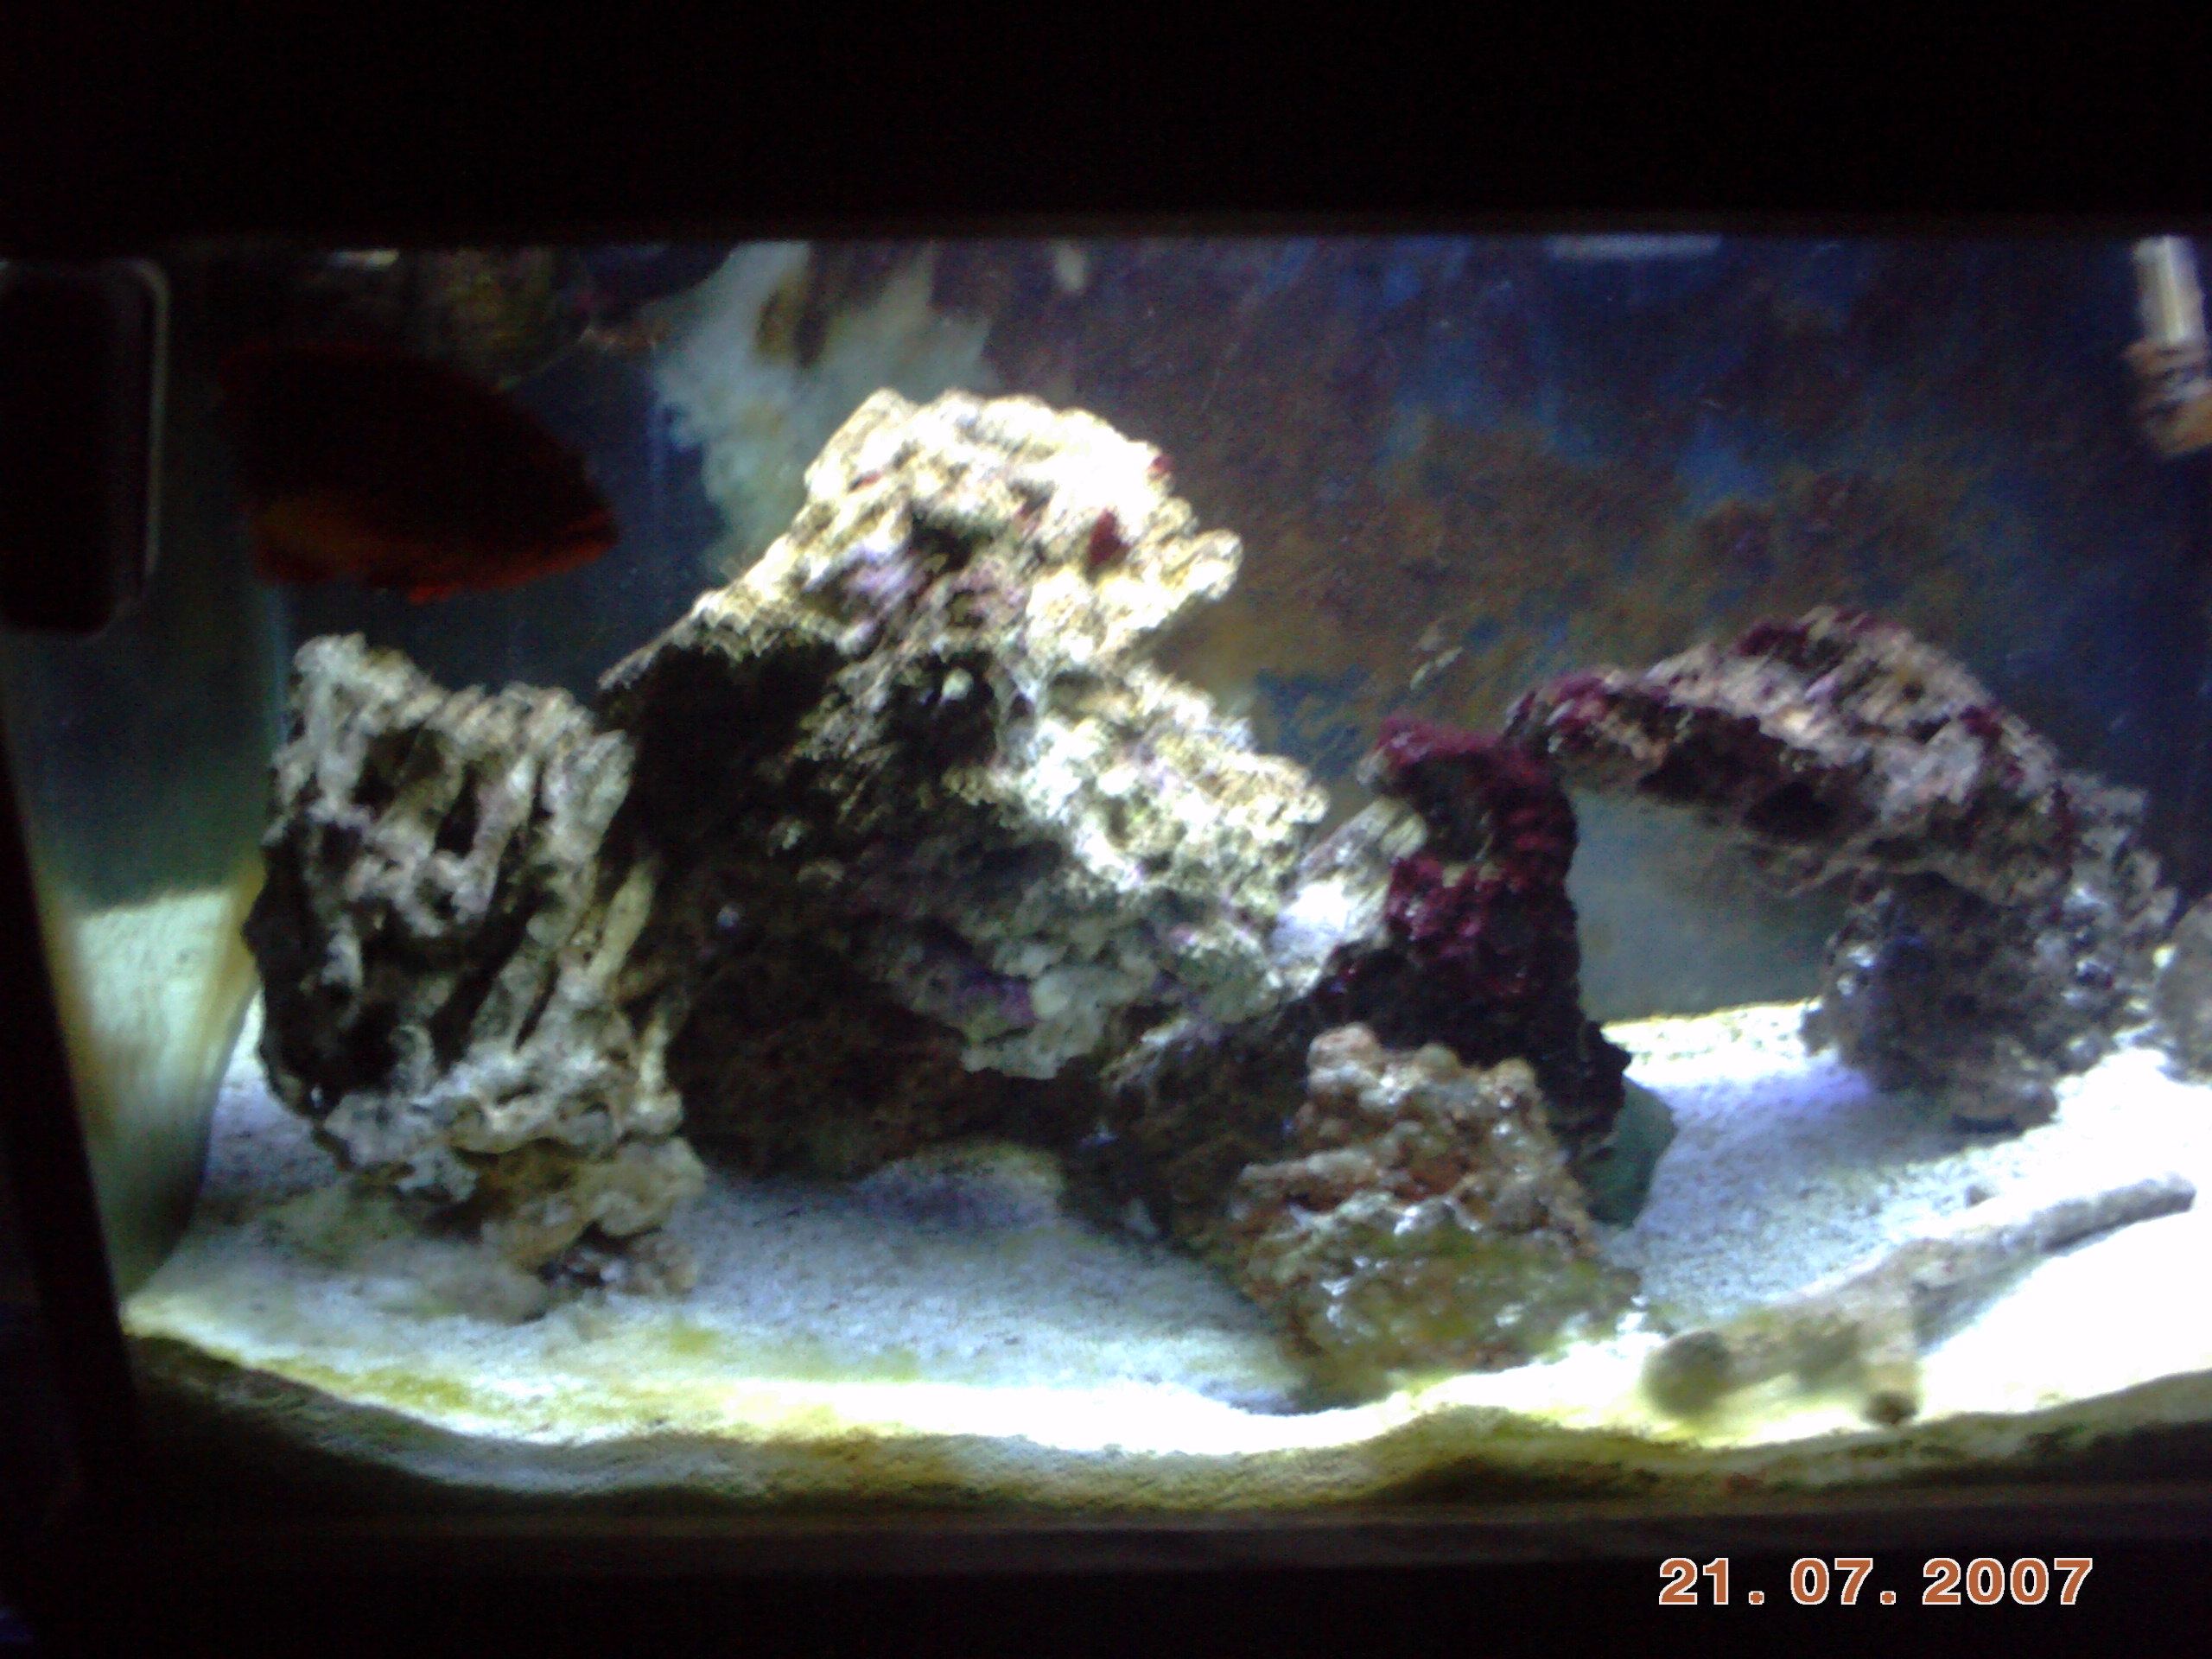
Also, here's a pic or two of some closer shots of the matured dry rock. It took about a year for the rock to purple up..... I had a phosphate problem that resulted in a major turf algae issue for a long time...took the addition of a GFO reactor to really drive the problem down to what you see here.
This process is nice, but very time-consuming and requires a lot of planning. The benefits of it include the ability to remove individual rocks from the frame, and the ability to use true "live rock" as well as base rock like tufa. You can see I used a combination of both in building this. One of the downsides is seeing more of the PVC than you may want to.... even though it colors up pretty quickly, it's still obvious that it isn't natural.
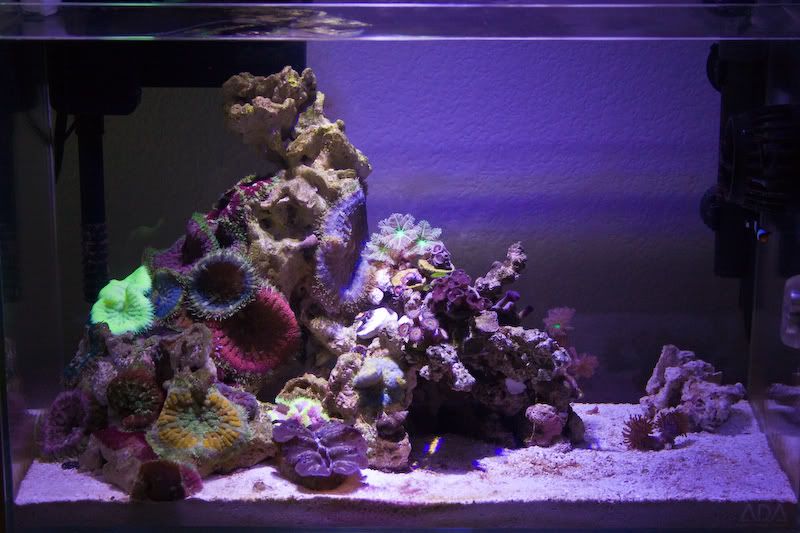
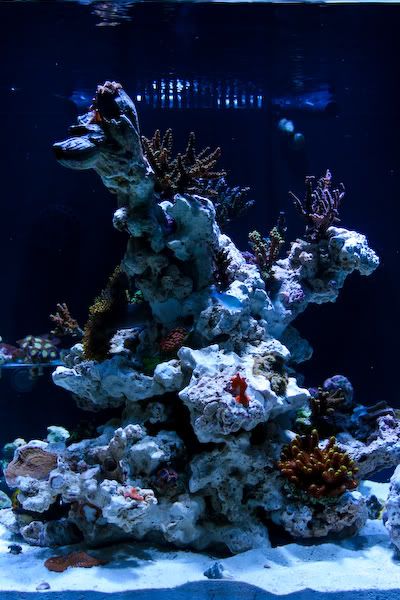
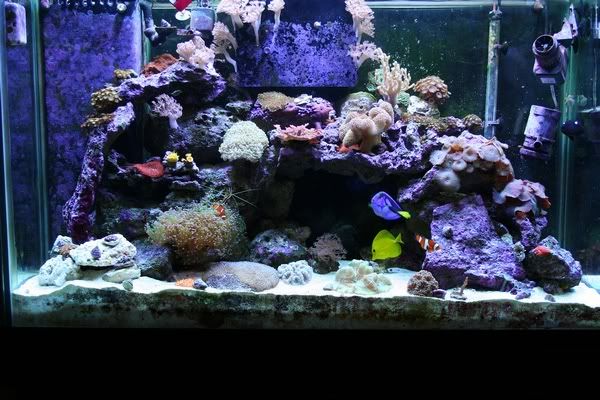
The next project I tried was an idea I came up with involving the foam that people use for back walls with the live frames seen above. Instead of individually hanging each rock on a PVC frame, I foamed the rock in against the pvc tubes. This gave me the advantage of being able to hide the pvc completely, and the foam between the rock can be carved to look like rock as well. You can see an example of the foam-frame technique in my seahorse tank thread, and also in these two pics of a new setup in my cousin's tank. His two columns were different; I showed some of the pvc so I could cut caves out of the tubes which his fish love.
I like the foam-framing idea a little more, but it has some drawbacks - you have to use base rock for the whole column because it has to be exposed to air while the foam dries. Also, you can't just remove one rock if you wanted to - they're pretty glued in there once the foam is cured.
 
Thats a very cool idea. I think to mix that idea as more of a "Background" then add the normal "in the sand" aquascaping up front with some caves and what not for things to hide in would look very cool.


flower

Well-Known Member
Hi,
 
I like caves myself. This picture was taken just before my heater broke. The second is after the heater incident and it shows the caves little better...when the coral is gone rock tends to do that.


soviettaco

Active Member
Alright so when I first started off I figured the arch was quite possibly the coolest thing you could do, and then I got tired of it and thought it was actually really unnatural looking so I decide to go with a different approach plain old stacking and I think it really works. Makes it look a lot more natural because on an actual reef live rock is just old dead coral that has broken off and fallen into a pile. Though I will say this IMO the mound look is not as impressive as a wall look. When you are aquascaping in this manner the best thing is to just keep changing the position of your rocks so you get more notches so you can securely place more rock on top of it or so you have little depressions where corals can be placed. Also add different types of rock, I think it looks really cool and actually plan on adding more. The primary thing to do is just keep playing with it and it will keep looking better every time you do it. So here's a time line of my tank.


demartini

Active Member
The history of my tanks! lol I love seeing them all together

 
Simple clean look. I made I spiral to display my maxi mini anemones. Everything is held together with reef putty.

 
Bonsai aquascape put together with reef putty

 
Two islands of stacked rocks

 
Stacked rocks

 
3 big rocks placed side by side and a little arch put together with super glue.
 

tkucifer

Member
Flower--your pic is a tragedy! I would have cried losing all that coral.
I really hope you were able to move and save a good portion of it...
 

spanko

Active Member
Interesting to see how you went from the arch to a pile of rock back to some more arches. Tanks looking good Taco!
 
Quote:
Originally Posted by SOVIETTACO http:///forum/thread/379558/aquacsaping-show-me-your-best#post_3300147
Alright so when I first started off I figured the arch was quite possibly the coolest thing you could do, and then I got tired of it and thought it was actually really unnatural looking so I decide to go with a different approach plain old stacking and I think it really works. Makes it look a lot more natural because on an actual reef live rock is just old dead coral that has broken off and fallen into a pile. Though I will say this IMO the mound look is not as impressive as a wall look. When you are aquascaping in this manner the best thing is to just keep changing the position of your rocks so you get more notches so you can securely place more rock on top of it or so you have little depressions where corals can be placed. Also add different types of rock, I think it looks really cool and actually plan on adding more. The primary thing to do is just keep playing with it and it will keep looking better every time you do it. So here's a time line of my tank.


mrdc

Active Member
What the tank looked like when it was setup by the fish store. Just looks like a pile of rocks and I was such a newbie!


Over time this is what it went to before I lost everything:


I don't have pics of my current setup but it looks really different than from before.
 

hunt

Active Member
here are the 2 tanks in my house (i aquascaped both).
pic 1: The 29g, (got to scrape the glass again).
pic 2: The right side of the 75g.
pic 3: the left side of the 75g.
pic 4: the whole 75g.

 
Top