(First Reef Tank Ever) **** 600gal Display **** 1300gal System

reefforbrains

Active Member
Awesome build. Followed this on -- from back when you started it.
Put some damn real stairs on that thing before you break your neck.
I know, I know, a BEAUTIFUL and well thought out set up, then I nag about the details. But come on, a "Step and roll" with a welded catwalk would be cheap and really remove the risk of a visitor breaking thier neck back in the Pump Room.
Sorry for nagging. Amazing build, looks like you have done much of it yourself. Congrats and welcome to the small board. Be proud of that beast.
-RFB
 

cbui2

Member
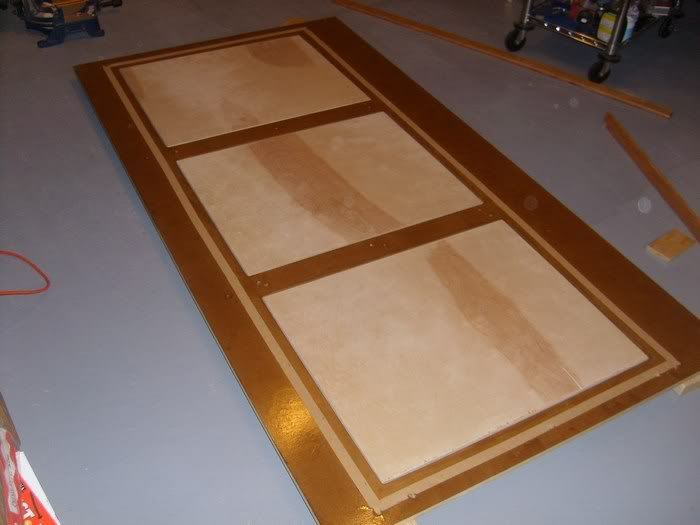
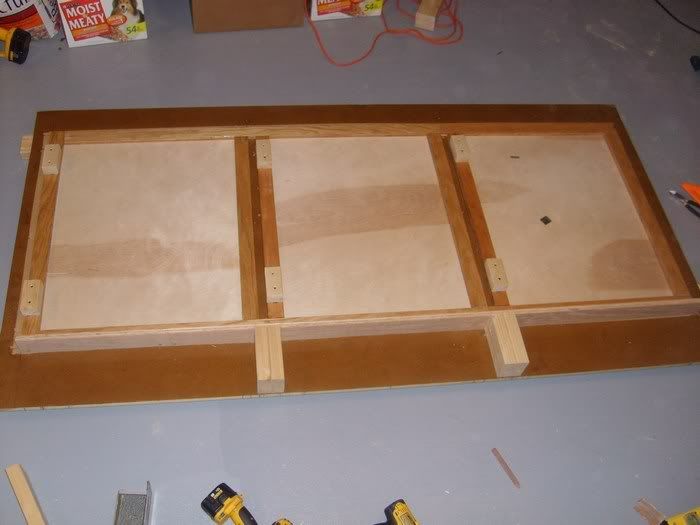
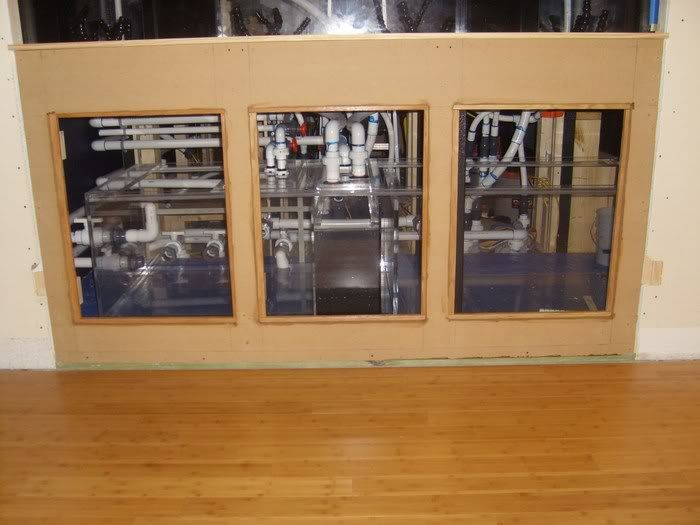
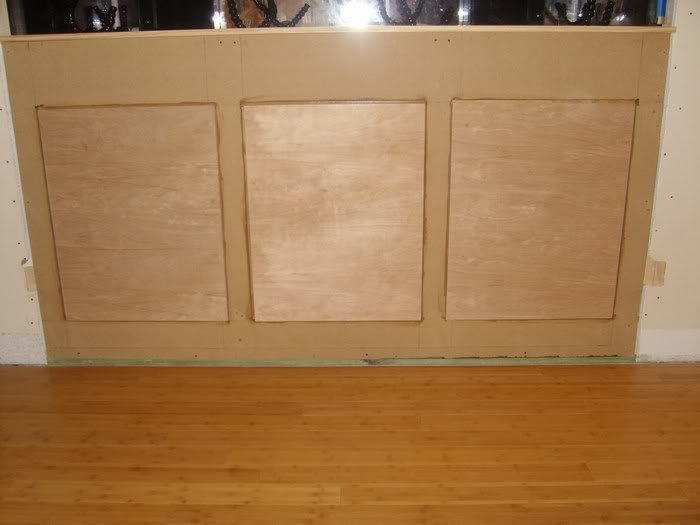
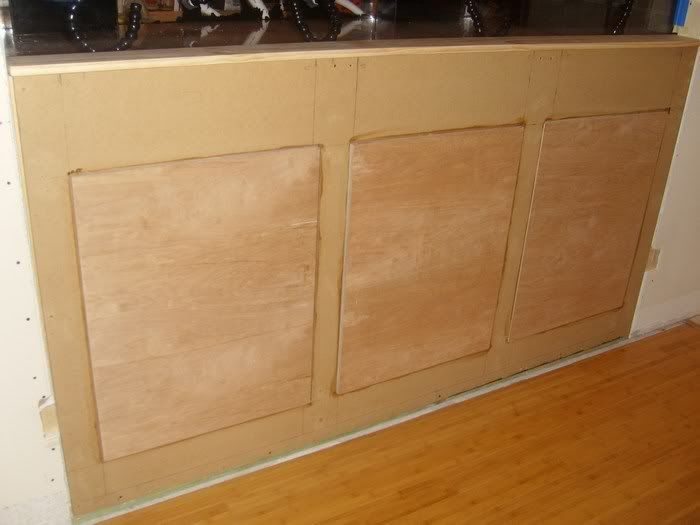
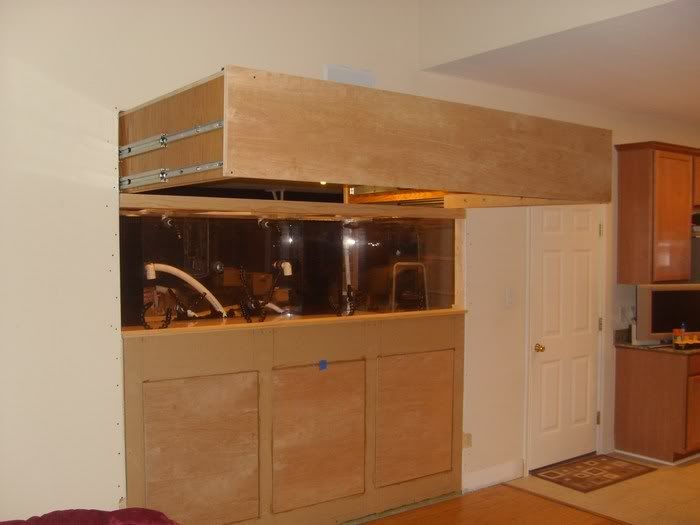
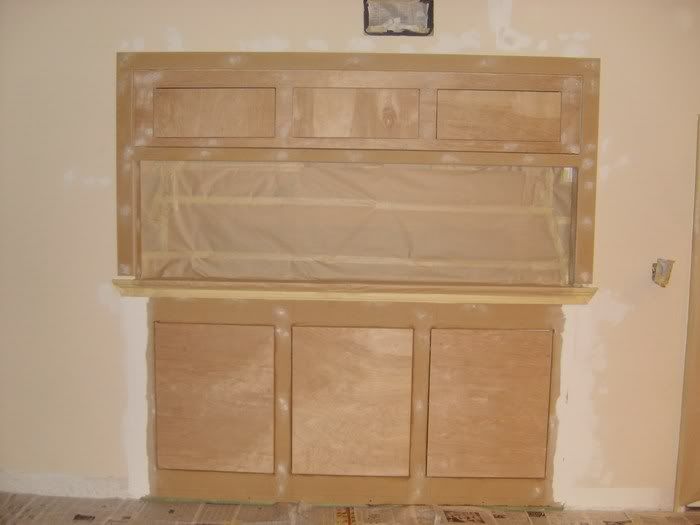
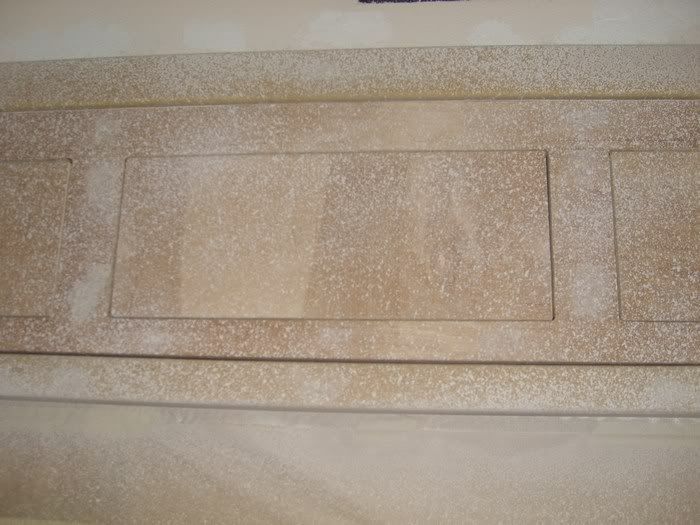
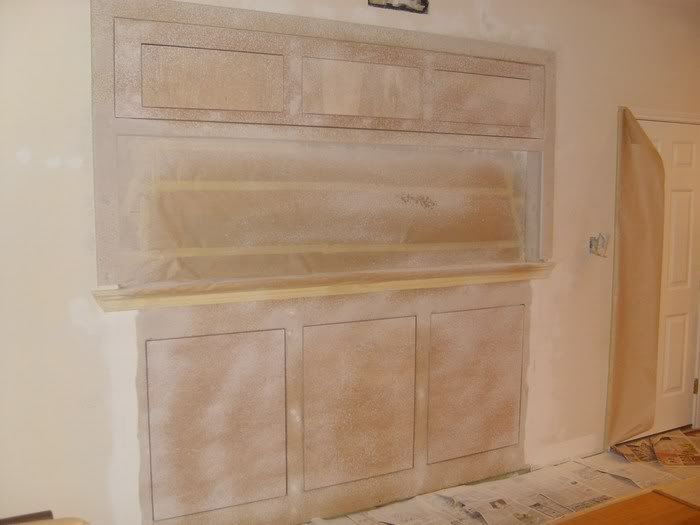
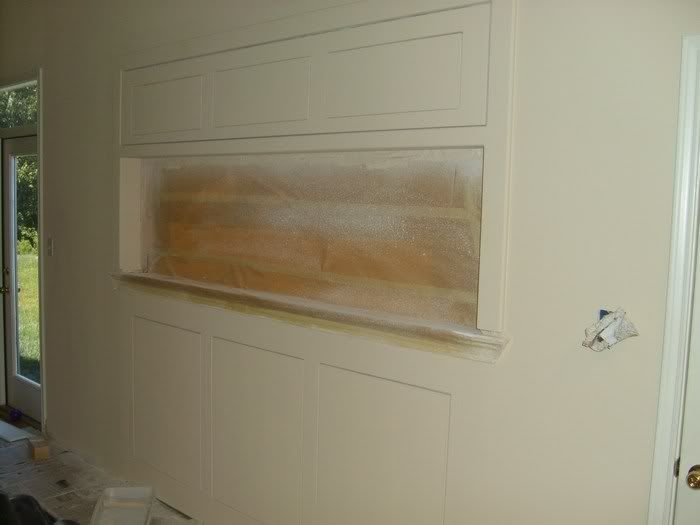
ok here are the latest update, and yes I did skip work to start on my cabinet. 1st thing I did was to make template using 2x4, then screw on to the cabinet cover so router can be used to make perfect cut & edges. sorry but didn't have time to take pictures of that. next was to round all edges down then 5 layers of spar finish to coat the back. next 2" strips was cut & sanded down for cabinet stopper then doors was cut and sanded also. finally mounted back onto the wall. tomorrow agenda--doors hinges, canopy and trimming.


cbui2

Member
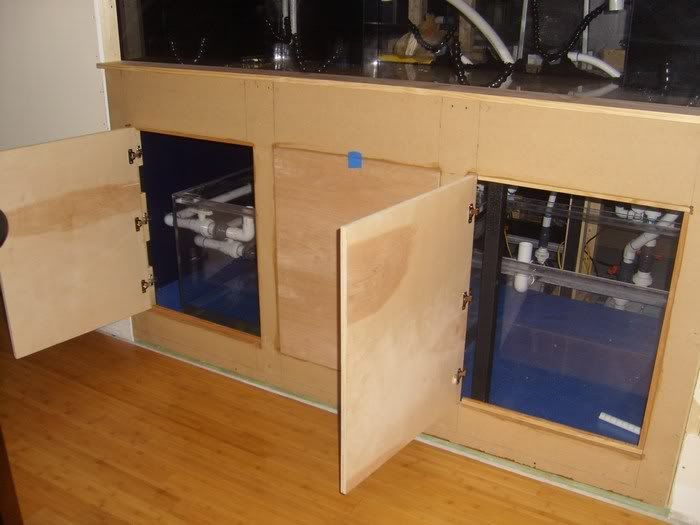
hinges are almost done since i only purchased 6 pc's, but found out need total 9, since the doors are extra large (25"W x 31"H) 2 on each is fine but 3 is alot better. so two outside doors are done and will work on middle doors tommorrow, HD here i come again.
 

cbui2

Member
Originally Posted by ReefForBrains
Awesome build. Followed this on -- from back when you started it.
Put some damn real stairs on that thing before you break your neck.
I know, I know, a BEAUTIFUL and well thought out set up, then I nag about the details. But come on, a "Step and roll" with a welded catwalk would be cheap and really remove the risk of a visitor breaking thier neck back in the Pump Room.
Sorry for nagging. Amazing build, looks like you have done much of it yourself. Congrats and welcome to the small board. Be proud of that beast.
-RFB
thanks
i will also i was thinking on the railing needed to be done also on the catwalk. i am more worried about the corals then me breaking my neck
also there are no nagging just opinions.
 

cbui2

Member
ok here are some more updates, since shop was busy today and I couldn't skip work. i skip dinner instead, he he
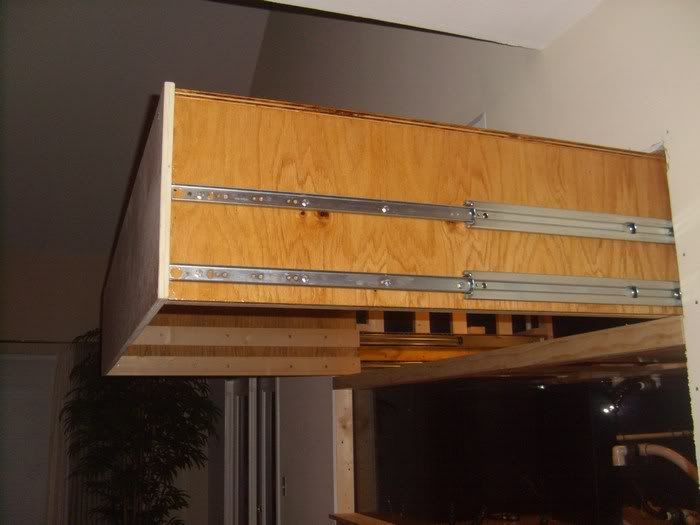
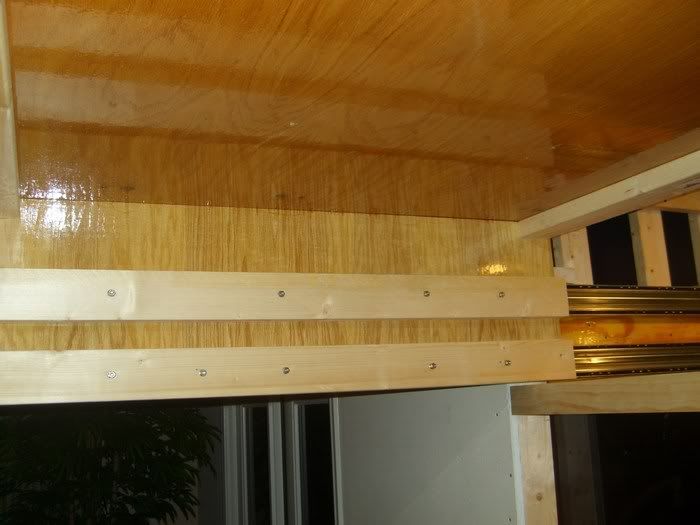
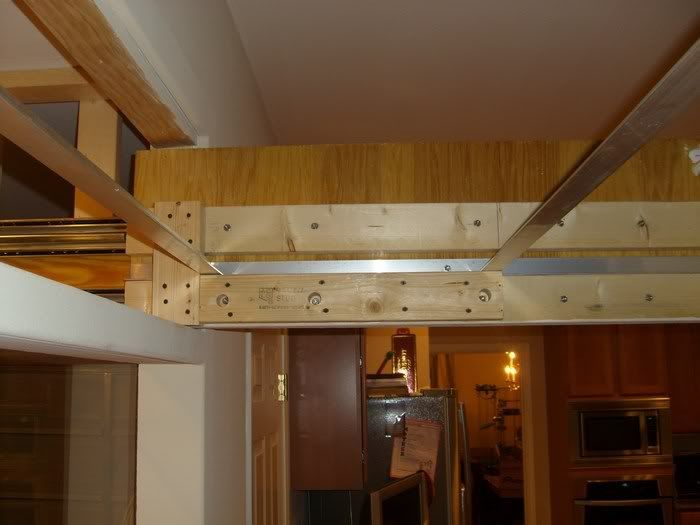
my extra pair of slides came in today, so first thing was to support the light rack sides again and with a pair on each side (total max weight rated 1000lbs). yeah I have that much weight on my rack then stainless steel 316 nuts and bolts were use to hold them in place.


next in line was to finish front cabinet and probably molding and trimming this weekend. as for right now i need a break, ha ha i'm human after all


cbui2

Member
ok here are some updates finally since I have been busy working.
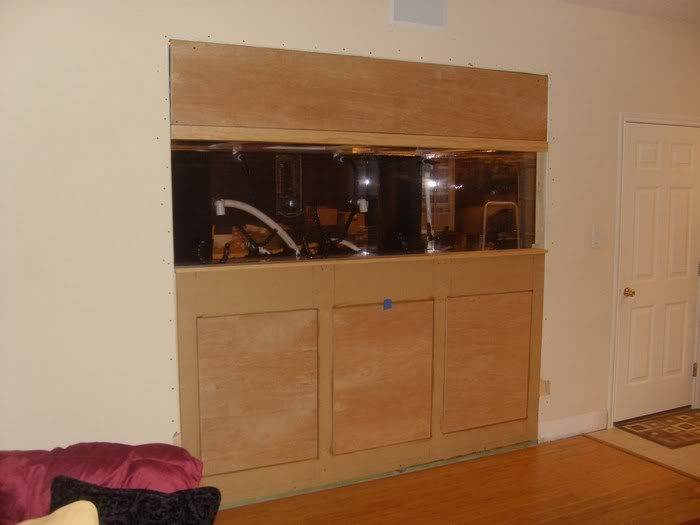
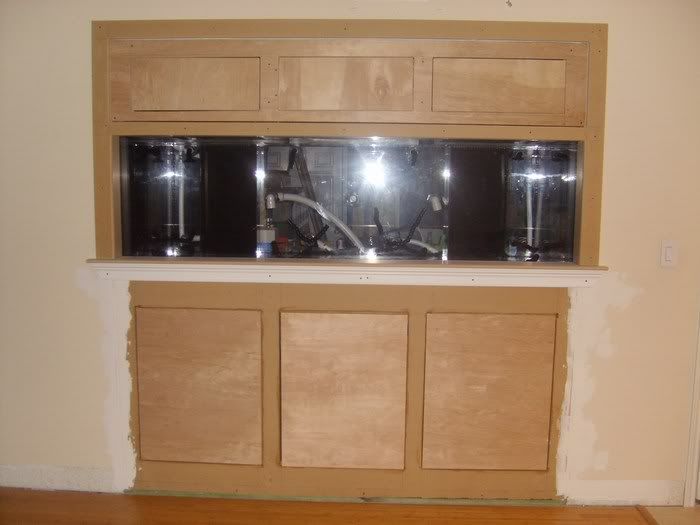
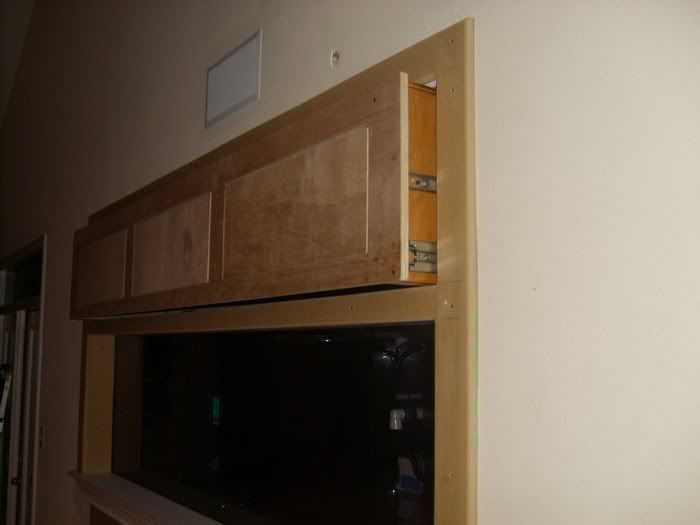
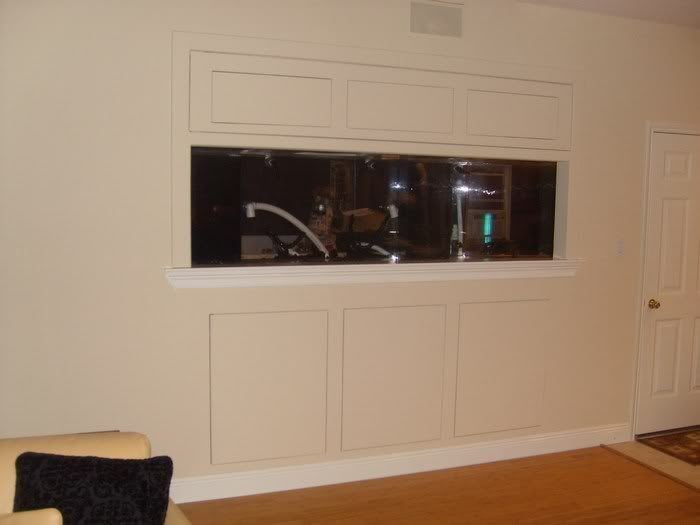
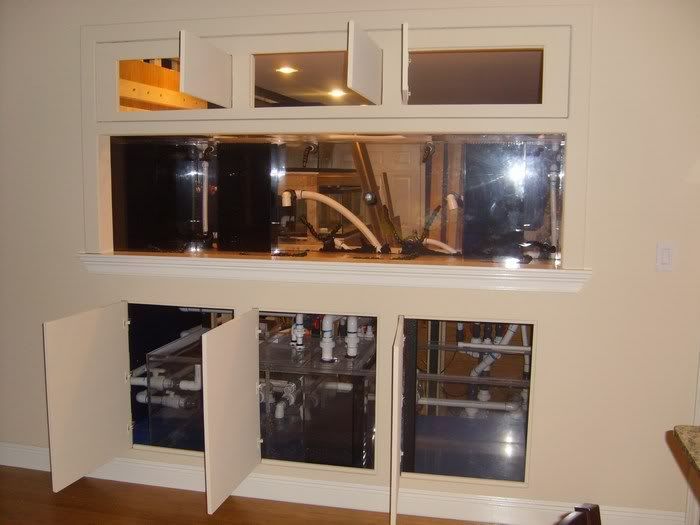
all the trim molding are done and cabinets doors hinges are also installed. I am still debating if any molding will be installed around the cabinets doors below the tank. base molding w/quarter round will be installed to match the rest of the house.


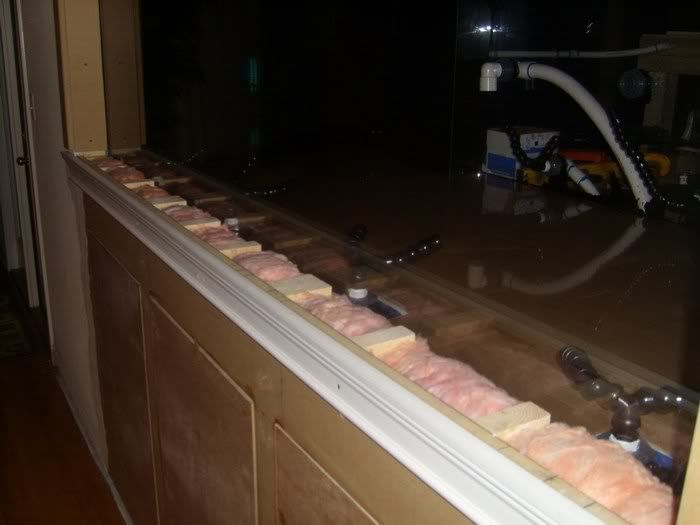
insulation was installed to reduce noise from fish room
 

cbui2

Member
Originally Posted by rebelprettyboy
man what a set up! I cant wait to see it up and running
thanks soon
 

cbui2

Member
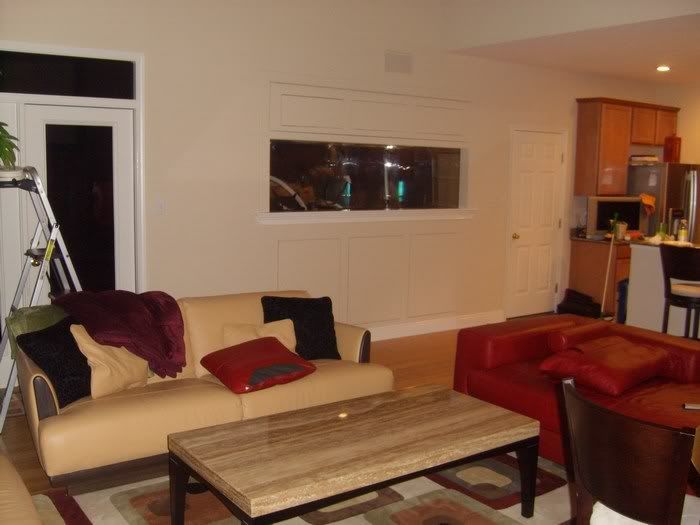
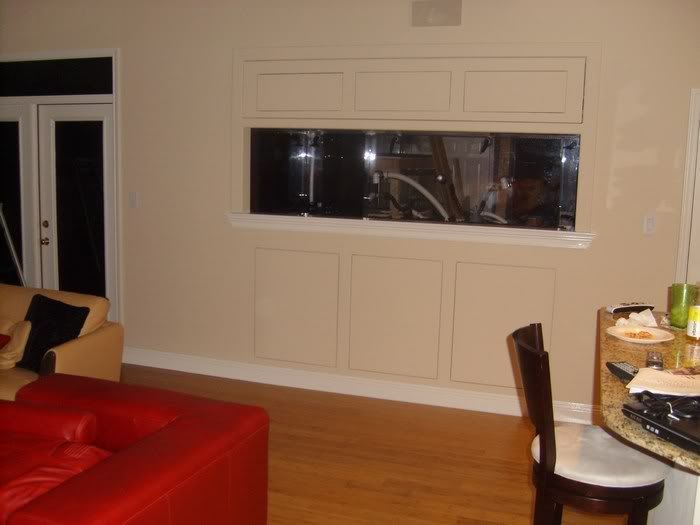
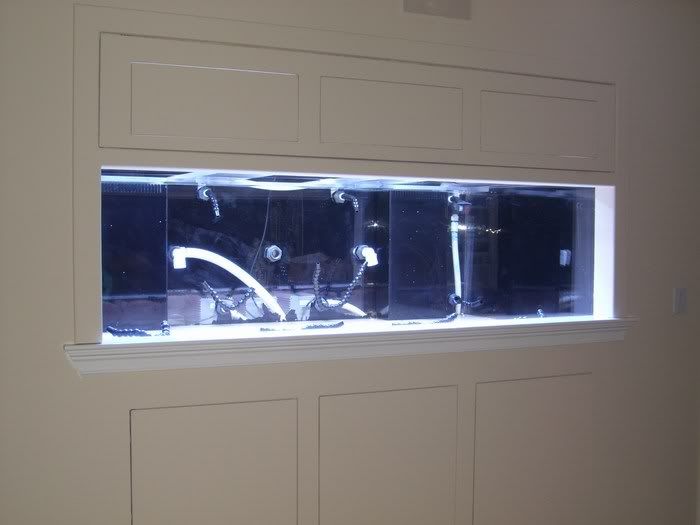
ok finally finished with cabinet and I am happy how this turn out, just plain and simply exactly how I liked it. I figure if all the trim molding was painted white then I can tell where the tank begin and ends. since i have blended the cabinet in with the entire wall. it has such a better view from all different angles. i will be working on lighting this week then chiller will be mounted and finished the rest of plumbing. 1 step closer on getting rocks & water in.


cbui2

Member
Originally Posted by ReefForBrains
This is like reliving the -- thread in super high speed. LOL I love it.
almost up to date just few more min.
 

cbui2

Member
ReefForBrains, dont you loved DSL. its works so fast all you have to do is blink

ok some more work done today and here are the updates.
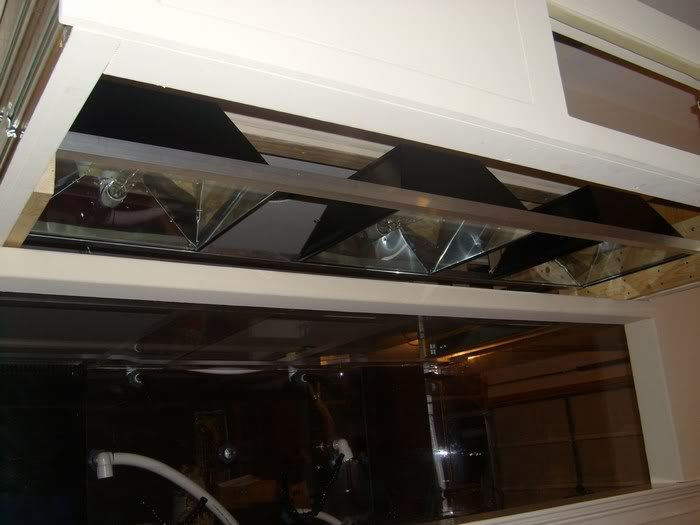
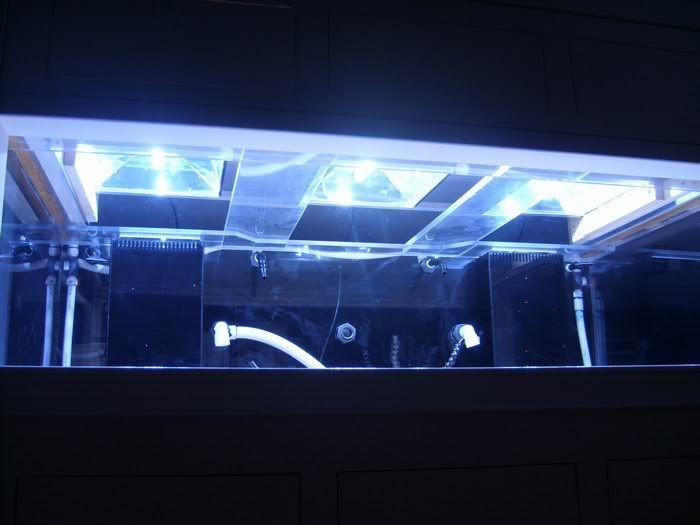
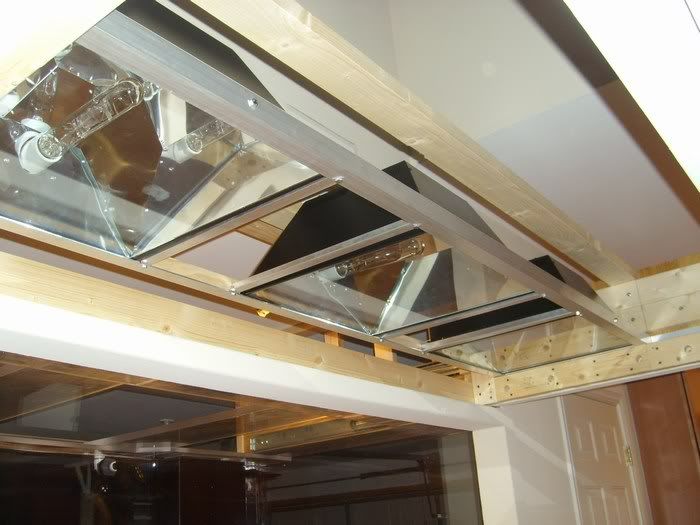
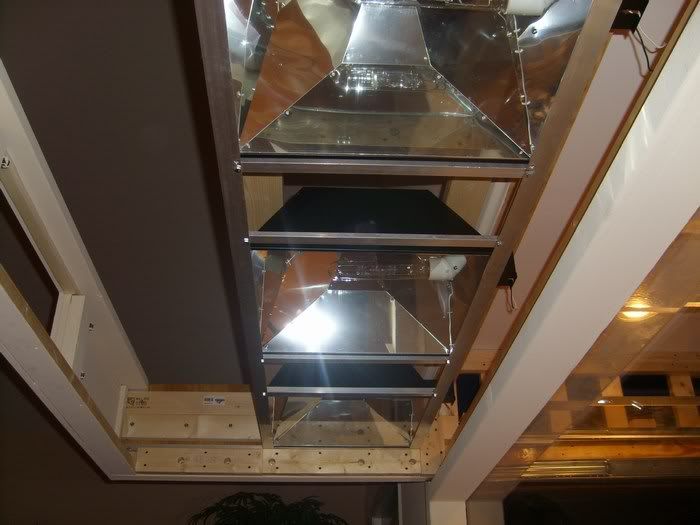
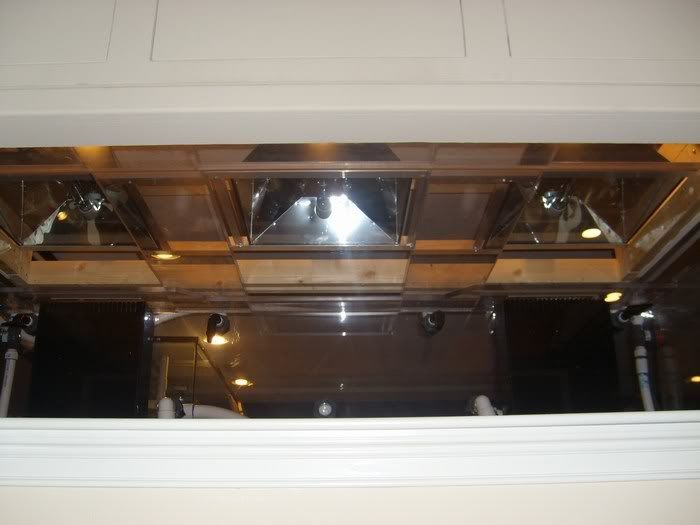
first thing was to assemble all 3 LM3 reflectors which my 3yrs. old baby volunteer to help and how convenience that the guy sell them on ---- is located down here and had them hand delivered to me. next was to cut aluminum to fit the slides which I had to be extra careful to have the holes drilled just right if not the slides will not work properly even if I am off about 1/4" or so. of course I am not completely done yet and extra supports will also be installed to hold them in place making them more sturdy since I cant afford to have any mistake as kids are around the house. MH are powered by 3 PFO Single HQI 400watts ballast w/14k hamilton. these babies are so bright it feel like I have no roof just direct sunlight.


reefforbrains

Active Member
Oh and for the record if I didnt mention it on --....I hate you!. LOL
Keep the pics coming, this is awesome to have them all clean in a quick sequence.
 

cbui2

Member
ok finished LA3 rack and additional modifications was added to secure all fixtures. 1st 1.5" x 1/8" thick aluminum angle was the main support to hold LA3 in place. 2nd 2x4 was added to top, back and sides to support the entire light canopy making it slides so much easier since the 3/4" plywood was removed due to any heat build up therefore making it lighter. 3rd 1" x 1/8" thick aluminum angle and 1x2 white pine was added to support the LM3 from moving no more than 1/8" either way so MH fixtures would not fall down while sliding rack is in motion. 4th LA3 will also be secure from the top just in case fixtures do ever fall down and hopefully it will not get that far.


cbui2

Member
Originally Posted by ReefForBrains
Oh and for the record if I didnt mention it on --....I hate you!. LOL
Keep the pics coming, this is awesome to have them all clean in a quick sequence.
thanks
i get that all the time
few more mins and i should be up to date
 

cbui2

Member
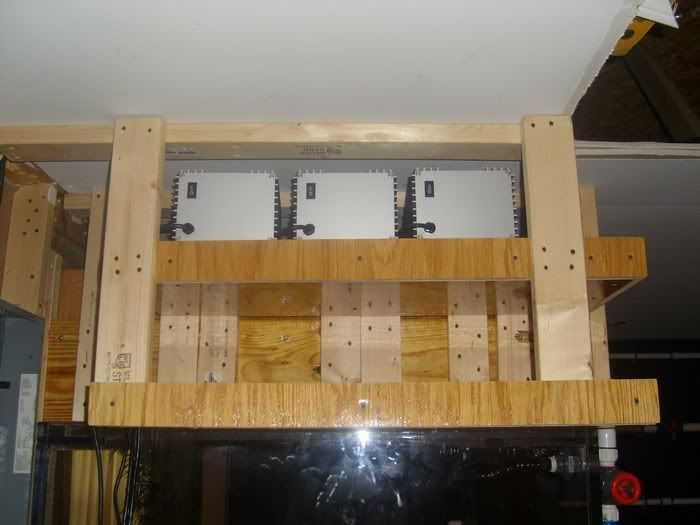
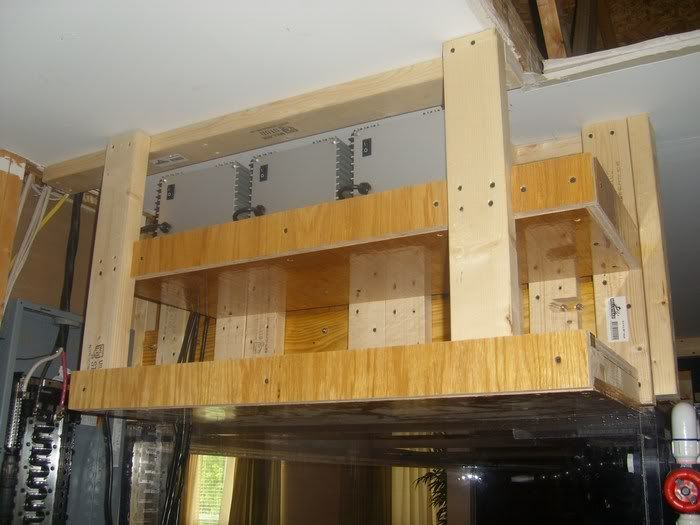
ok here are some more updates that I just completed. 2x4 and 3/4" plywood treated w/poly was constructed to finished the shelves for total of 6 PFO HQI Single 400w and 2 IC 660.


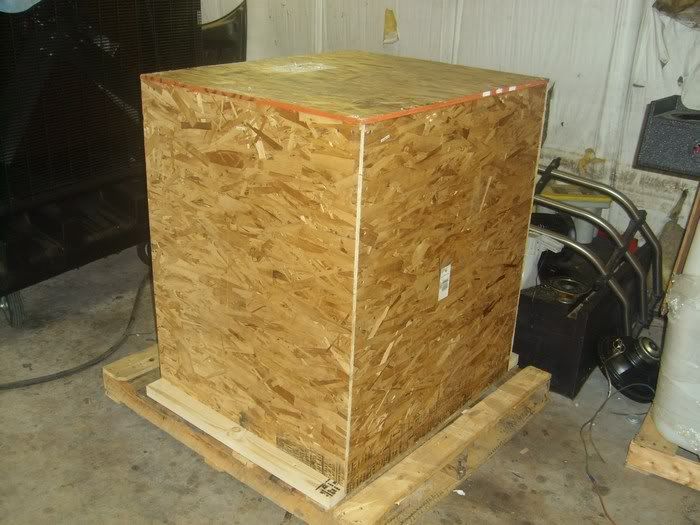
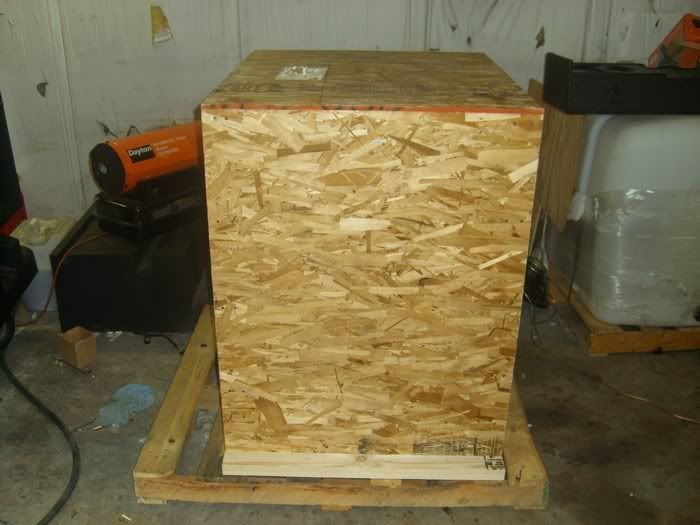
Tradewind 1.5HP 18,000BTU also made it here. I will begin forming the area needed to be done then concrete can be poured and the rest of plumbing can be done this weekend. after this i will be starting on my QT's setup which should only take couple days to build the stand then i will finally start making ro water.


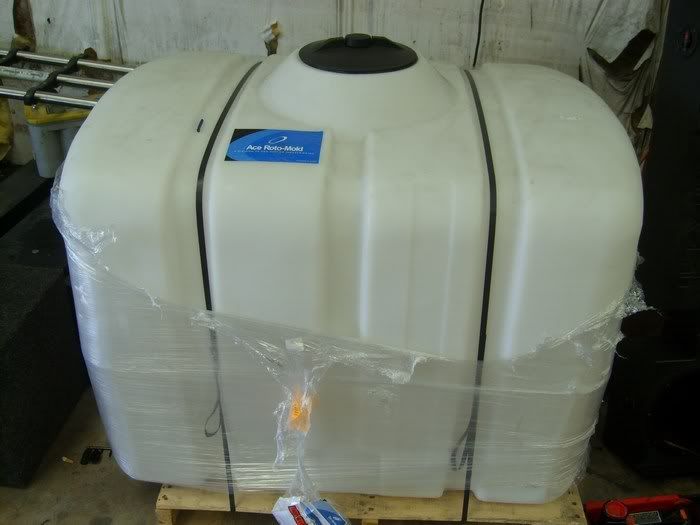
200gal ro/di reservoir

the vho's on each end will not be installed just the middle.
3 LM3 w/20k radium (rear), 3 reef optix v w/14k hamilton (front), and 8 36" URI super atinics space between the LM3 and reef optix v.
 
Top