reefforbrains
Active Member
Awesome build. Followed this on -- from back when you started it.
Put some damn real stairs on that thing before you break your neck.
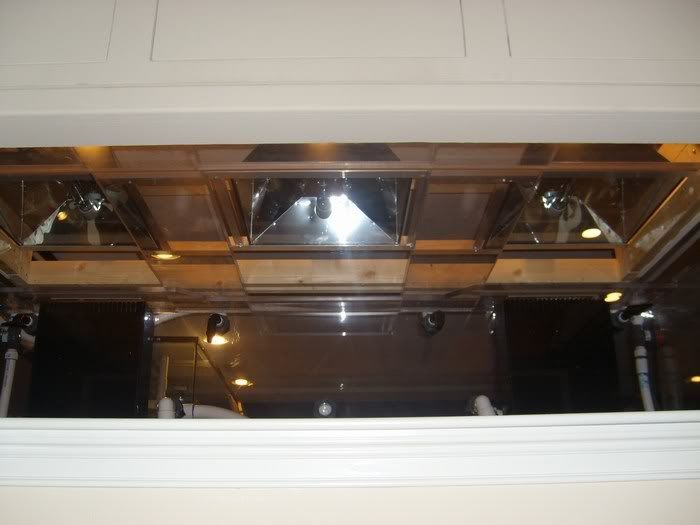
I know, I know, a BEAUTIFUL and well thought out set up, then I nag about the details. But come on, a "Step and roll" with a welded catwalk would be cheap and really remove the risk of a visitor breaking thier neck back in the Pump Room.
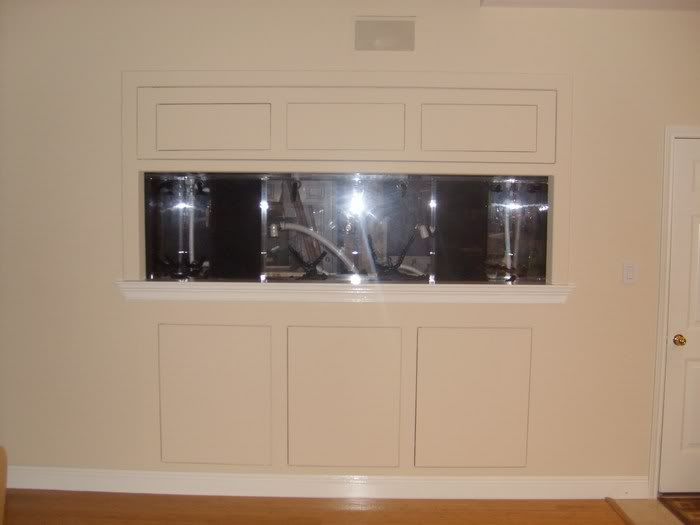
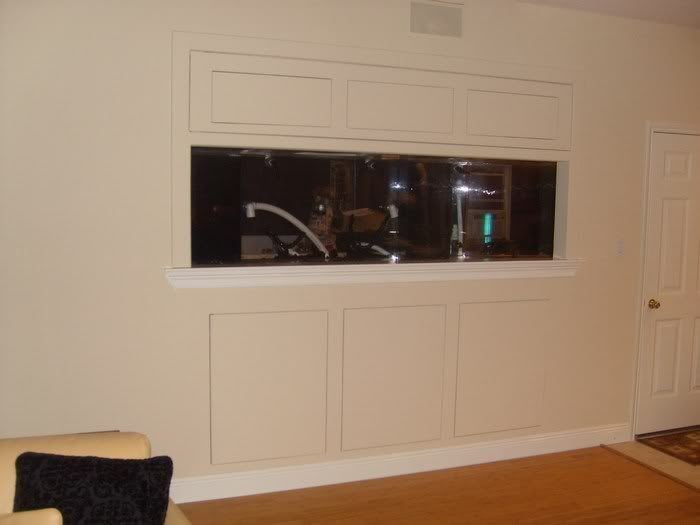
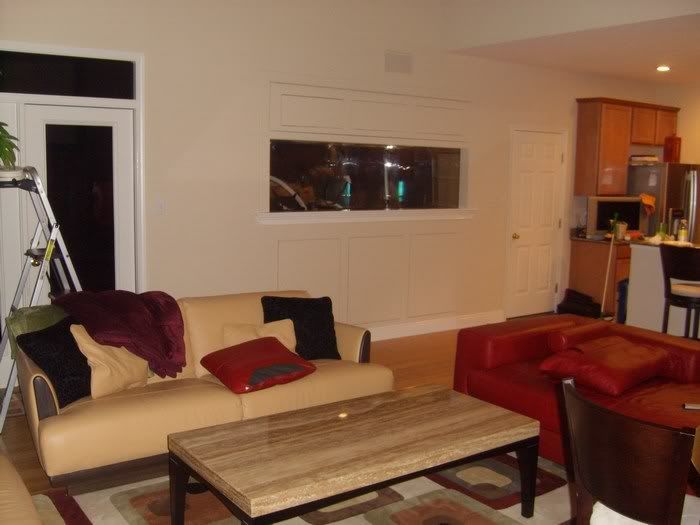
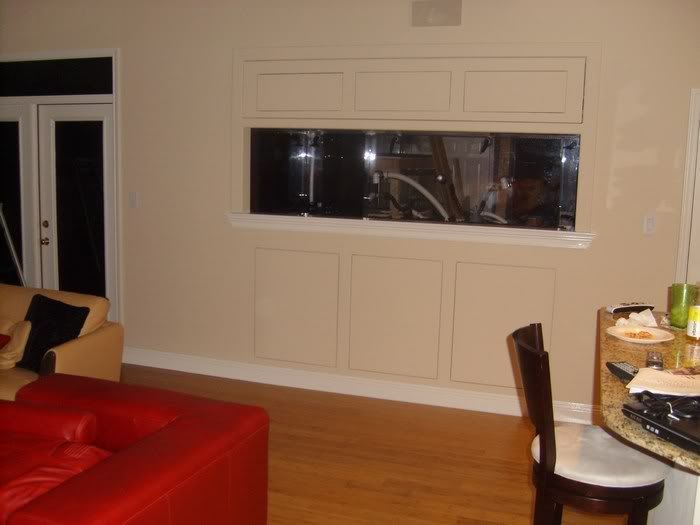
Sorry for nagging. Amazing build, looks like you have done much of it yourself. Congrats and welcome to the small board. Be proud of that beast.
-RFB
Put some damn real stairs on that thing before you break your neck.
I know, I know, a BEAUTIFUL and well thought out set up, then I nag about the details. But come on, a "Step and roll" with a welded catwalk would be cheap and really remove the risk of a visitor breaking thier neck back in the Pump Room.
Sorry for nagging. Amazing build, looks like you have done much of it yourself. Congrats and welcome to the small board. Be proud of that beast.
-RFB