need help with a DIY durso overflow

J

jrthomas40

Guest
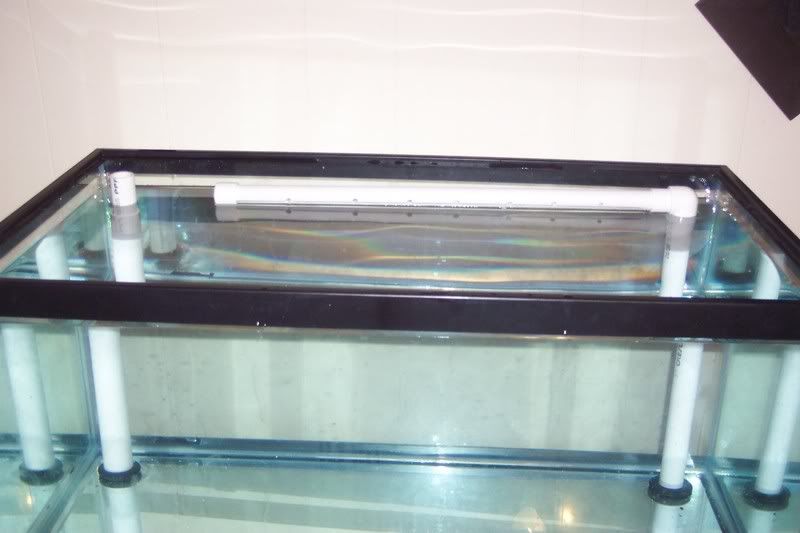
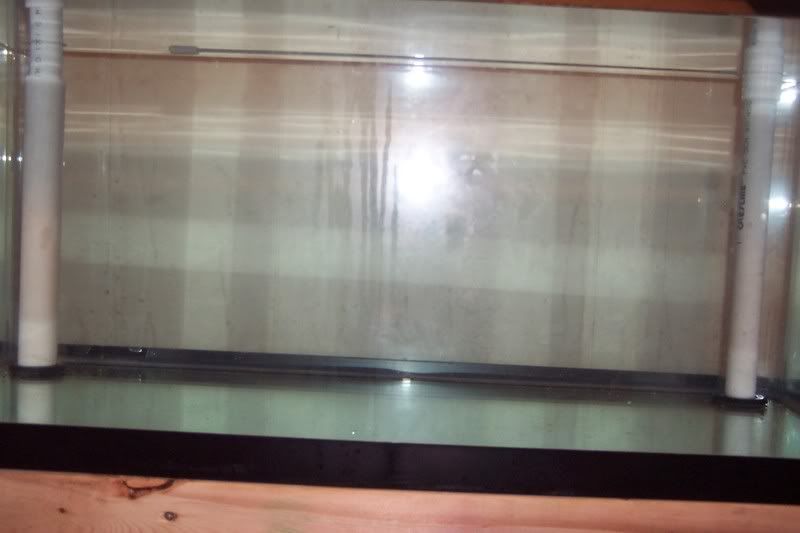
so i recently acquired 40 gallon breeder tank the guy had drilled at the local communtiy college in the aquaculture department....im having problems with the over flow system....if i make the drain to tall then i get a siphon from the return side when i cut the power....if i make the drain to short then the return doesnt get submerged and is a loud splashing....tank is 16 inches tall...please help....i will post a picture in about 2 minutes once i take it
 

summer_breeze

New Member
The overflow doesn't appear to look like a duroso? Where are the elbows etc?
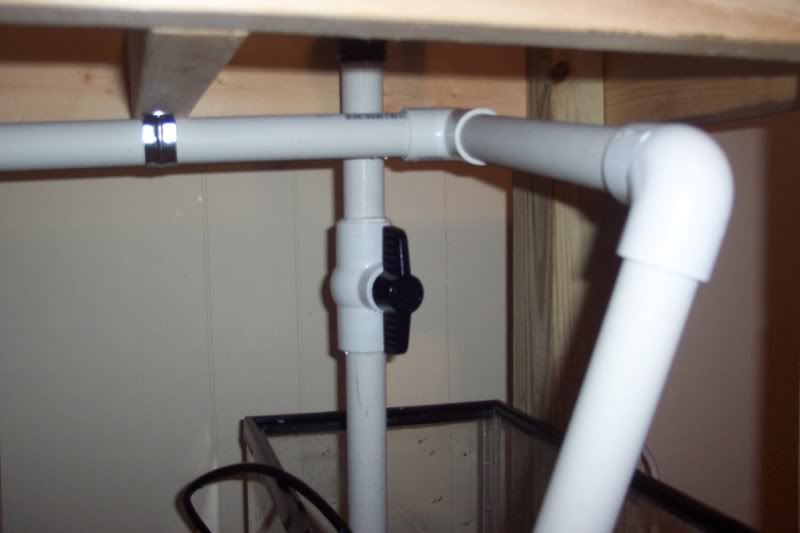
Did you put a check valve in the return to the tank? Usually a good idea for extra insurance in case of a power outage.
 
J

jrthomas40

Guest
i was trying to do it with what i had but i see now that i will have to make it like the one in my 90 gallon and have the drain half submerged...only thing is the return creating the siphon when power is out
 
J

jrthomas40

Guest
thanks for that link i am going to use that tomorrow
 

groupergenius

Active Member
Originally Posted by jrthomas40
http:///forum/post/2462077
i was trying to do it with what i had but i see now that i will have to make it like the one in my 90 gallon and have the drain half submerged...only thing is the return creating the siphon when power is out
Are you trying to keep the return holes submerged to keep splashing down?
If so, where the return 90's to the left, 90 it back down, then 90 it back to the left. On the original 90, drill a small hole in the bottom corner of the 90 ell. that should break the siphon on the return. If I had autocad at home I would draw it out for you.
 

apos

Member
Don't rely on a check valve. The small hole is better insurance. The only problem is that it will mean that you'll blow air when you first turn your main pump back on, which is annoying.
 
J

jrthomas40

Guest
i just drew it out and it looks like it is going to take 3 90* elbows and you are saying drill the hole in the first 90 elbow coming off the straight pipe
 

groupergenius

Active Member
The hole only needs to be like 1/16". And on the bottom so it sprays into the tank when the pump is on. That should be enough air letting in to break the siphon.
 

groupergenius

Active Member
One other thing. The "durso" overflow would be more effective if you closed that corner to a certain height to cause a spillover effect and skim the water surface.
 

groupergenius

Active Member
Originally Posted by jrthomas40
http:///forum/post/2462221
like if was a factory made predrilled tank??
Yep. But as a whole, it will work without the spillover. It would just do a better job of skimming with one.
Plus, you'll probably want to put some kind of screen over the intake of the durso to keep critters from getting sucked in.
 
J

jrthomas40

Guest
well it is just a frag tank and will have a bare bottom and a few snails....i forgot to mention i have a mag 5 pump for the return should i use a bigger pipe??? like maybe 1.5 inch instead of the 1.25??
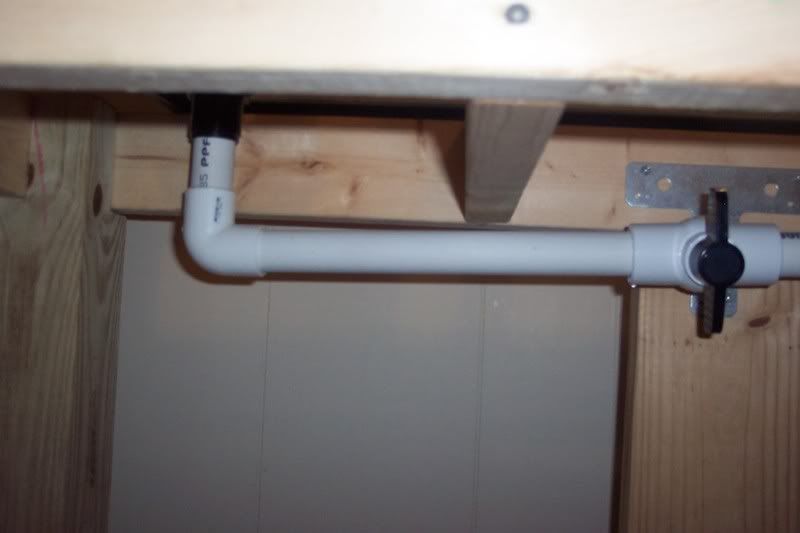
i have some leaking on the left side coming from the bulk head and the 90* that bends back to the right (pic 3) and a little bit on the left side of the cut off valve....what is a good sealant but not glue? incase i have to take it apart one day
 

groupergenius

Active Member
Originally Posted by jrthomas40
http:///forum/post/2462493
well it is just a frag tank and will have a bare bottom and a few snails....i forgot to mention i have a mag 5 pump for the return should i use a bigger pipe??? like maybe 1.5 inch instead of the 1.25??
i have some leaking on the left side coming from the bulk head and the 90* that bends back to the right (pic 3) and a little bit on the left side of the cut off valve....what is a good sealant but not glue? incase i have to take it apart one day
Changing the pipe to a bigger size will do nothing IMHO. The bulkhead ID is the determining factor.
Personally, I glue all my joints. And yes, I tend to regret it later sometimes. But PVC is cheaper than new flooring.
Are the holes in the return tube only along the front edge? Or is there some pointing straight down as well?
 
J

jrthomas40

Guest
ok...i kept it at 1.25 but now i have another problem the drain can not keep up with the pump...i used directions from that link and did all 1.25 reduced to 1" all the way to the sump but the pump is running the sump dry...i had to drill holes in the side of the TEE to see if that would help drain a little faster but as long as water is still equal to the elbow it still runs and i cant put any more water in the sump because when i turn the power off all the drainage fills the sump up to about 2 inches from the top so no more water can go in it.....when it is on the water level is about 1in from the top of the tank ( right at the bottom of the black trim)....now what??
i took that DIY spray out but did what you told me to and got 2 more elbows and drilled a hole in the first 1 but on that spray bar the holes are only in the front....i thought about putting some on the front and some on the bottom so that when the front and bottom hits the glass it would become more random but decided since i had 2 maxijet 1200 i would just do the front and now dont even have it...the 3/4in opening in the elbow is a dispersed flow
 

groupergenius

Active Member
The overflow stand pipe in the tank, try shortening it say 1/2" then try it again. See if the level drops in the main tank and comes up a little in the sump.
 
J

jrthomas40

Guest
done...now there is enough water in the sump to keep it going BUT now when power is out too much water is drained
 
Top