king_neptune
Active Member
OK! After much deliberation, planning, setbacks, procrastination, and who knows what else... I am going to set my first foot forward!!
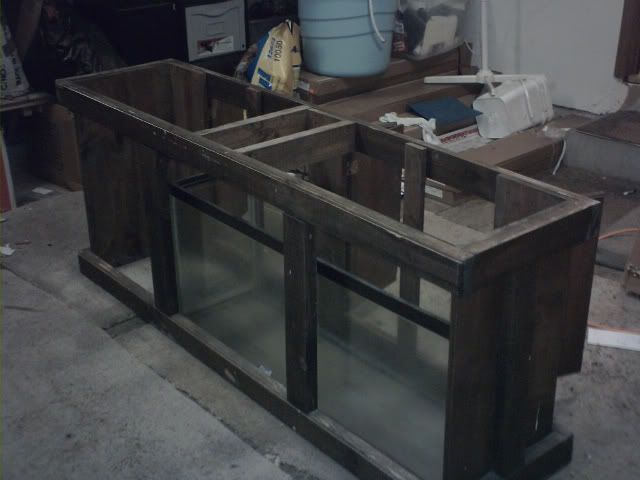
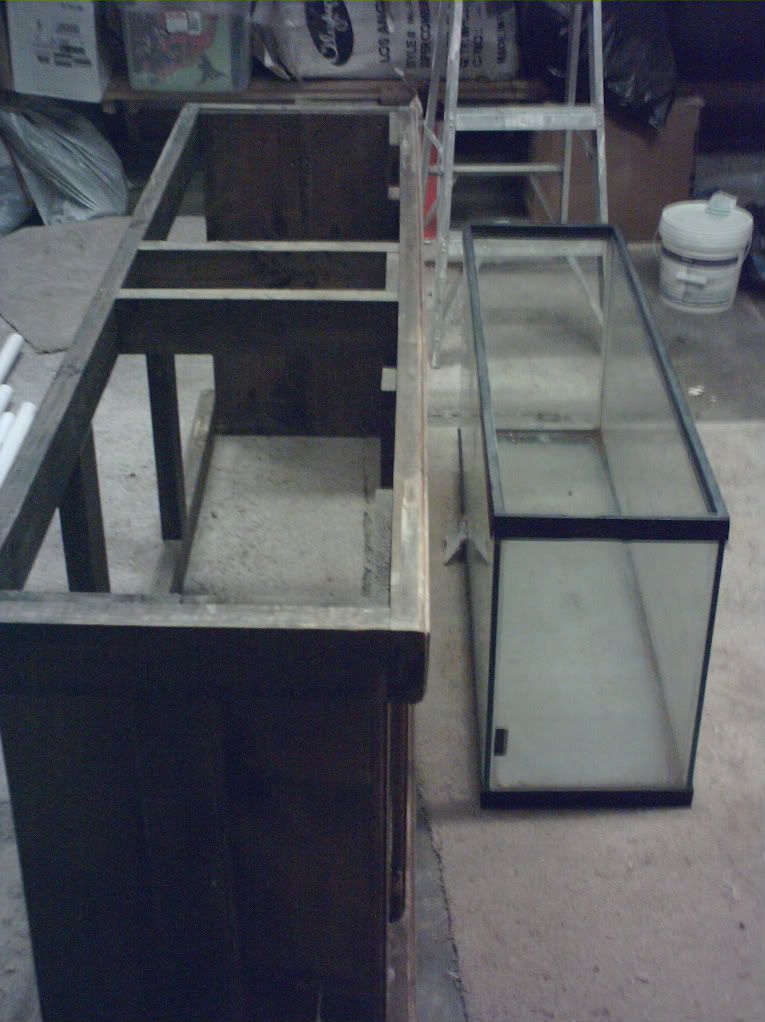
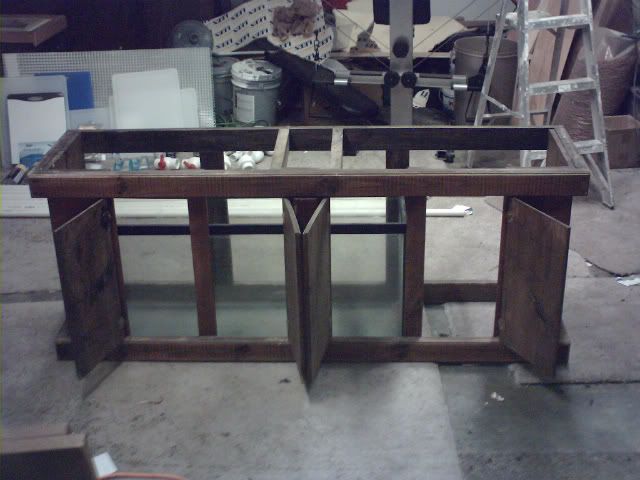
This will be my first venture into the world of saltwater. Originally I was going to do a 55 reef tank, but I decided that I would go as big as I could afford. That in mind I found this sweet tank deal on Craigslist:
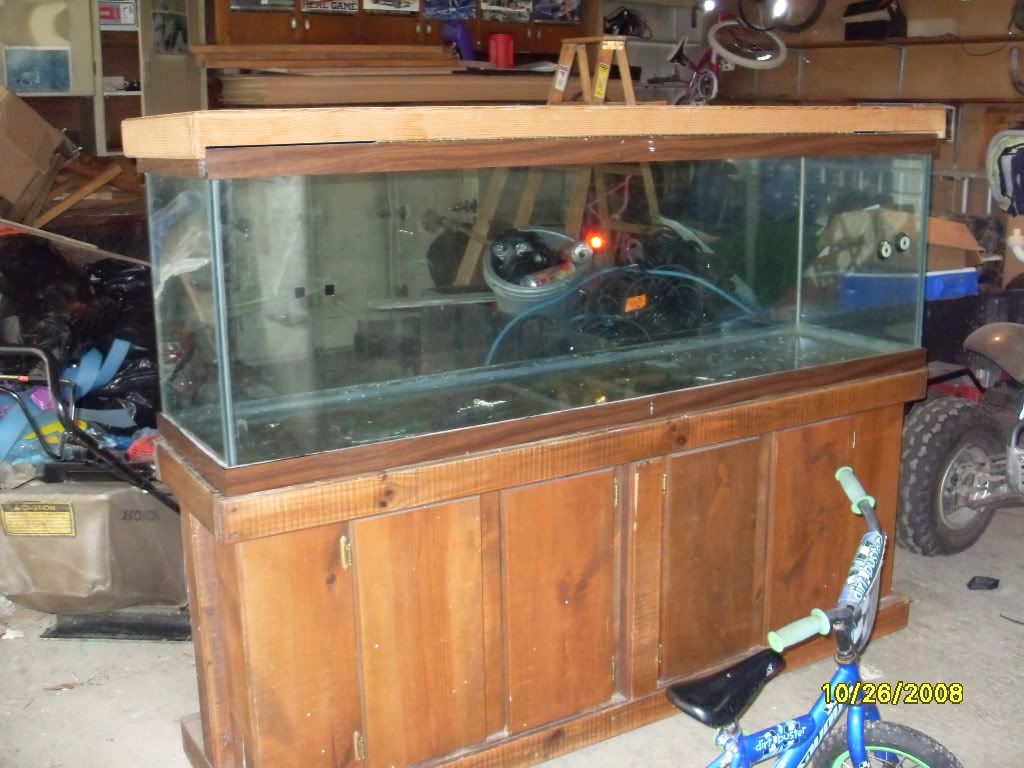
He traded it for a Wii that has been sitting on my shelf for over a year collecting dust, a pair of controllers and 2 crappy games. Win for me!! If Wii suddenly becomes fun...I can always buy another one for $200. Not likely, that system is a total failure for me.
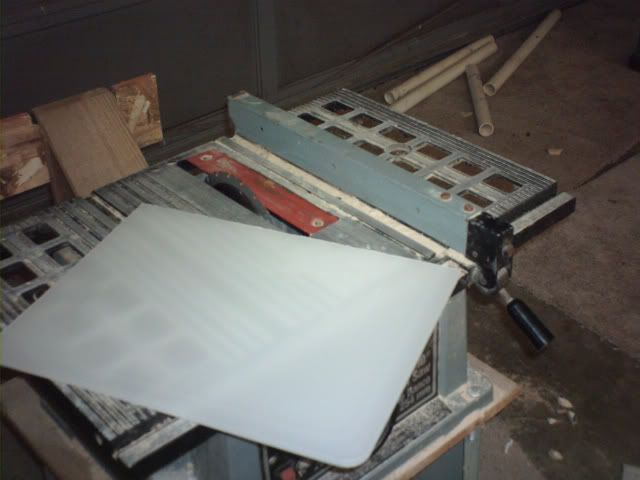
The lid:
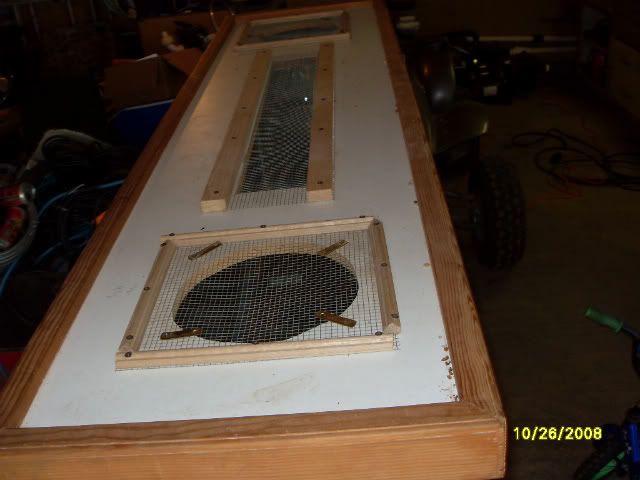
Don't know what I can do with it, Ill probably scrap it and do something else entirely. But for now its not important.
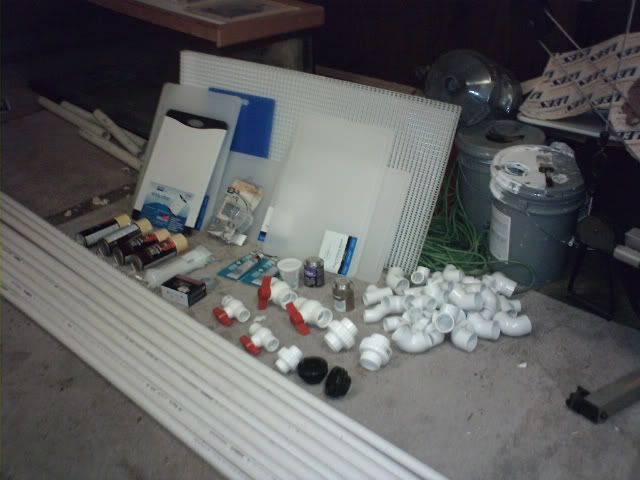
Today is a day of light shopping. This whole system will be a testament to the poor man who still wants in on this hobby. I will be as DIY as possible and as frugal as I can w/out sacrificing were it counts. Please enjoy this log as much as I will enjoy posting it. I expect to see my first fish in this tank by July or mabee August. I know that this is a long way off, but:
A. Slow and steady
B. I simply cant afford thousands of dollars up front, a little at a time as cash allows.
~~~~~~~~~~~~~~~~~~~~~~~~~~~~~~~~~~~~~
Todays goals are simple:
Glass drill bit.
Baffles for the sump.
Bulkheads for the holes I'm drilling.
Assorted pieces of PVC tube and joints.
Screen.
Egg crate.
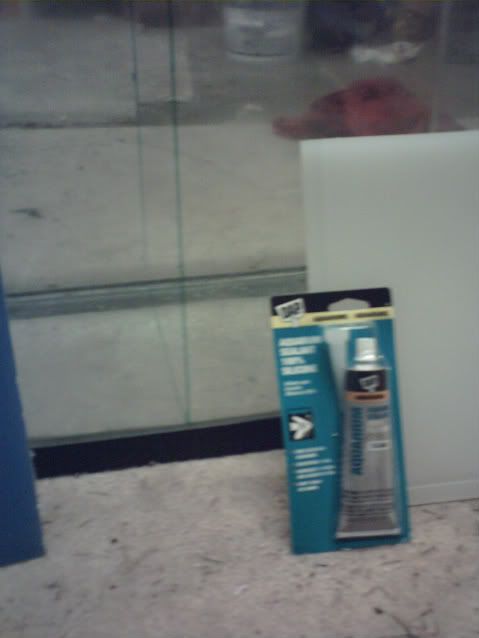
Glue/Primer.
Silicone and sealant.
Cheap camera.
Well I'm off to the store!!
This will be my first venture into the world of saltwater. Originally I was going to do a 55 reef tank, but I decided that I would go as big as I could afford. That in mind I found this sweet tank deal on Craigslist:
He traded it for a Wii that has been sitting on my shelf for over a year collecting dust, a pair of controllers and 2 crappy games. Win for me!! If Wii suddenly becomes fun...I can always buy another one for $200. Not likely, that system is a total failure for me.
The lid:
Don't know what I can do with it, Ill probably scrap it and do something else entirely. But for now its not important.
Today is a day of light shopping. This whole system will be a testament to the poor man who still wants in on this hobby. I will be as DIY as possible and as frugal as I can w/out sacrificing were it counts. Please enjoy this log as much as I will enjoy posting it. I expect to see my first fish in this tank by July or mabee August. I know that this is a long way off, but:
A. Slow and steady
B. I simply cant afford thousands of dollars up front, a little at a time as cash allows.
~~~~~~~~~~~~~~~~~~~~~~~~~~~~~~~~~~~~~
Todays goals are simple:
Glass drill bit.
Baffles for the sump.
Bulkheads for the holes I'm drilling.
Assorted pieces of PVC tube and joints.
Screen.
Egg crate.
Glue/Primer.
Silicone and sealant.
Cheap camera.
Well I'm off to the store!!

")