New custom 20g stand

snakeblitz33

Well-Known Member
lol, A bucket? That's really redneck. Are you sure you're from PA?
I put another coat of black on. I'm going to let it dry overnight and sand down a few drips and streaks by hand. Rustoliem brand paint doesn't dry with the brush strokes at all!!! I'm very happy with their products and will continue to use them in the future... for anyone that wants to know. lol
I am considering digging in my savings account this week to buy the rest of the materials to finish the stand by the end of this weekend. :X
I am home this afternoon acclimating my new additions, so that means I have to work late tonight getting everything done at the shop. Maybe I can get the cabinet doors put together and primed in tonight. I hope, anyways.
 

travelerjp98

Active Member
Quote:
Originally Posted by SnakeBlitz33 http:///t/389196/new-custom-20g-stand/100#post_3440406
lol, A bucket? That's really redneck. Are you sure you're from PA?
Someone from Louisiana is calling me a redneck? J/K.
But, what difference does it make? It ain't gonna be seen...
I put another coat of black on. I'm going to let it dry overnight and sand down a few drips and streaks by hand. Rustoliem brand paint doesn't dry with the brush strokes at all!!! I'm very happy with their products and will continue to use them in the future... for anyone that wants to know. lol
lol. Thanks for the info on Rustoliem products. :)

Advertising executive?

I am considering digging in my savings account this week to buy the rest of the materials to finish the stand by the end of this weekend. :X
No. Let me set you back here. There is no reason to rush getting this project done. Do not go into your saving to make a stand.

I am home this afternoon acclimating my new additions, so that means I have to work late tonight getting everything done at the shop. Maybe I can get the cabinet doors put together and primed in tonight. I hope, anyways.
That's an interesting personal day to take off. "Yes, boss, I need to take the day off to put stuff in my fish tank"
Sorry, I am in a very darthtang mood today!
 

snakeblitz33

Well-Known Member
lol, well, the best thing is that my boss is my dad. He understands. :D Plus, I have to go back to work this evening for another three hours to finish up.
I bought my 5.5g plastic tote water resevoir! woohoo! And I have the stuff to set it up as well. I am getting soo close to the whole thing being done.
I also bout the same container... a 5.5g plastic tote for my algae scrubber, instead of using a 5.5g aquarium or a 10g aquarium. It will save me some money ~ $35.
 

travelerjp98

Active Member
!
(My new way of saying that I have read the updates and the only thing I have to say is "Very nice!".... you get it)
 

snakeblitz33

Well-Known Member
I would rather you just not comment at all, if ! is the only thing that is going to be said. Just sayin' and not trying to be mean...
 

snakeblitz33

Well-Known Member
UPDATES
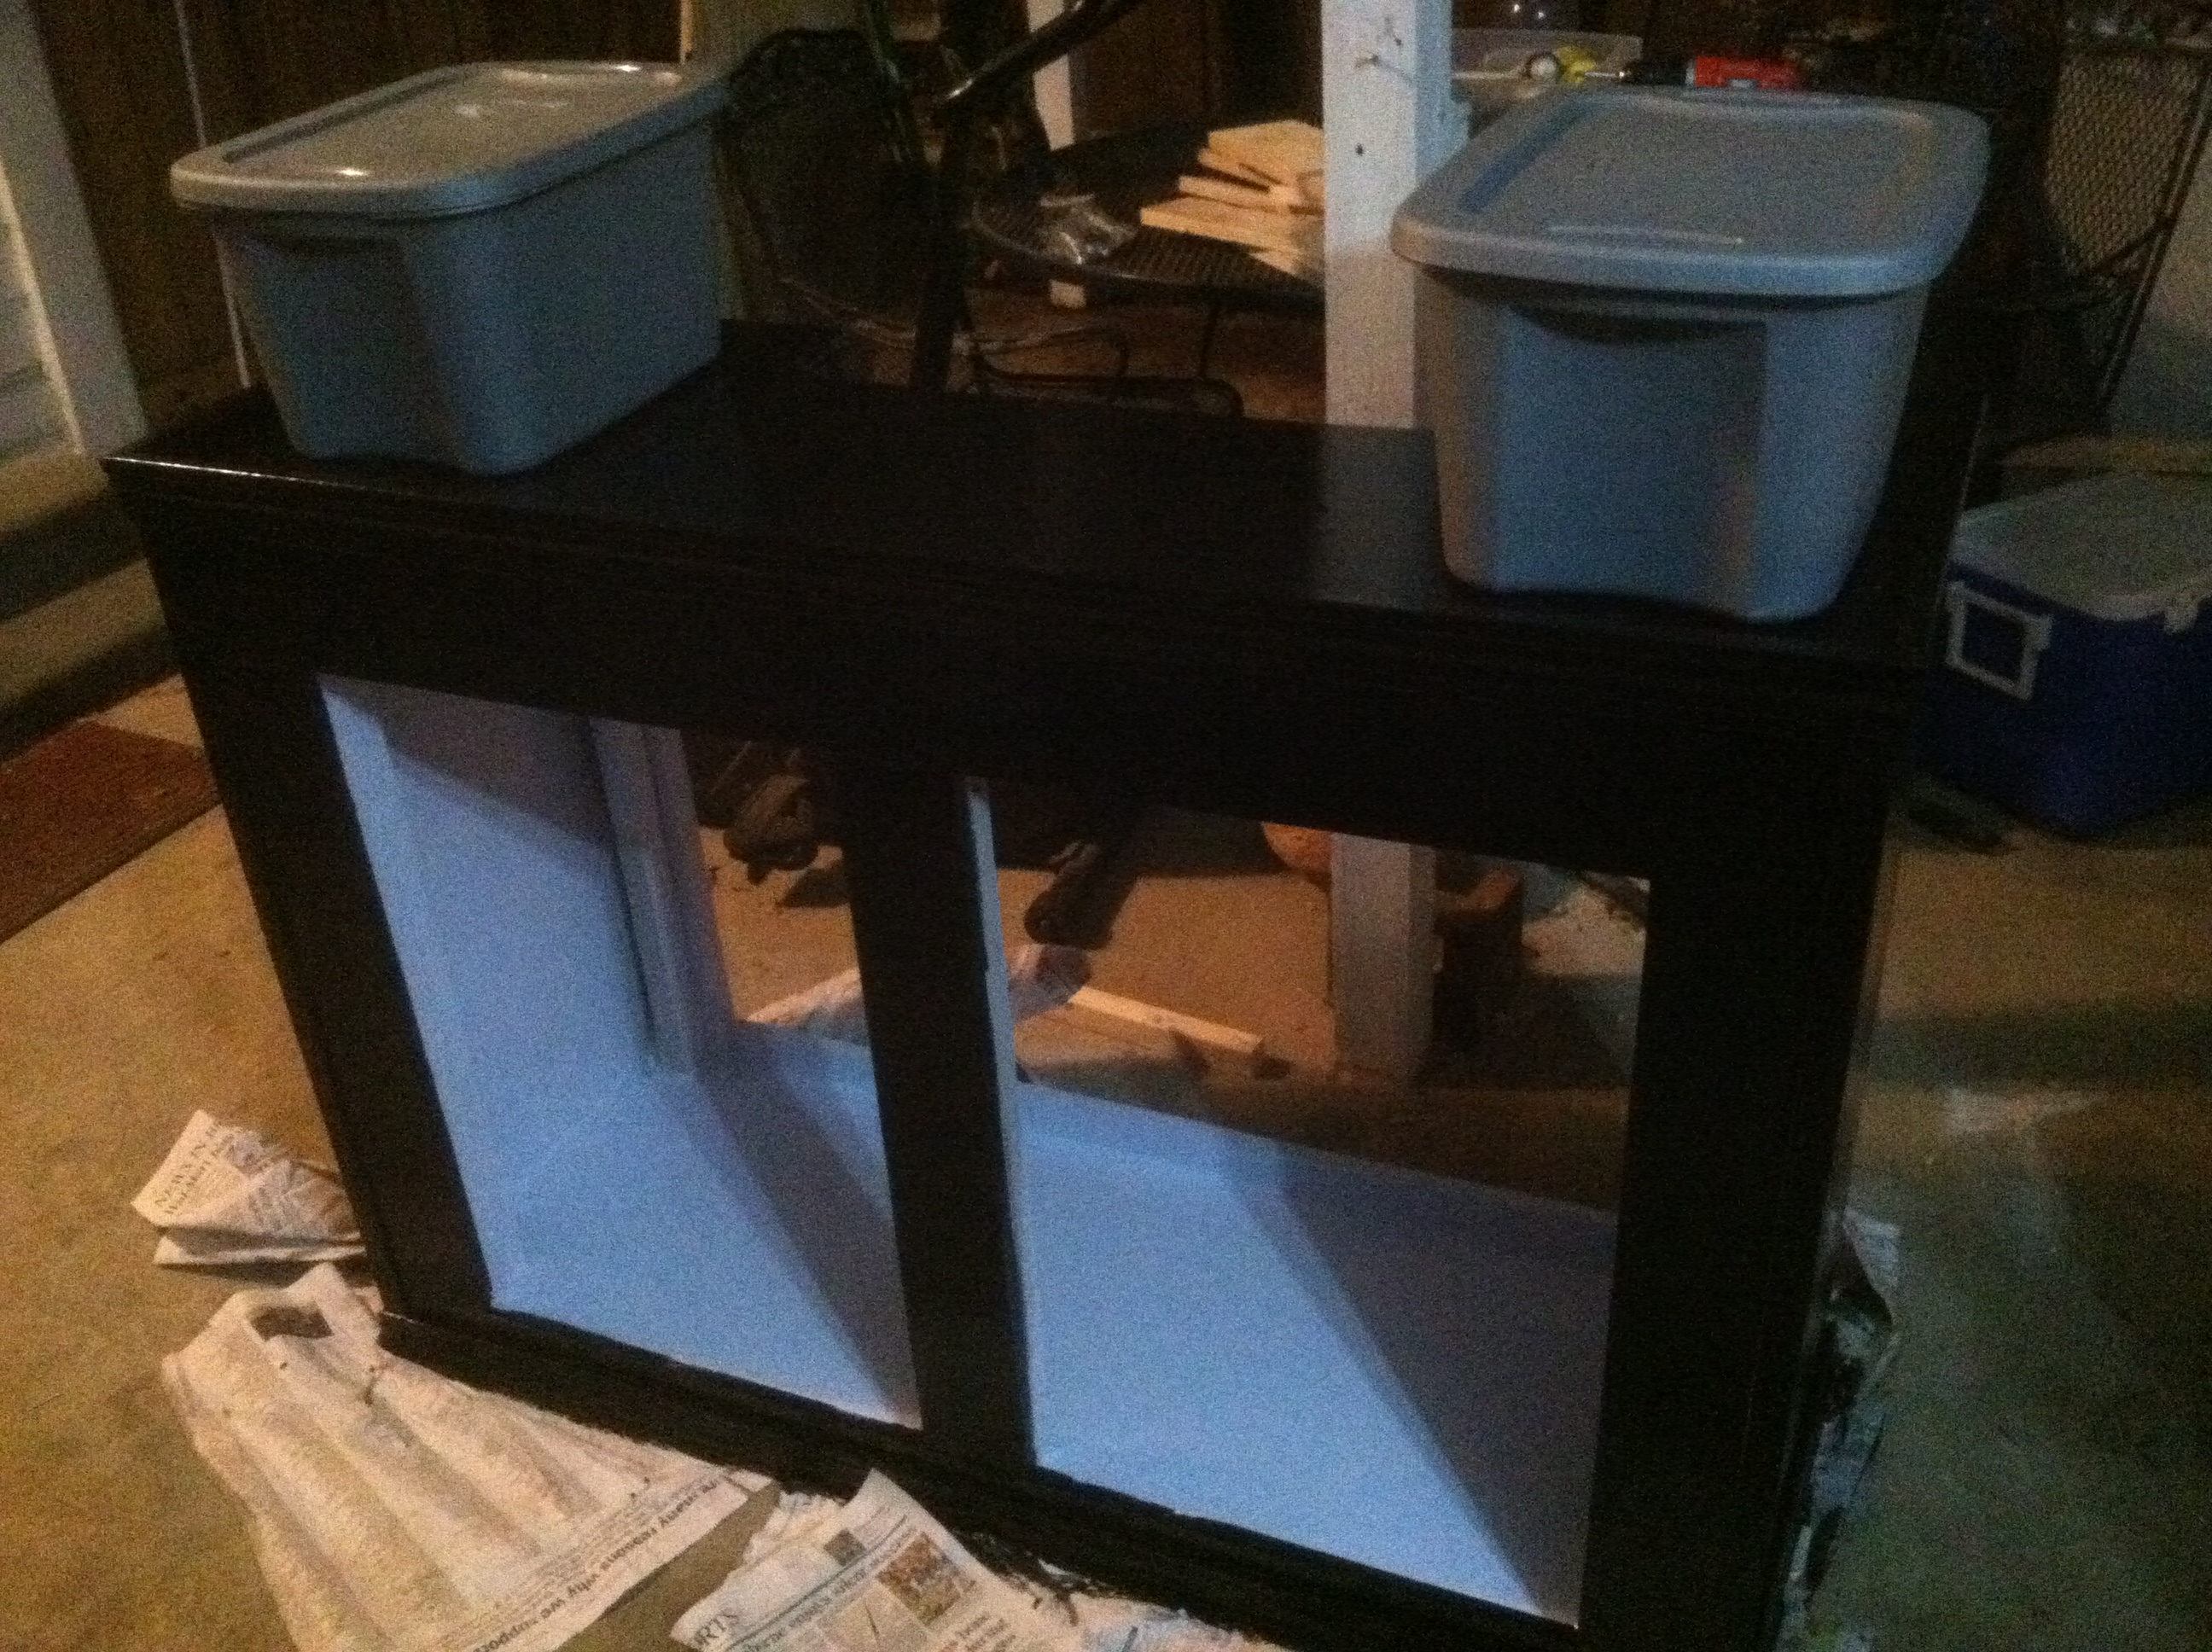
This evening after work, I chalked the entire bottom and smoothed everything out as much as I could. Then, I painted it all with a lovely lavender color, since my wife couldn't decide what to paint the inside of the stand with. I ended up with lavender paint because it was mismatched paint for $2.50 a quart, so I couldn't pass it up. With as many coats of paint as I am putting on this sucker, it makes me start to wonder if I even need to put a coat of polycrylic on it... Any thoughts?
I'm going to build the cabinet doors TOMORROW and prime them in. I just haven't done it yet. :( Oh yeah, I did buy two 5g totes so that I can mark everything out. Instead of putting the algae scrubber beside the tank, I think I am going to put it underneath the tank in the stand somehow. Can someone give me some good ideas?
There are a few touch ups that I need to do, but other then that it all looks like it's coming along well.
Oh, and AL - yeah, I added that strip of wood to the back of the stand and chalked it all in. I thought about it more and said to myself... if I ever want to re-sale this stand, it's going to have more value to it if it does have a water stopper in the sump area... So, thanks. :D

Those are the totes I am going to use. One for an RO top off (on the left, and that is going to stay) the other tote I am going to fit inside the stand and make it a scrubber. Im probably going to build a mini-stand with the extra wood that I have for it, so that it will be slightly taller than my sump is, but still accessable. I could figure out how to screw it into the side of the stand without building something for it. I dunno. What do ya'll think?
 

snakeblitz33

Well-Known Member
no idea. I had to look in the can itself to get the color. The outside of the can didn't have a single label. It looks gloss to me. I'll know more in the morning once it's dry.
 

2quills

Well-Known Member
If it's a gloss or semi-gloss the paint alone should offer a good deal of moisture protection for a little while at least depending on if it's an ******** or exterior paint. You're biggest worry would come from scratching or gouging the paint which would compromise it as a moisture barrier. Covering it with polyurethane or polycrylic will give you extra protection from being easily susceptible to gouges or scratches. Polycrylic breaks down under u.v. faster than polyurethane or spar-urethane. But should offer quite a few years of protection under your stand. If used outdoors like on a fence or a deck it needs to be refinished like once a year in order to maintain it's waterproofing properties.
 

snakeblitz33

Well-Known Member
Hmm. Ok.
I think I might just skip the poly coat. It's all painted with gloss and it already looks really good. I think if I just get the doors on and painted up - I'll get a better idea of the overall look and feel of it.
Any ideas on using the tote under the stand for an algae scrubber??? lol
 

acrylic51

Active Member
What kind of tote? I only ask, because a friend of mine with a thread here went through an issue with using a plastic tote...., through 100's of $$ we finally found it was the tote emitting something to harm the tank. What exactly was it emitting heaven only knows, but went through every piece with still the same affect till the sump was swapped out.
 

spanko

Active Member
Seems like I have read that unless you obtain food grade totes the other are releasing the plasticizers used in the manufacturing process. And this was determined to be a problem in the aquarium.
 

snakeblitz33

Well-Known Member
I've used plastic totes in the past without problems. Did manufacturers change their formula or something??! I guess I should use glass or acrylic then, huh? I wonder how hard it would be to get a glass shop to cut me a few pieces and drill holes in some glass. I could silicone it all up, I think. How hard could it be, right? Any thoughts on placement for the algae scrubber? I'm going to hopefully get the doors cut today and primed in. The bottom of the stand should be dry by now. I'll put my 20g long underneath the stand and let you guys look at it to get some ideas.
 

snakeblitz33

Well-Known Member
Oh, and remember ya'll, I'm designing this system with a future 110g tall in mind. So, I want to set up the filtration for a 110g SPS show tank... scrubber and (probably) a Diablo Octopus Skimmer by Coralvue. :D
 

spanko

Active Member
Here is a list of some food grade totes at WallyWorld
http://www.walmart.com/search/search-ng.do?search_query=food+grade+bins&ic=16_0&Find=Find&search_constraint=0
 

snakeblitz33

Well-Known Member
It's sterilite. I'm not going to use them.
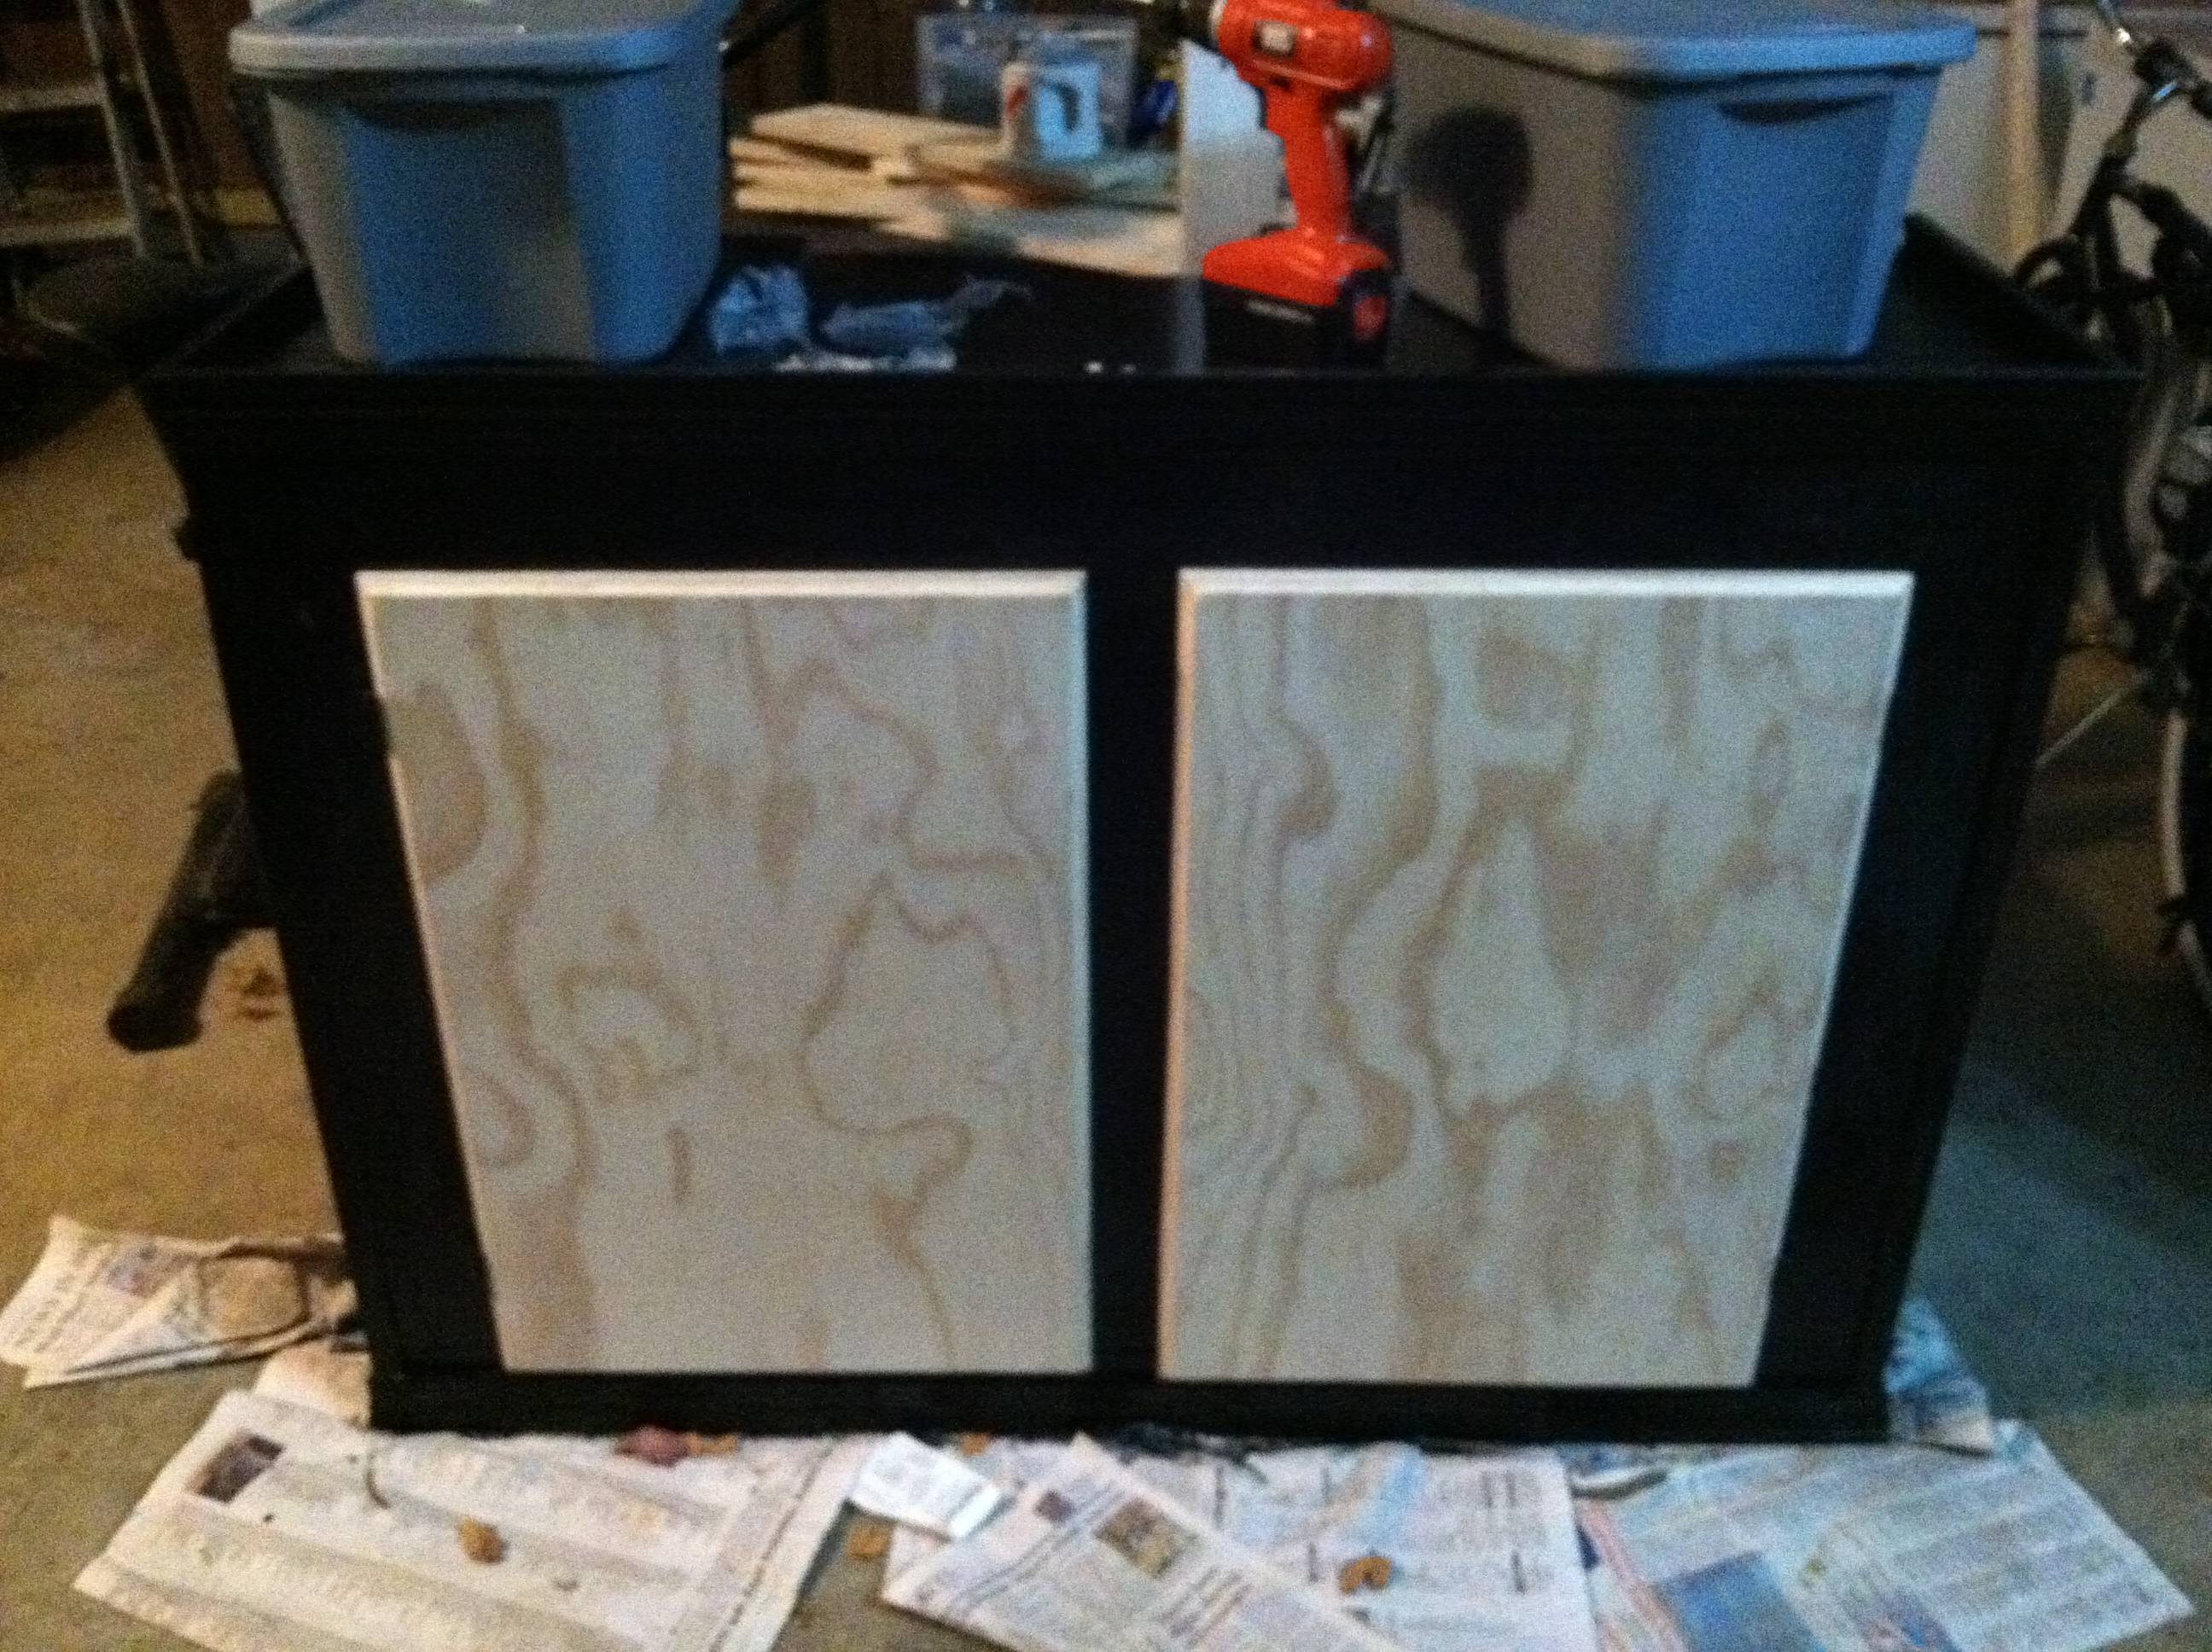
So instead of using 3/4" plywood for the doors, I took a shortcut and bout two 1/4" handy panels. After cutting and fitting etc etc. I realized they won't work. So I'm going to pick up another sheet of plywood and dado cut the edges to fit the cabinet. Oh well. I will get it done before Christmas. I probably won't get it home by Christmas, but it will at least be done.
 

2quills

Well-Known Member
Quote:
Originally Posted by SnakeBlitz33 http:///t/389196/new-custom-20g-stand/100#post_3440676
It's sterilite. I'm not going to use them.
So instead of using 3/4" plywood for the doors, I took a shortcut and bout two 1/4" handy panels. After cutting and fitting etc etc. I realized they won't work. So I'm going to pick up another sheet of plywood and dado cut the edges to fit the cabinet. Oh well. I will get it done before Christmas. I probably won't get it home by Christmas, but it will at least be done.
I just used some 1x3" poplar boards for my door frames then dado cut the inner parameter on the back of the frames so that 1/4" ply would lay in the dado cuts flush with the back of the frames. Al makes some nice doors. I think he likes to inset his doors so that they sit flush with the face on the cabinet skin. That's always a nice look.
 

snakeblitz33

Well-Known Member
My wife and I already talked about buying another sheet of plywood to finish the stand. She also wants me to build Emma a dresser drawer. She said as soon as I finish my stand, I have to build the drawers, So, I guess.. I got to.
It will be finished soon!!! Maybe this weekend I'll get the doors done and primed and maybe painted, depending on the weather.
 

snakeblitz33

Well-Known Member
UPDATES WITH PICS
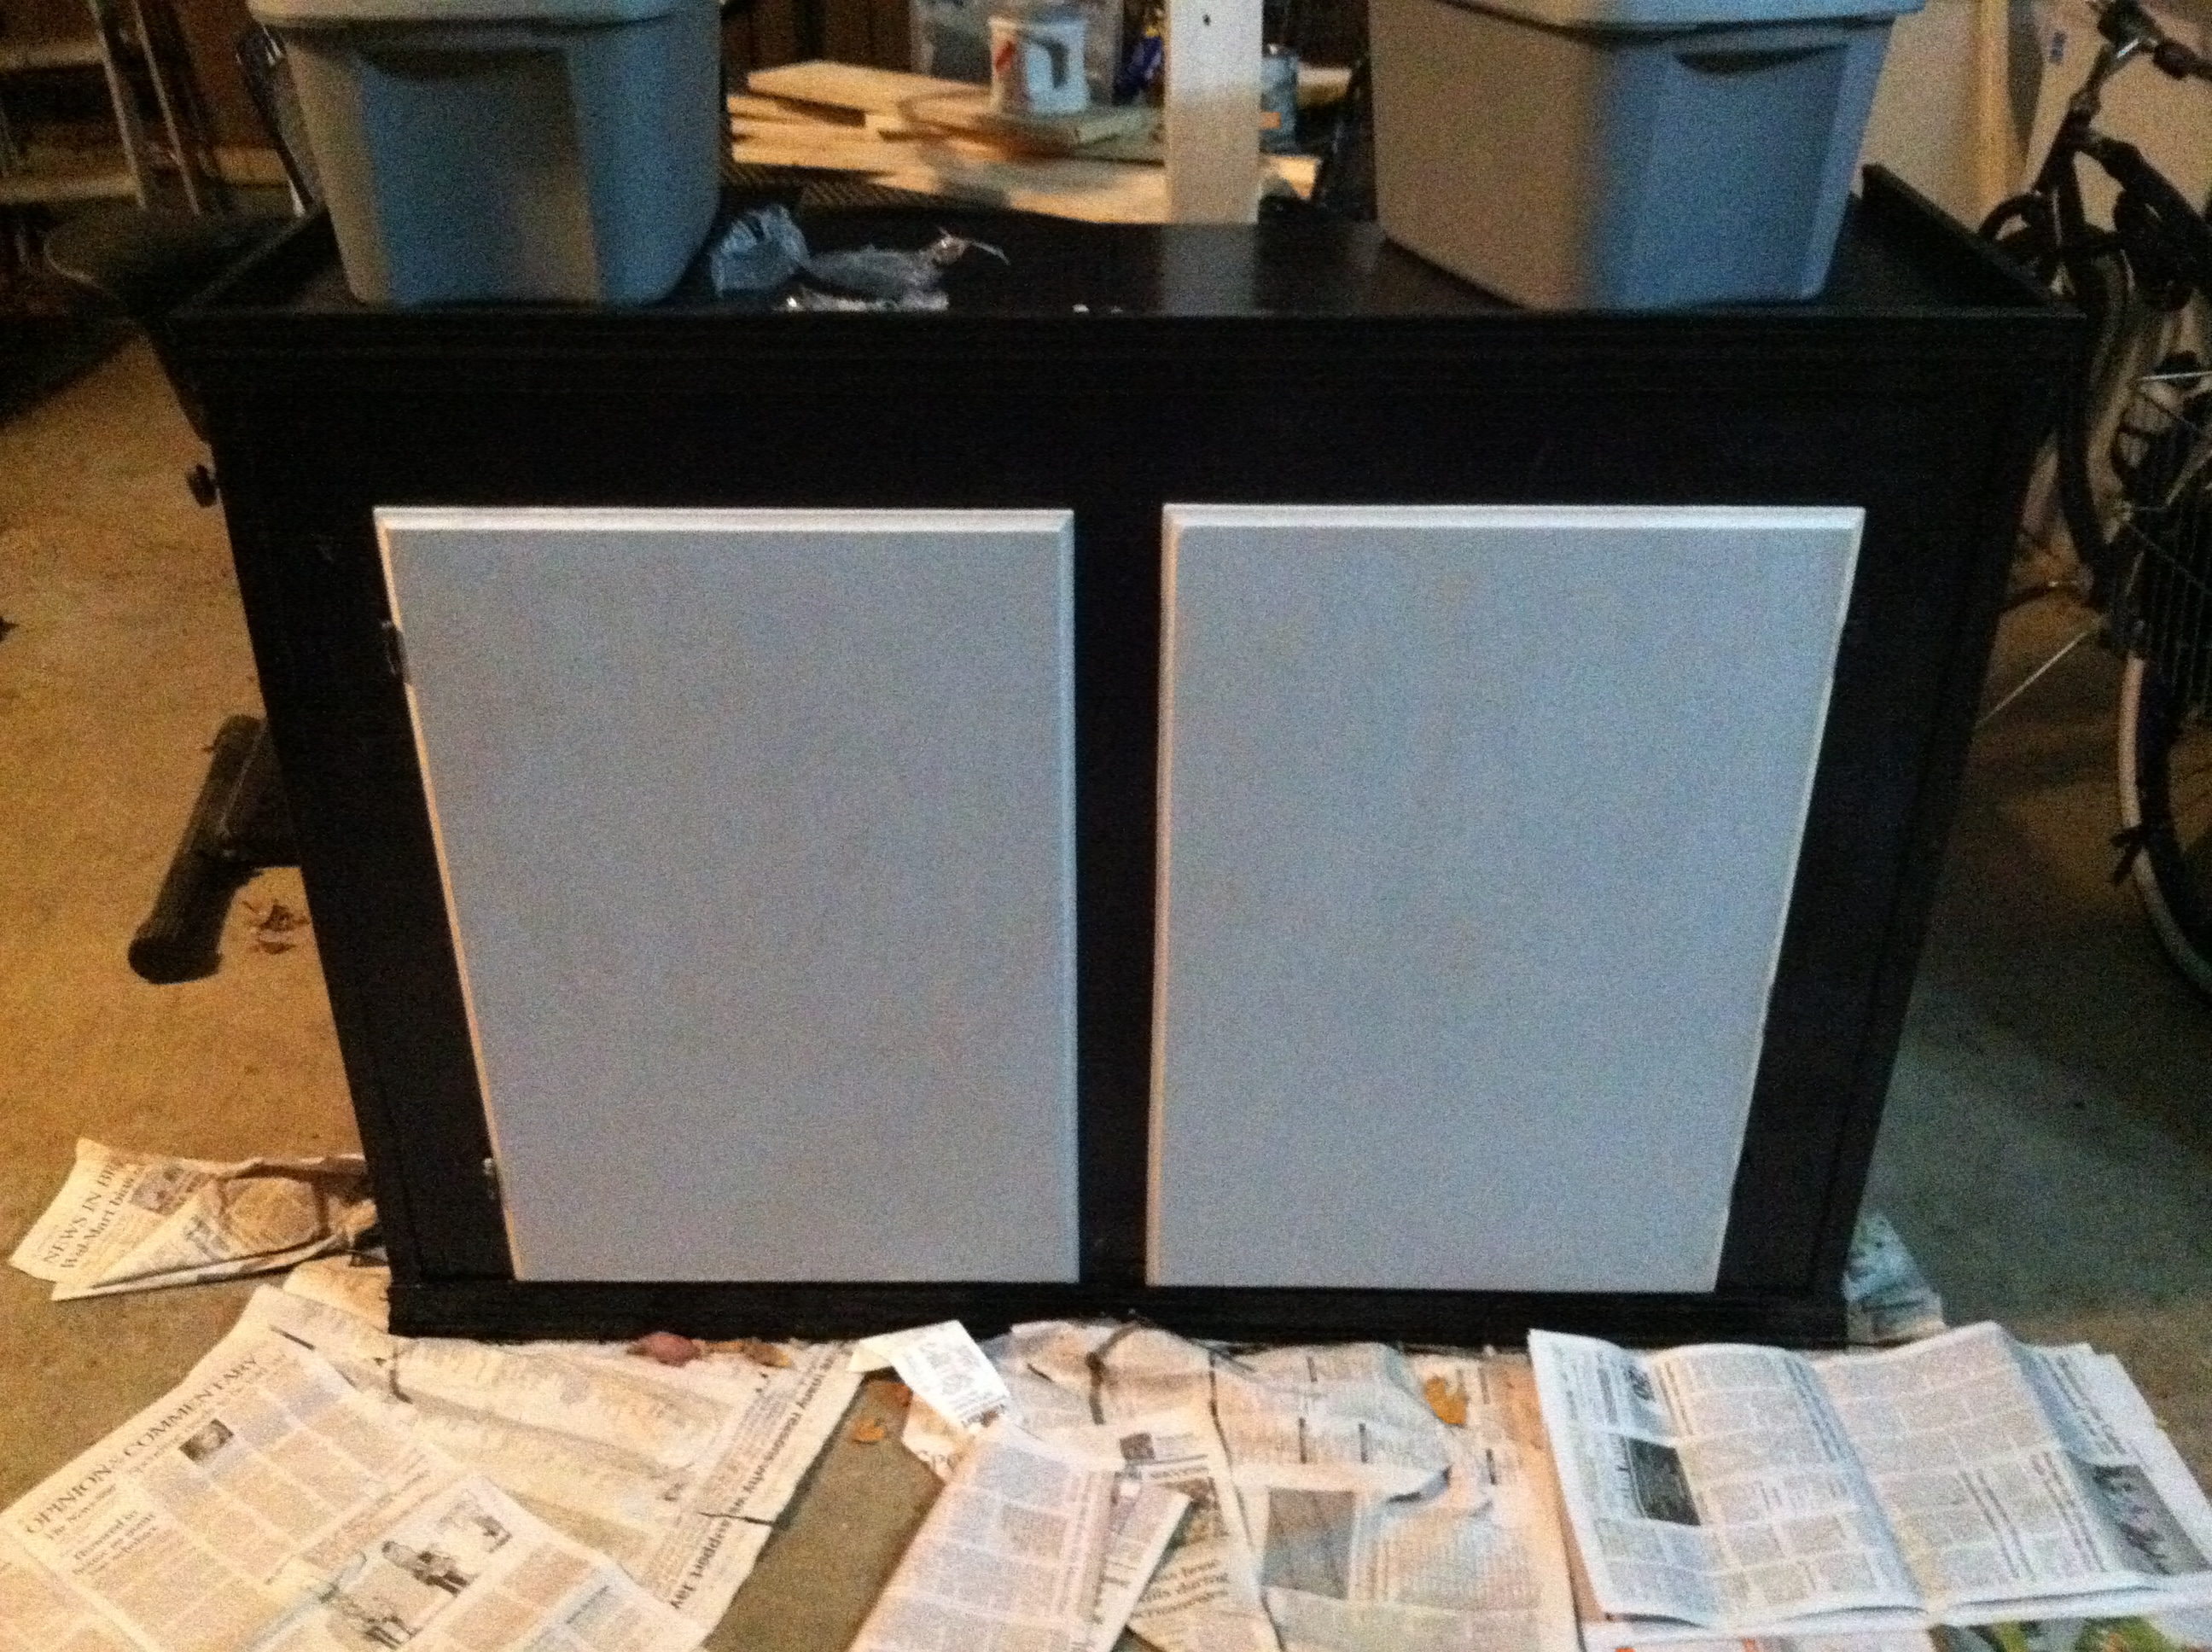
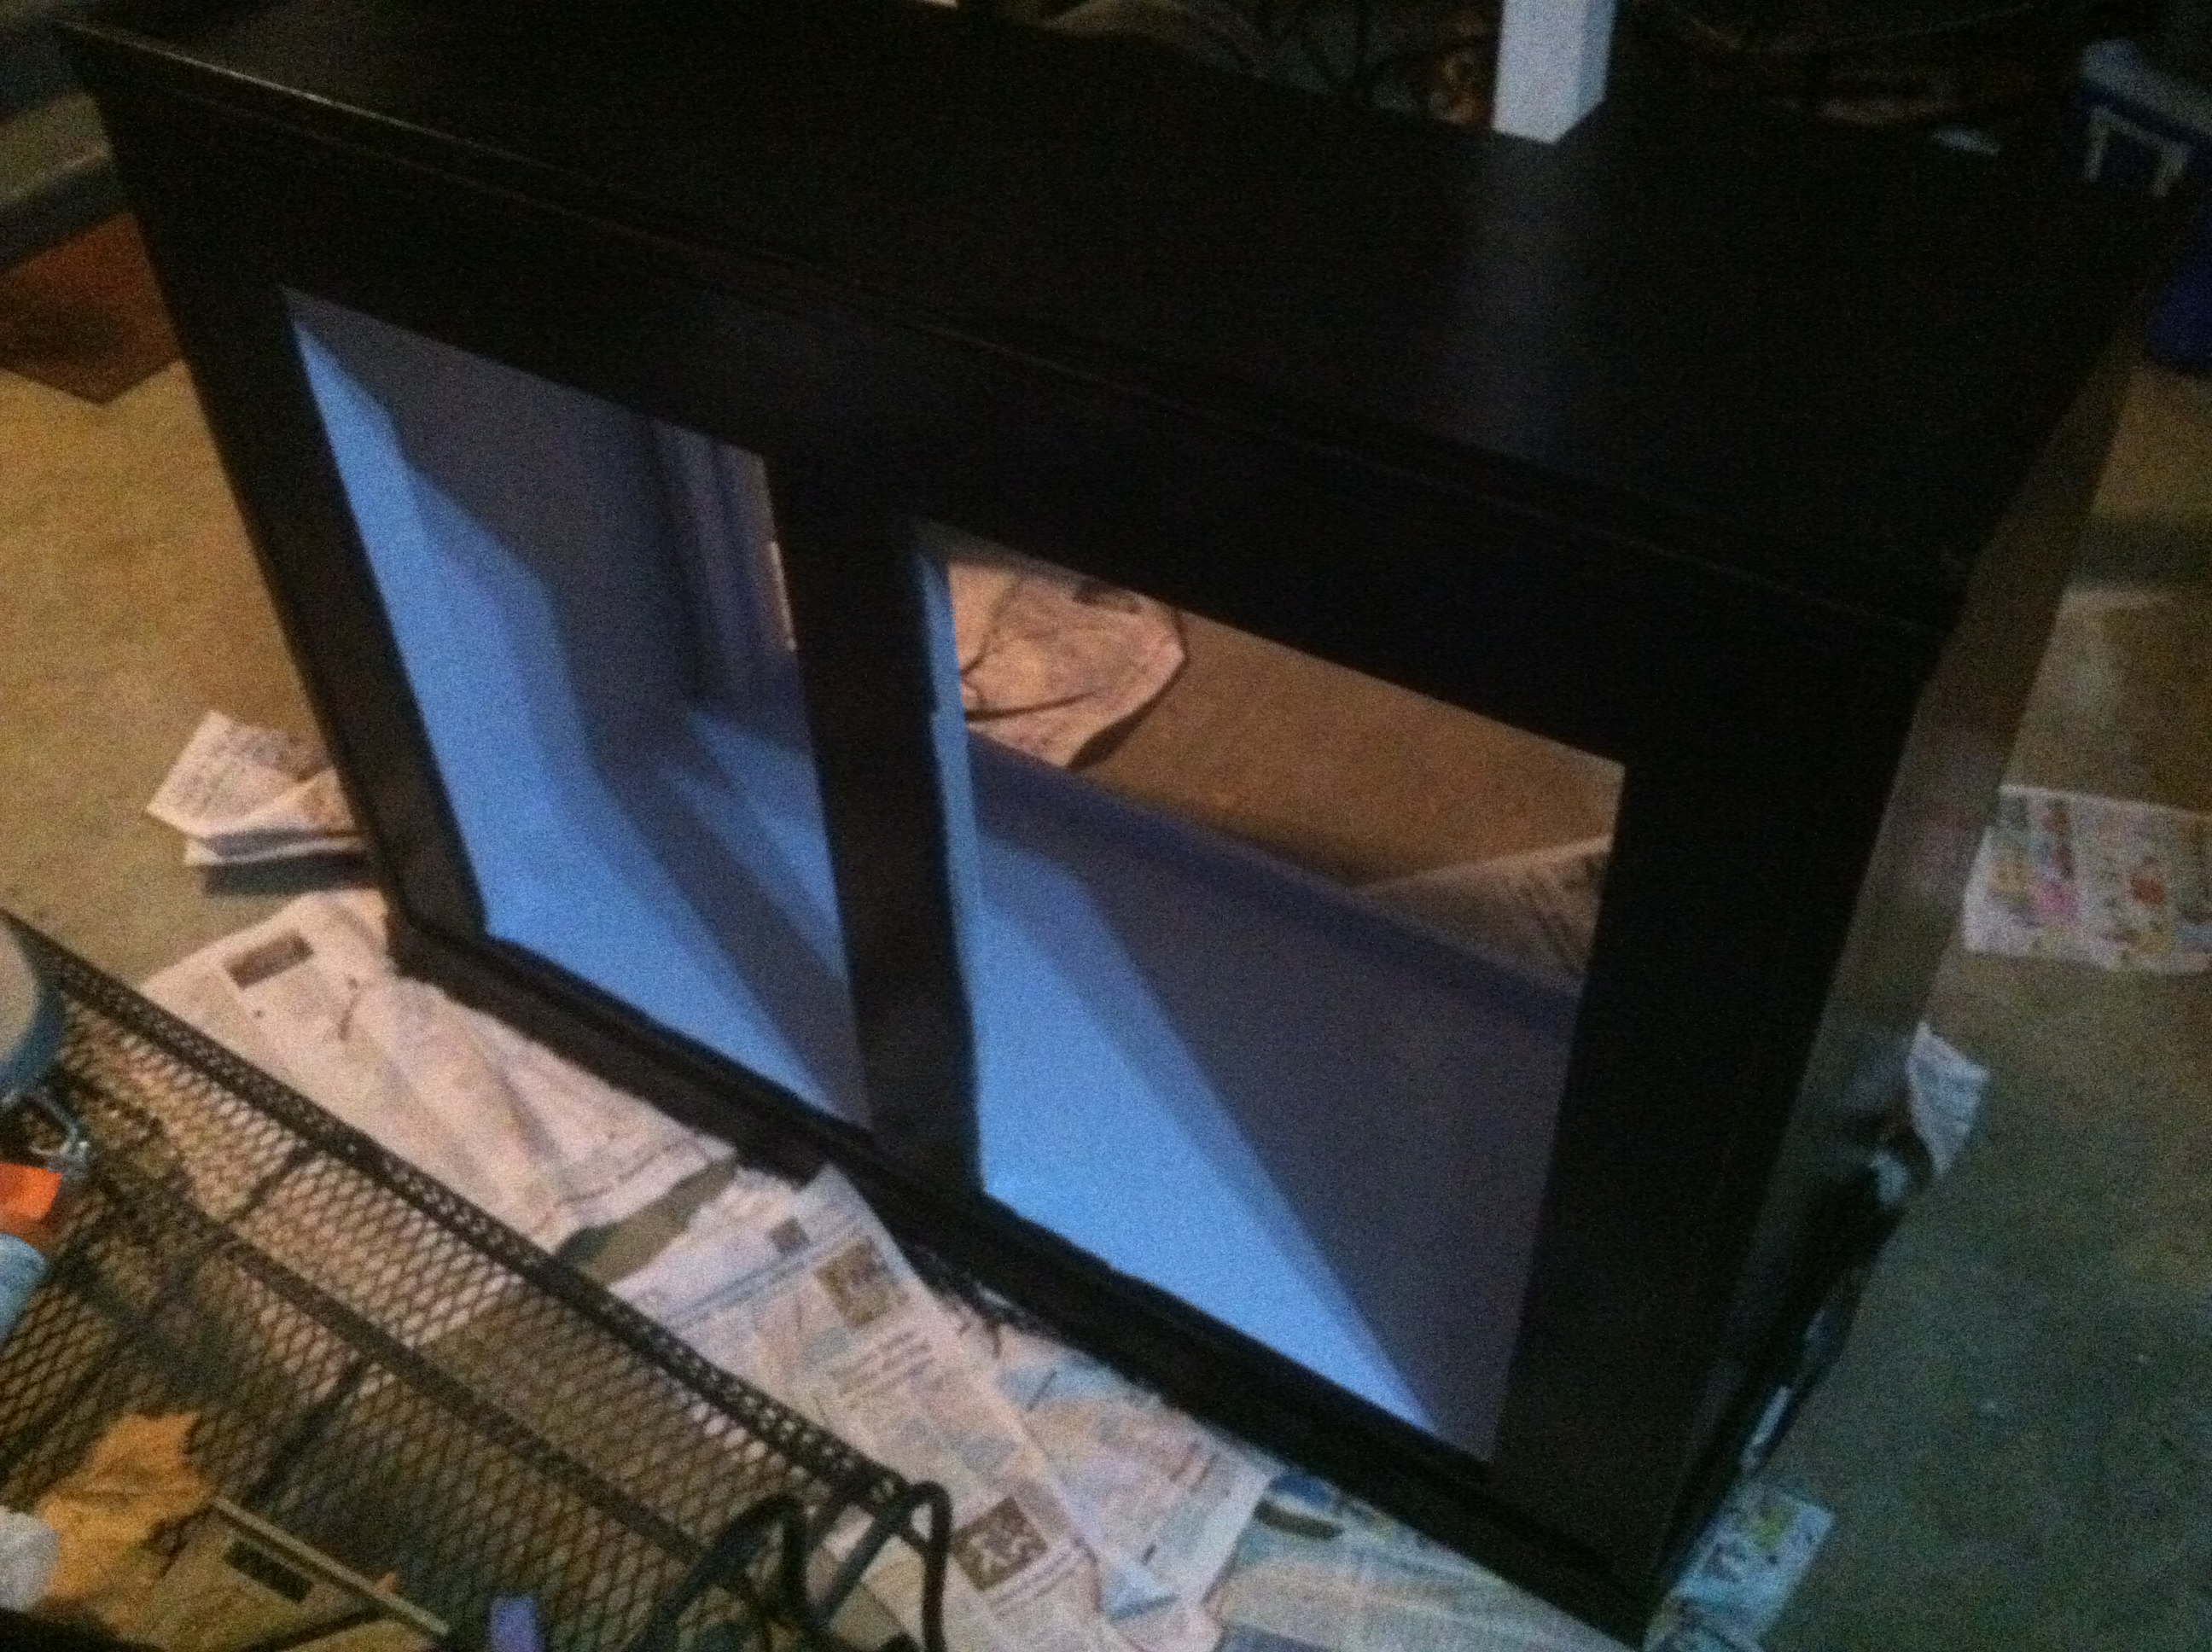
Hey all... Been a few days since I updated this thread. :D I got the doors on finally! woohoo!! Primed in and painted. Unfortunately, I only have pics of it primed in. lol. But, you'll get the idea. I have to put one more coat of black paint on the doors and touch up a few spots and that stand will come home with me on Wednesday. I already cleared a space for it in my apartment, and I already bought a new GFCI unit to install on that wall. I'll be doing that either today or tomorrow, depending on how I feel.

This was just a dry-prefitting to make sure everything lined up correctly.

Pic of it all primed in. You can see the routed edges a little better in this pic.
I like it's nice, simplistic design.
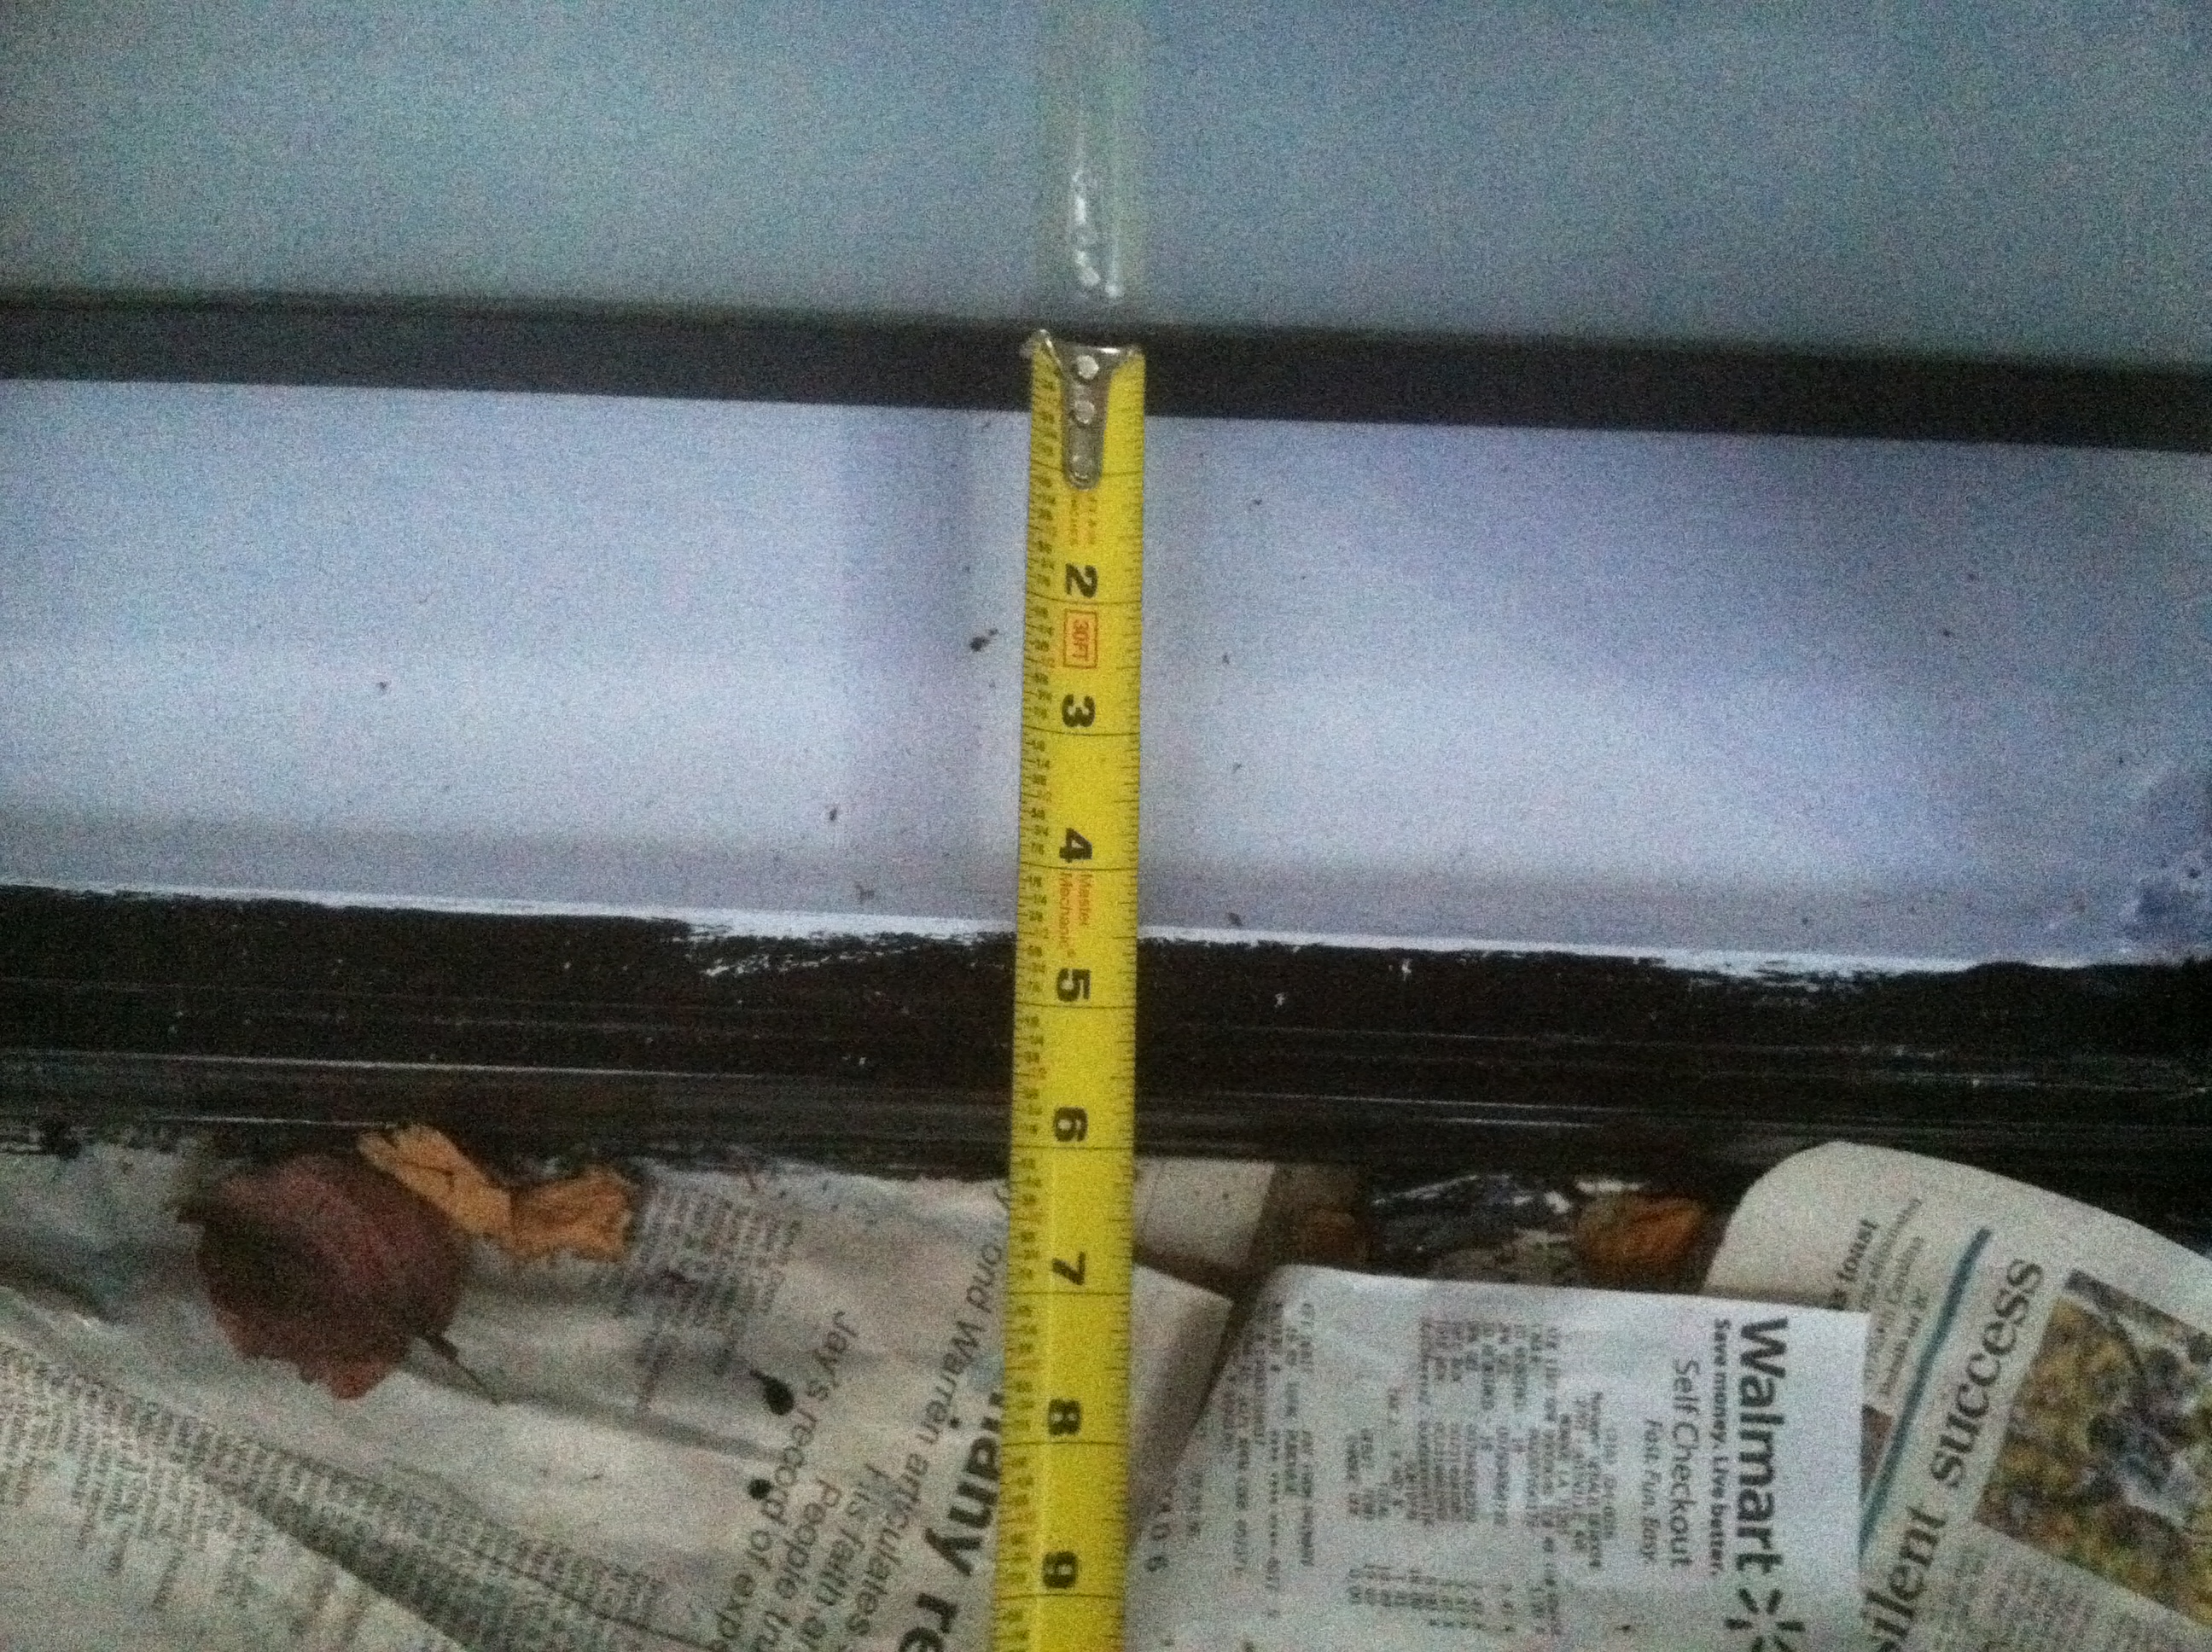
Here's a few pics of the space that I am working with:

Front - between sump and front of stand. 4 1/2"
 

snakeblitz33

Well-Known Member

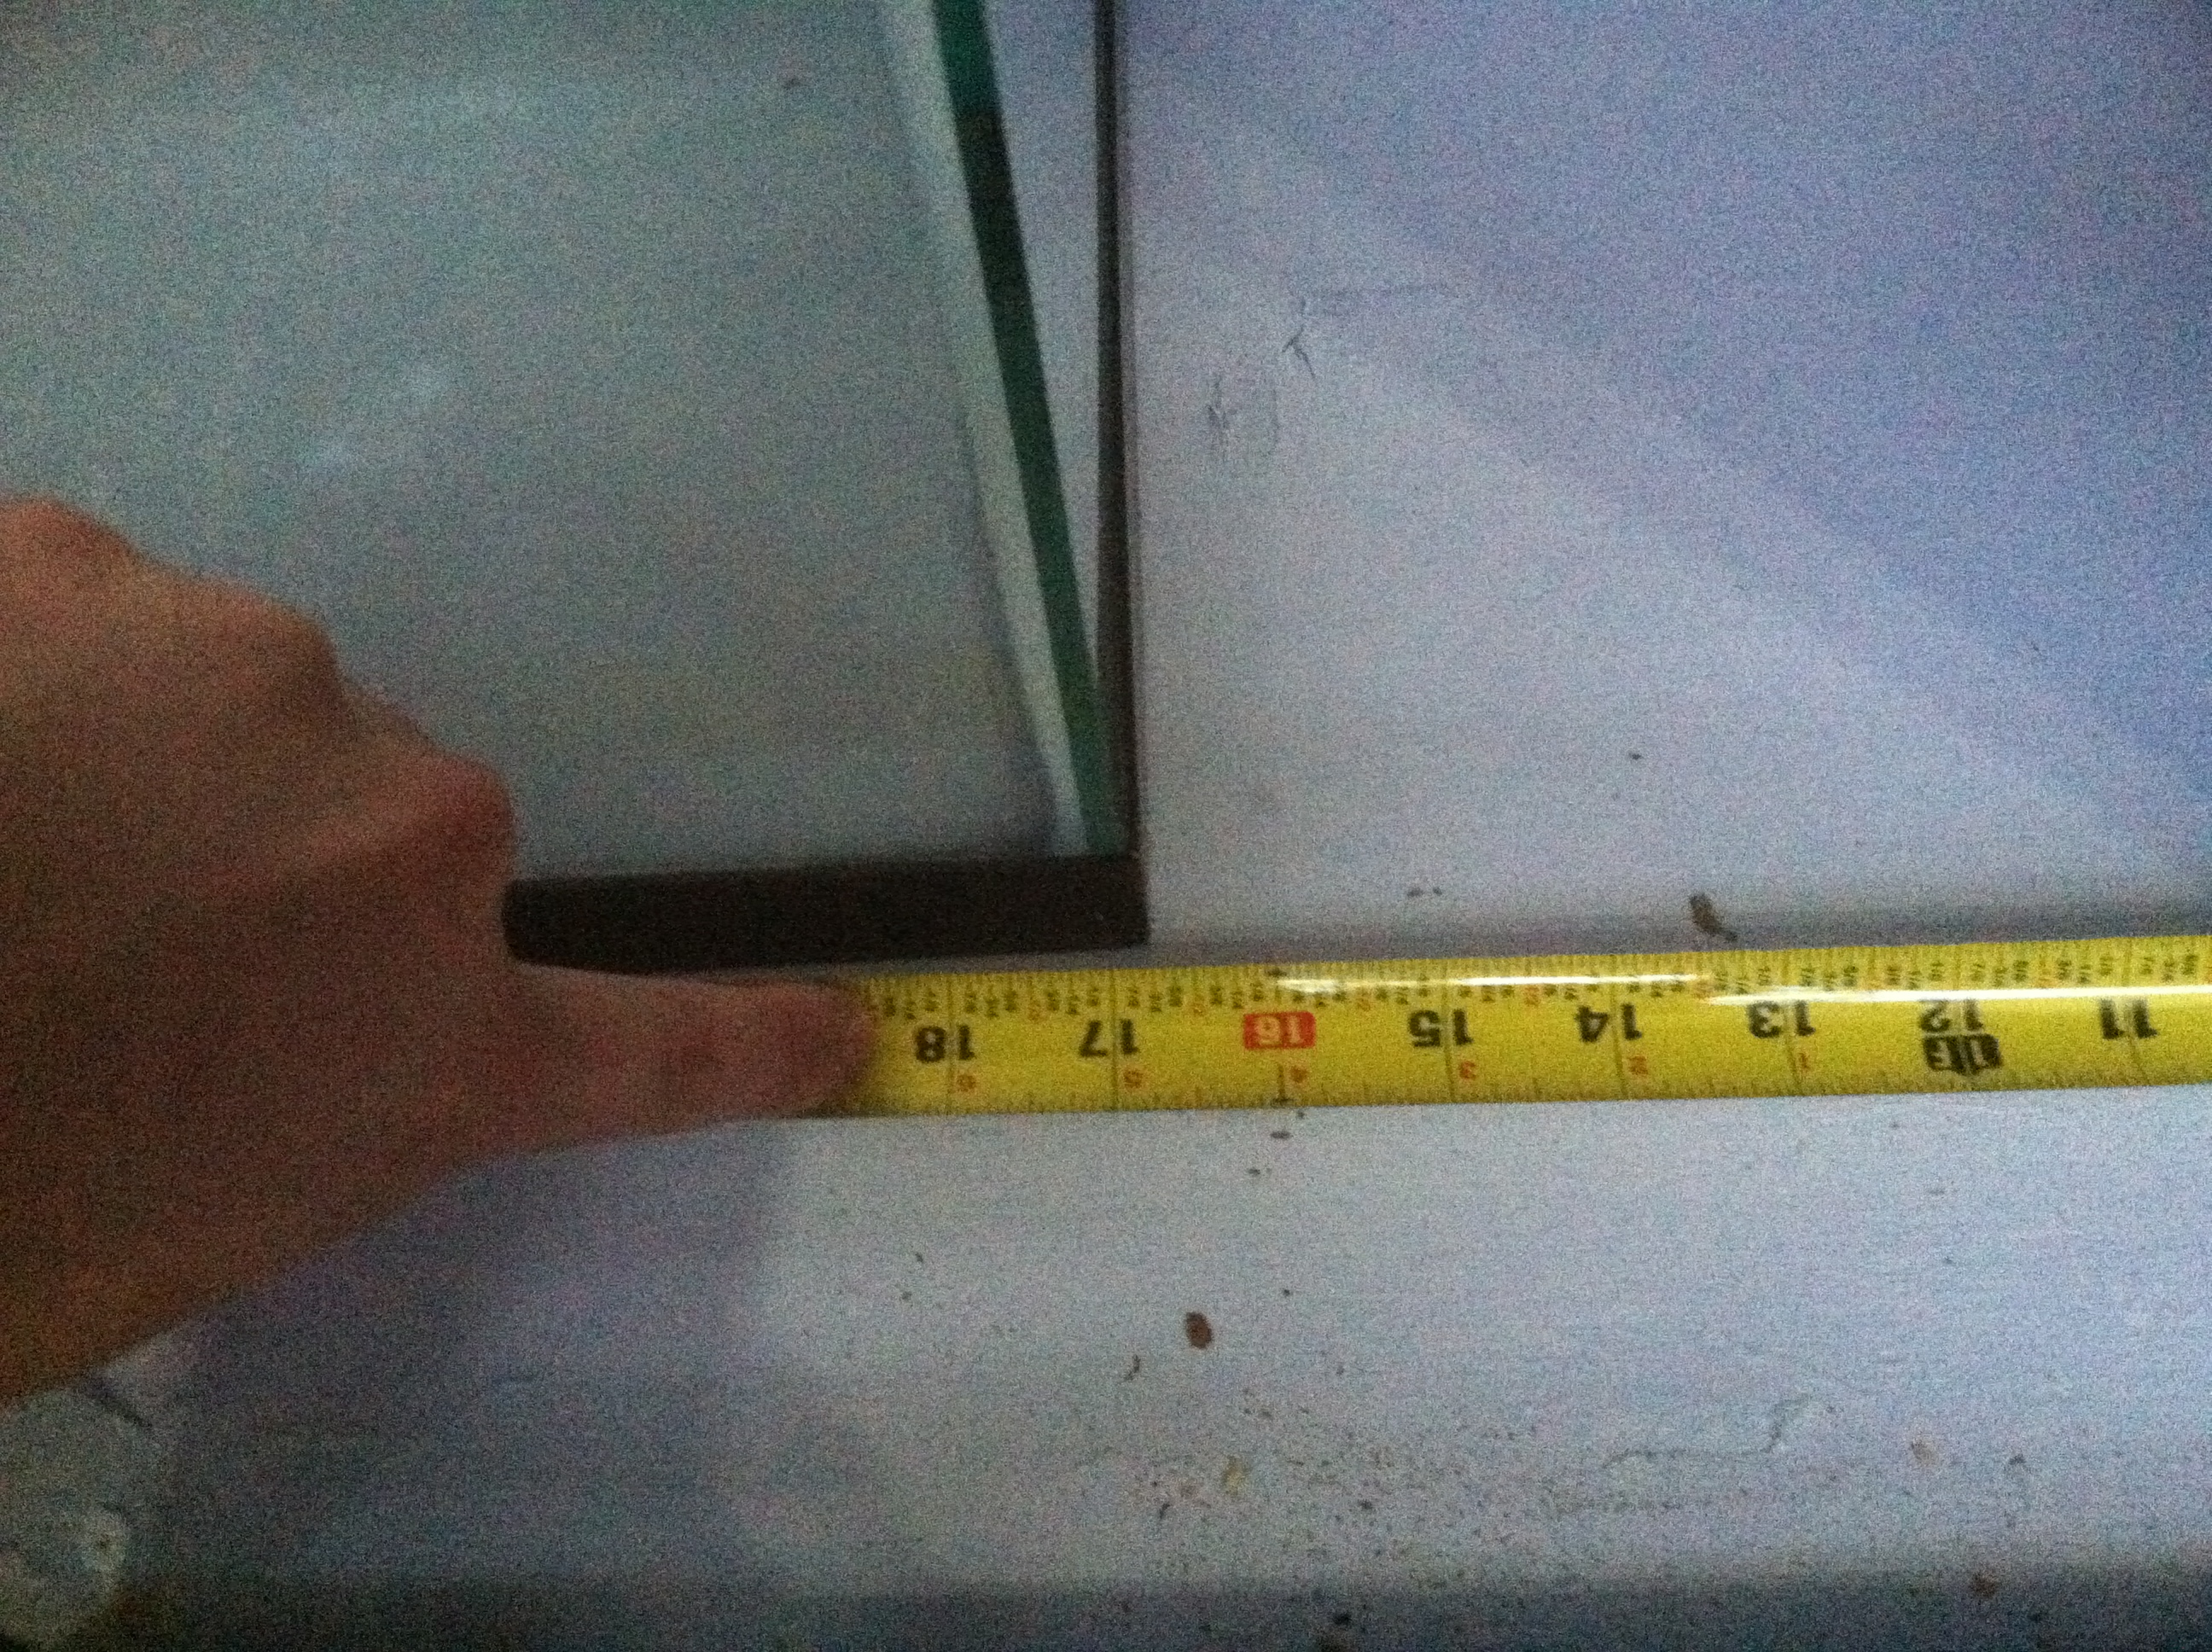
16 3/4" of space from the right of the stand to the right side of the sump.
Plenty of room for extra equipment.
Oh, and of course, from front to back, I have 16 1/2 to work with. So... Plenty of room. I would really like to install an automatic top off unit beside the sump, and hopefully have enough space left over for a Ca Reactor and the CO2 bottle. Anyways, all in the future. :D
 
Top