Silverado61's Stand and Tank build.

zoidberg01

Member
If you are gonna get spaghetti algae you have to watch out because they grow really fast but they do a great job at balancing parameters and hideouts for small crustaceans like copepods
 

silverado61

Well-Known Member
Yea. That's what he means. But if I go with an up flow algae scrubber it'll also provide food for the cope pods wouldn't it?
 

snakeblitz33

Well-Known Member
From my own observations, since hair algae is a simple algae, it is much easier to grow, culture and maintain. Copepods have no preference for habitat other than "safe with food." The high turnover on a screen provides more potential prey.
Search for an old thread of mine, 110g show tank. I have a lot of info on algae scrubbers there.
 

zoidberg01

Member
Chaetomorpha is one of my favorites , but the best is mangrove but you have to buy a quemical that removes the smell
 

silverado61

Well-Known Member
I didn't find anything under "110g show tank" but I did find your thread on algae scrubbers. I'm going to read it first chance I get. I've been researching them quite a bit. They go from a bare bones homemade setup to a few hundred dollars to buy one. I'm going to make my own but I'm not going bare bones. I've got more than enough room to make a nice one.
 
Last edited:

2quills

Well-Known Member

That means a lot
That means a lot coming from you 2quills. I appreciate it.
You're welcome. You're welcome.
I'm following along. A little FYI, my canopy isn't supported by my tank either. :)
Everything is looking good.
 

silverado61

Well-Known Member
Update:

I made some progress on the light bridge and decided to do a test fitting with the tank. I think I did a pretty good job measuring so far. I used aspen for the two front rails on the bridge so that when the door is open it will look like the whole frame is made of aspen. I'm gong to finish the top and back with 3/8" BC ply so I need to do a little more framing to support it. I'll paint the inside of the bridge white to intensify the work of the LED's just like the sump/fuge. I'm thinking about leaving the ends open to display books but I don't know if I want them showing in the front or sides. Suggestions?


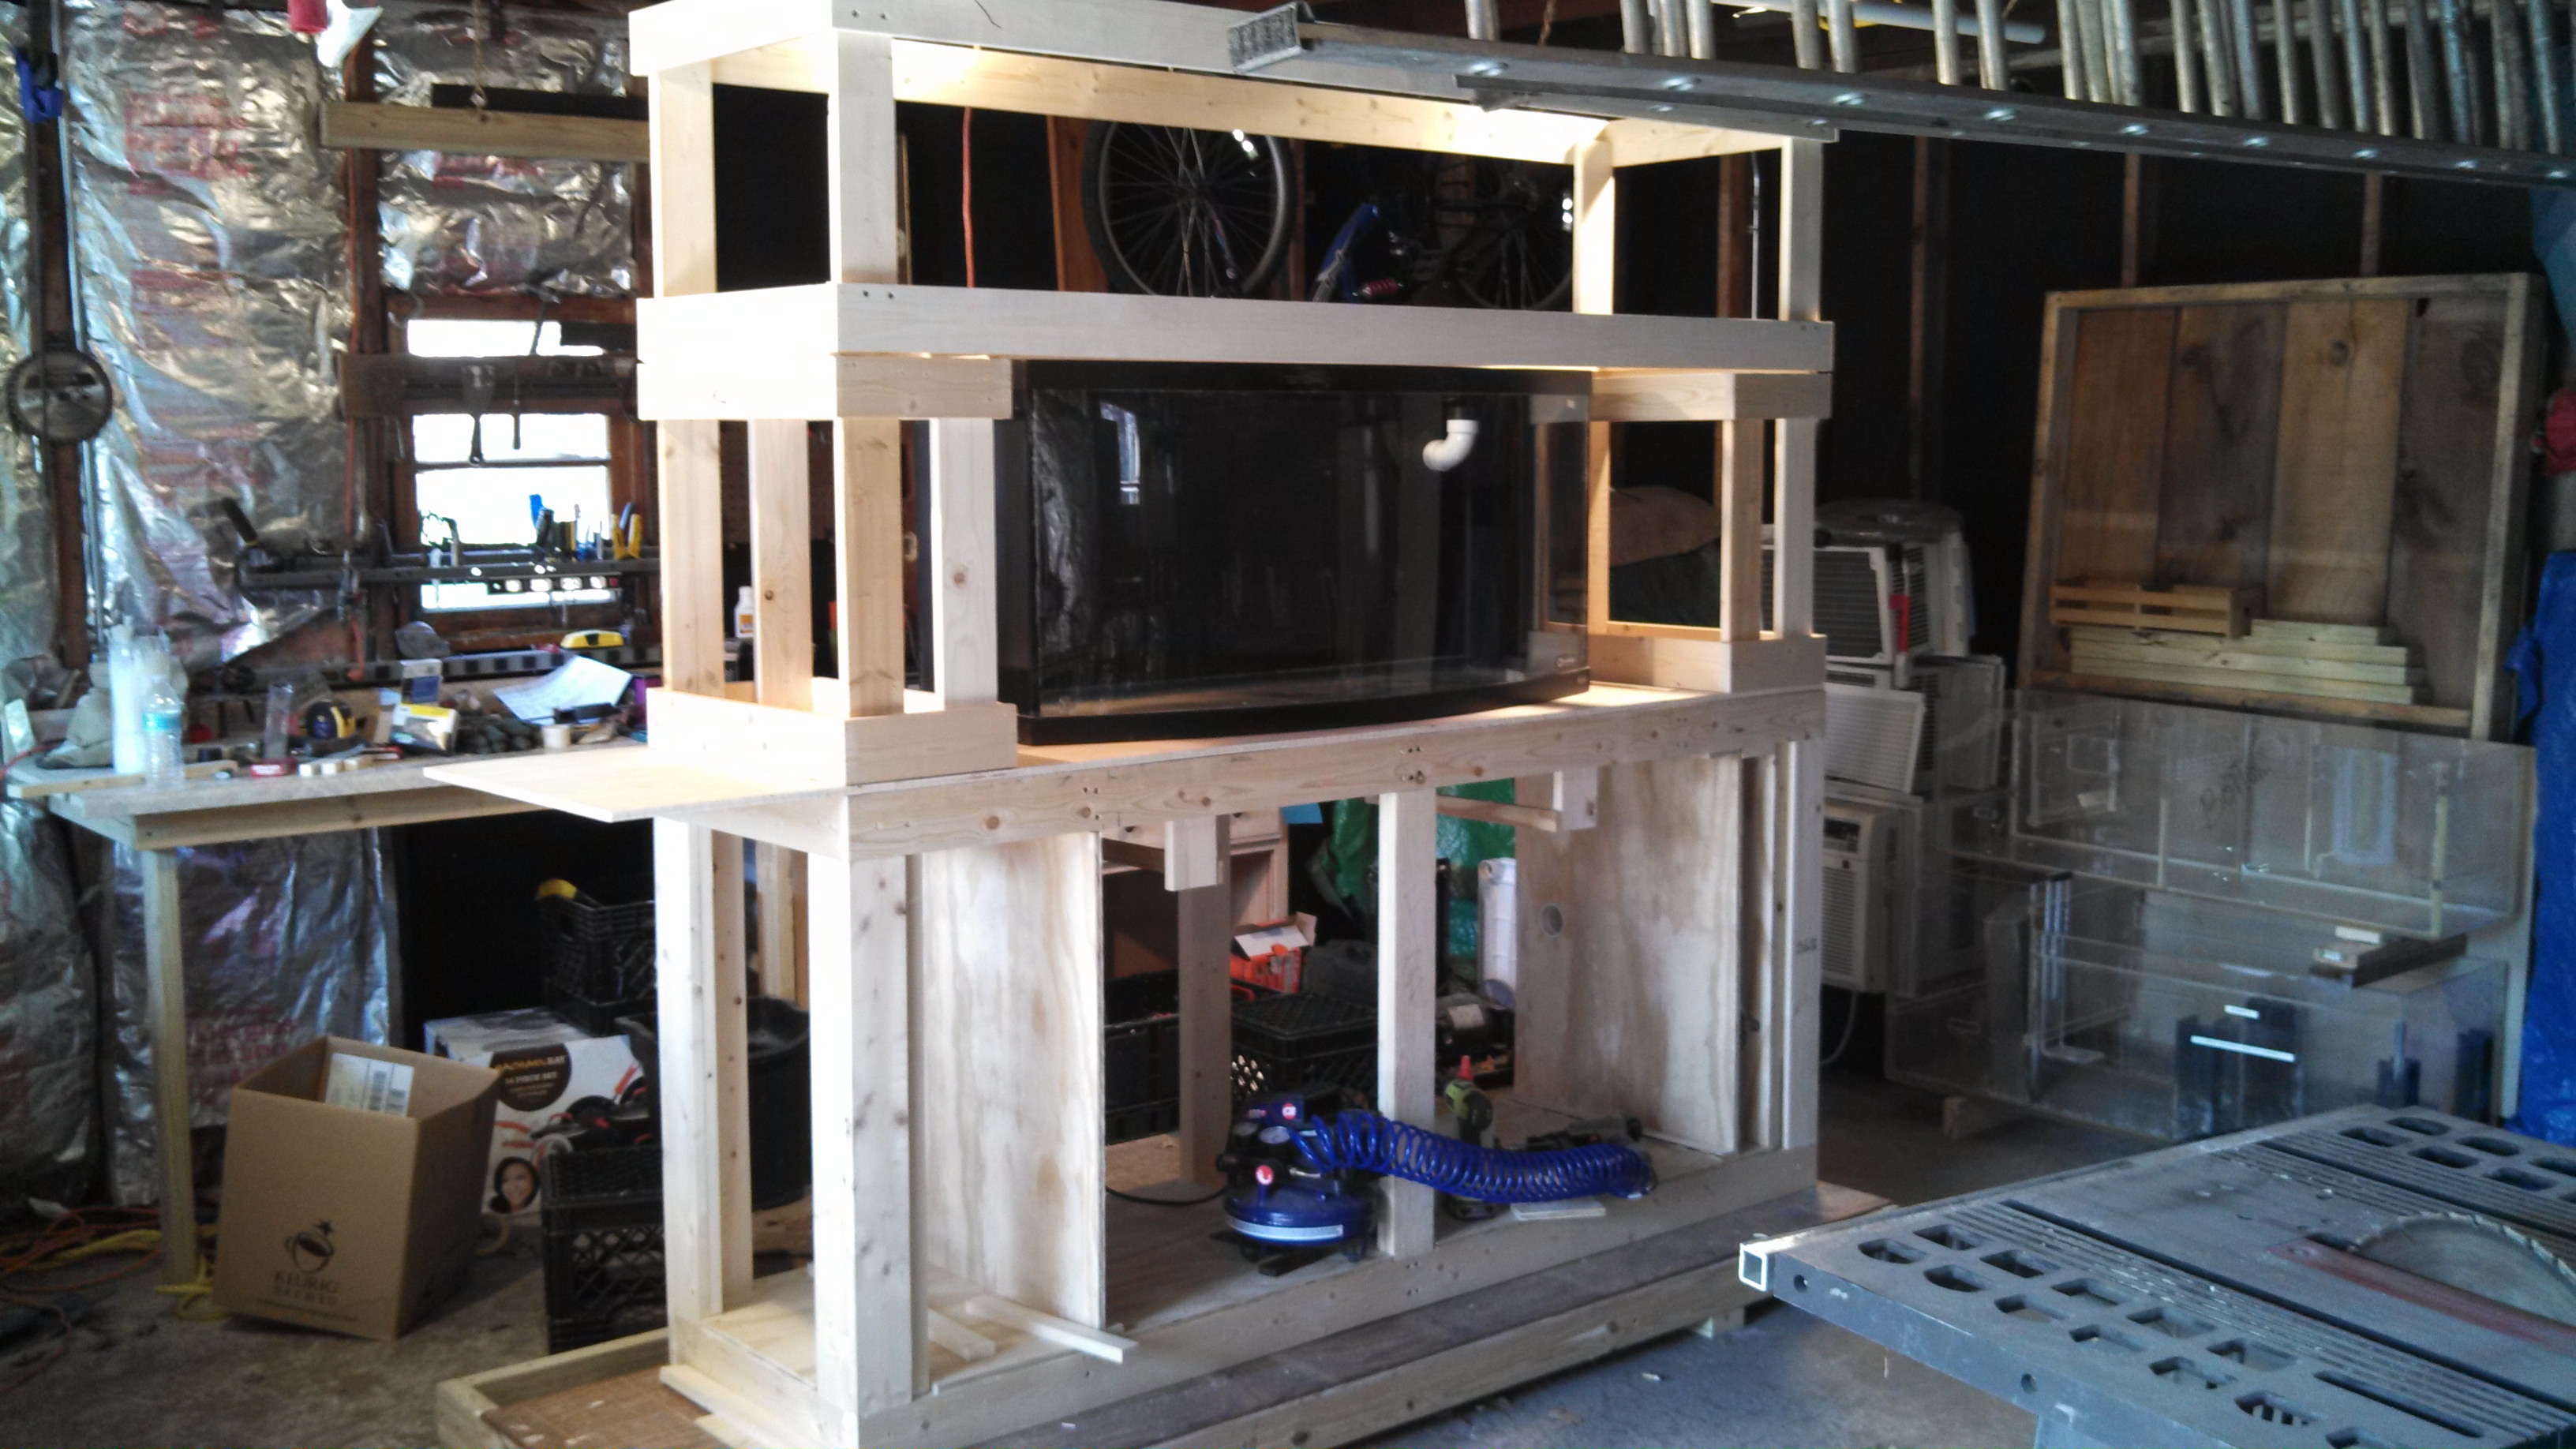
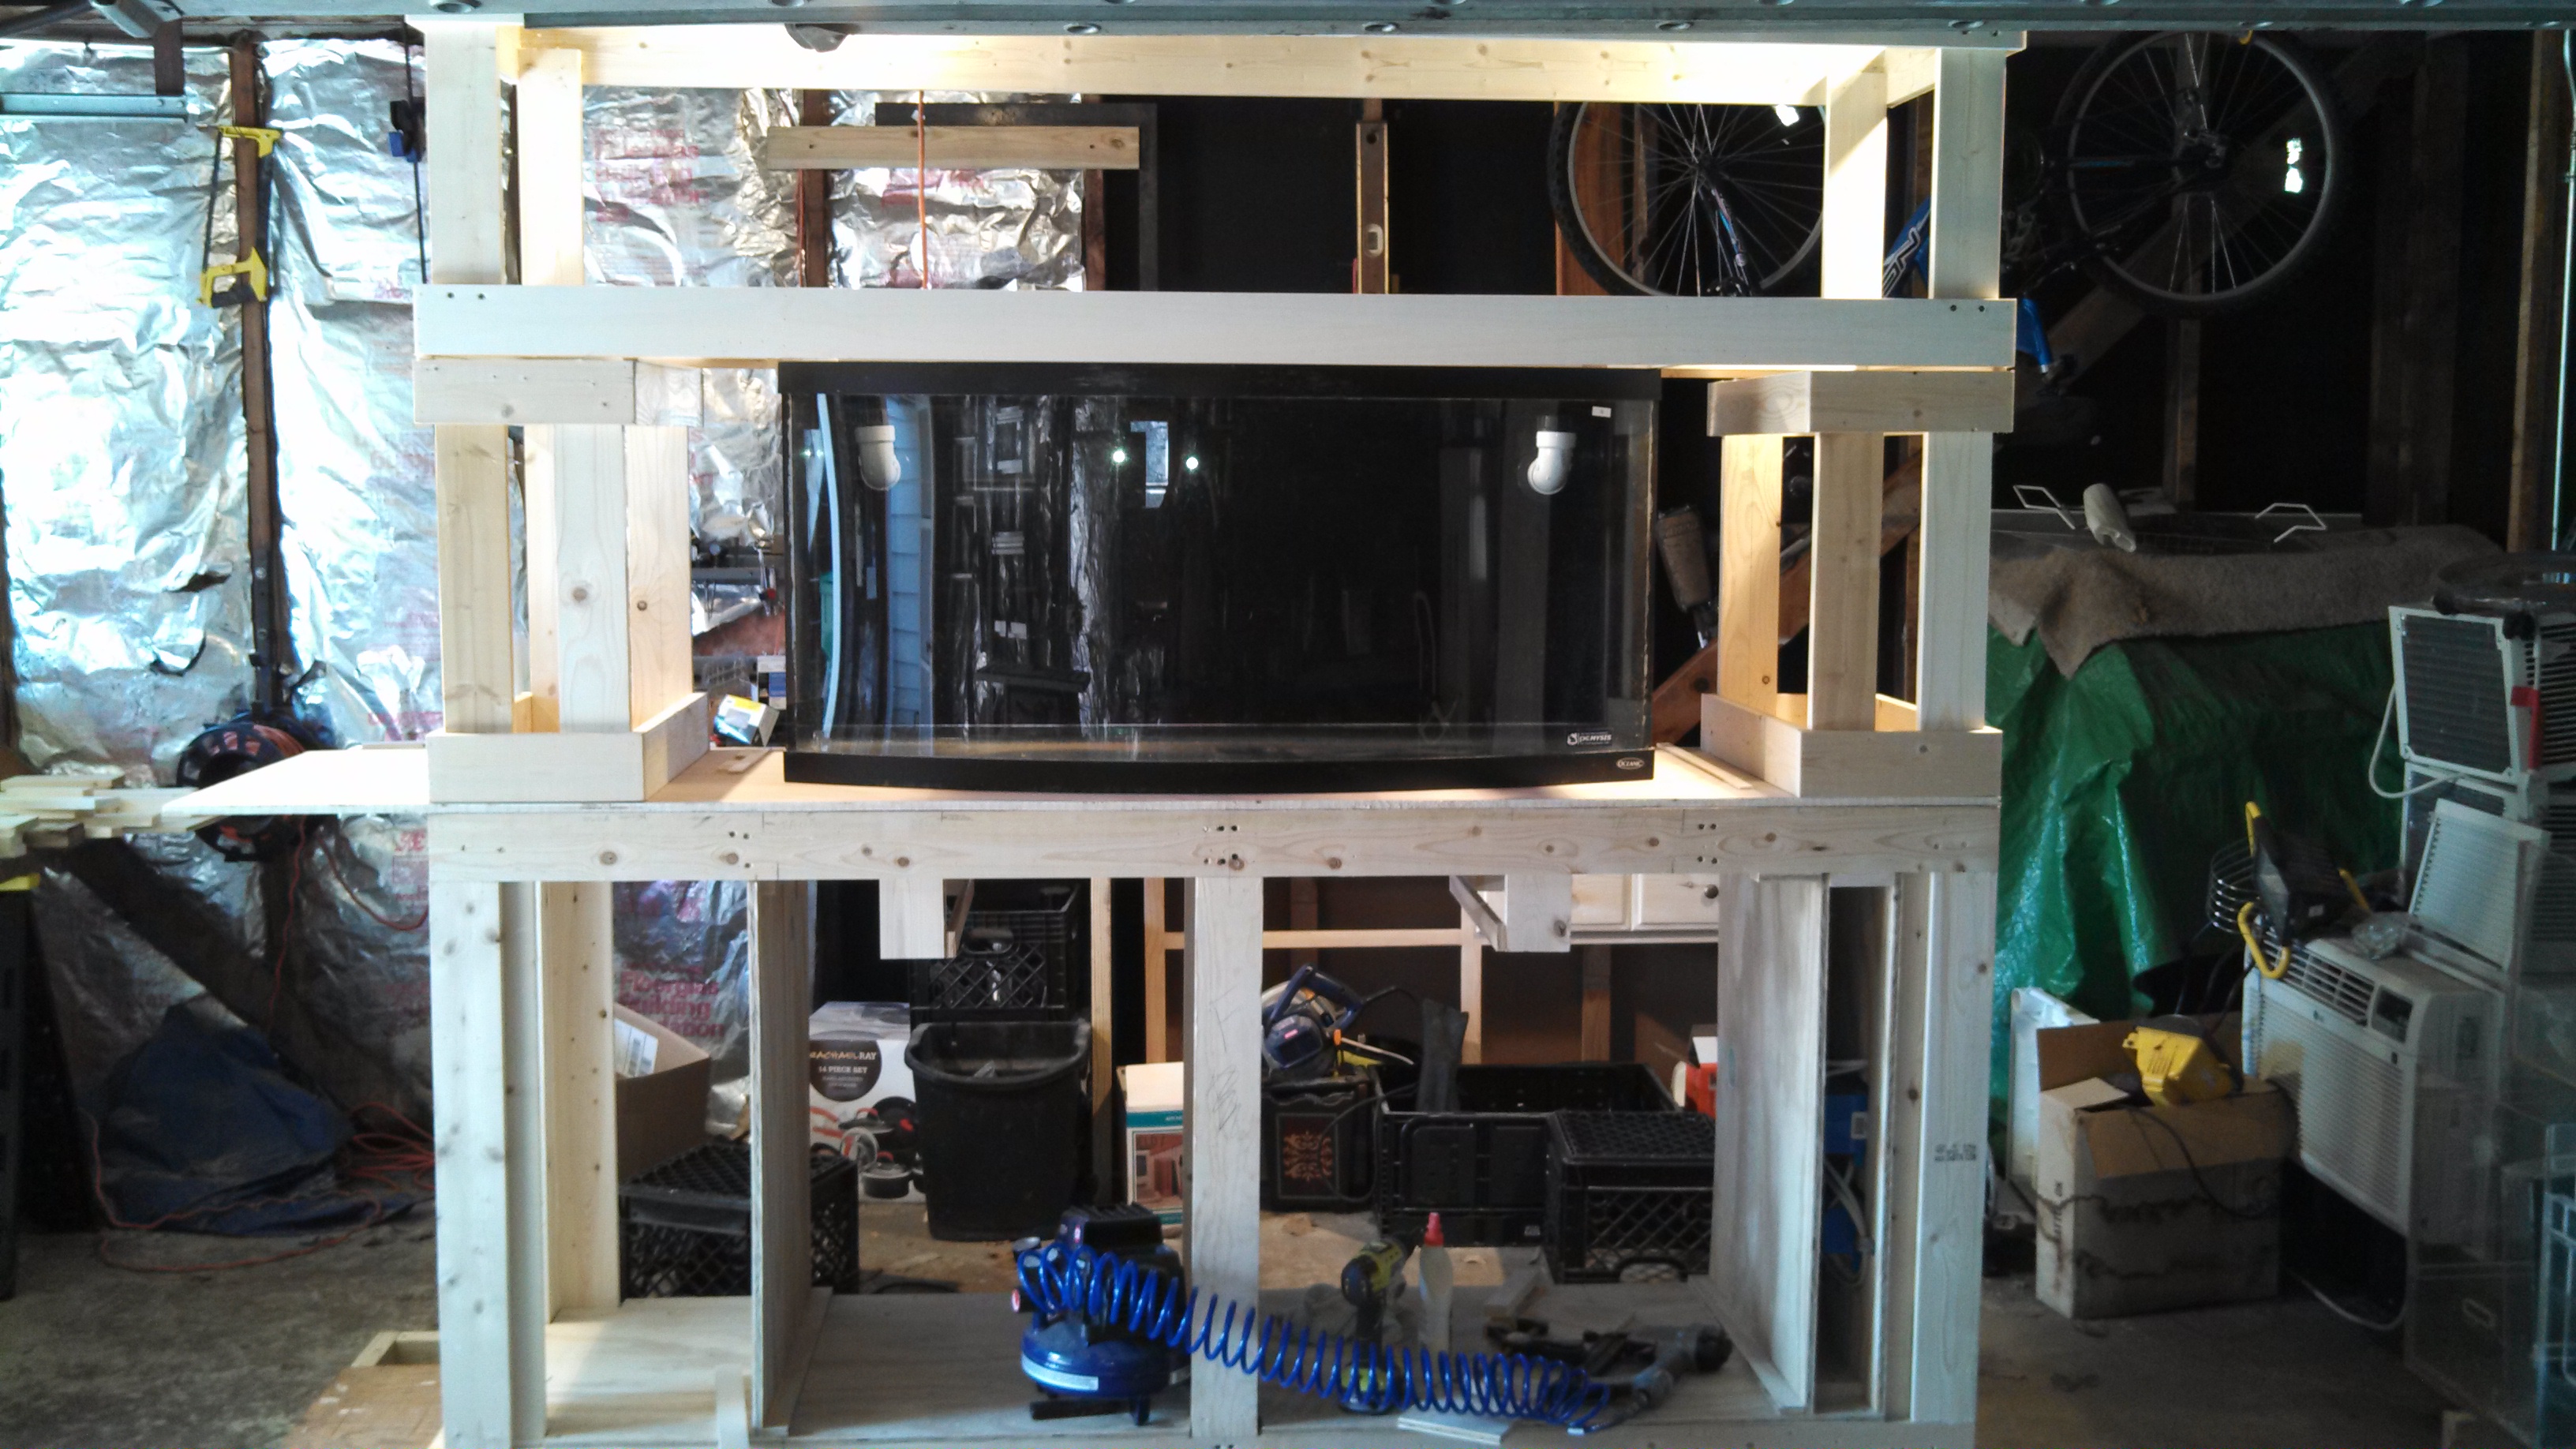
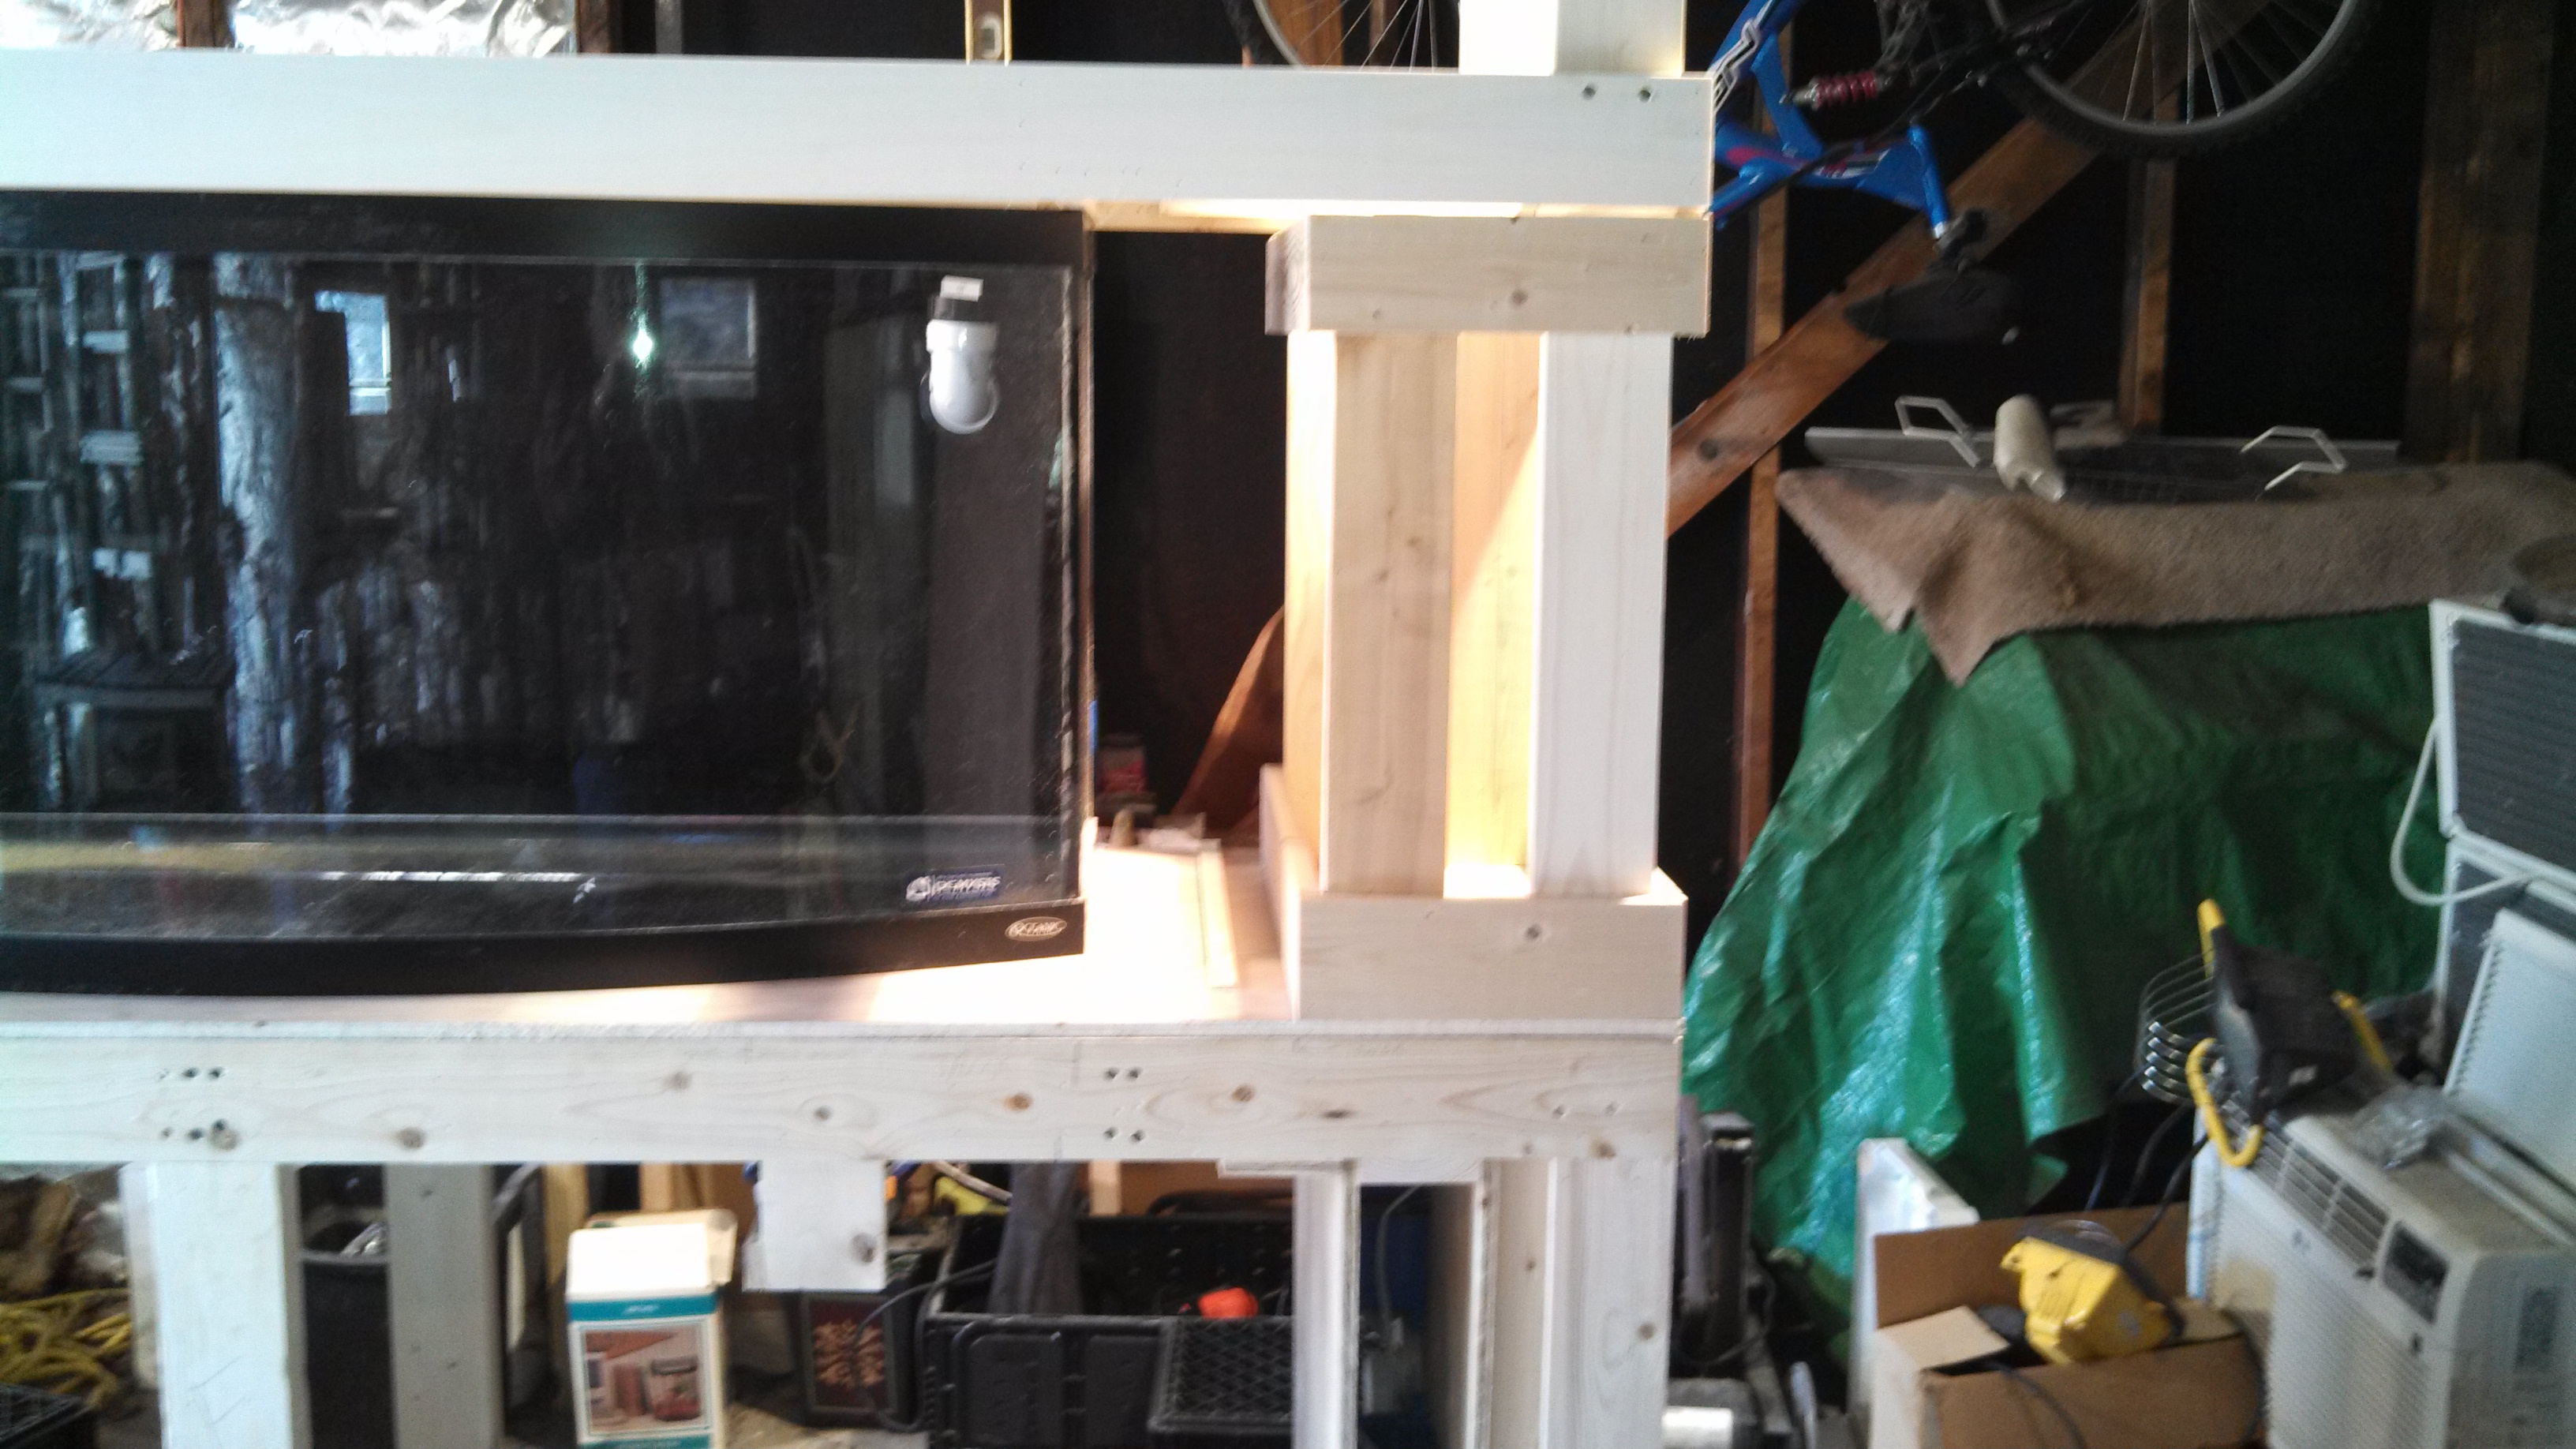
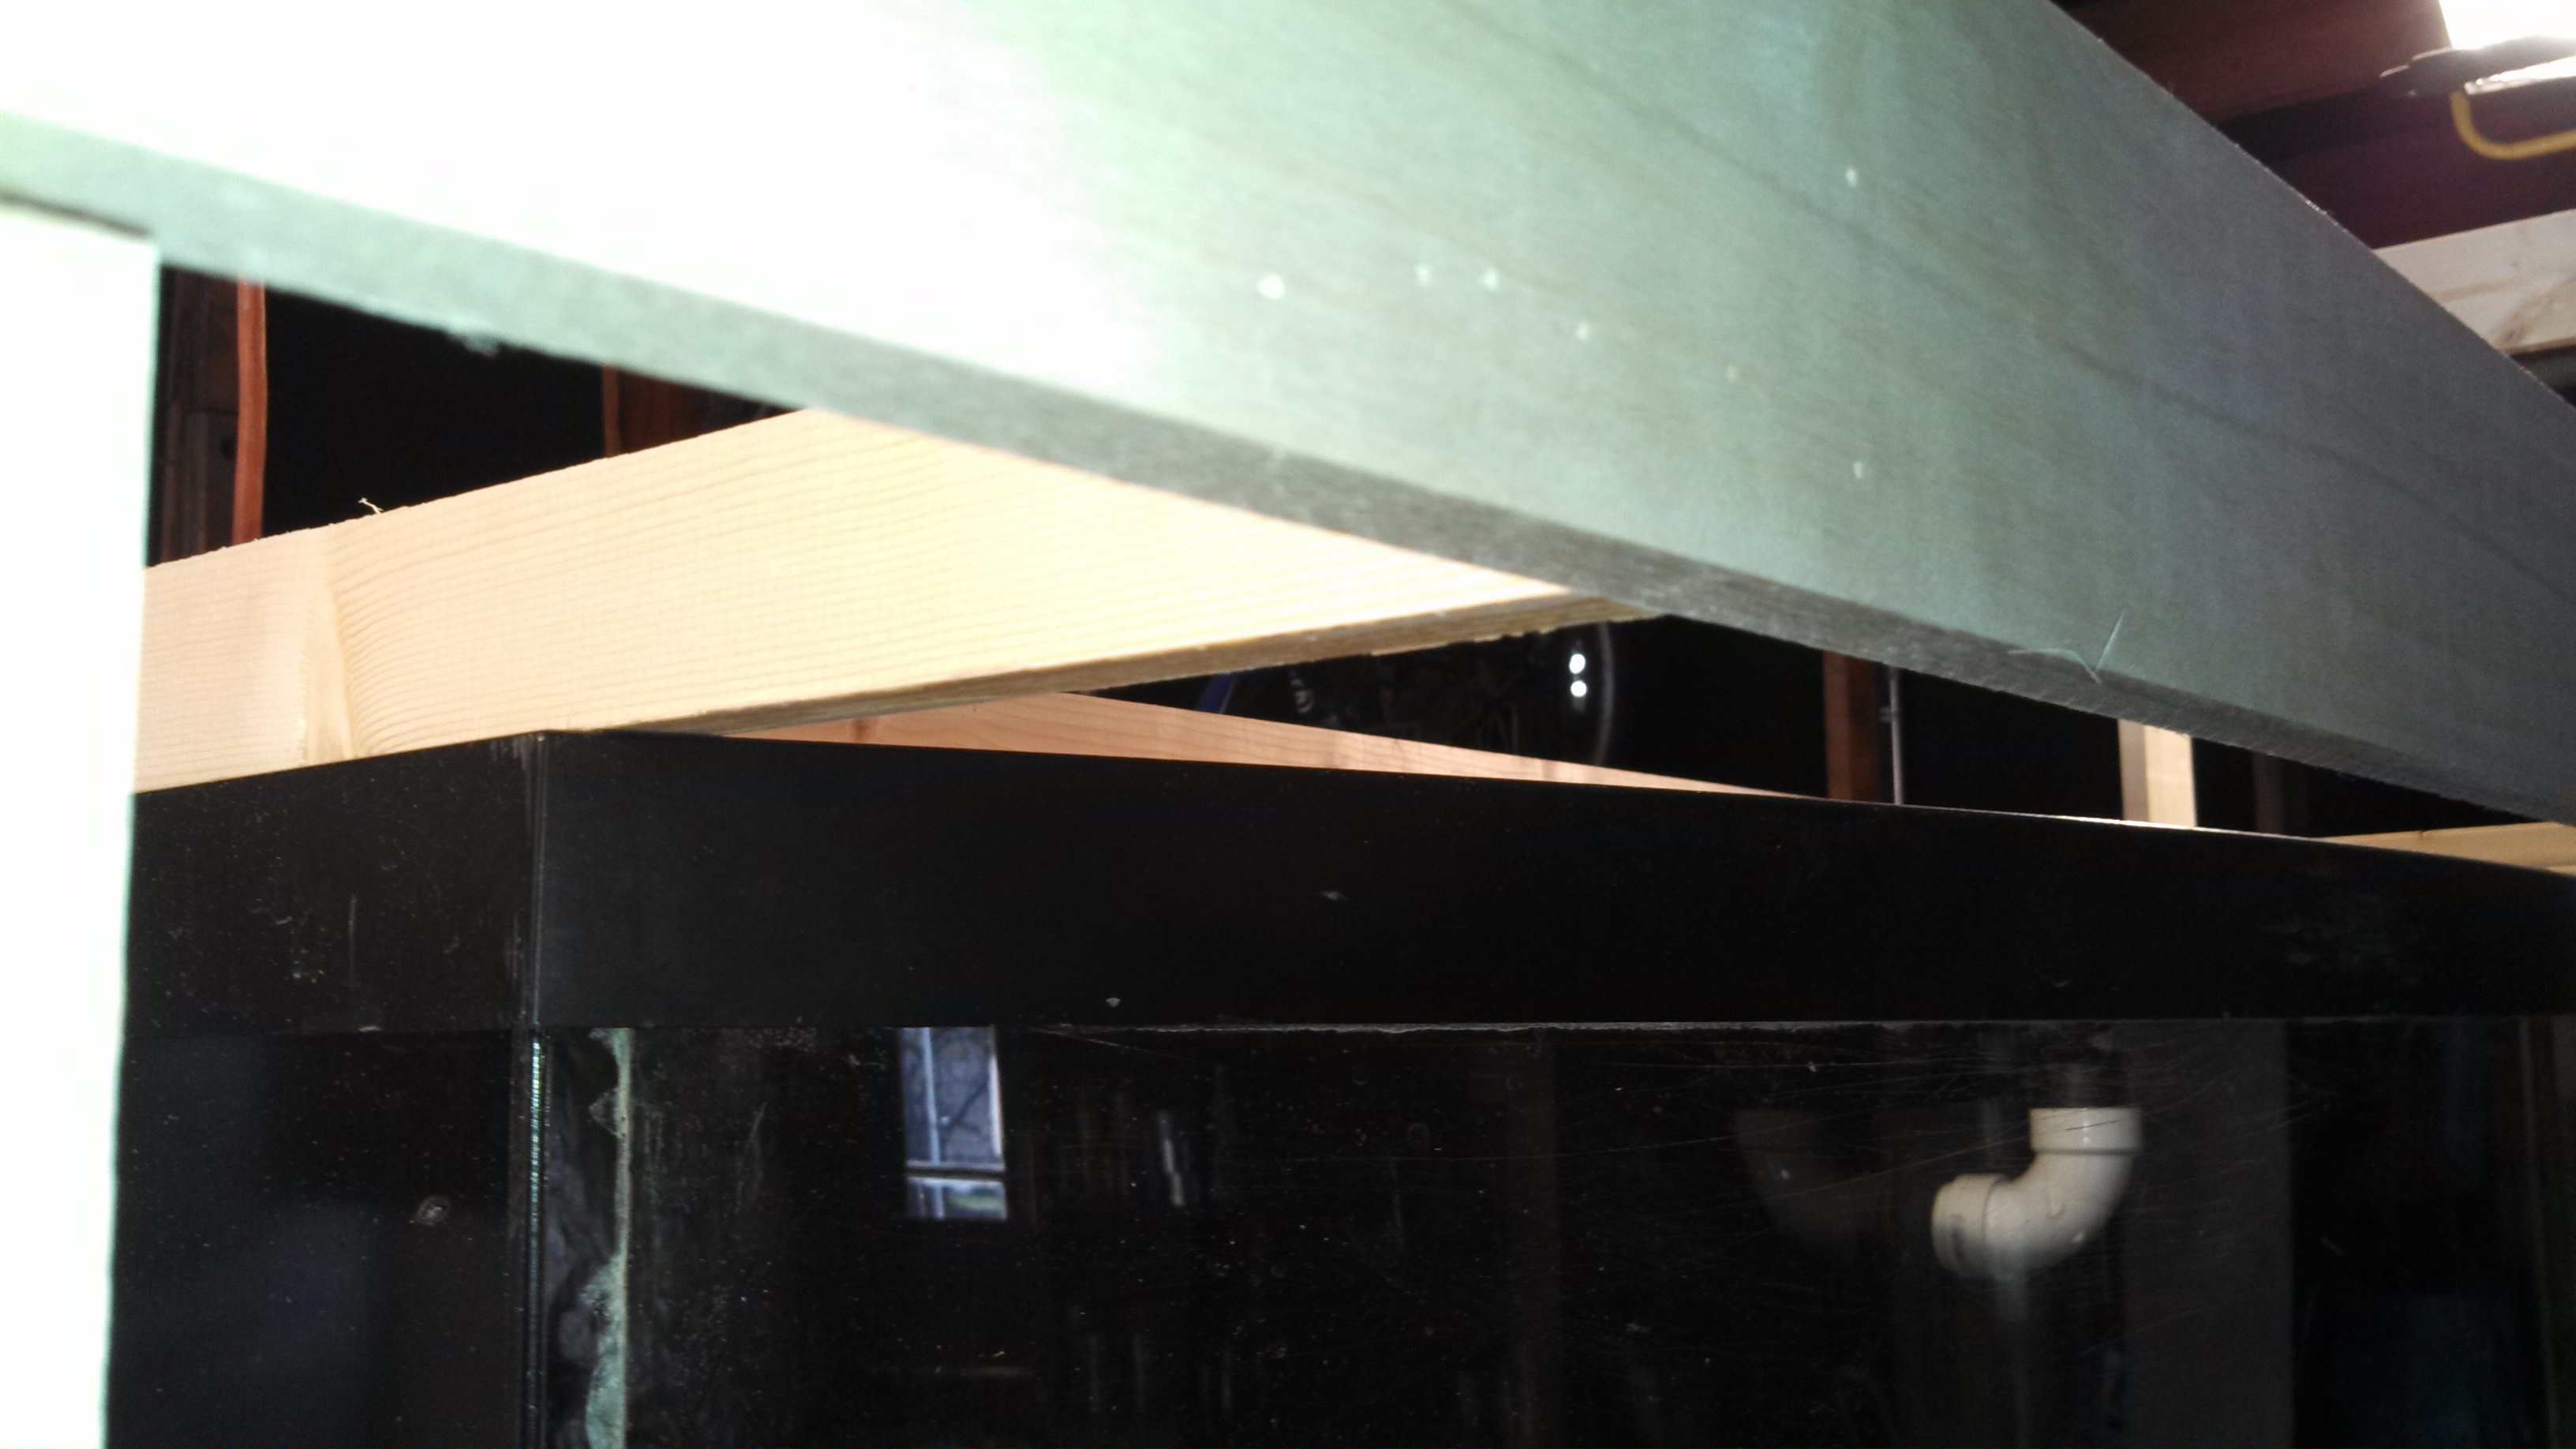
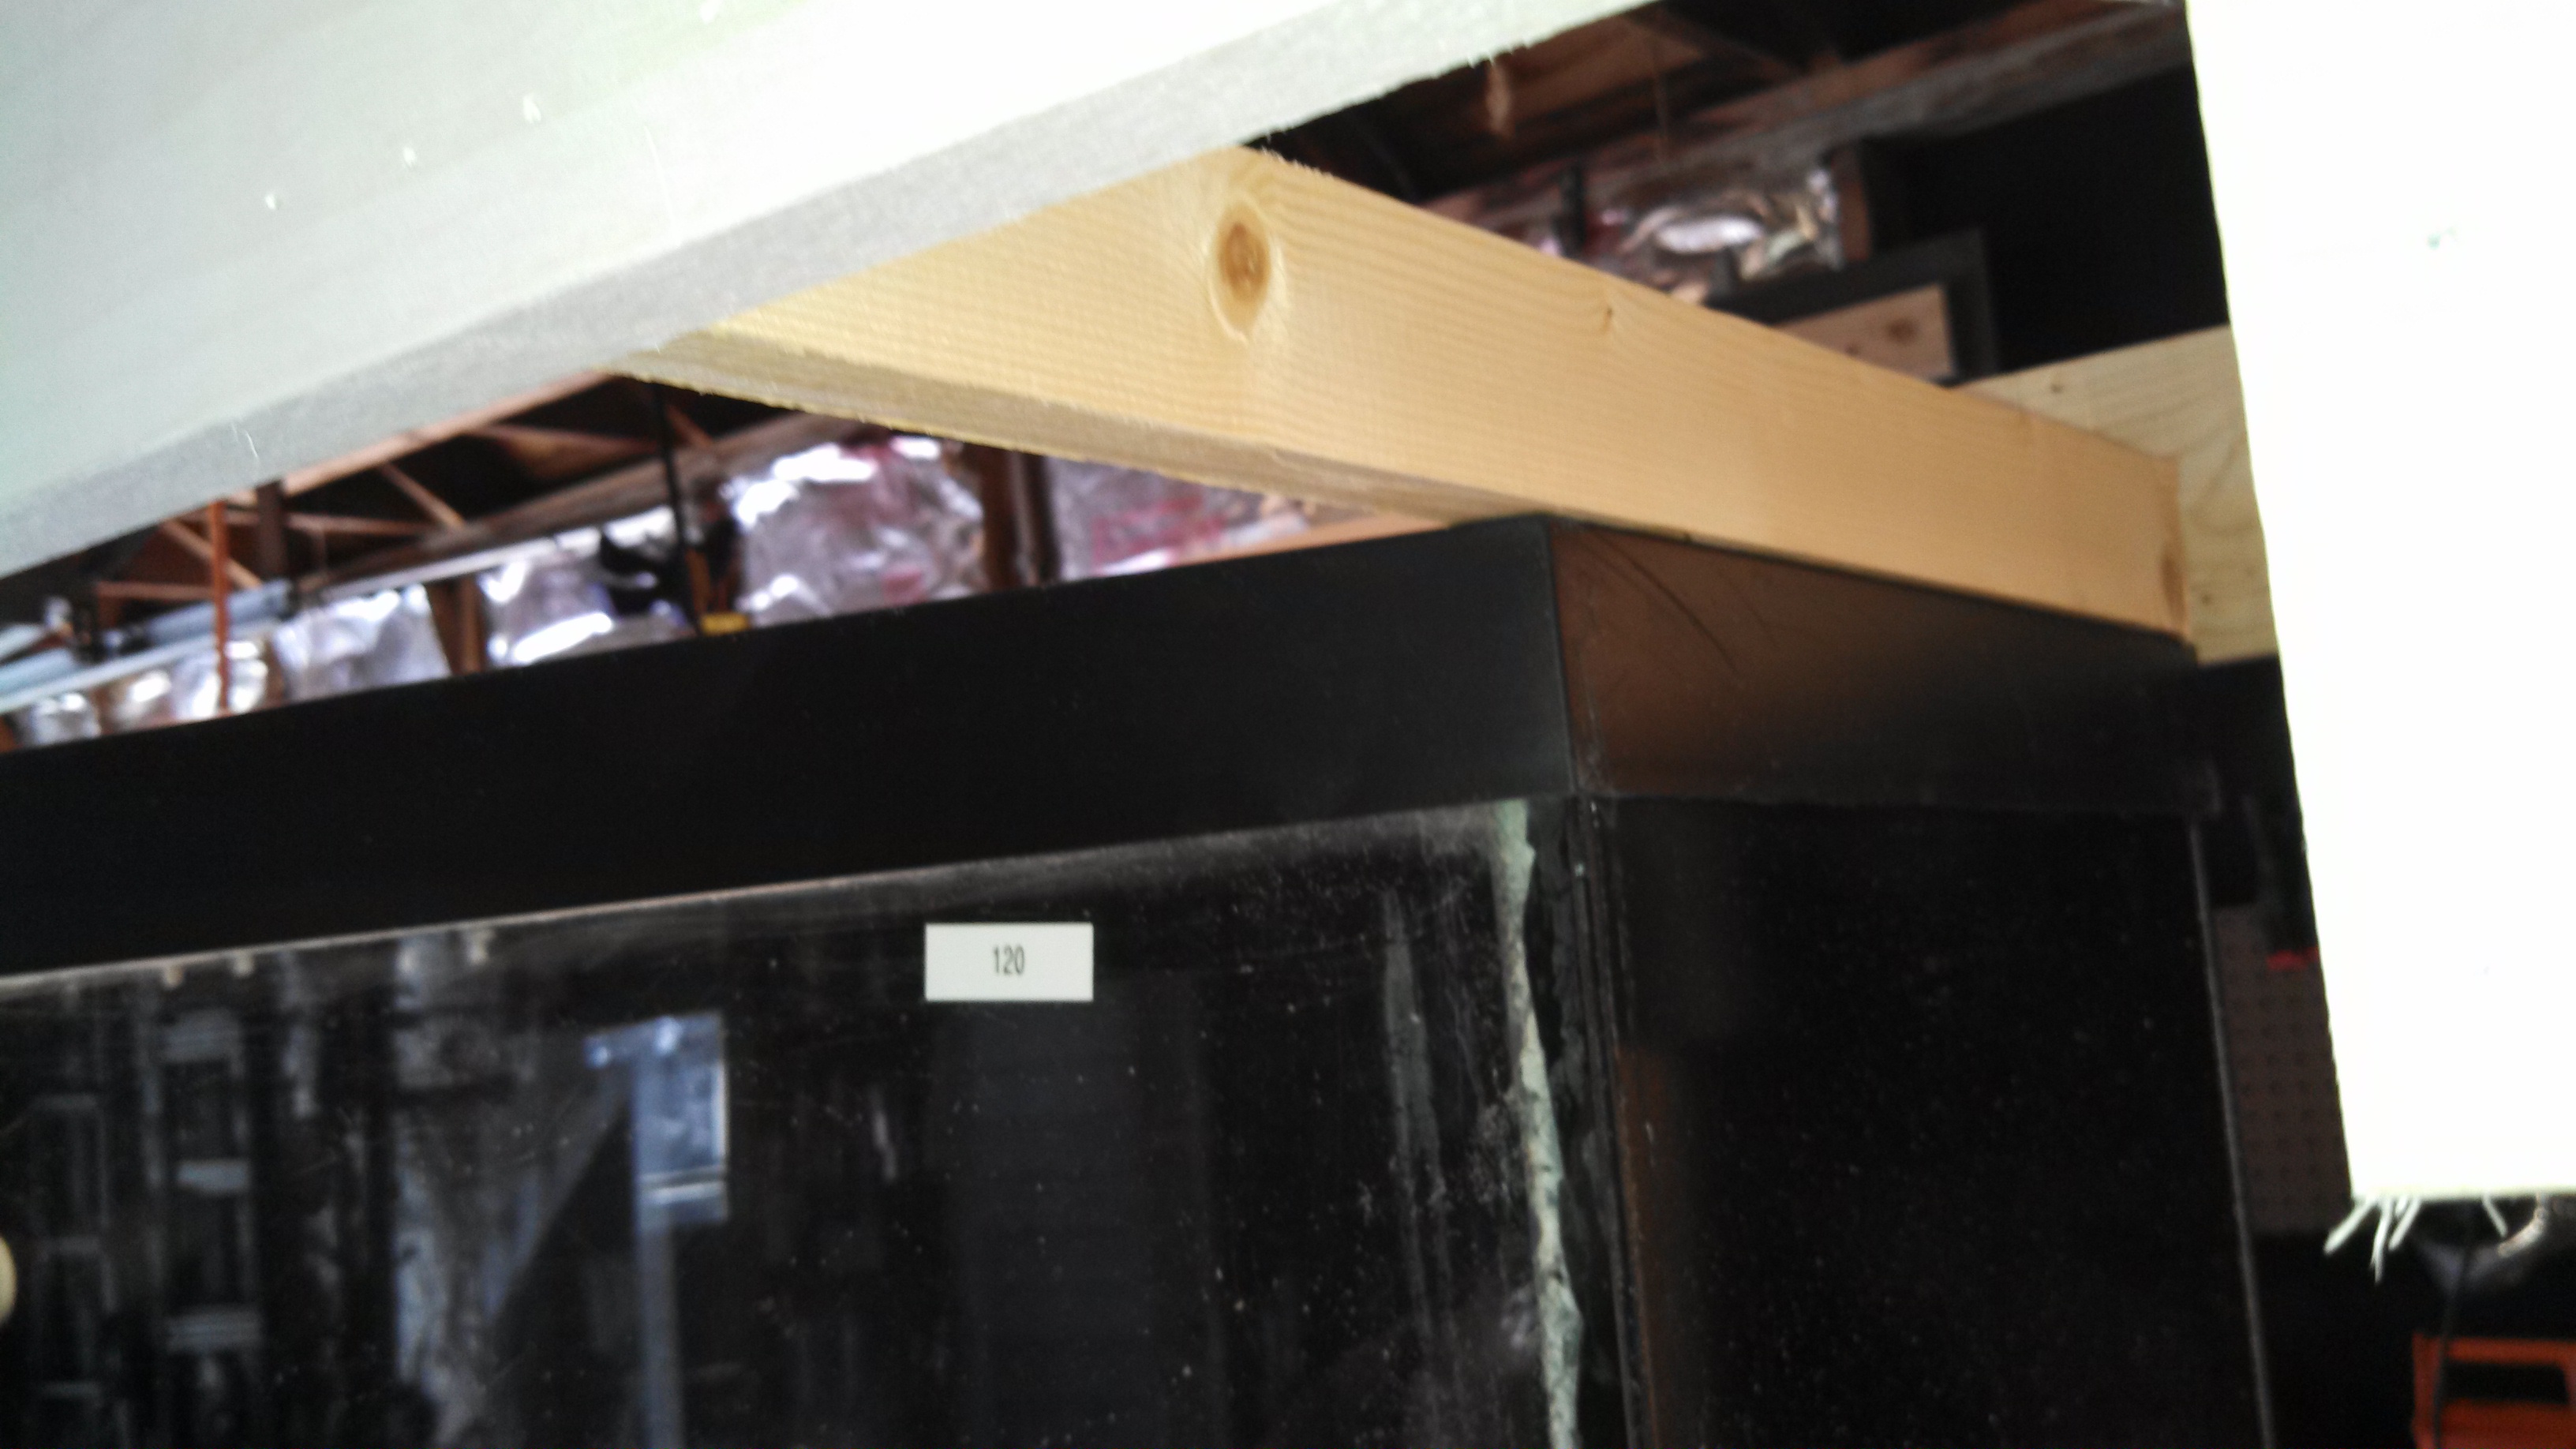
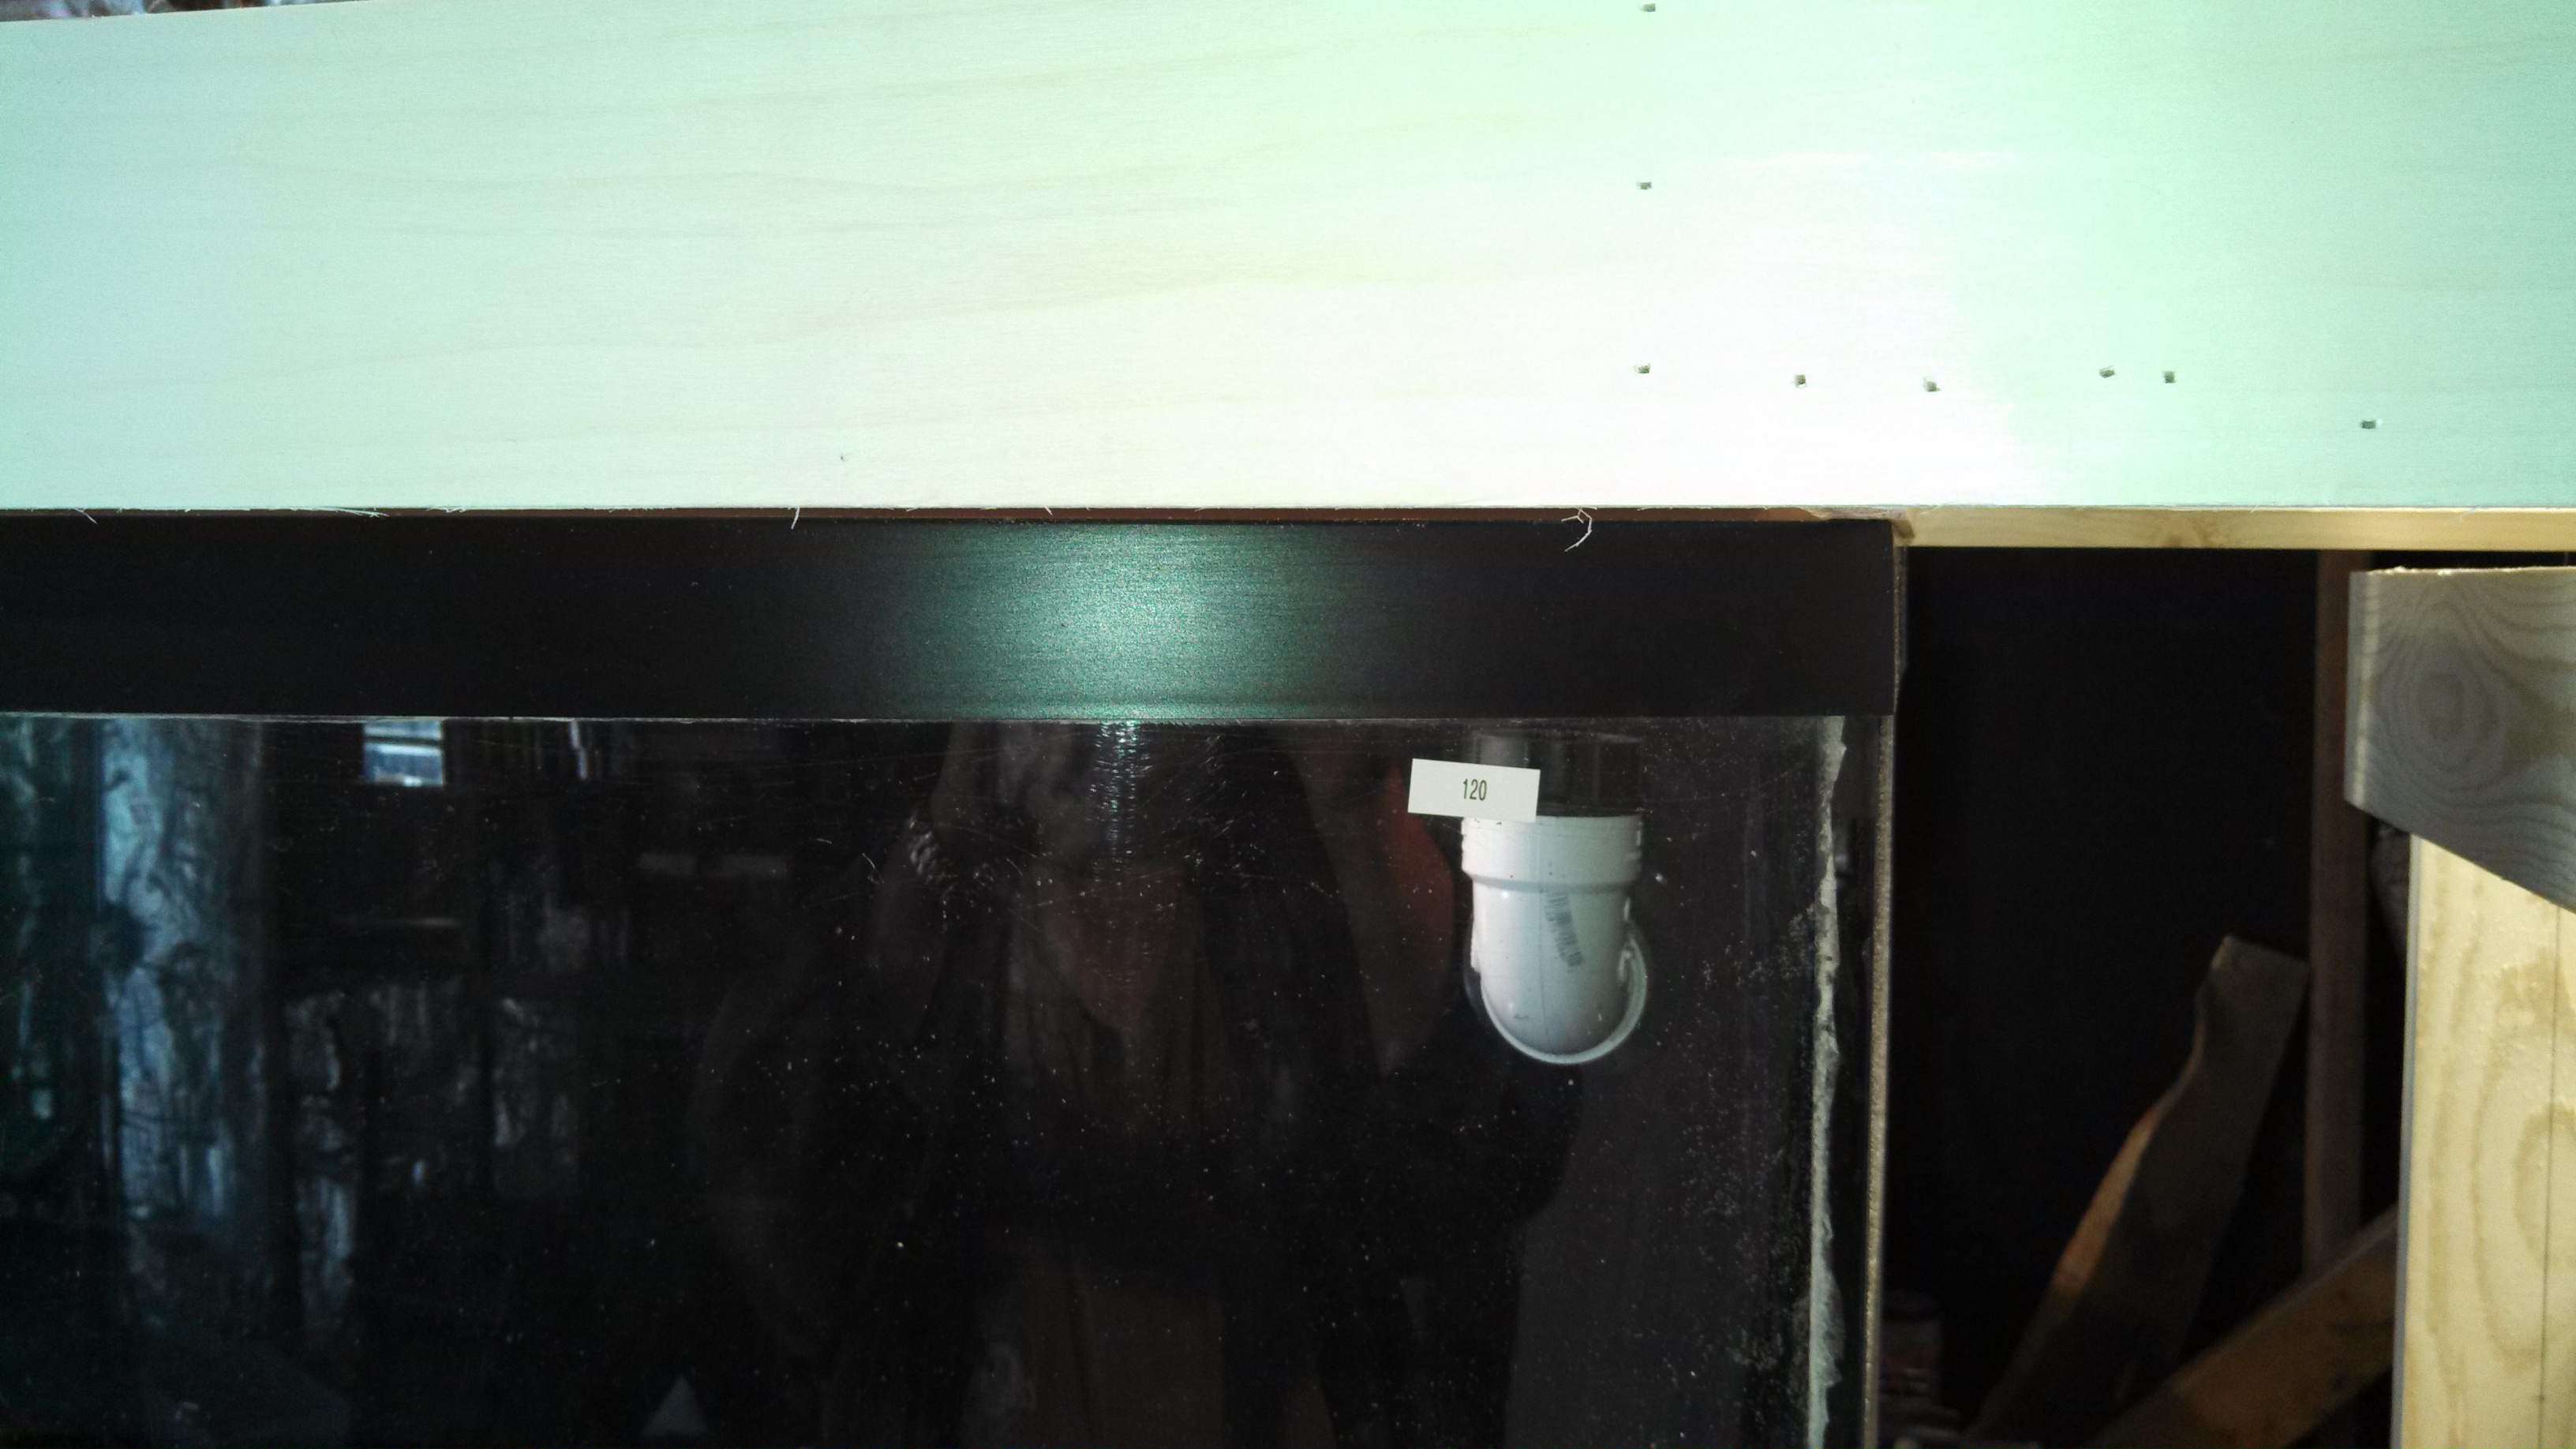
The oak that's going on the bridge is actually fitted inside the frame so that it sits flush with the top of the tank and the opening will be cut to the shape of the tank. Then I'll add trim around the top of the tank attaching the trim to the oak. I'm going to use a thin piece of cardboard around the outside edge of the tank as a spacer when I attach the trim then remove the cardboard giving me a little wiggle room yet still making it look like a tight fit with no light leaking through. I'll soak the trim making it pliable, shape it, then let it dry so it won't crack when I attach it.


I've got the oak top for the stand cut to fit but I want to get the aspen on first so the top will lay over it and the birch trim will cap the edge of the oak giving it a clean look.

I have to use a lot of self control not to rush through this because I'm really looking forward to getting this done. I also have to remember that after I get the stand done, then I have to plan and plumb everything out and run tests to get all the bugs out.

I estimate that I'm about half way finished with just the stand so I'm a third of the way there. But like zoidberg said: Slow and steady wins the race.

When I finally get it running I'll have all of you to thank for it. From conception to putting fish, inverts and coral in, I think everybody here had a hand in it.

As always, any input, suggestions or ideas are more than welcome.

Always learning.
 

flower

Well-Known Member
I'm just following along...I don't know a thing about building anything. I was just kind of wondering about the wood under the tank...my stand has no "shelf' the tank rests only on the beams themselves. It looks like the tank actually rests on the flat shelf and I kind of wonder about the weight...I mean SW tanks are super heavy.
 

silverado61

Well-Known Member
It's got three "beams" supporting the tank. One at each end of the tank, one across the center. Not to mention the frame around the stand itself. That, coupled with the oak plywood should be enough to support a 120g tank. It supports me and, no, I'm not telling you how much I weigh.
 

flower

Well-Known Member
Quote:
Originally Posted by silverado61 http:///t/397211/silverado61s-stand-and-tank-build/20#post_3544356
It's got three "beams" supporting the tank. One at each end of the tank, one across the center. Not to mention the frame around the stand itself. That, coupled with the oak plywood should be enough to support a 120g tank. It supports me and, no, I'm not telling you how much I weigh.


LOL... It sounds like it would be enough, like I said, I am no builder.

I found a chart http://freshaquarium.about.com/od/aquariumsandstands/a/tanksizesweights.htm A 65g tank with nothing but freshwater weighs 772lbs, and a 75g tank weighs 850lbs. My 90g tank with nothing but water is 1050lbs...I think saltwater is heavier then freshwater, and then add the weight of sand and rocks, that's some serious weight...much more then being able to support you or me together standing on it.
 

silverado61

Well-Known Member
Update:

Well I decided to take the plunge and try my hand at making homemade rock. It's going to take a couple of month to make, cure and soak it to get the PH down so I figured I'd do it now and let it do it's thing while I finish the stand. I did however put the top and back on the canopy and the back on the base but as of right now I haven't taken pictures of it to post but I will.

I made two of these forms. The other one a polar opposite of this one. That way the base for the rocks will lie flat inside the tank along the back and the two pieces will fit together side by side.


Here's the other form with the rock mixture poured in. I used two parts crushed coral, one part argonite sand and one part Portland cement. After I mixed it to a thick consistency I added two handfuls of course rock salt. I didn't do a full one part salt because it's the base. Once it sets I'll cover it with a plastic bag and top it off with play sand. Then I'll mix the second batch for the other form, cover it with plastic then sand. Then start building layers of flat rock on top of each other till the tub is full using a full part of rock salt for those so I have pockets for growth. I'm going to keep building different shapes and sizes till all the supplies are gone. Figured that way I'll have wide variety of pieces to choose from and design it any way I choose. Flat pieces, odd shaped pieces, pieces with holes and caves.


Here's a close up of the slurry so you have and idea of the texture I'm going for. This is before I let it cure, soak it to get the PH down and allow the rock salt to dissolve. I'll show you what that looks like when it's done. If I didn't screw it up that is.


Once I figure out what aqua-scape look I'm going for I'll attach everything using plastic rods I'll get from Hobbytown and marine foam.
 

flower

Well-Known Member
LOL.. Admit it, you just like playing in mud. I'm still following along, but the idea of waiting months for homemade rock to cure is not something I could do. You sure do have patience.
 

silverado61

Well-Known Member
Quote:
Originally Posted by Flower http:///t/397211/silverado61s-stand-and-tank-build/20#post_3545018
LOL.. Admit it, you just like playing in mud. I'm still following along, but the idea of waiting months for homemade rock to cure is not something I could do. You sure do have patience.
If I did this AFTER the stand was finished then ya, that would take patience. This way I figured the rock will be ready when the stand is finished so I won't have to wait for it.

I'm kinda killing two birds with one stone here.

But your right. I DO like playing in the mud. Makes me feel like a kid again. lol
 

silverado61

Well-Known Member
BTW:

I added another piece of equipment to my arsenal.

Here's my (almost) new Protein Scrubber.


Thanks for letting it go Flower. I'll definitely be putting it to good use. Fits perfect in the sump area.
 
Top