Silverado61's Stand and Tank build.

silverado61

Well-Known Member
Here's some questions about power heads.
First: For gph flow do I add the sump volume to my tank volume for total gph flow? Or is it just the tank I worry about?
Second: Assuming its just tank flow and I need 1,600gph for corals, is it 1,600gph each pump or 800gph each for a 1,600 total?
Last: If if I use a wavemaker is it 1,600gph each or 800gph each?
Confused yet? I had it all straight in my head but I might have screwed it up typing it all in.
 

bang guy

Moderator
Just worry about the tank volume.

If you want 1600gph of flow then it's the total flow but I would recommend multiple sources of flow in order to be able to control it better.

For a wavemaker - if the target flow rate is 1600gph then you want 1600gph on setting A then 1600gph for setting B so you would want 3200gph worth of powerheads.

For that much flow I would suggest a closed loop with alternating returns.
 

2quills

Well-Known Member
Closed loops are all about flow control throughout the tank. Generally they require an external pump and drilling (though not necessary) for multiple points of outputs. Sometimes this is actually a cleaner look than having multiple power heads inside the tank if it's done right and you hardly even notice they are there.
They can be a little more involved and are generally reserved for those of us who dance on the edge of sanity and sensibility when it comes to water movement for our systems.
But they are pretty darn cool.
 

silverado61

Well-Known Member
Sounds a little beyond my limited range of expertise. Think I'll wait till my next build/upgrade which at the rate I'm going with this one may be a few years.
 
Last edited:

2quills

Well-Known Member
They actually don't need to be that complicated. Its all a matter of preference. I purchased a wave maker kit for my koralias but I hate it. Cant stand the noise they make from the constant on/off switching. So I leave them on continuous. I have two 1450gph powerheads in my 120g. Between those and the flow from my return pump nozzles I'm pretty happy with the random flow patterns they create in the tank. You don't want too much one way direction blowing on your corals all day.
 

silverado61

Well-Known Member
I didn't know wavemakers caused the pumps to make noise when switching. I also found out it causes the pumps to burn out faster. In some cases, run in reverse. Scratch that idea. I was planning on doing the return nozzels anyway along with the wavemaker. Got the nozzle idea from you. Saves me some cash also.
 

2quills

Well-Known Member
I didn't know wavemakers caused the pumps to make noise when switching. I also found out it causes the pumps to burn out faster. In some cases, run in reverse. Scratch that idea. I was planning on doing the return nozzels anyway along with the wavemaker. Got the nozzle idea from you. Saves me some cash also.
Yeah, the koralias are noisy when ever they first kick on. It's brief, but when you hear it constantly over and over it can be annoying. Anytime an electric motor turns on there is a brief in-rush of electrical current that's higher than the normal operating current. Which means it generates more heat on the electrical components. They wear out faster.
 

snakeblitz33

Well-Known Member
I'd personally just save the headache and go ahead and invest in a vortech MP40.

If you are cheap, you could always go Jebao...
 

silverado61

Well-Known Member
Quote:
Originally Posted by SnakeBlitz33 http:///t/397211/silverado61s-stand-and-tank-build/40#post_3546037
I'd personally just save the headache and go ahead and invest in a vortech MP40.

If you are cheap, you could always go Jebao...
At $465 a pop? I think I'll just stick with my MaxiJets and get the magnetic mounts for them. I've got two that'll give me 2,000gph total flow. Along with the nozzles on my return pump, as jay would say, "I should be golden".

Flower gave me two really good powerheads but I'm having a problem with one of them.
 

trigger40

Well-Known Member
silverado61 what size wood would you recommend for a tank about the size of yours. im about to start my stand for my next tank and i dont know what wood i should get would 2x6 be good or would you recomend larger.
 

silverado61

Well-Known Member
Sorry I haven't posted anything on the build lately but I broke my thumb last week. Dropped a 10lb landscaping block on it. I did manage to mix up another batch of diy rock today though. I'll try to post some pictures when they firm up enough to take them out of the mold.
EDIT: This post should have gone out 2 weeks ago but I forgot to hit "reply". It's actually been three weeks. :laughing:
 

silverado61

Well-Known Member
silverado61 what size wood would you recommend for a tank about the size of yours. im about to start my stand for my next tank and i dont know what wood i should get would 2x6 be good or would you recomend larger.
1x6 IMO is overkill and adds unwanted weight to the stand. I used doubled up 1x4's. The reason being that the grain of each board is different and adds strength to each other and makes it stronger than a single 2x4. In either case, make sure you use plenty of bracing.
Read 2quills thread in the diy forum or blow up my photos for a good idea of where to start.
 

silverado61

Well-Known Member
Update:

My thumb is much better now but I'm still waiting for the damned nail to fall off. (gross)

I finished making my DIY rock which I think it looks pretty good for my first time doing it.

While that's curing and waiting to go in the tub to soak for a month or more, I started to make more progress on the stand. I'm beginning to put the Aspen "skin" on the base and I have the Oak table top on as well. My wife helped me out a great deal by priming and painting the inside of the base and canopy.

I'm working a split shift tomorrow so when I come home for a few hours I'll take some more photo's and post them. I've been slacking off on pic's.
 

silverado61

Well-Known Member
Major update:

Well, I had trouble uploading the pictures I promised but I solved the problem. A lot of progress has been made since the last time I posted pics so bare with me. This is going to be a long overdue update.
BTW: I lost my thumb nail. Actually I took it off myself. Got tired of waiting for it to fall off. So here goes:

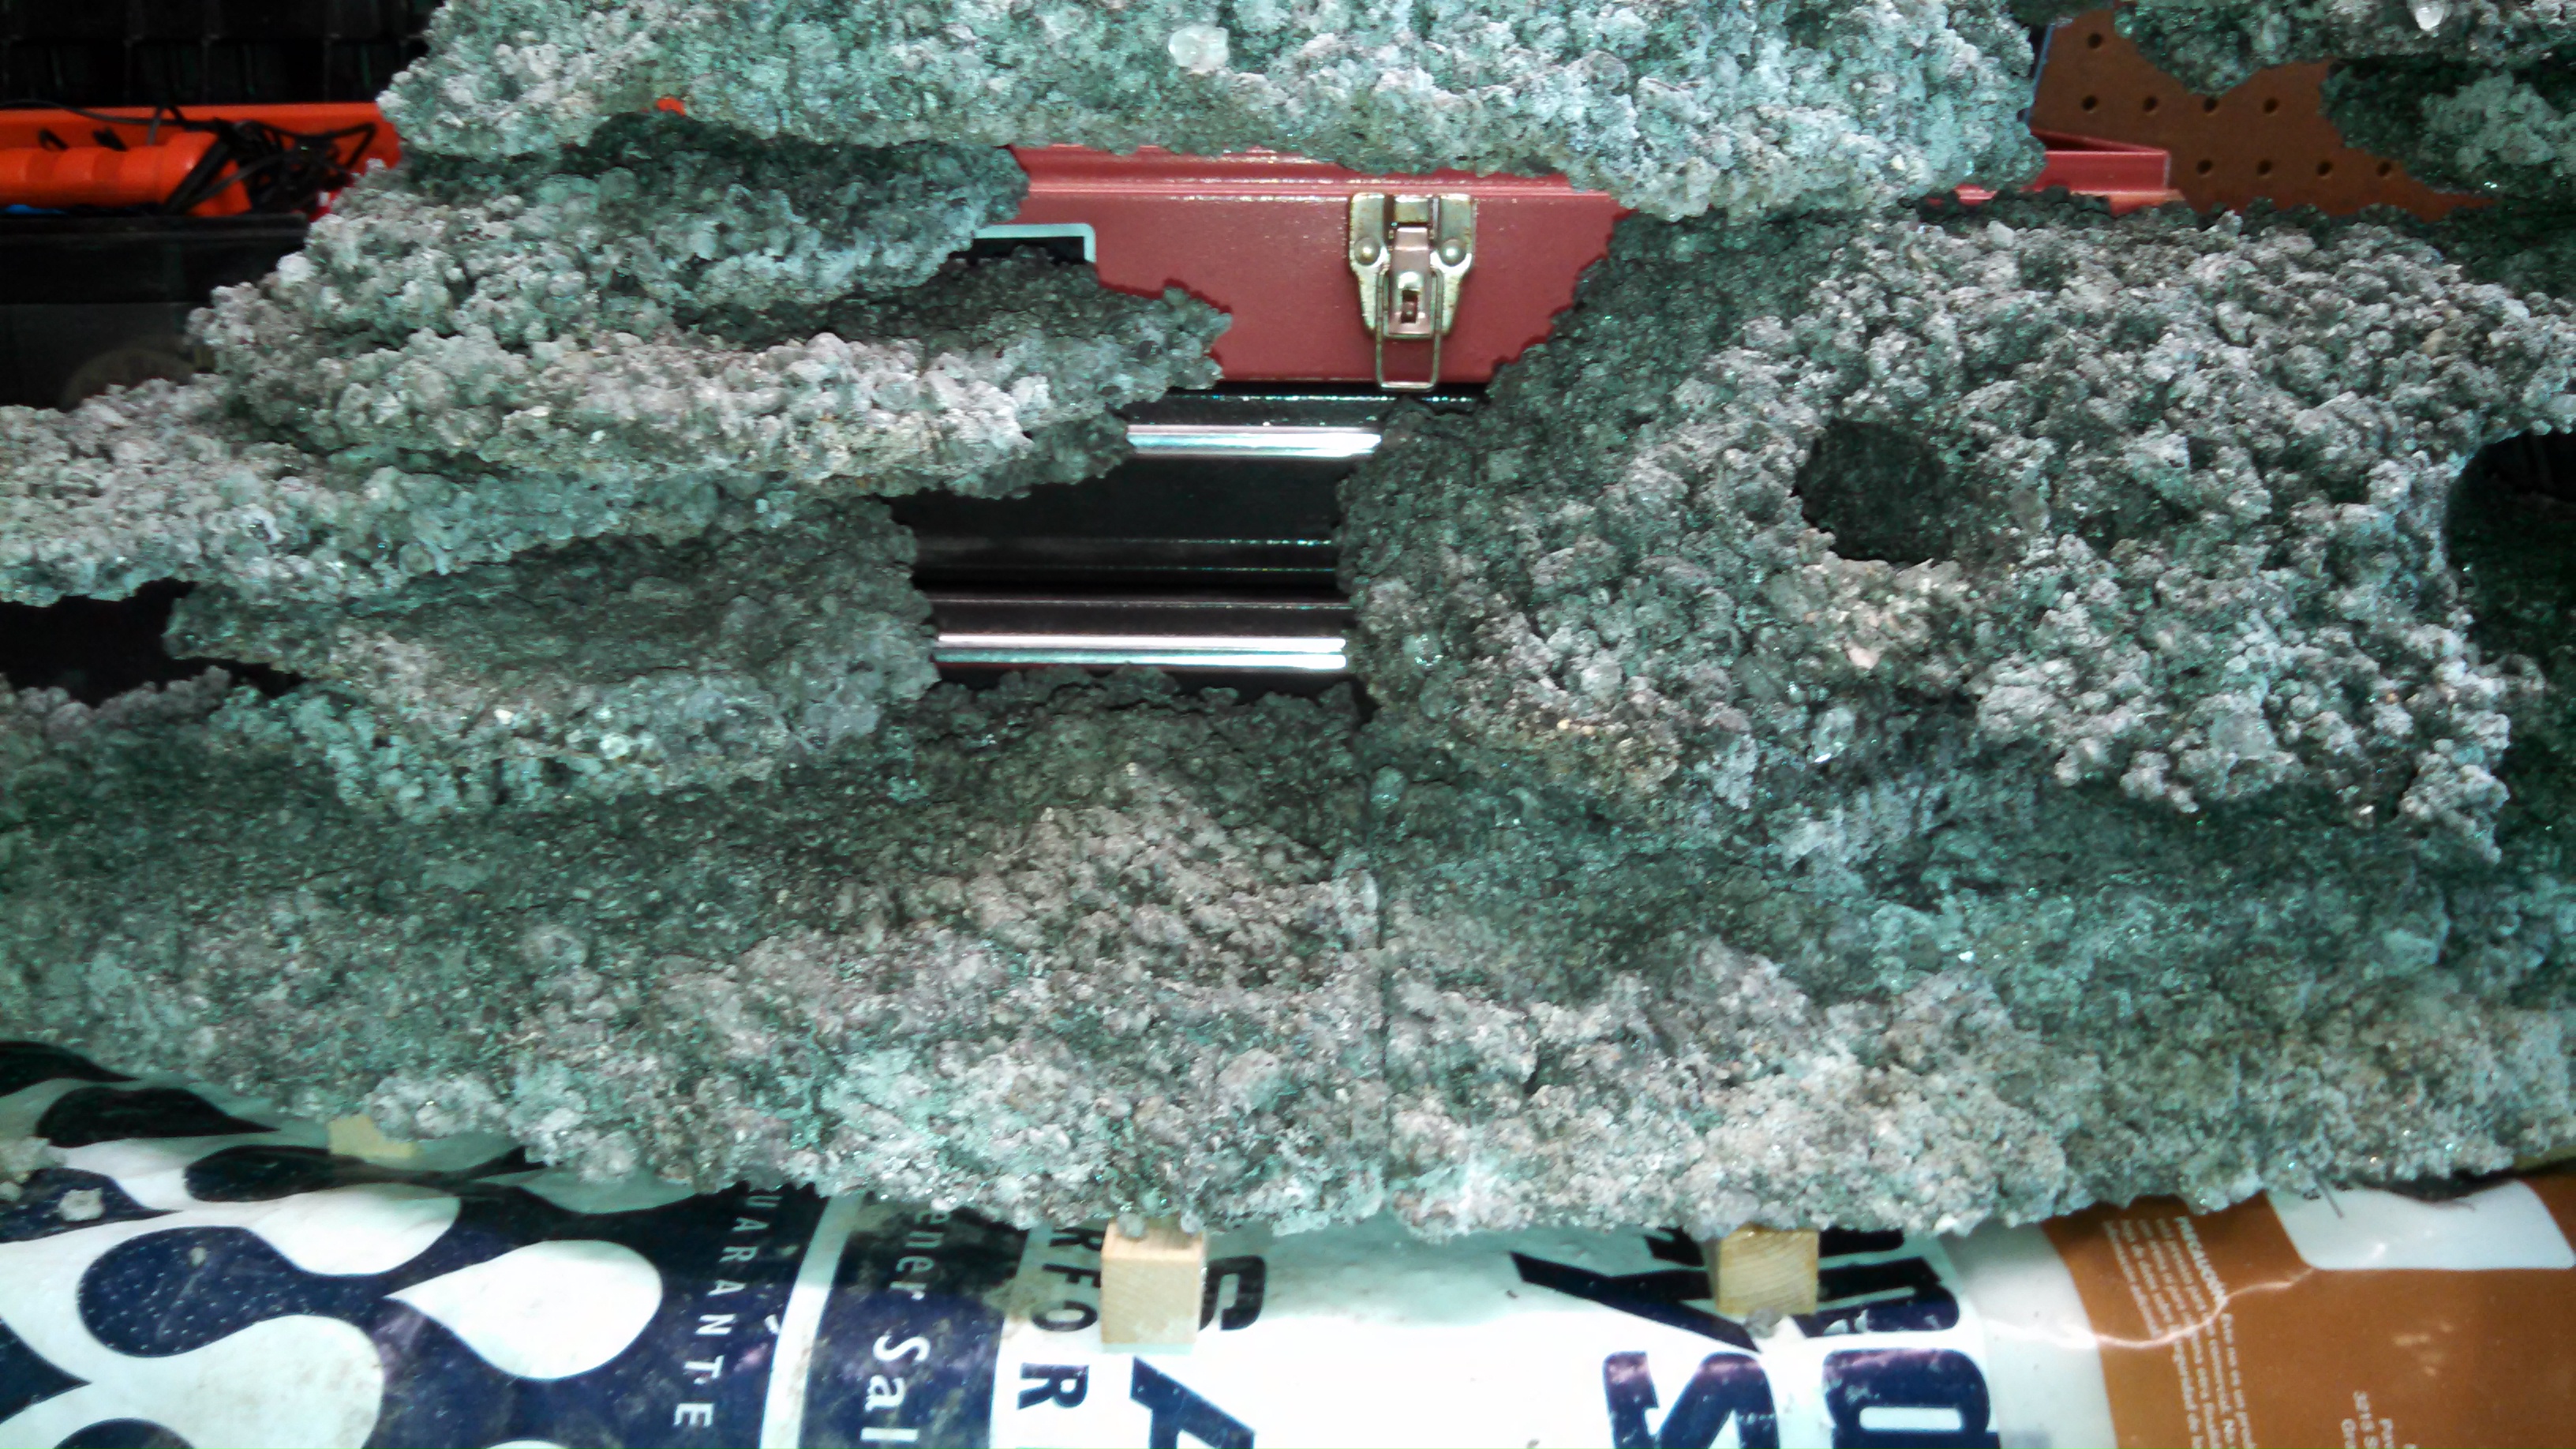
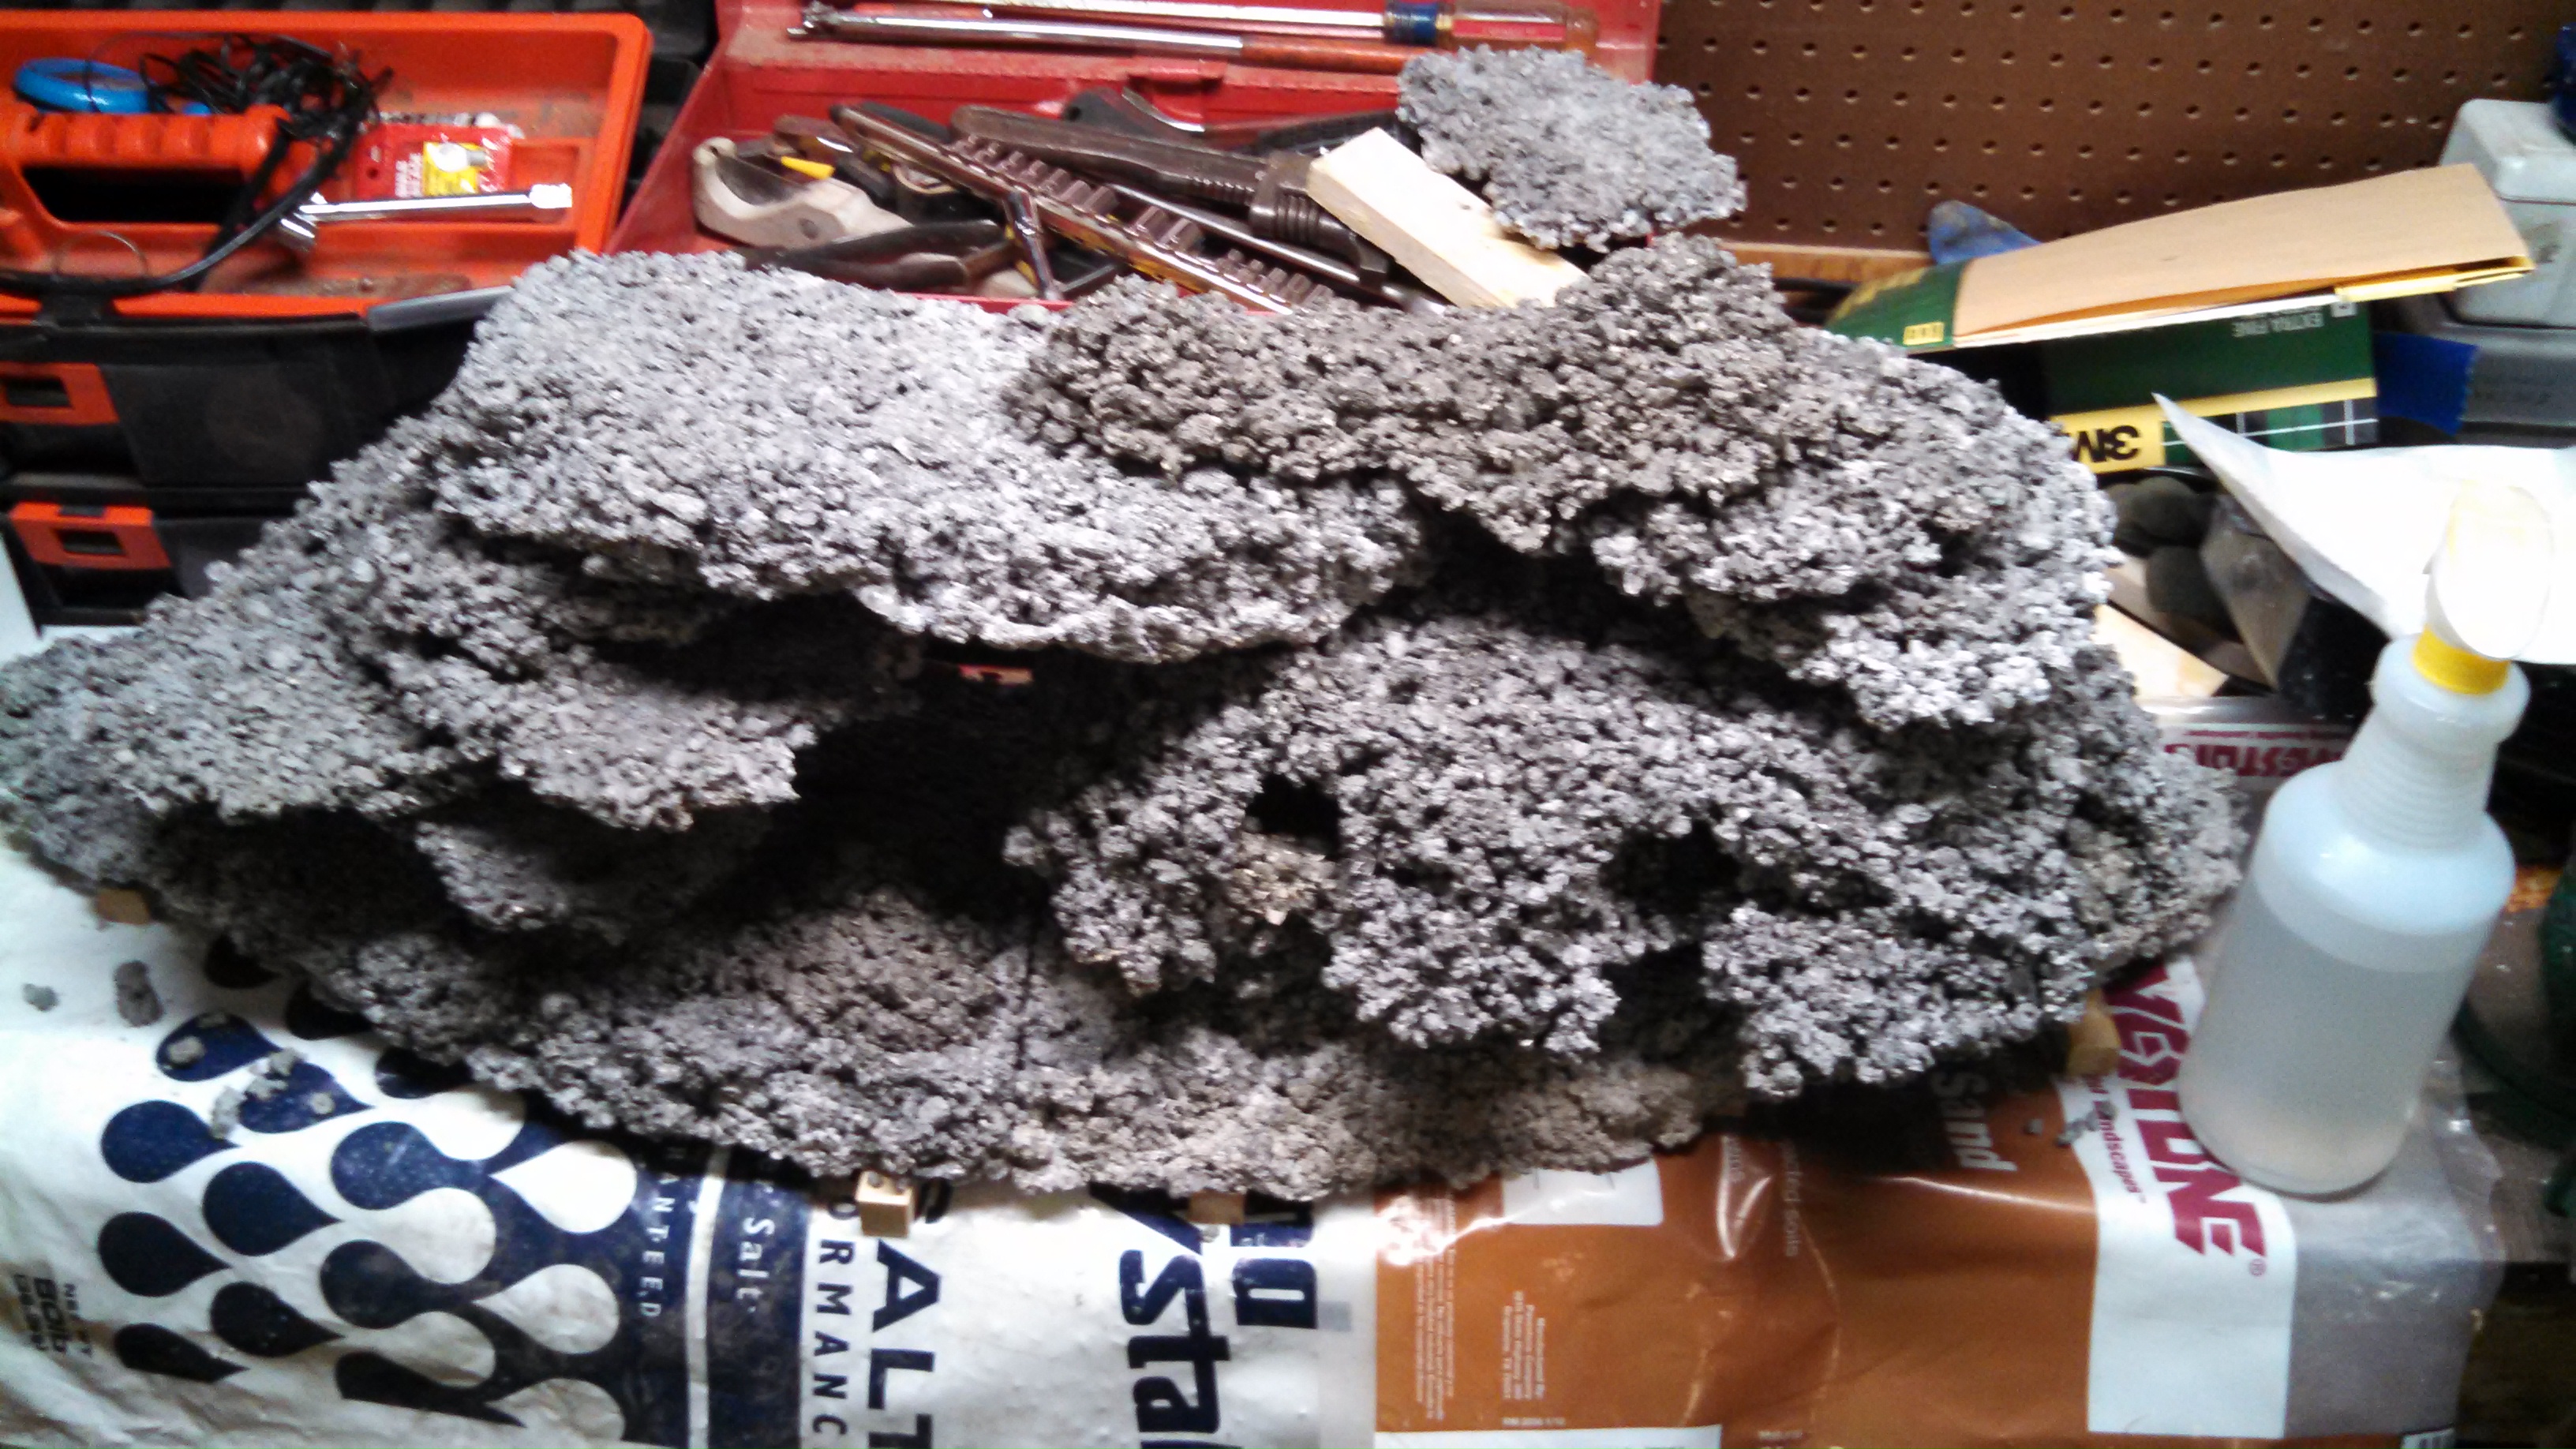
These are pictures of my DIY rock after I removed them from the mold and cleaned them up. There's 14 pieces altogether. Two of them are not shown. I went with the flat look on most of my pieces because to me it looked more natural.

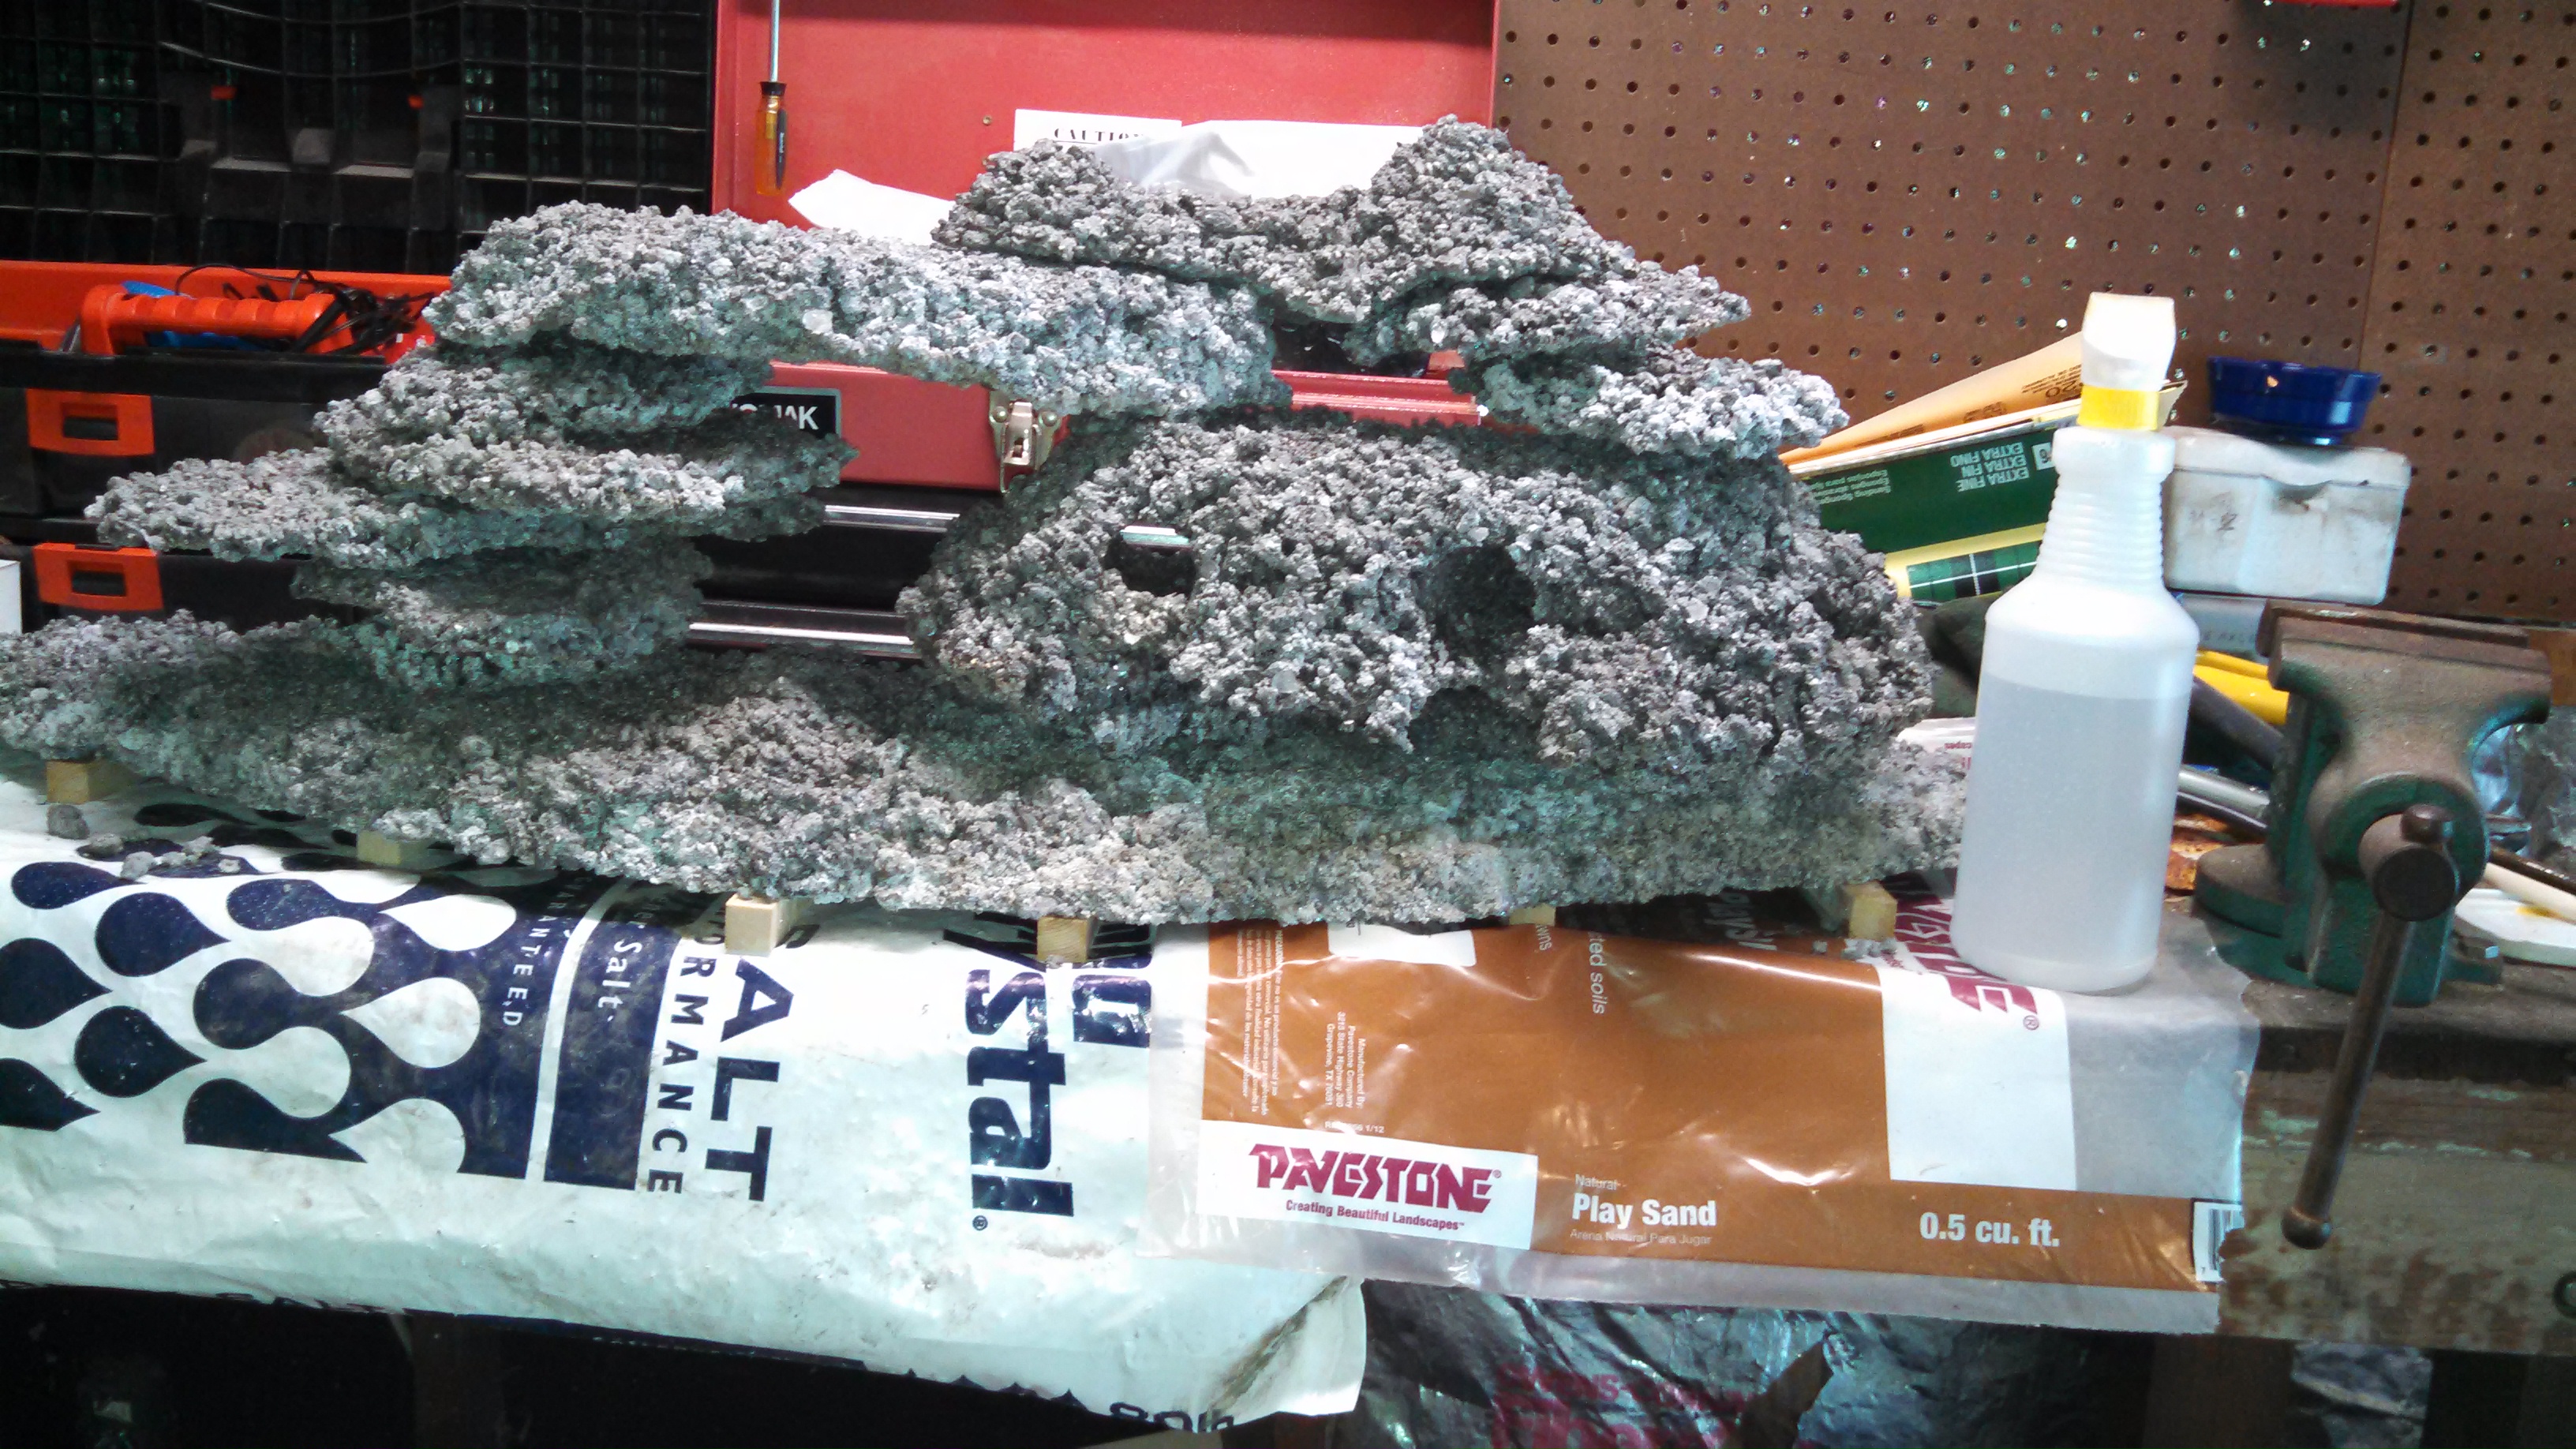
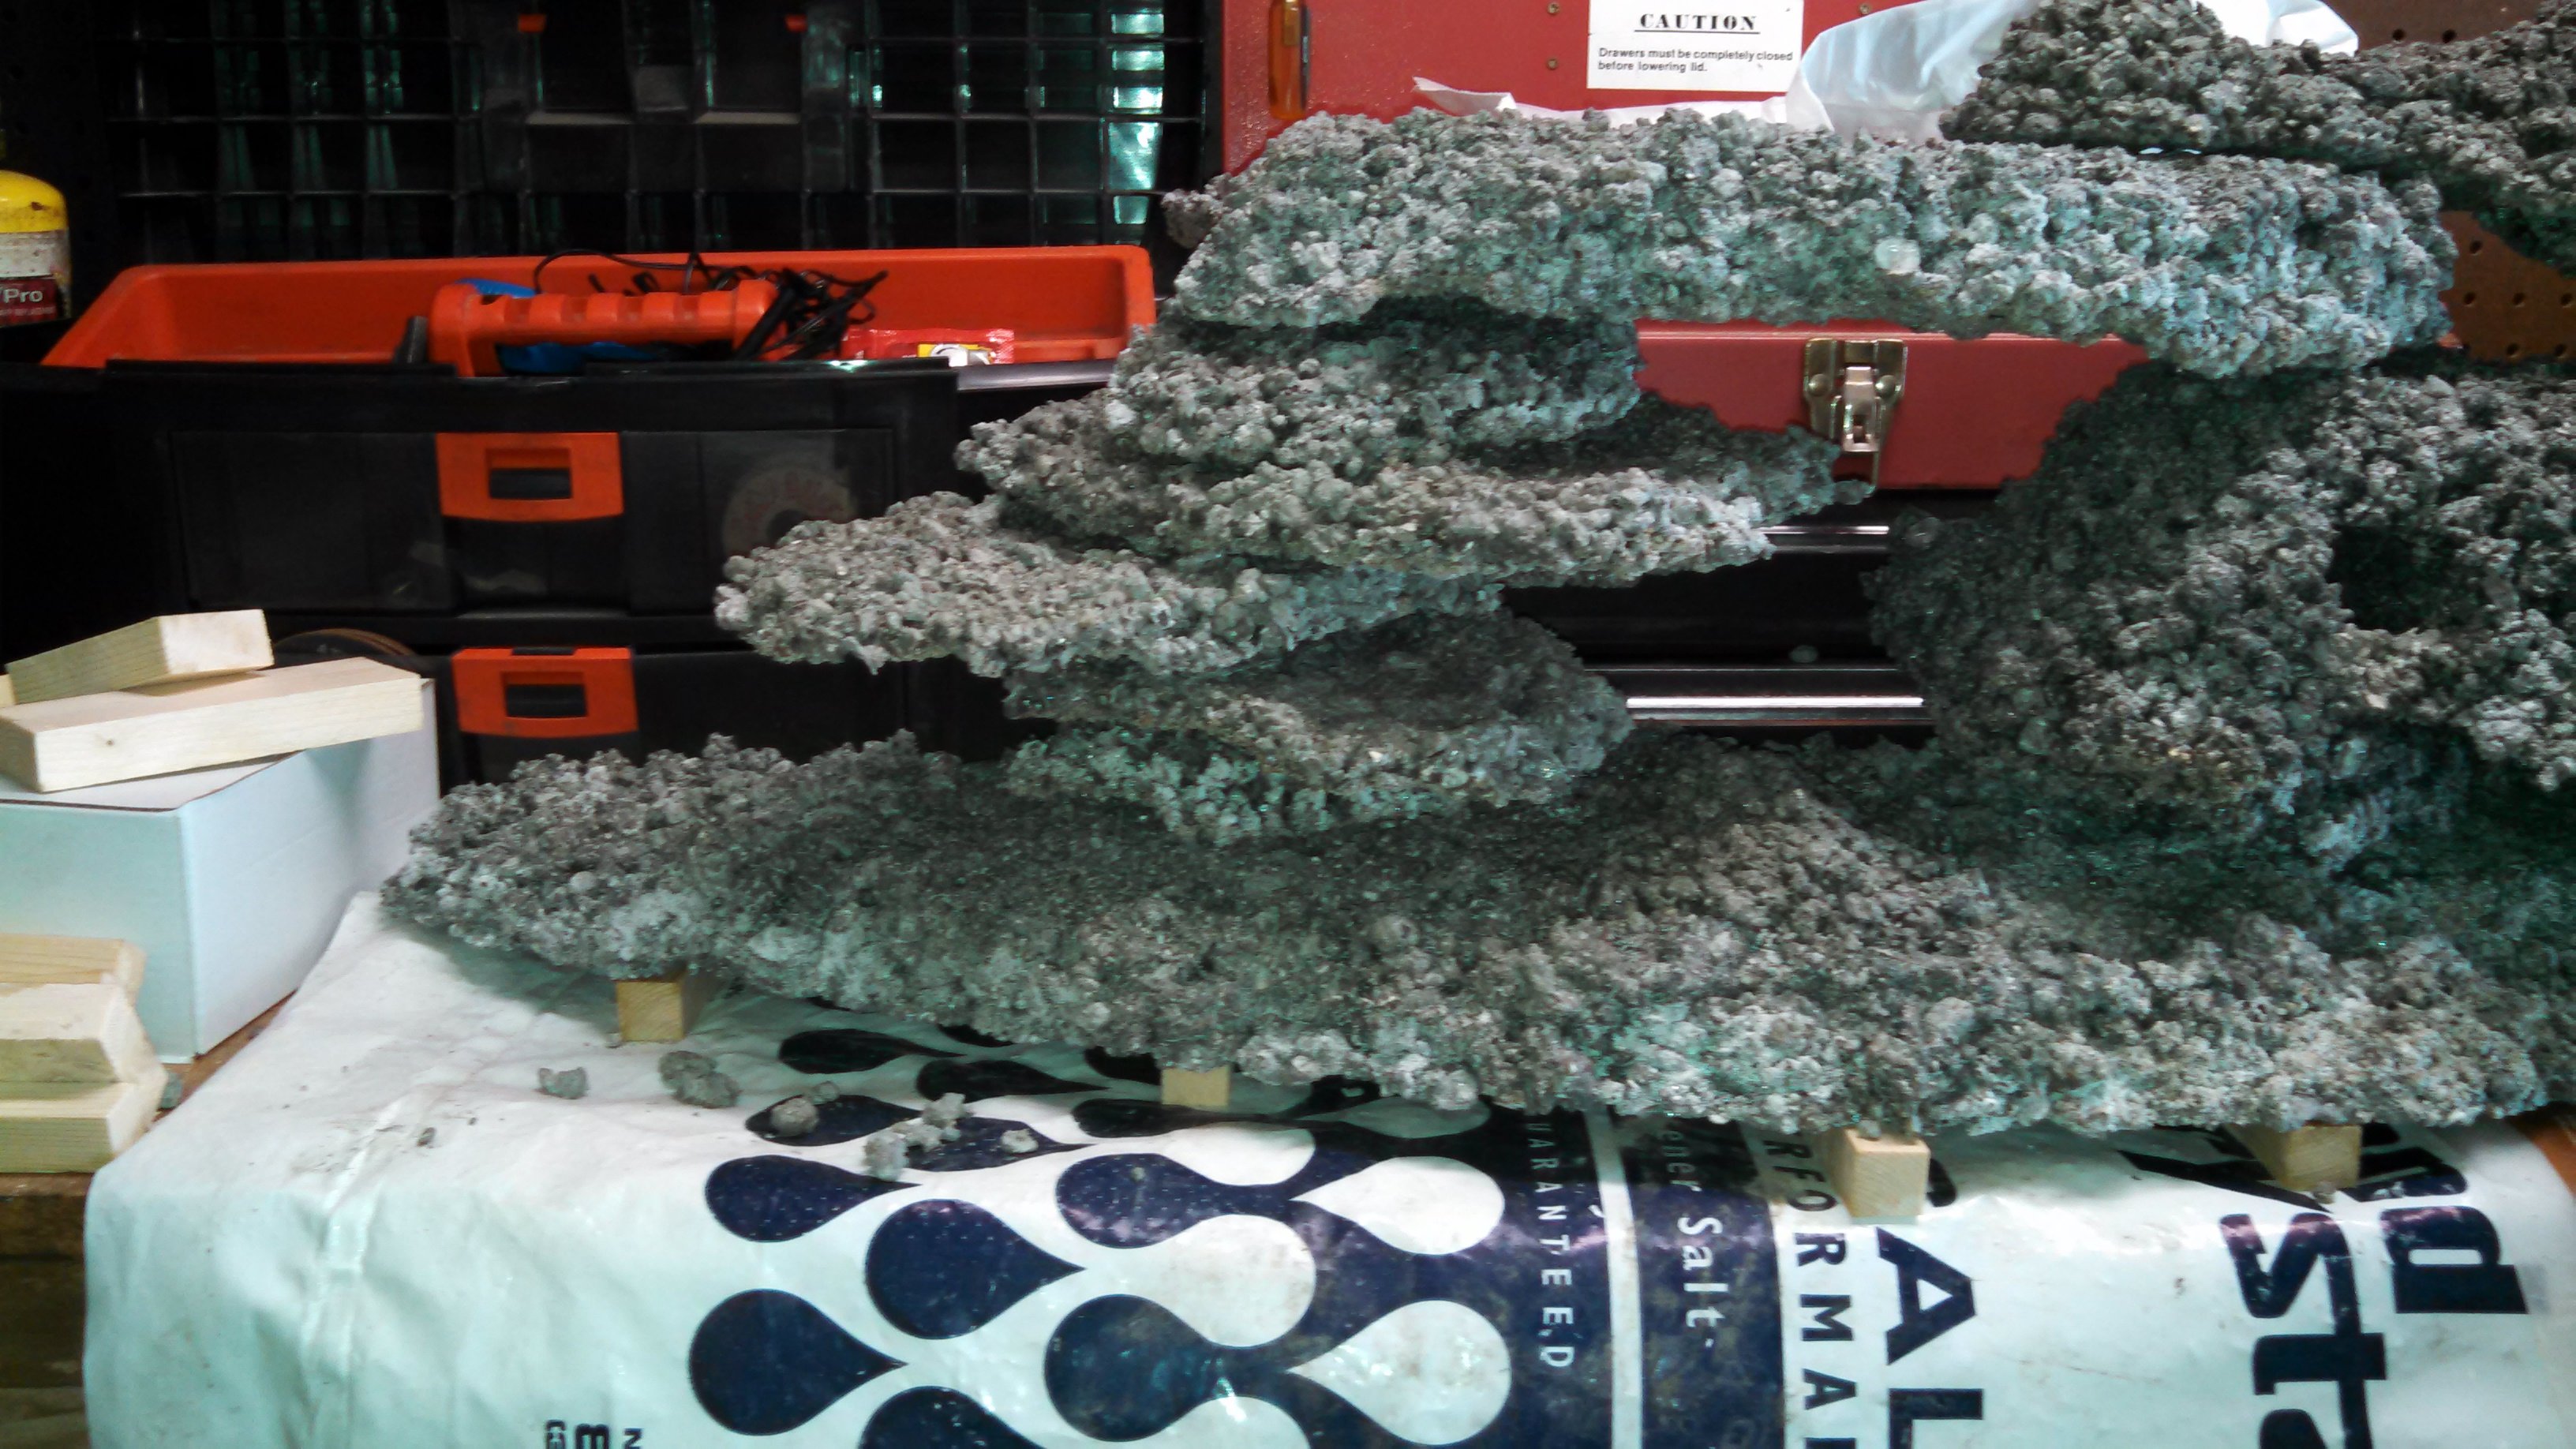

This piece has three tunnels. The one on the right connects to the center tunnel creating a "T" intersection.

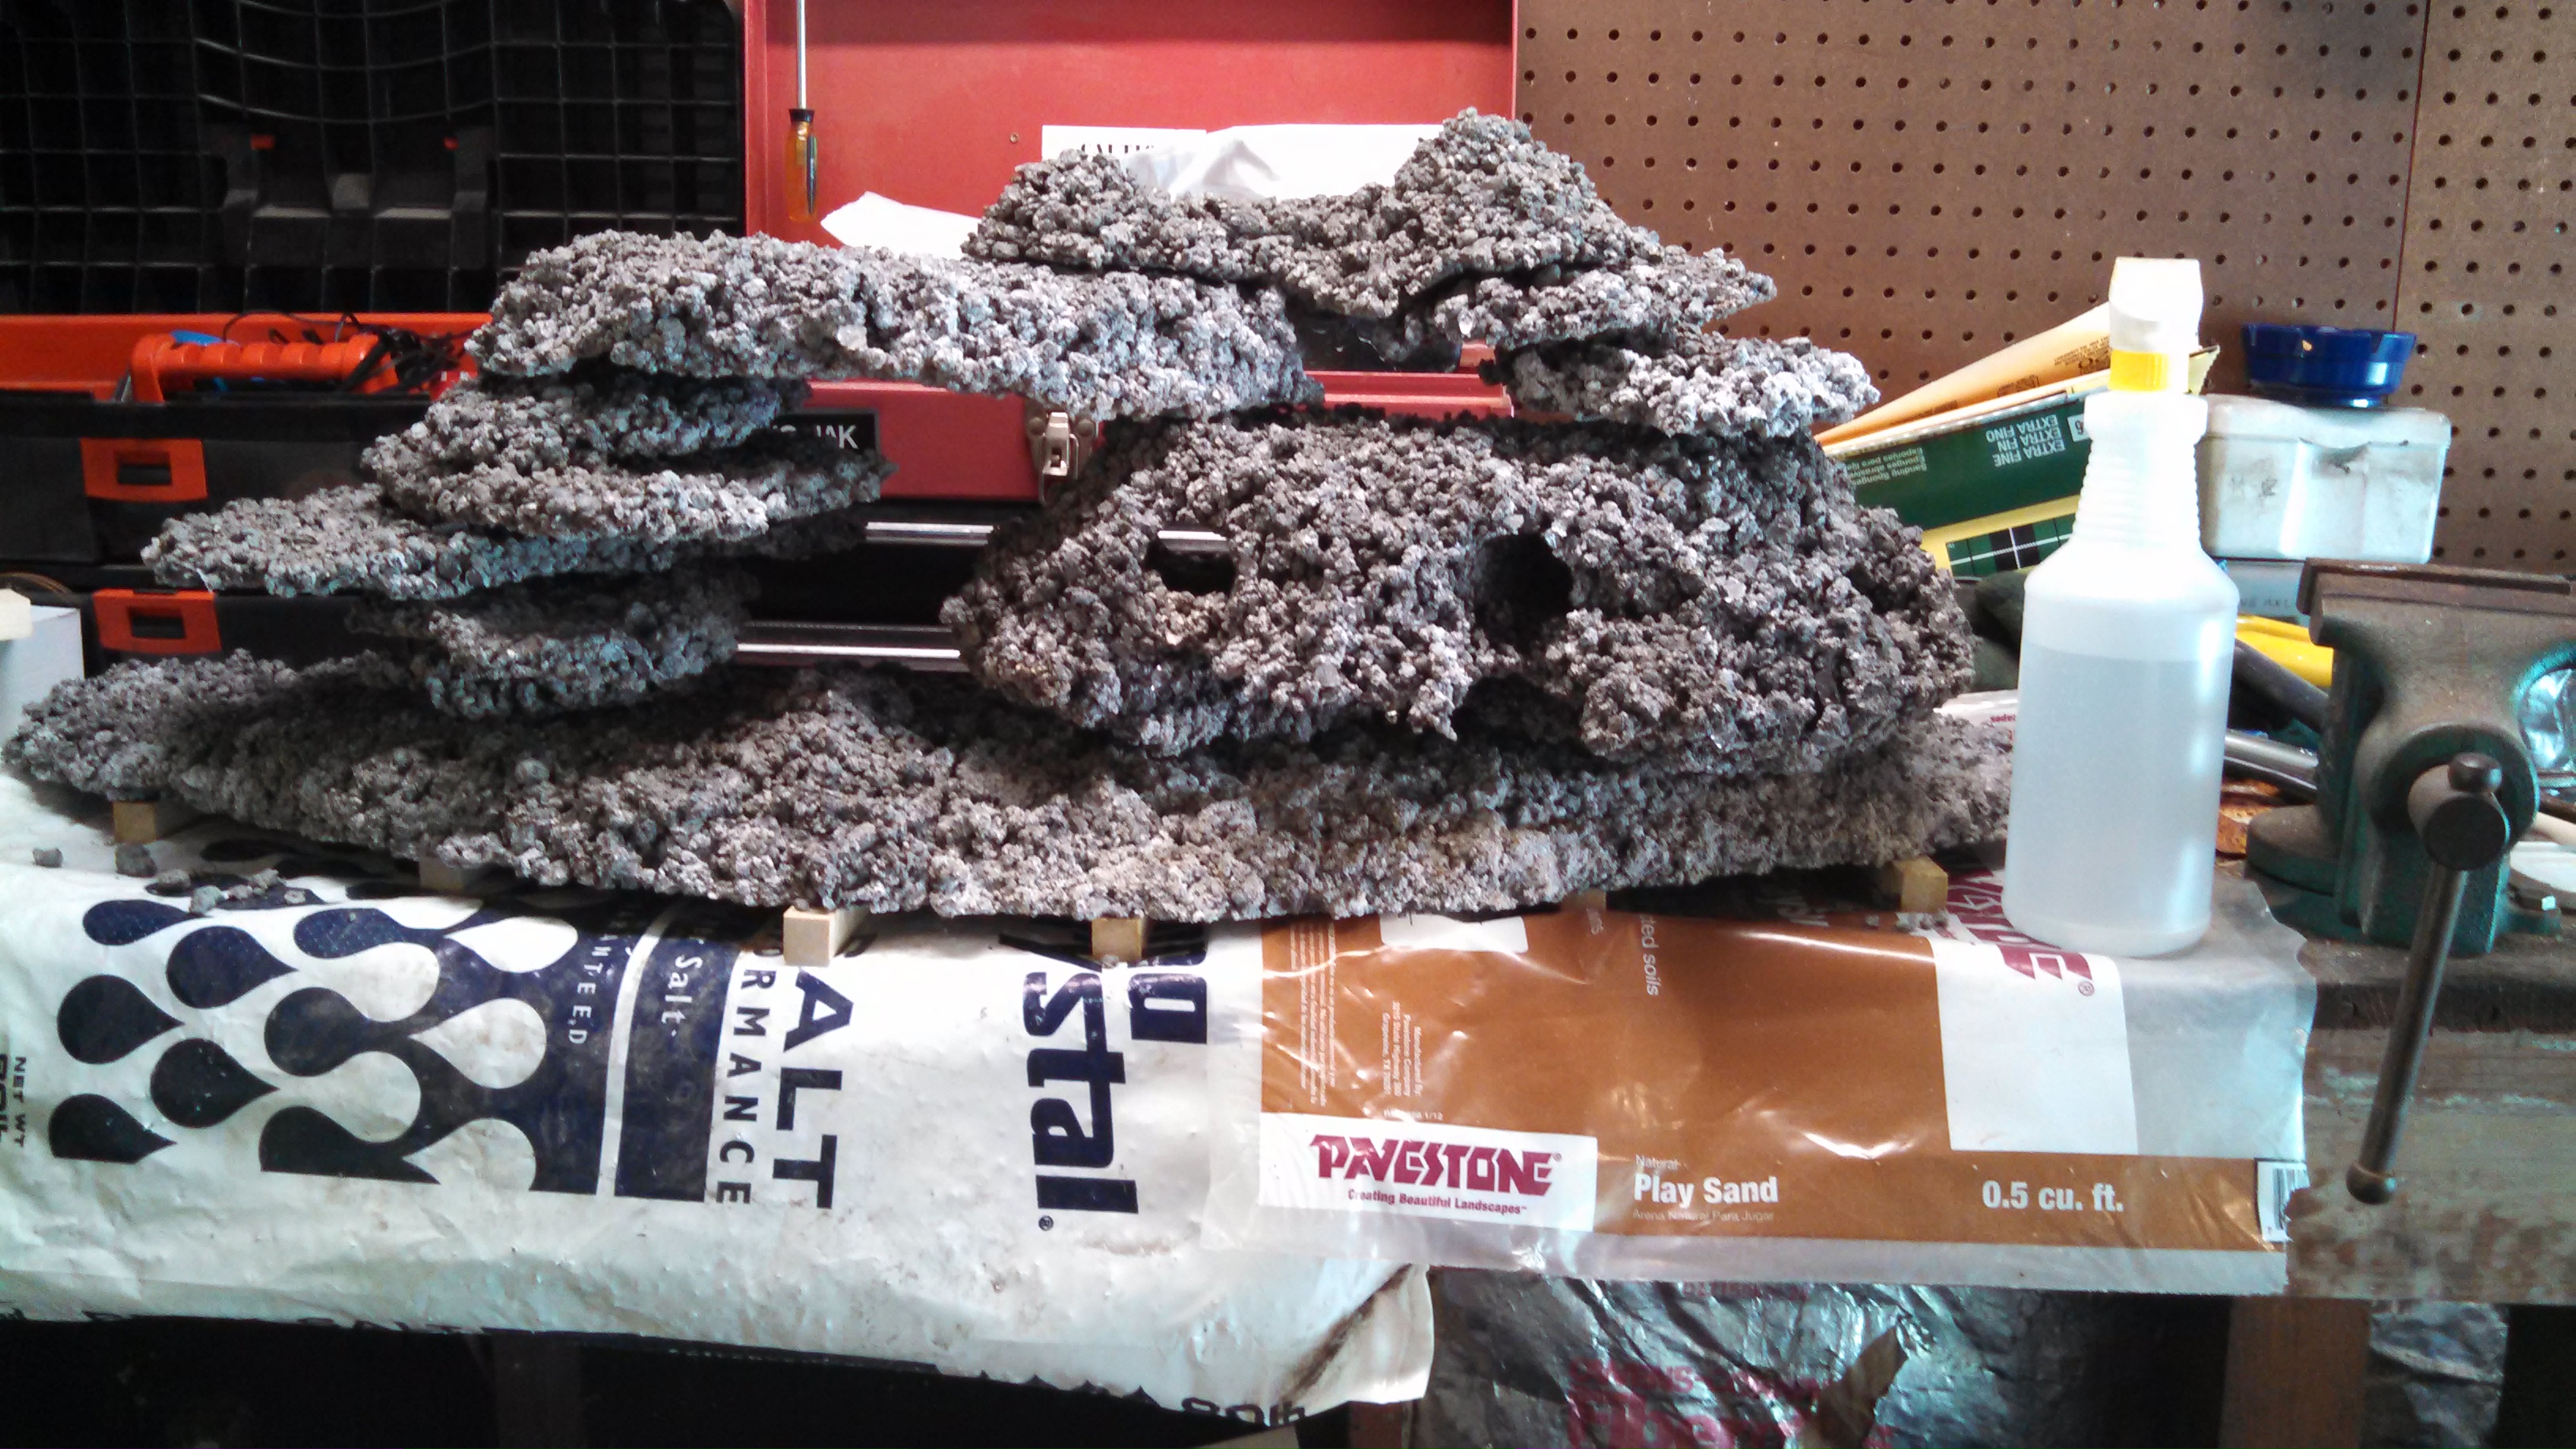


In the center picture I placed all the pieces together where I wanted them, placed a plastic bag over it, and made the very top piece. I thought it made it look like it was blended in with the rest of them.

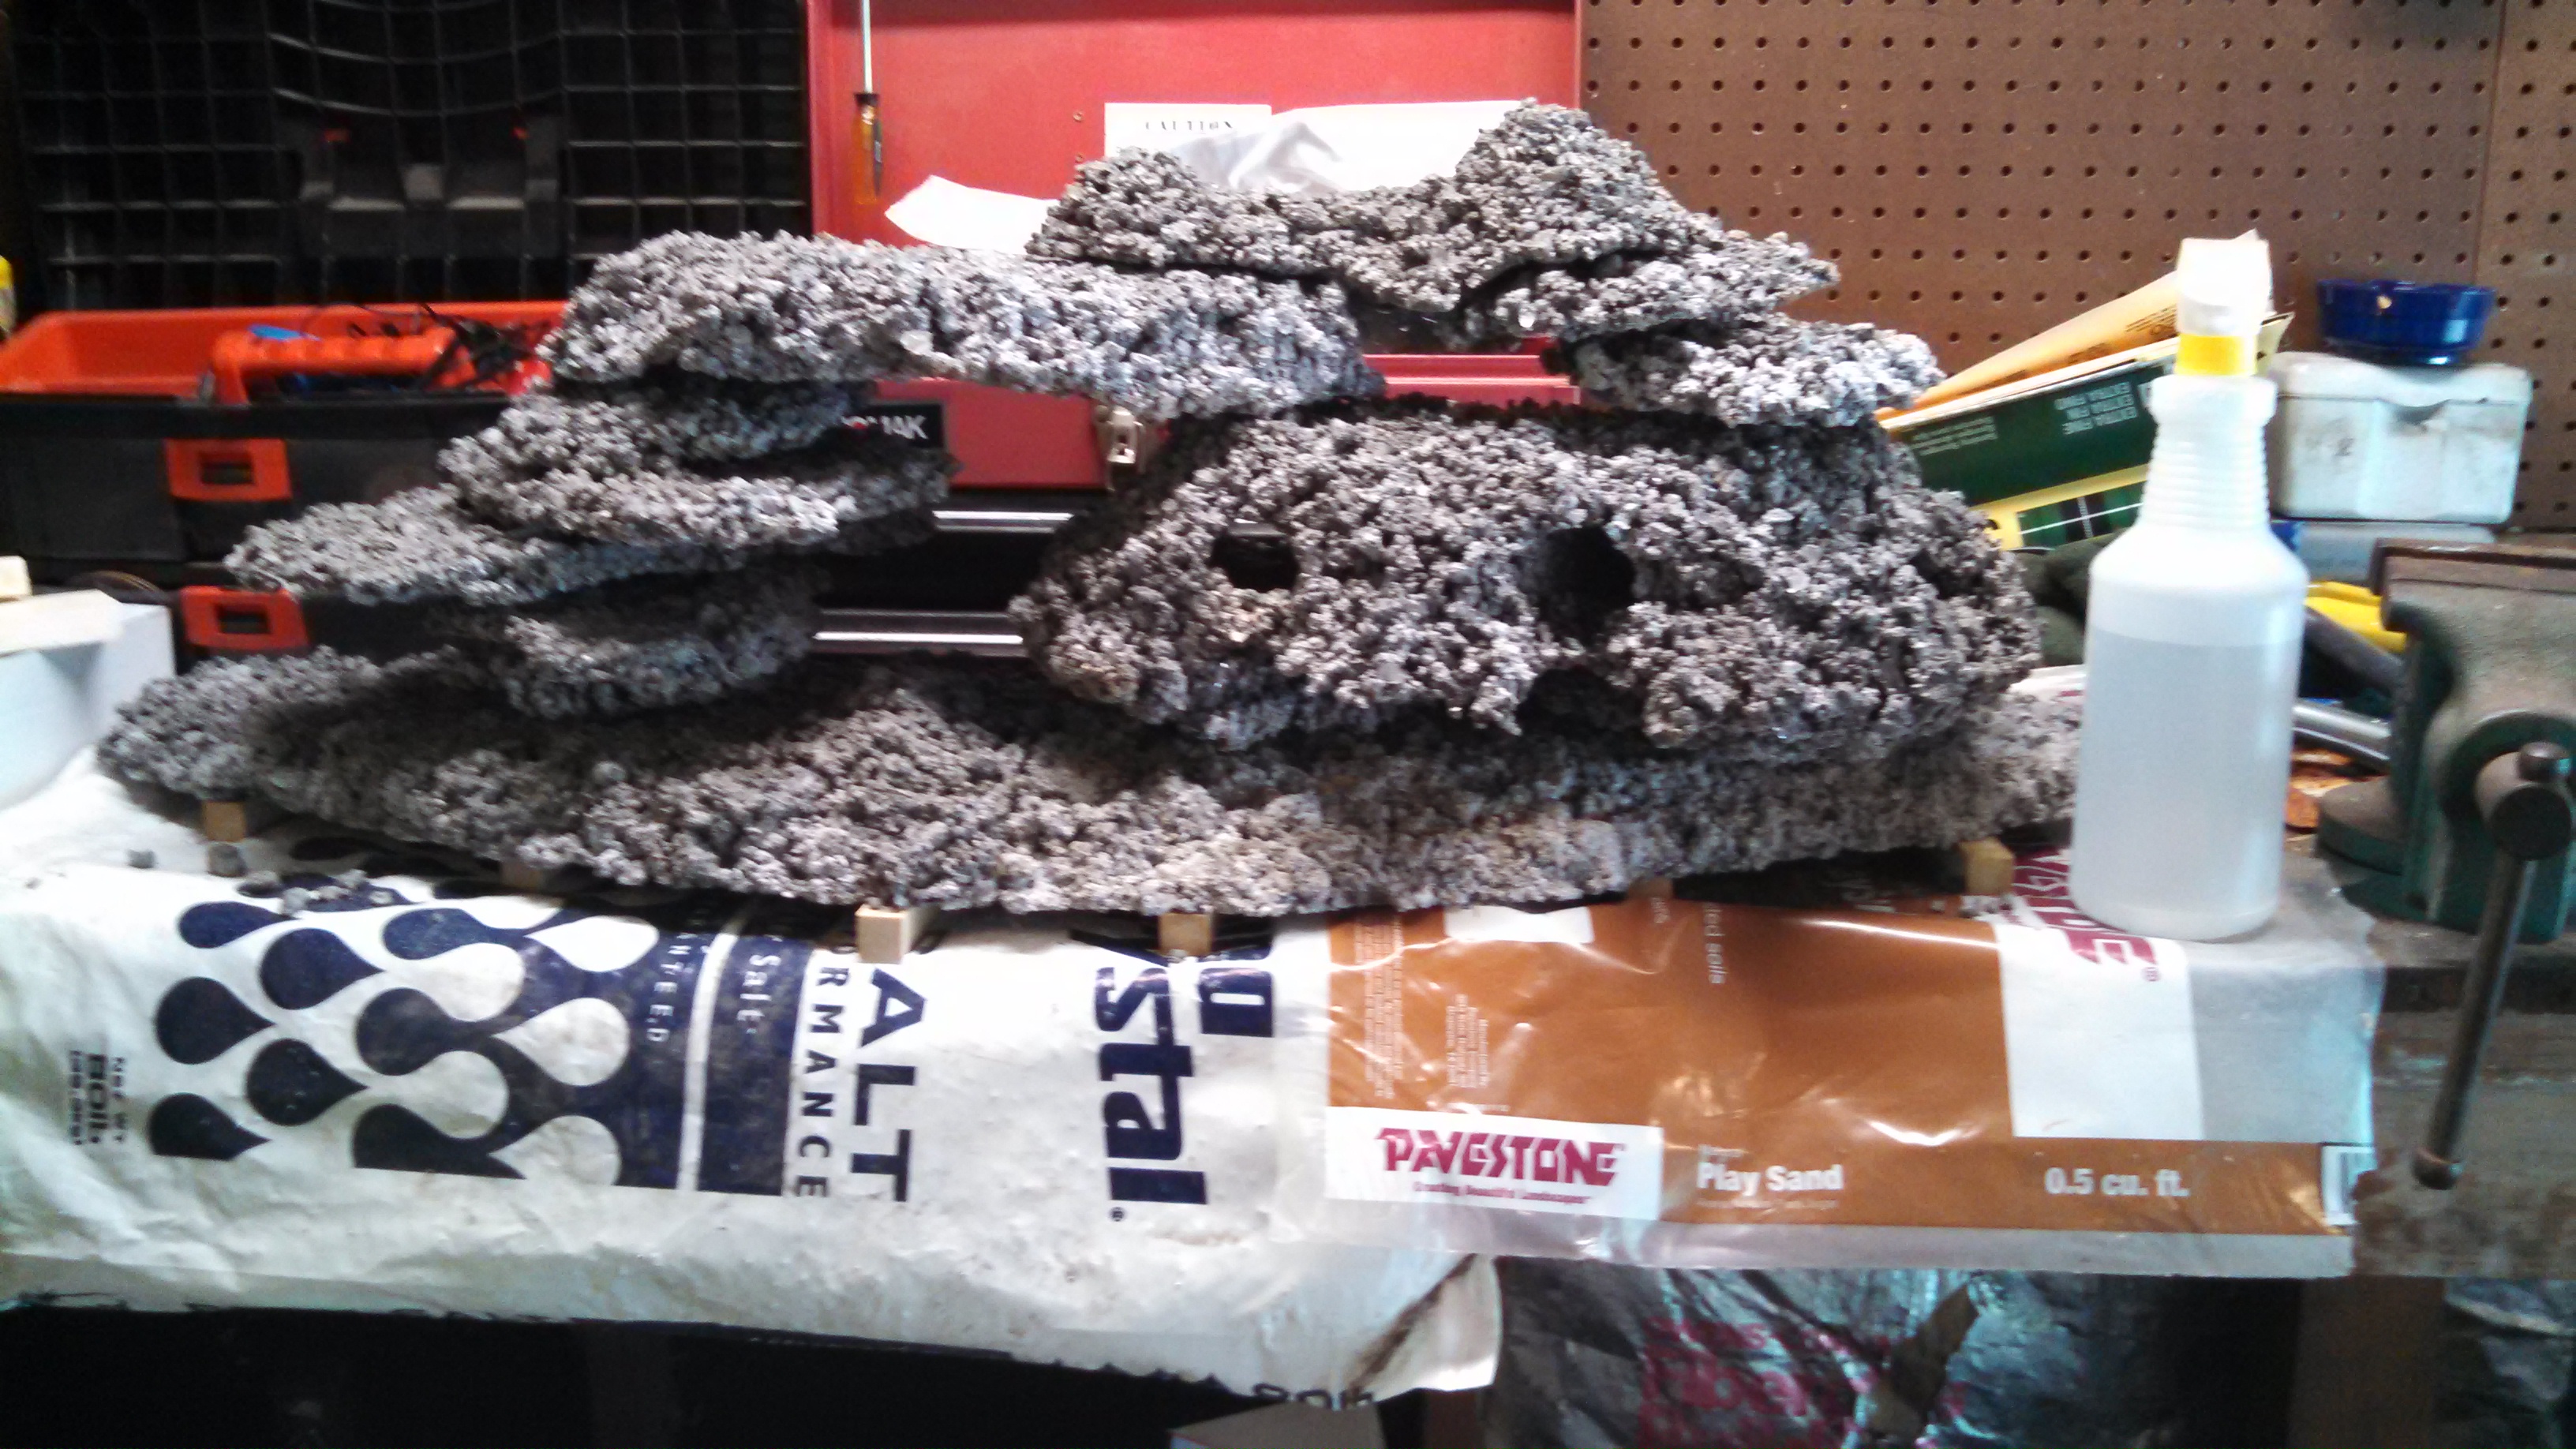
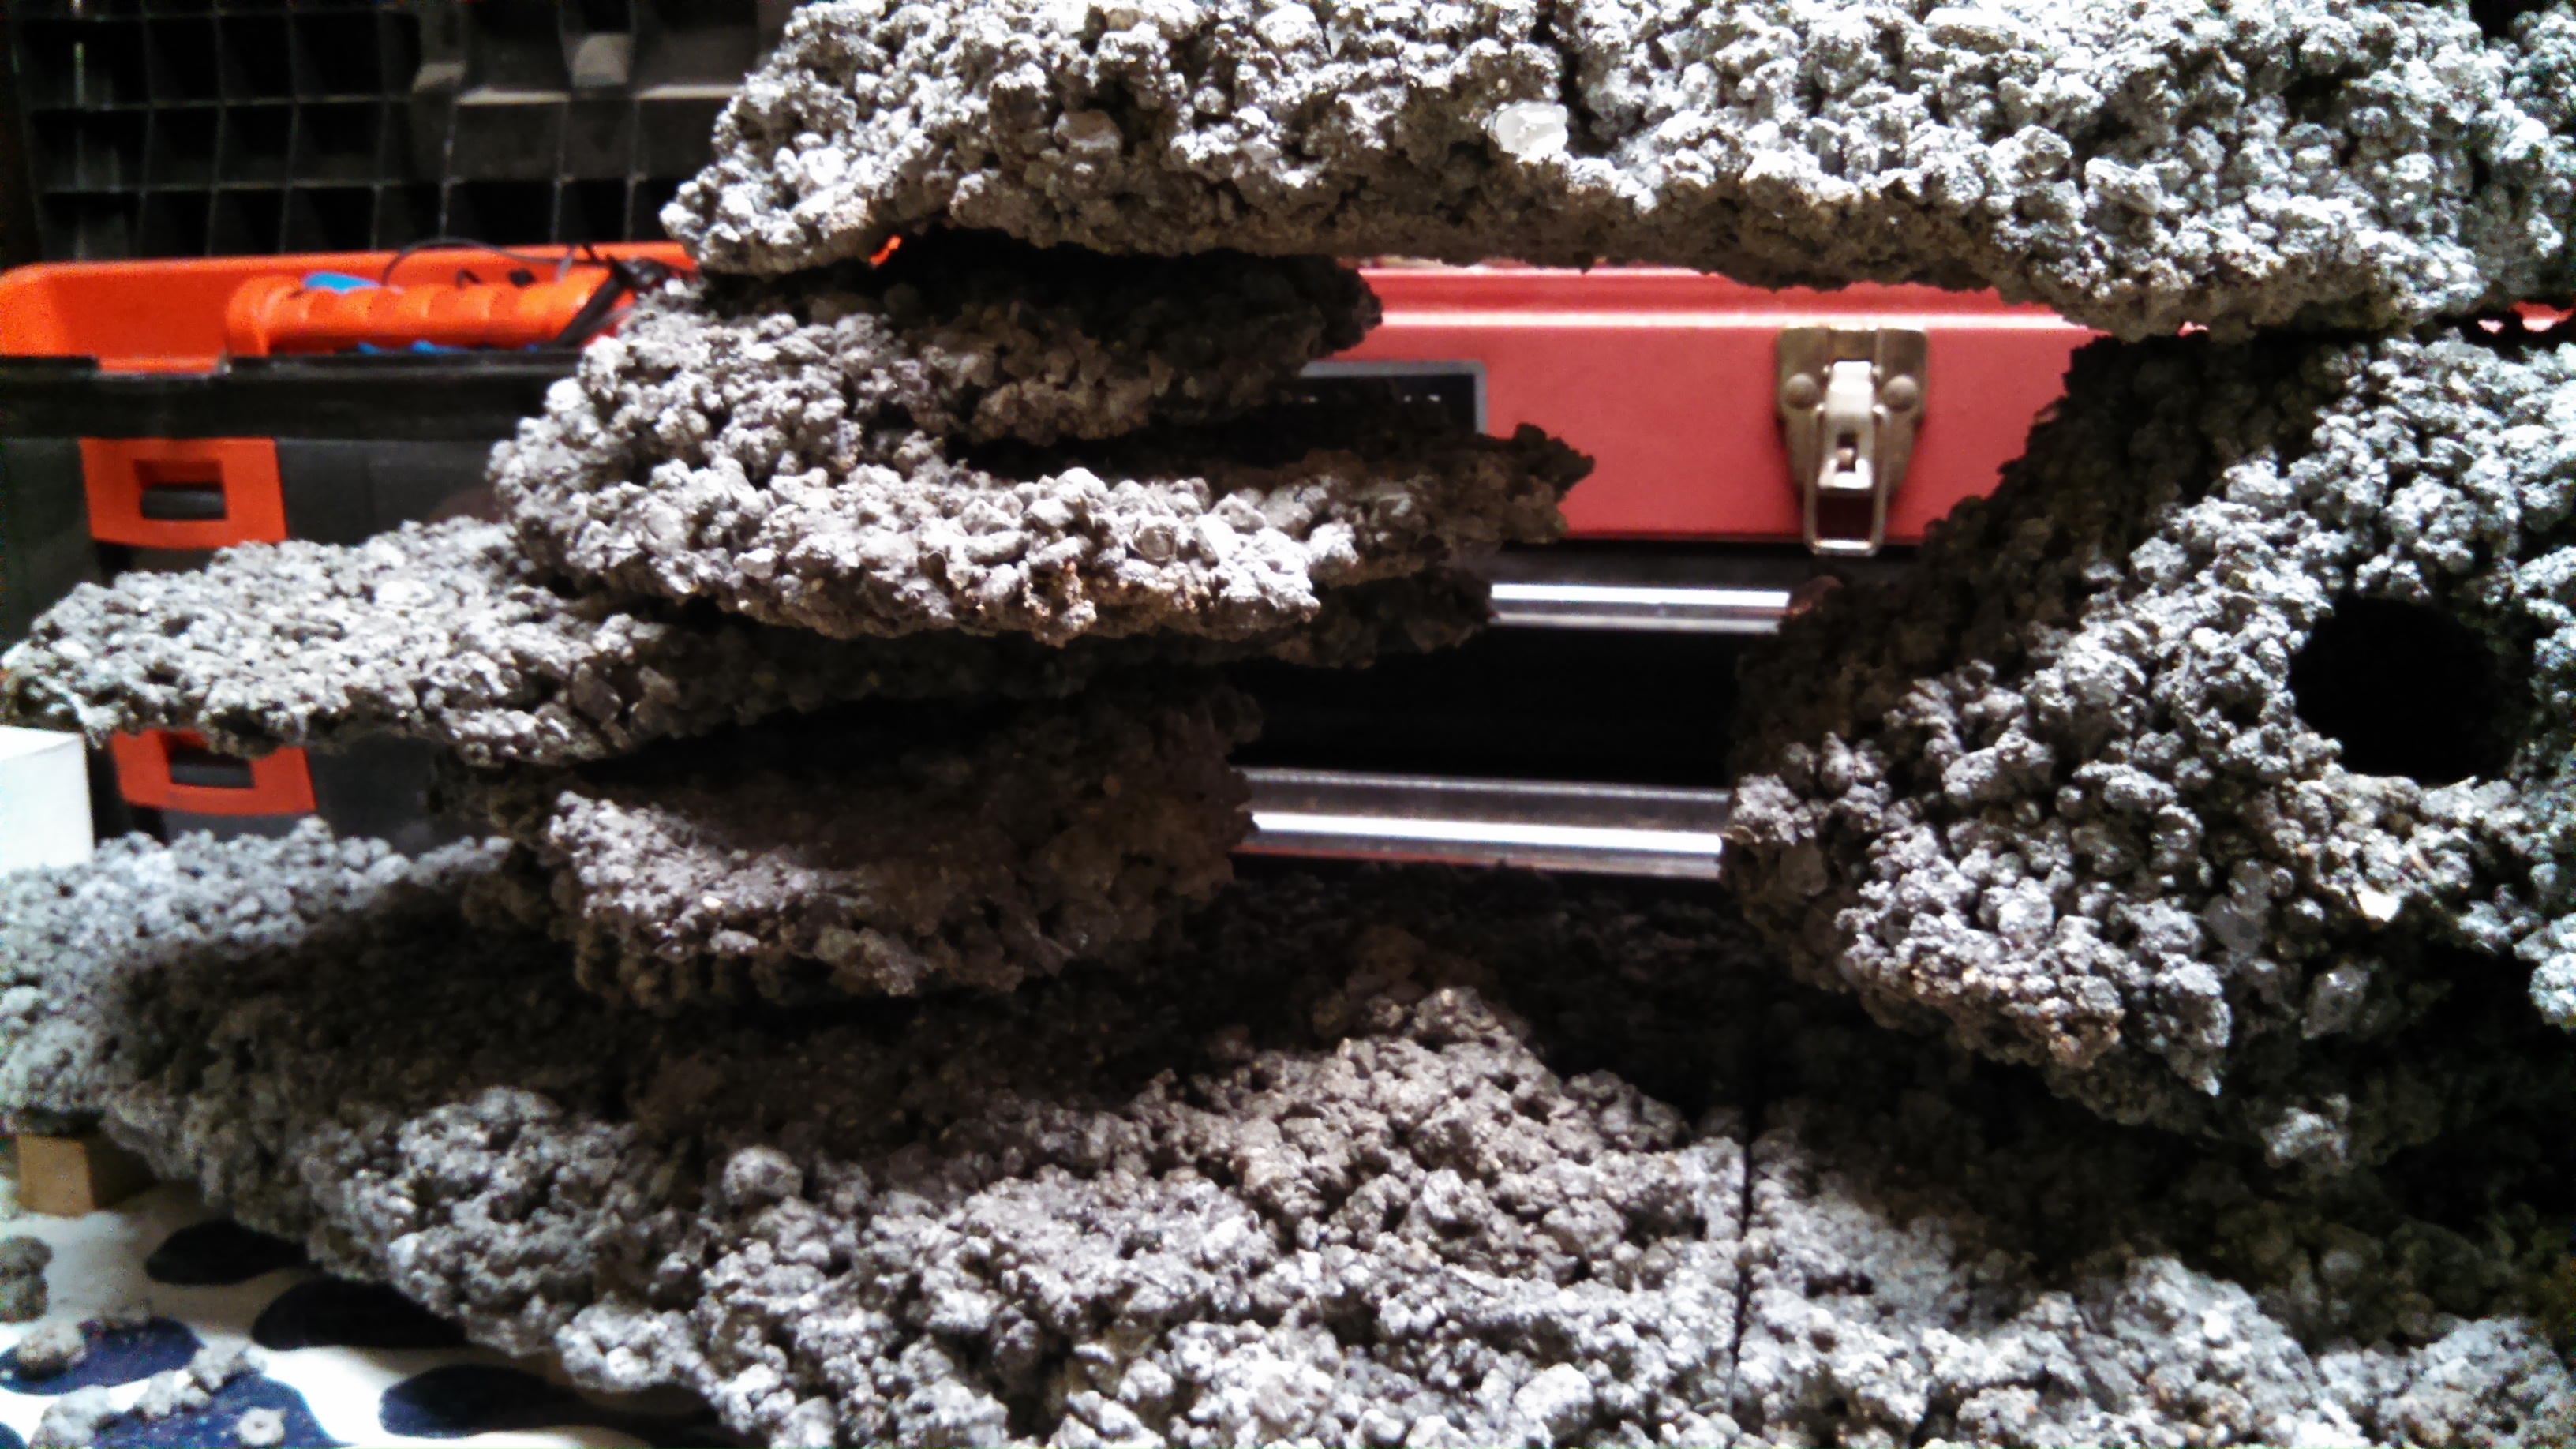
The bottom piece is actually 2 pieces. They were the very first two pieces I showed you with the wooden molds I made so they would go into the tank easier. You can barley see the seam between the two. These pieces are going to be pretty much covered by sand. I made these pieces because it seemed like a waste to take good rock and bury half of it in the sand. It also gives a firm base so there won't be any shifting of the rest of the rocks.
orums.saltwaterfish.com/content/type/61/id/386198/" />


I took a 6ft piece of 1-1/2" PVC and sliced it down the middle ( ) then cut it into 6" pieces. I used them as spacers between the rock pieces to increase the flow of water for a more uniform cure and placed everything in a tub with the strongest power head I had to create circulation between the rocks and filled the tub with water, changing it about once a day. The rock salt that was on the surface was pretty much gone by the next day but I know the internal pieces of salt will take longer. They've been soaking for about a week now while I've been working on the stand. I'll test the PH and salinity this Fathers Day and see how it's doing. I'll post the numbers when I get the results.


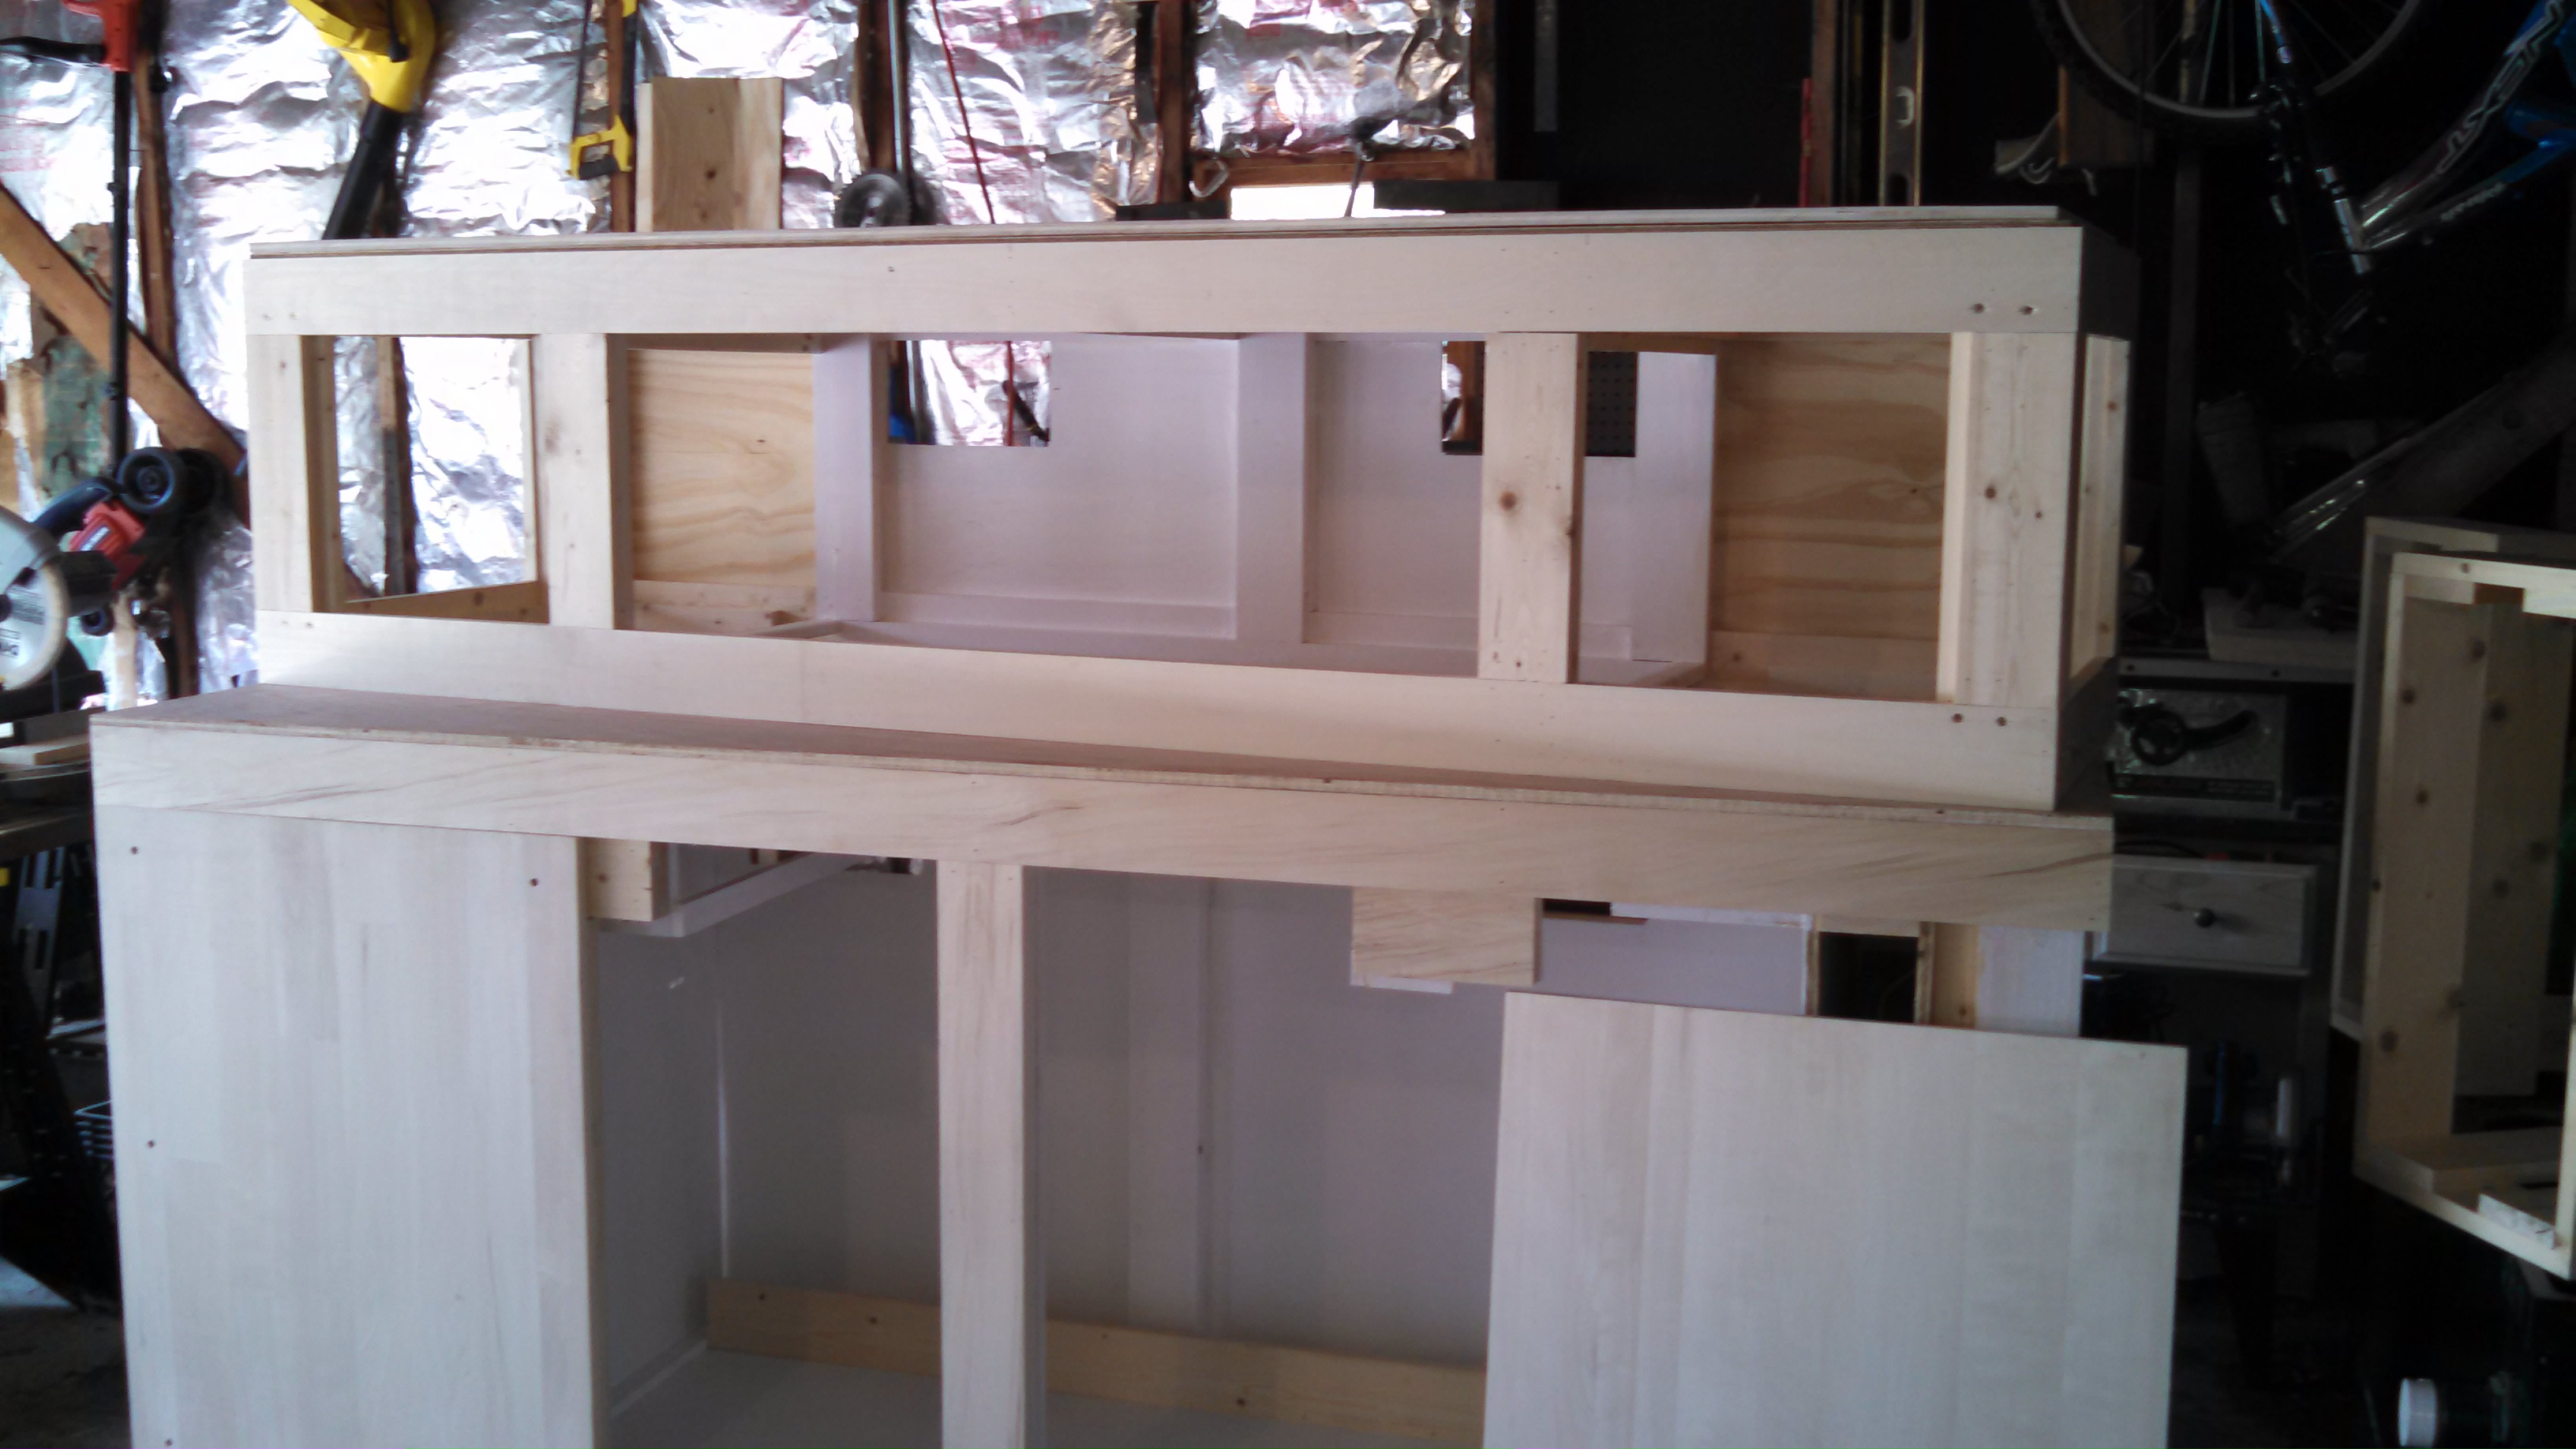
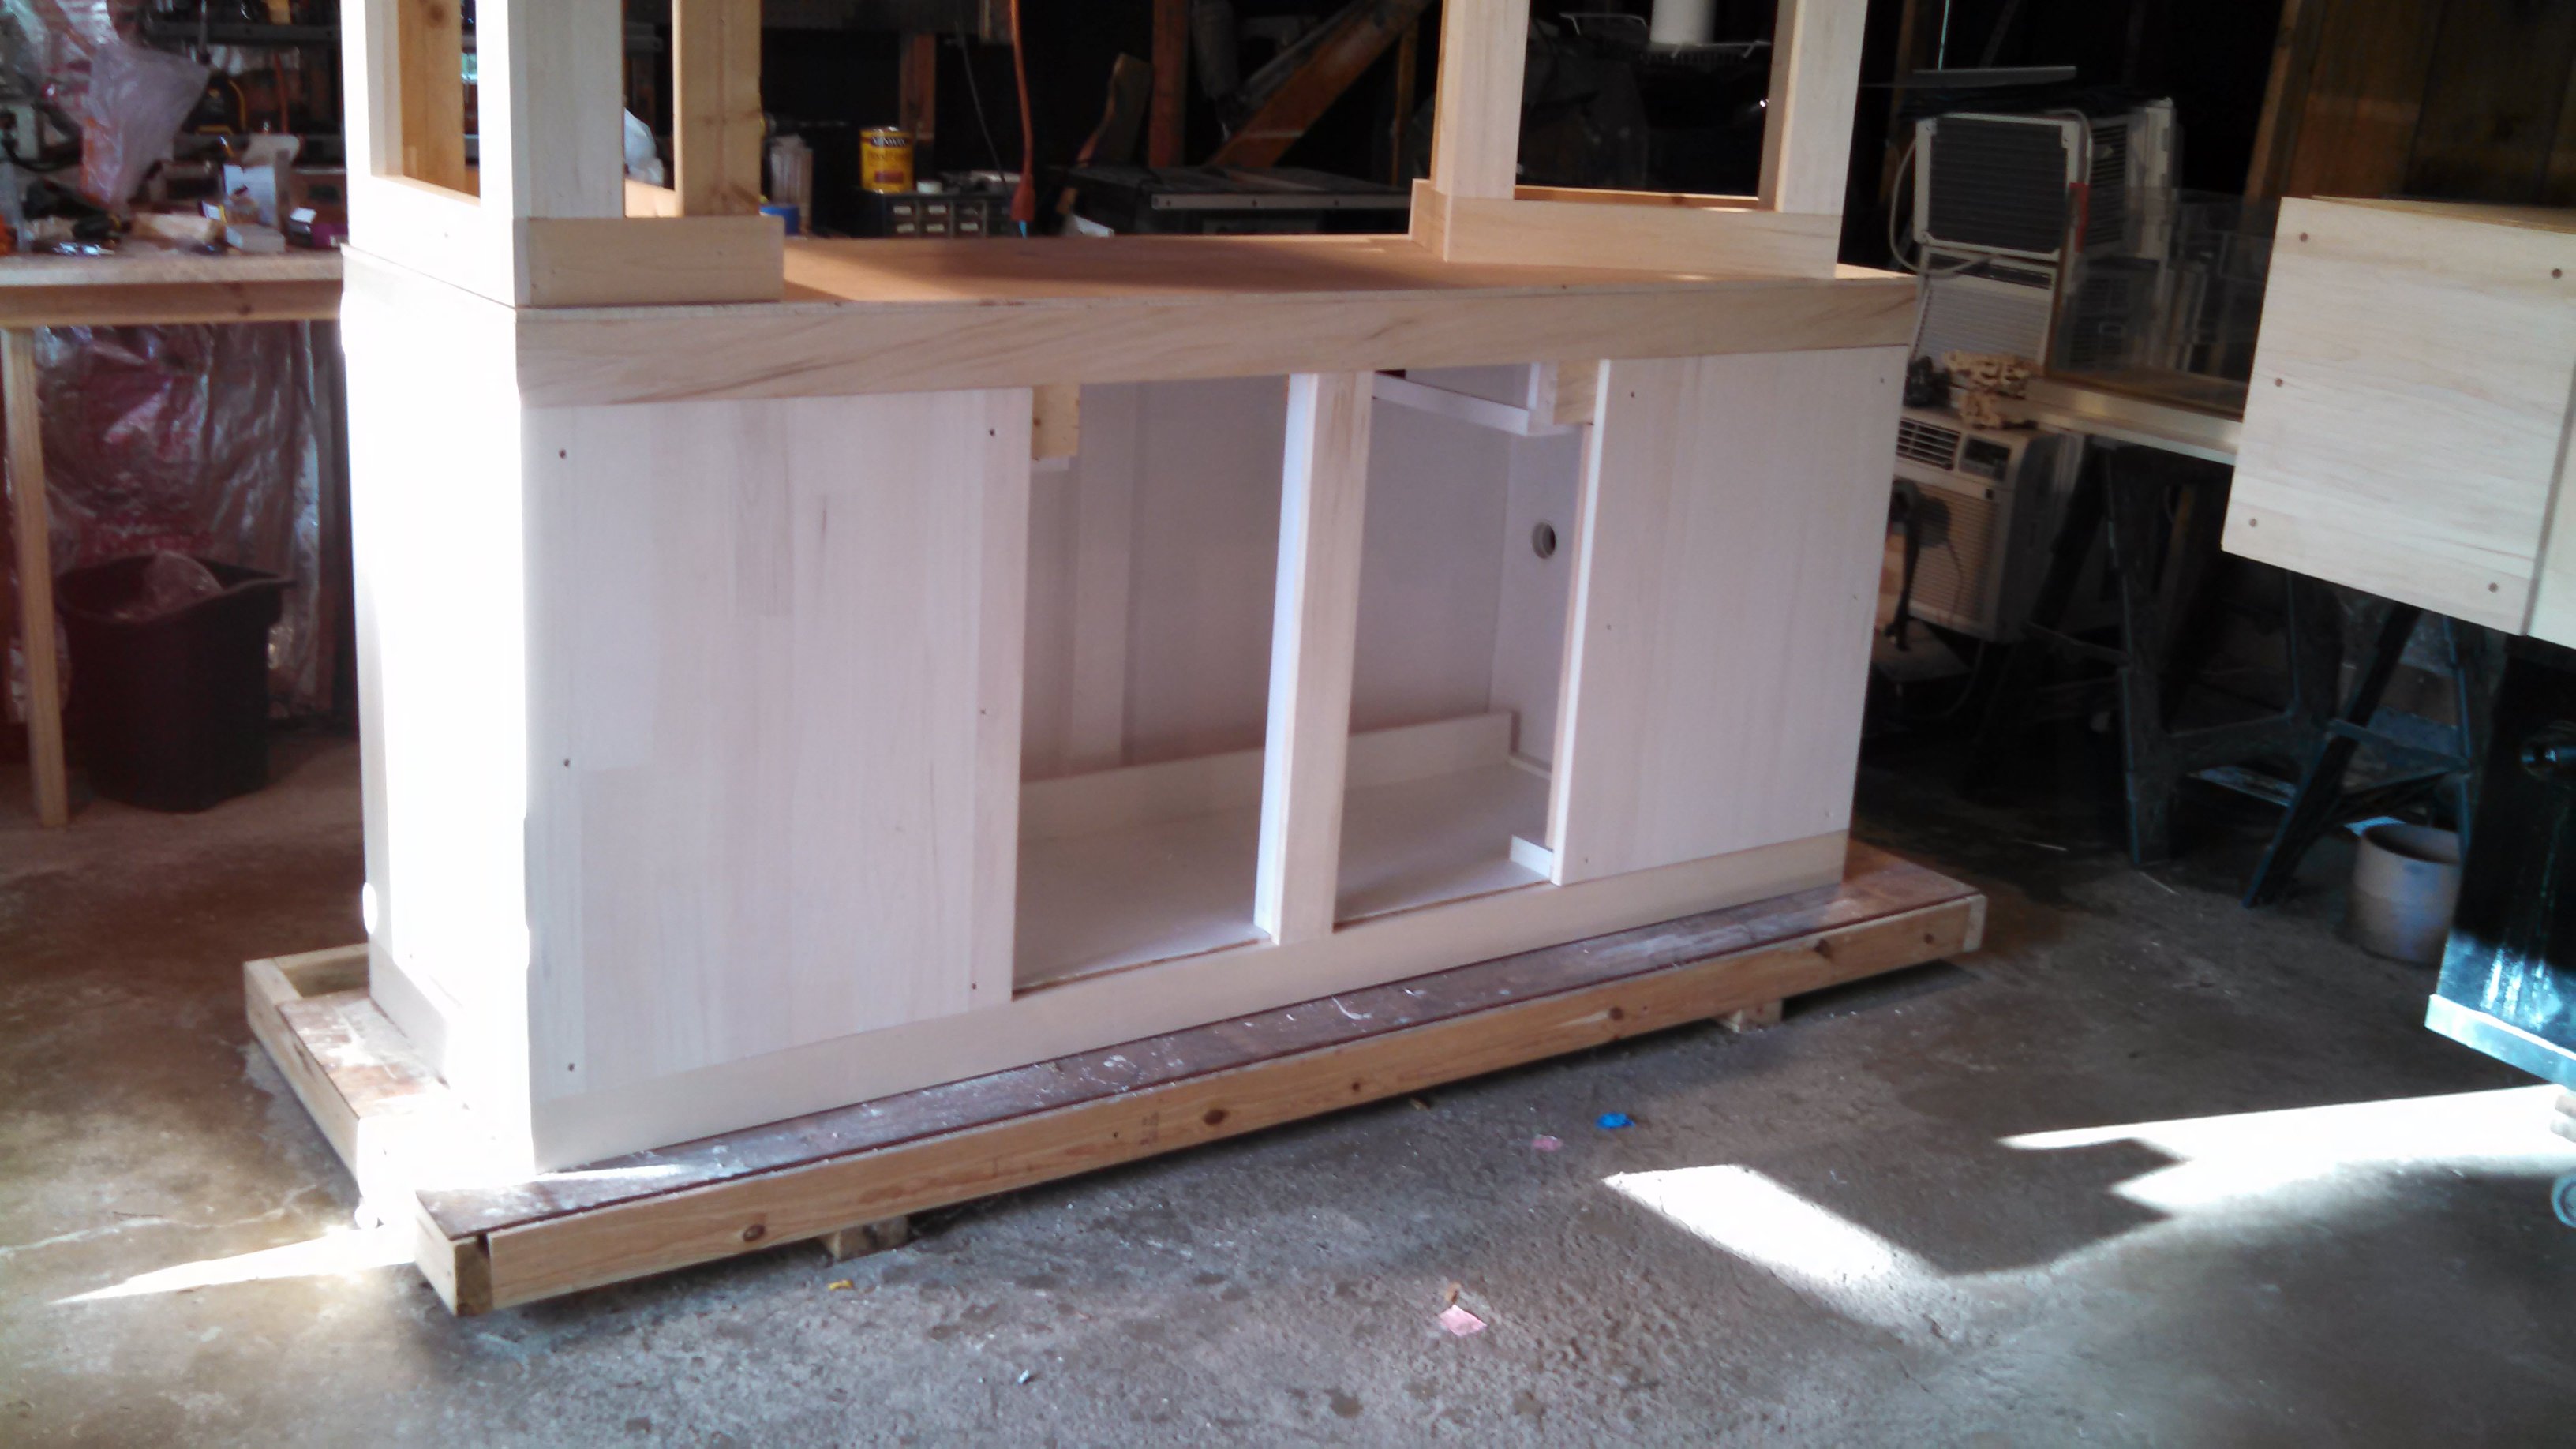
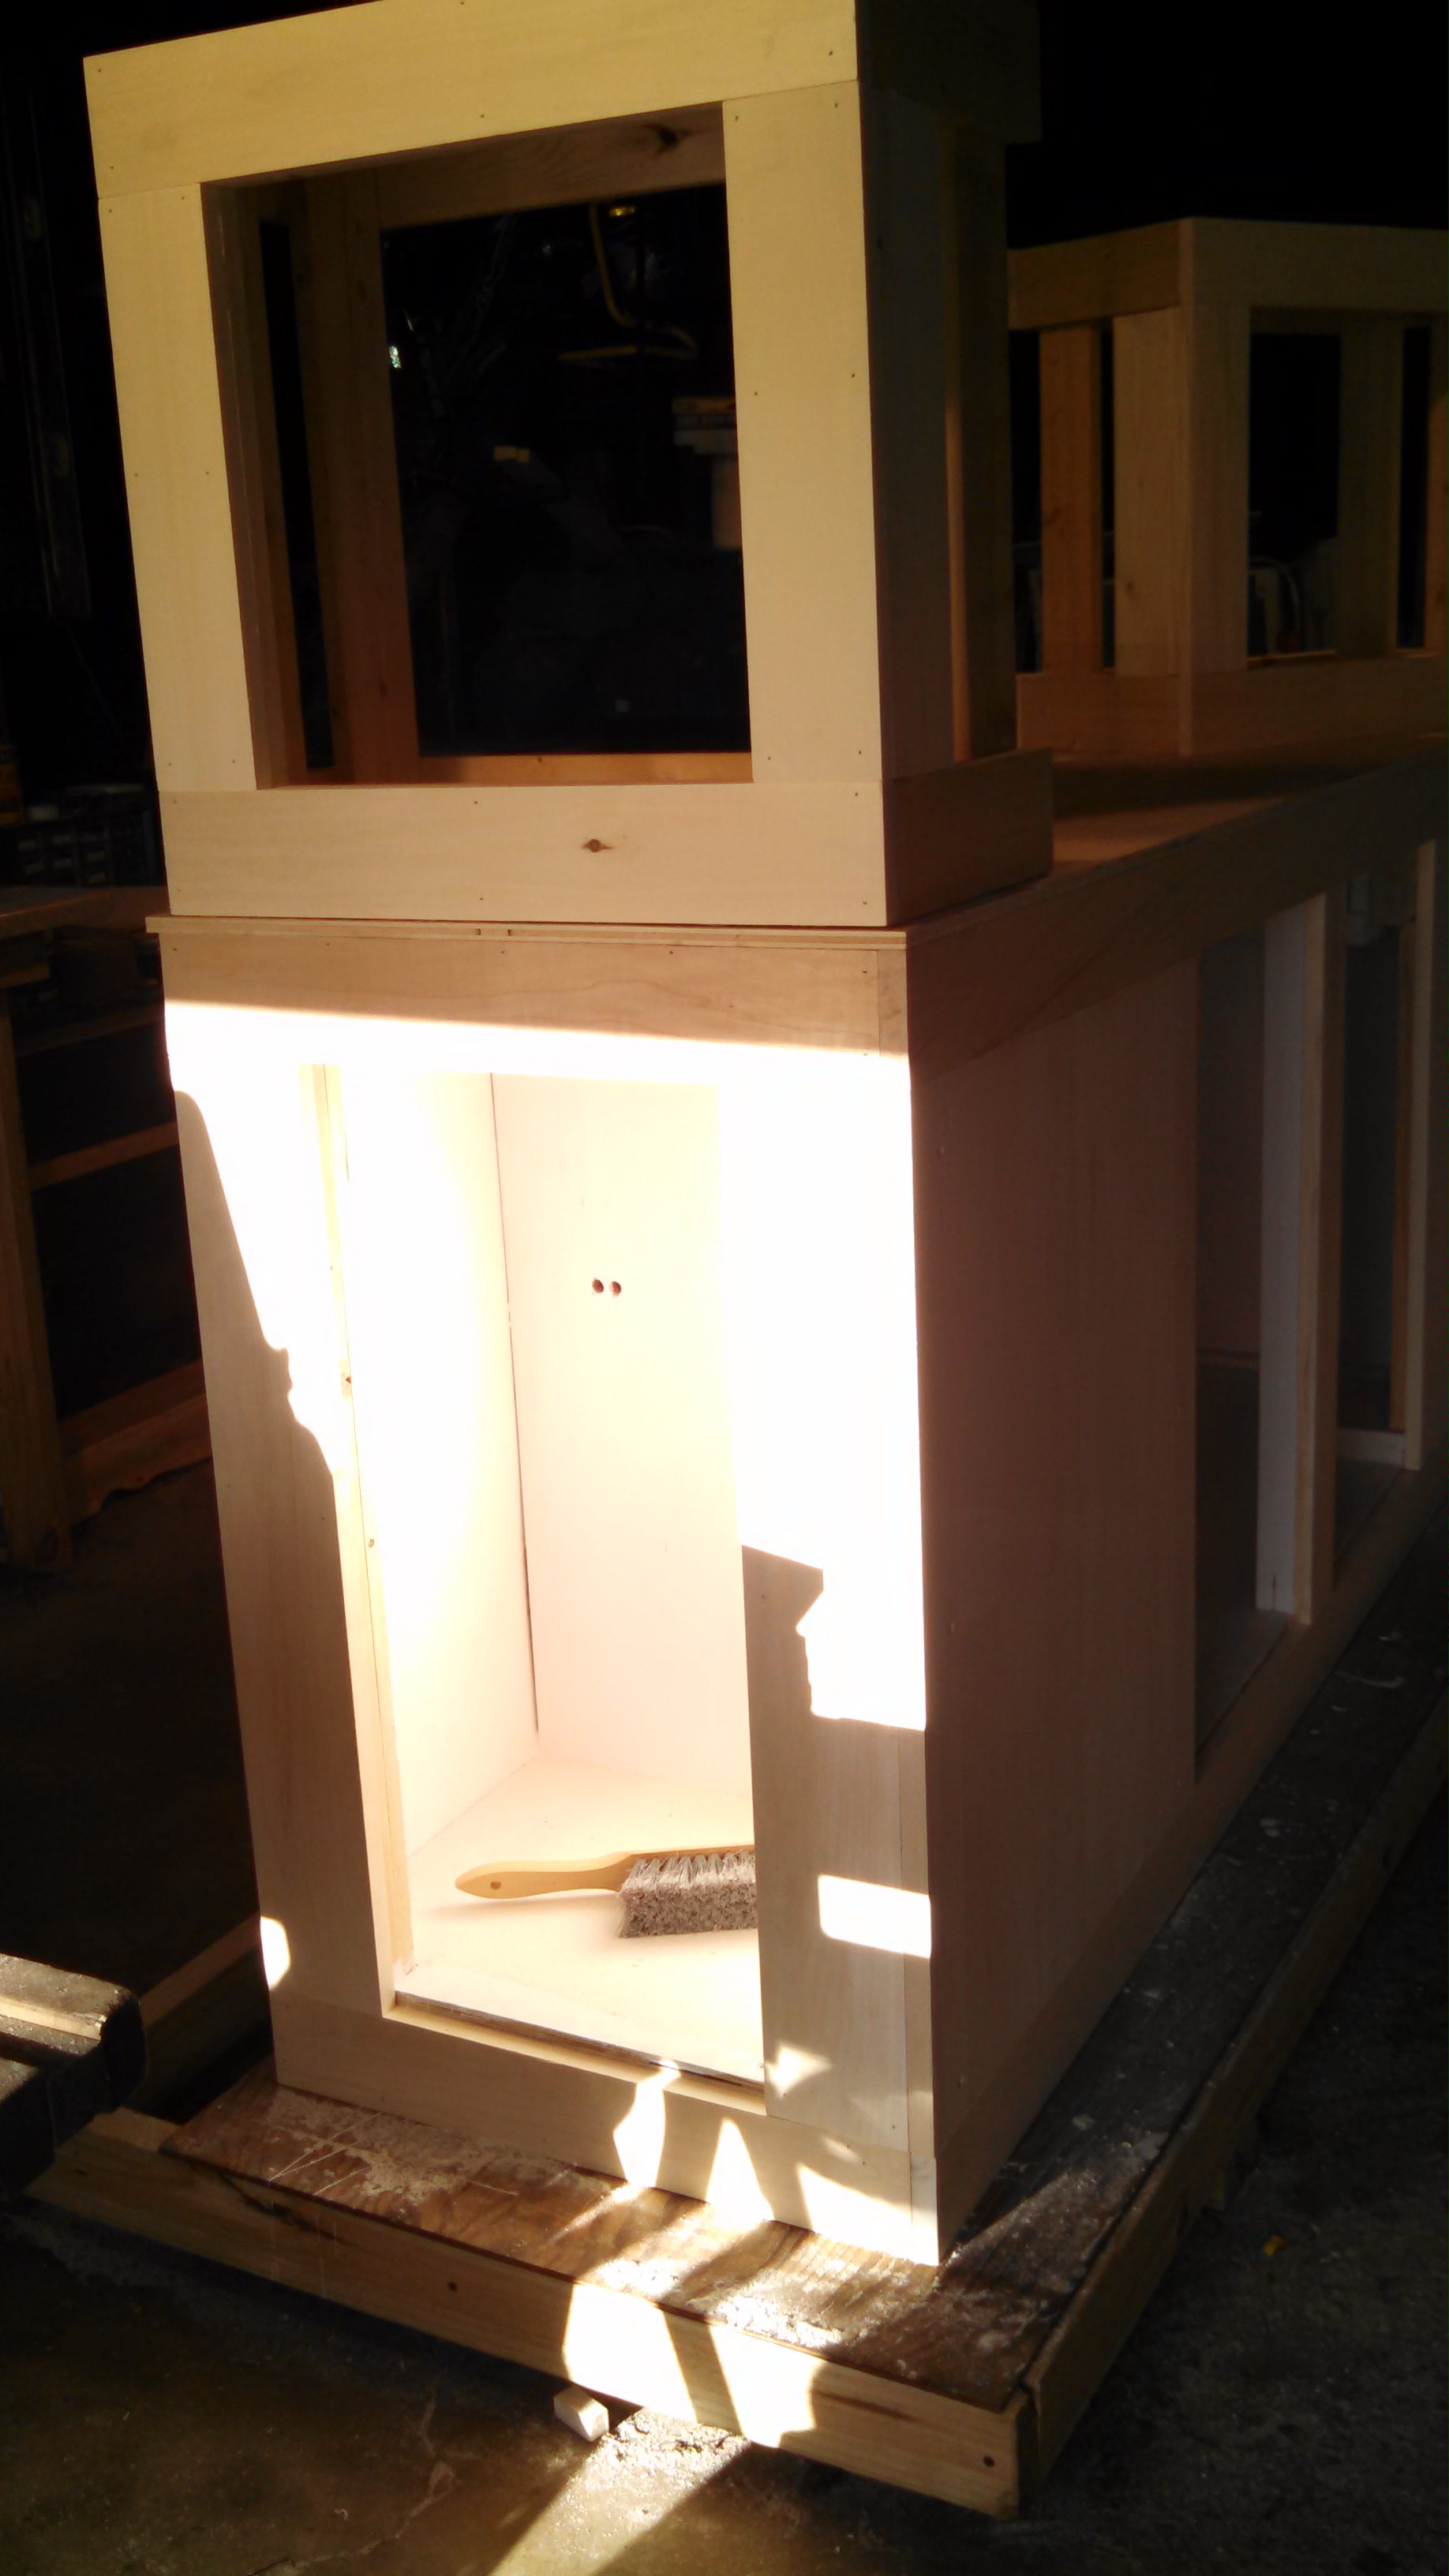
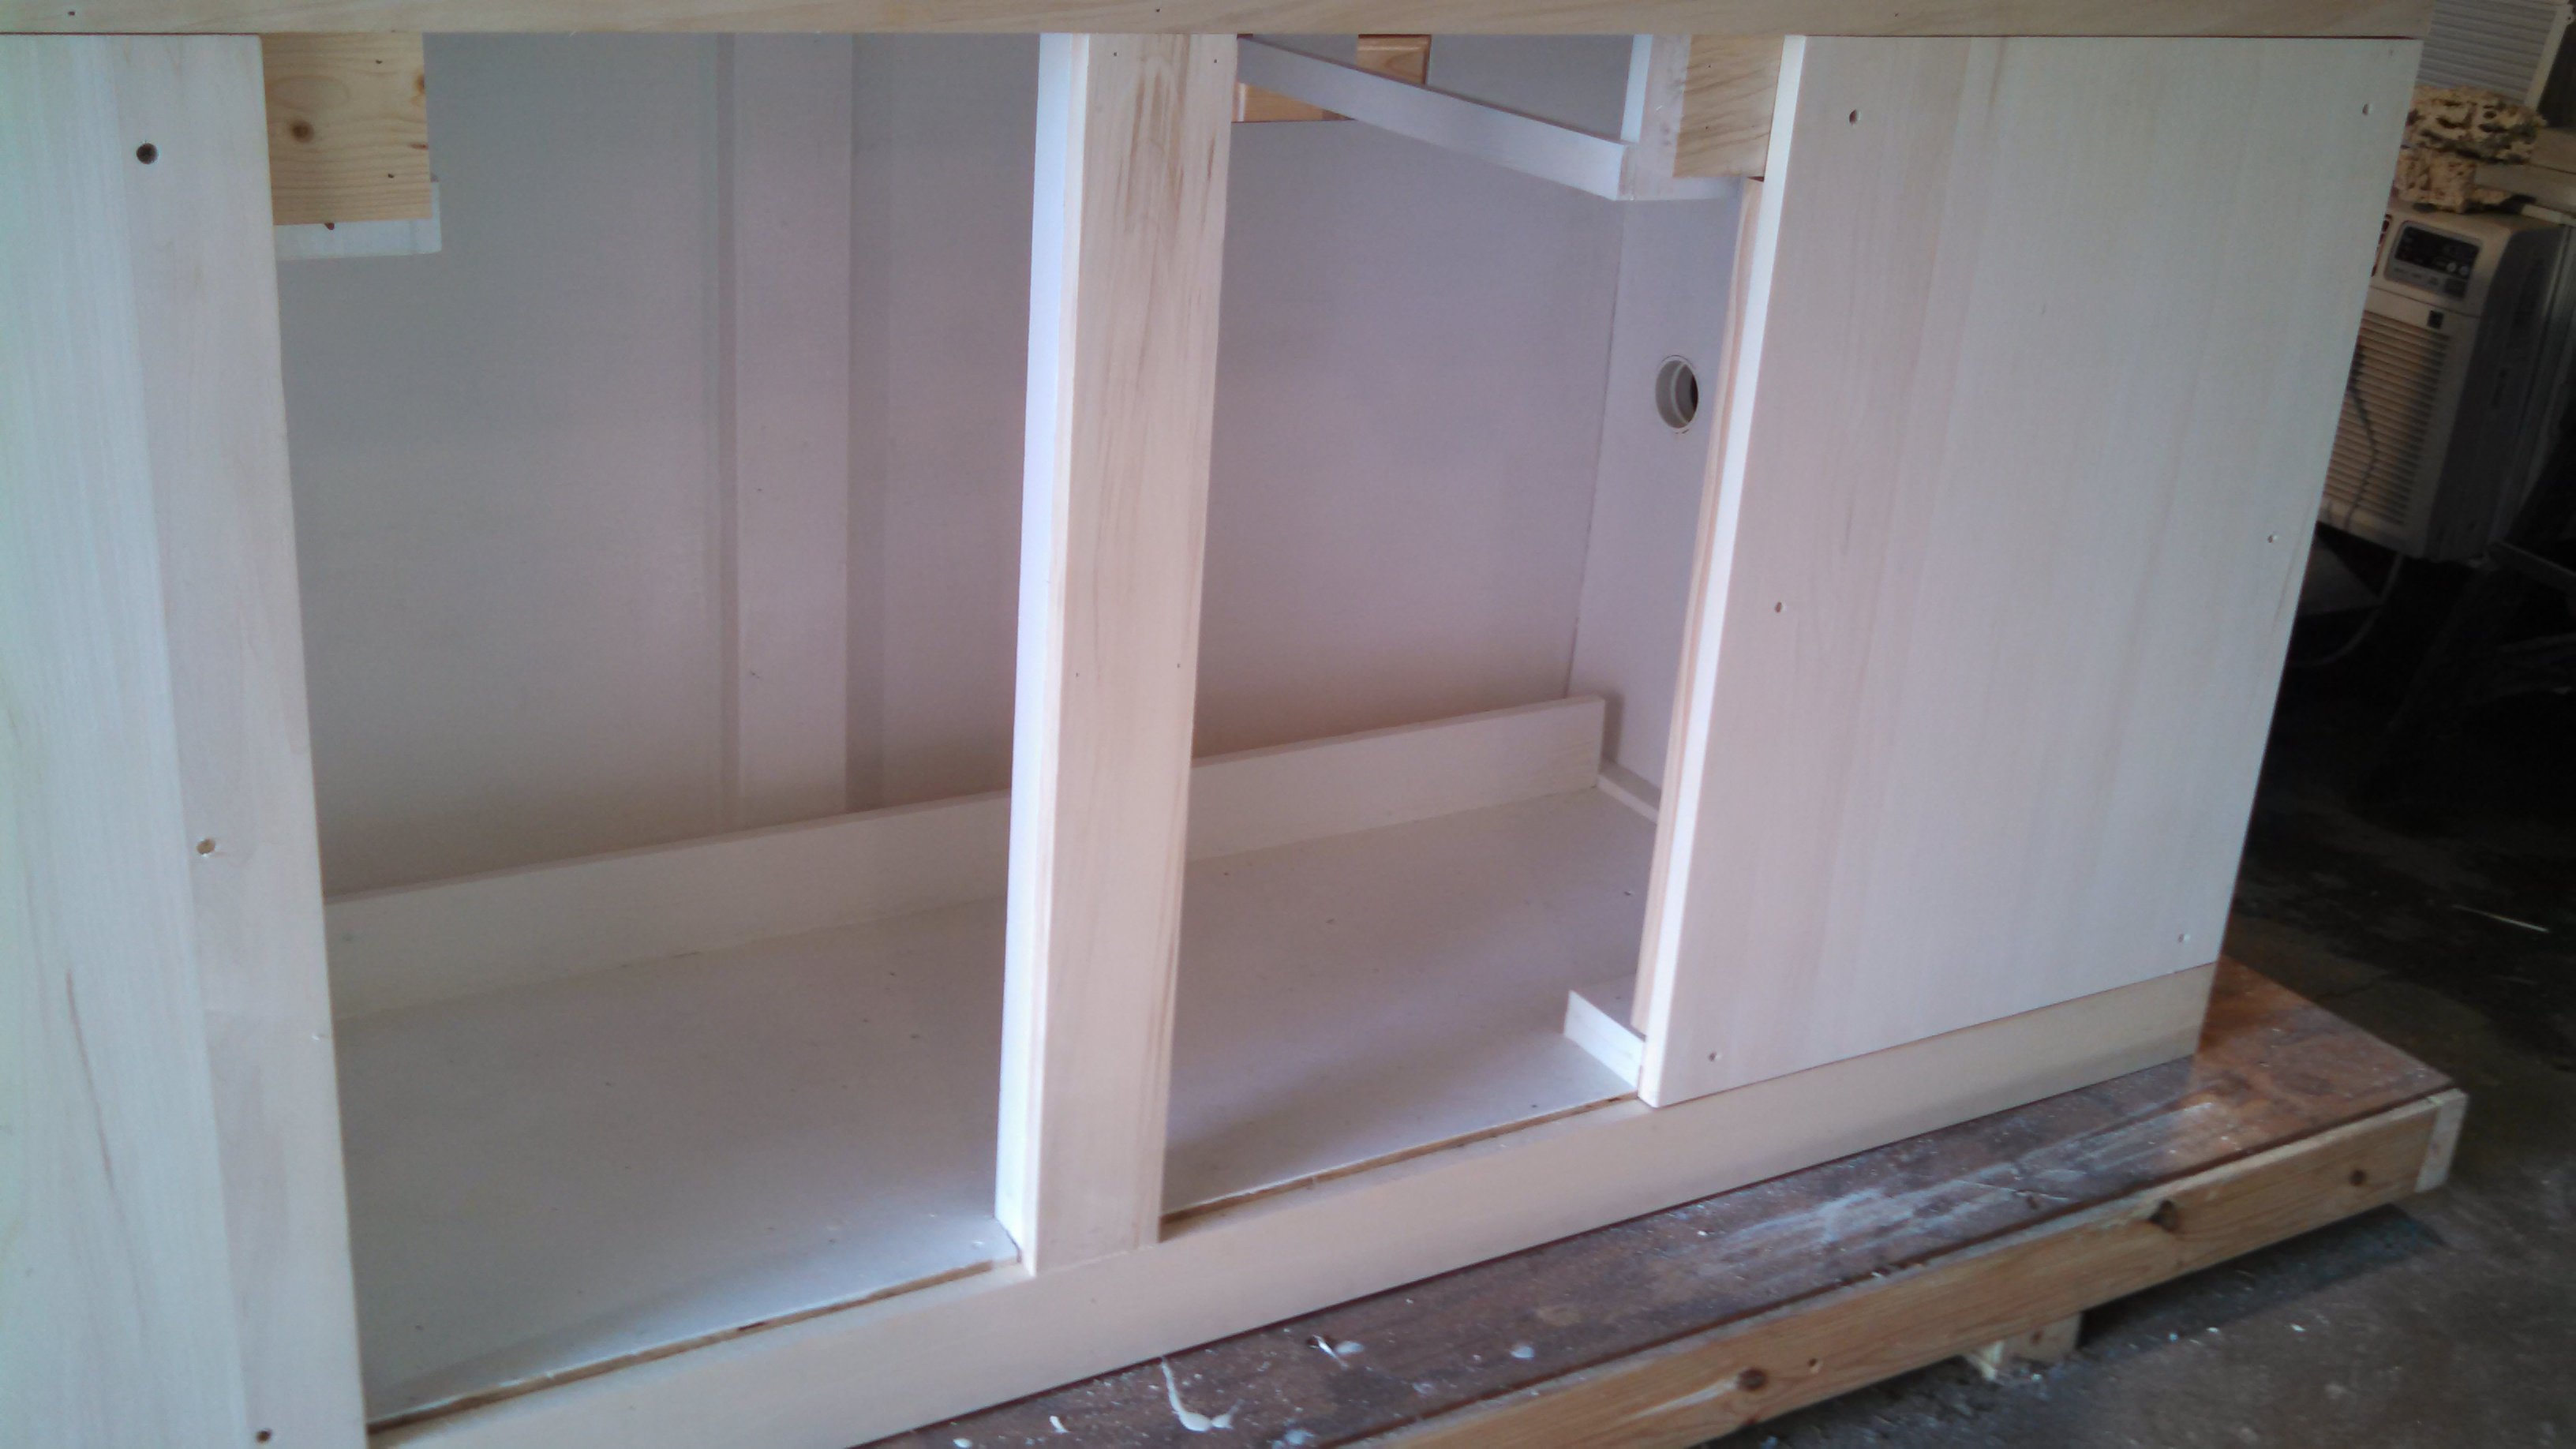
Here's the stand and canopy as I'm just putting the aspen "skin" on the framing.
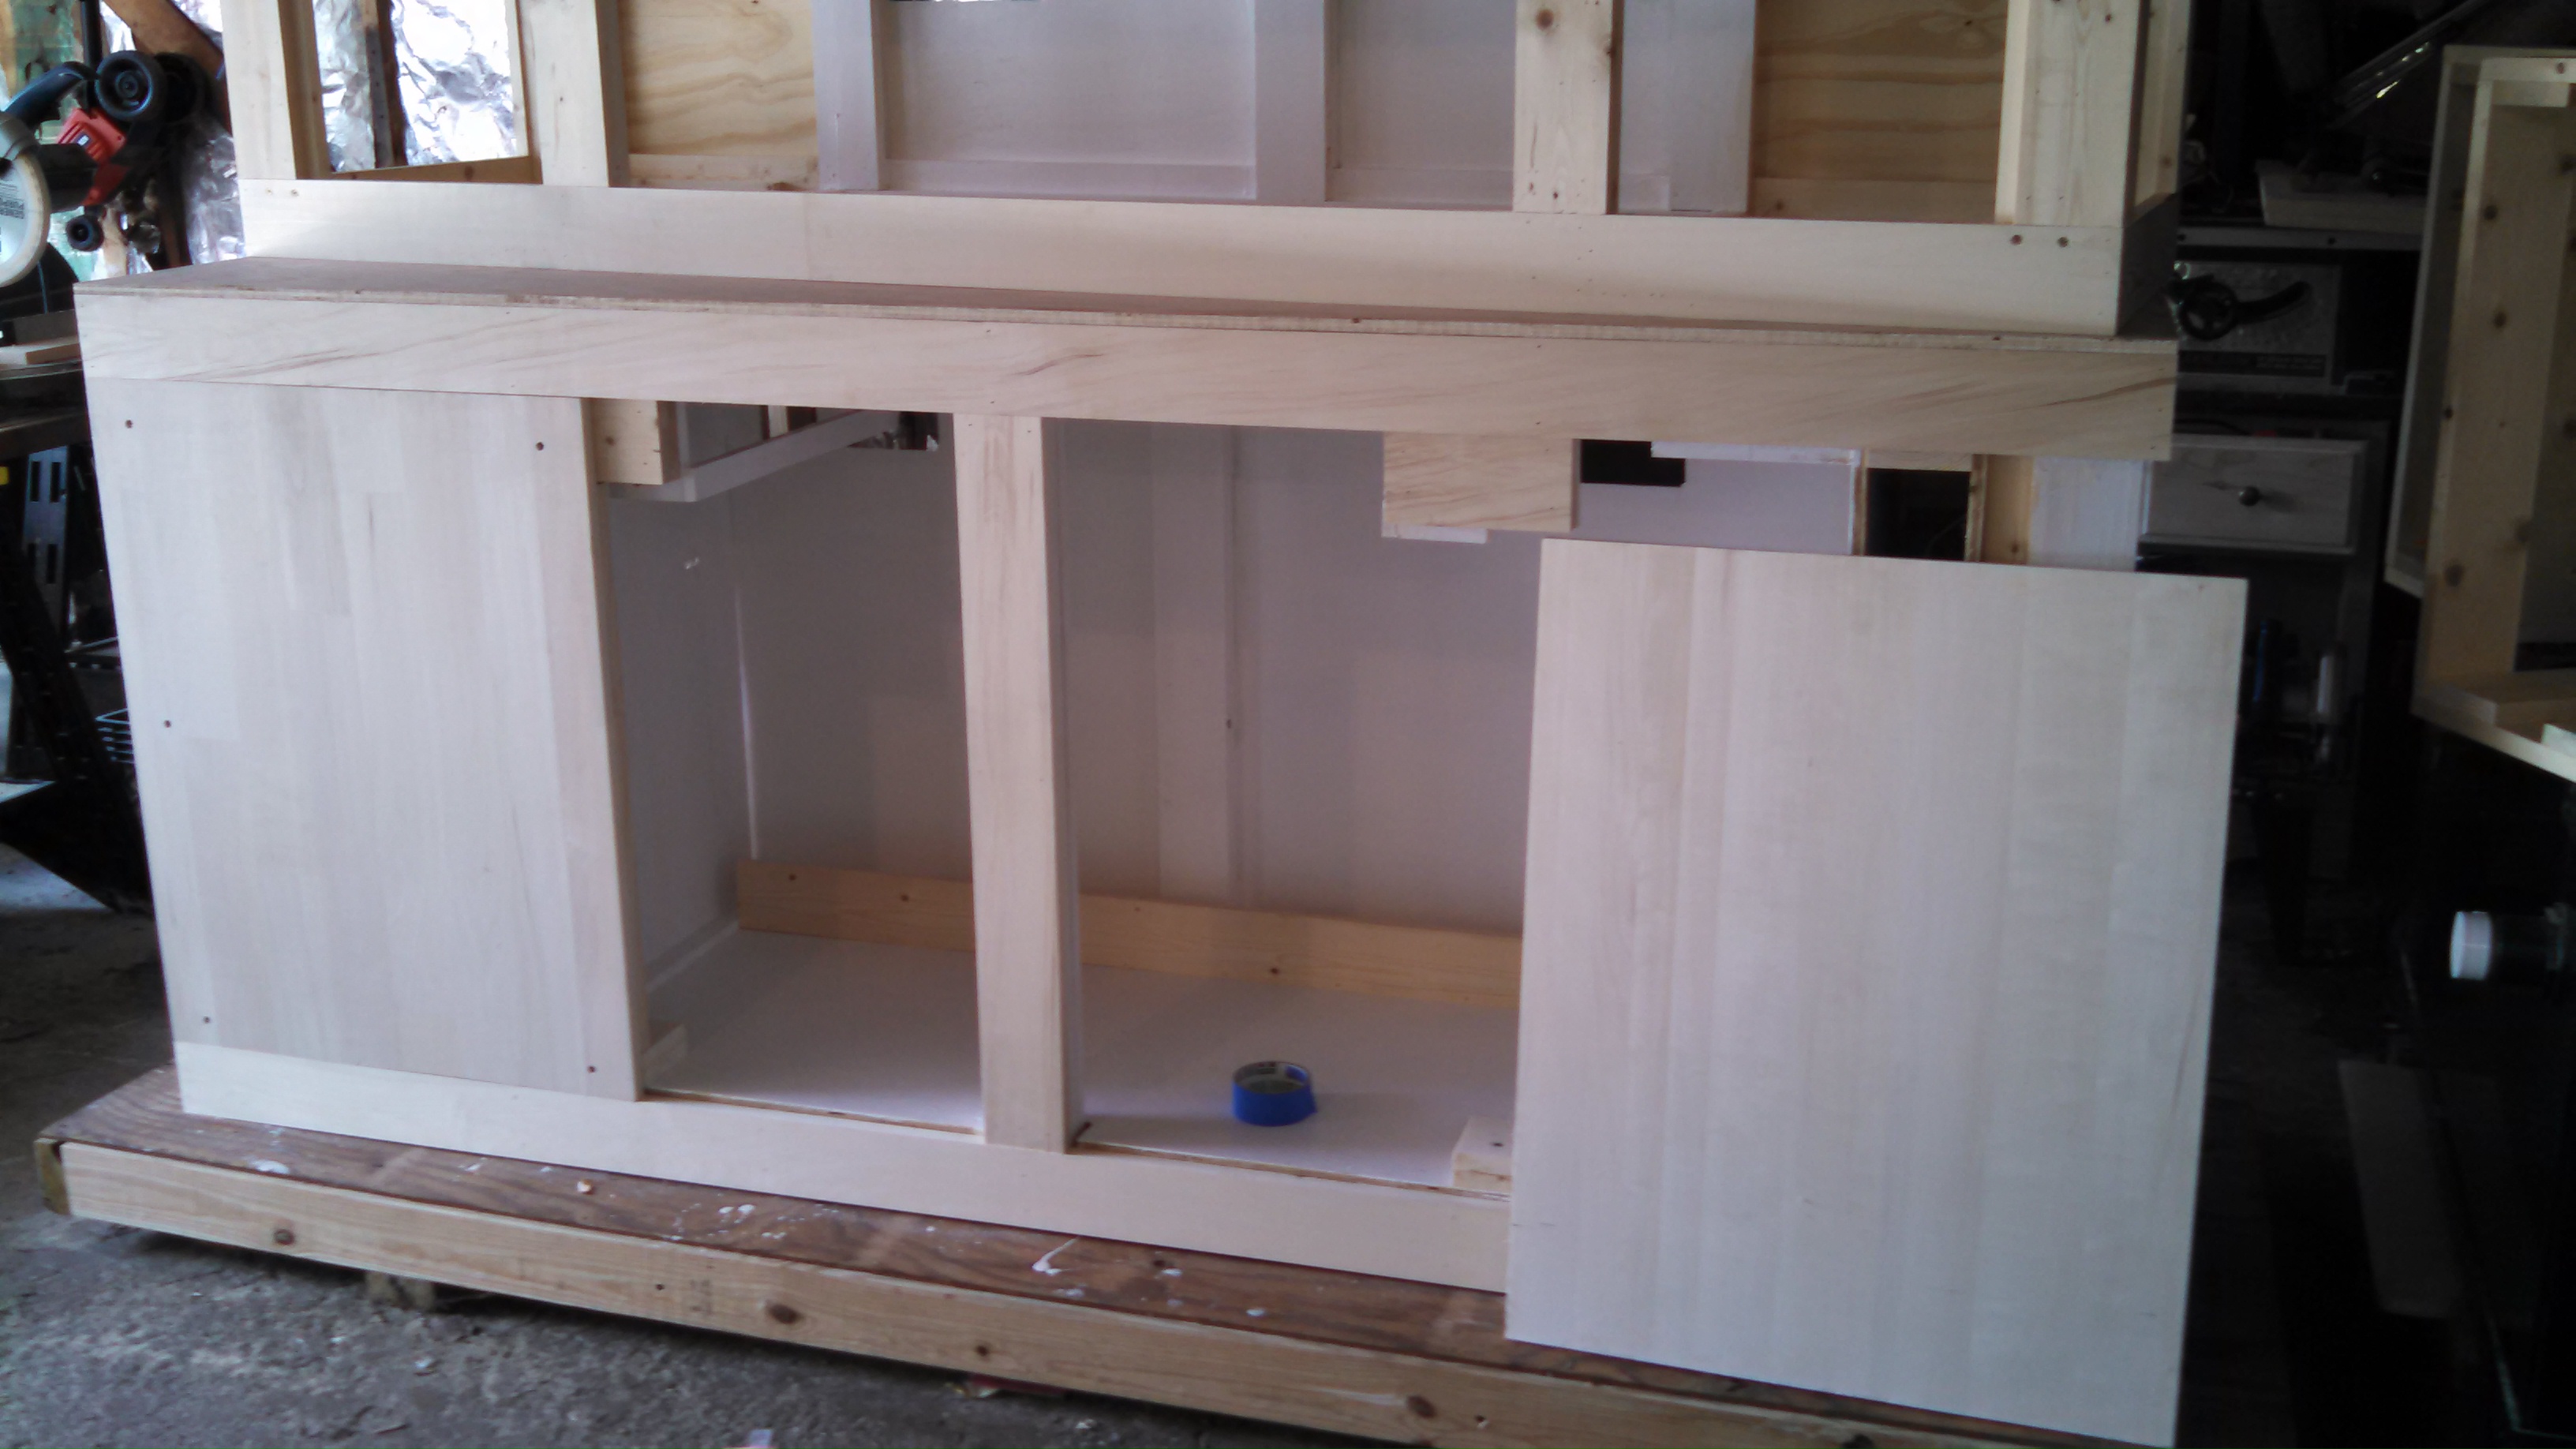

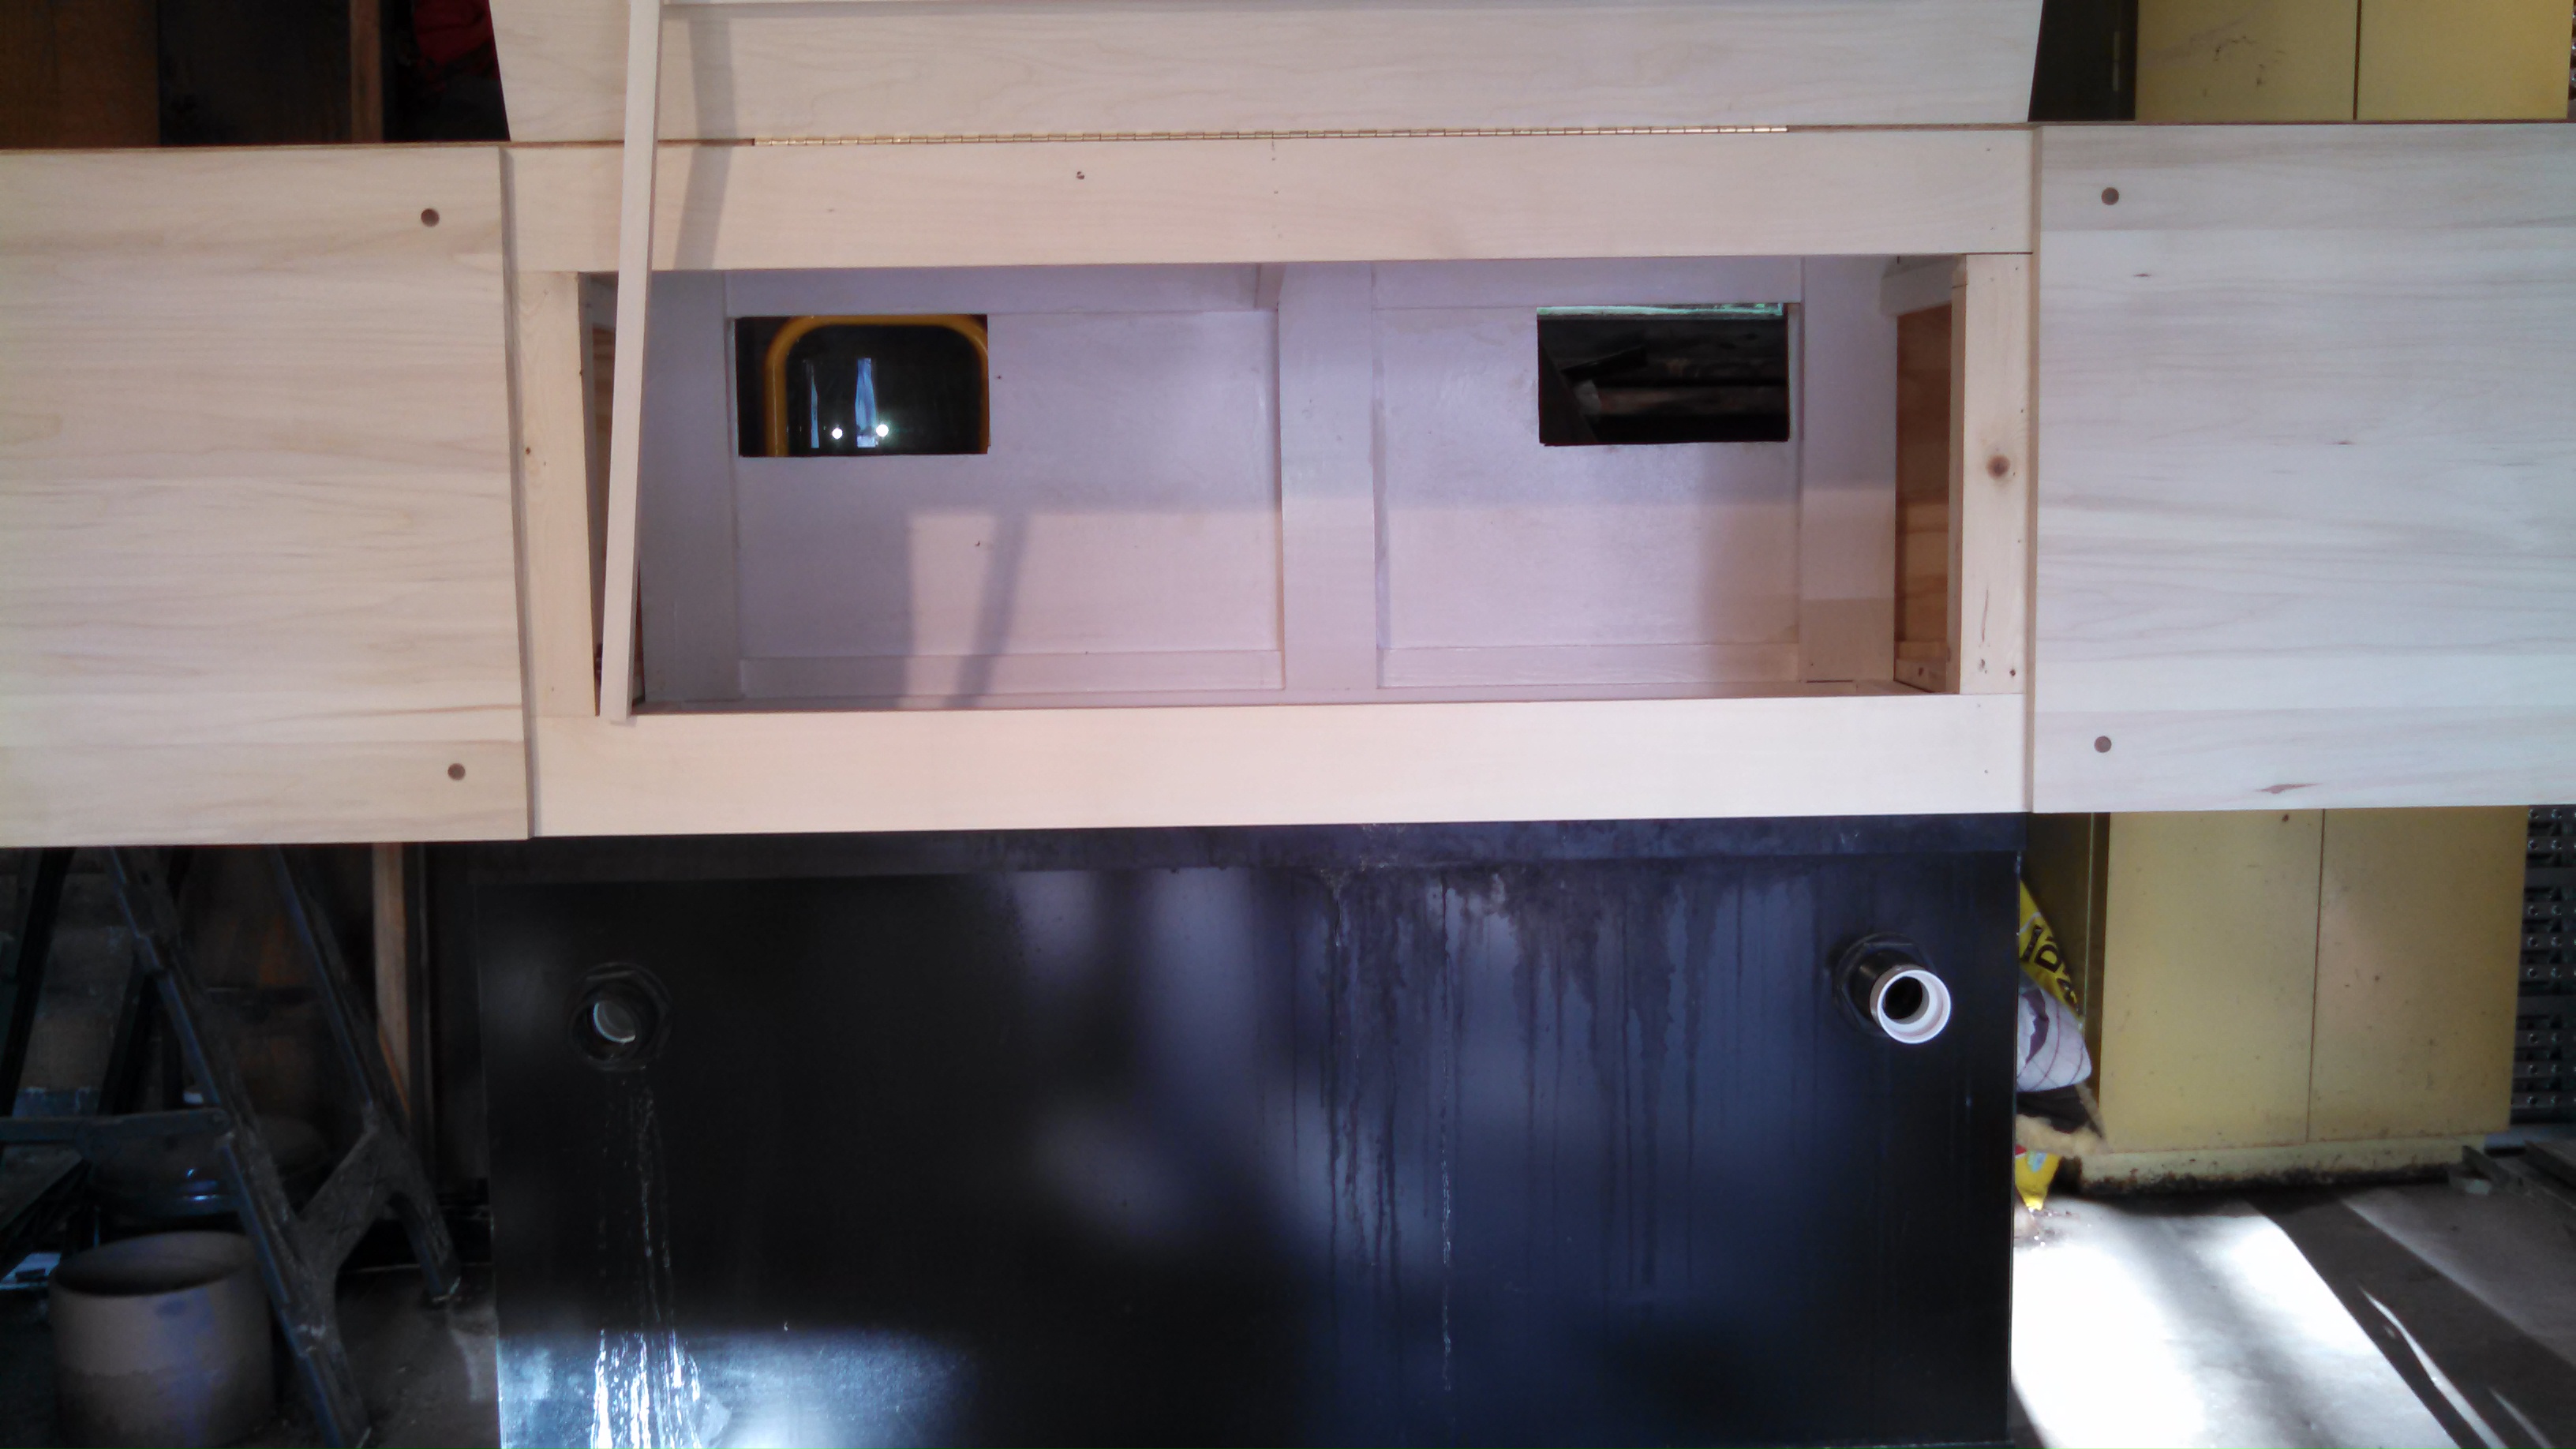
Here you see the holes I made for the power and tubing lines for the ATO.
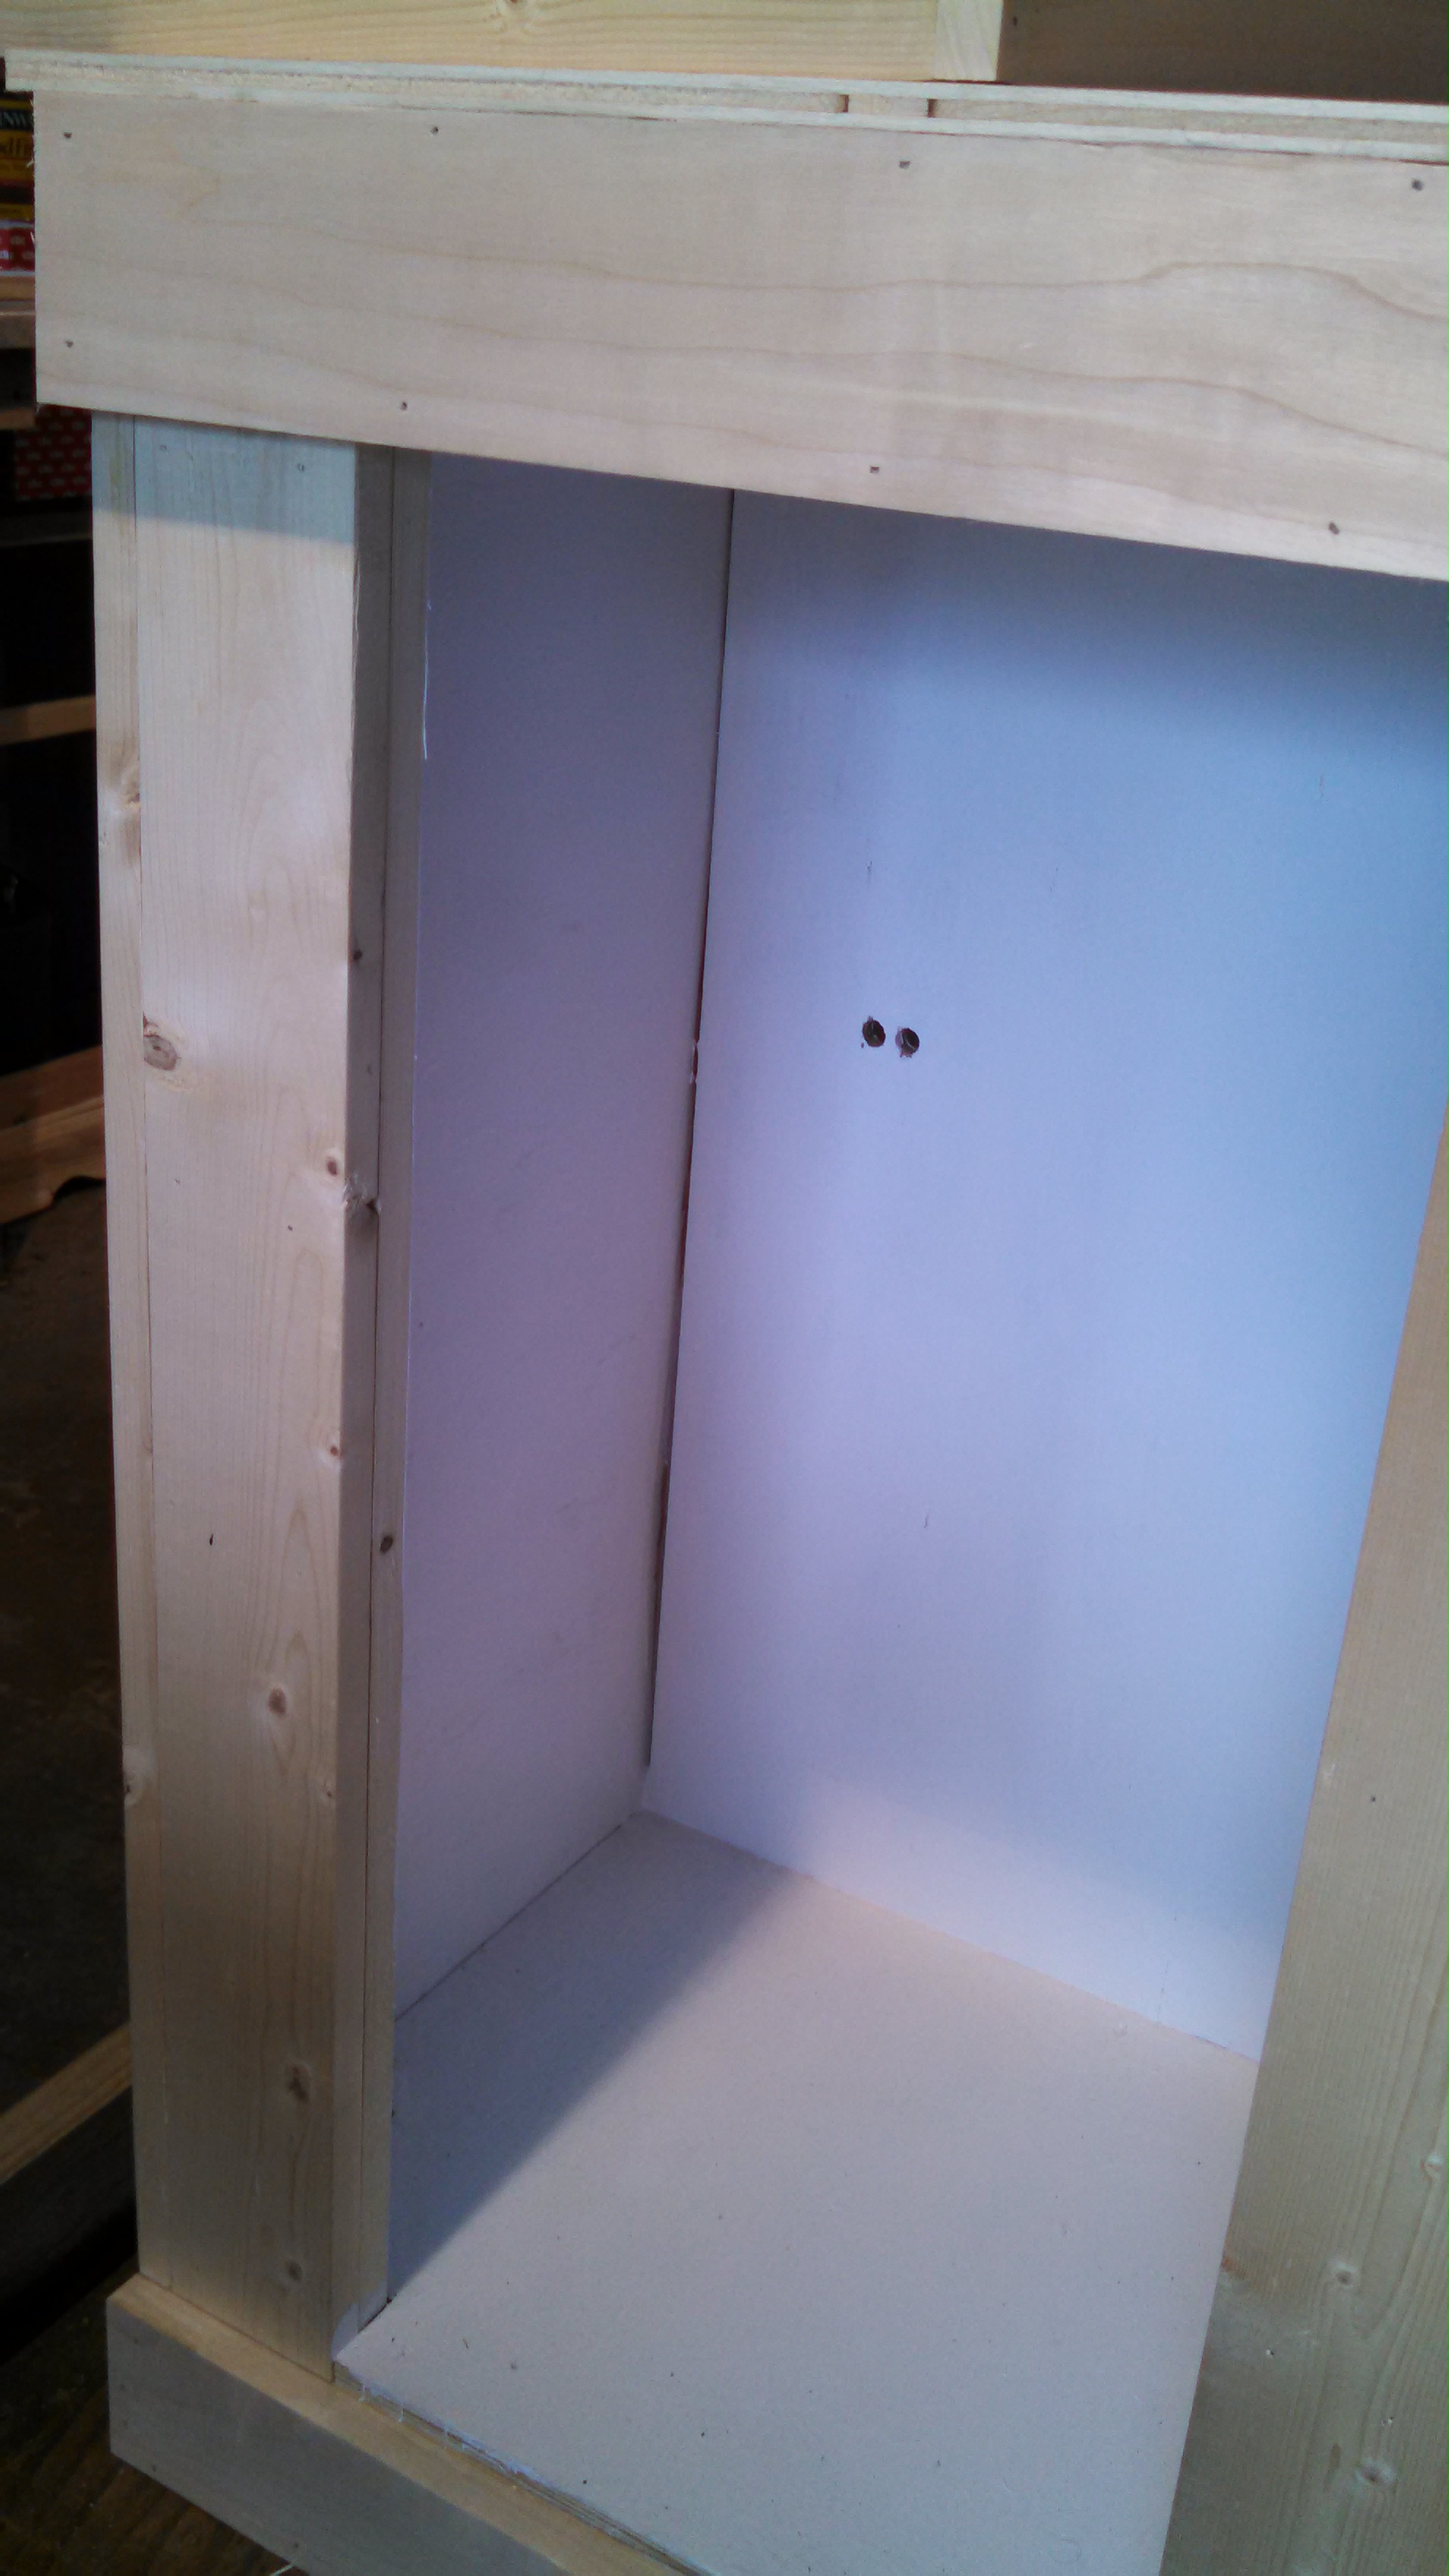
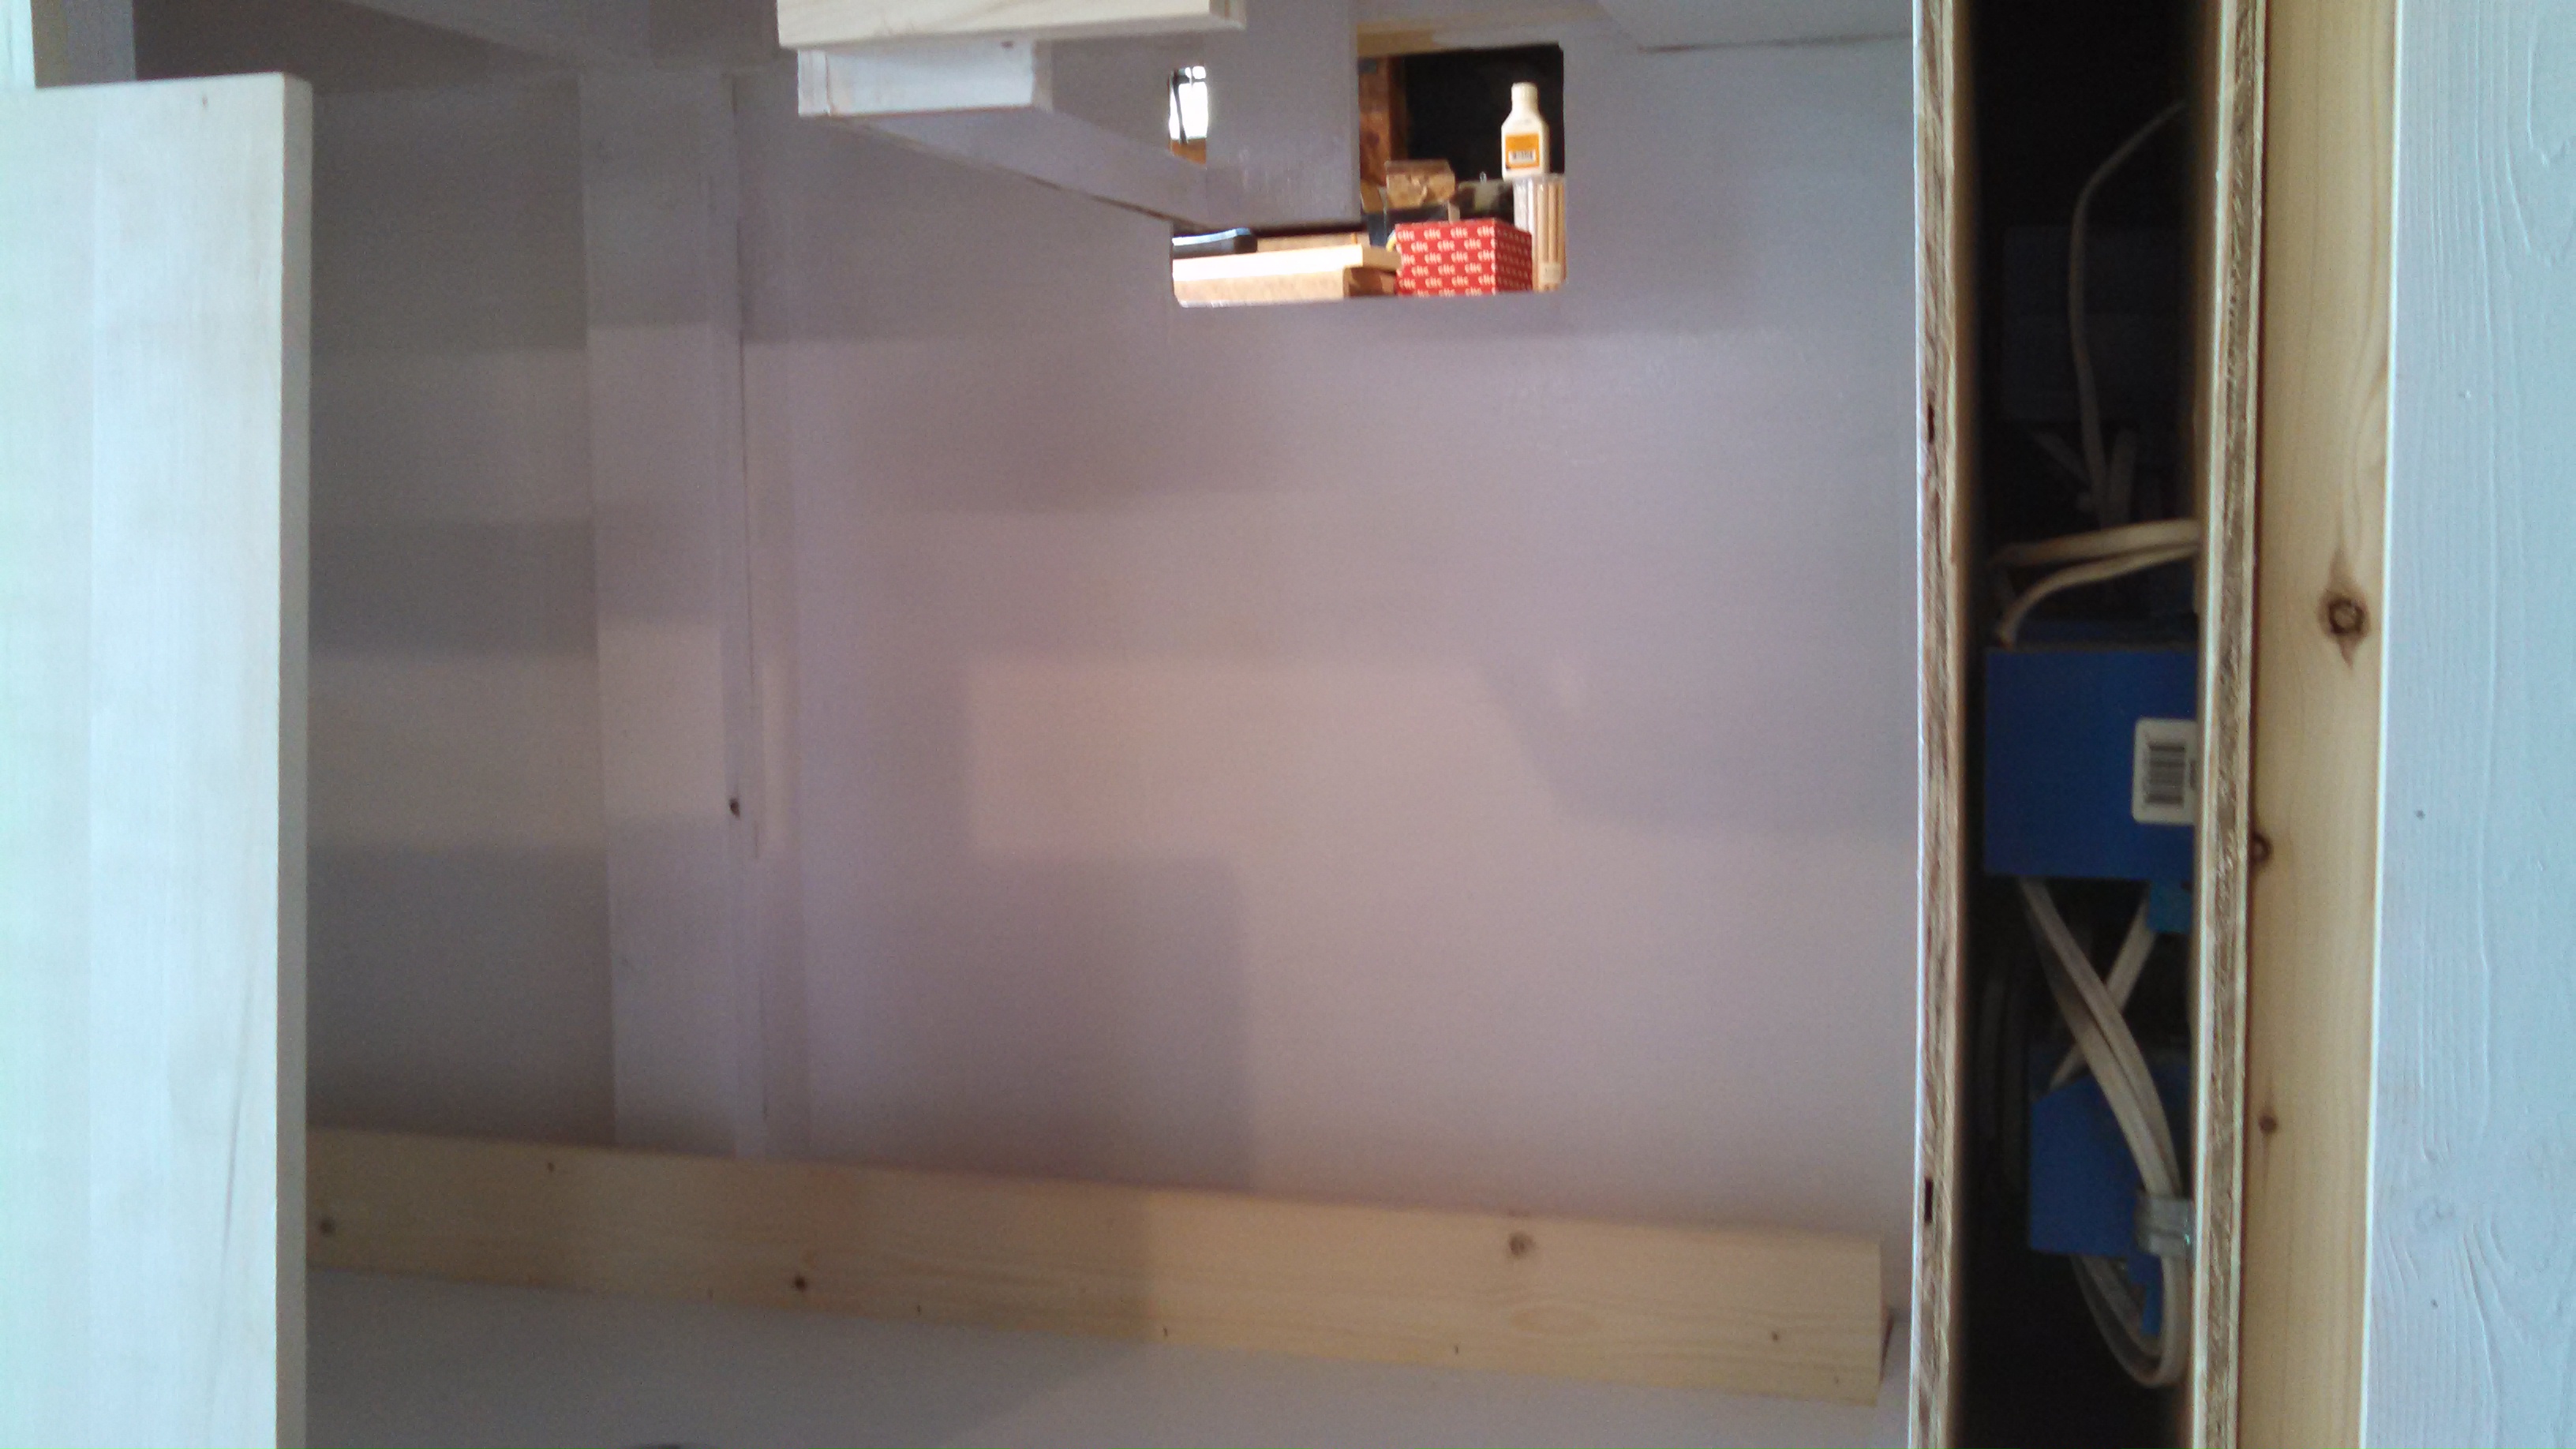
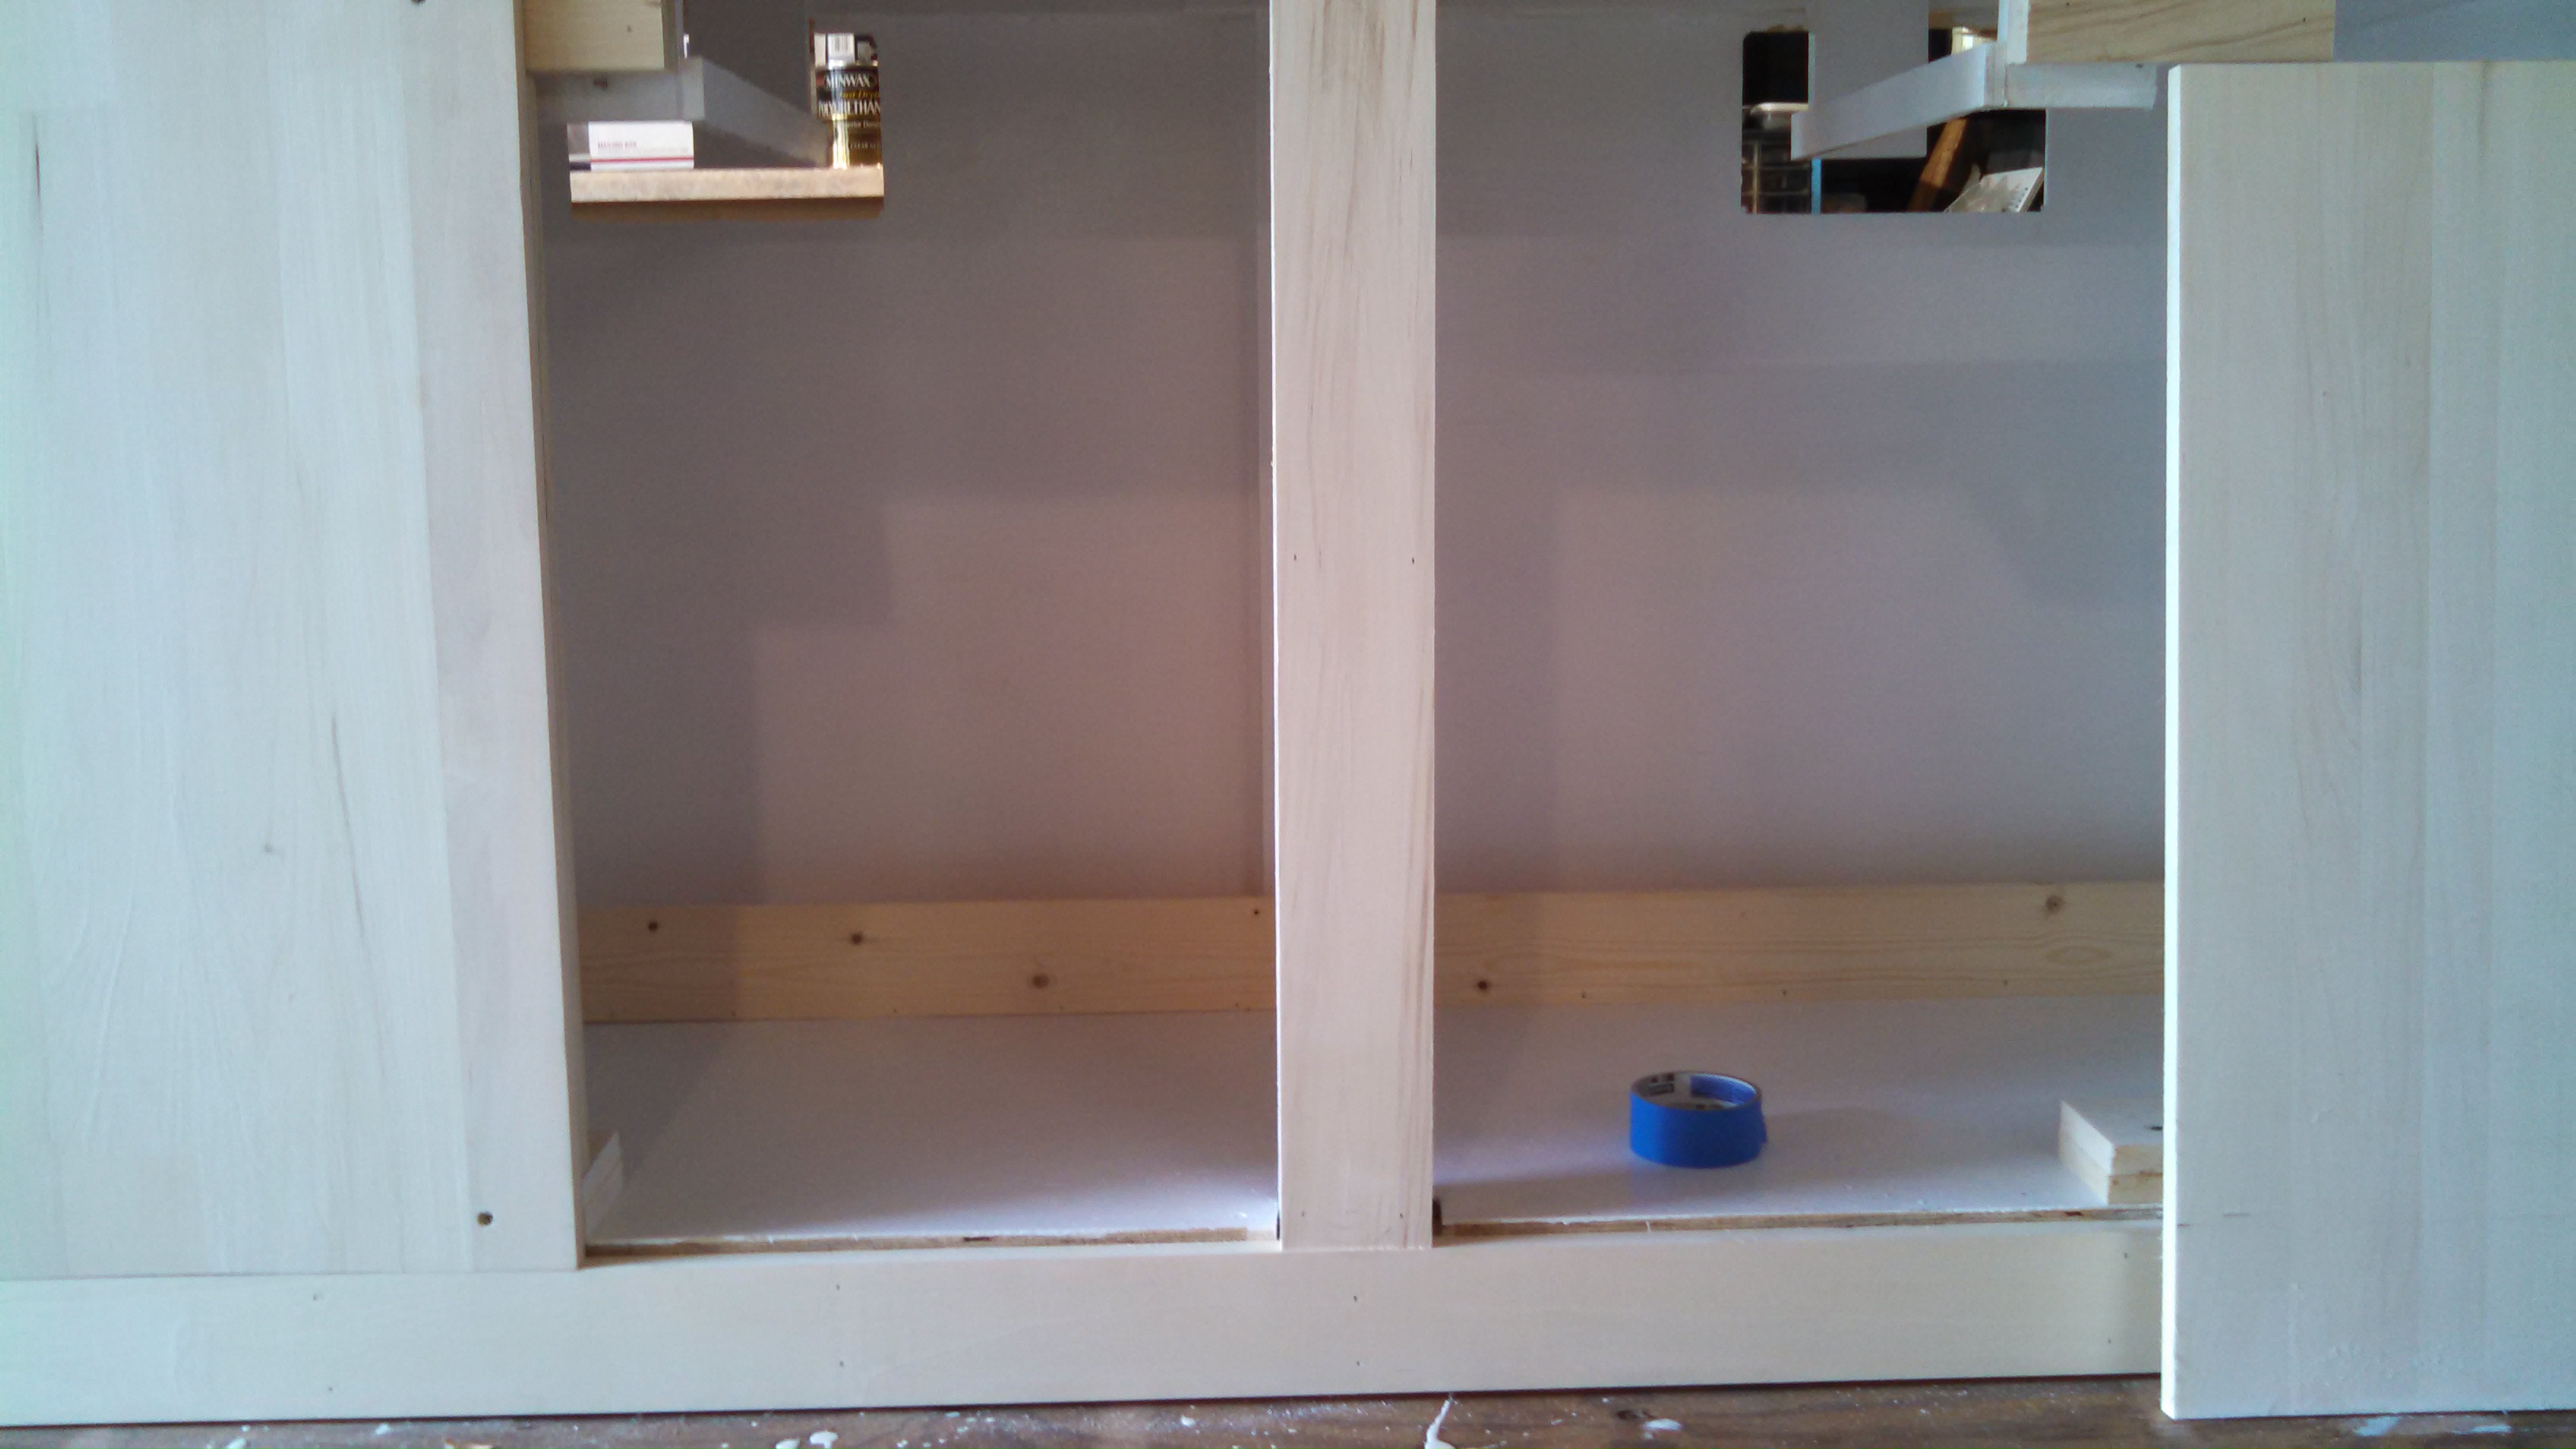

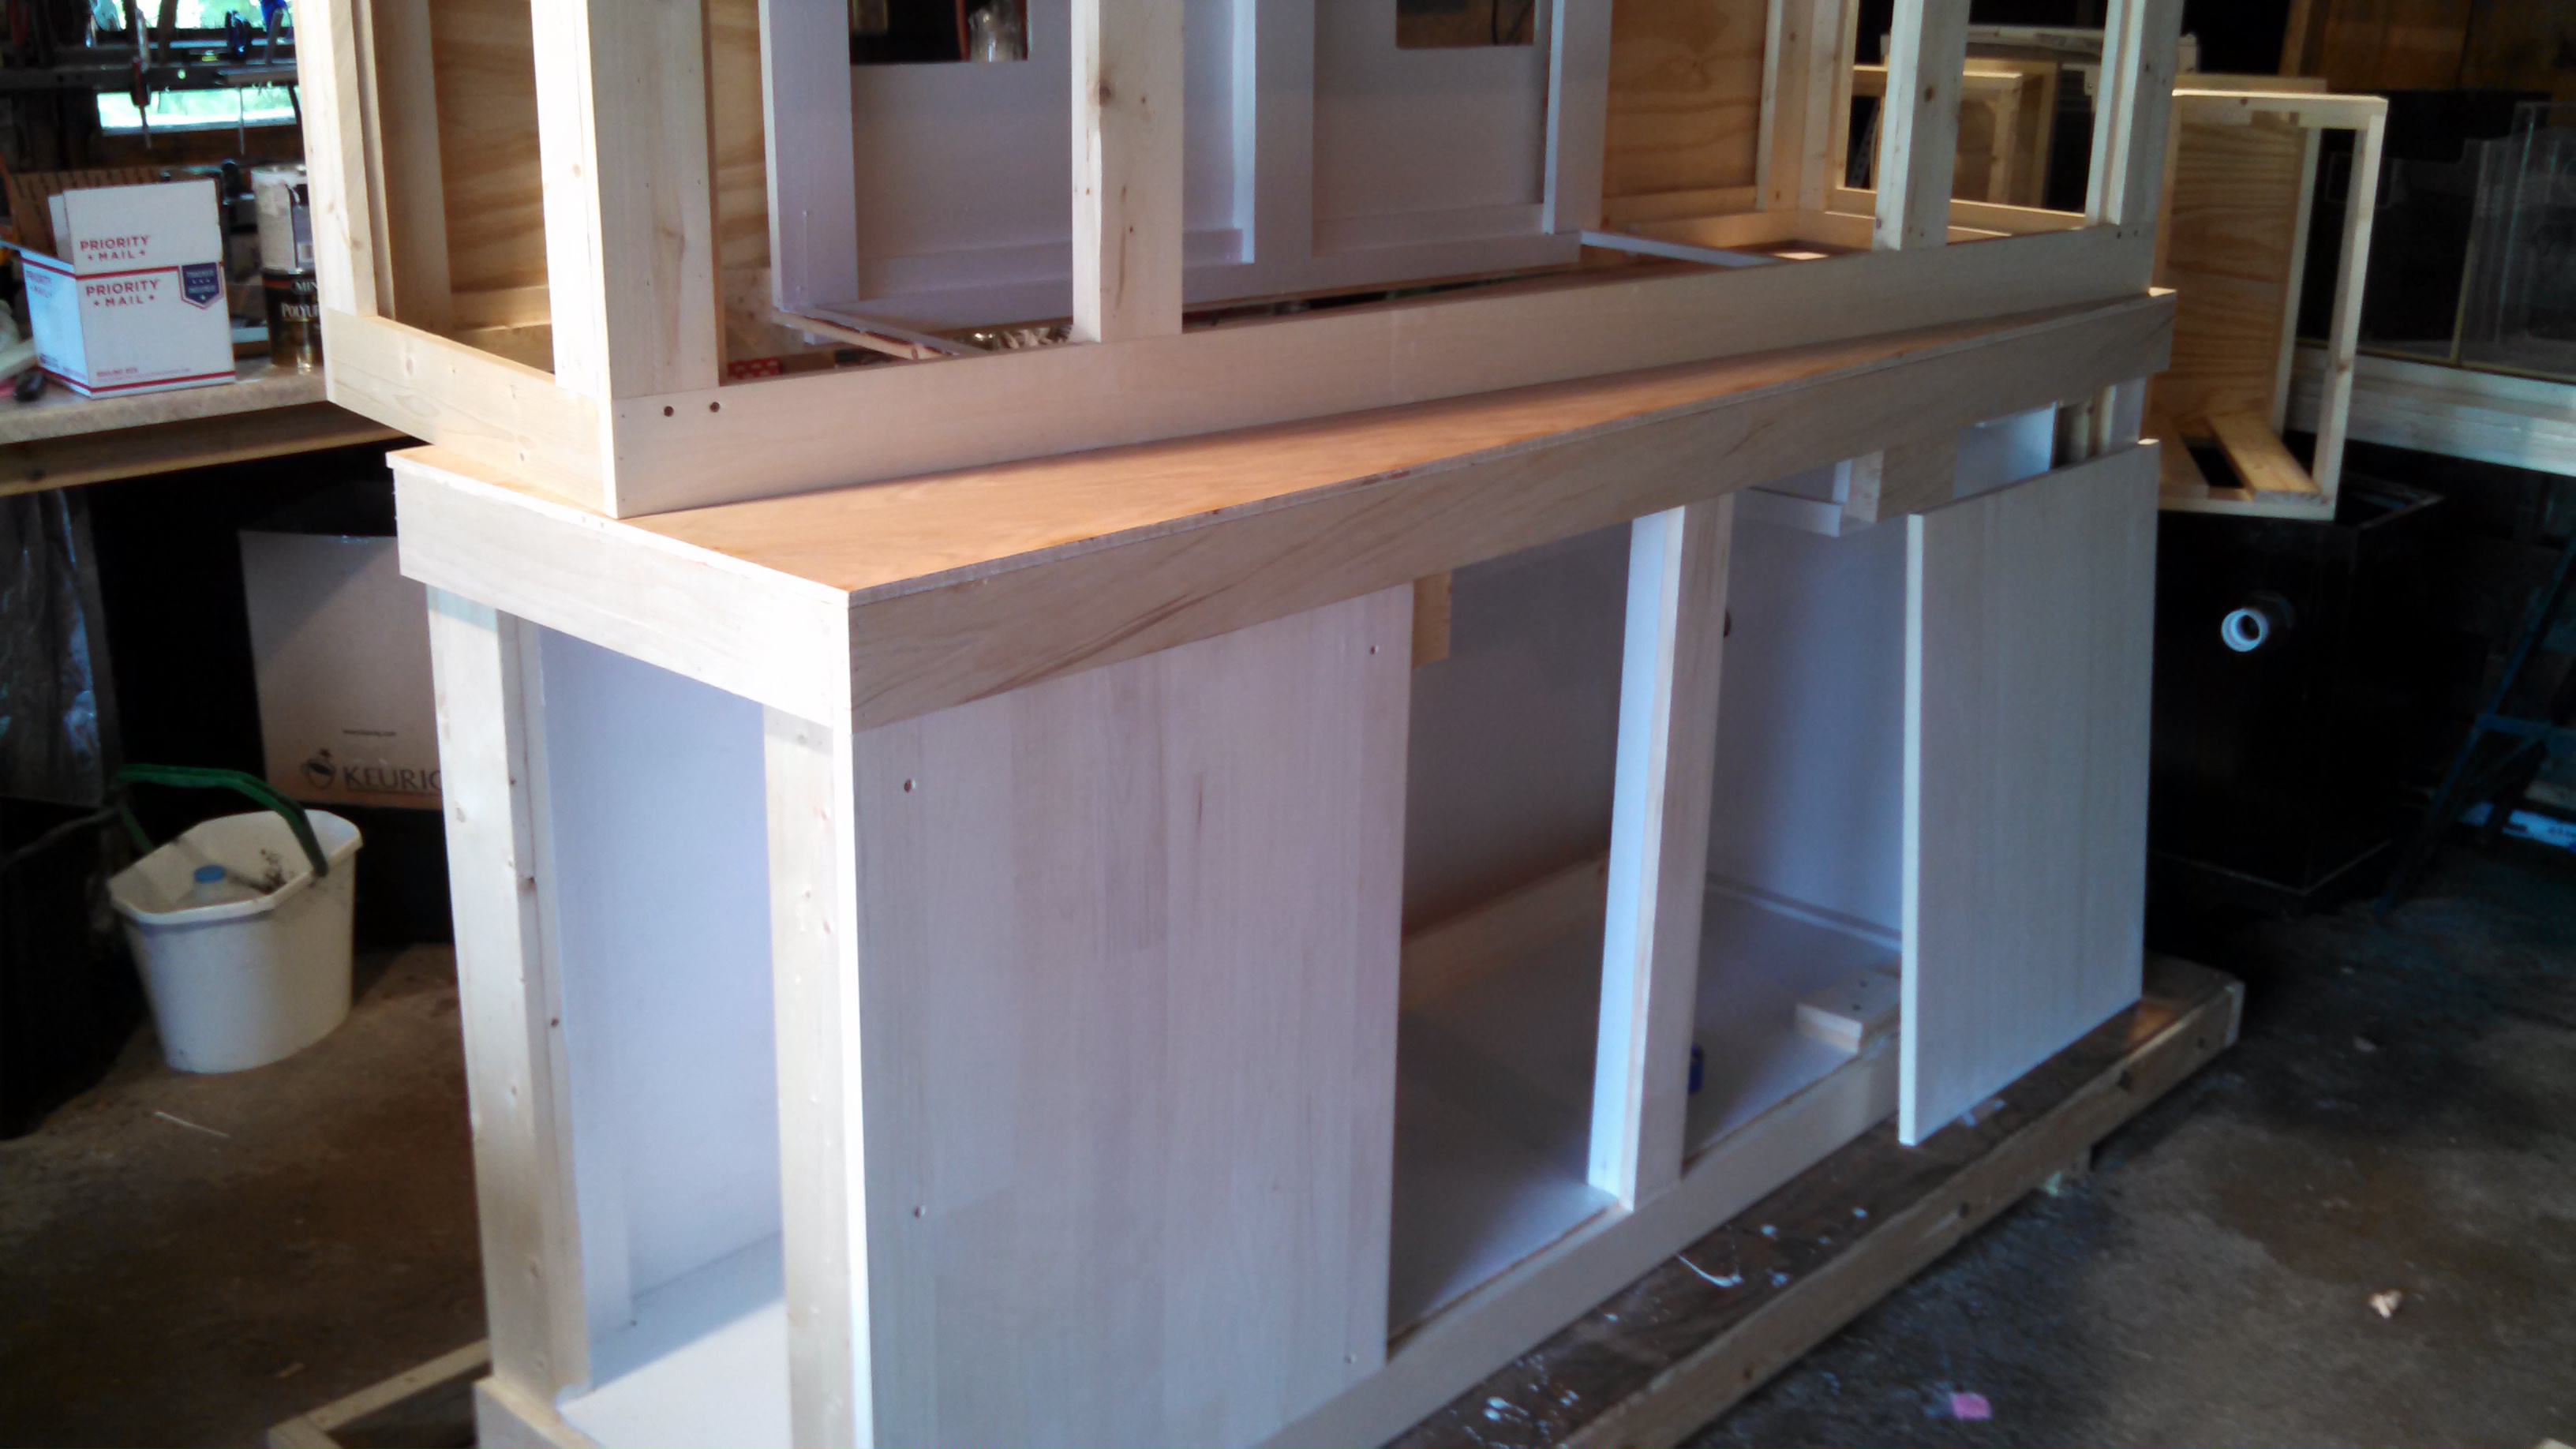
The two pieces at either end of the face are easily removed in case I need to take the sump out or do any major repairs. I can also take the back off.
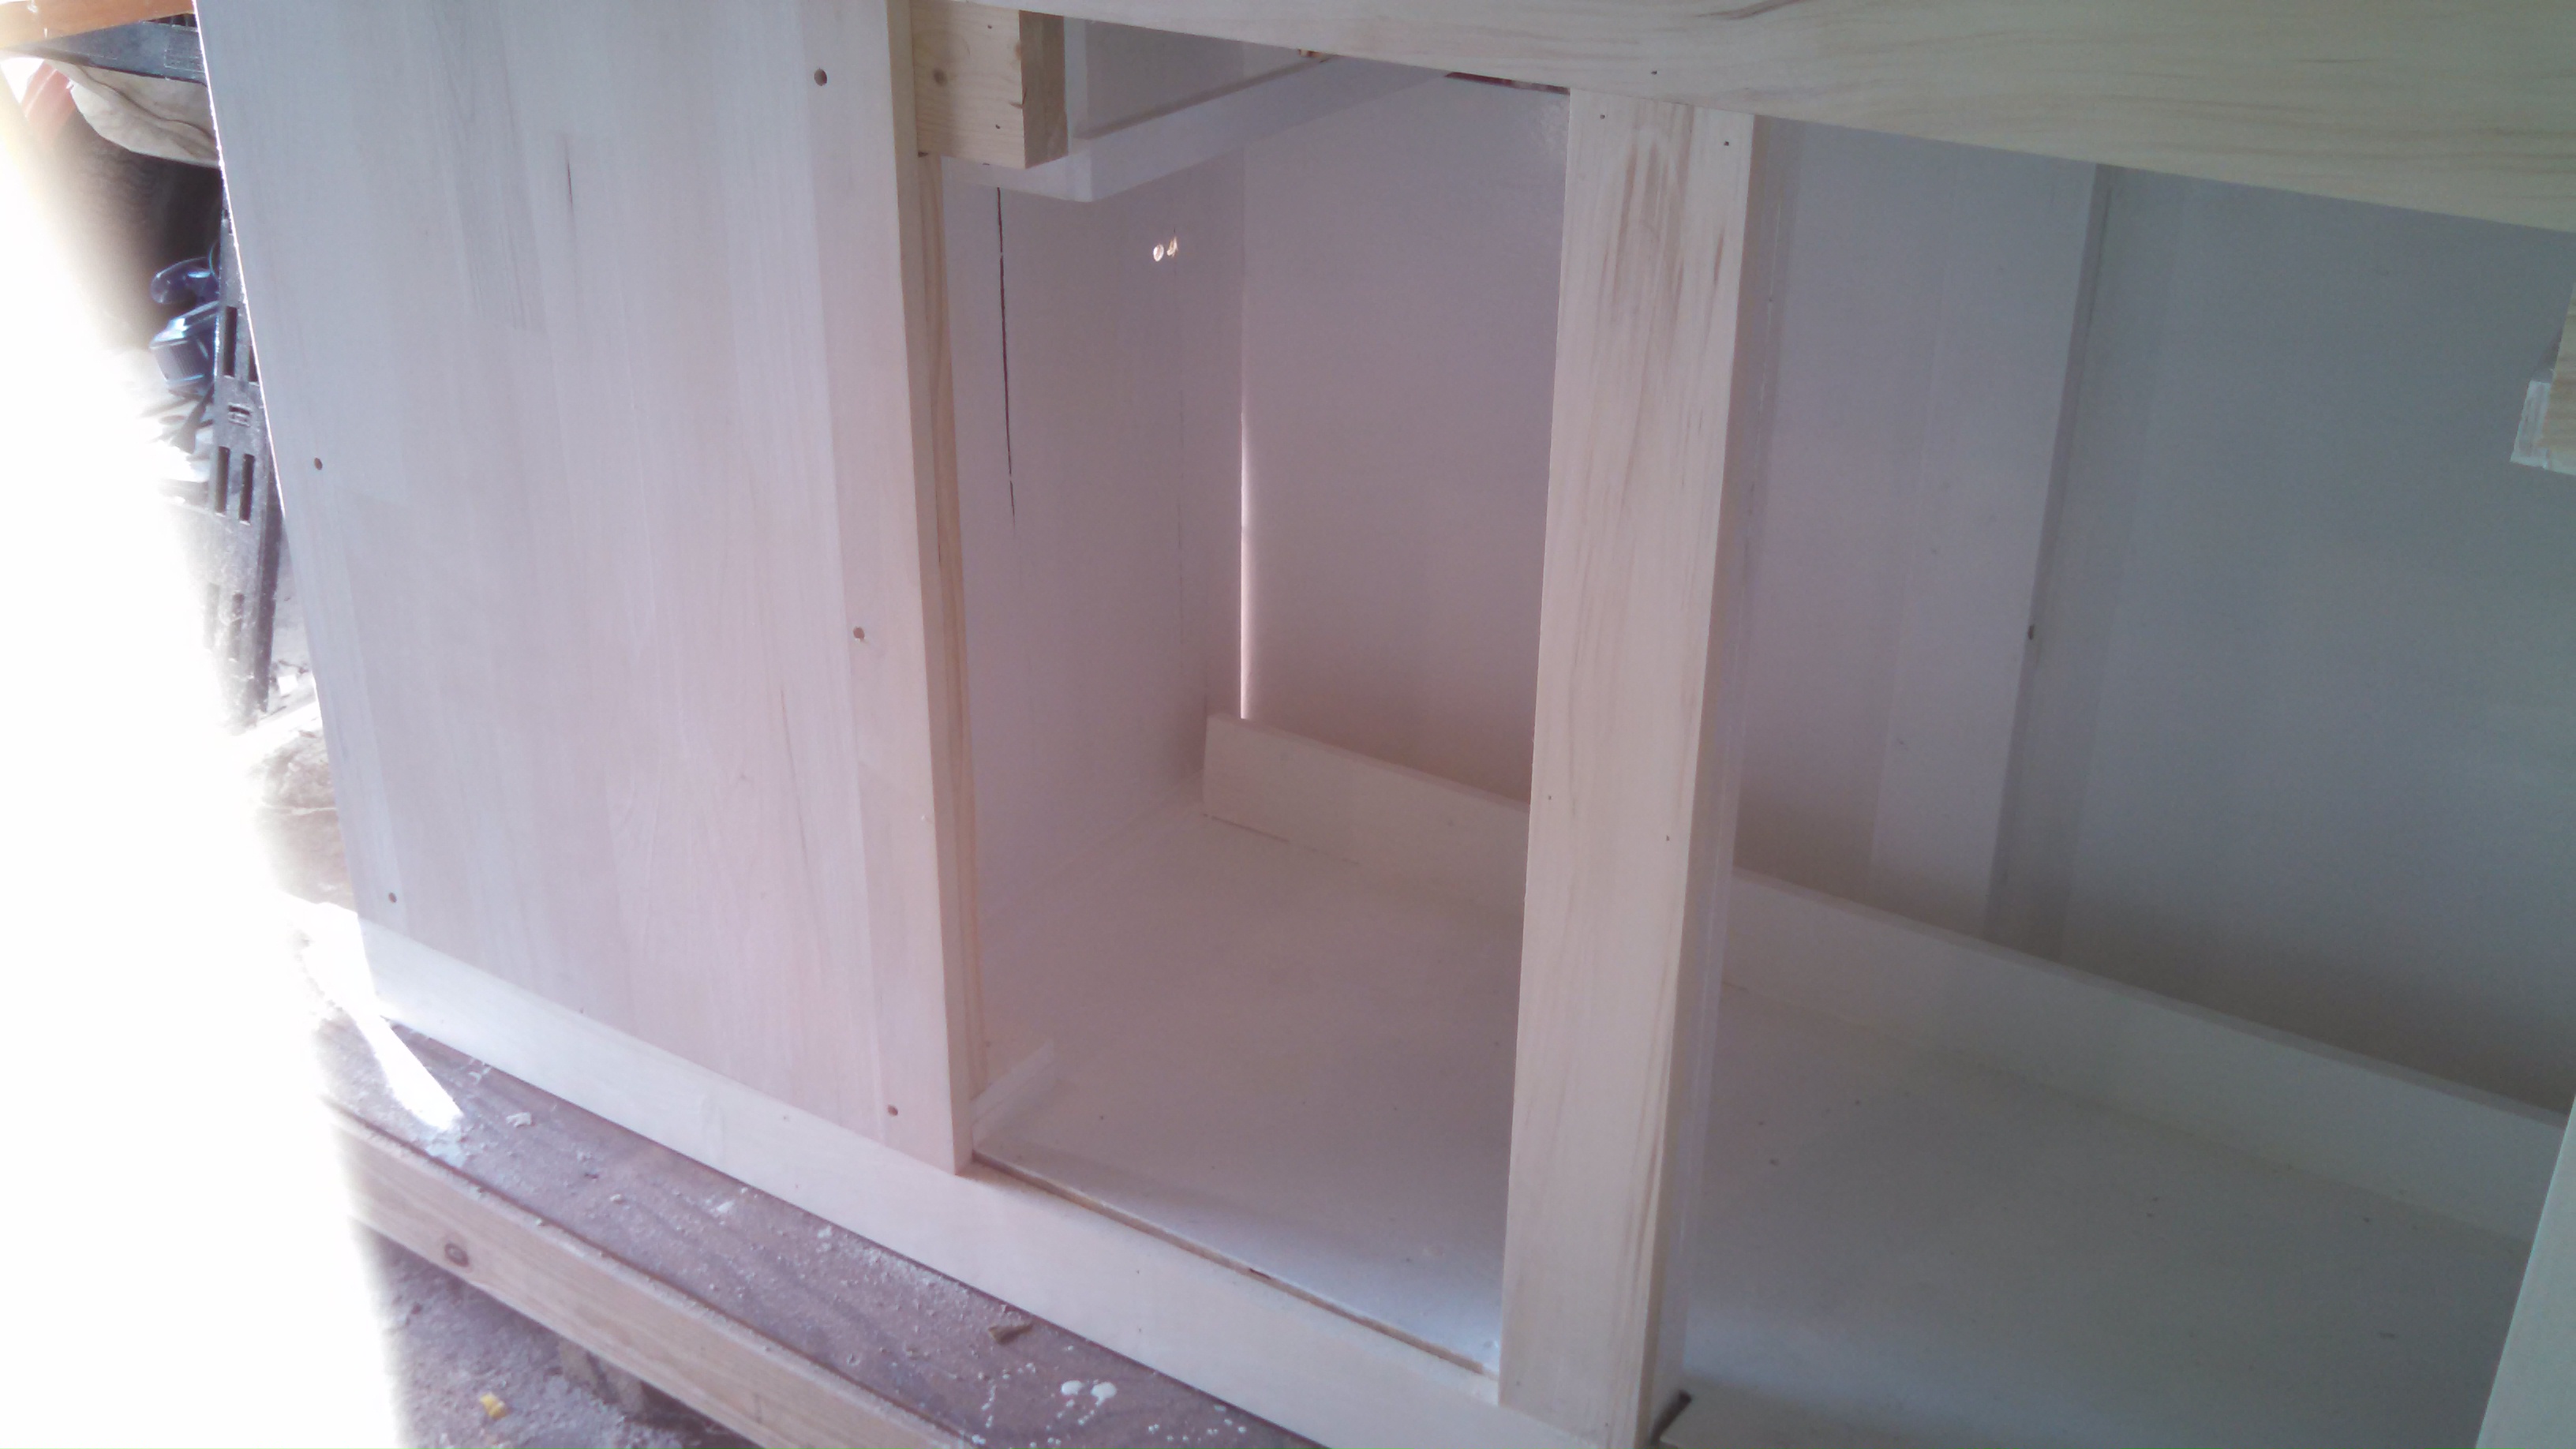
alt="" data-id="386225" data-type="61" src="https://forums.saltwaterfish.com/data/9/9f/9f928932_2014-06-0213.50.44.jpeg
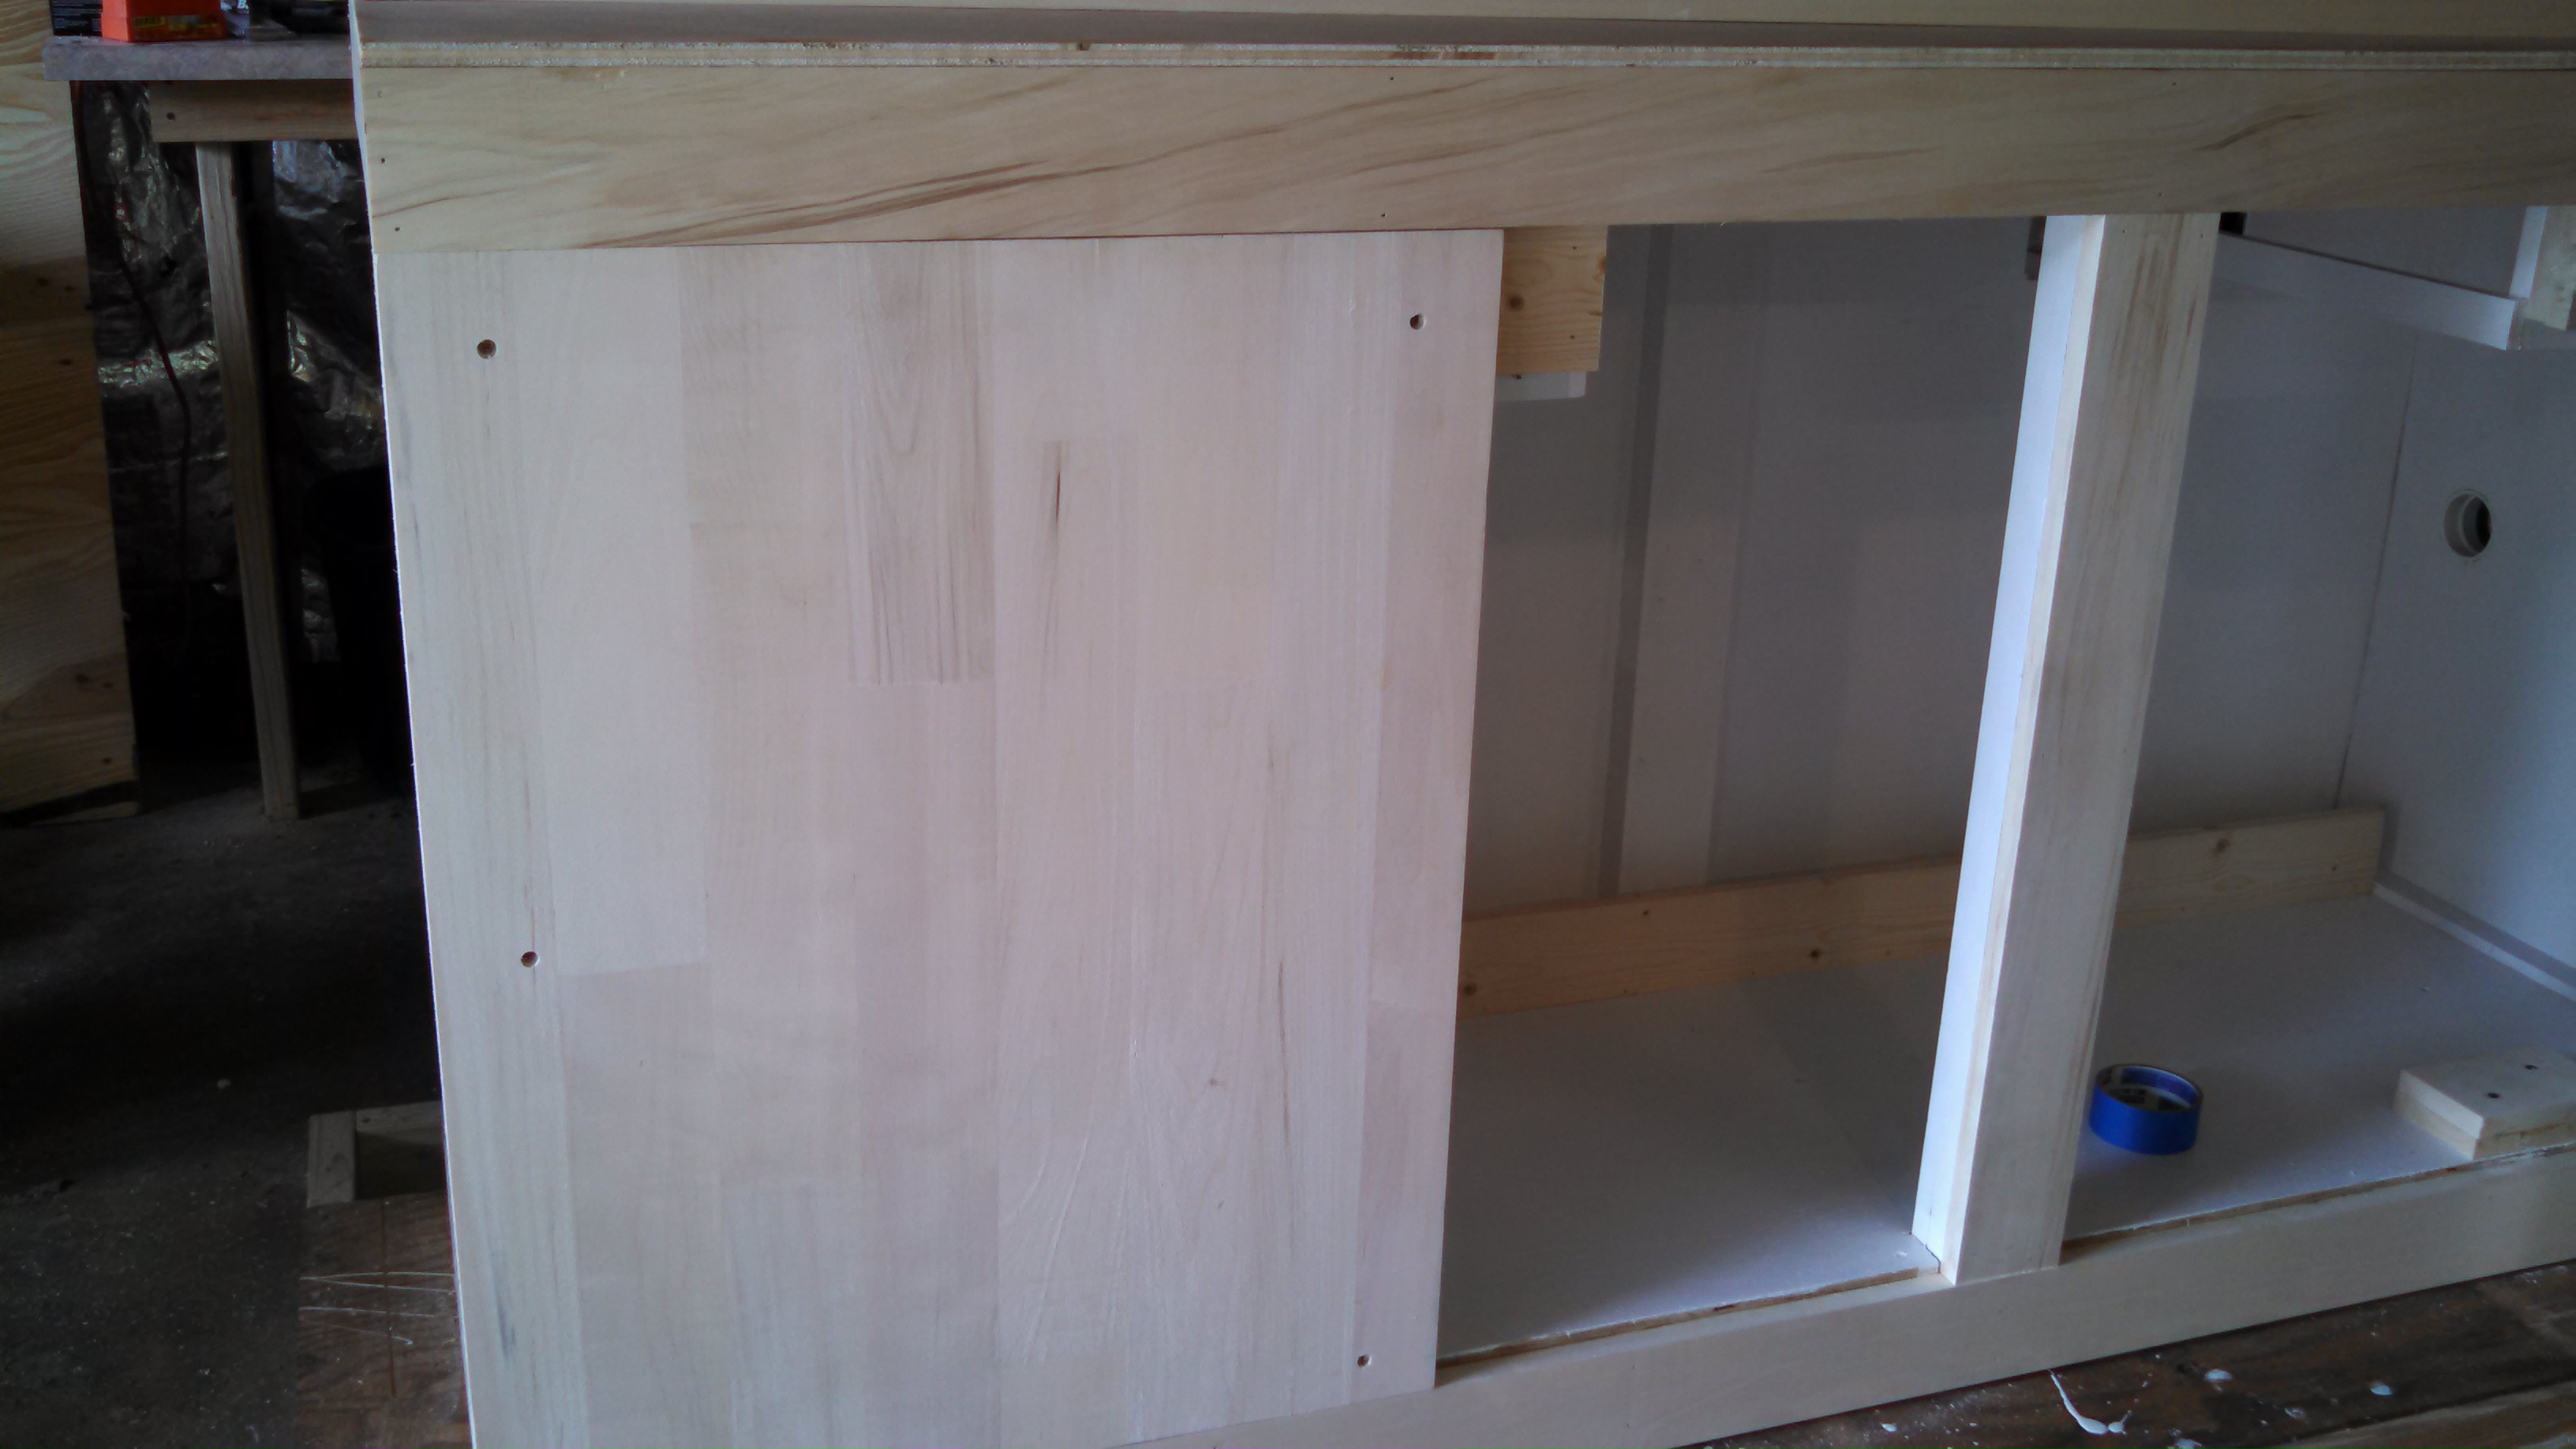


Here's the canopy with all the aspen installed. I remember 2quills saying how the wood swelled on the center swing door of his build which caused it to come off so I put five layers of painters tape between the door and the frame when I installed the piano hinge to give it just a little space for swelling. Then to keep the door from twisting, warping or bowing, I reinforced it with a 1x2 aspen frame. I still haven't decided on what I'm going to use to keep the door open while I work or feed. I tried a couple of friction support hinges for chests but it just wasn't working the way I wanted them to so I took them off. I know what I really need but I'll have to surf the net to find them.
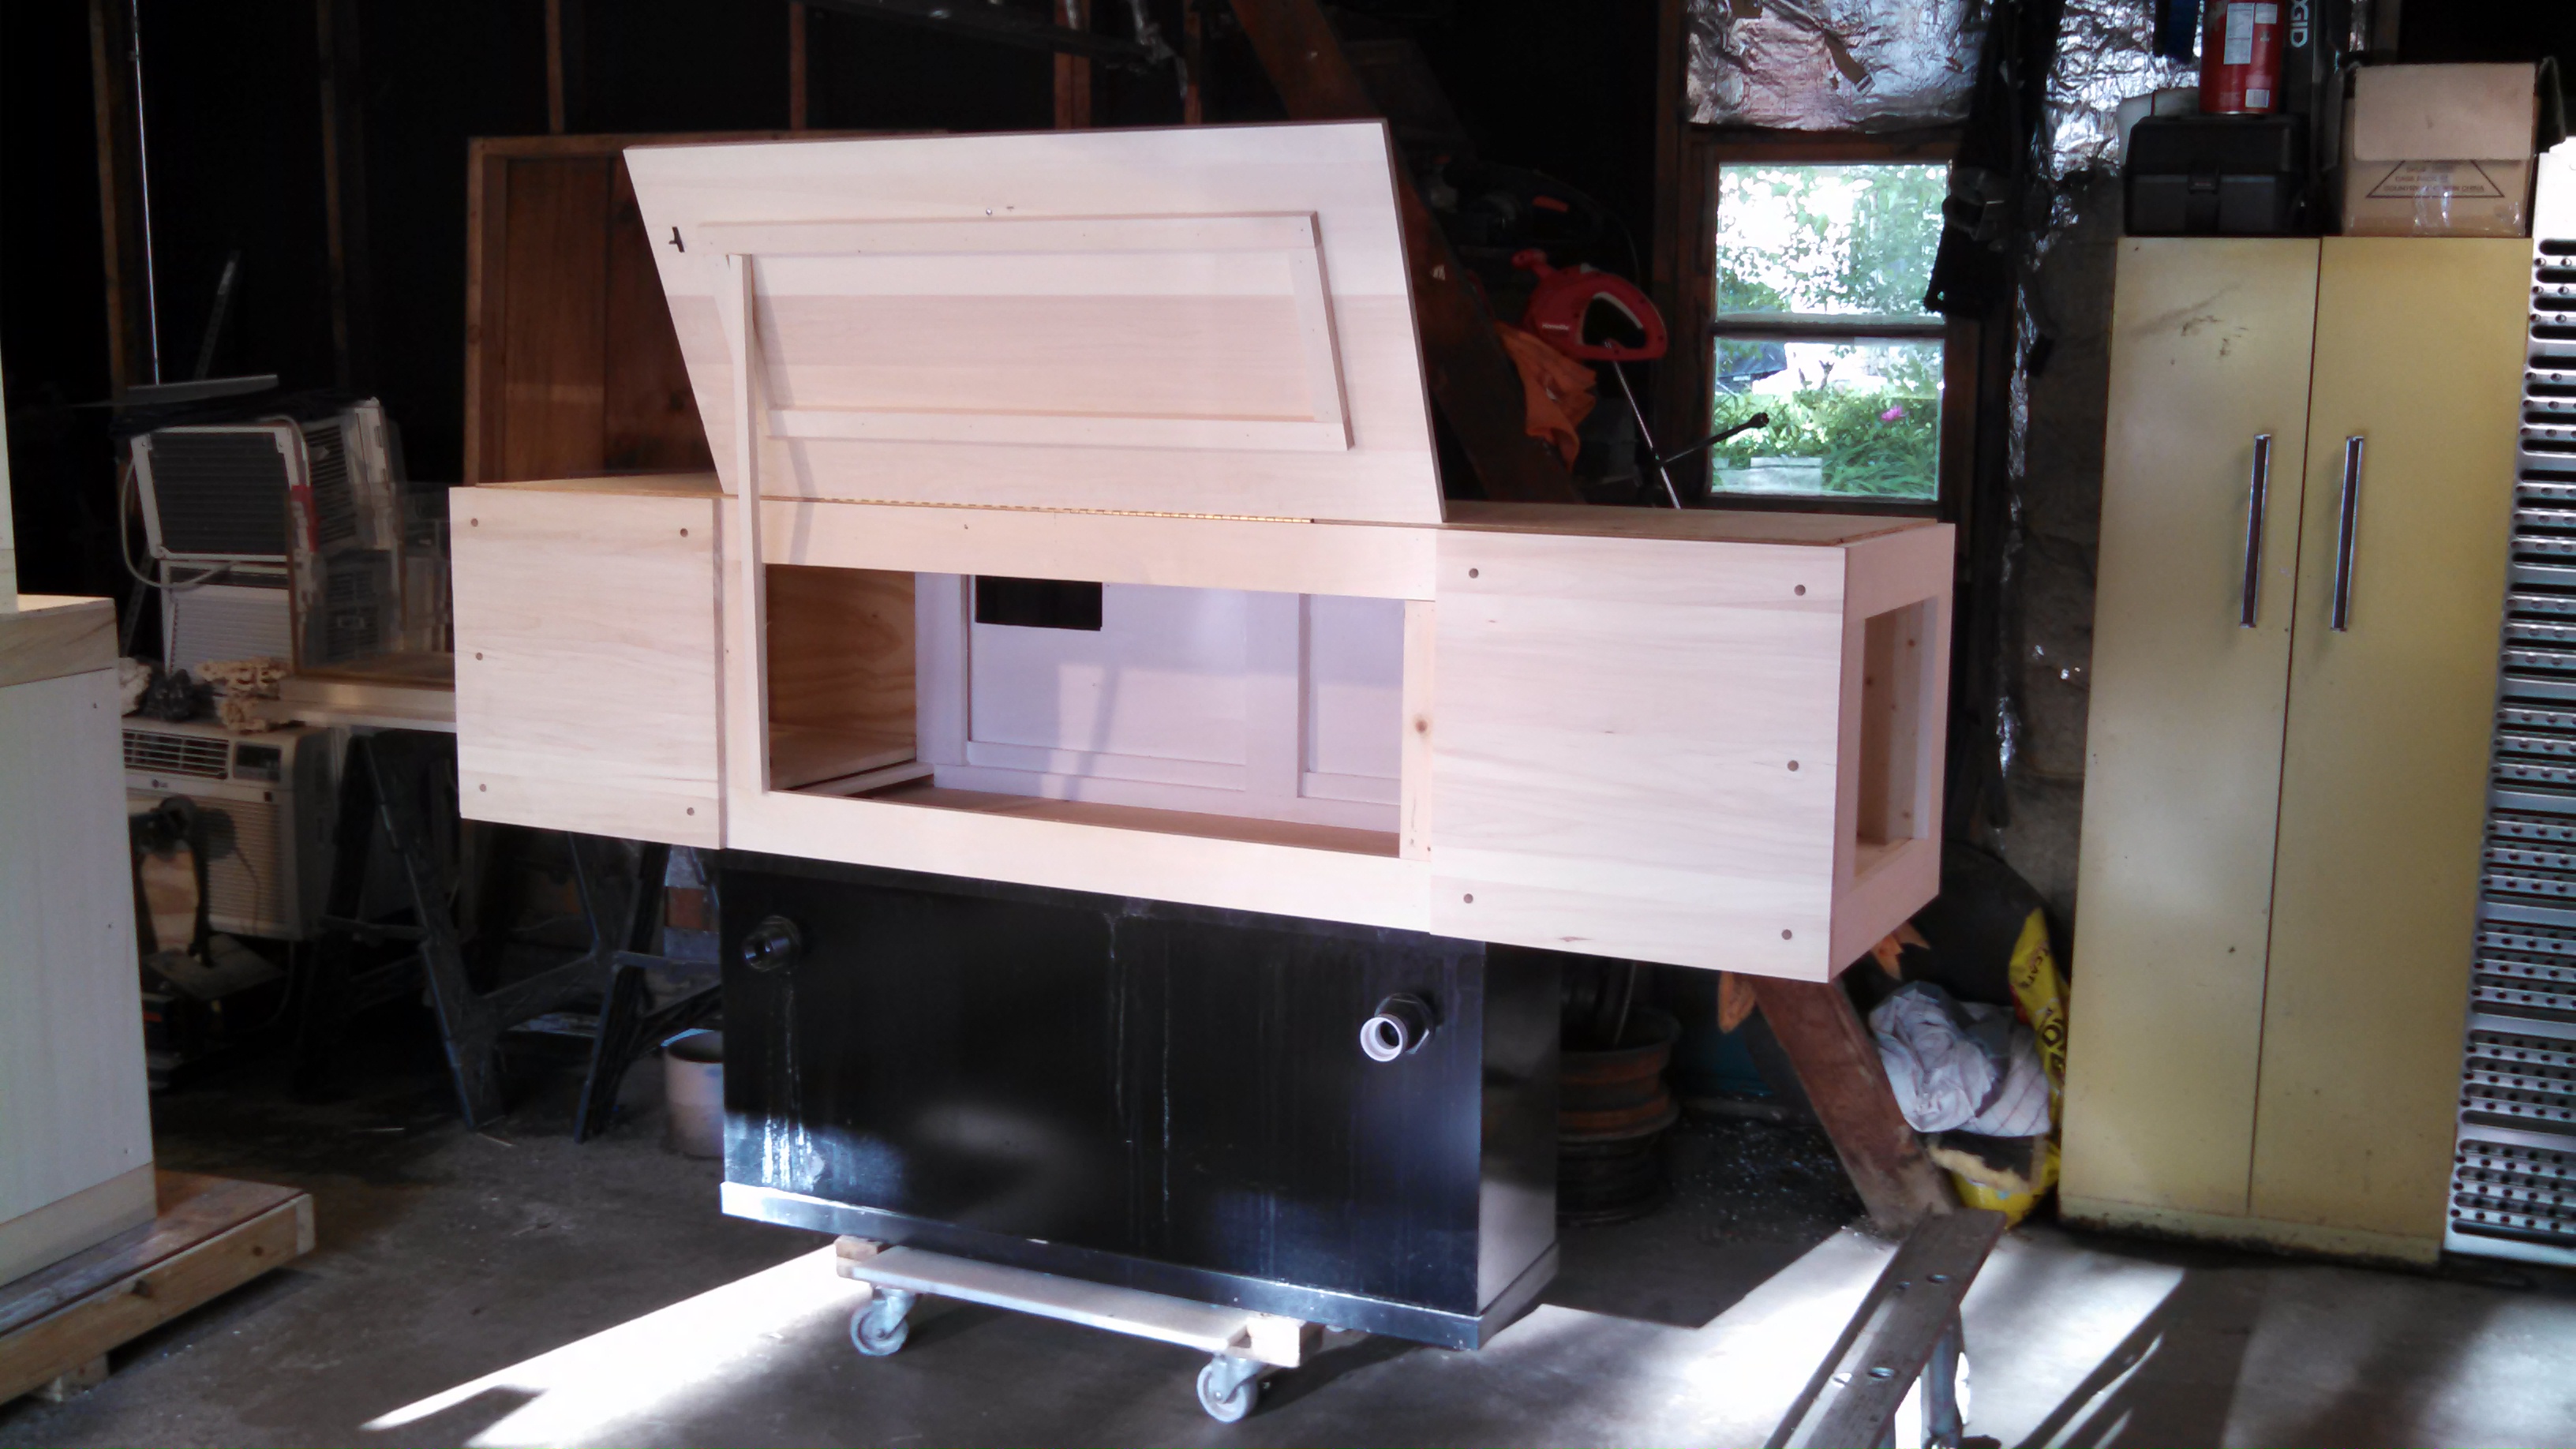
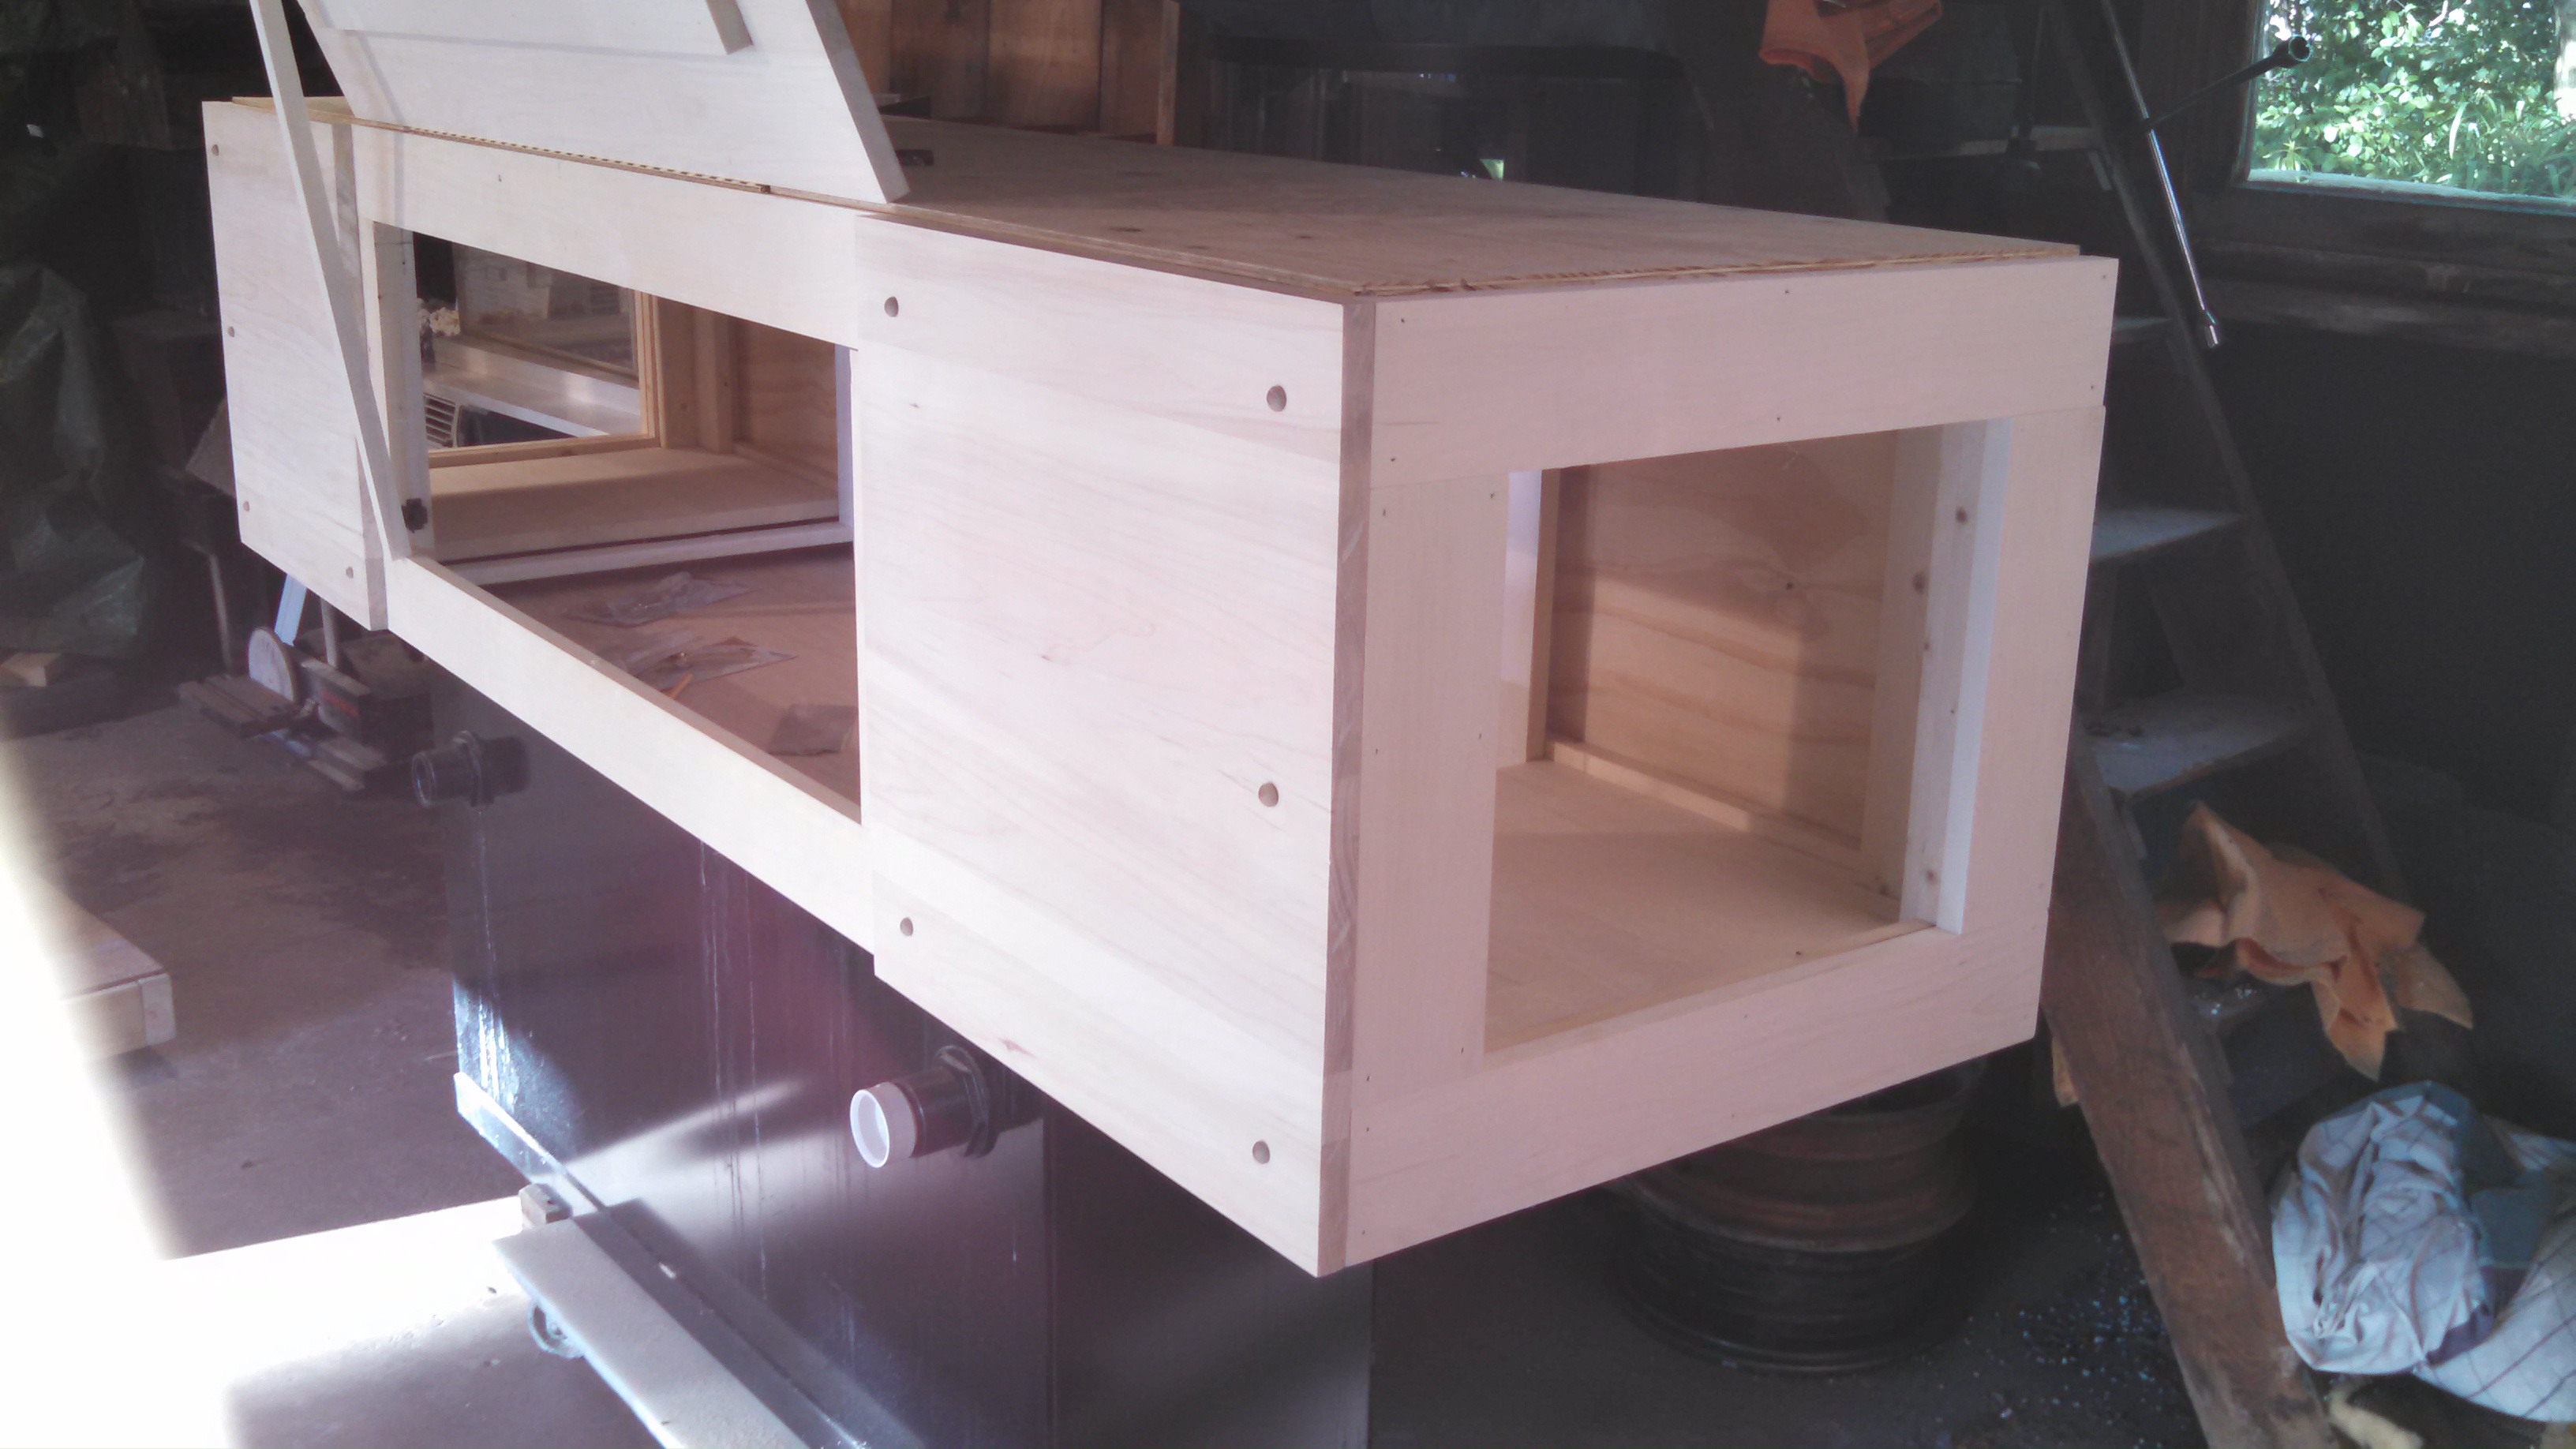
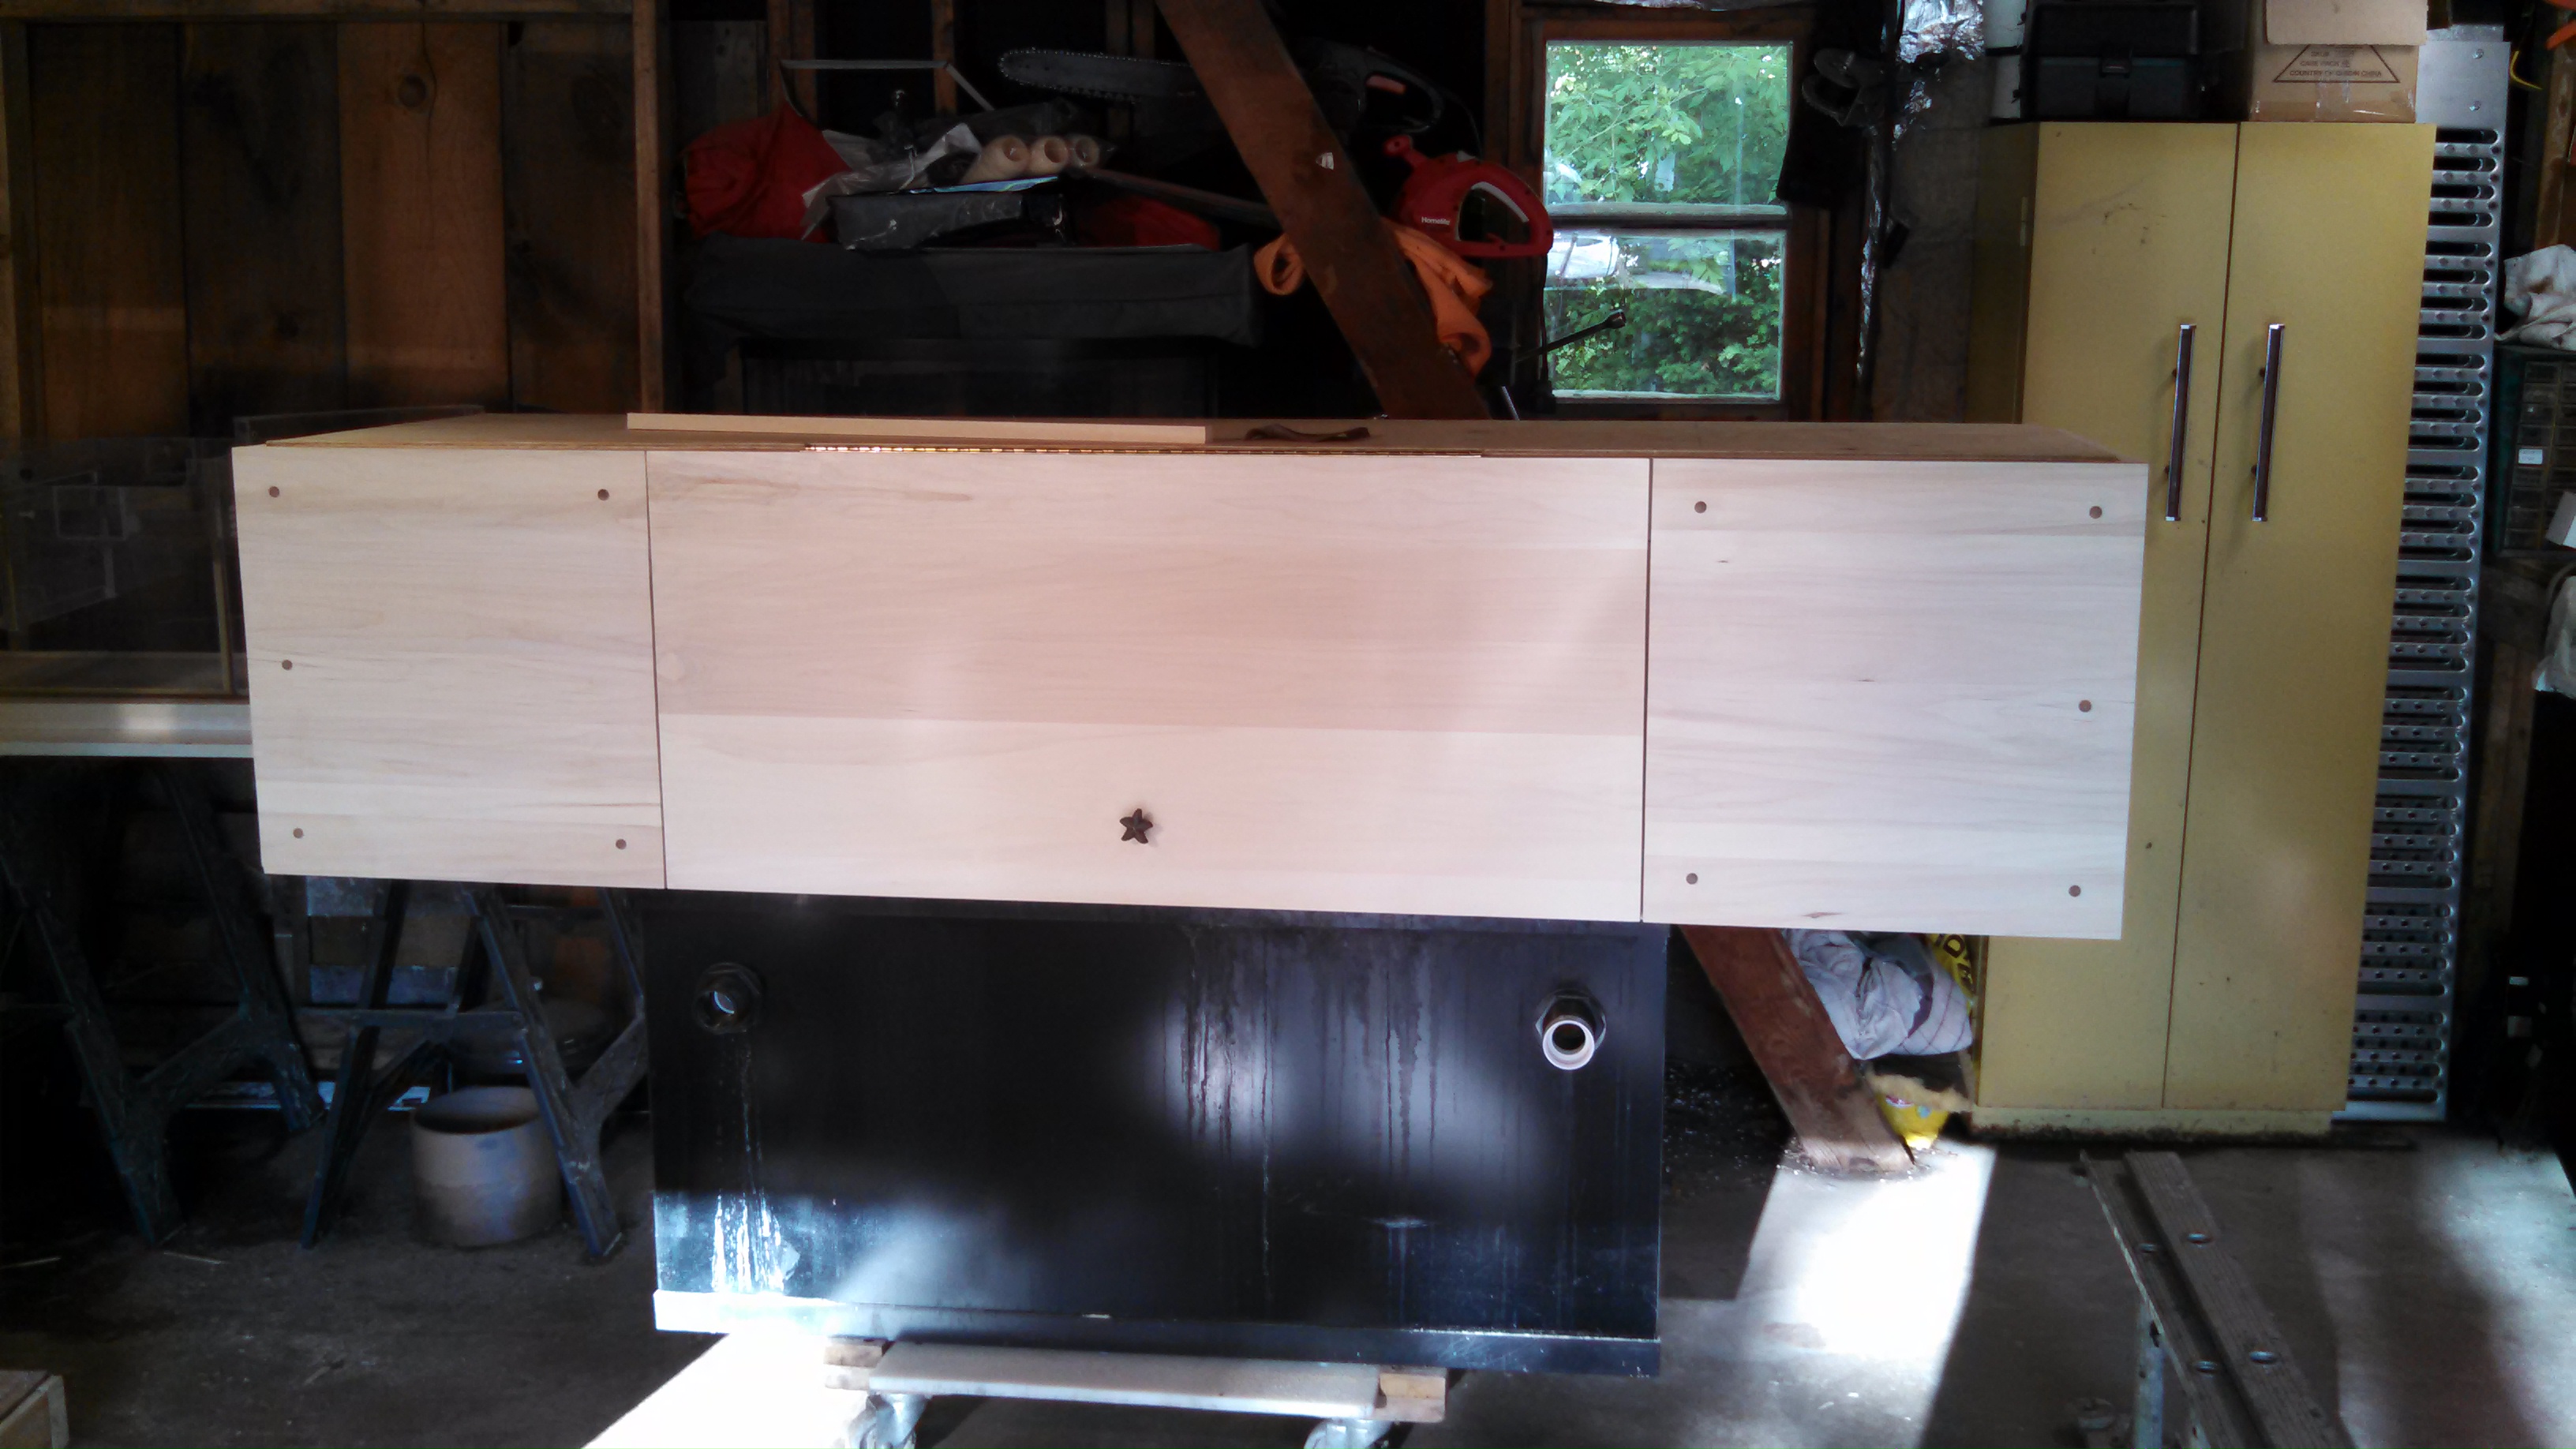
All I need to do now is install the aspen on the towers, trim everything, order the doors (I'm barely getting the stand built with the talents I have so having the doors made is the safest way to go. Besides, there's eight doors to make.), have the doors installed (I really don't want to get them on cockeyed and I have a friend who builds cabinet so I'd rather pay him to install them.), do a lot of tweeking along with a ton of sanding and I'll be ready for stain and poly. After which I'll put it all together with the tank, plump it and start testing the system for leaks and errors. I need to get a punch list together so I don't forget anything.

Well, that's it for now. Any ideas, comments or suggestions, feel free to post them.
 

flower

Well-Known Member
Hi,

Everything looks awesome, if memory serves... you said the rock has to cure for a long time before you can use it... How long?
 

silverado61

Well-Known Member
Just like a SW tank, nature takes it's own time. Could be a month. Could be two. It depends on how often I do water changes and how thick the pieces are.

I'm hoping it's done by the time the build is done and I'm finished testing the system. Which at my rate, could be two months.
 

silverado61

Well-Known Member
Quick rock update:
Salinity at near zero so its got a little ways to go.
PH on the other hand... 8.8+ with an API tester. When it gets down to around 7.8 I'll switch to my RedSea kit.
Its been in the tub a week so I'm thinking a month and a half, maybe two. Could be longer who knows. I'm back to working on the stand so I'm in no hurry. Let it cure.
I did, however, get all the plumbing today. Just so it's on hand when I need it
 
Top