Silverado61's Stand and Tank build.

silverado61

Well-Known Member
DIY rock update:

Salinity is at dead zero. PH is at 8.4. It's getting there.

I hope to be able to start sanding the stand this weekend and finish the plumbing.
 

trigger40

Well-Known Member
Quote:
Originally Posted by silverado61 http:///t/397211/silverado61s-stand-and-tank-build/40#post_3546974
Major update:

Well, I had trouble uploading the pictures I promised but I solved the problem. A lot of progress has been made since the last time I posted pics so bare with me. This is going to be a long overdue update.
BTW: I lost my thumb nail. Actually I took it off myself. Got tired of waiting for it to fall off. So here goes:

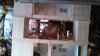
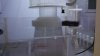
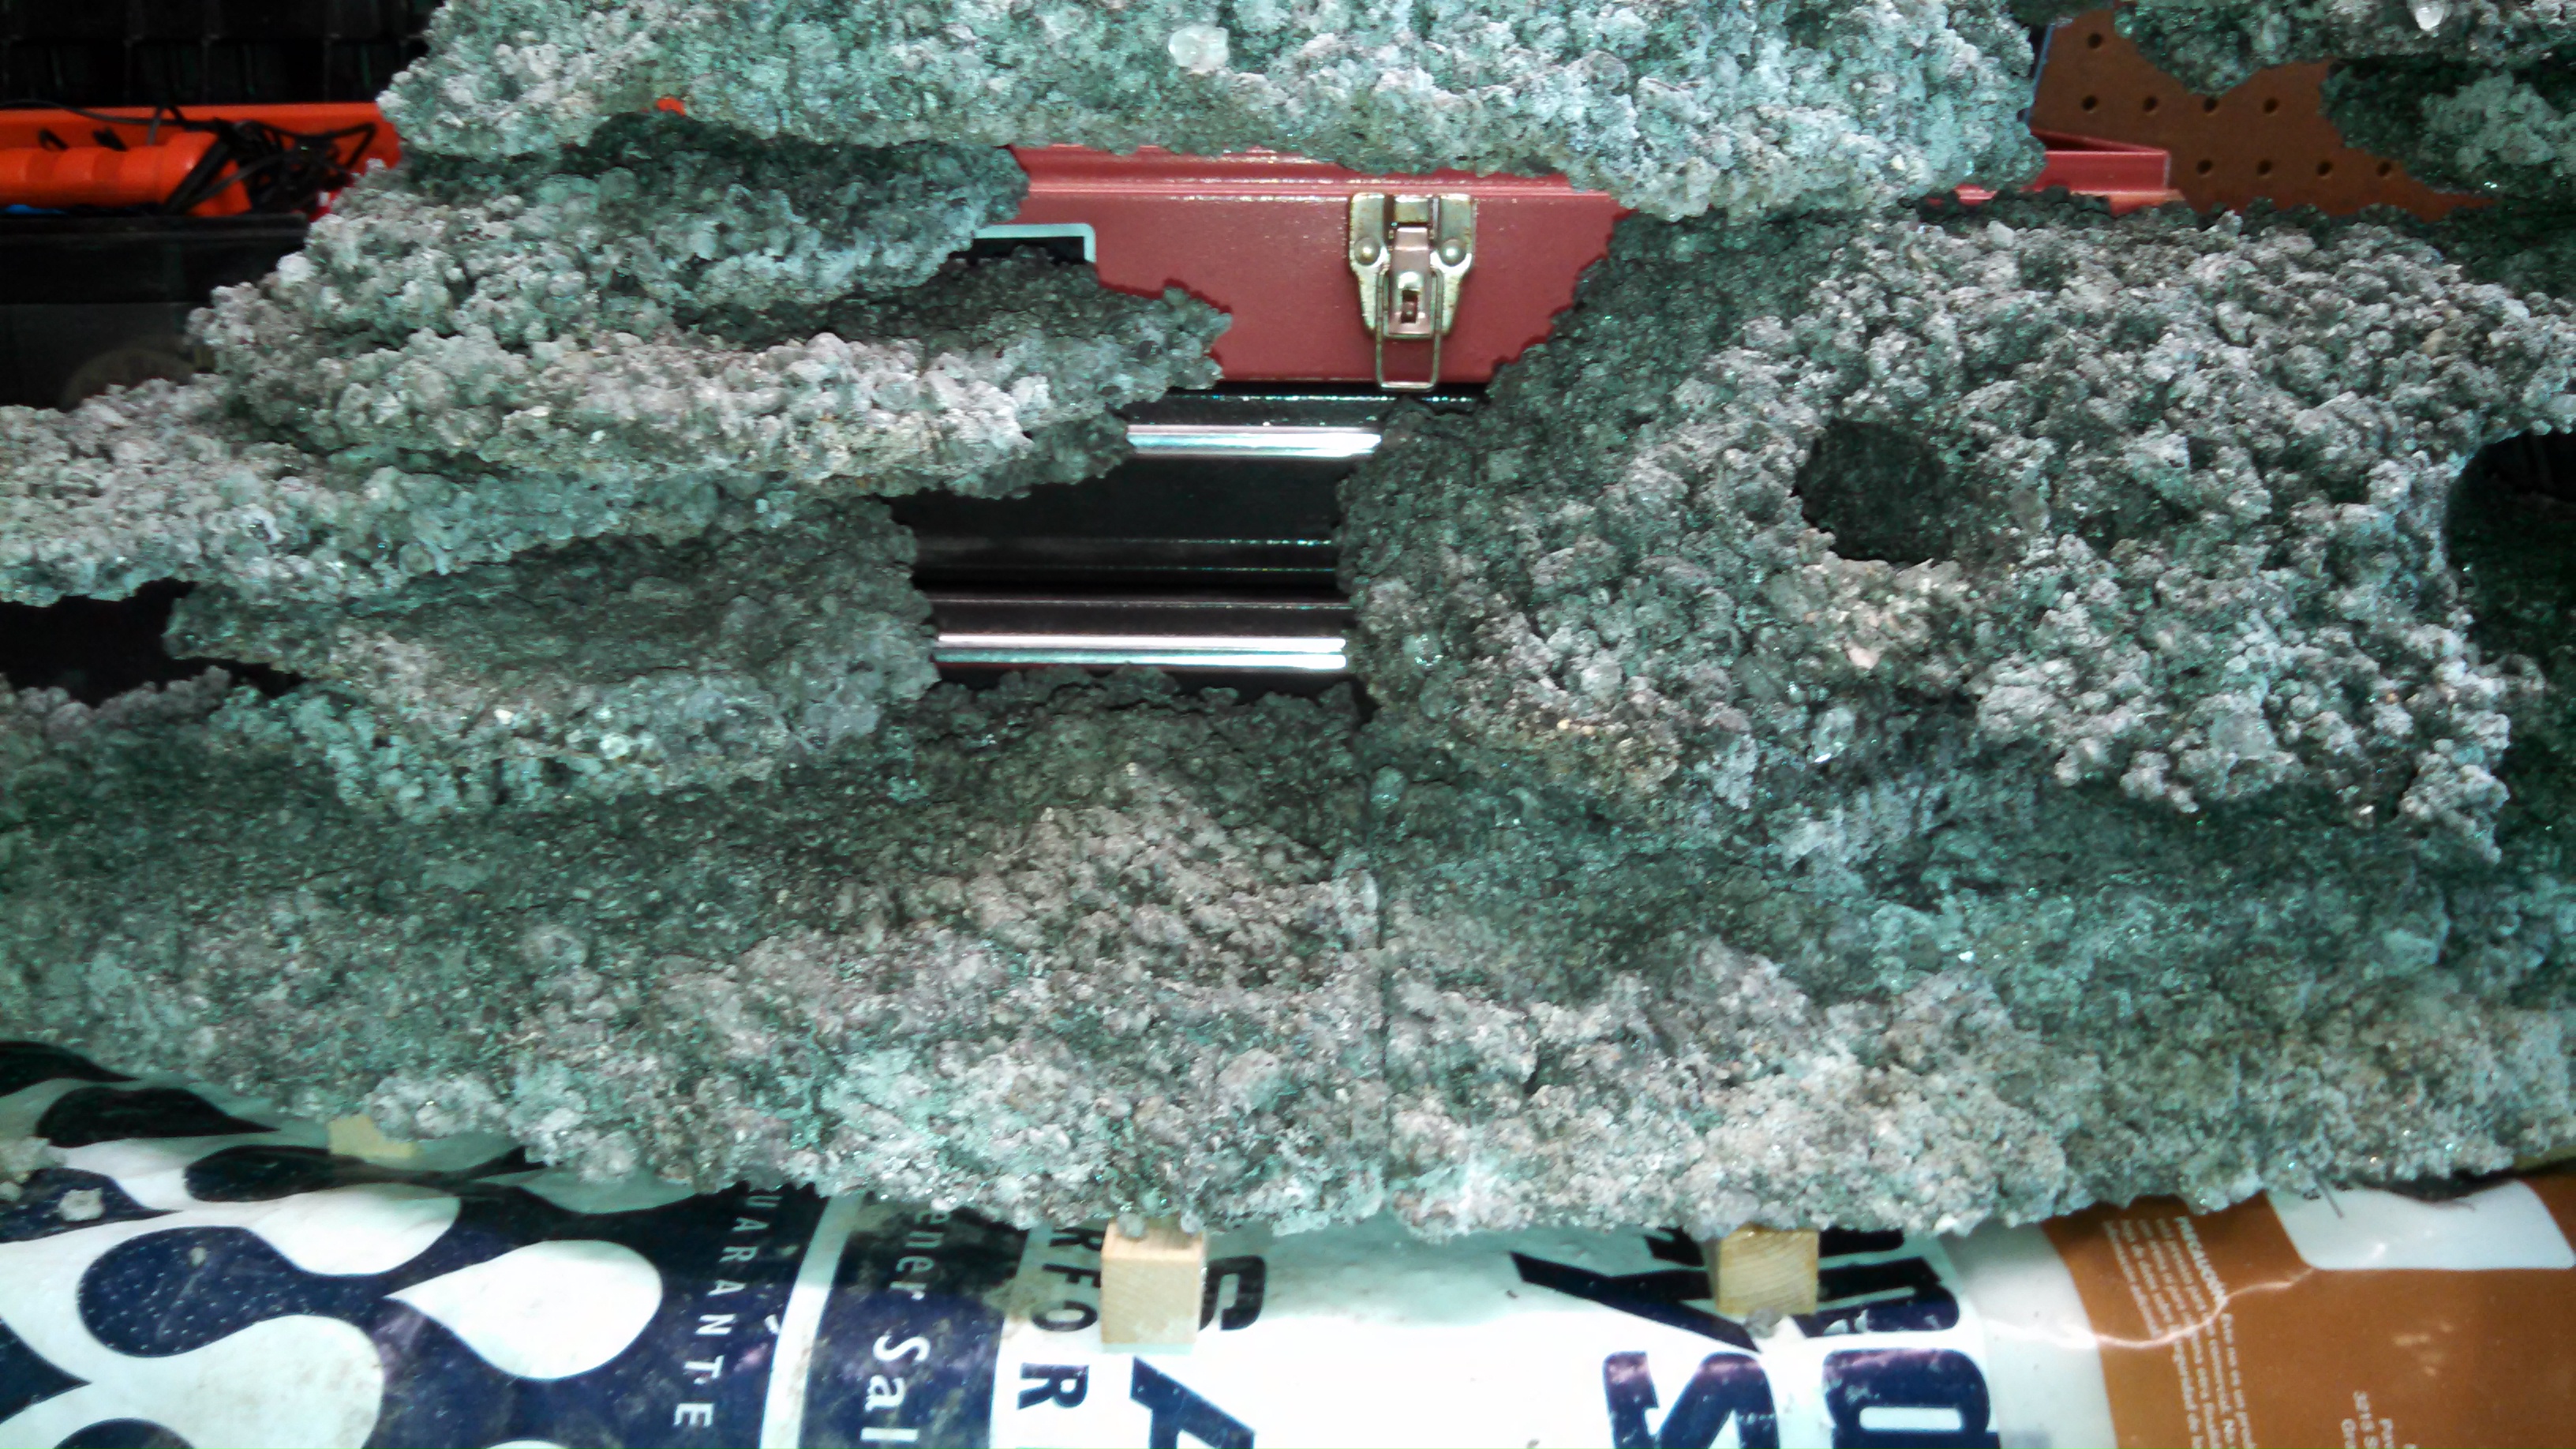
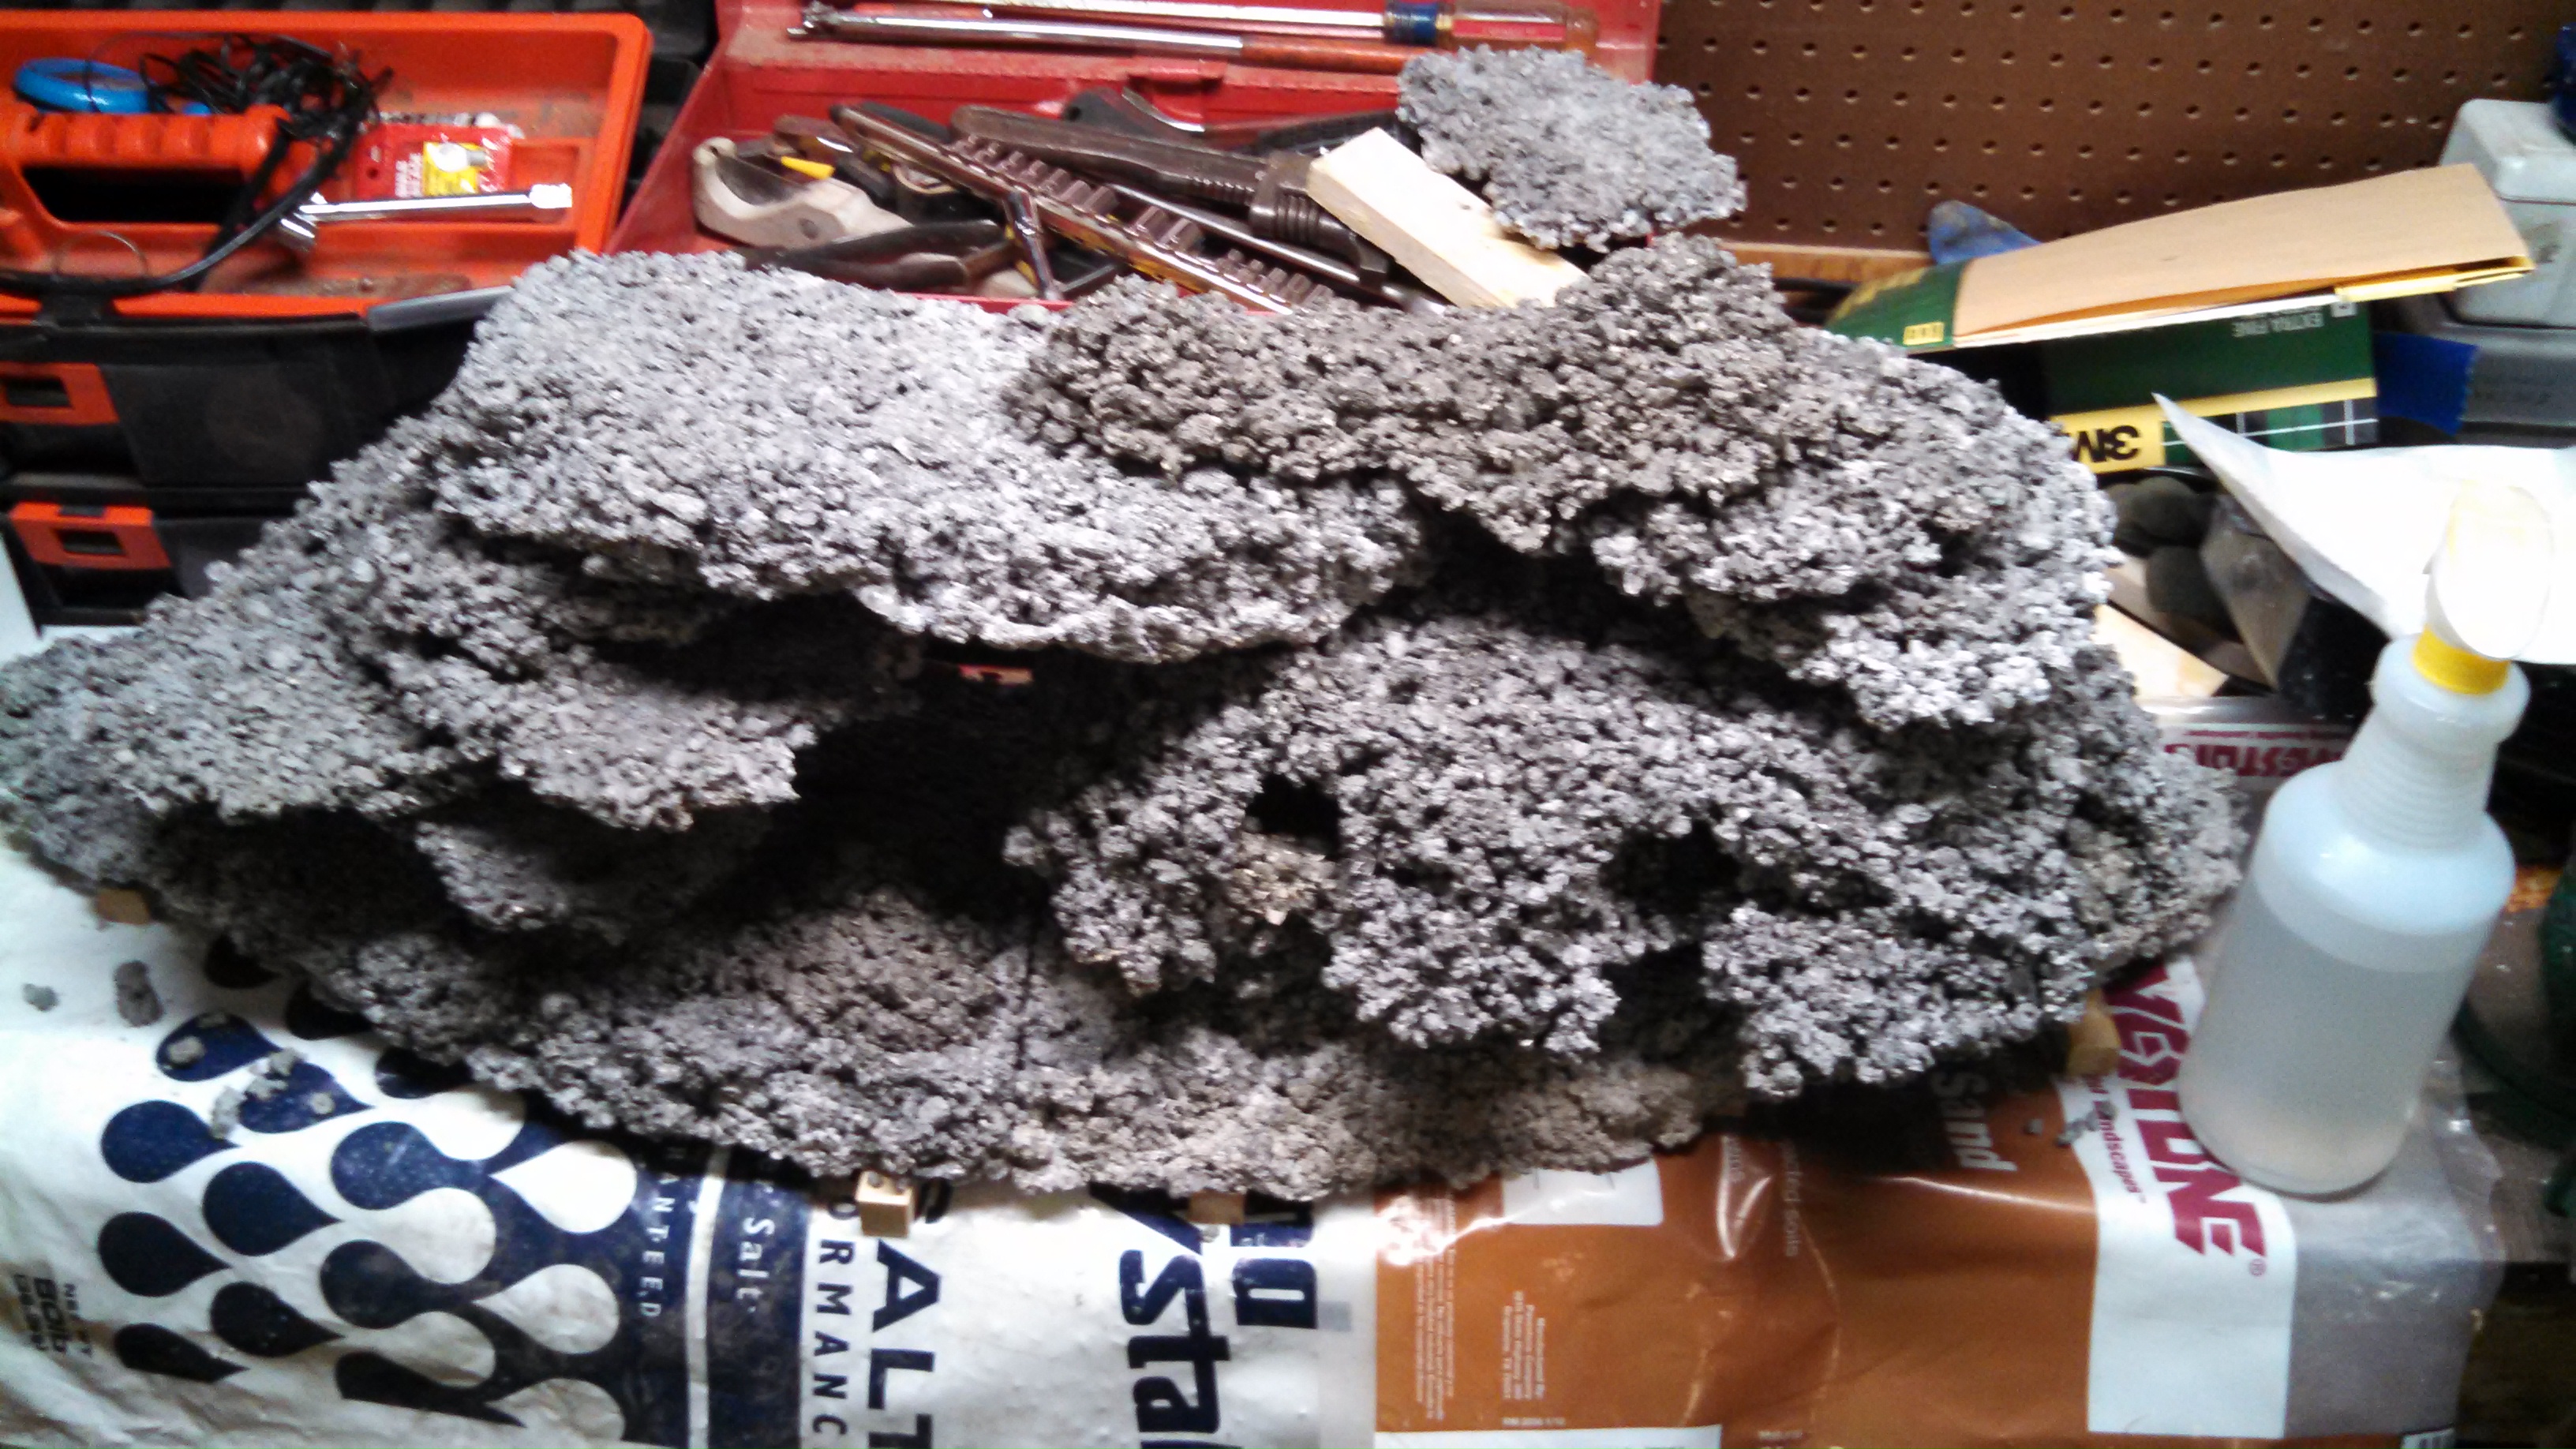
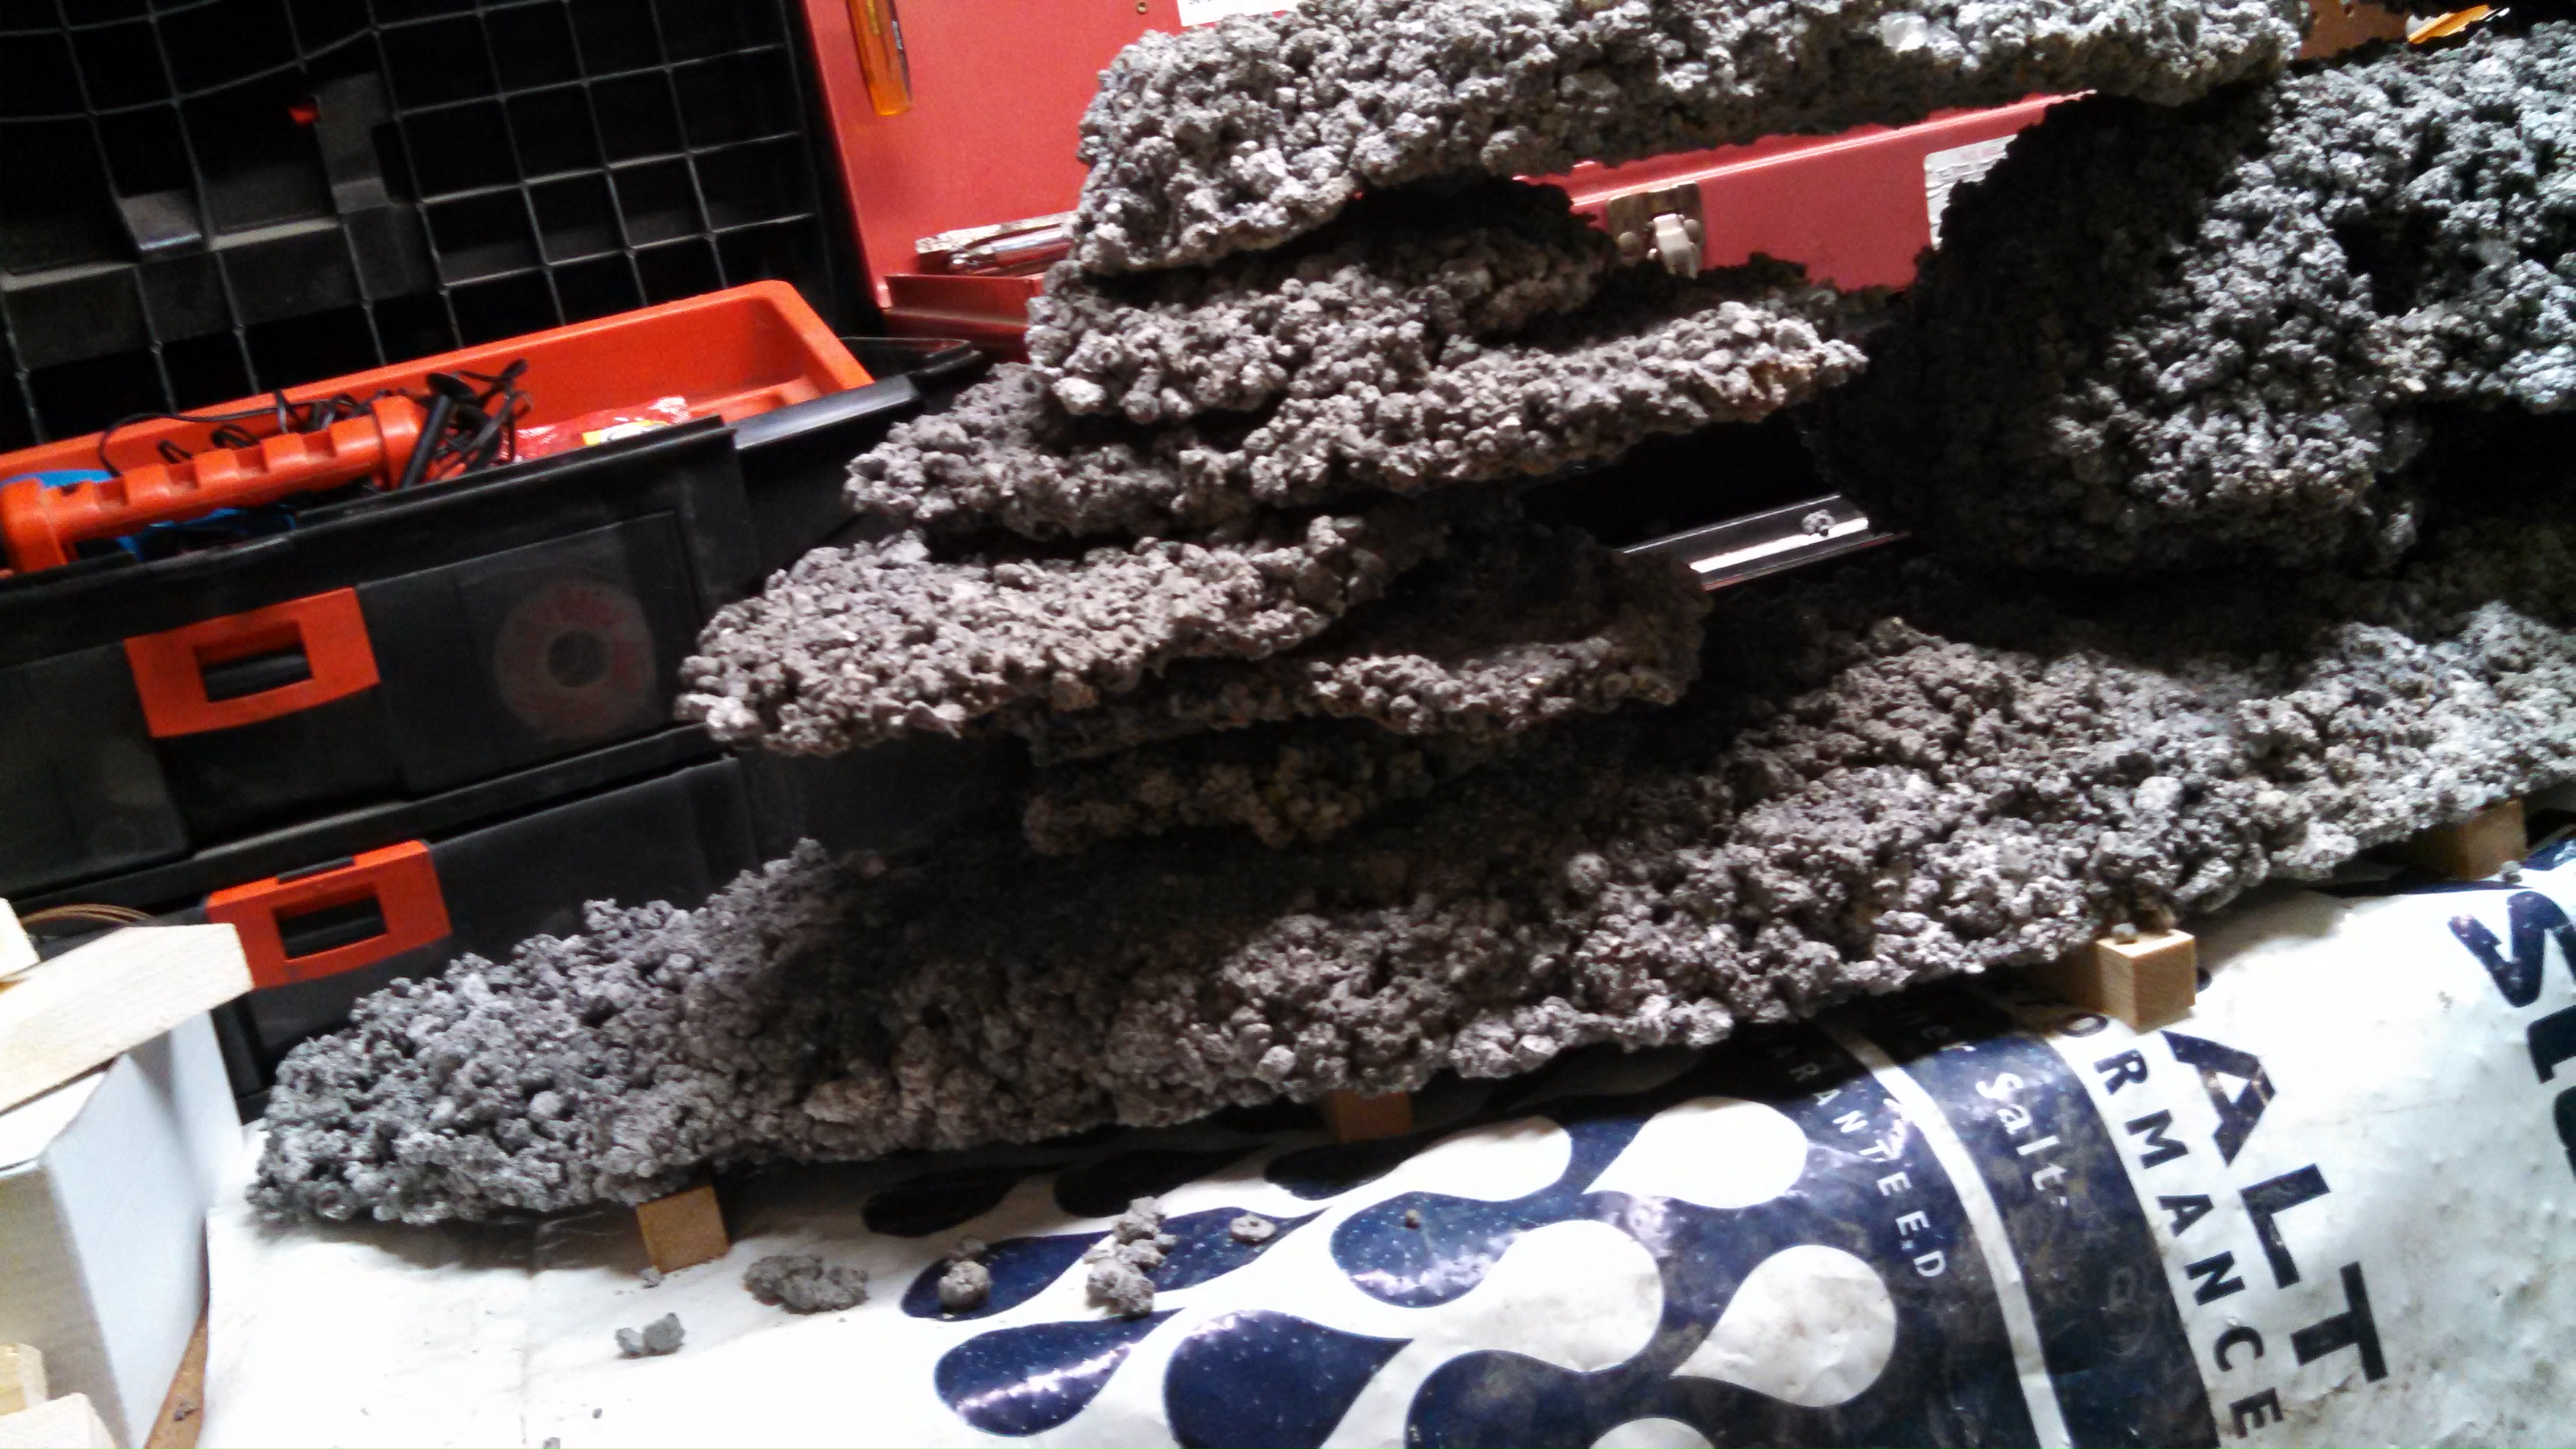
These are pictures of my DIY rock after I removed them from the mold and cleaned them up. There's 14 pieces altogether. Two of them are not shown. I went with the flat look on most of my pieces because to me it looked more natural.


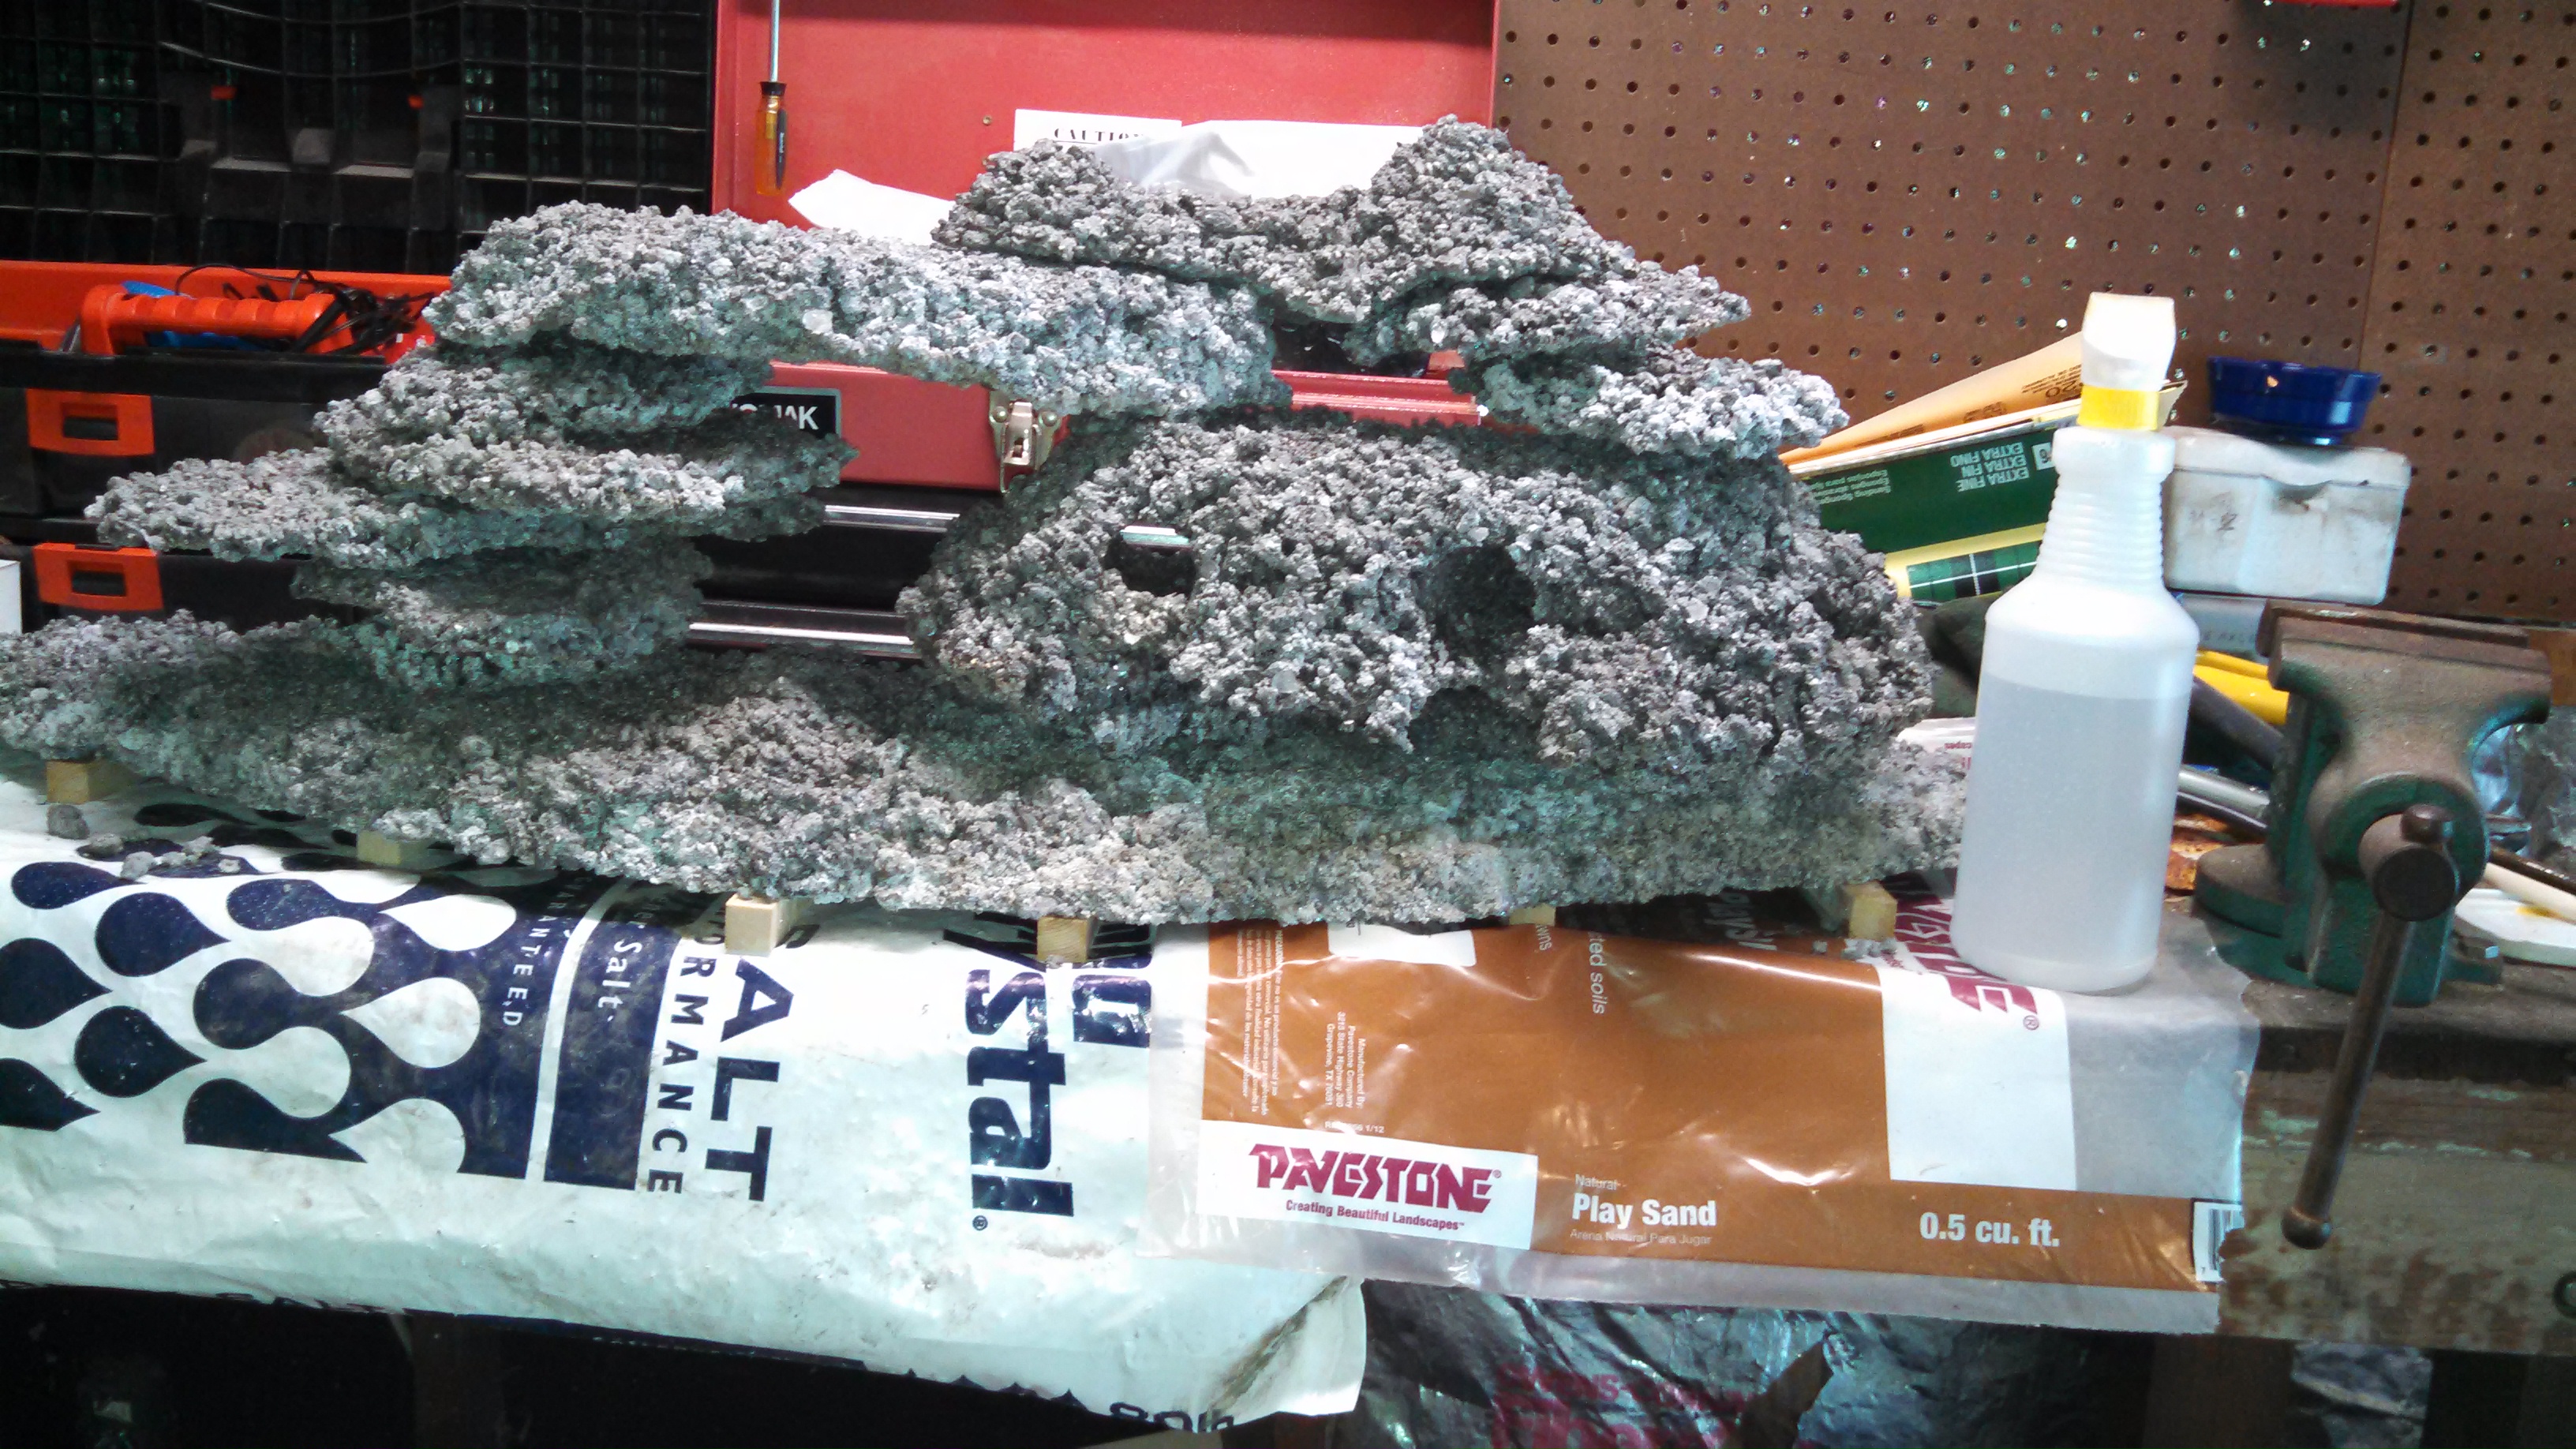
This piece has three tunnels. The one on the right connects to the center tunnel creating a "T" intersection.


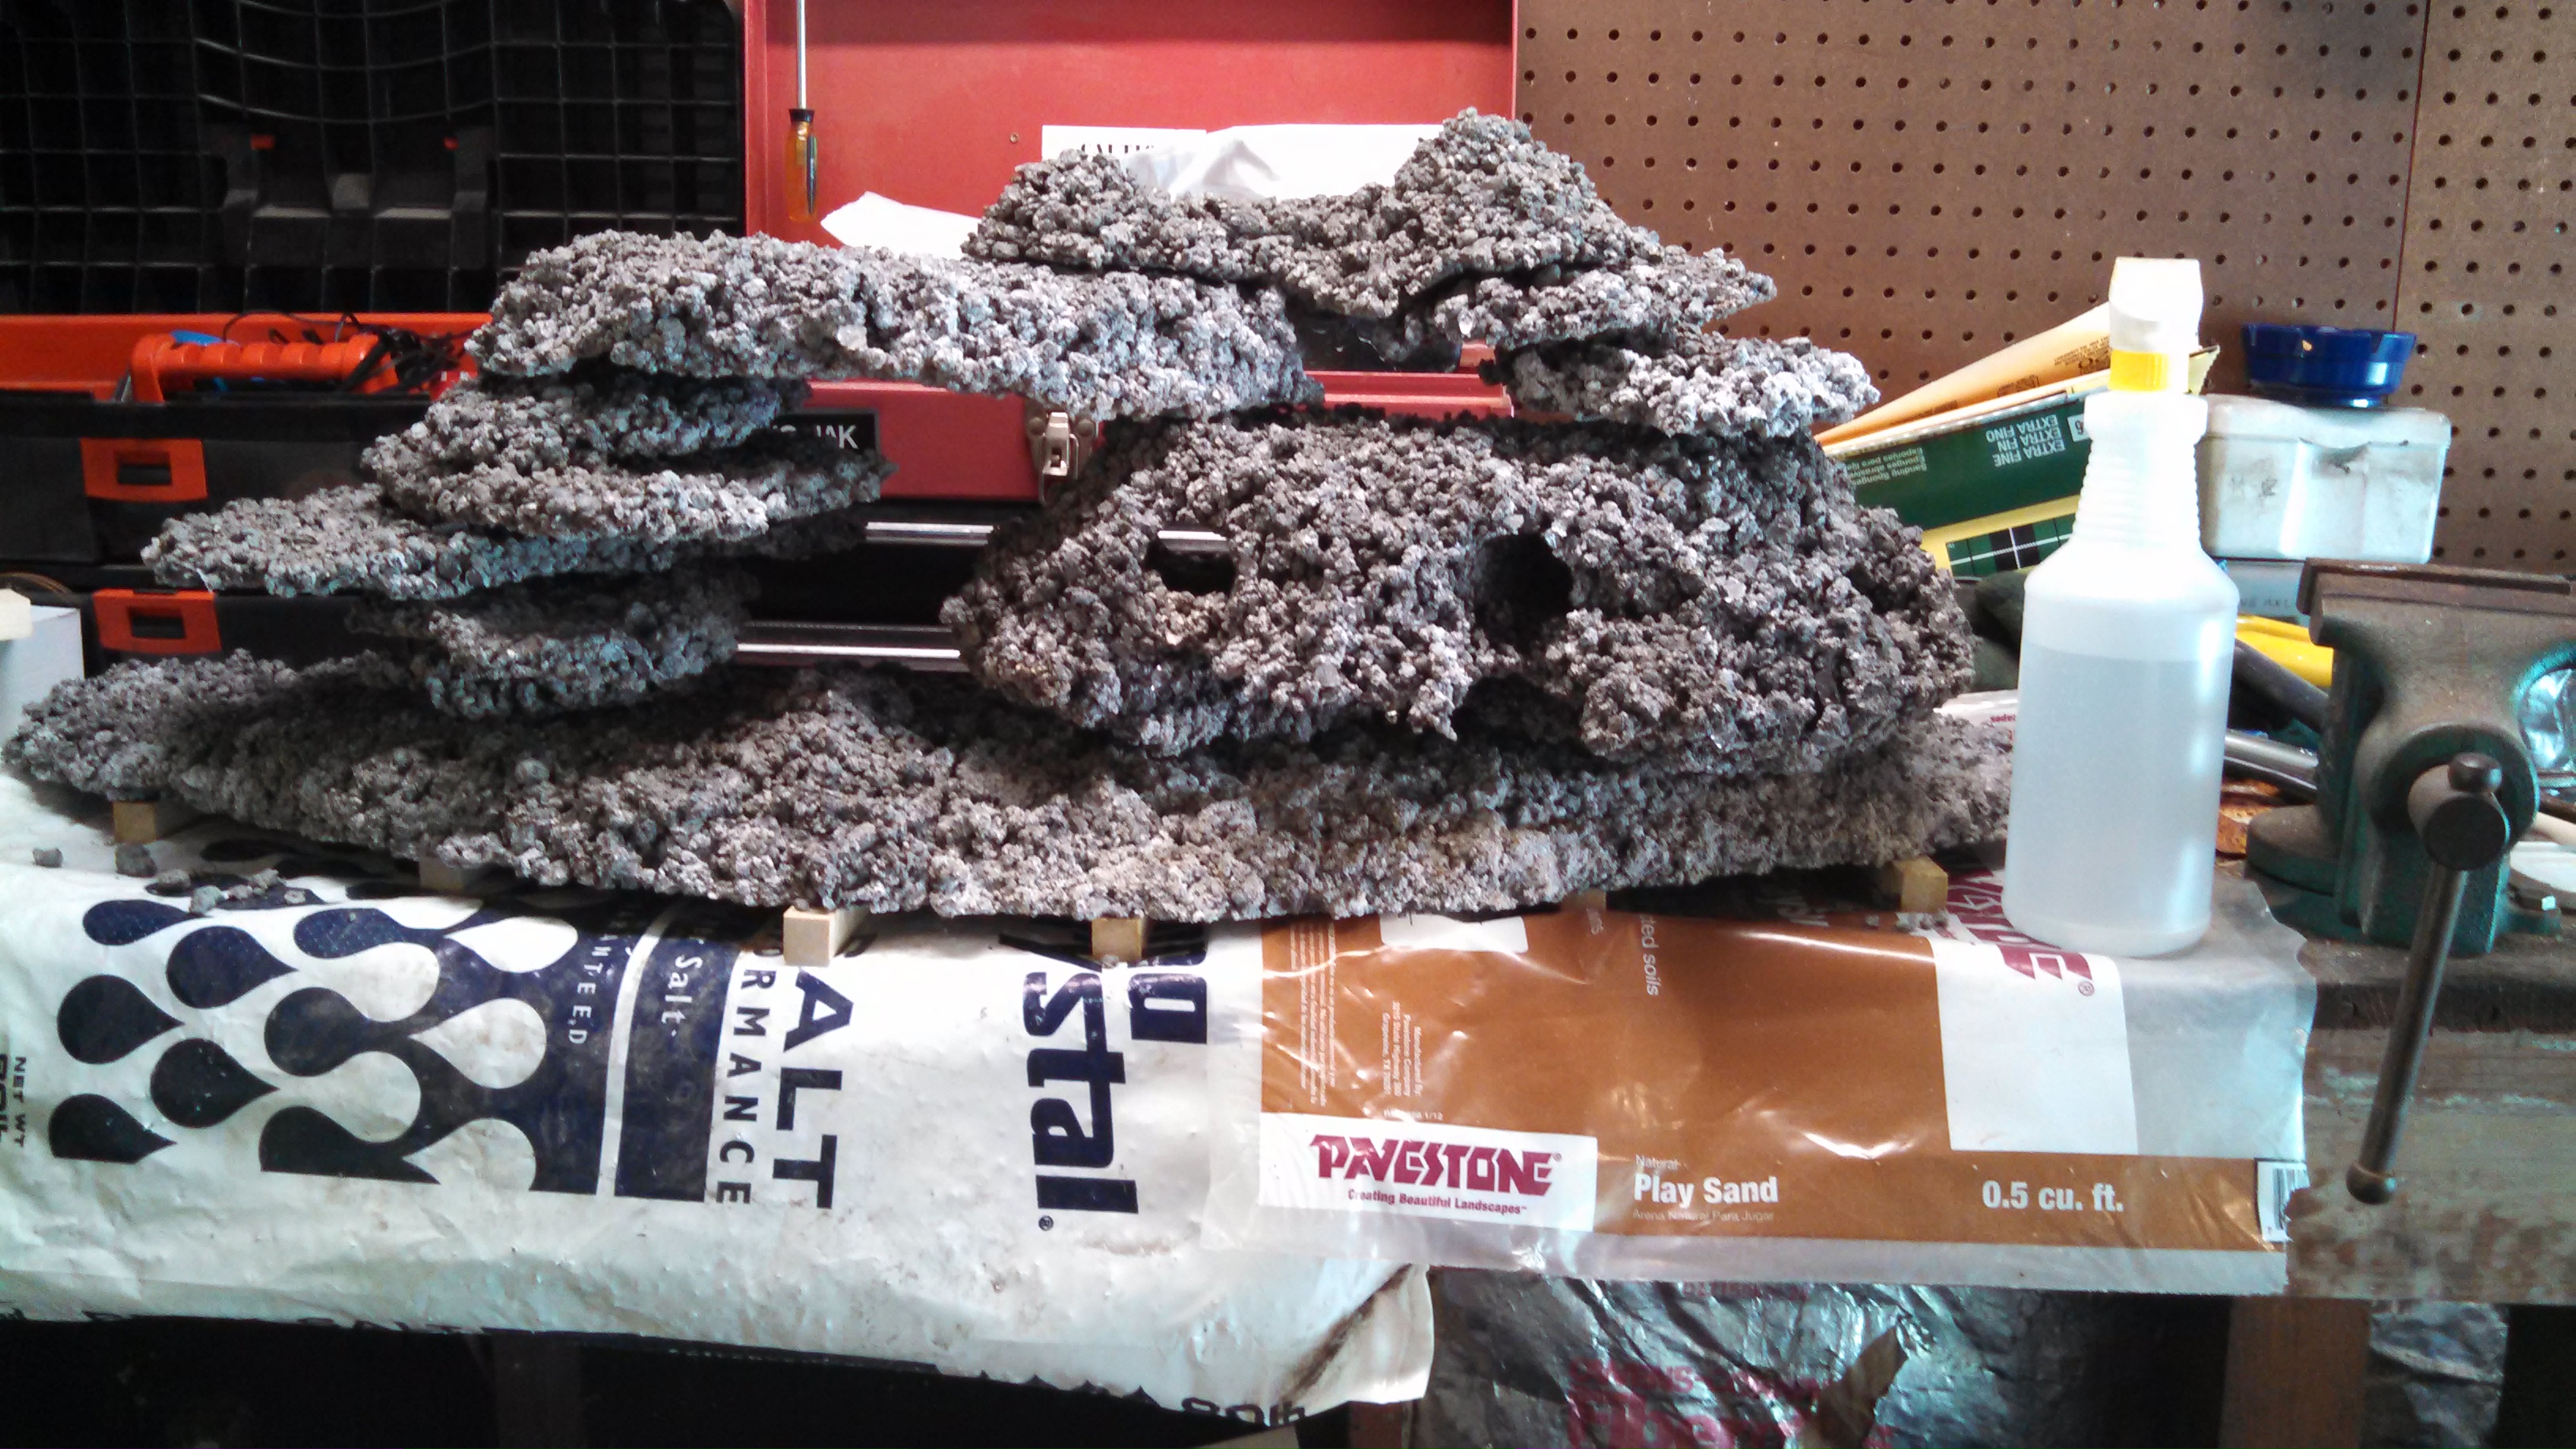
In the center picture I placed all the pieces together where I wanted them, placed a plastic bag over it, and made the very top piece. I thought it made it look like it was blended in with the rest of them.


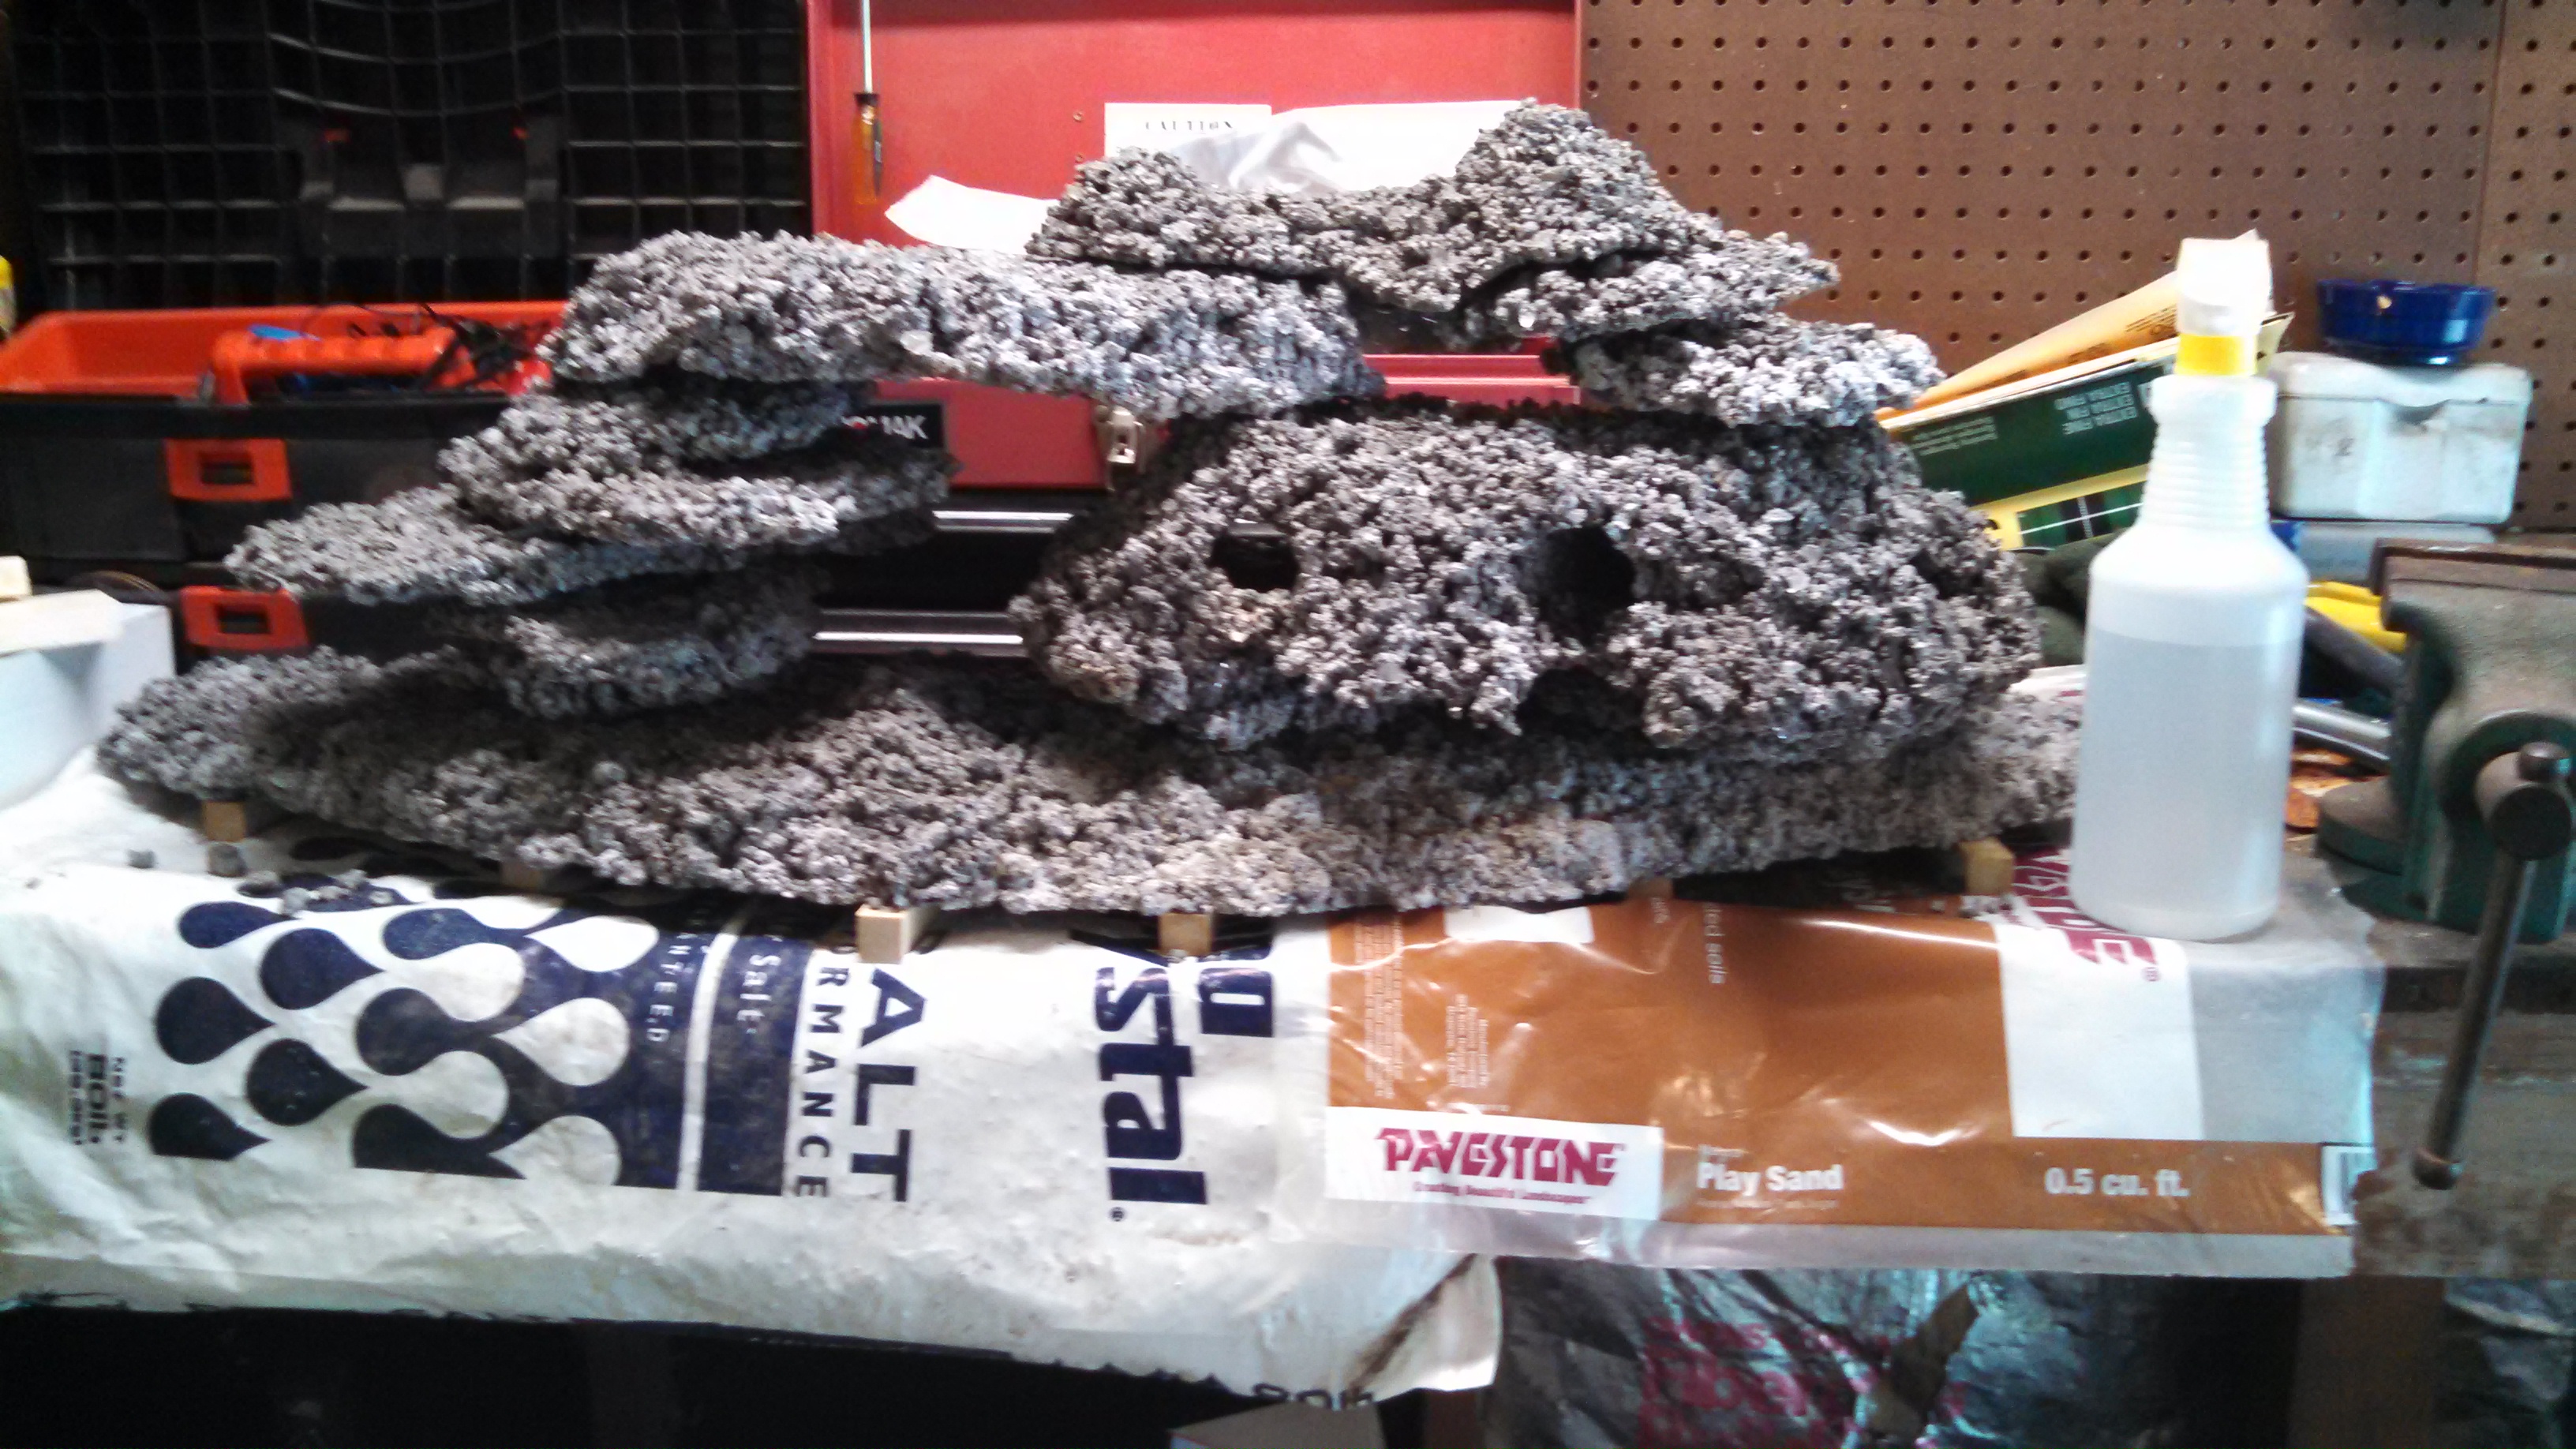
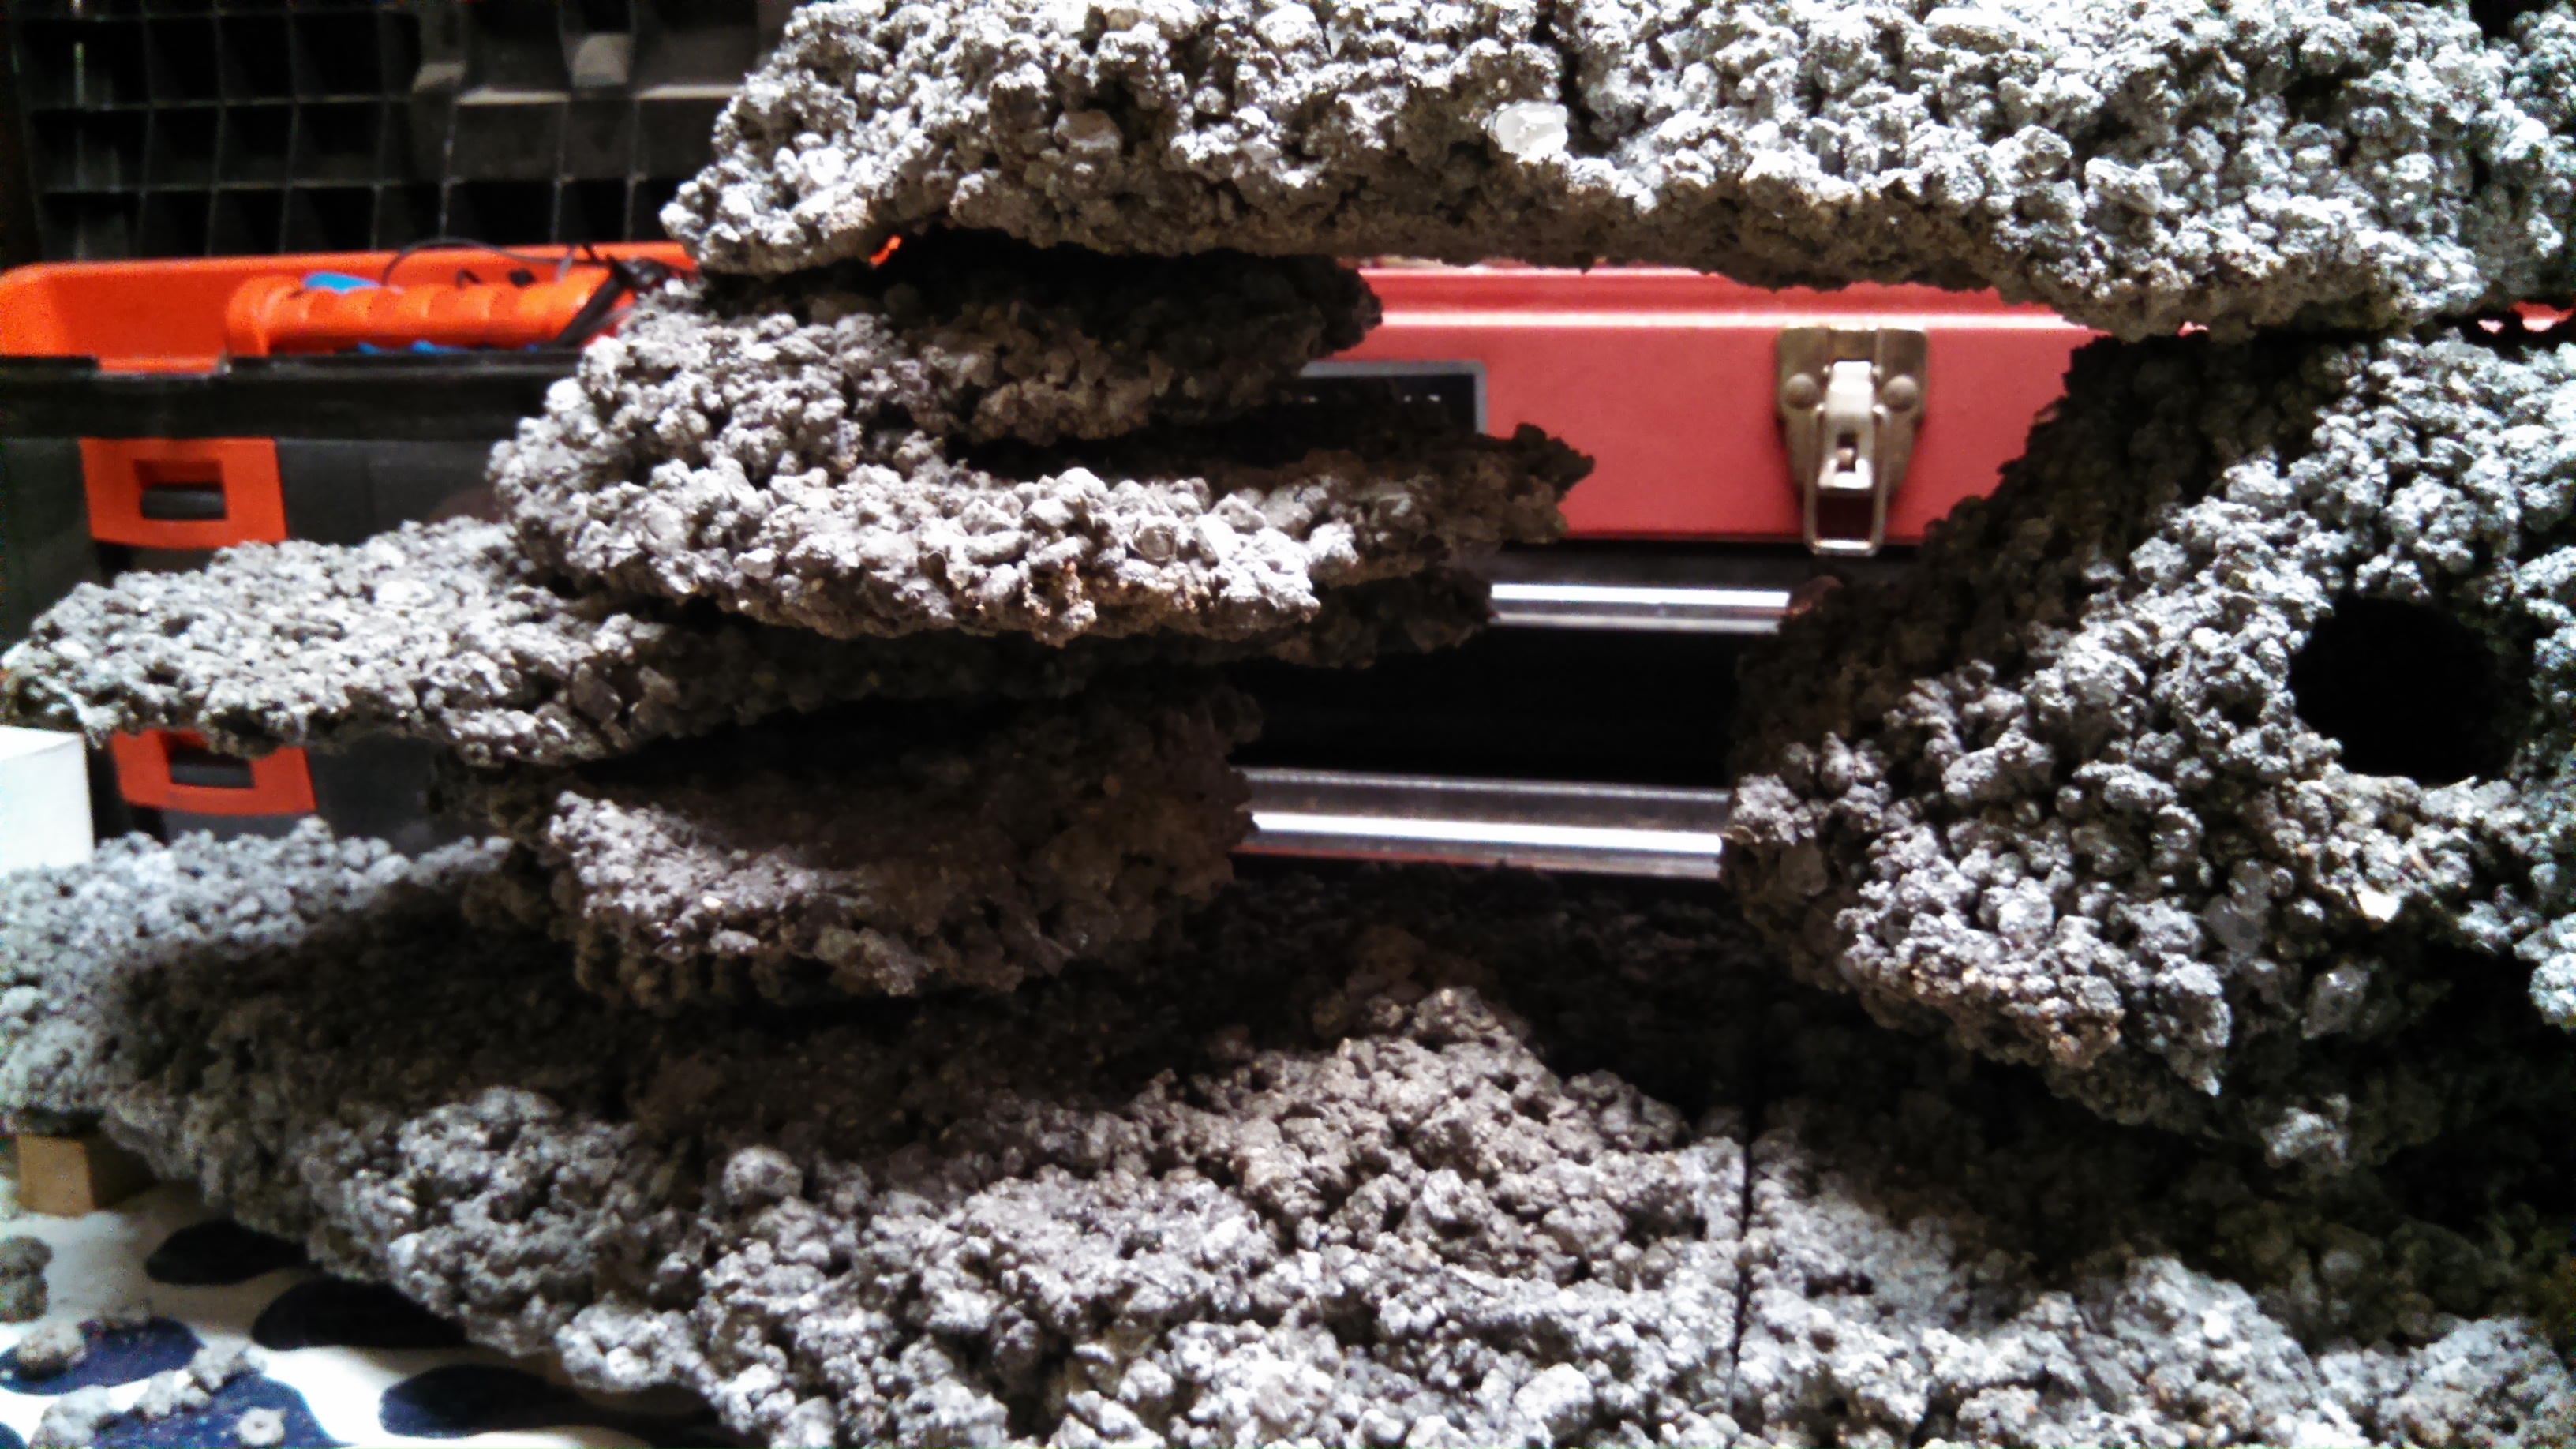
The bottom piece is actually 2 pieces. They were the very first two pieces I showed you with the wooden molds I made so they would go into the tank easier. You can barley see the seam between the two. These pieces are going to be pretty much covered by sand. I made these pieces because it seemed like a waste to take good rock and bury half of it in the sand. It also gives a firm base so there won't be any shifting of the rest of the rocks.


I took a 6ft piece of 1-1/2" PVC and sliced it down the middle ( ) then cut it into 6" pieces. I used them as spacers between the rock pieces to increase the flow of water for a more uniform cure and placed everything in a tub with the strongest power head I had to create circulation between the rocks and filled the tub with water, changing it about once a day. The rock salt that was on the surface was pretty much gone by the next day but I know the internal pieces of salt will take longer. They've been soaking for about a week now while I've been working on the stand. I'll test the PH and salinity this Fathers Day and see how it's doing. I'll post the numbers when I get the results.


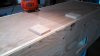
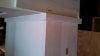
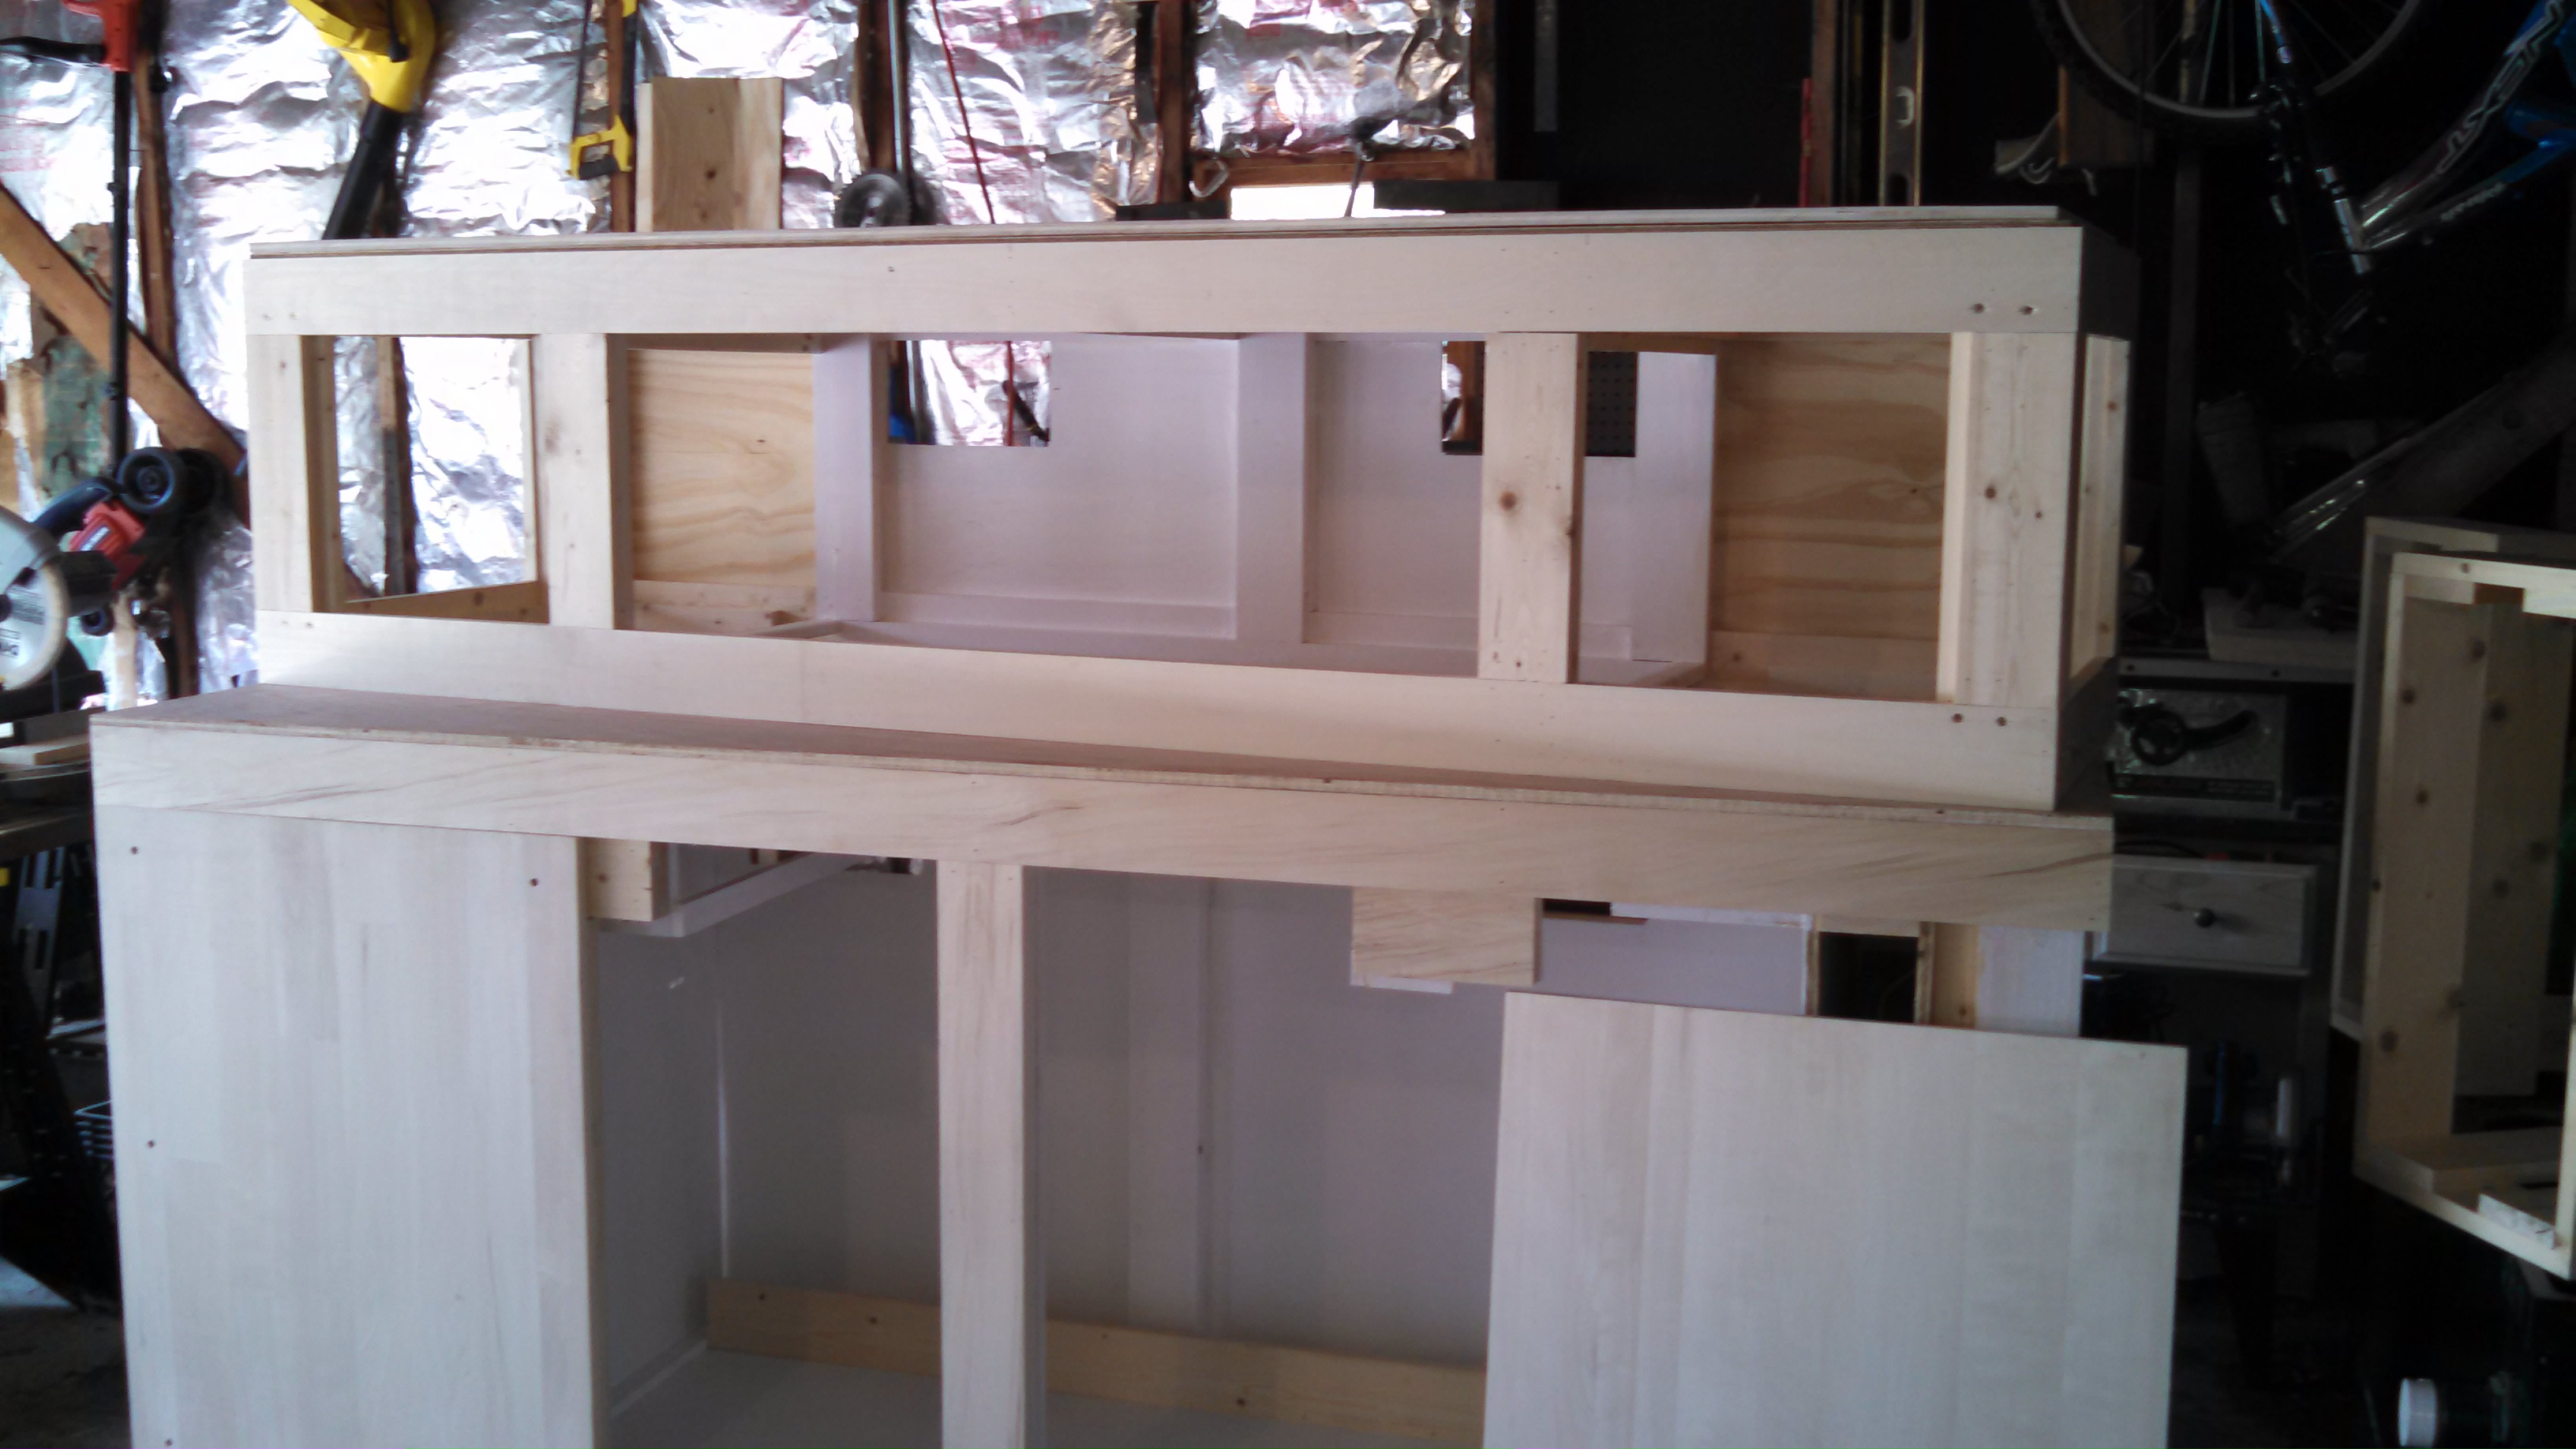
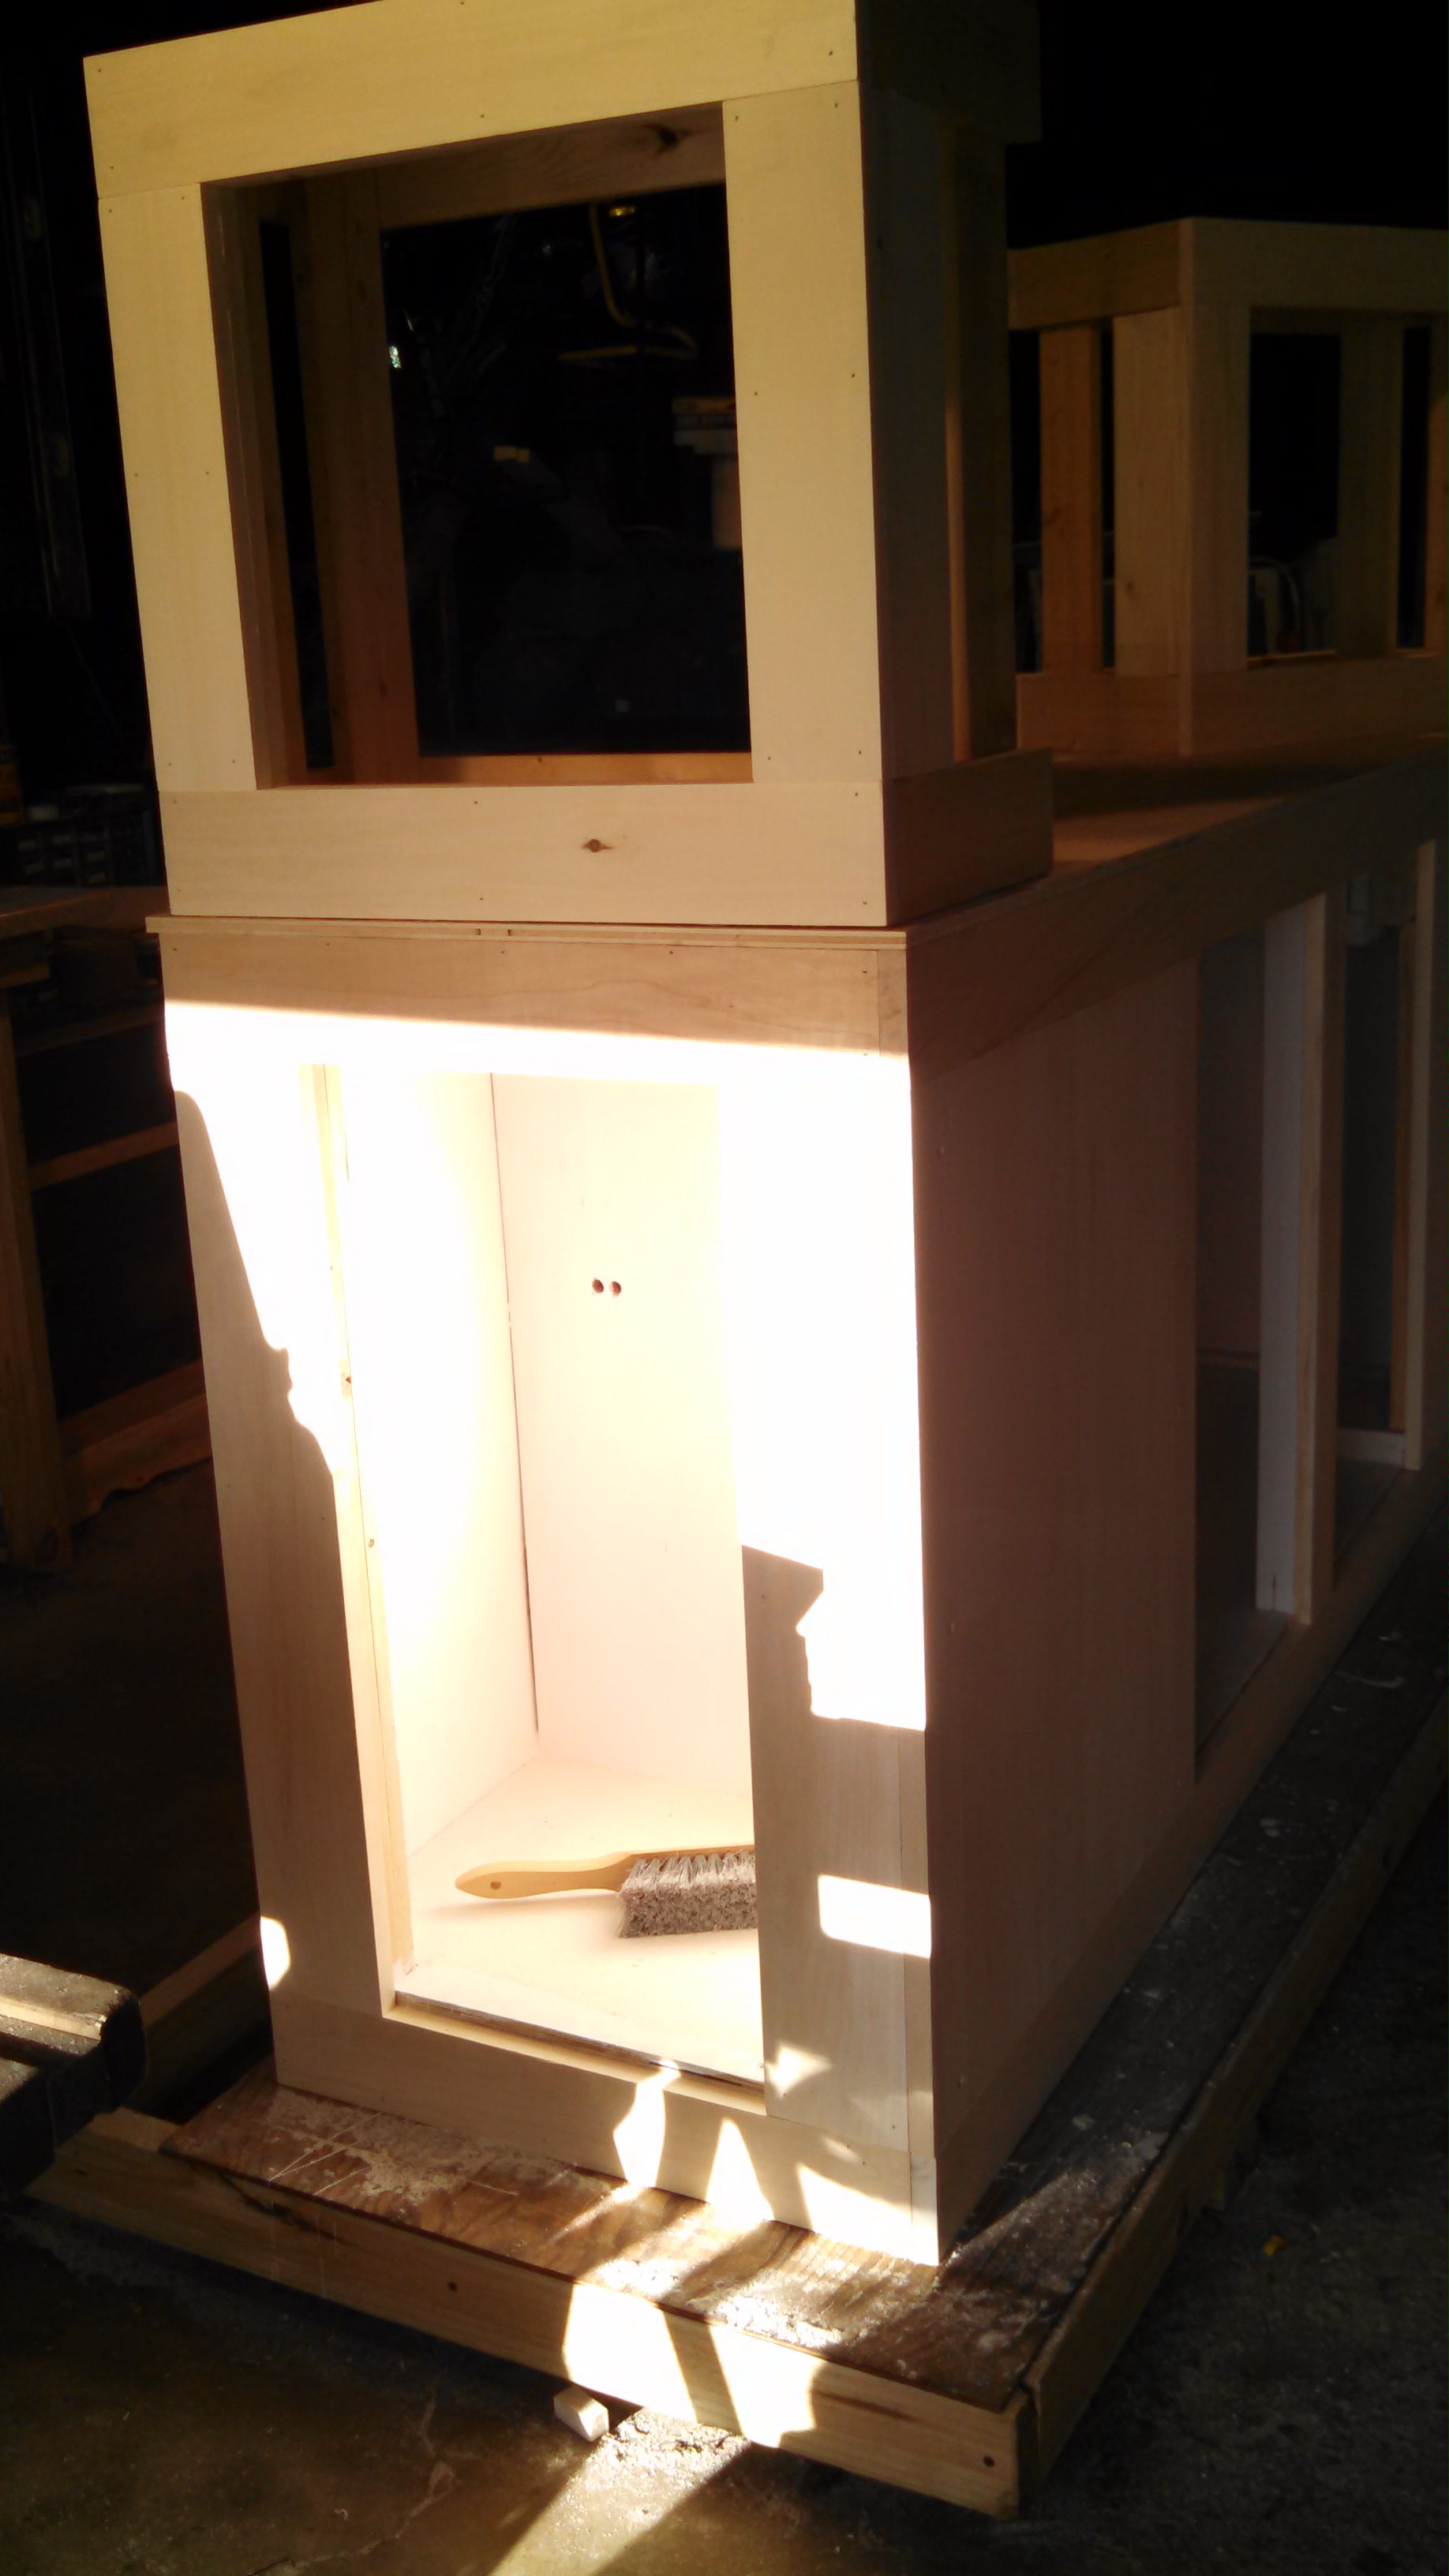
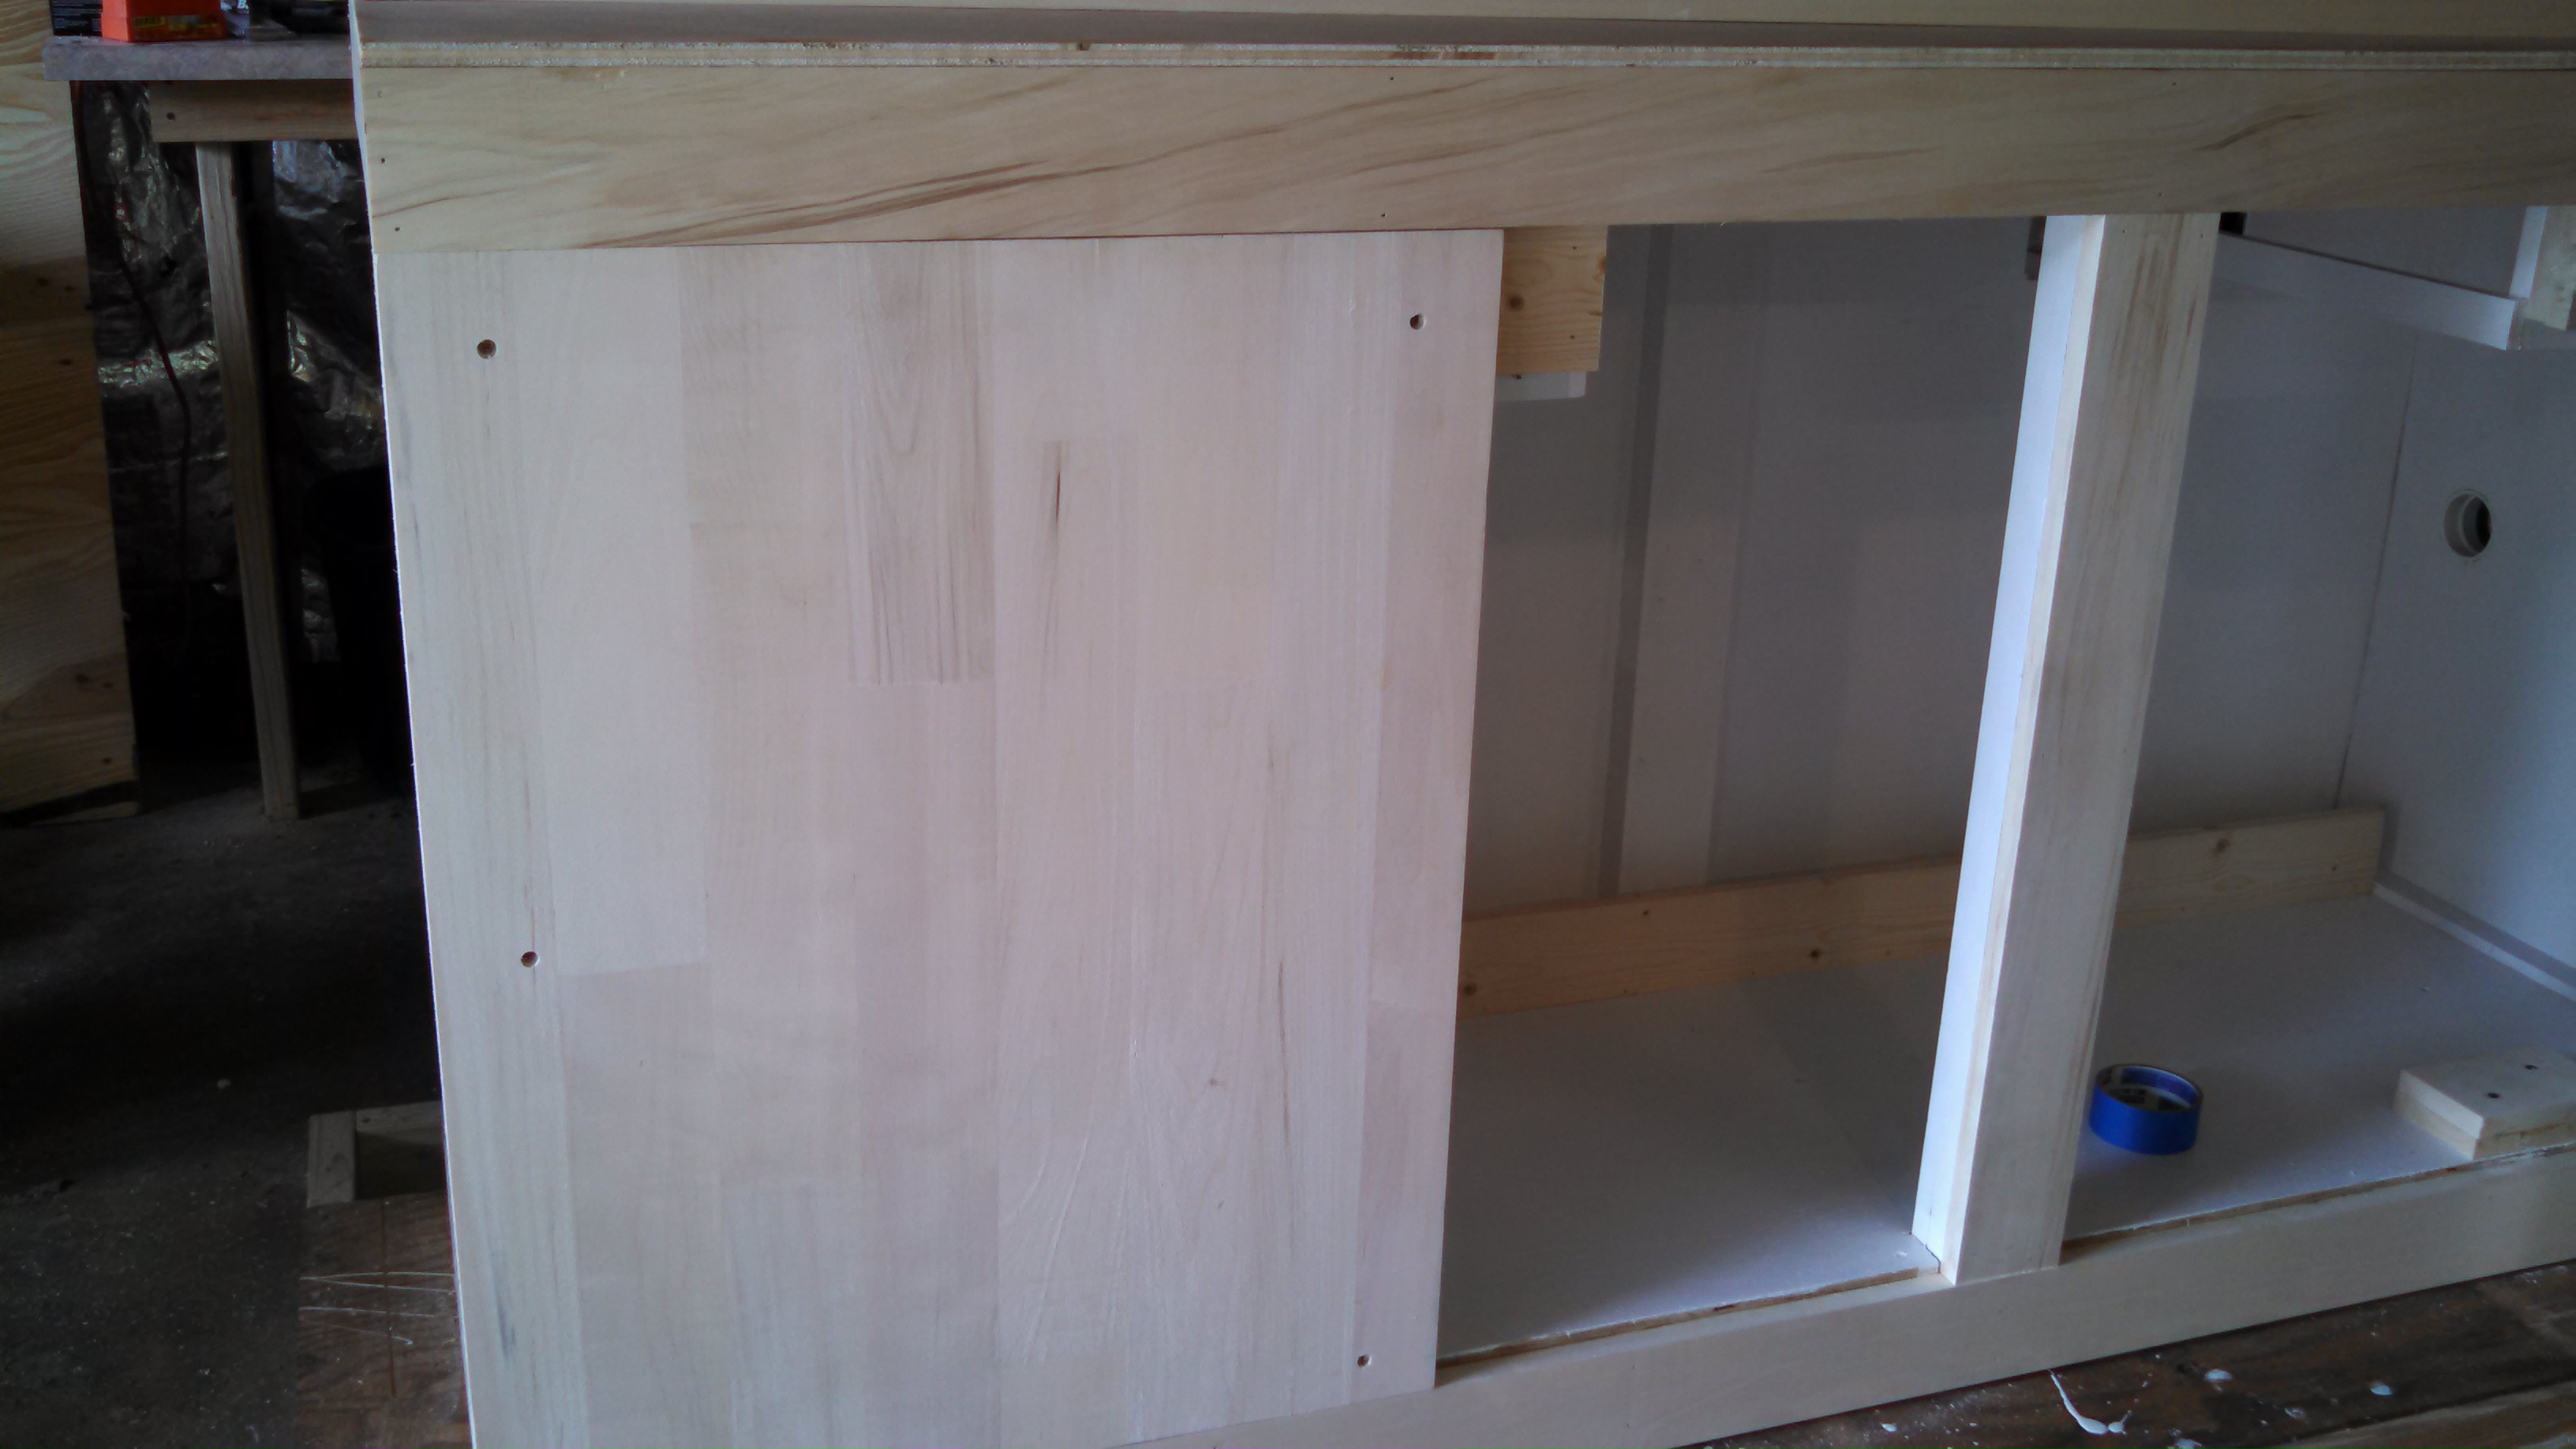
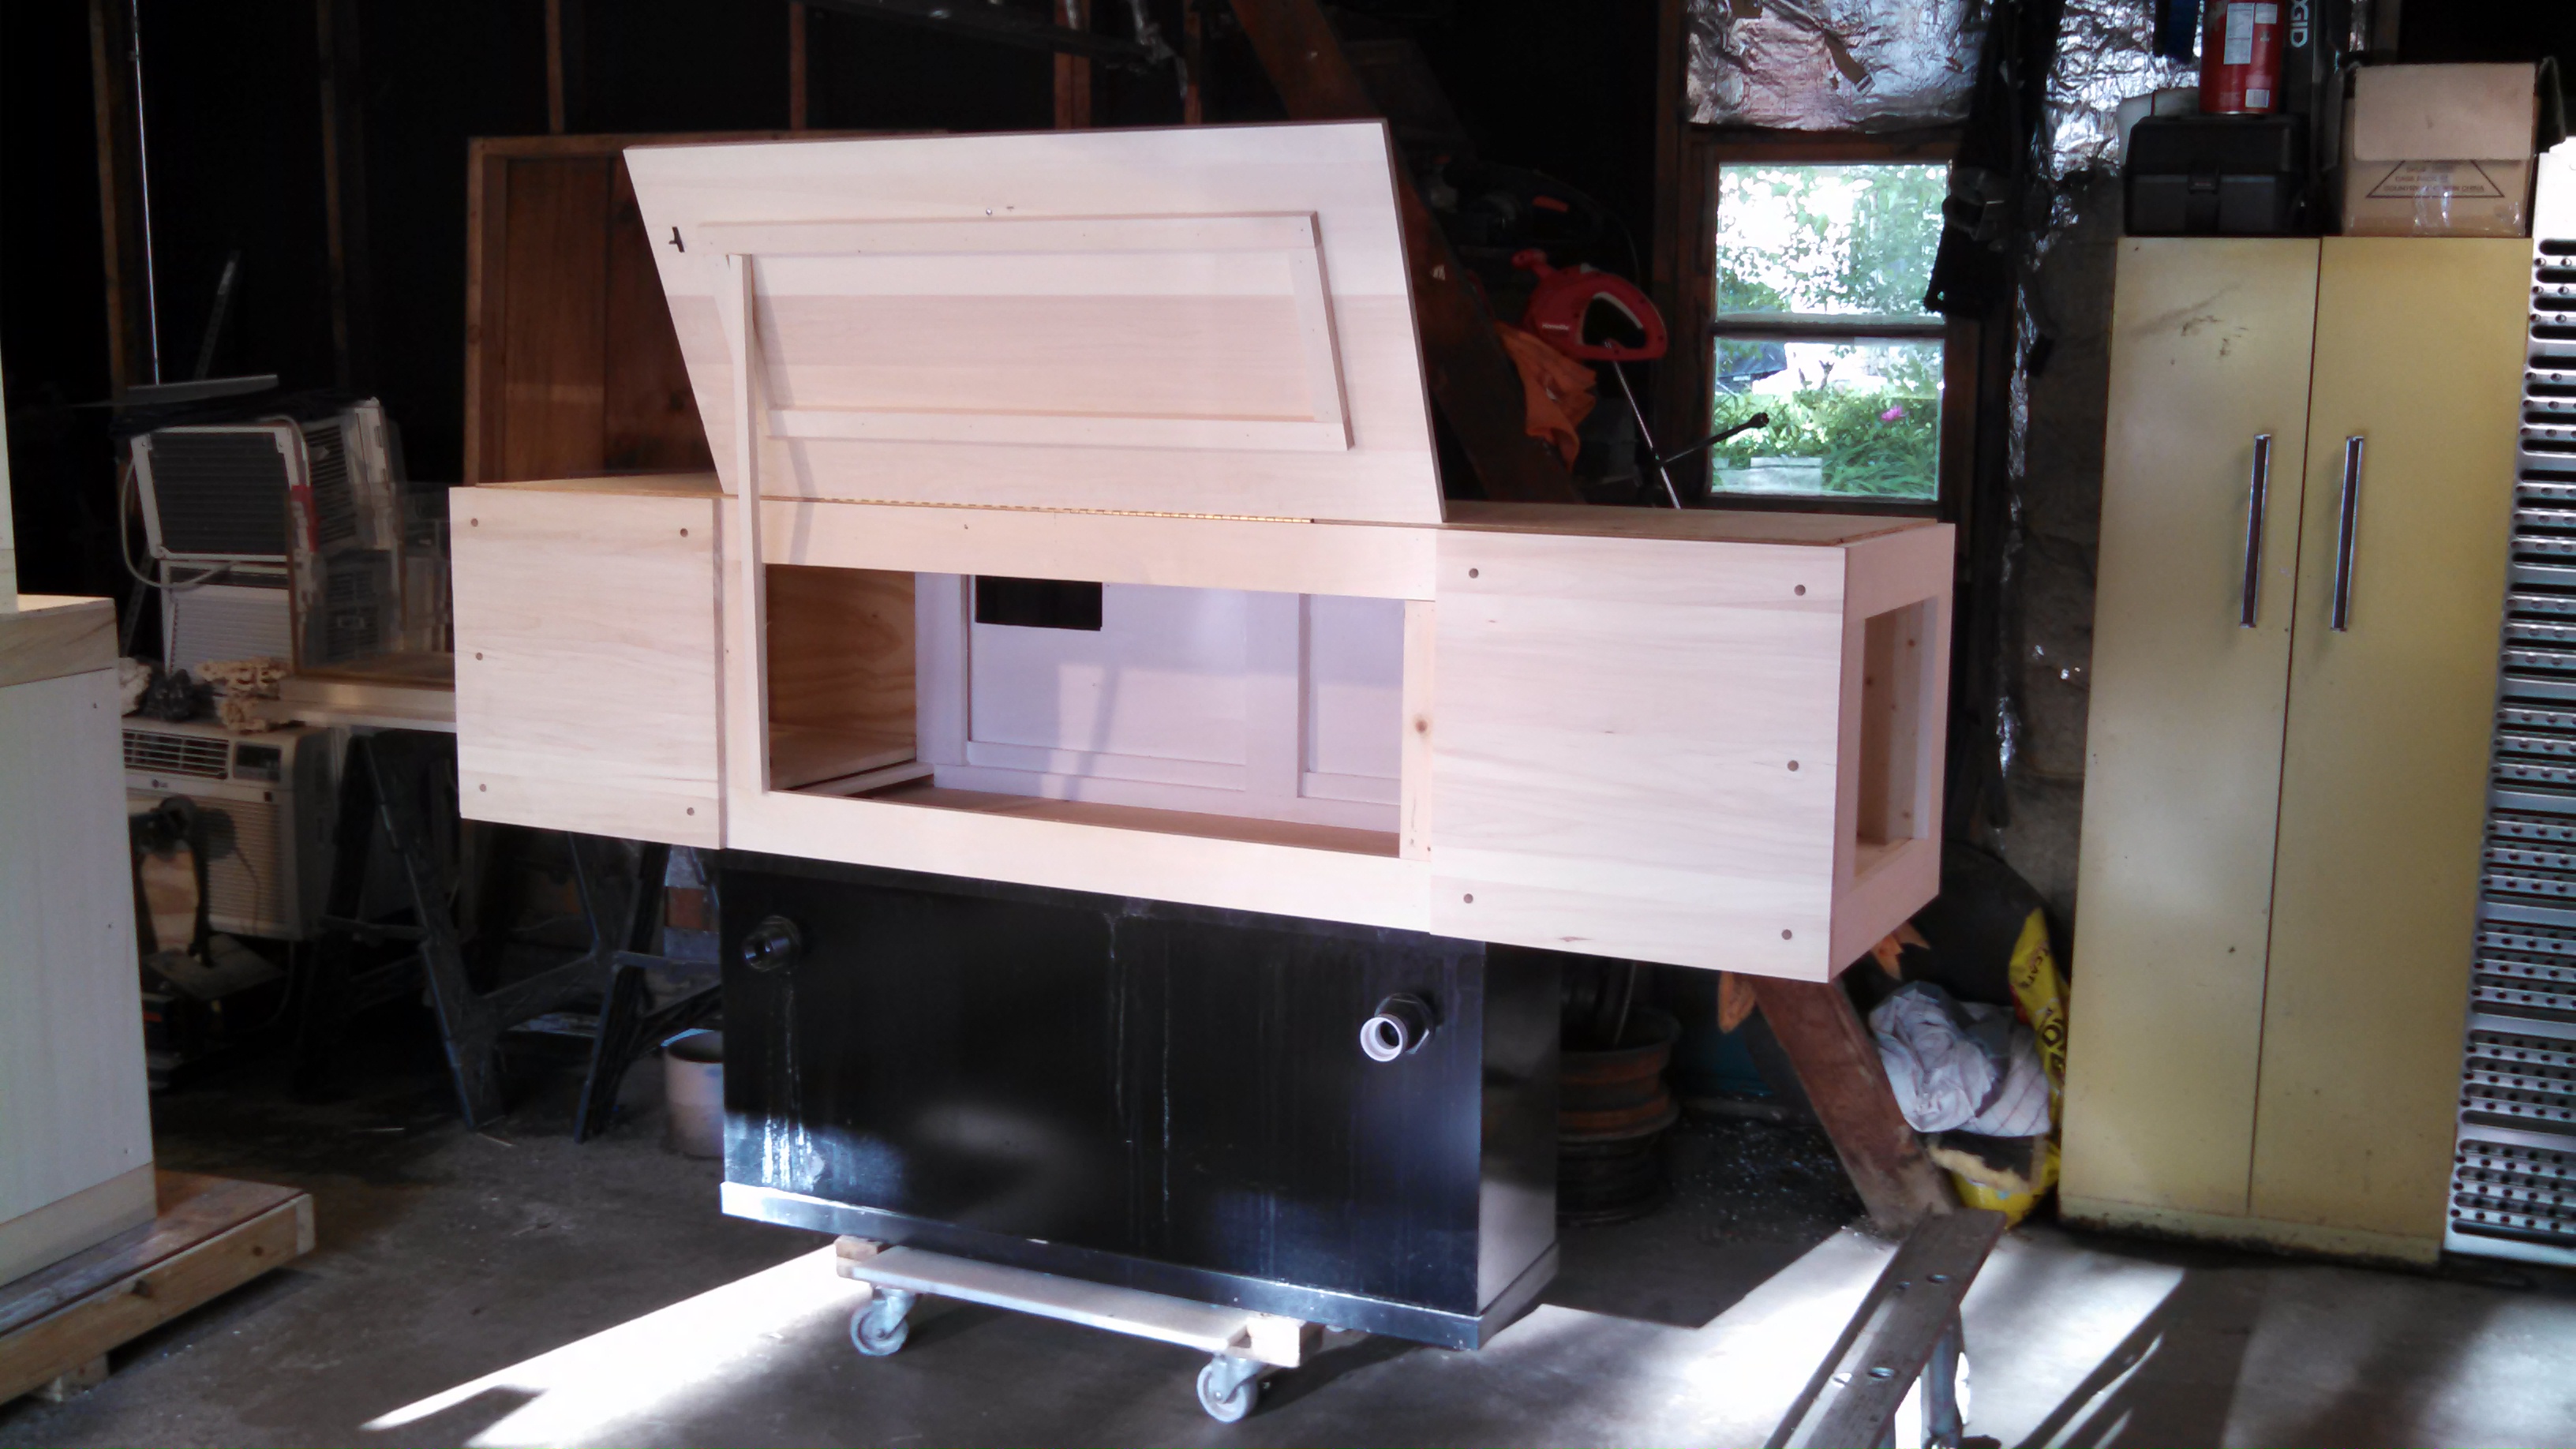
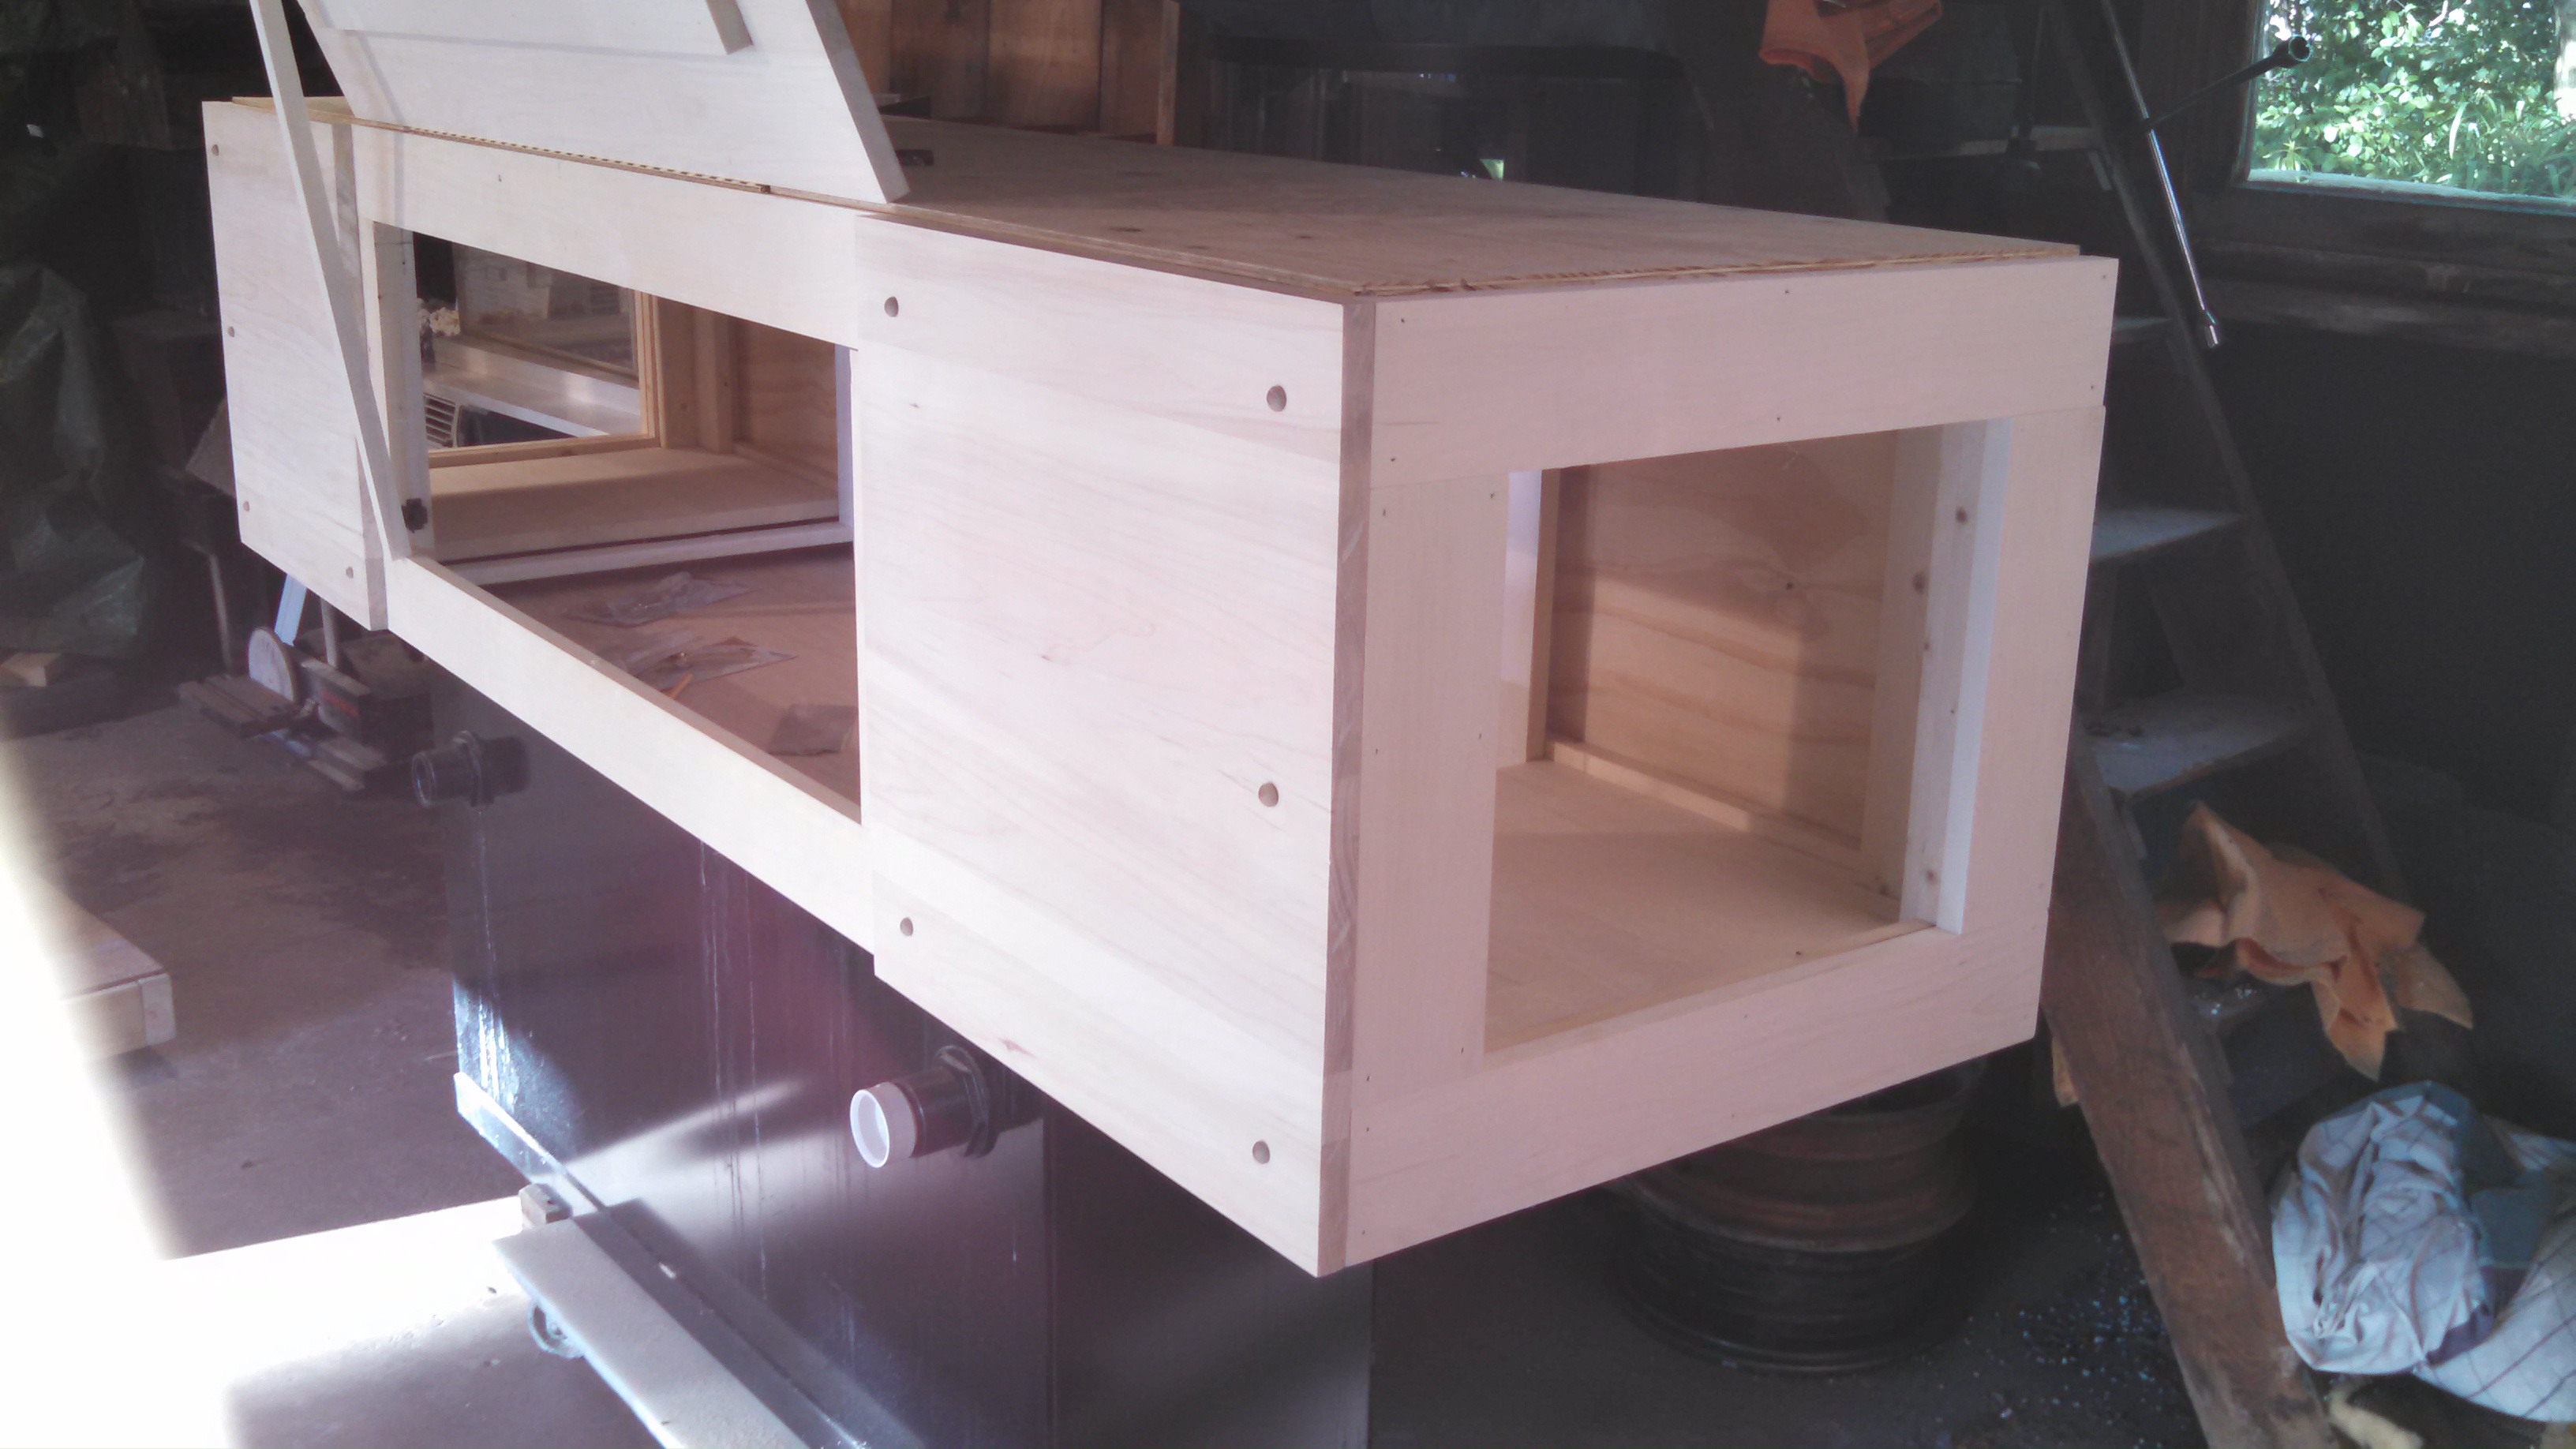
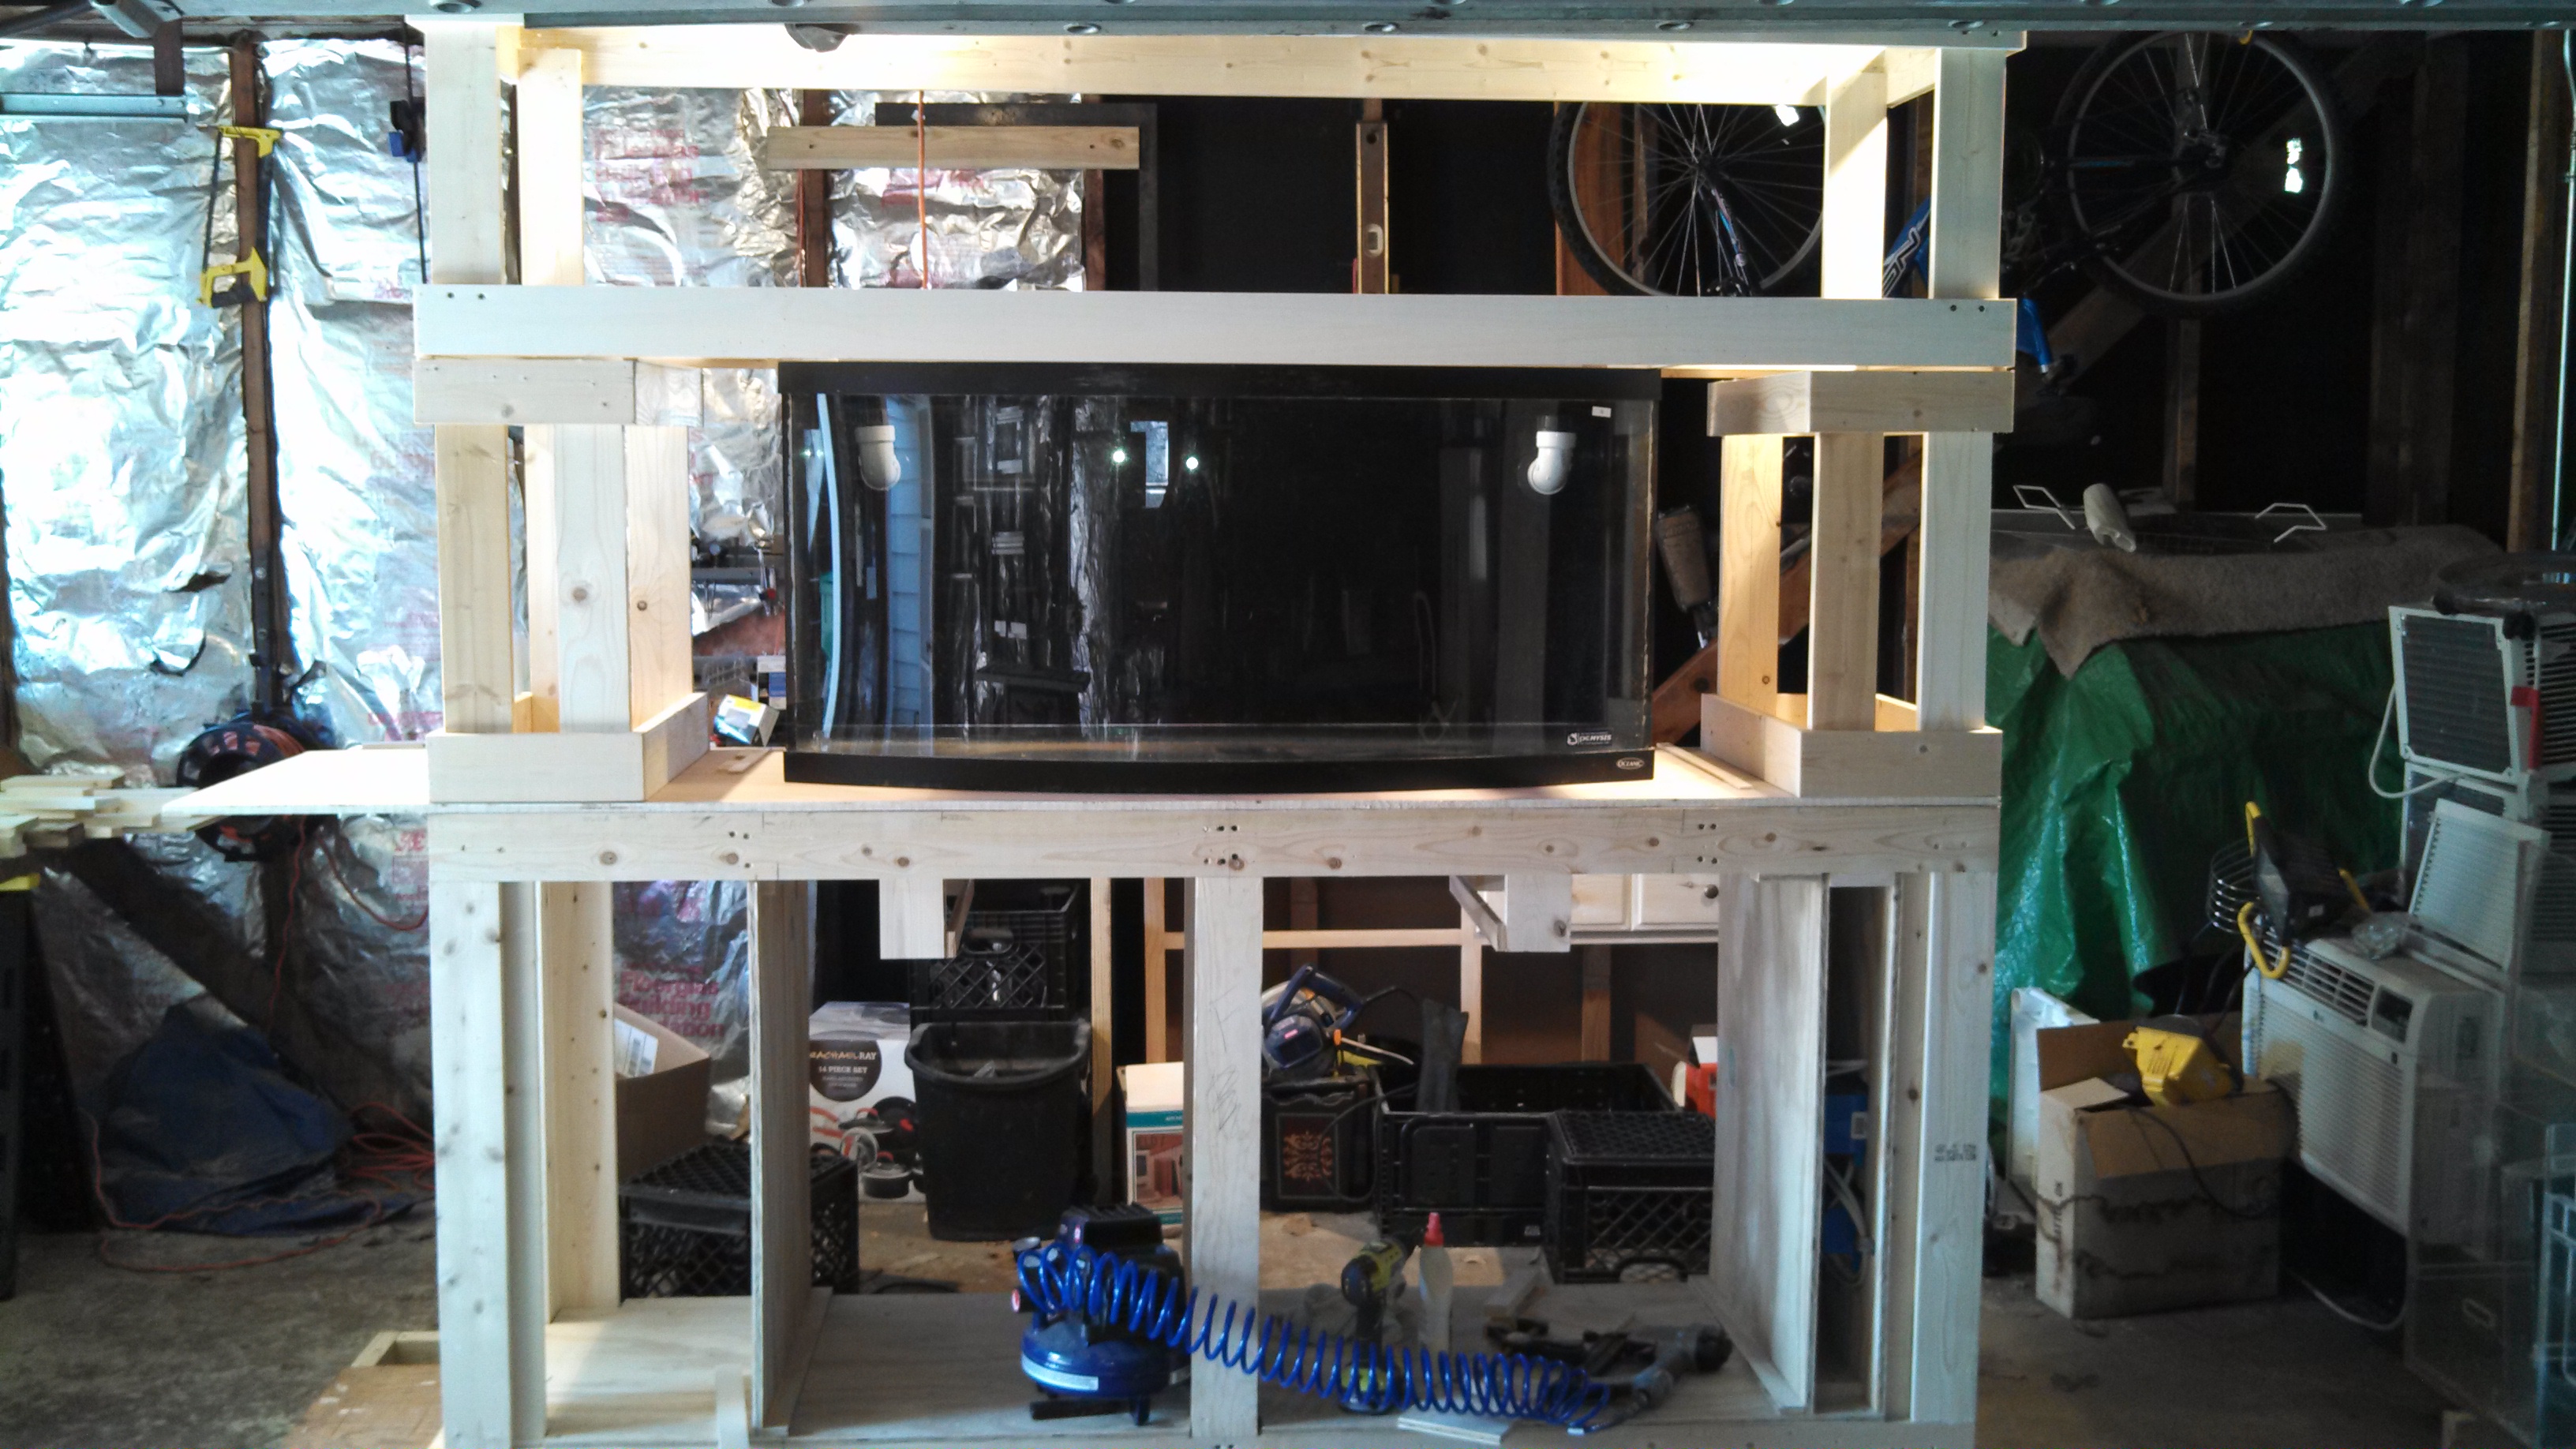
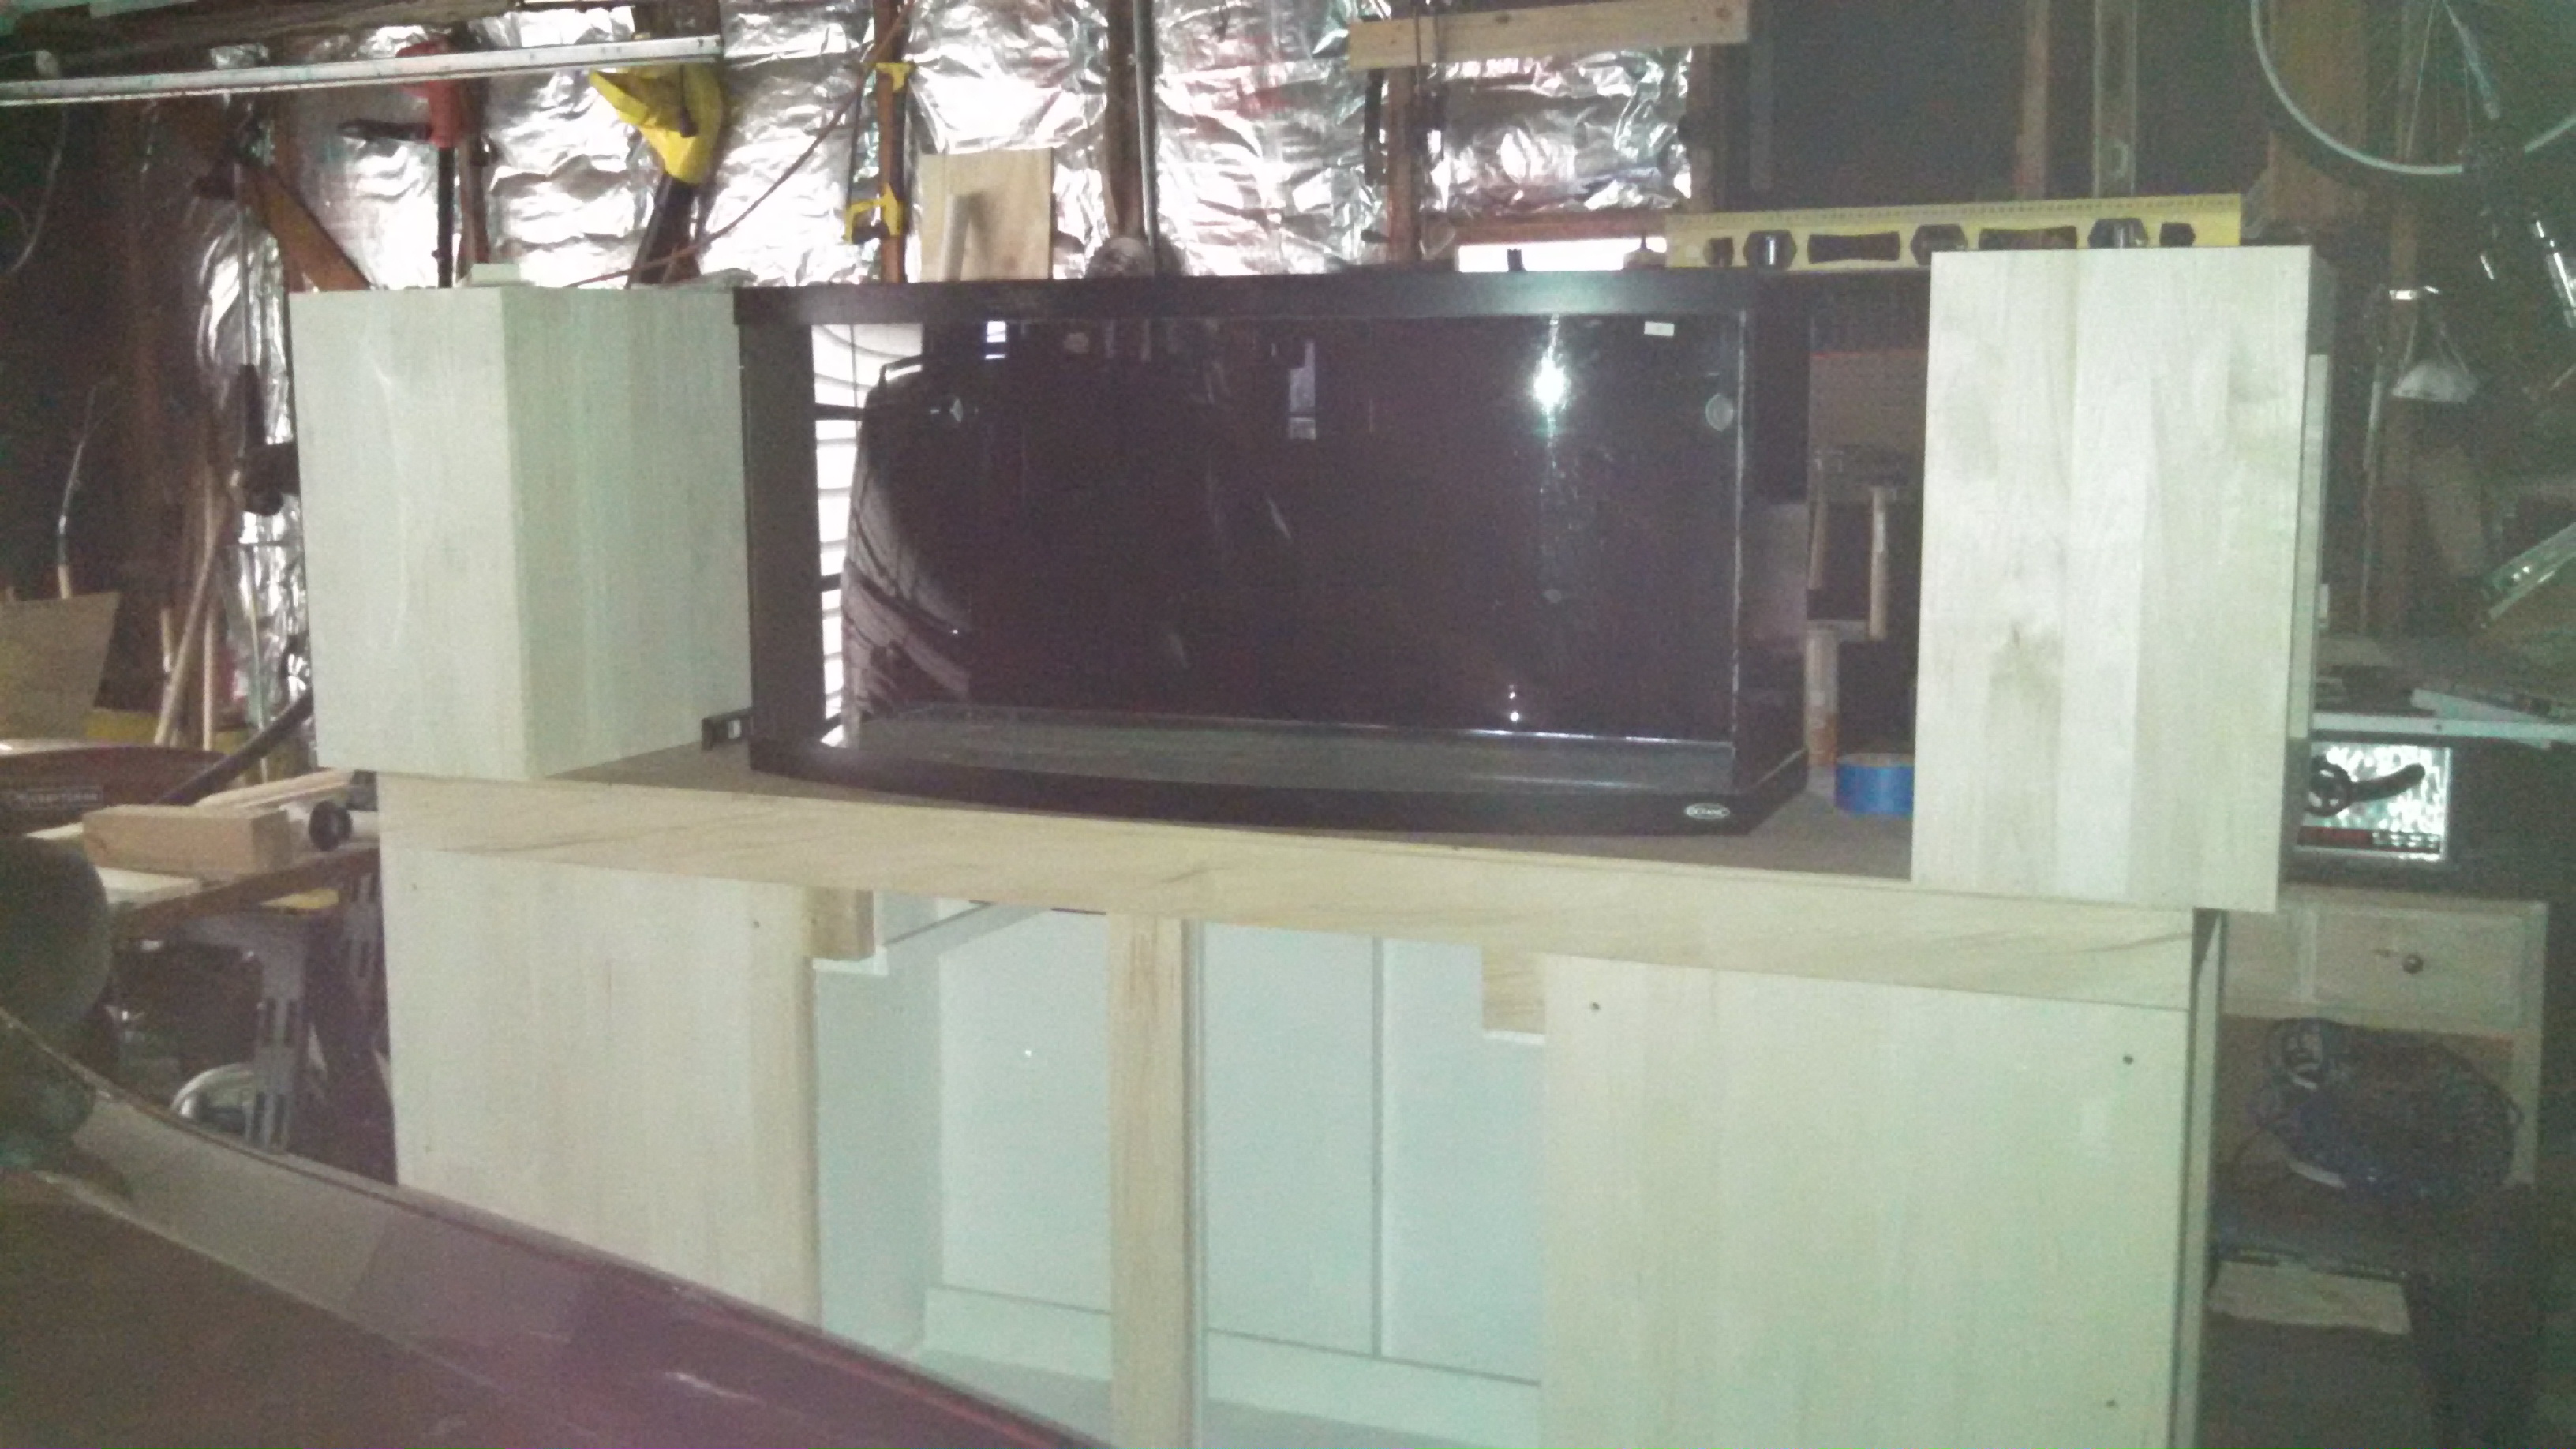
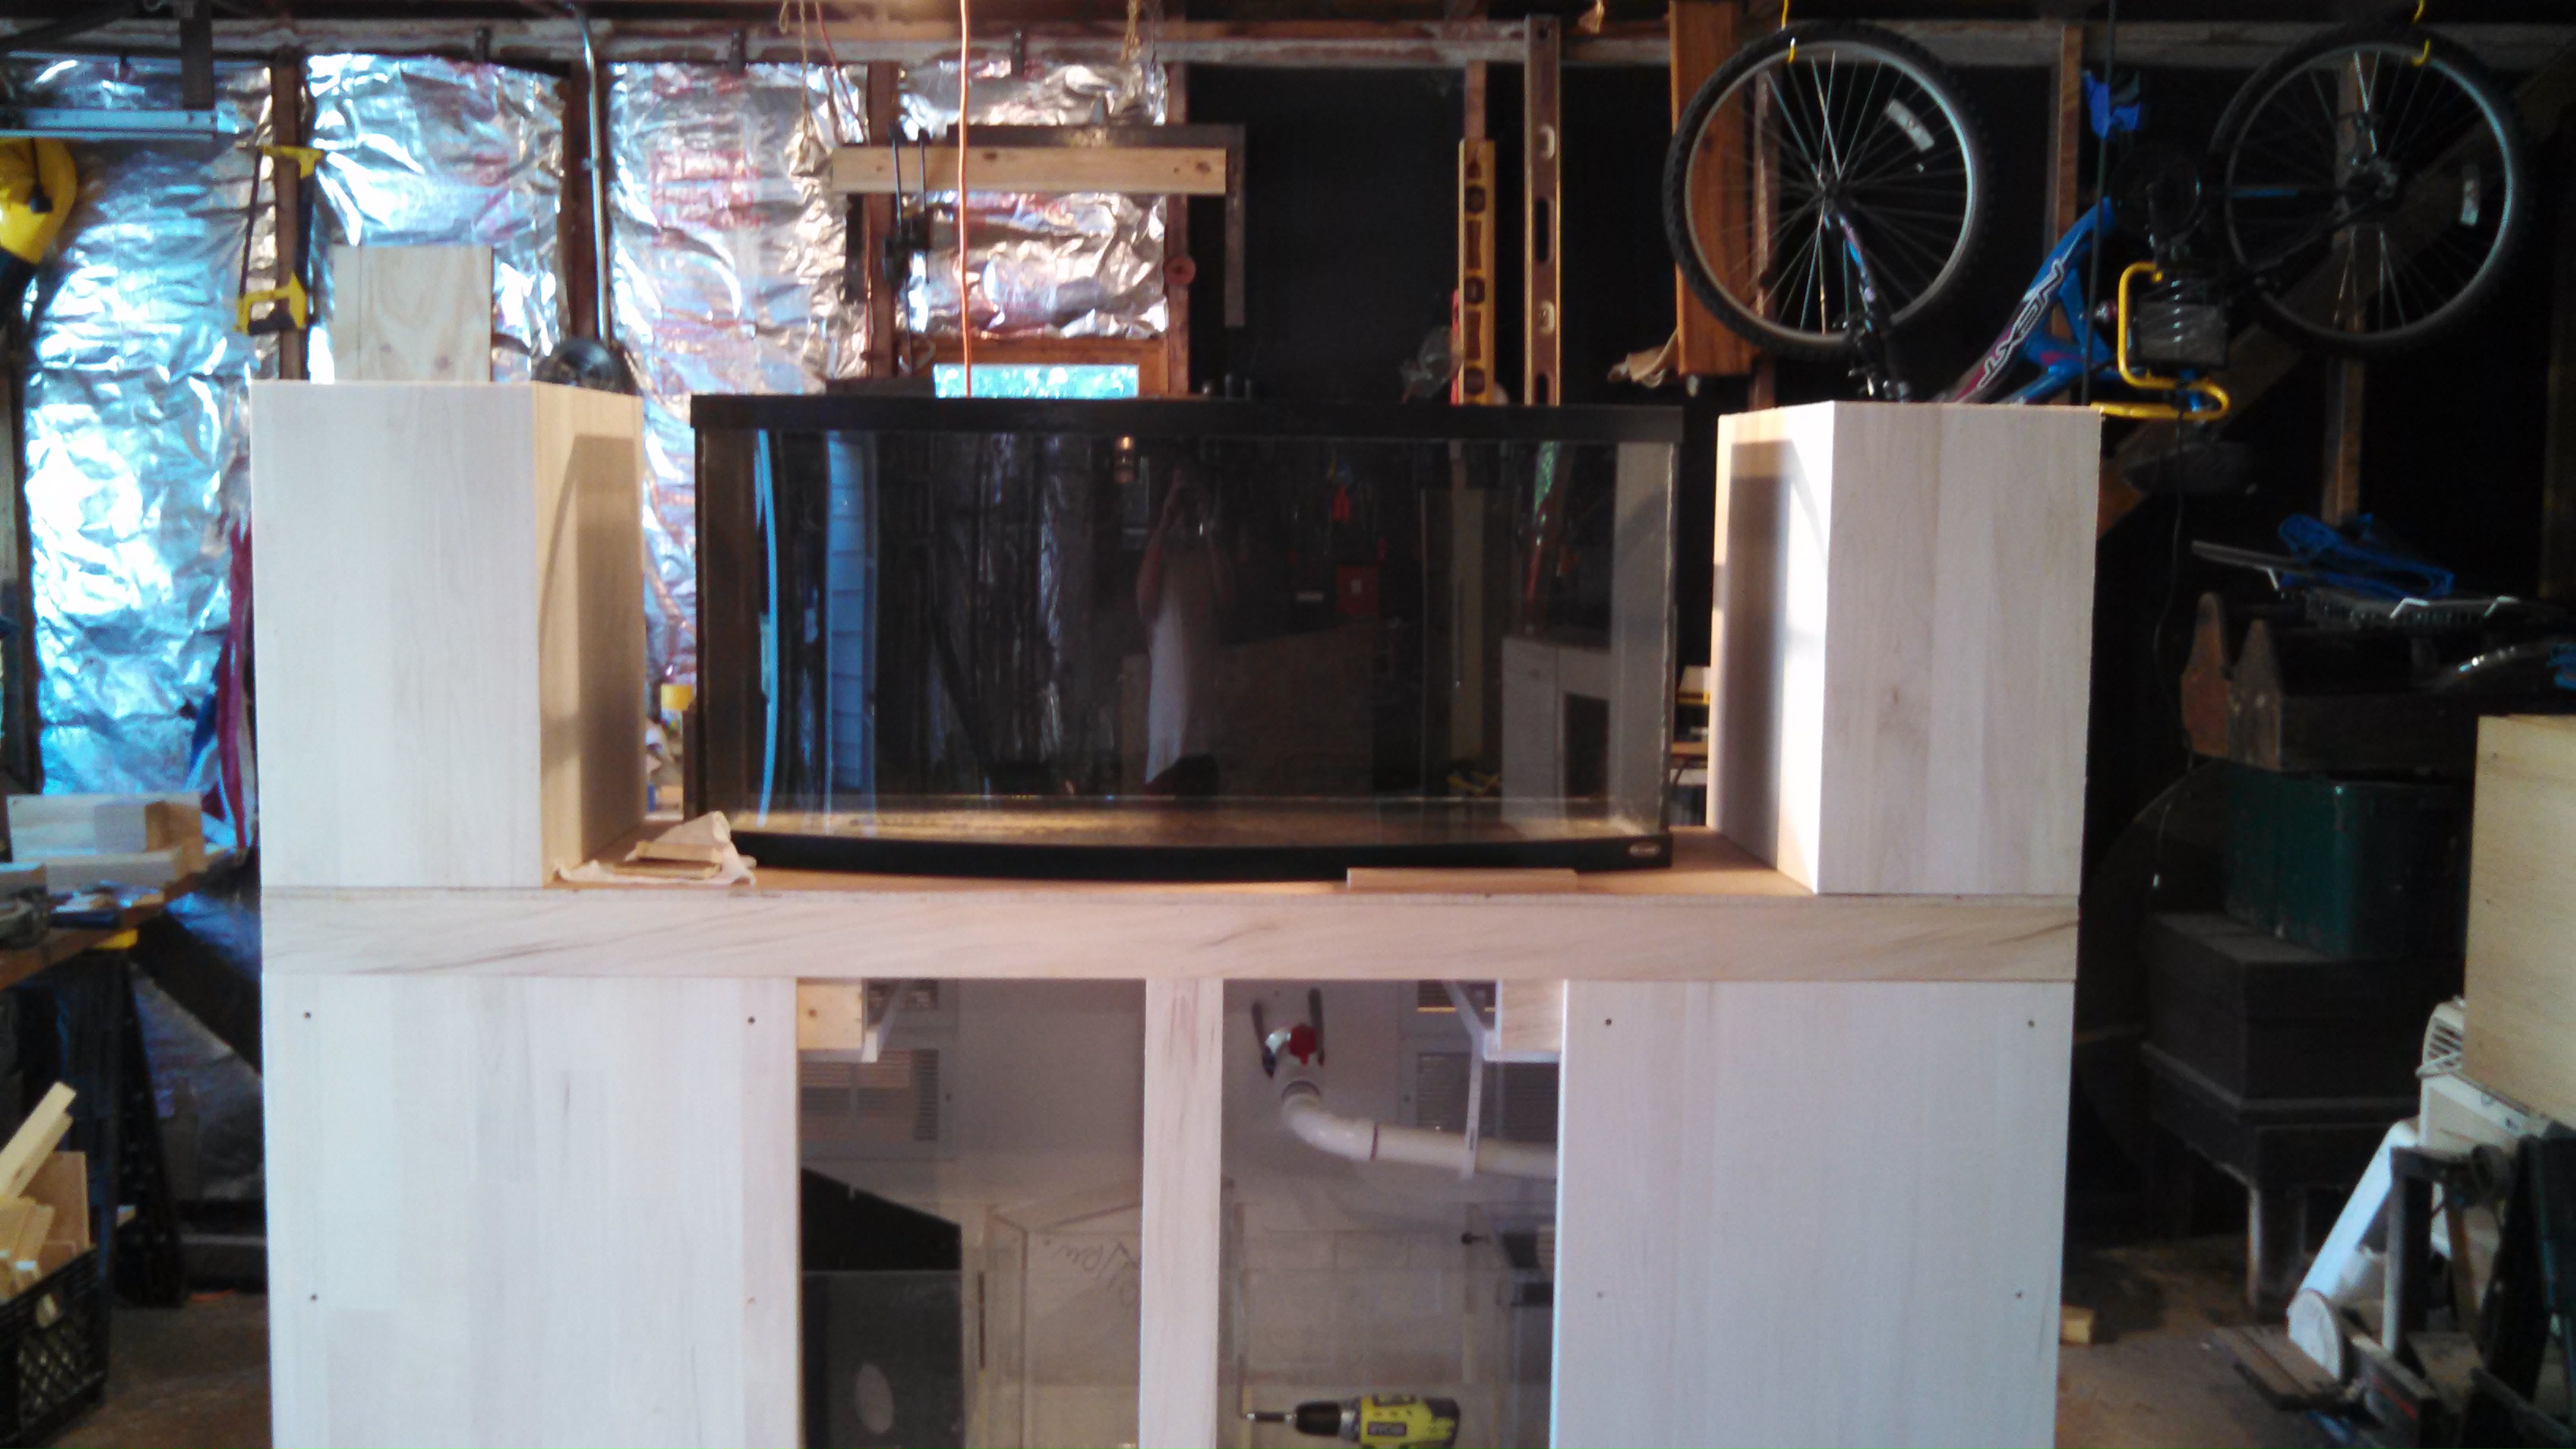
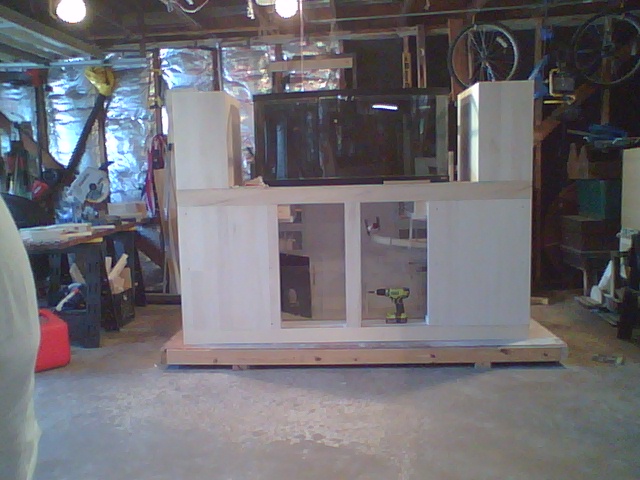
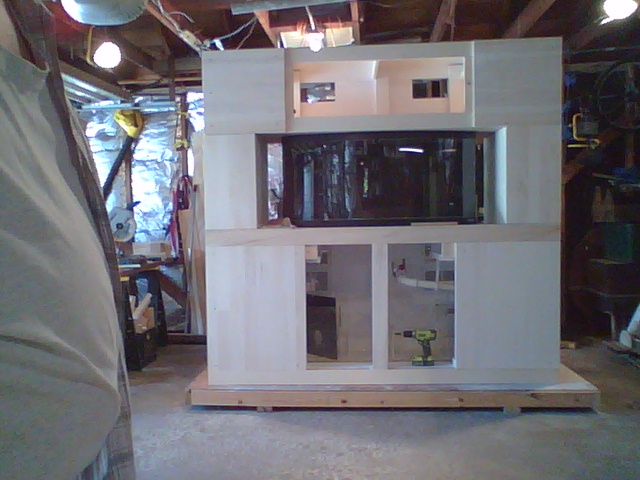
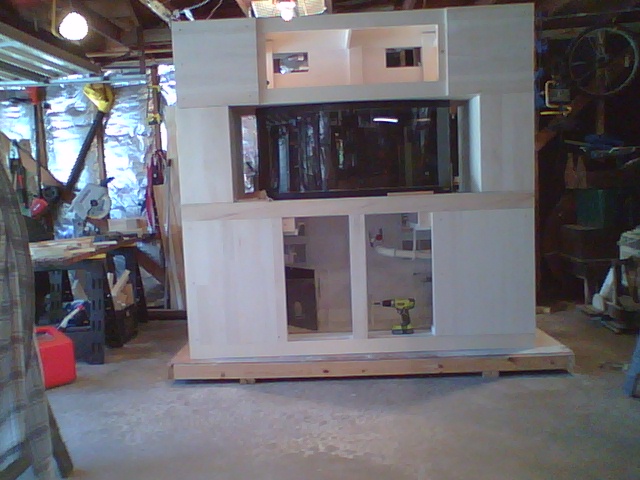
Here's the stand and canopy as I'm just putting the aspen "skin" on the framing.


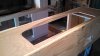
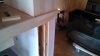
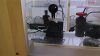
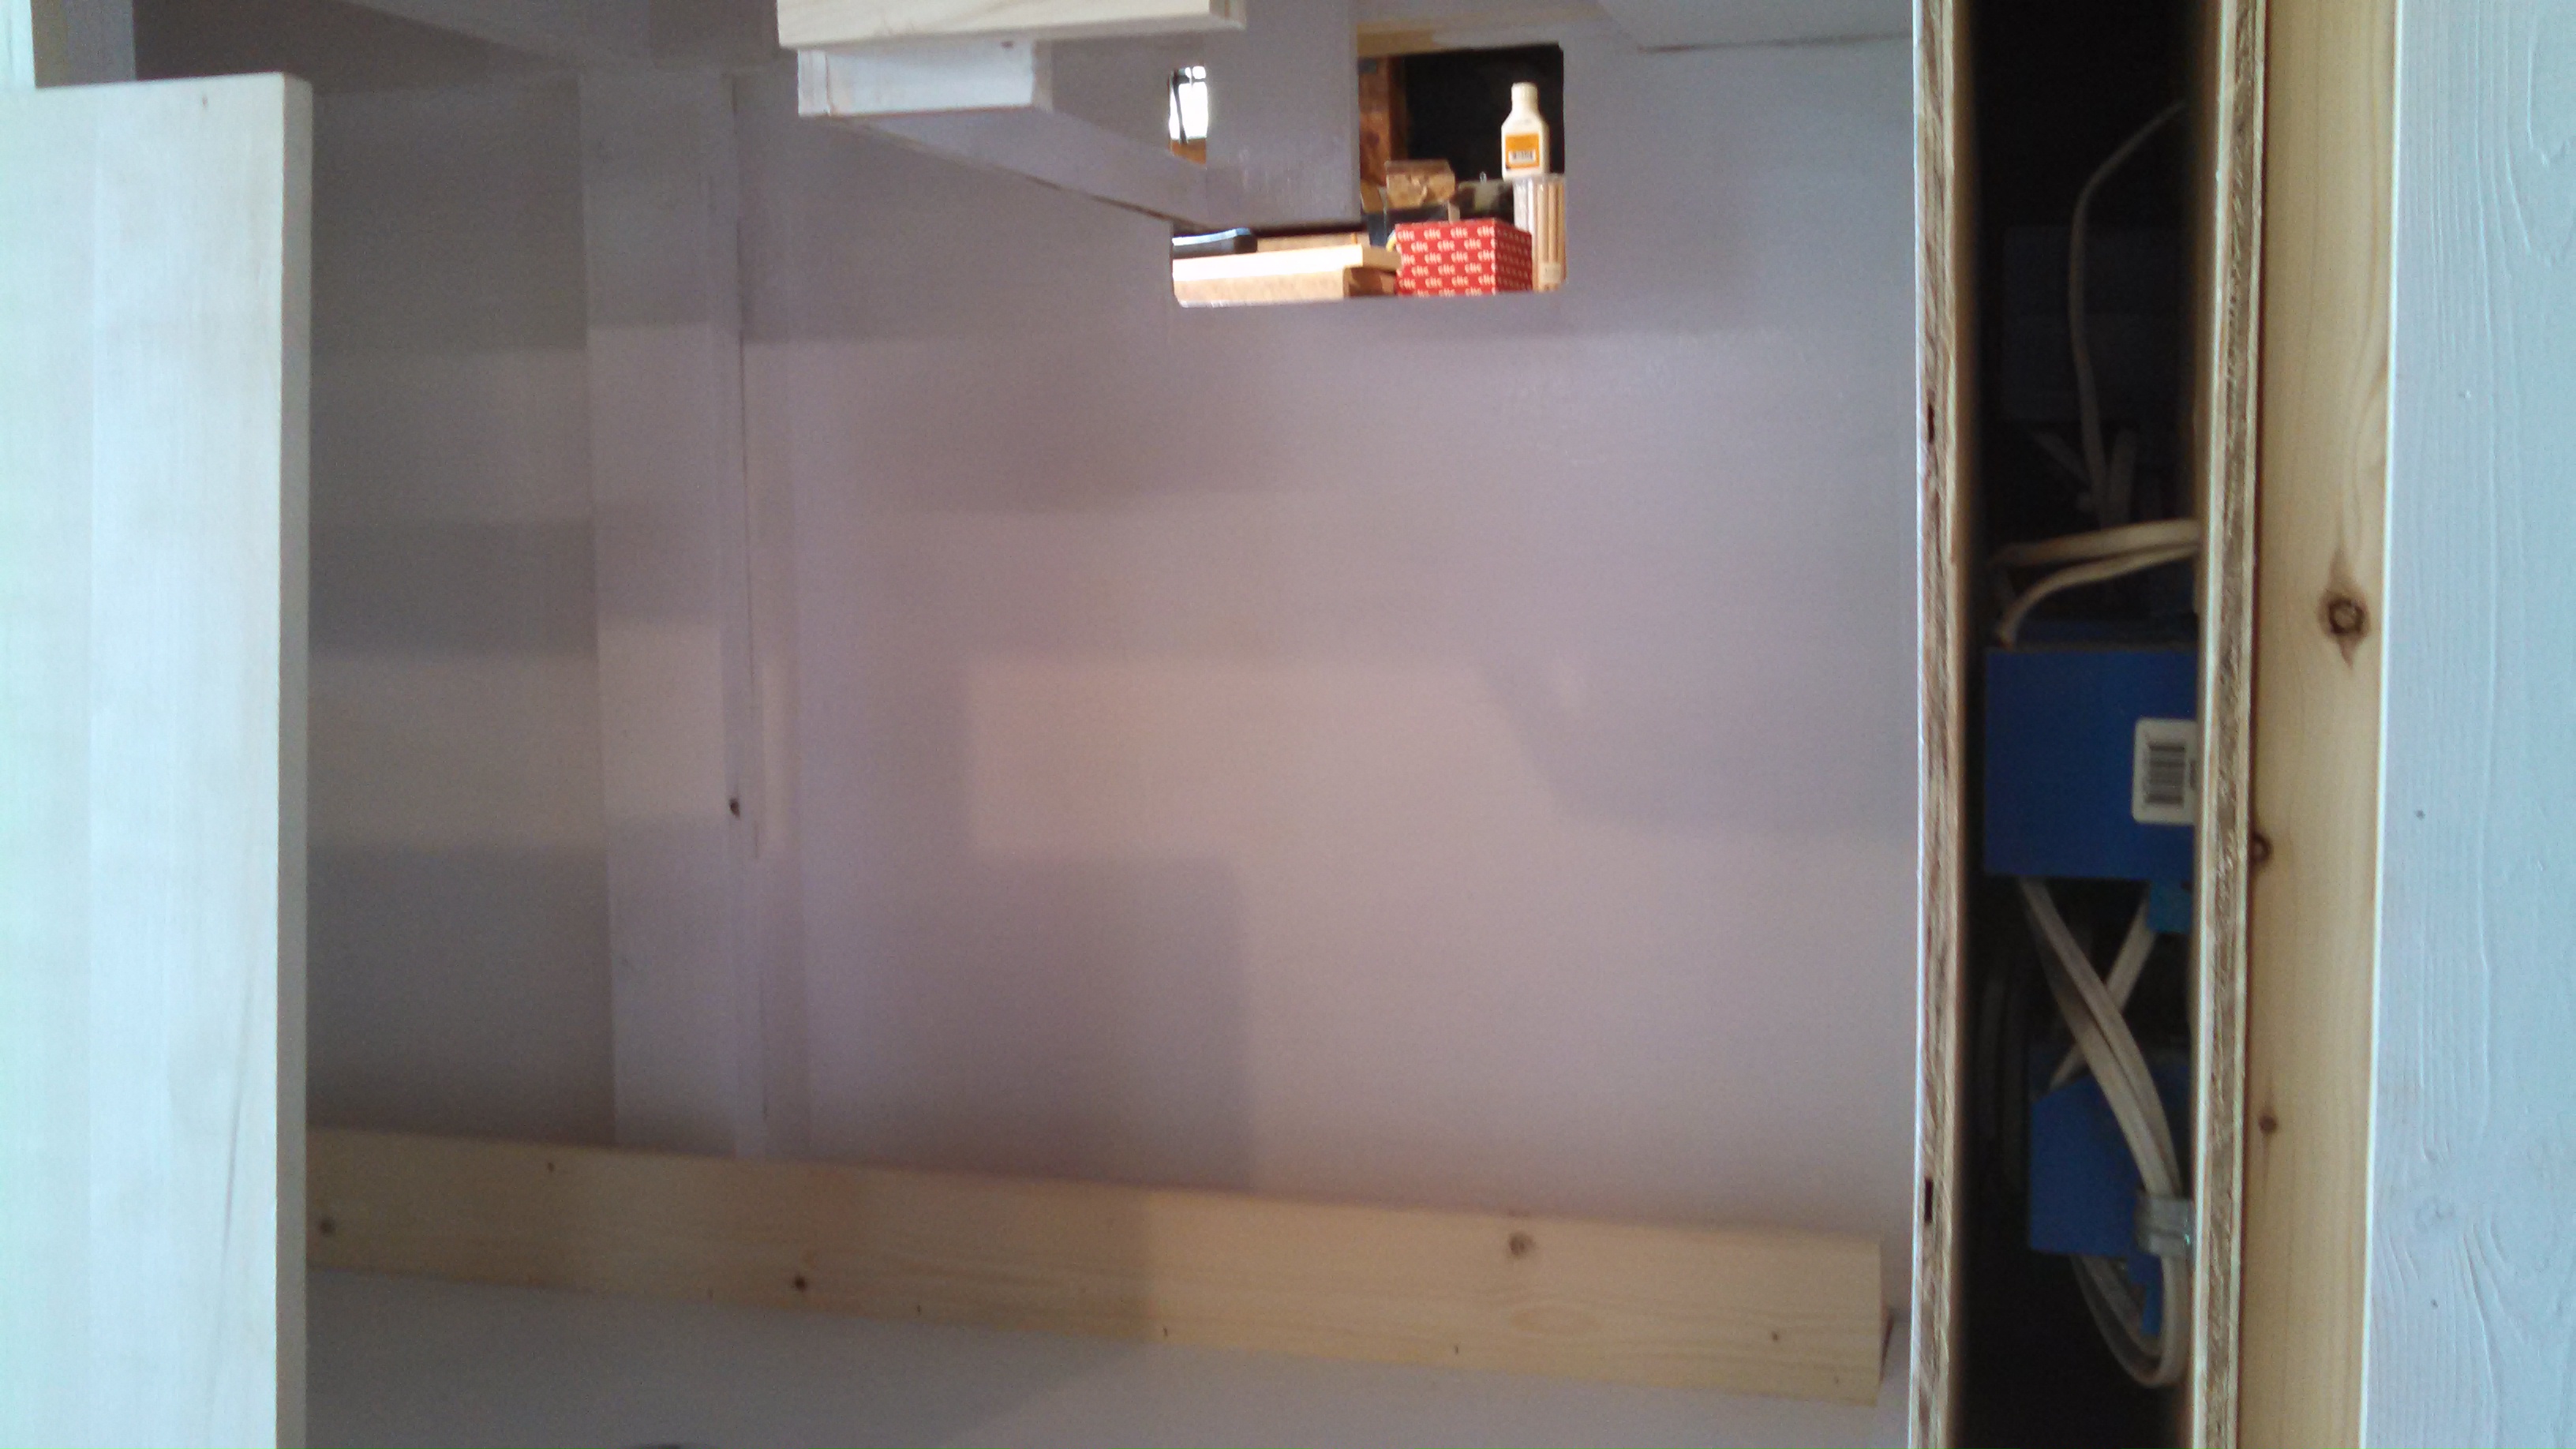
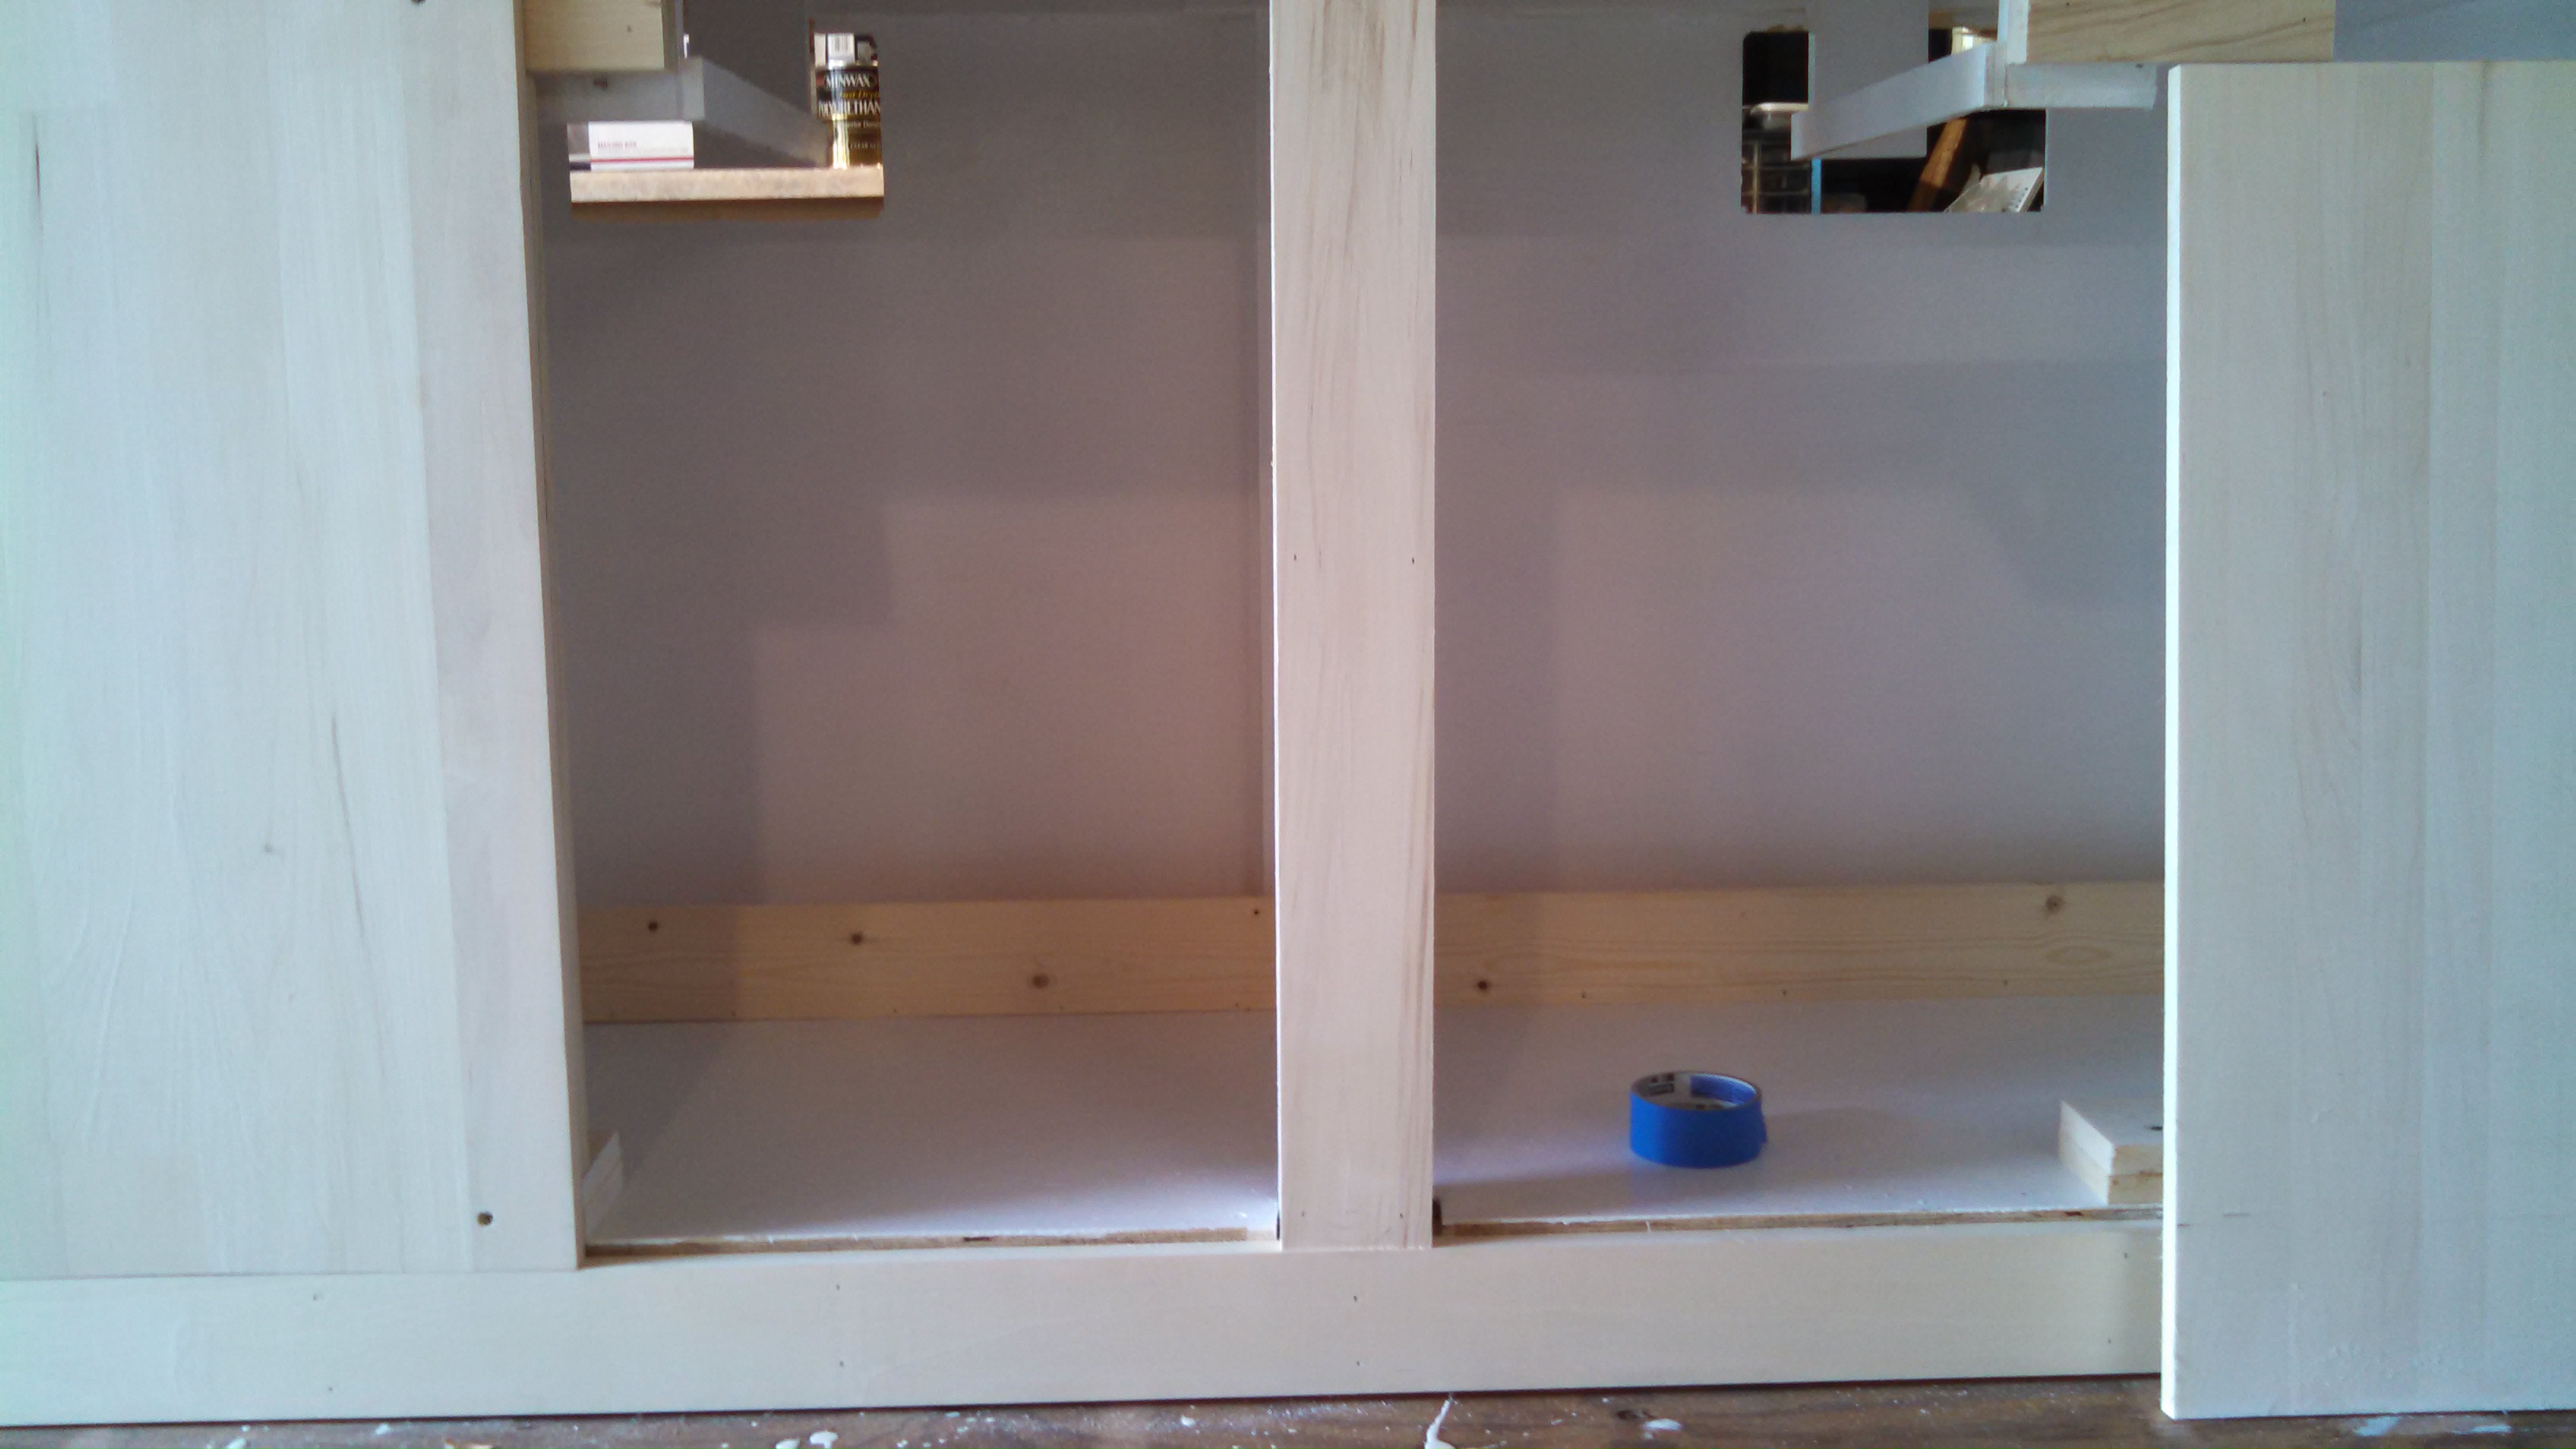
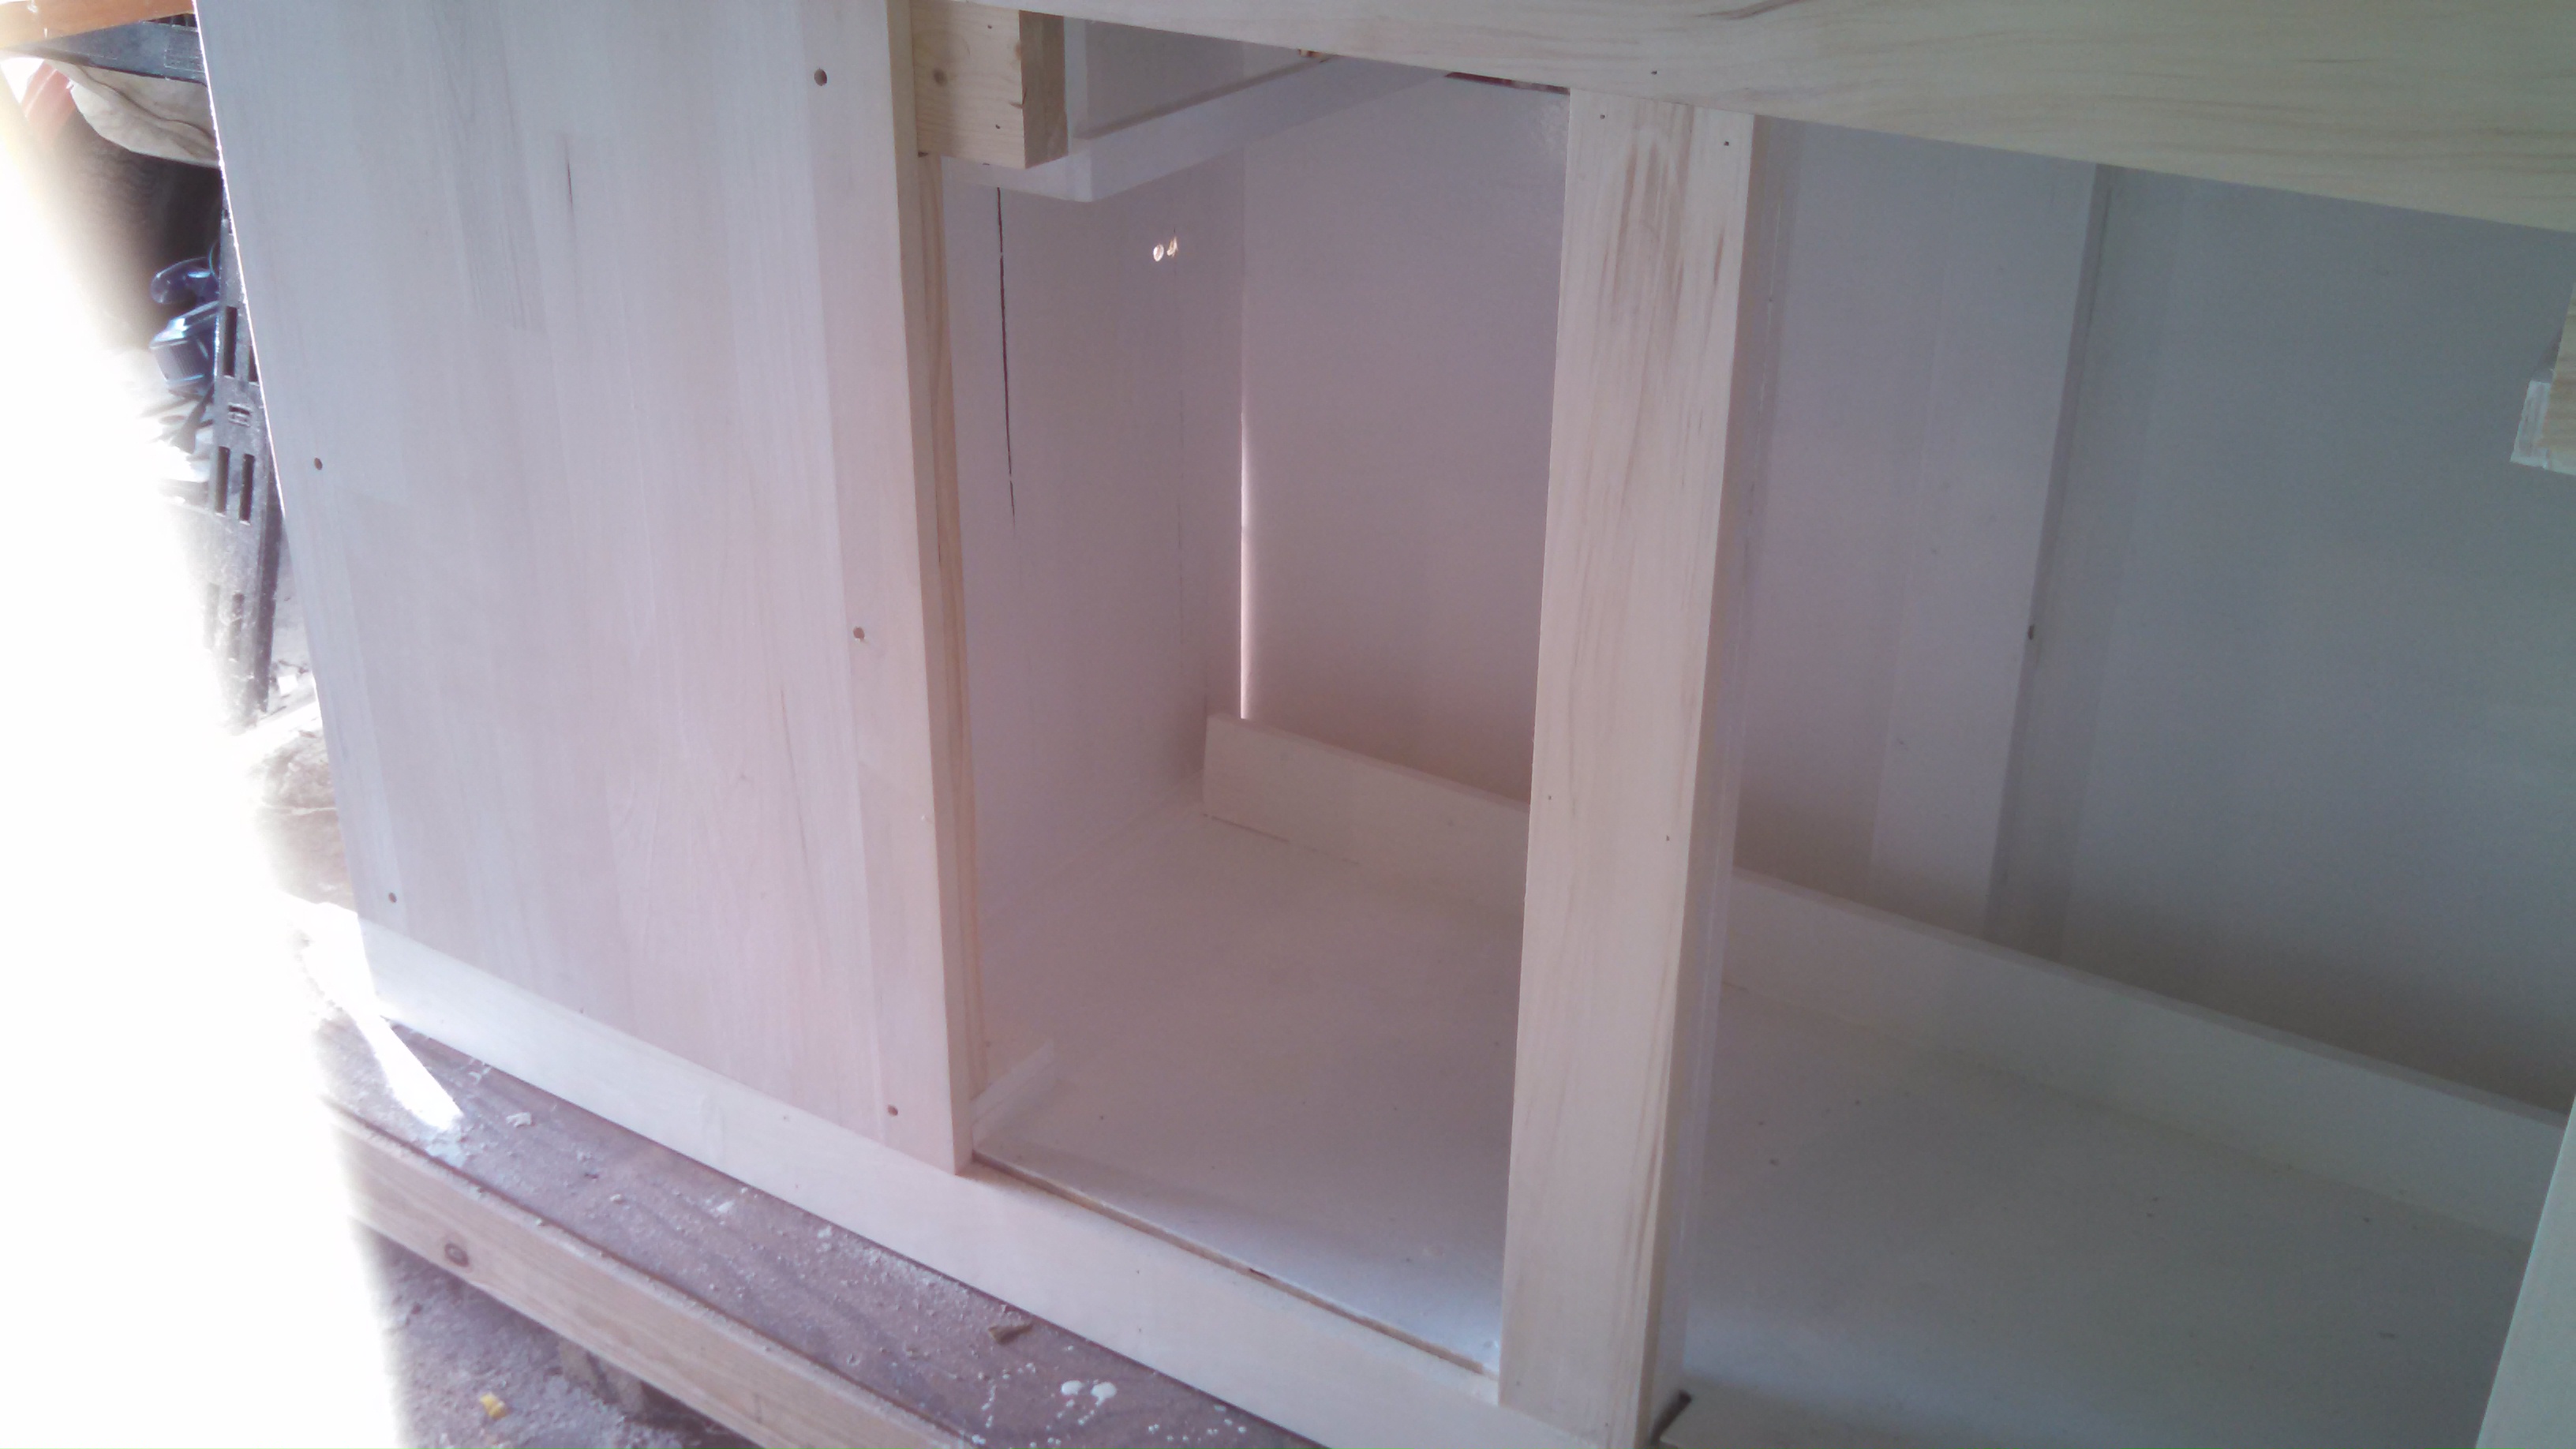
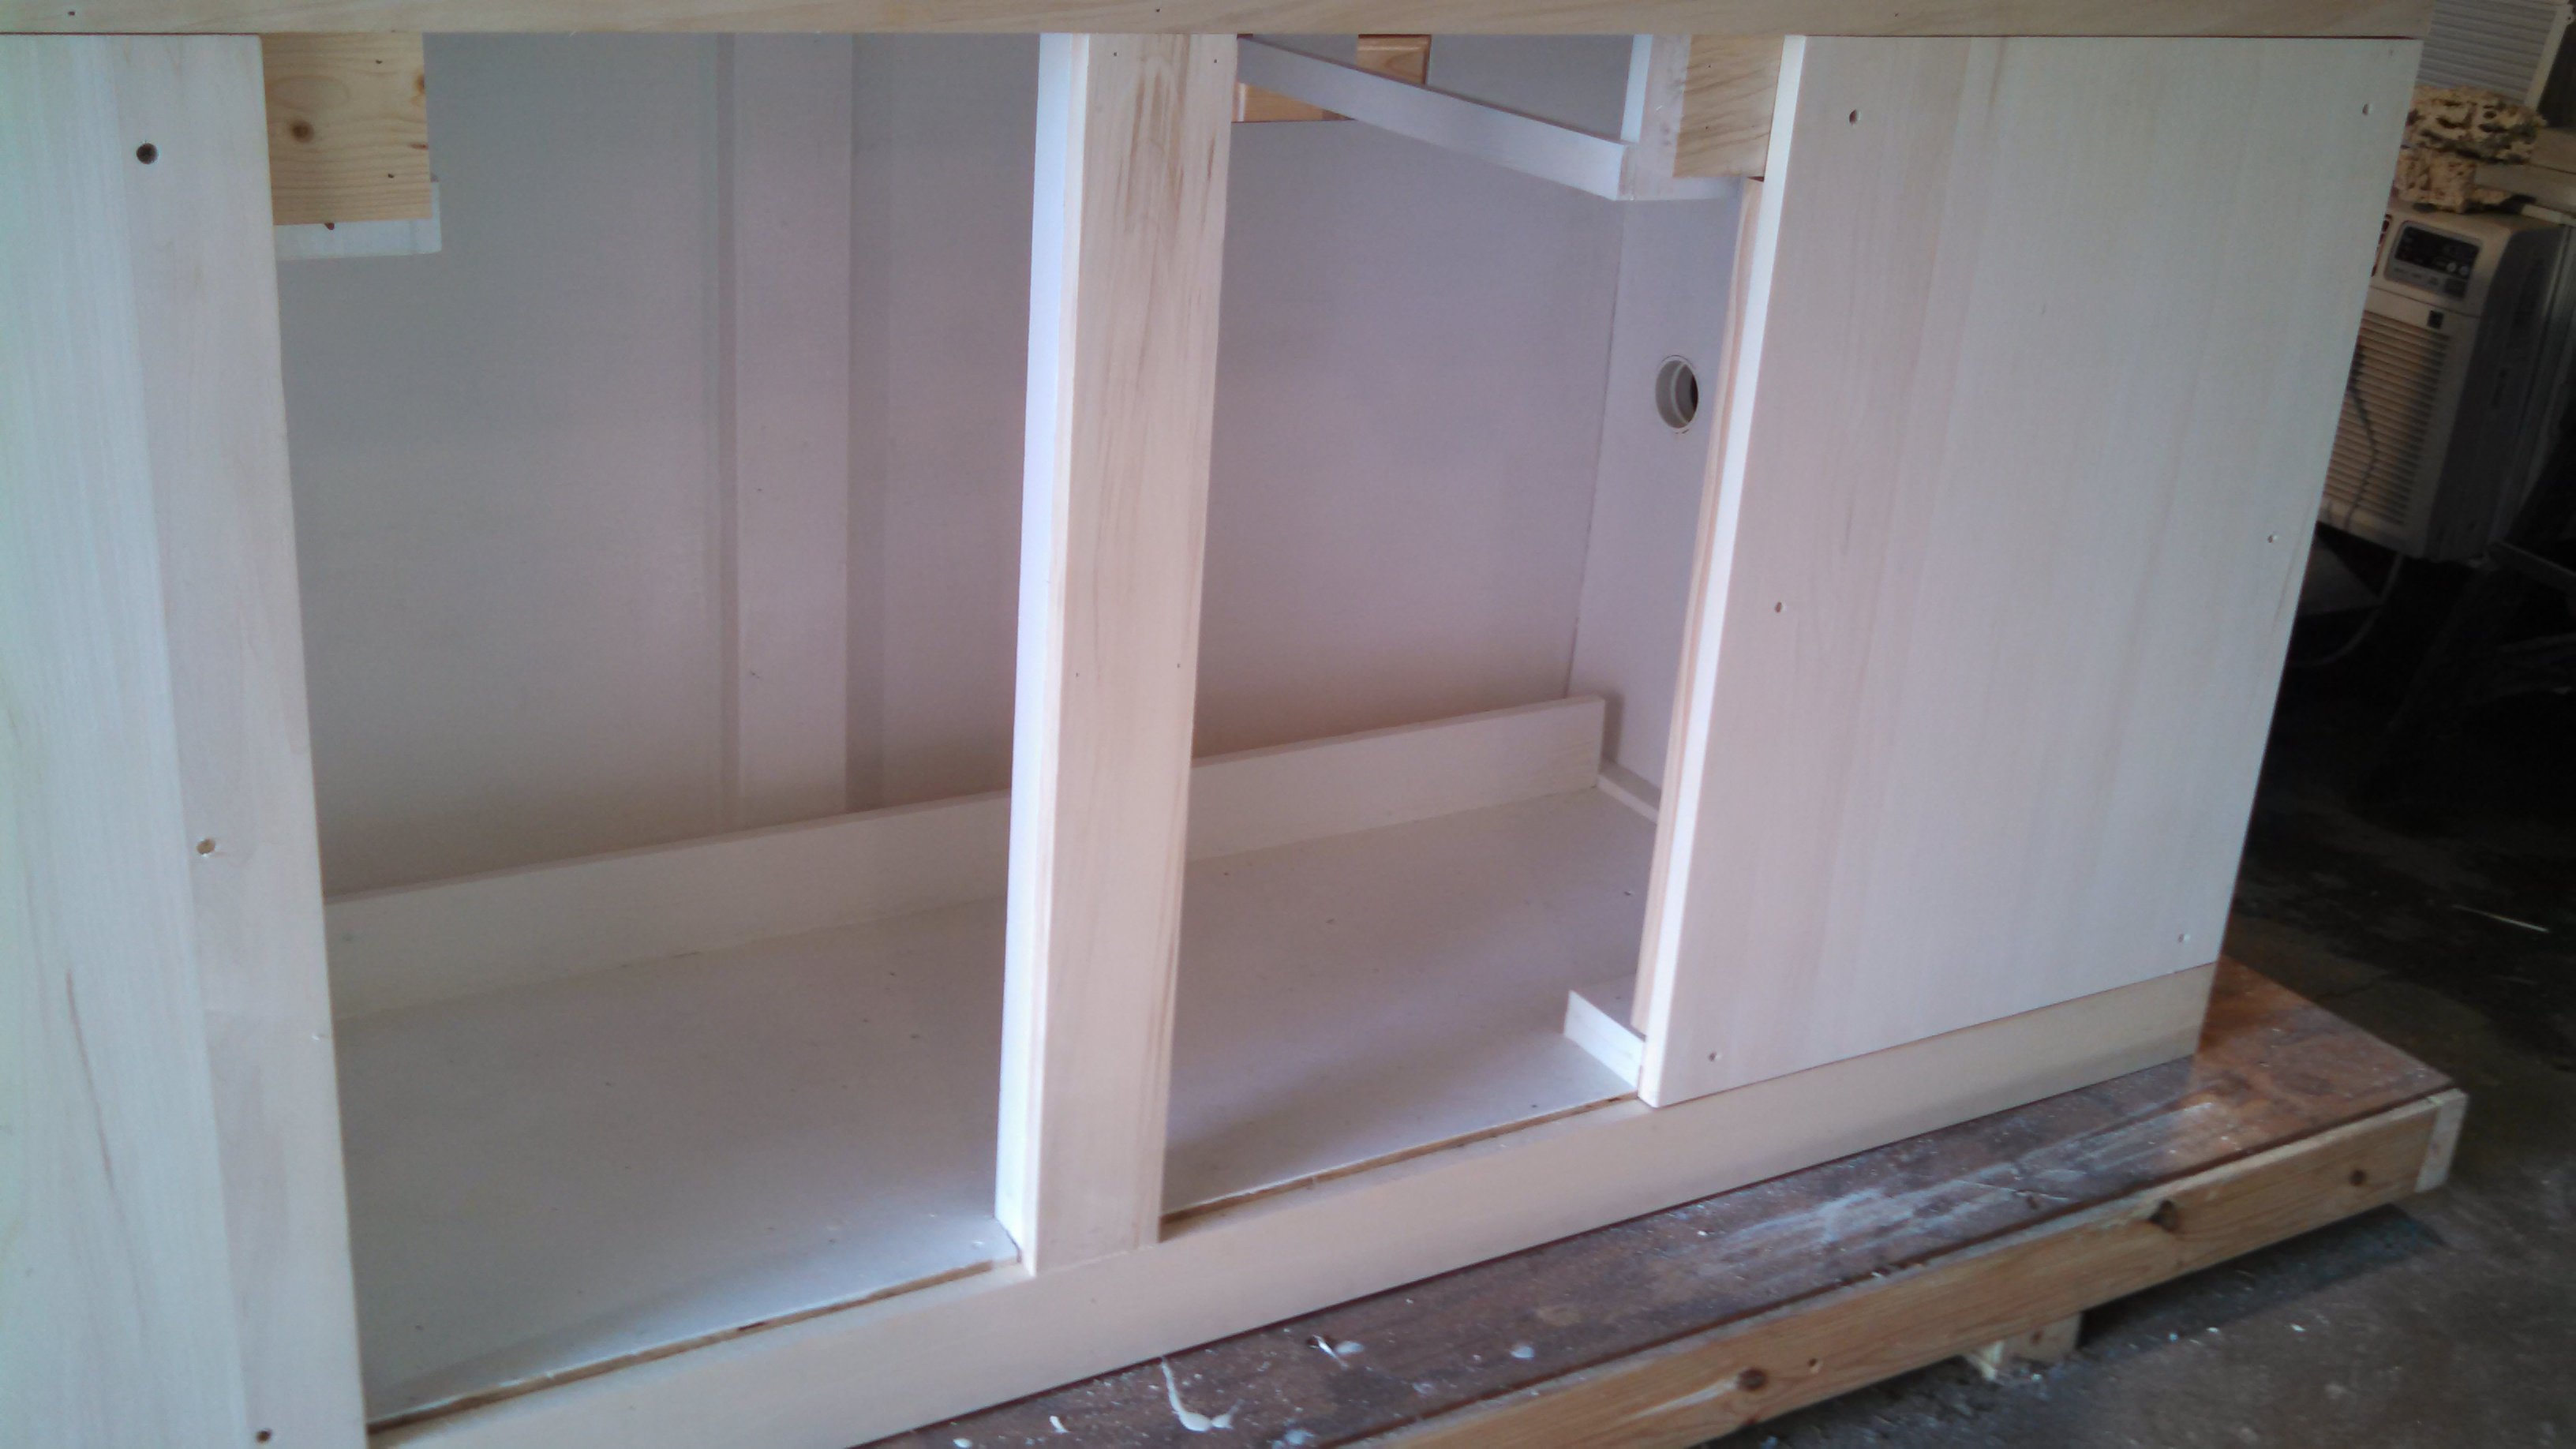
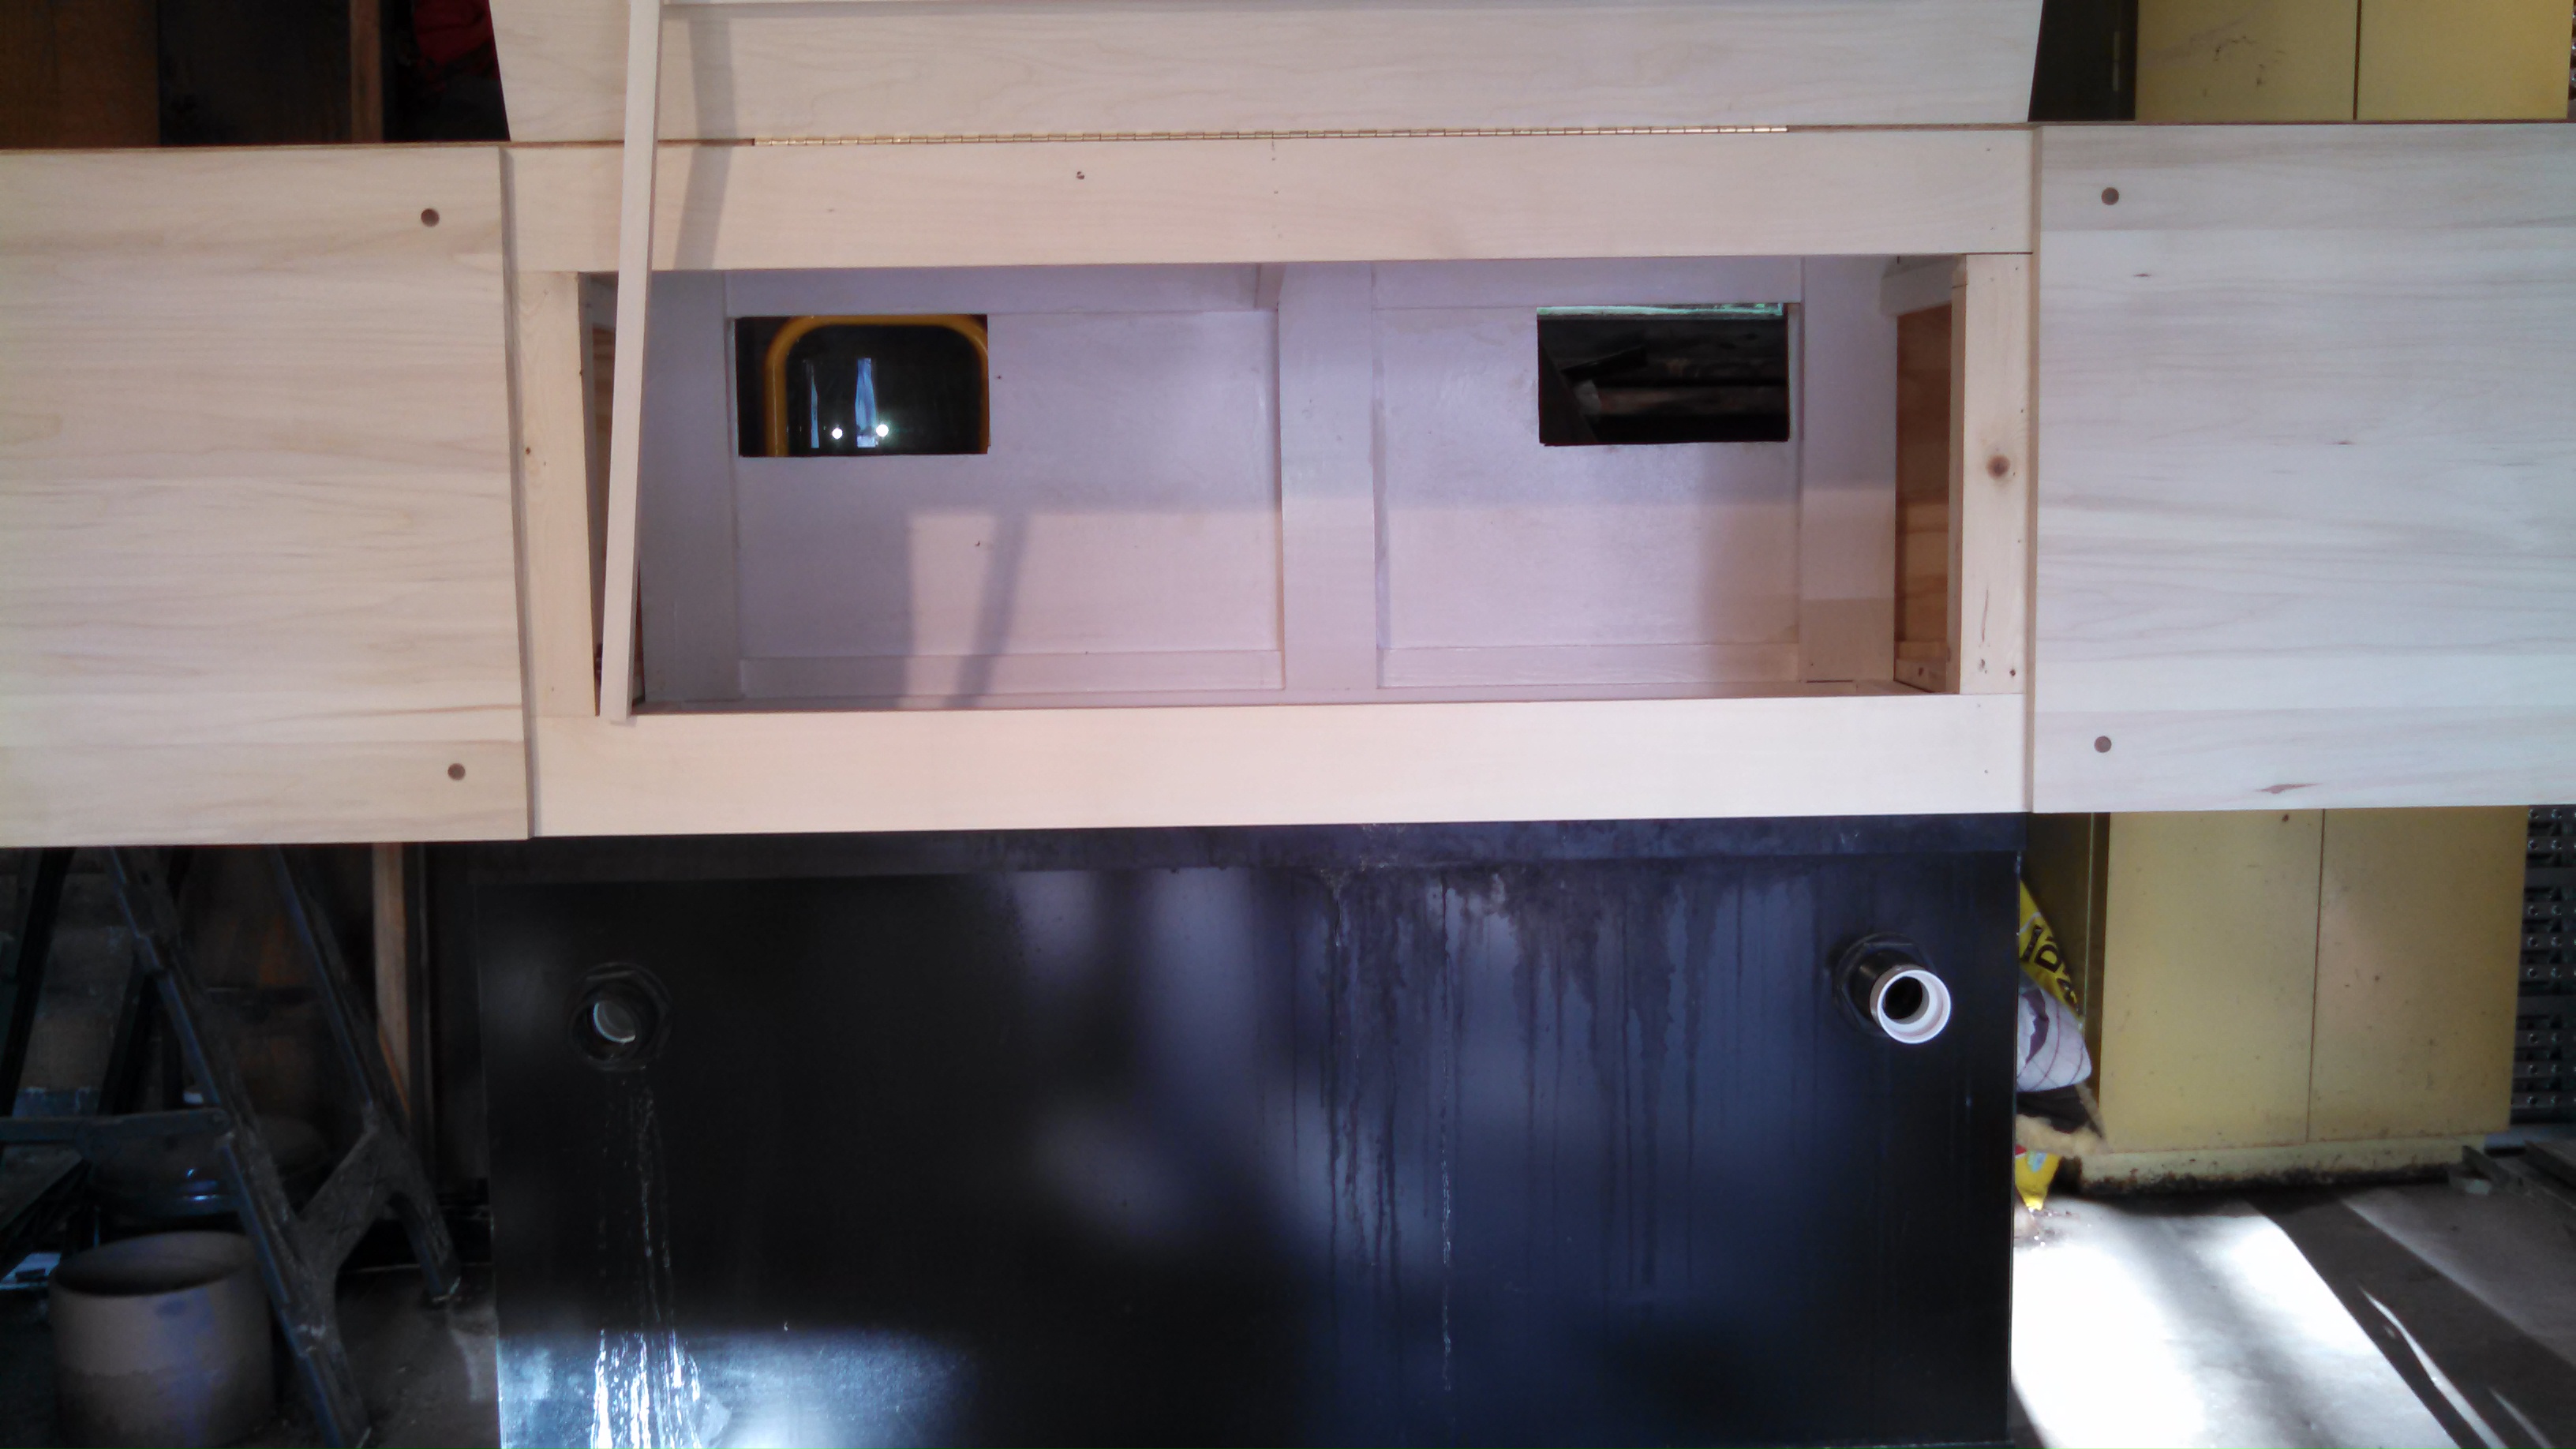
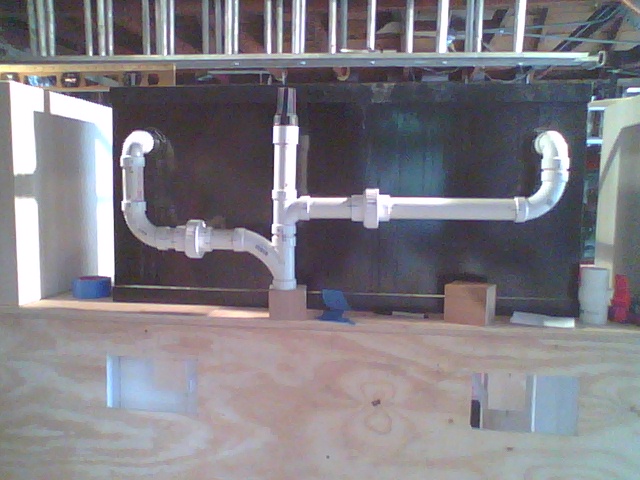
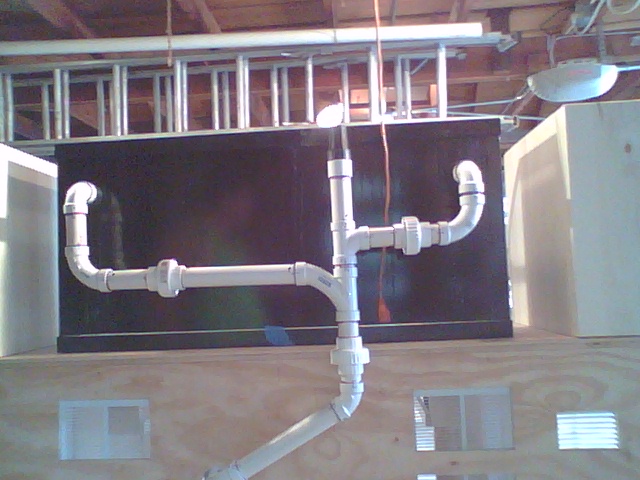
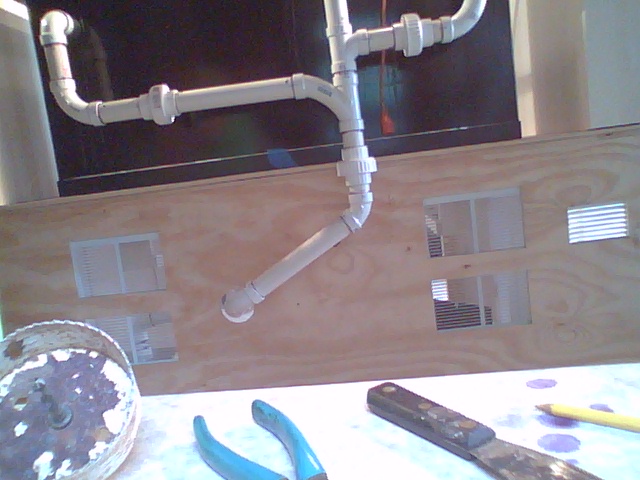
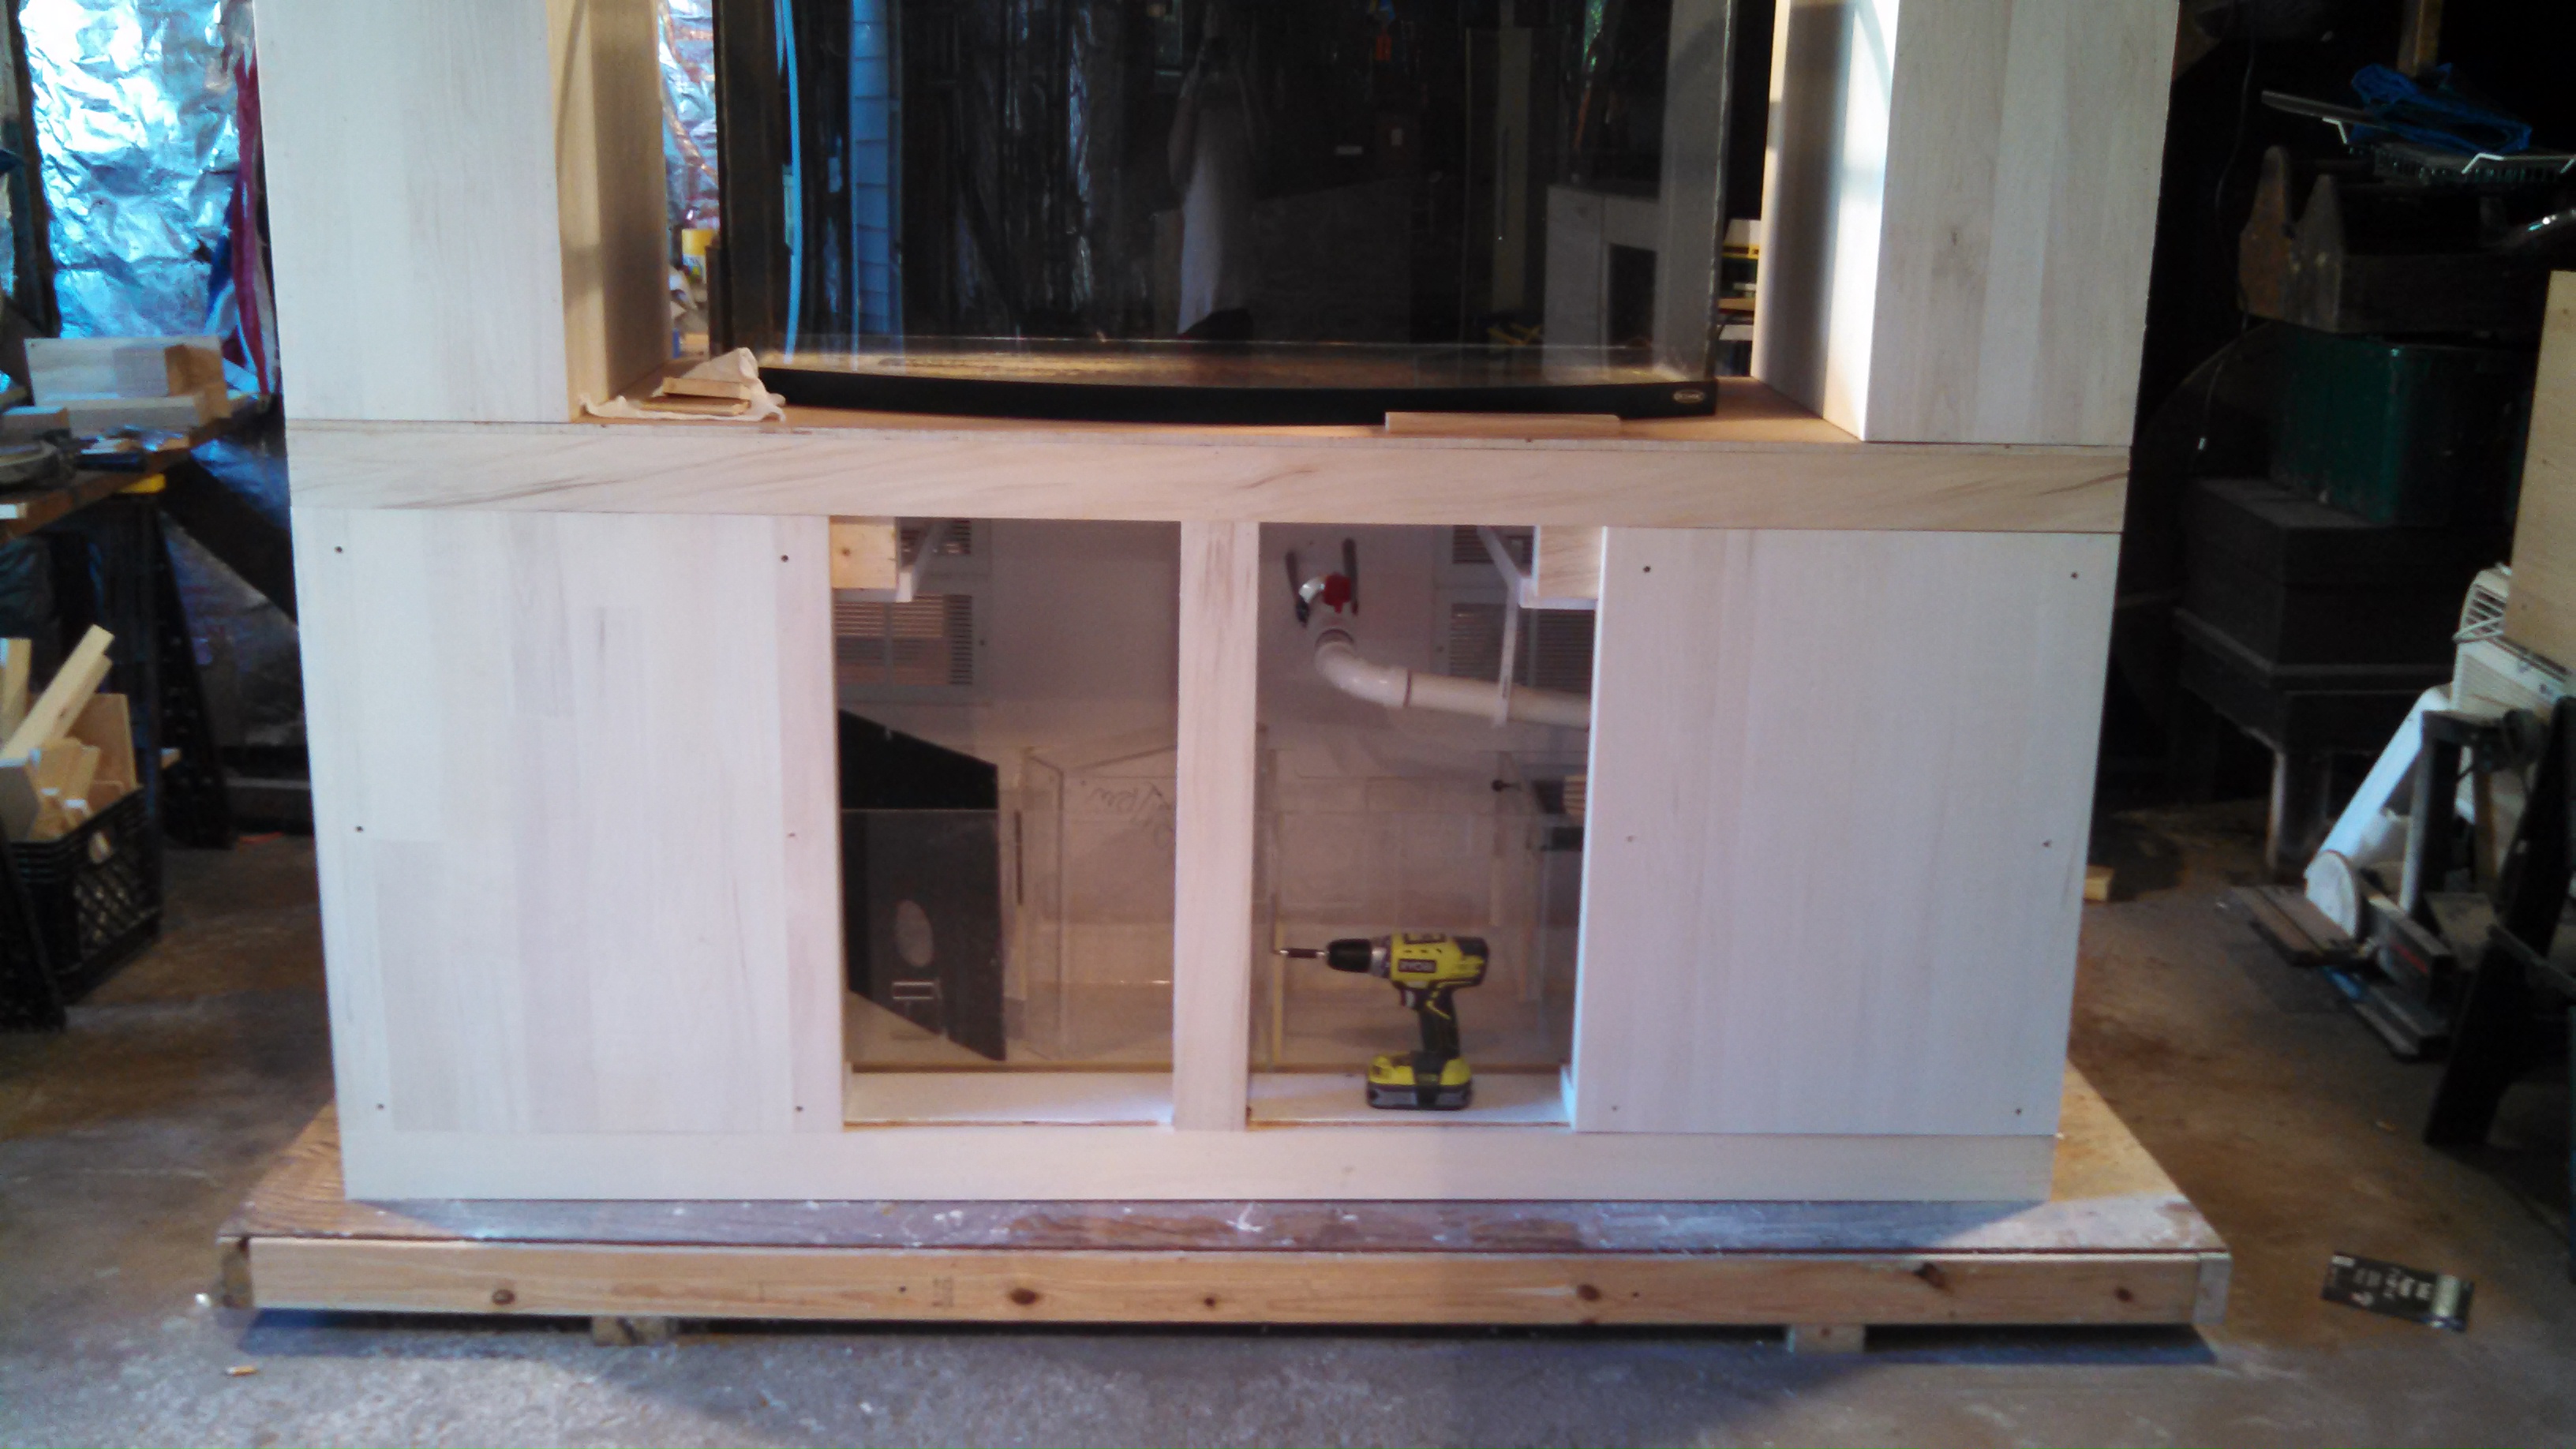
Here you see the holes I made for the power and tubing lines for the ATO.


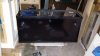
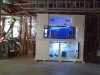
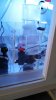
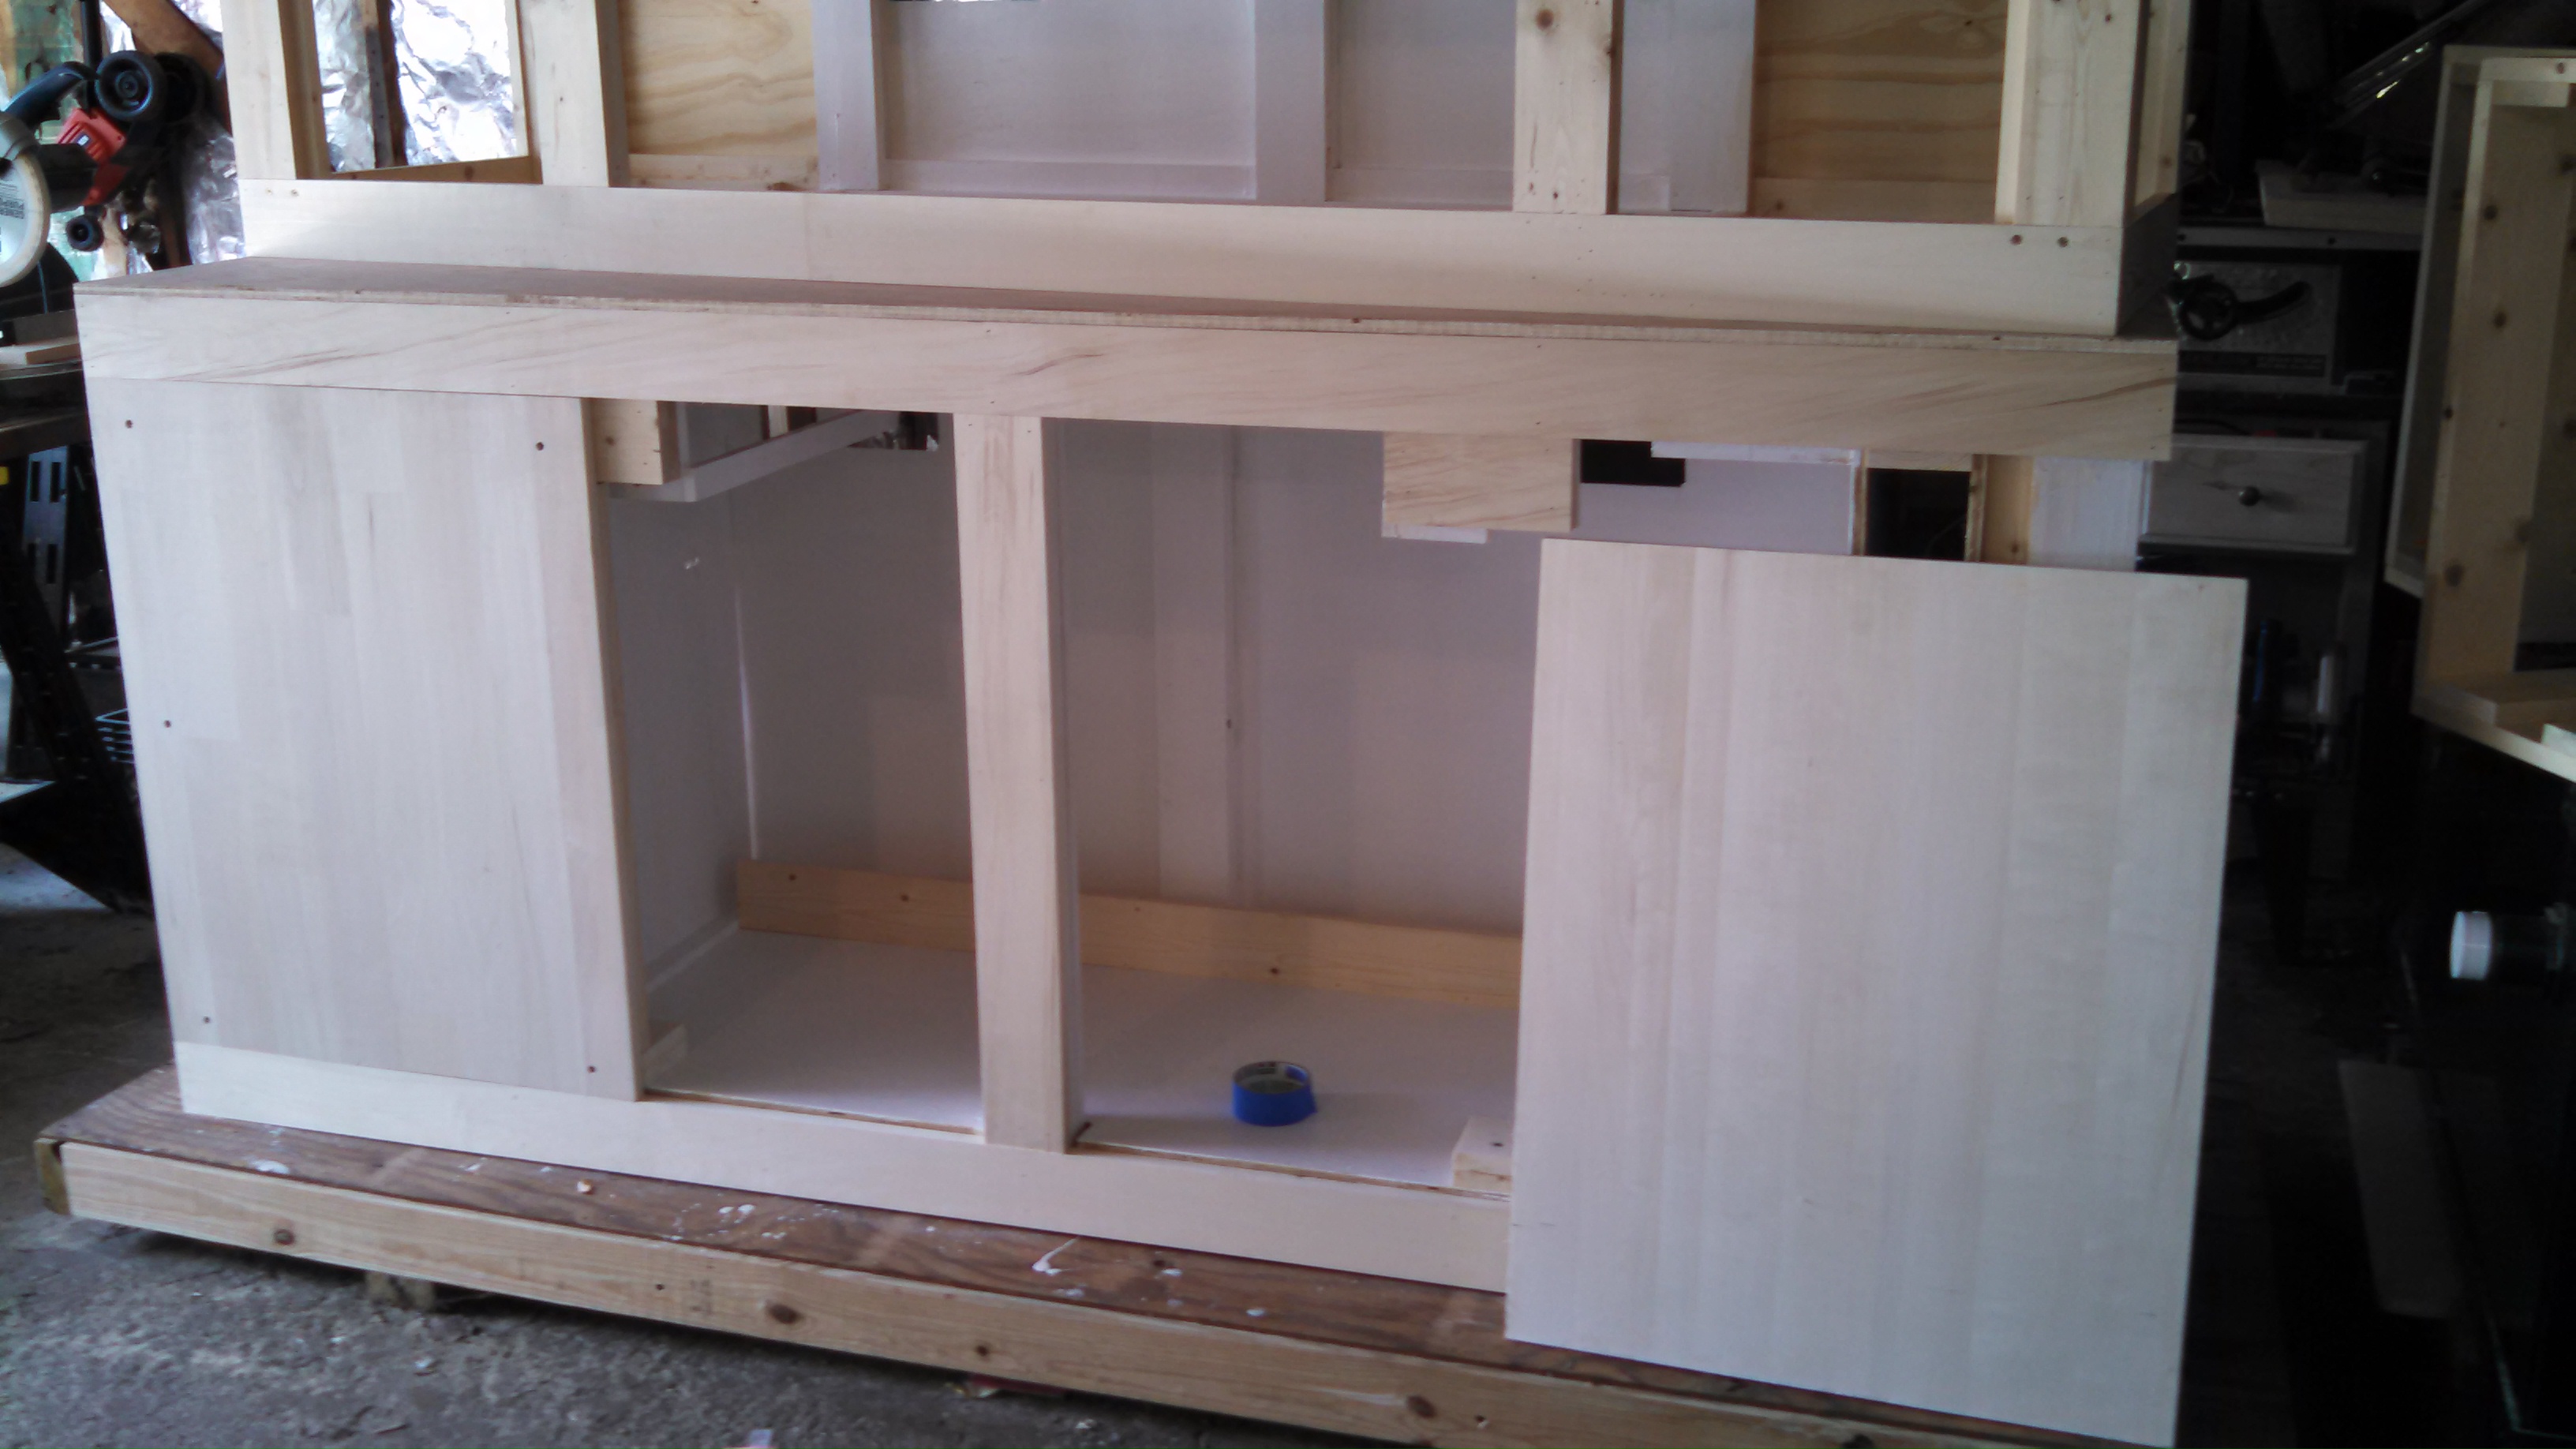
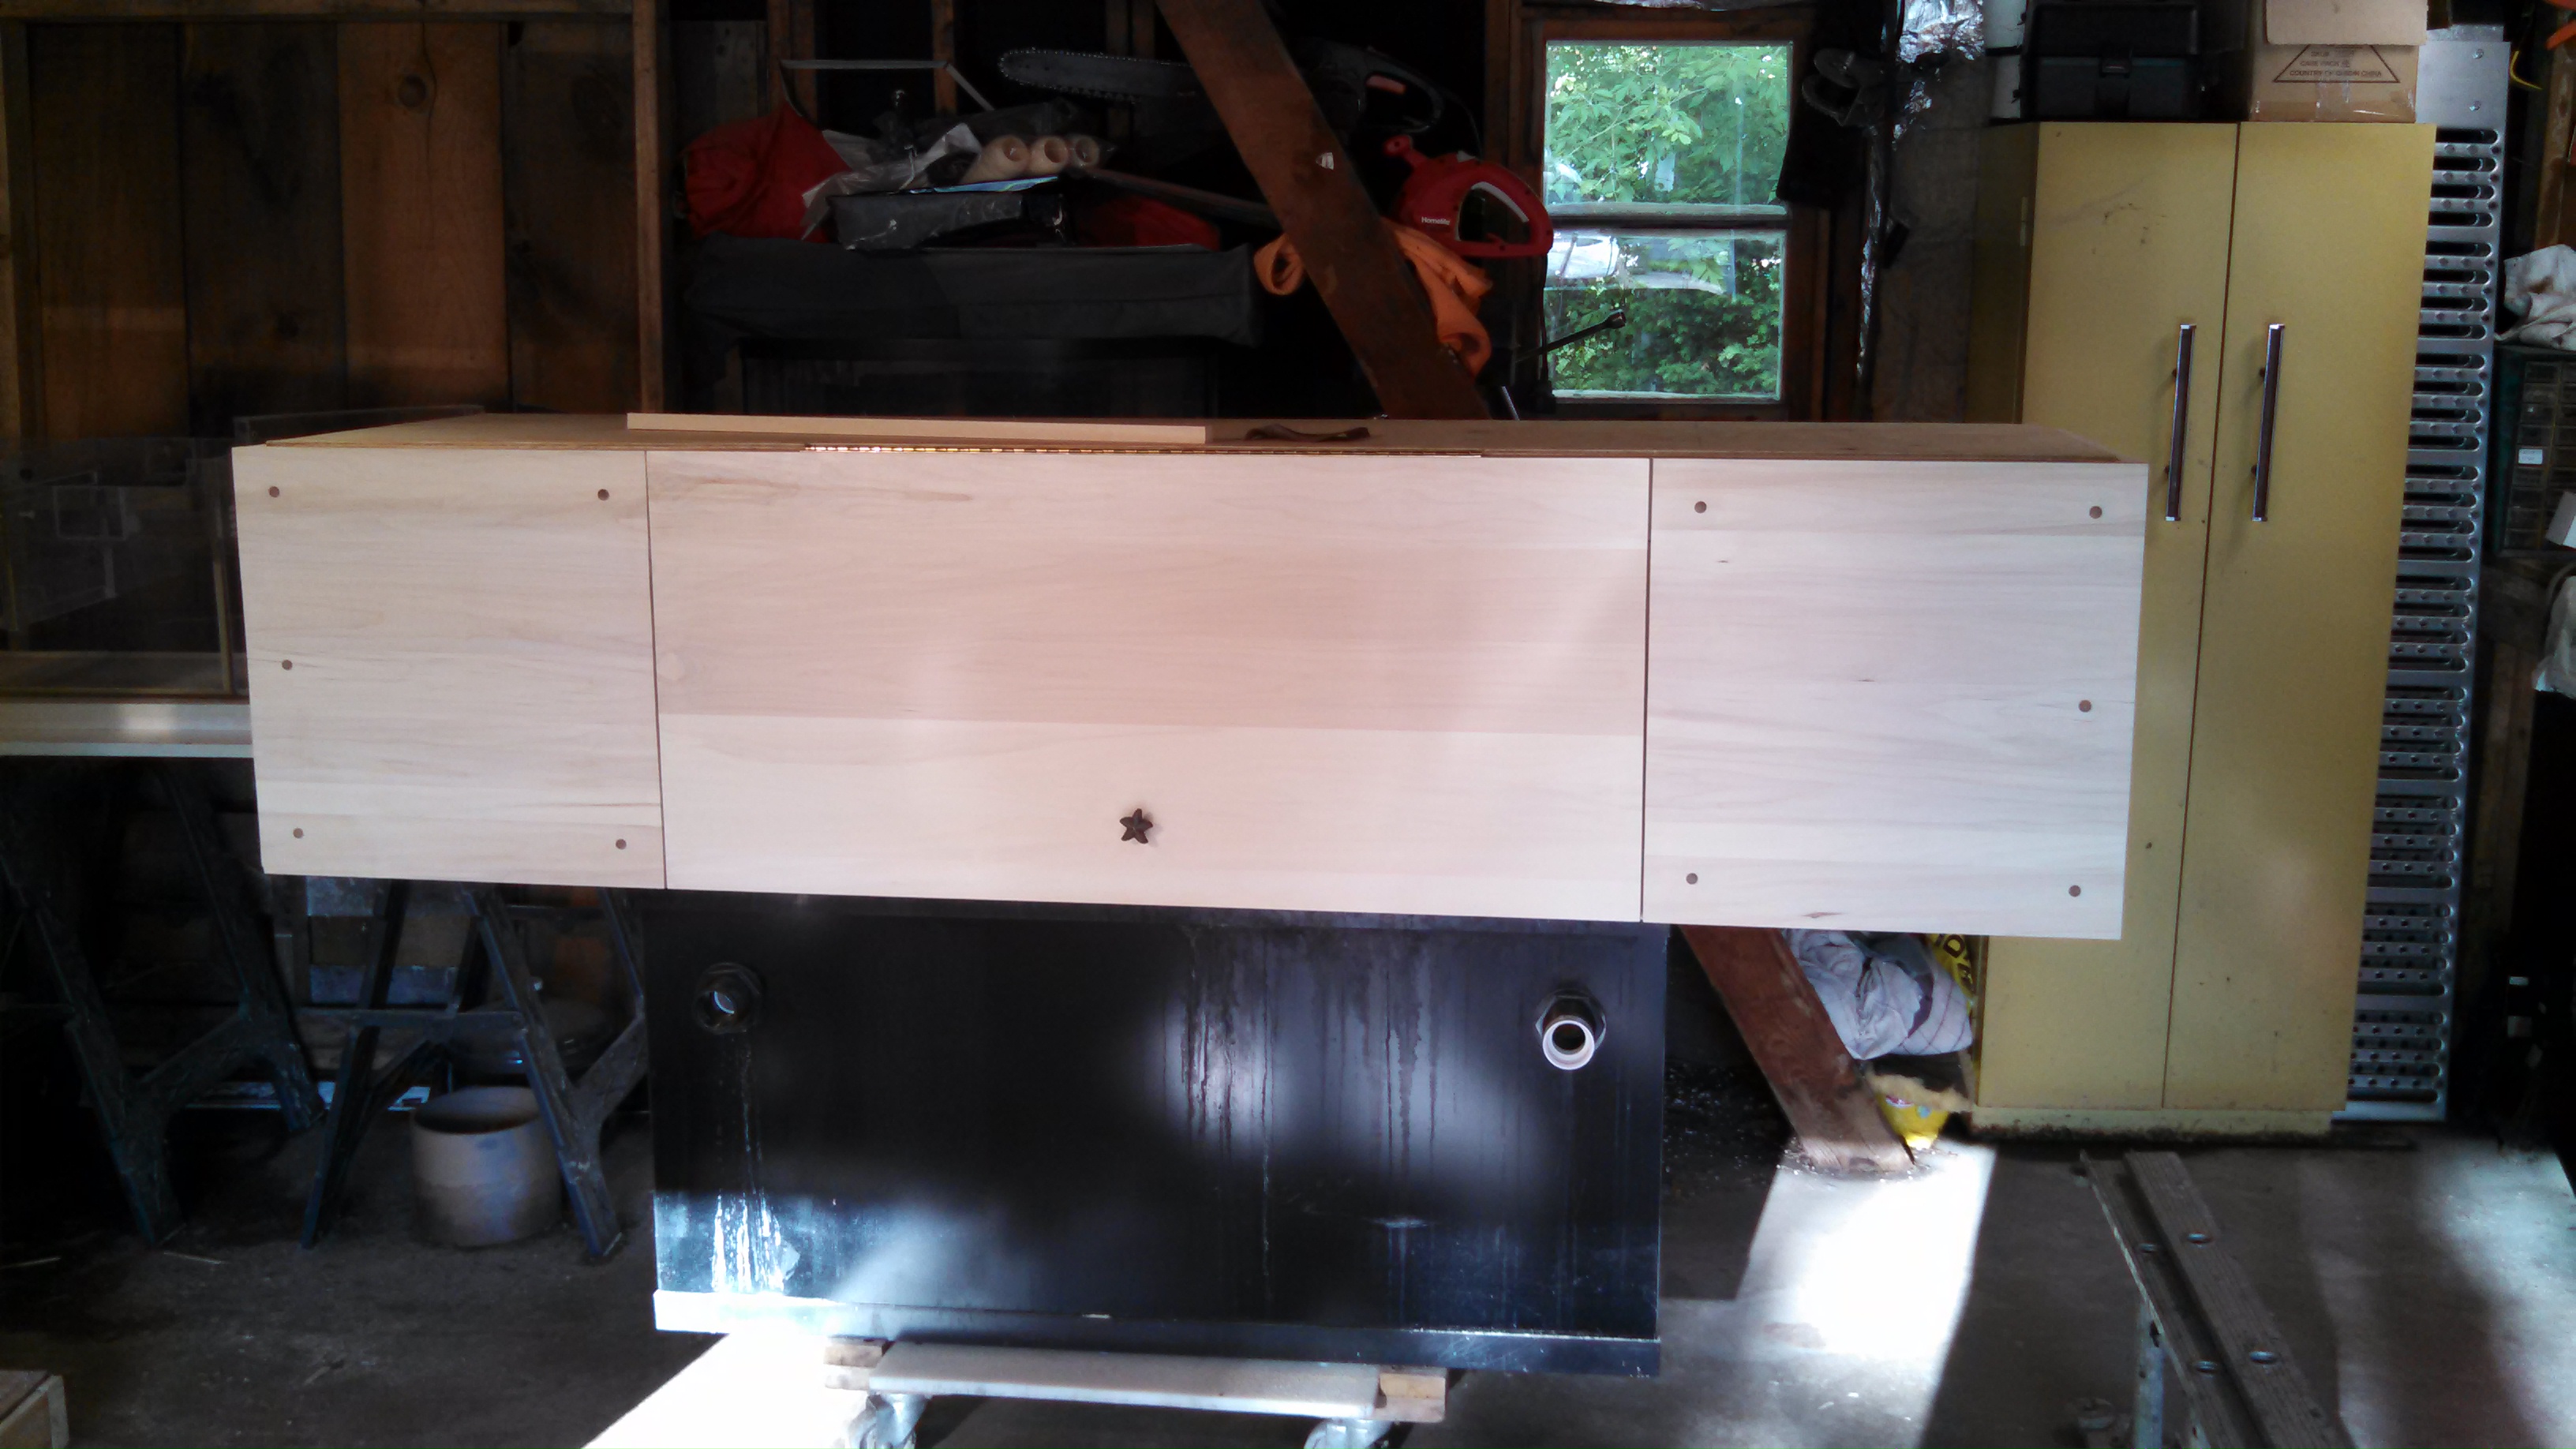
The two pieces at either end of the face are easily removed in case I need to take the sump out or do any major repairs. I can also take the back off.
e="61" src="https://forums.saltwaterfish.com/data/0/02/02599098_2014-06-1218.45.45.jpeg


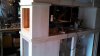
Here's the canopy with all the aspen installed. I remember 2quills saying how the wood swelled on the center swing door of his build which caused it to come off so I put five layers of painters tape between the door and the frame when I installed the piano hinge to give it just a little space for swelling. Then to keep the door from twisting, warping or bowing, I reinforced it with a 1x2 aspen frame. I still haven't decided on what I'm going to use to keep the door open while I work or feed. I tried a couple of friction support hinges for chests but it just wasn't working the way I wanted them to so I took them off. I know what I really need but I'll have to surf the net to find them.


All I need to do now is install the aspen on the towers, trim everything, order the doors (I'm barely getting the stand built with the talents I have so having the doors made is the safest way to go. Besides, there's eight doors to make.), have the doors installed (I really don't want to get them on cockeyed and I have a friend who builds cabinet so I'd rather pay him to install them.), do a lot of tweeking along with a ton of sanding and I'll be ready for stain and poly. After which I'll put it all together with the tank, plump it and start testing the system for leaks and errors. I need to get a punch list together so I don't forget anything.

Well, that's it for now. Any ideas, comments or suggestions, feel free to post them.
wow the stand looks a lot different sence i have last seen it, it looks like your work is paying off, great job
. did you ever decide on what wood color you are going with? your rock is also looking great, it really does look like a structure you would find on a reef.
 

silverado61

Well-Known Member
Plumbing update:

Well, I finished the plumbing for the tank except for the return. Here are the photos I took:

Here's how it looked when I first fit it together. The overflow is going to empty into the sump on the left side as your looking at the photo so, as you can see, the drain would have to take a sever turn downward to reach the sump and I didn't like the looks of that or the idea of it and it would have made too much noise rushing through the pipe.


Here's how it looks after I changed it. Much more gentle slope now. It should be a lot quieter this way.


This is what it looks like from the inside at the sump.


The hole is drilled larger than it needs to be because the union for this section is on the backside of the stand and needs to fit through here if I ever need to remove this piece.
The valve is still a biotch to open and close. If anyone has any ideas on how to loosen it up, please let me know.


I used an acrylic pan turned upside down to help muffle the sound of the water pouring into the sump and a polycarbonate (I got that word from you 2quills.
) plate with holes drilled in it to help slow it down and reduce the noise even farther. Kinda like a slow drip coffee maker.


Well, that's it. As always, any comments, suggestions or ideas, Let me know.

The next step is to set the canopy on top, mark the opening for the tank, turn the canopy upside down and cut out what I marked. Anybody want to help lift a 150lb canopy over your head to get it up there?


Not looking forward to sanding this monster for stain and poly. Long and tedious job, but oh well. Gotta be done. Right?

I keep forgetting to order the doors.
 

silverado61

Well-Known Member
BTW:

Here's what the stand looked like as a skeleton.


And here's what it looks like so far.

Not bad for a total amateur huh?

I'll show what it looks like with the canopy as soon as I can find someone to help me put it up there.
 

silverado61

Well-Known Member
Update:

Well I got the canopy up there by myself. I did it in stages but I did it. I even got it down by myself. Here's what it looks like:


trigger40

Well-Known Member
uggg... those valves are a pain. i dont have them on my tank, but i do on the pool filter! the only thing i can think of is some WD40 but i wouldent risk it contaminating the water. but talk about a complex filter those pool filters are huge. i always break those thing turning them. but mine are out in the sun so you wont haft to worry about that. uhhhhh... dont forget to order the doors lol. and i feel your pain, lifting 150 pounds over your head isnt easy.

the tank is really coming along!
 

2quills

Well-Known Member
Grease, really is the only way to loosen them up a bit. Jandy, valves are marketed in the pool industry a lot, they actually have a port on them for 're greasing from time to time. Other than that, the gate valves or the union ball valves are far easier to turn than the basic ball valves.
Looking good.
 

silverado61

Well-Known Member
Last update before the 8 day eclipse:


DIY rock is still at 8.4 I change the water every 2-3 days.

I started sanding the stand. Looking smooth baby! WOO HOO!

Still gotta couple of tweaks though but I'm working on them.

Talk to everybody when the lights come back on.
 

silverado61

Well-Known Member
Well I finished sanding and 90% of the trim is done. I decided to go with simple 1x2 aspen for the trim. Clean lines. Nothing fancy. I didn't want to take away from the tank.
I think I lost most of my photos so it'll take a while to repost them.
 

trigger40

Well-Known Member
well good. i bet it looks great! so how far away do you think you are from filling it up with water?
 

silverado61

Well-Known Member
If I can ever get my camera to upload photos to my computer and then upload them here, I've got one H.E "double toothpicks" of an update to post.

Looks like all my missing pics are back on this thread though. Thanks Easter Bunny! Err, I mean, Thanks swf.com!;)
 

Skinr1

Member
hey silver you just gave me a cool idea about something I can do with an old 30gal, plexiglass tank I got in storage , maybe I will make a big wet dry out of it hummmmmmm , im watchin this
 

Skinr1

Member
I must say that's a killer build , sad to say in florida that would be termite food quick . on my 90gal when I got it I cut all the guts out of the base and set it on cinder blocks just as a precaution .
 

silverado61

Well-Known Member
test: this is a test to see if I can tag a photo here.
IMG_20140704_132753_703_zps9qyqvrca.jpg

So far so good.

BTW: PH on the DIY rocks is at 8.2
 

silverado61

Well-Known Member
I cut the canopy to fit the tank.

IMG_20140704_132753_703_zps9qyqvrca.jpg IMG_20140704_135631_180_zpsahitzzmq.jpg

And I drilled the tank for the return.

IMG_20140725_191027_353_zps0h0ecpip.jpg IMG_20140725_191050_793_zpstlb4flih.jpg

OK. This is going to be a two part update.

Part one:

Things have been moving along quite nicely. Every things been sanded and is ready for staining. I put all the trim on also. I decided to go with some thing simple. 1x2 Aspen. Nothing fancy. No crown molding, no dentil molding. Just plain, sweet and simple. I want to keep it esthetically pleasing with out taking away from the tank. An after thought so to speak. I want people to walk into the room and say, "WOW! What an awesome tank!" And then, "Holy crap! Look at the stand!" I'm even thinking of leaving the stand a natural Aspen and Oak and polying the whole thing. Or maybe just a light stain. I'll have to think about it some more. But I want to get it finished so I have to decide soon.

Here's some photos of the stand so far:

IMG_20140720_153355_894_zpsxktv7dxw.jpg IMG_20140720_153427_180_zpsltxypafo.jpg IMG_20140720_153435_312_zpslzvdwsyi.jpg IMG_20140720_153355_894_zpsxktv7dxw.jpg IMG_20140720_153427_180_zpsltxypafo.jpg IMG_20140720_153435_312_zpslzvdwsyi.jpg IMG_20140720_153516_033_zpsgc66x1qd.jpg

As always, any comments or suggestions are more than welcome.
 

silverado61

Well-Known Member
Part two:

I put everything together, stand, tank, sump, plumbing, even water. Everything but rocks, sand and fish/corals. Then I fired it up so I could test the system and work any bugs out.

IMG_20140730_110342_653_zps45lc7jpj.jpg IMG_20140730_110811_975_zpsy9pjcnb9.jpg IMG_20140730_110855_379_zps6pov3f9o.jpg

The only leak I found in the whole system was a pin hole leak at the 90deg elbow from the return at the bulkhead and all it needed was more Teflon tape so that's plugged. I used a piece of the tubing from the return and put it on the inside of the return bulkhead so the water wouldn't splash everywhere.

When I shut the system down to simulate a power outage to check the flood level it started to syphon from the tank into the sump. Almost caused a flood! So I started it back up to stop the syphon and drilled a syphon break in the hose at the bulkhead. WHEW! Close!

This is the return pump I'm using. It's a Speedwave DC with 5 speed settings. 25w with a 10ft head and a max flow of 790gph. I've only got it pushing 6ft so it's more than enough. With the ventury heads I'm using with two 1ft lock lines and the two marineland 900gph power heads it should give me plenty of flow.
IMG_20140730_110531_609_zpslqaqlf5s.jpg
Here's the protein skimmer I got from Flower. The second photo is where I have it dialed at. I know it'll be different once there's salt in the mix but let me know if the level is OK would you Flower? If you can't see it, the water level is 1/2-3/4" below the collar that the cup attaches to. And, when should I fire this bad boy up?
IMG_20140730_110540_830_zps2pghvc9d.jpg IMG_20140730_110556_070_zpsgidi7zqi.jpg

Here's the algae scrubber I built for the fuge area. The screen is framed so all I have to do is take the cover off the scrubber and pull out the screen for cleaning. Then just slide it back in. The air stone is not attached. The scrubber is mounted to the fuge with silicone. I'm using one small air pump but I may double it to increase the rate. Only question is: Should I fire it up as soon as I start the cycle or wait?
IMG_20140730_110607_371_zps0g9gzqvi.jpg
I'm using red LEDs to illuminate the screen. There's 10 bulbs altogether. If that's too much, let me know and I'll cut it back. I'm going to run it on a 24hr schedule.

Here's where the overflow reaches the fuge area. I used a clear acrylic sheet with a hole cut the size of the return pipe. The pipe extends about 2in past the hole to muffle some of the noise from the rushing water. Under that, I put a sheet of black plastic with about 100 3/8" holes drilled in it to slow the water down to farther muffle the noise. Makes it pretty quiet.
IMG_20140730_110622_586_zpsjbvgc5bn.jpg

I simulated a power outage like 10 times just to make sure that all the water levels were good and I'm totally satisfied with the results. I also fired up the Finnex 300w heater in the fuge area and put a thermostat in the tank to make sure the turn over was enough to keep the tank and the sump/fuge area close to the same temp. The both the temps stayed at a variable of 78f and 79.5f
I'd post the pics I took but the files are too big to post here with this new website. They're in my photo album if you want to look at them there.
 

Attachments

Top