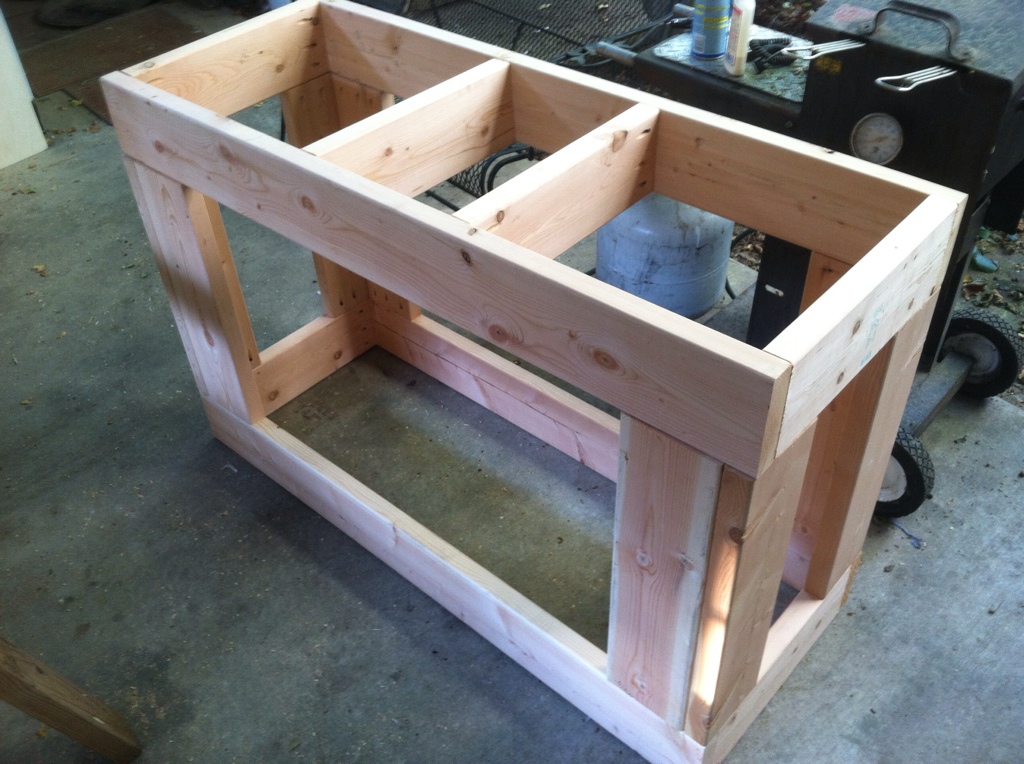
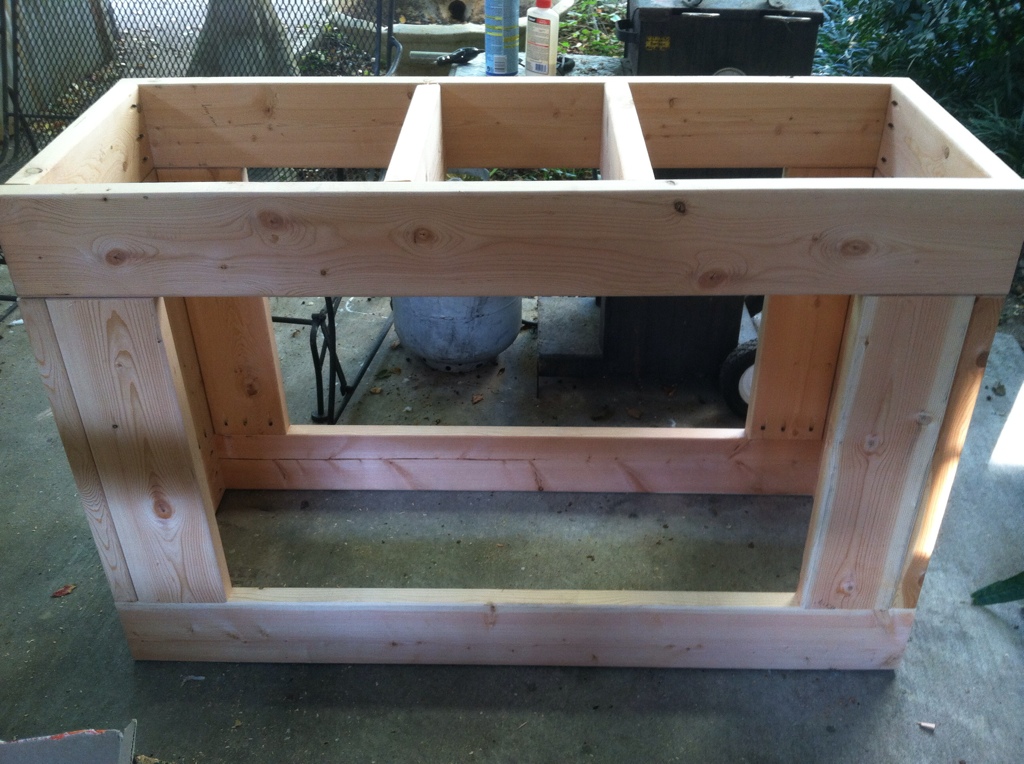
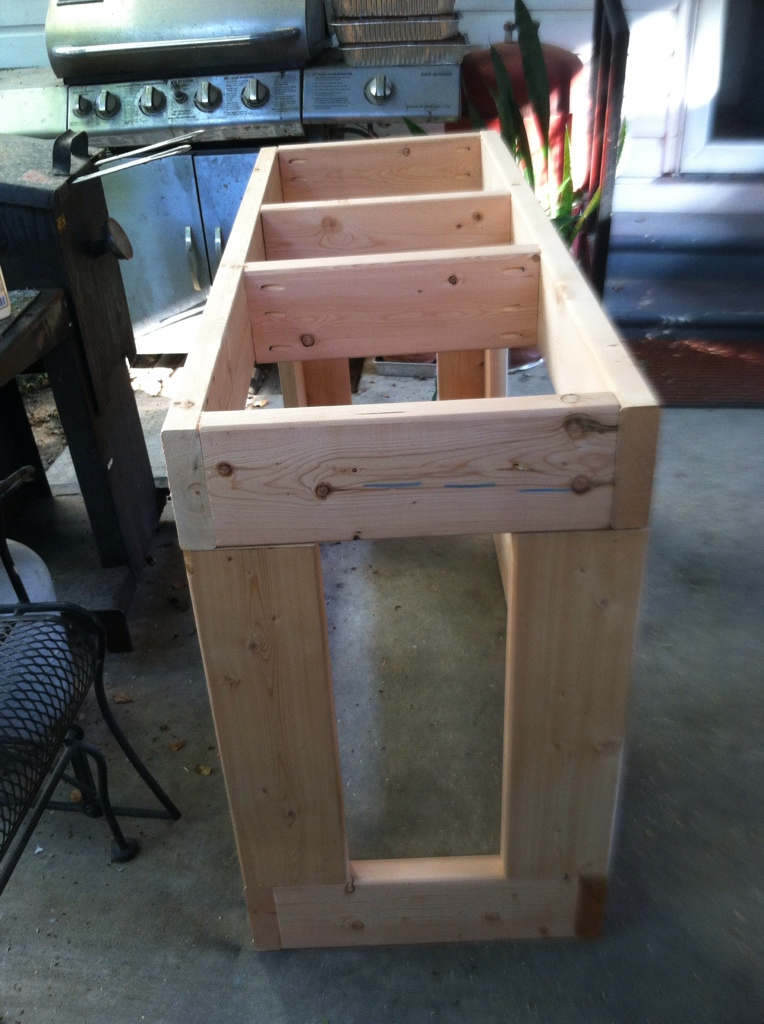
Todays progress...
I figured out where I am going to put the metal halide ballasts and where I need to mount the computer fans and the electrical work. YAY! All I had to do was... build the stand.
Voala!


I have a 15 3/4"x44.75" inside of the stand to work with. The stand is 32" tall, and will be half an inch taller when I add a piece of plywood on the bottom of it.
If you care to notice, there aren't any screws that appear on the outside of the stand at all... thats because I used all pocket holes. Each board, besides the long "arms" have six pocket holes each. Yeah, that was not fun to do, but necessary. I also wood glued every board in place before screwing it into place. So,... once the glue dries overnight,... this stand should need no further bracing. I am going to go ahead and bring it home with me after I get the top and bottom trim on. After it is in place and I get everything running, I will have to put doors and everything on it. Another factor to consider is that my daughter will be mobile soon, so I will have to somehow make my stand child-proof. Probably will have to put a lock on the doors.
The doors that I am going to put on it is going to be made of birch plywood. The doors will also cover up a lot of the actual stand as well. I am seriously considering a side cabinet too,... to hide the overflow and the cords coming from the lights. It would be safer if I did build a side cabinet... just because Emma is growing up so quickly.
Unfortunately, this build is going to take a little while. I have to drill the tank itself, install the plumbing, order a couple of rainbow loclines, re-work my sump to include a mechanical filtration area, modify it also to be able to hold a large skimmer effectively. I am still debating if I want to use my 20g high as the sump yet or not. I have 26" of clearance to work with... and 32" if I go all the way to the bottom of the underneath of the tank. The only problem I can see at this point with using the 20g tall - is clearance to drain the skimmate cup into the skimmate locker. But, by using a shorter sump, I will be able to (most likely) have room for the calcium reactor and CO2 bottle.
As I said in the beginning of my post,... I figured out where I am going to put the electrical work, I just had to build it to really get a good idea of what needed to be done. I am going to take a 1 1/4" drill bit and drill a few holes through the 2x6's. The main power line is going to closely follow the floor and go through the bottom wood. The power strip will be mounted on the opposite side of the sump. I am going to plug in both of my digital timers on the opposite side of the sump as well, next to the main power supply unit. The metal halide ballasts will be screwed in place on the top of the stand - and out of the way. Most of the cords will be held up and away from the sump. On the overflow side of the tank, I will mount my controller and the Vortech MP40 controllers inside the side cabinet.
I am not going to do door open lights, but rather going to install a couple of ceramic sockets into the underneath of the stand, and when I need light, I can just pull the cord and turn them off when I am done. I think this is a pretty simple fix to not being able to see well under most stands. After I get most of the electrical work installed and make sure the tank is running properly, I will enclose it properly. The best thing about this stand and this tank is that maintenance can be done from either side of the stand.
MY RO Unit is doing well. My container is leaking a little bit... the container that the RO unit fills.... something is wrong with the gasket. I am going to have to figure out another container that has a spigot on the front of it. I would hate to have to cut up another one of my 5g containers just to have that one leak like the other one.


