Snake's Official 110g Build Thread
- Thread starter snakeblitz33
- Start date
snakeblitz33
Well-Known Member
snakeblitz33
Well-Known Member
novahobbies
Well-Known Member
snakeblitz33
Well-Known Member
novahobbies
Well-Known Member
snakeblitz33
Well-Known Member
S
siptang
Guest
snakeblitz33
Well-Known Member
novahobbies
Well-Known Member
Psssst! How's it going? I saw your thread about the buried rock in the reef section. Any news on the new tank front?
S
siptang
Guest
Quote:
Originally Posted by SnakeBlitz33 http:///t/392103/snakes-official-110g-build-thread/60#post_3481879
Im short on funds and i have two 150w hqi metal halides already that i am temporarily going to use. When i finally settle down on what i want as far as lighting i will probably end up going with diy leds contolled with my profilux 2 controller. Chinese units dont seem too bad for the price. I will definitely have to research them more.
I am going to make a lighting rack that can be rolled into and out of the tank fairly easily. The main reason i want to go with leds is because i believe they may be cooler in the canopy and well ventilated.
Options, options.
Quote:
Originally Posted by SnakeBlitz33 http:///t/392103/snakes-official-110g-build-thread/60#post_3482777
Richard, ive talked about a lot of this vs. that. Lol. Could you tell me what you are refering to? Powerheads? Lighting options? Dosing options?
i was talking about the mh because you already had them and didn't need to spend any money on them.
sorry for not explaining thoroughly lol.
snakeblitz33
Well-Known Member
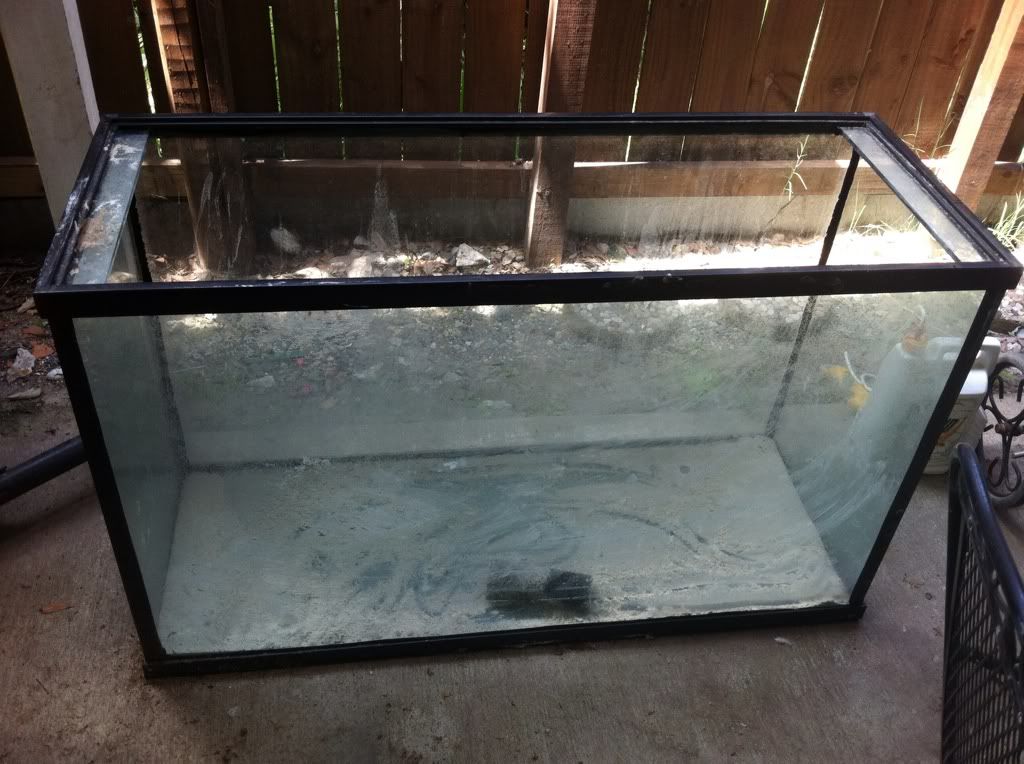
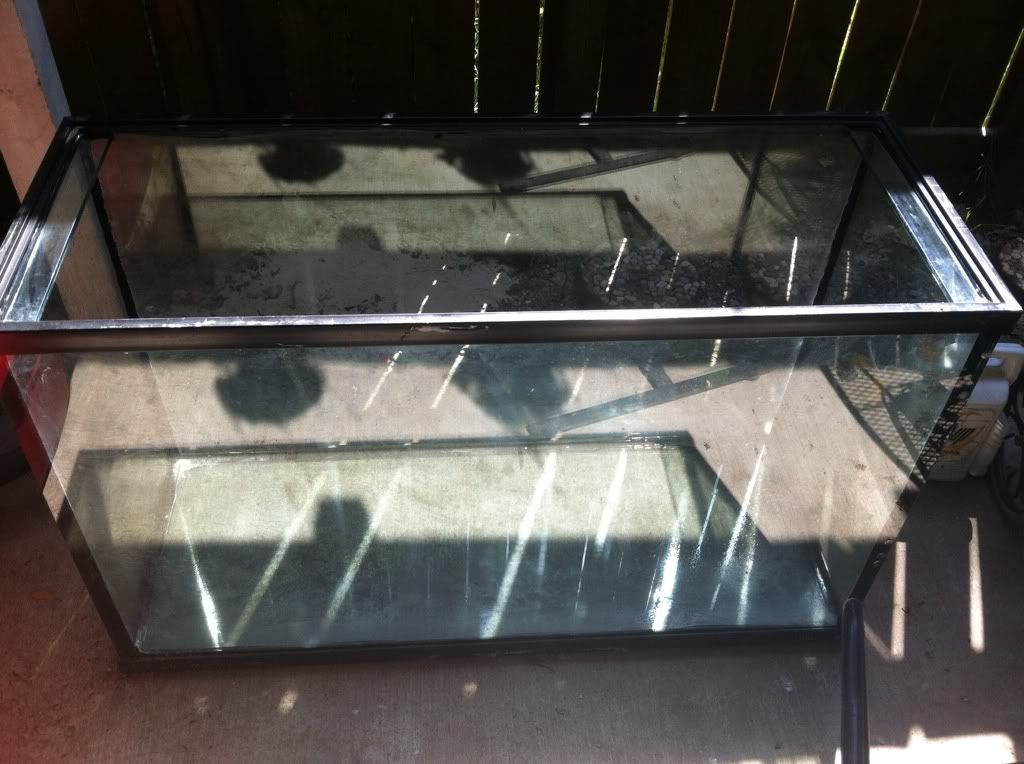
Todays progress:


S
siptang
Guest
getting there seth!!
snakeblitz33
Well-Known Member
Yeah, doing what I can. The overall tank still has a way to go. This cleaning I did with vinegar and it got all the built up calcium off of it. The next cleaner is going to be windex/ammonia to get the smears off of it. Of course, all of these cleaners will evaporate without any issues. I want to try to get it pretty clean before I fill it up for a leak test. For some odd reason, one of the corners isn't flush with the concrete. I can't find any rocks that it may be sitting on. I hope that the heat hasn't twisted anything. If that is the case, then I might be re-siliconing the seams myself.
In fact, I am going to leak test it just to see how well it does anyways. Leak testing only costs water. LOL, so at least it's nearly free to do. I'm thinking about going ahead and cutting out the bulkhead holes that I want and making sure that a 1" bulkhead will fit. (I have two 1" bulkheads already)
Here's the thing: I was looking at the bean animal overflow and considering all of my options. I don't really know if I want to do that design anymore. The reason is, ... I think I am going to drill the bottom of the tank for the two bulkheads but still put the overflow on the side - still doing a peninsula style tank. I think I'm just going to be satisfied more with a professional overflow box being installed. I'm still going to put the vortechs on either side of the overflow box. I don't really mind the waterfall noise. I think I am going to use a durso standpipe though. To me, it will just look a lot "cleaner."
So, I am going to attempt to drill the bottom of the tank. The thing is: if the bottom of the tank IS tempered, I will just order another piece of glass and re-silicone the seams like what I was thinking about doing in the first place.
I am still going to have a side cabinet to keep additional equipment and all of the electrical work in. That is a must for me.
novahobbies
Well-Known Member
Cool, clean tank!
I put it at 75% that the bottom is tempered. Have you considered a glassholes overflow instead?
Now that my brain is working...sort of...I have this recollection of a way to see if glass is tempered. Something about using a digital camera and polarized lenses. Hang on.
Here we go:
http://www.salt-city.org/showthread.php?9542-How-to-tell-if-glass-is-tempered
The important bit:
"A clear way to see if glass is tempered is to place a white LCD screen (notepad maximized) behind the glass and look at the Screen through a polarizing filter."
(Polarizing filter, such as a pair of GOOD polarizing sunglasses. Seth, I presume you've got a good pair hiding around somewhere.....)
snakeblitz33
Well-Known Member
Ill see what i can do. My test is if it breaks or not. Lol!
