taking a new direction

E

eric b 125

Guest
The reactor is slowly leaking from the part that I just replaced, so I'm guessing I ought to try slathering it with some plumbers putty? I'd rather not mess with this part too much, considering the amount of bologna I had to go through in order to get it replaced, so if you guys have any other suggestions, please let me know.
 

snakeblitz33

Well-Known Member
Teflon tape would work, wouldn't it? Maybe some rector seal on the threads?
Some plumbers putty is mold and mildew resistant...
 
E

eric b 125

Guest
Here is where the new union went and where there is a leak:

It's already a pretty tight fit diameter-wise, and being that I have to baby this union for fear of breaking it, I don't want to make it a tighter fit. I figure that plumbers putty, or plumbers grease, would help fill-in whatever cracks are allowing water through. It's a small leak, but a leak nonetheless.
I'm also a bit confused on all the tubing attached to the reactor. Here's what I think does what, maybe someone could chime in on this, though I can imagine the pictures being a bit confusing.
This line is attached to the bubble counter, so I'm assuming that the other end attaches to the line coming from the CO2 bottle?

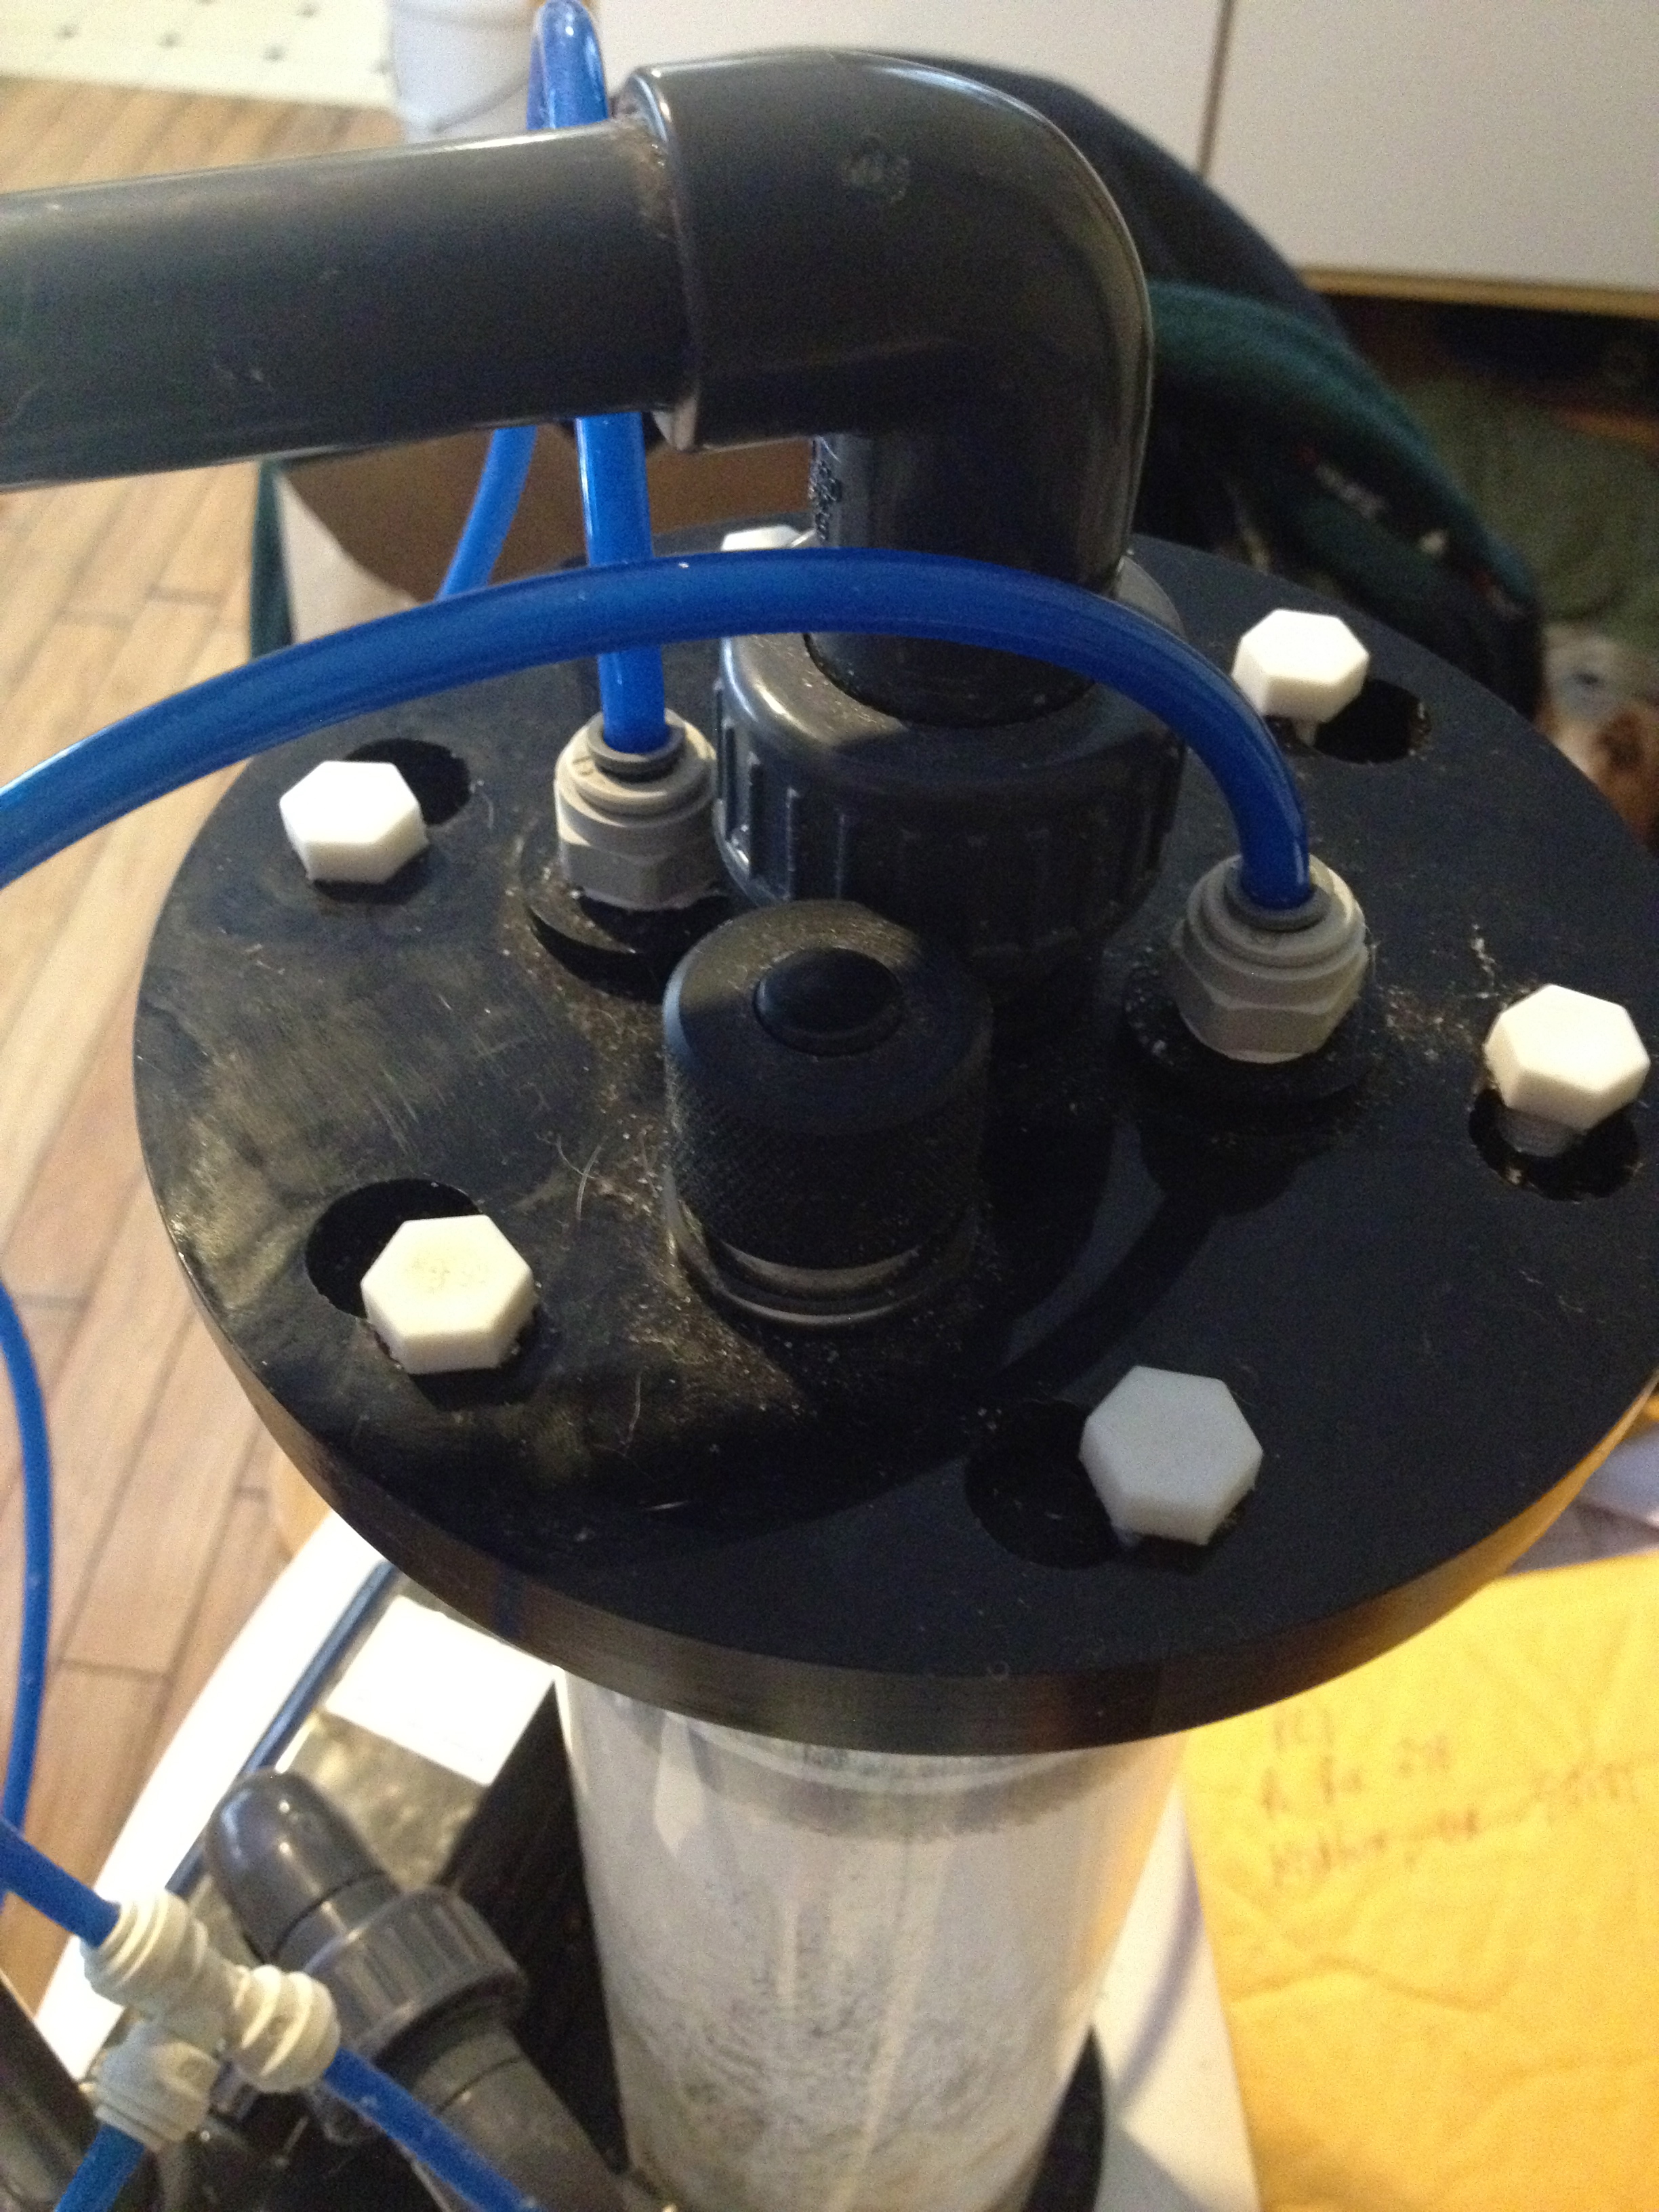
This here line has a white valve at one end and attaches to the lid of the reactor body. Underneath the lid on the other side of this line, is a small cylindrical compartment with several holes in it, seen on the left side of picture #2. Picture #3 was to focus on the small holes of said cylinder, but the flash washed out the image. I'm guessing this is effluent?

And then there's this line, one end is attached to the vertical pipe, left side of picture and is on the opposite side of the bubble counter. It then goes to a tee. One of the other sides of the tee has a line going into the lid and the third part of the tee goes to nowhere. The part that is attached to the lid does not have a cylindrical body on the opposite side of the lid like the other line: see pic #2, hole to the Right of center. I'm assuming this is the water intake from the sump?

Finally there's this black knob on the lid of the reactor, which I would think might be for a pH probe?

Once I figure out what goes where, and how to remedy this small leak, I'd like to leak test it for a night, then work on finding out how to calibrate it to my system and get it running with a pH controller so that all I have to worry about is changing the media. Thanks in advance for the help, I have very little experience with reactors and I'm pumped to get this one running to see first hand the difference it will make in my corals and overall system.
 
E

eric b 125

Guest
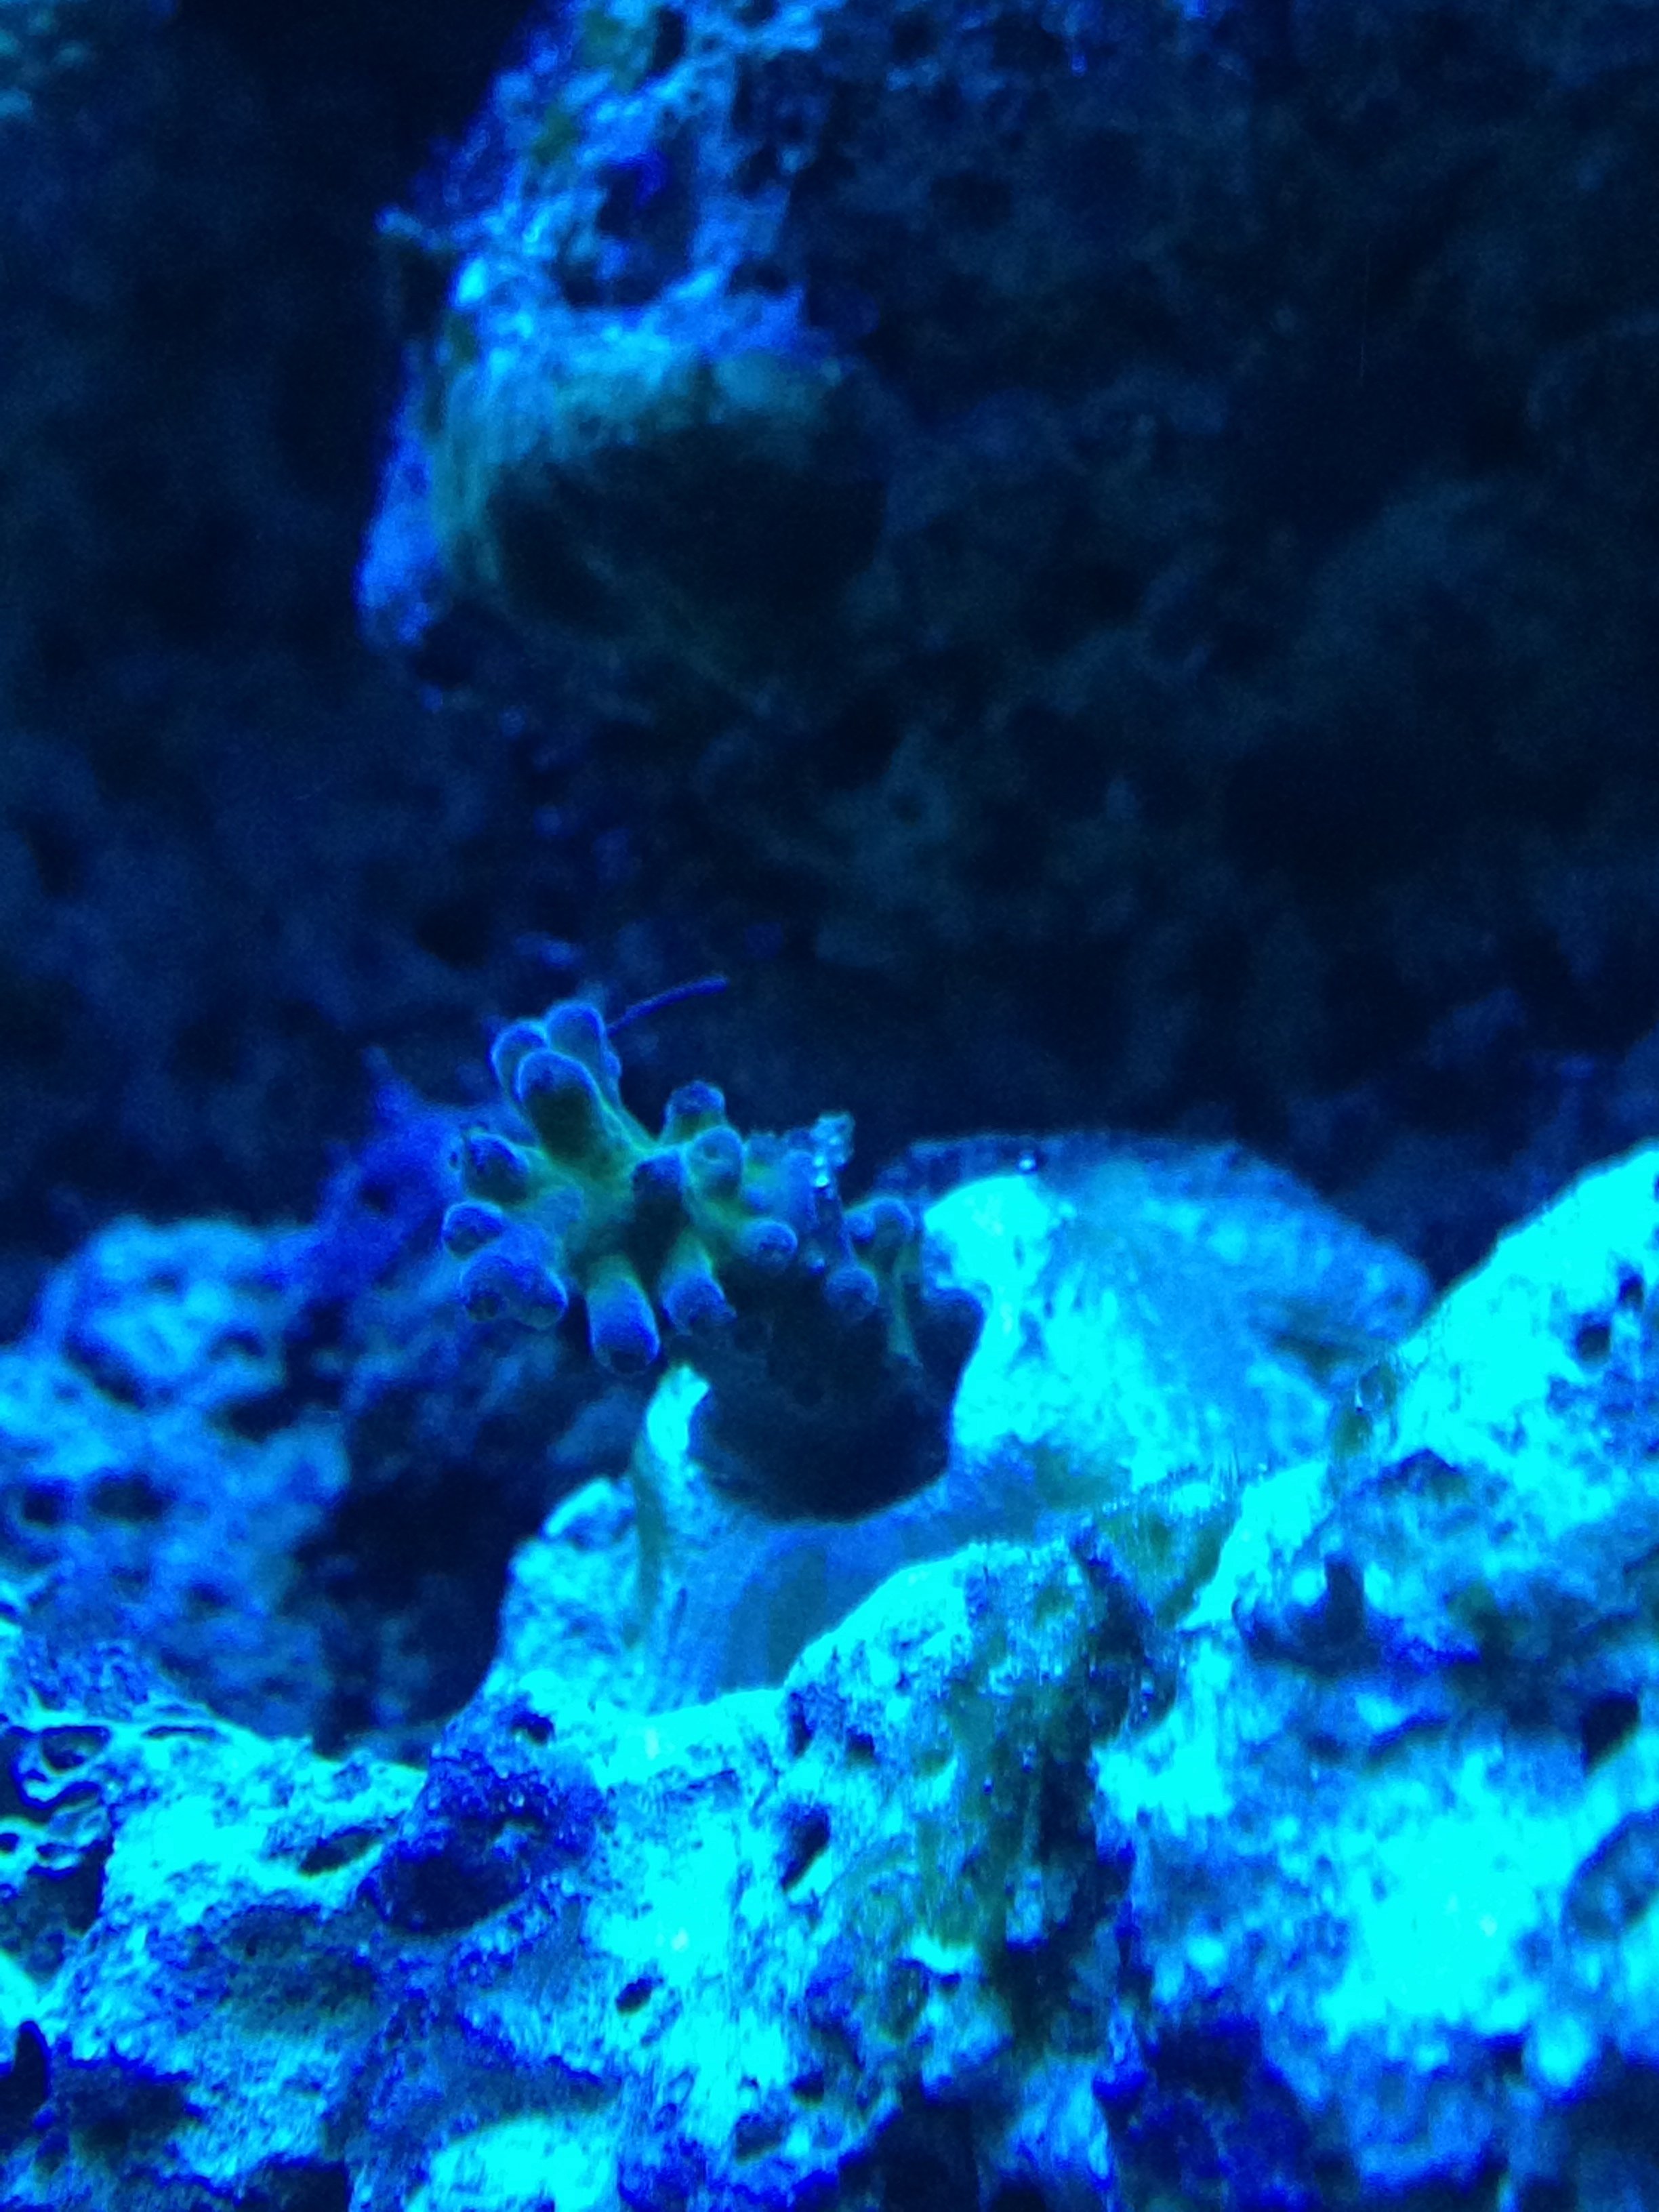
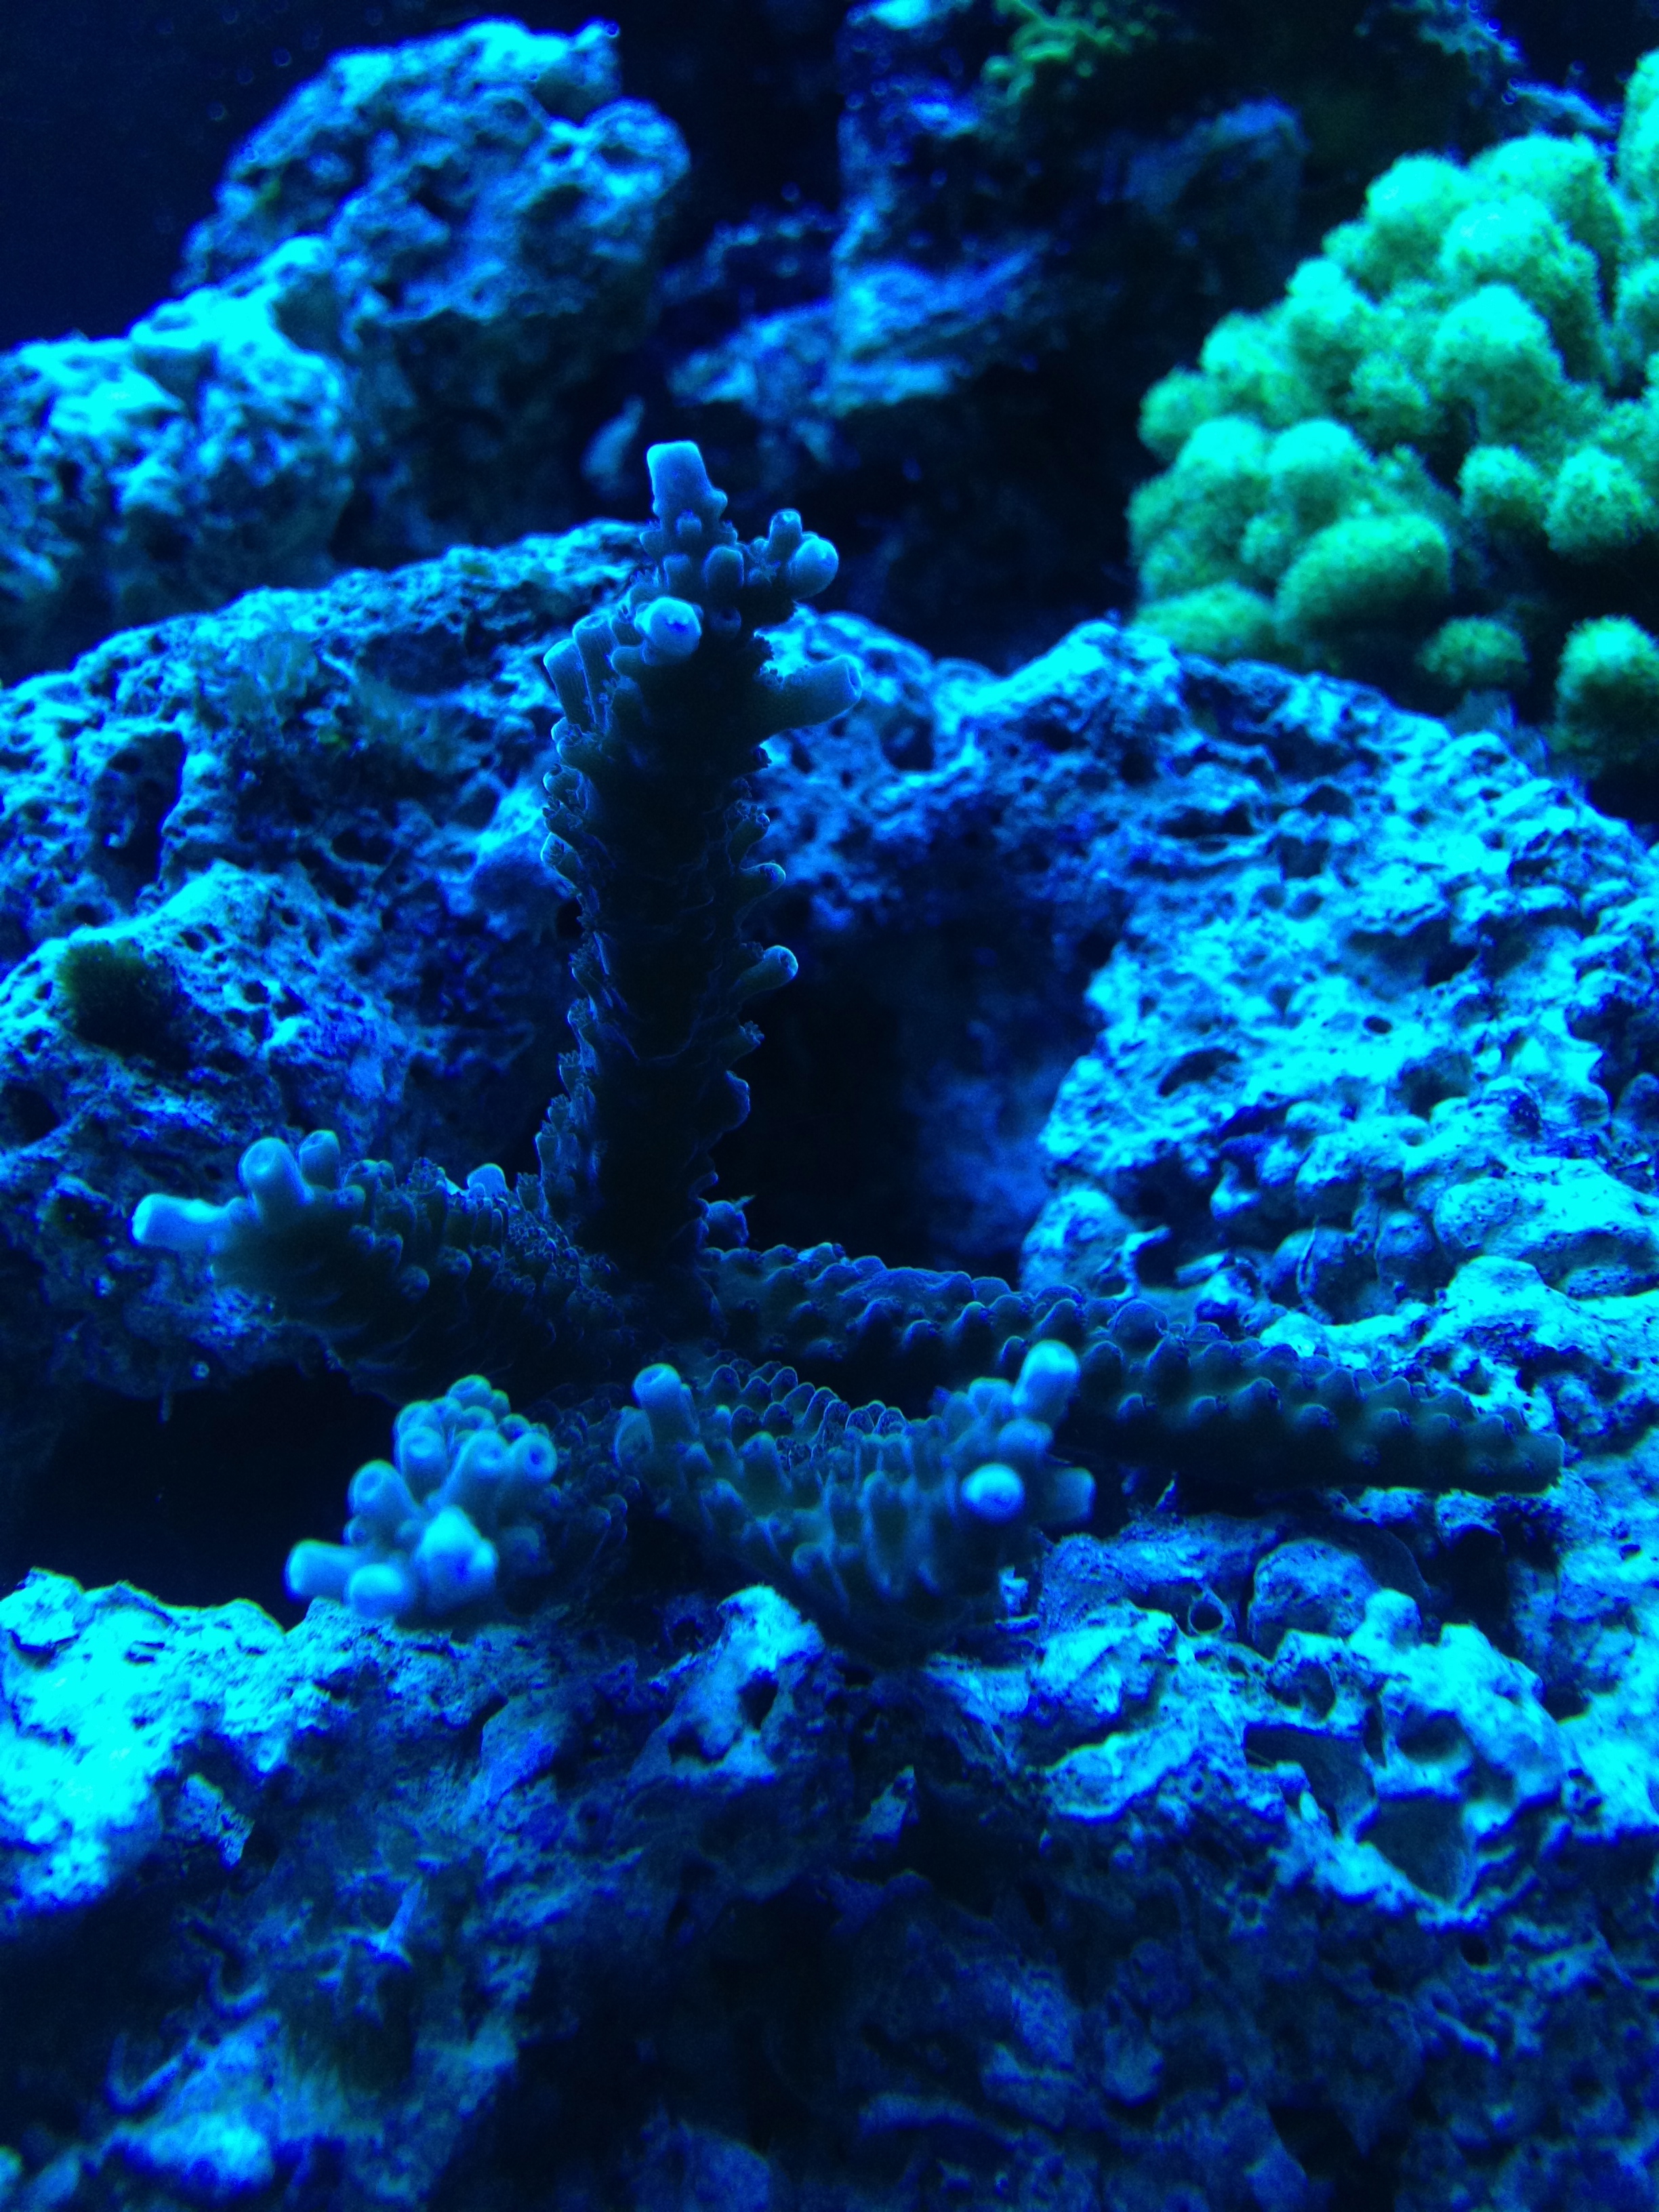
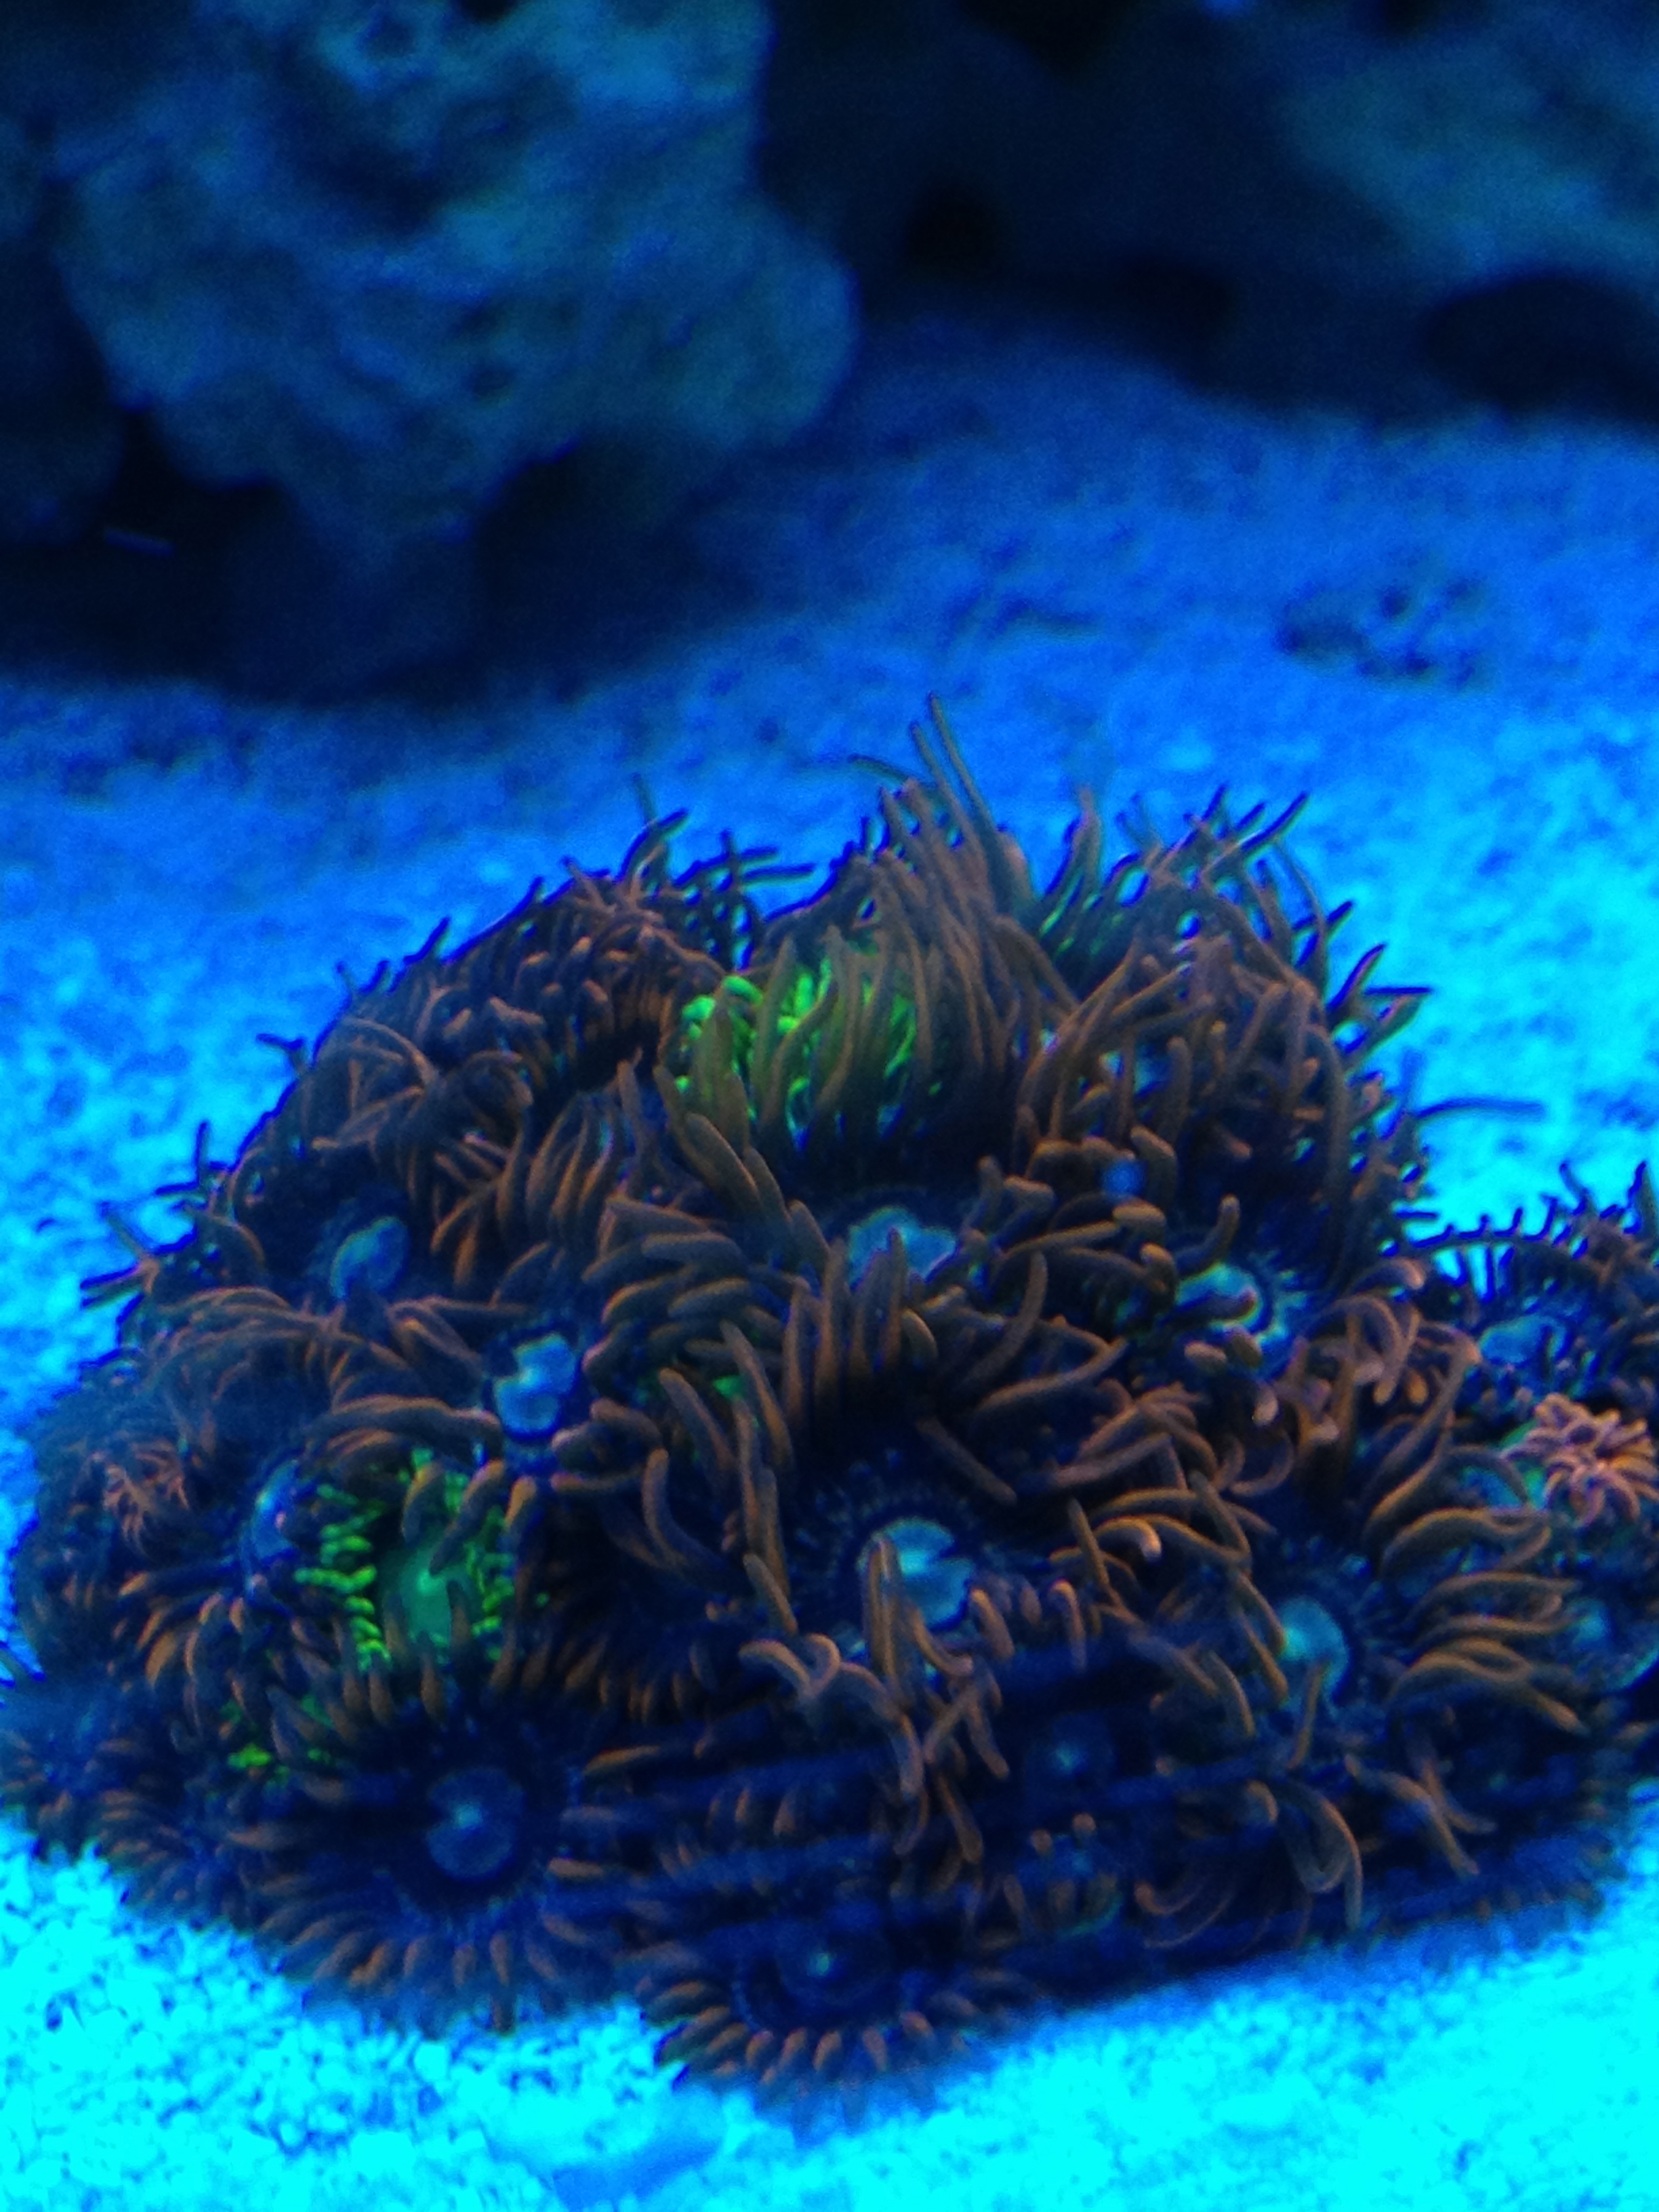
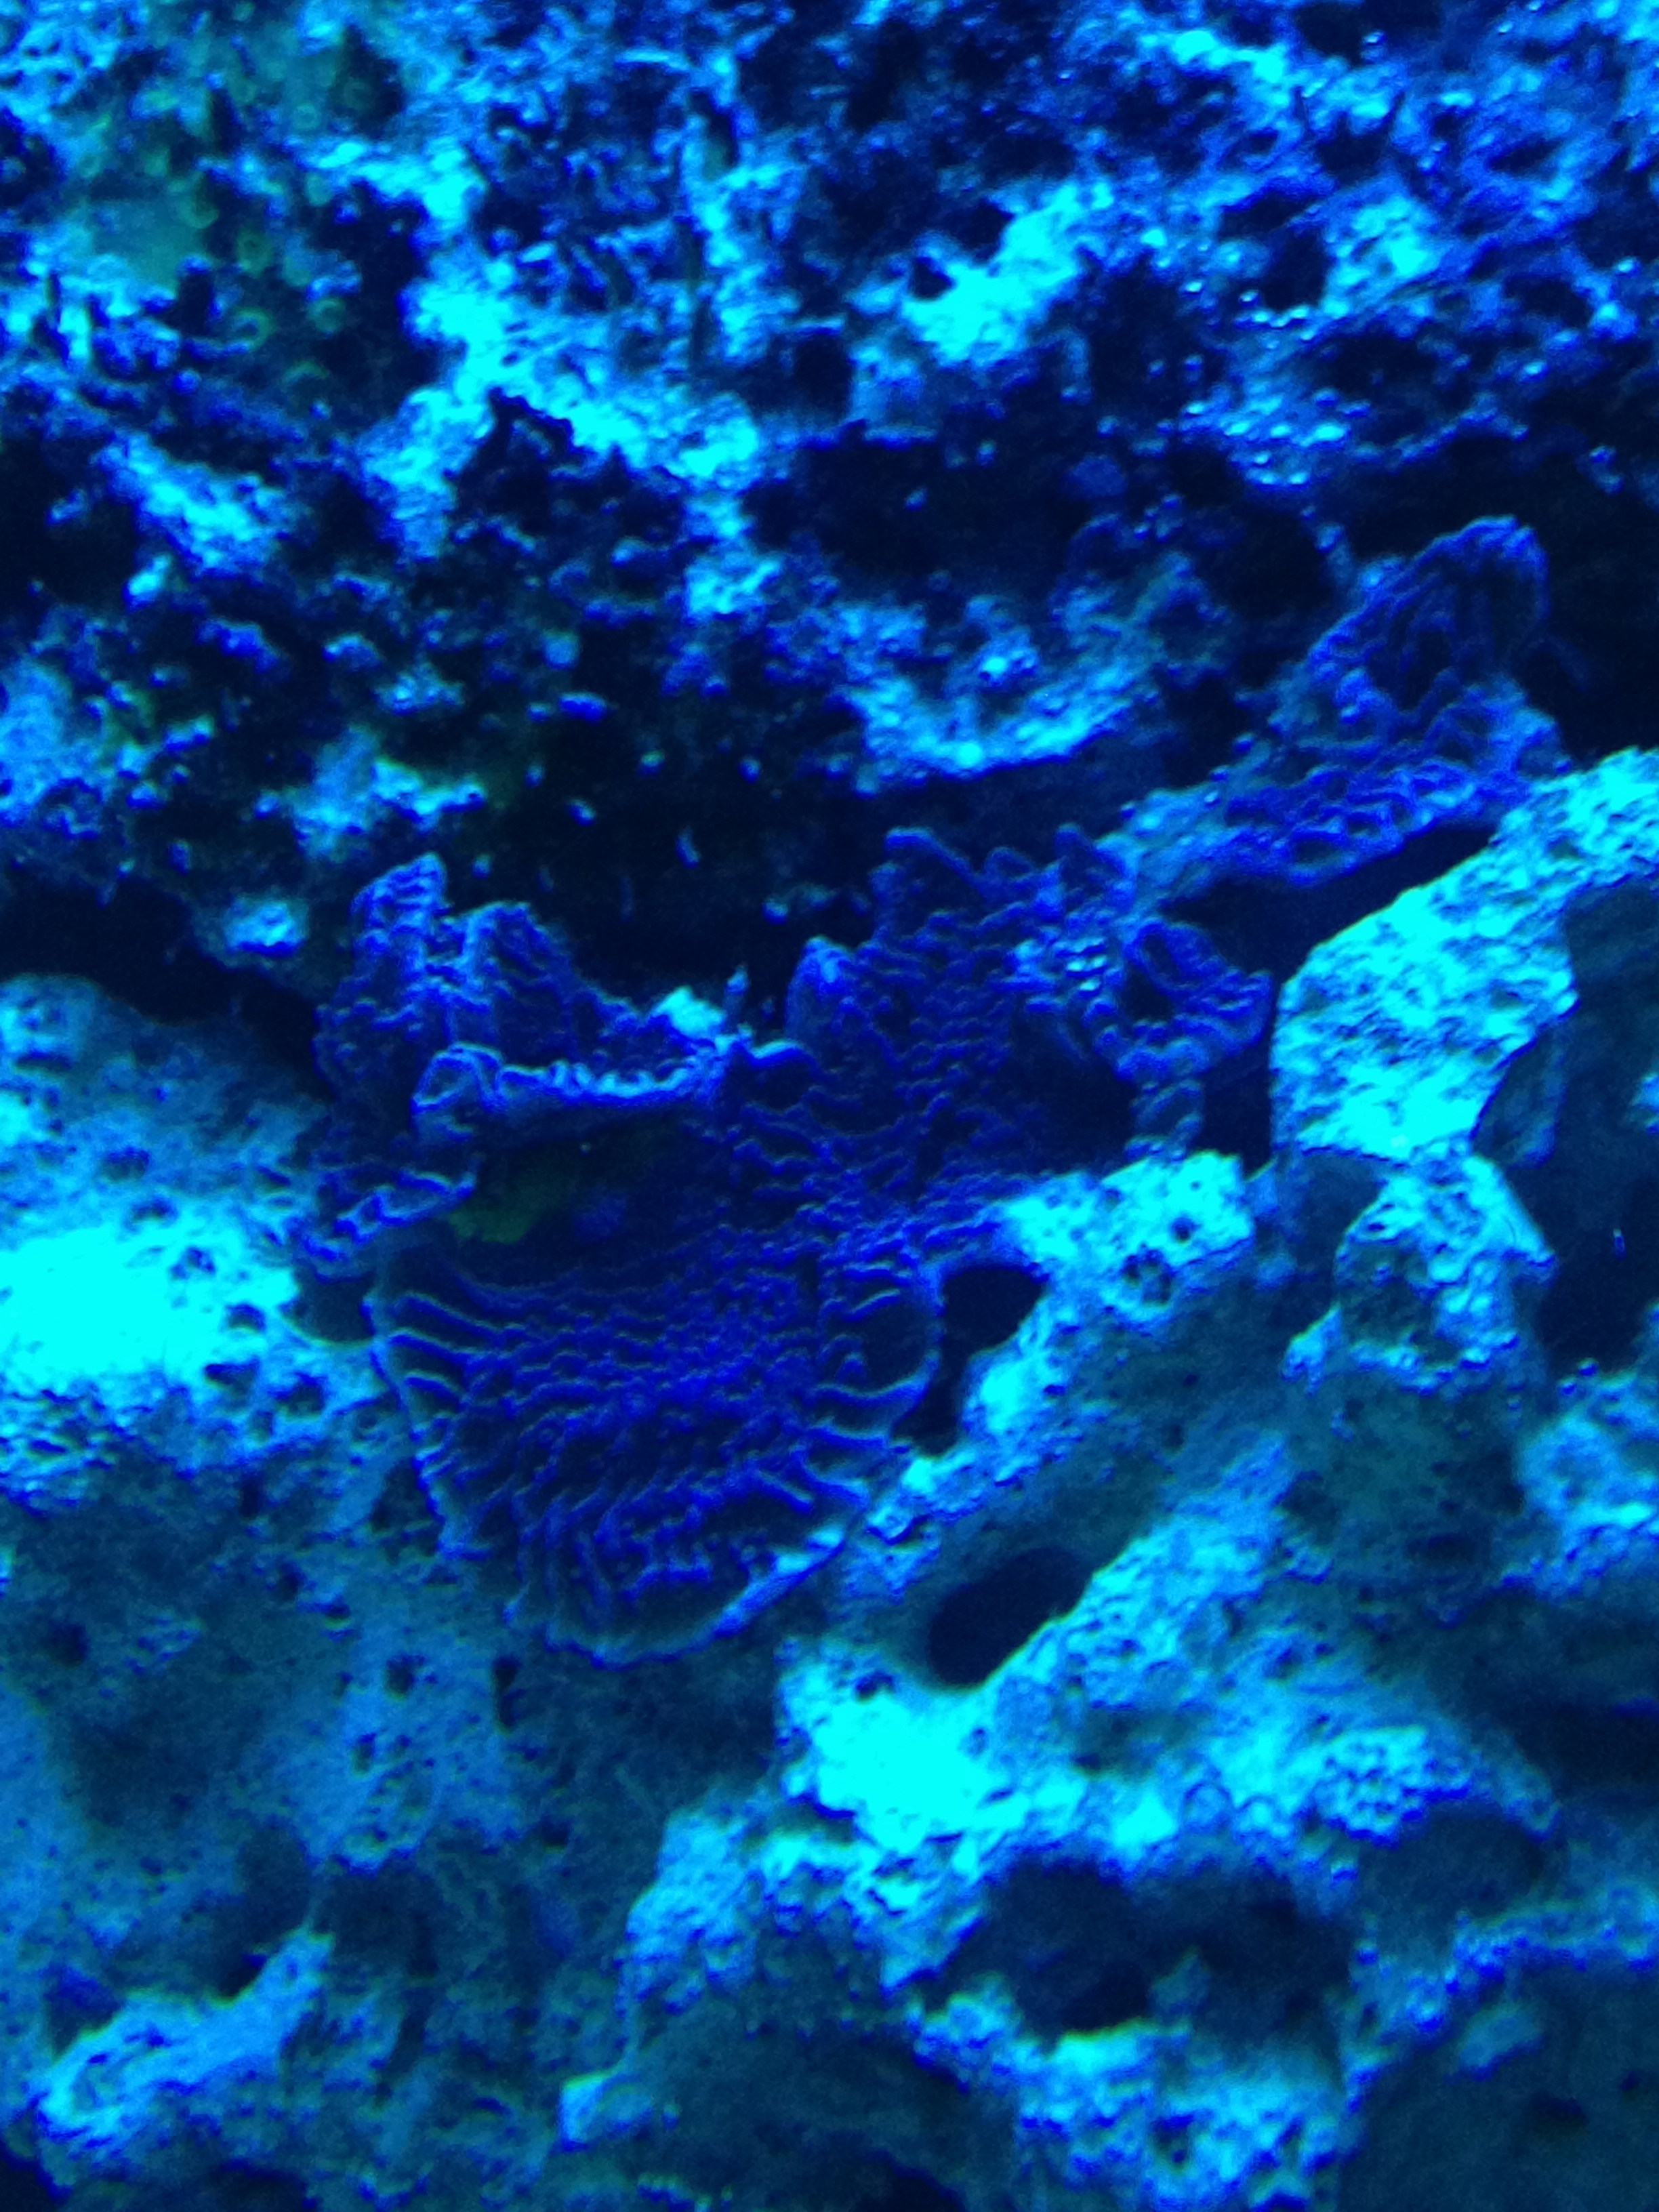
A few quick pictures of the same old corals... Can't wait to get some new pieces in there!


snakeblitz33

Well-Known Member
I wish I knew more about Ca Reactors man, I would love to help you. Maybe this little bump will get you some help.
Corals look healthy. Everything seems to be coming along nicely. I'm sure once you get your Ca Reactor up and going, your SPS corals will start doubling in size every month.
 

gemmy

Active Member
Everything is looking great. I love the monti. I wish I knew more about reactors to help out. When I get back to Jersey, I'll try to show this thread to my friend who services aquariums. He might be able to give some insight.
 

acrylic51

Active Member
Quote:
Originally Posted by Eric B 125 http:///t/389056/taking-a-new-direction/260#post_3449744
Here is where the new union went and where there is a leak:

I agree with Seth....I would try RectorSeal......It is better IMO on sealing than teflon tape.
It's already a pretty tight fit diameter-wise, and being that I have to baby this union for fear of breaking it, I don't want to make it a tighter fit. I figure that plumbers putty, or plumbers grease, would help fill-in whatever cracks are allowing water through. It's a small leak, but a leak nonetheless.
I'm also a bit confused on all the tubing attached to the reactor. Here's what I think does what, maybe someone could chime in on this, though I can imagine the pictures being a bit confusing.
This line is attached to the bubble counter, so I'm assuming that the other end attaches to the line coming from the CO2 bottle?

This here line has a white valve at one end and attaches to the lid of the reactor body. Underneath the lid on the other side of this line, is a small cylindrical compartment with several holes in it, seen on the left side of picture #2. Picture #3 was to focus on the small holes of said cylinder, but the flash washed out the image. I'm guessing this is effluent?
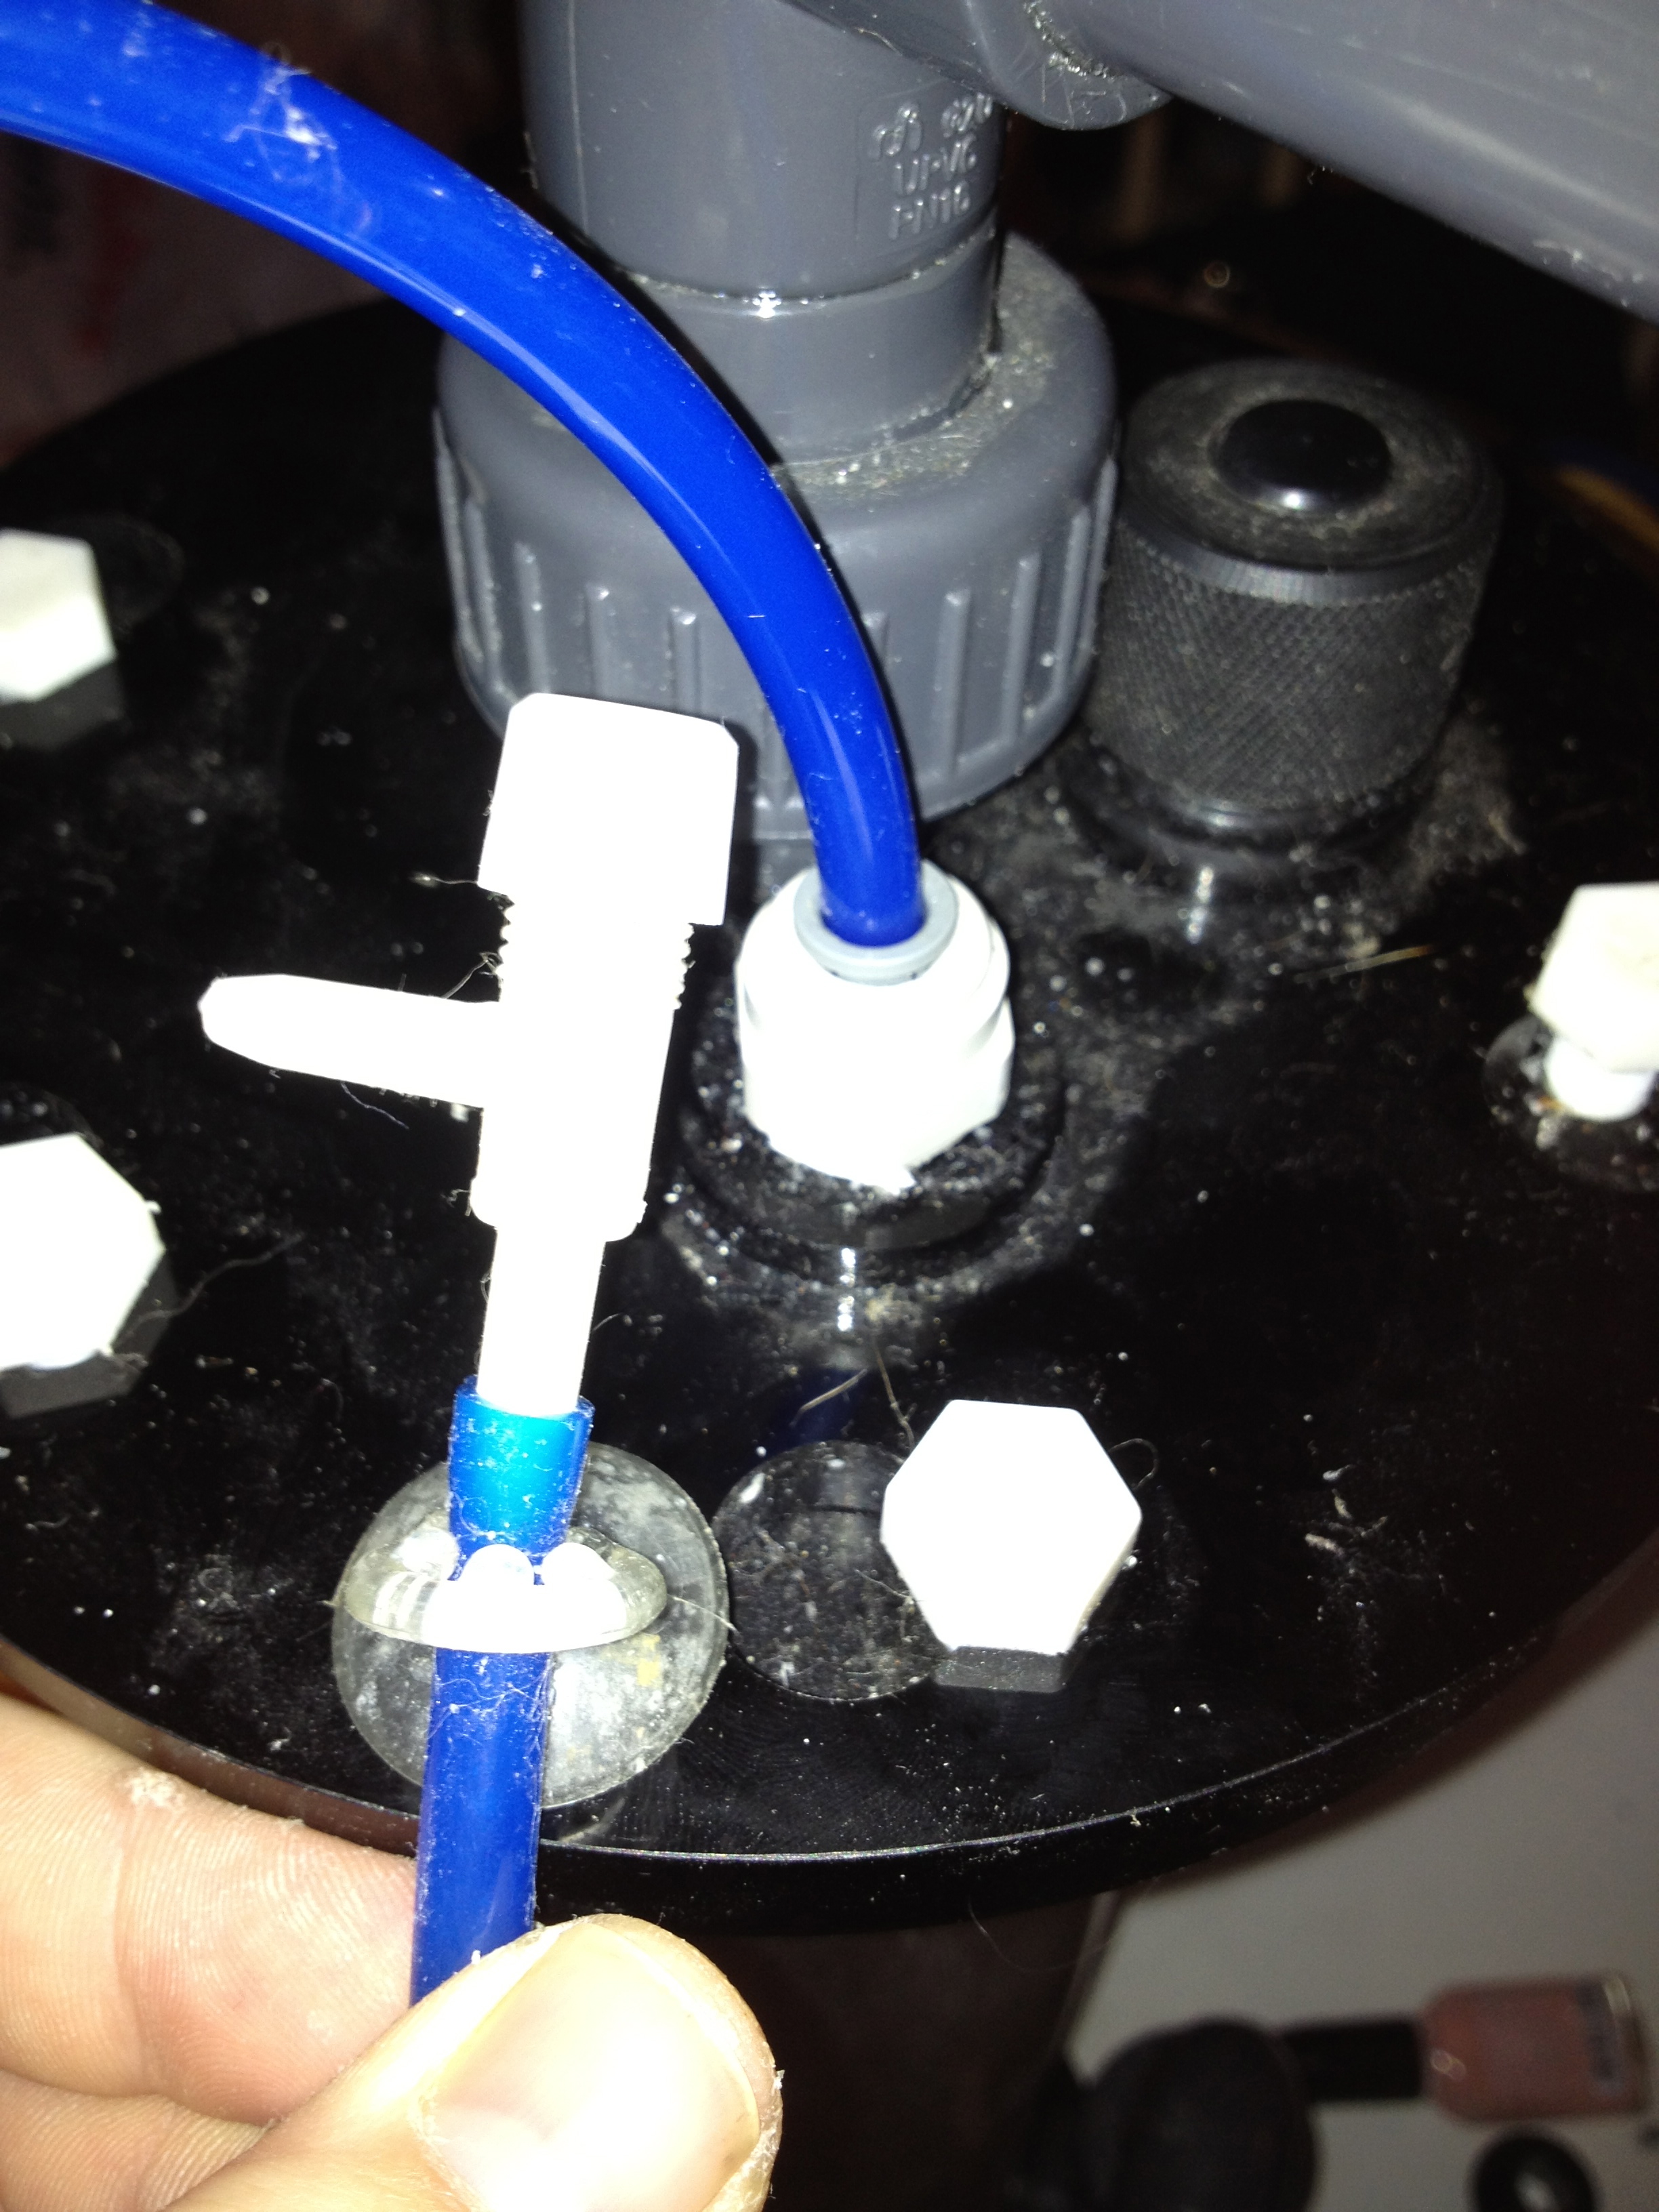
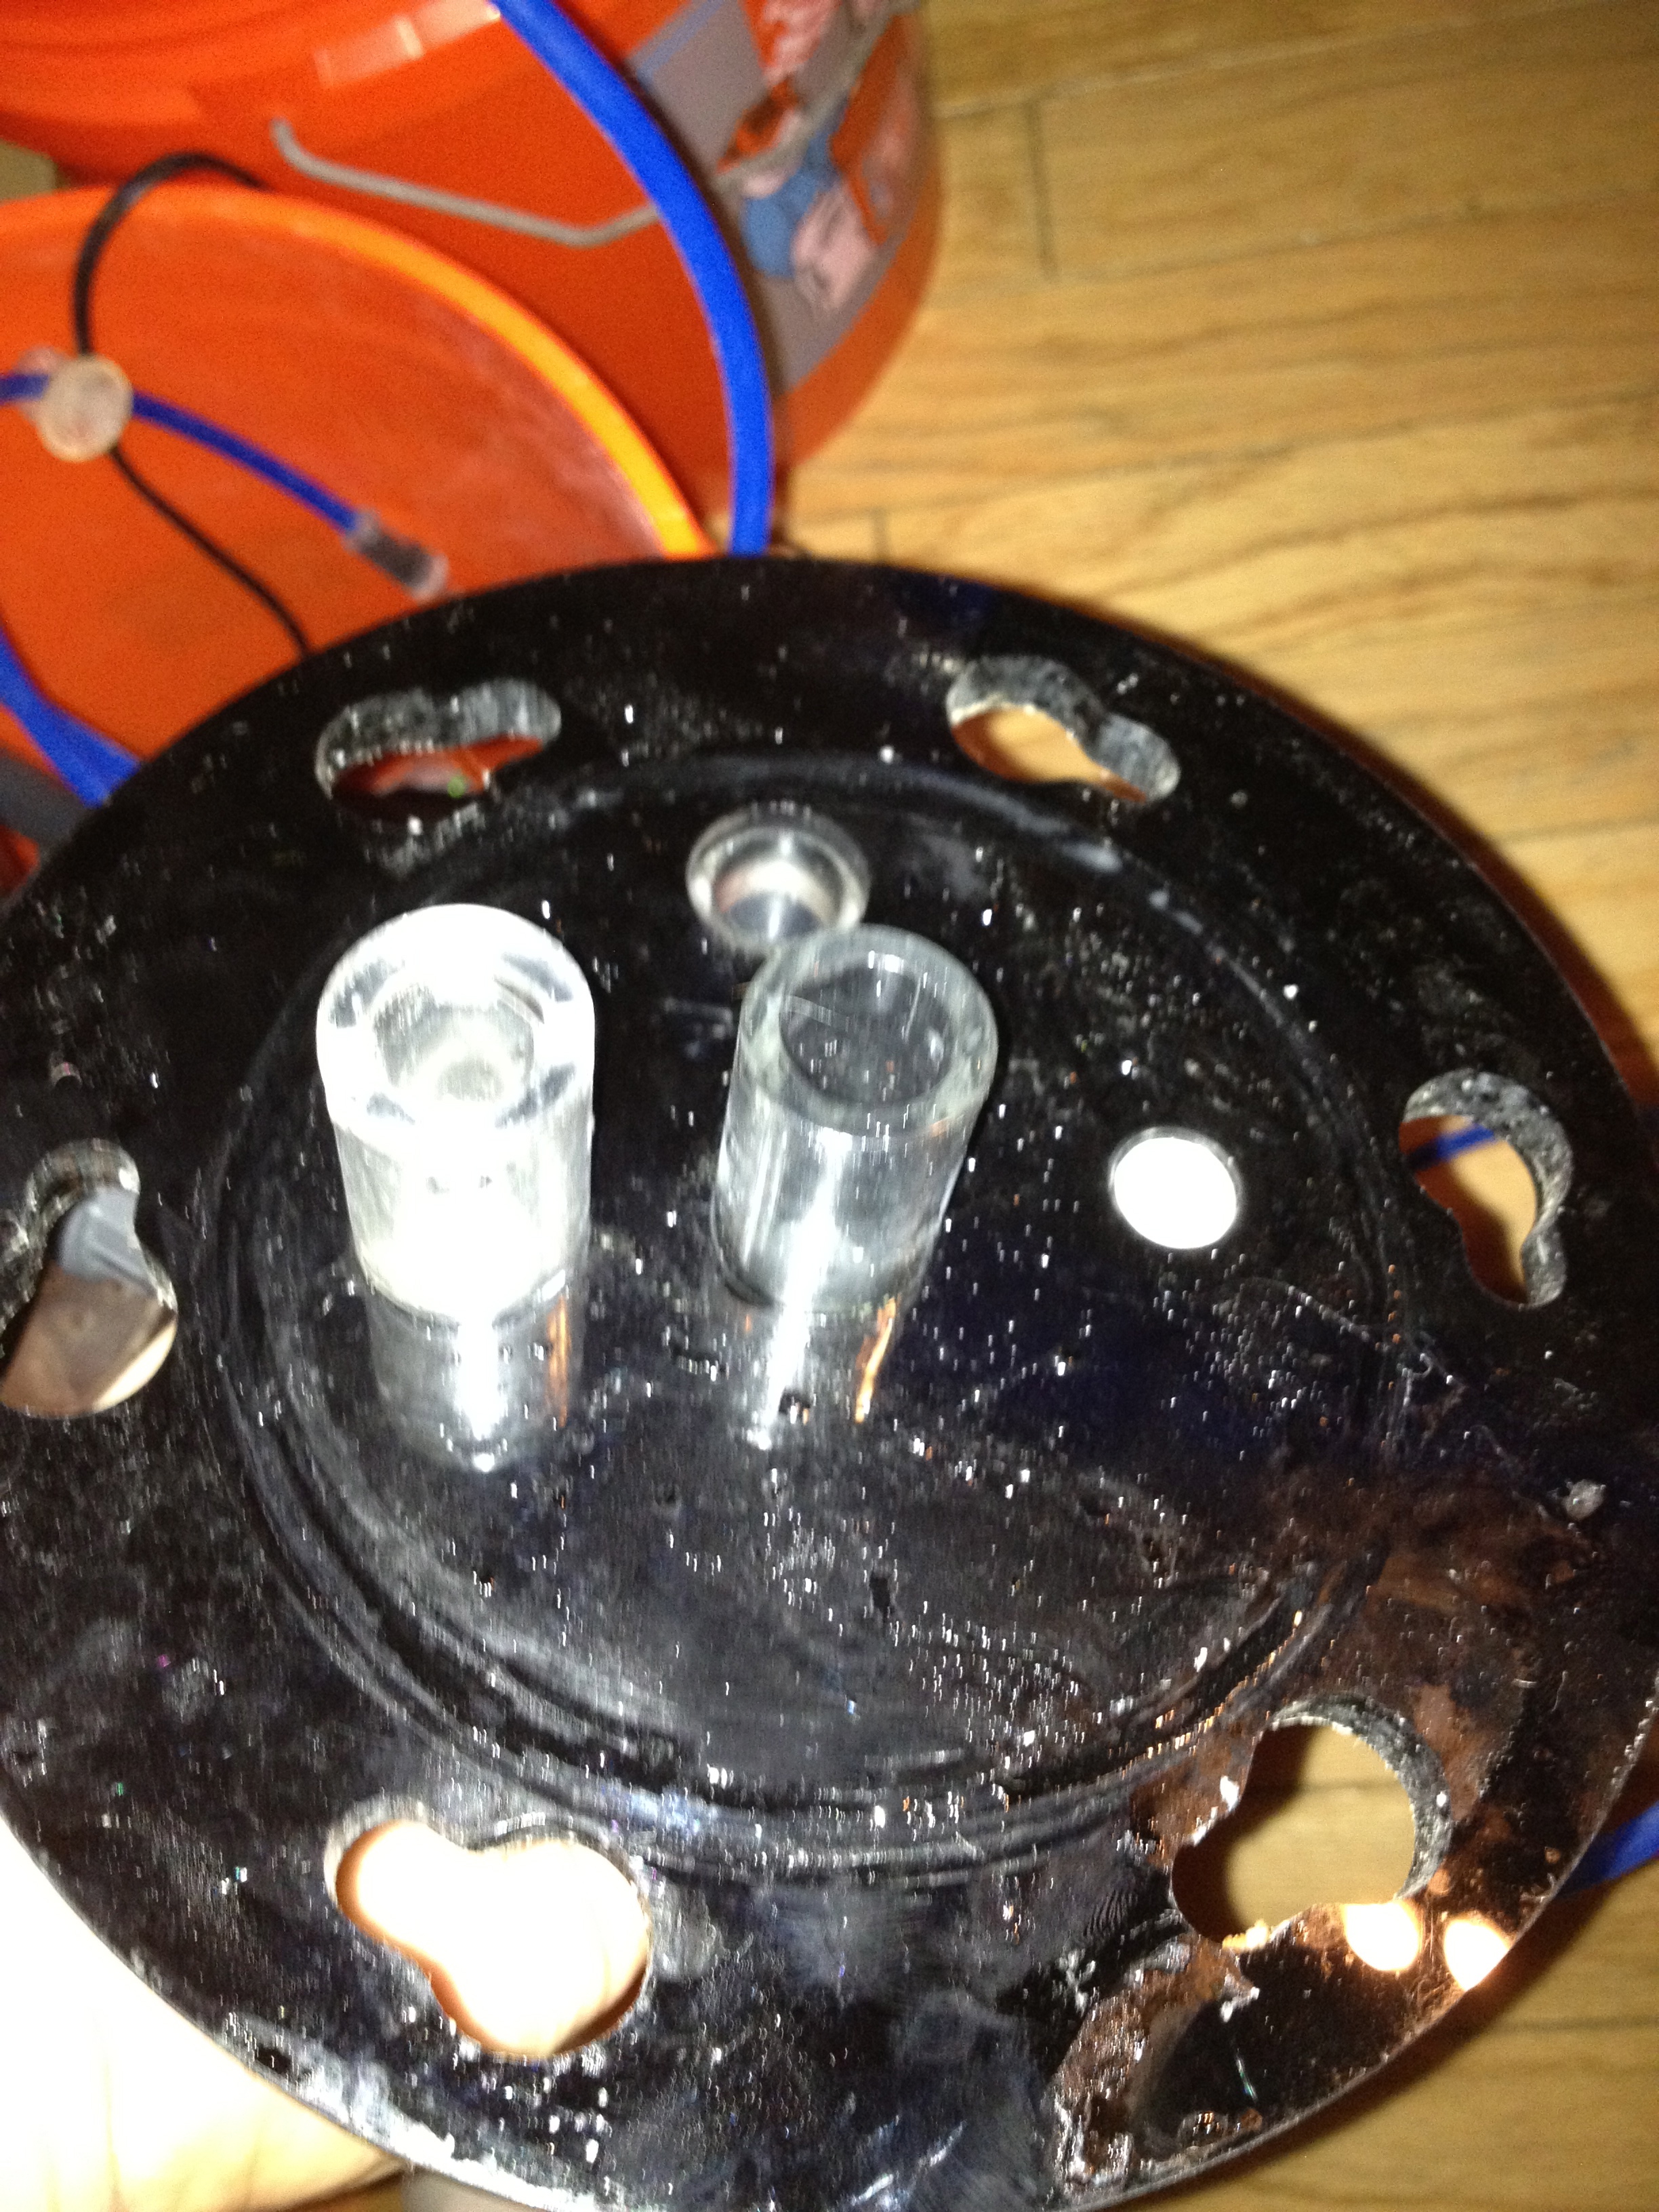
And then there's this line, one end is attached to the vertical pipe, left side of picture and is on the opposite side of the bubble counter. It then goes to a tee. One of the other sides of the tee has a line going into the lid and the third part of the tee goes to nowhere. The part that is attached to the lid does not have a cylindrical body on the opposite side of the lid like the other line: see pic #2, hole to the Right of center. I'm assuming this is the water intake from the sump?

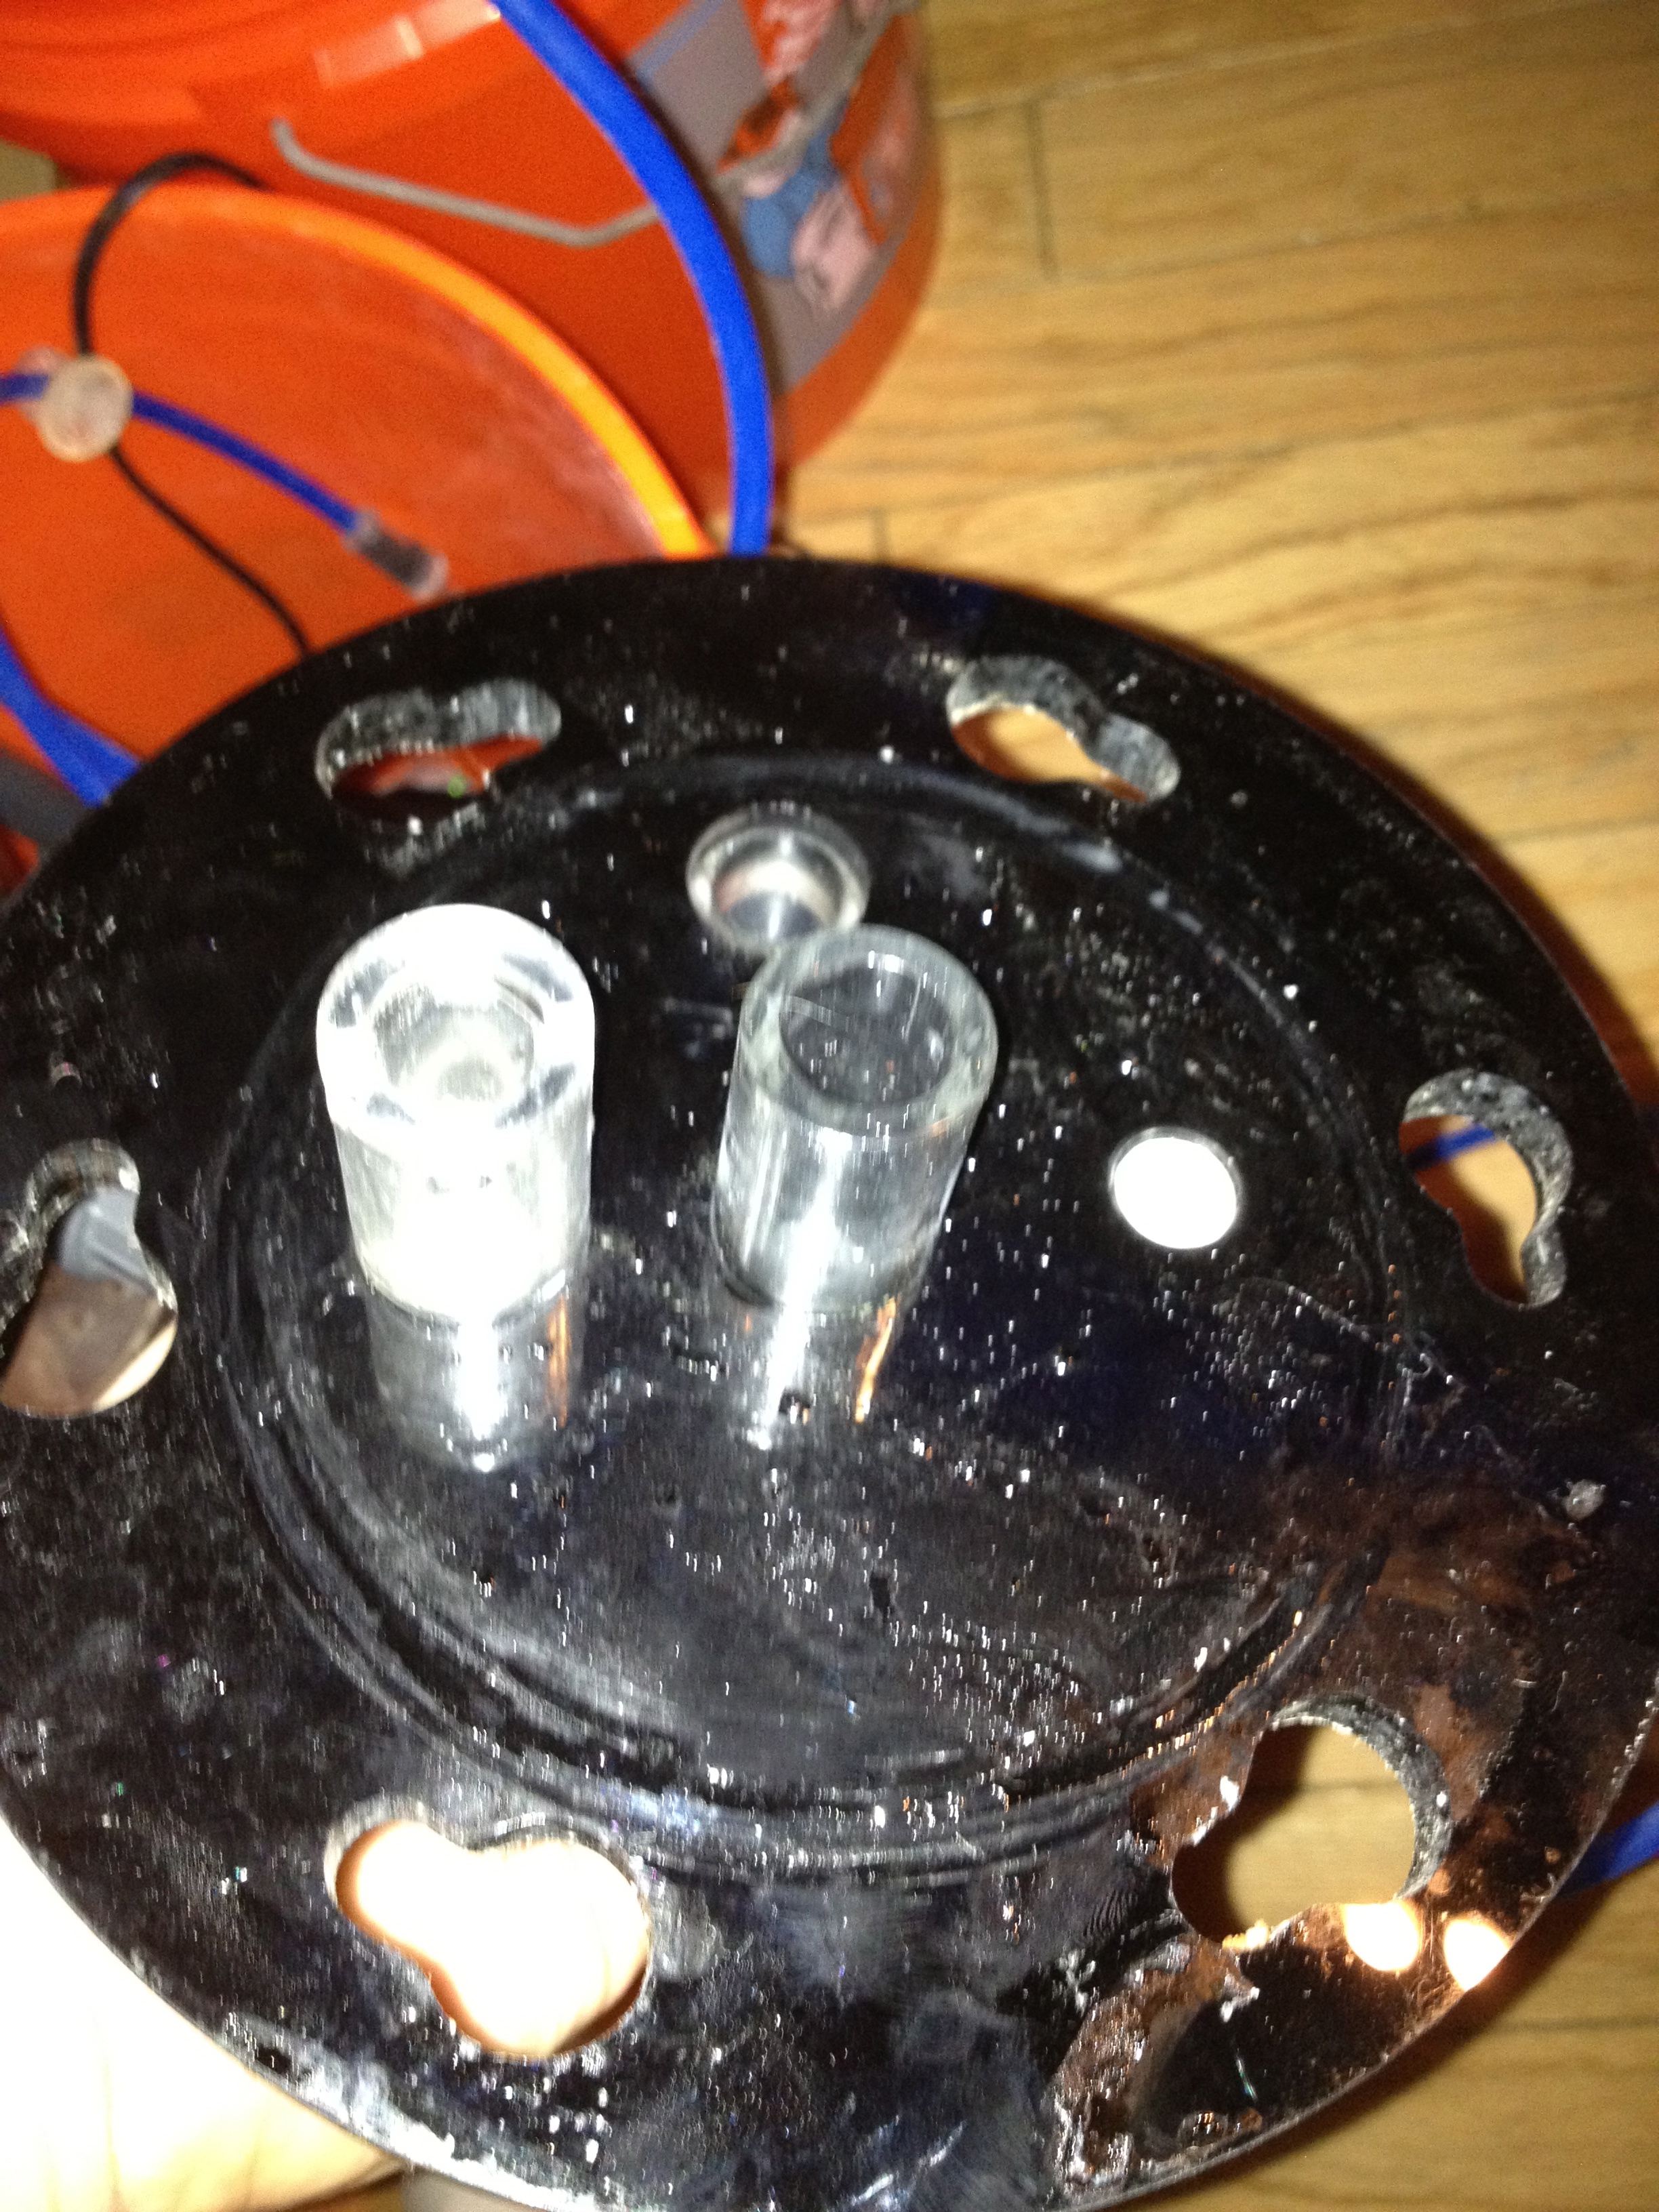
Finally there's this black knob on the lid of the reactor, which I would think might be for a pH probe?
Once I figure out what goes where, and how to remedy this small leak, I'd like to leak test it for a night, then work on finding out how to calibrate it to my system and get it running with a pH controller so that all I have to worry about is changing the media. Thanks in advance for the help, I have very little experience with reactors and I'm pumped to get this one running to see first hand the difference it will make in my corals and overall system.
 

acrylic51

Active Member
Connections look good.....I would try the Rector Seal.....I'm assuming you were using teflon tape....
I find the regular stuff doesn't seal quite as well. I like the heavier duty stuff, and worse case and it's done at times is to wrap it with teflon and a quick coat of Rector Seal over top of that.....If that doesn't work, there's definitely an issue with the parts/threads.....Fingers crossed......
 
E

eric b 125

Guest
I actually wasn't using anything. I just screwed it together and tried it like that. I'm a little nervous about adding to the diameter of the piece b/c it seems as if it's a fragile piece and I don't want to add any torque while screwing it in. I guess I'll try a single layer of teflon tape and some rectorseal.
 
E

eric b 125

Guest
Is that something I can pick up at good ole Home Depot or Lowes?
 

snakeblitz33

Well-Known Member
You should be able to pick it up in any hardware store. It's in a little can like they sell PVC Cement and Primer in. I think it's also in the same section. It goes on as a paste, and then when you screw it in, it doesn't necessarily bond to everything, but it kinda hardens a little forming a little rubber gasket... That's the best I can describe the product. Plus, I know for a fact it's 100% reef safe. I've used it in the past for various applications. :D
I'm anxious to get a lesson on calcium reactors myself... lol
 
E

eric b 125

Guest
melevs page has an article on reactors that I've been meaning to read again.
Once I put this stuff on, will I be able to remove the part should I need to?
 

snakeblitz33

Well-Known Member
Oh yeah, you can remove it without any problems. All it does is create a better seal, like teflon tape.
If you haven't looked inside the can yet, the lid will have a brush attached to it, just like a PVC Cement can.
 
Top