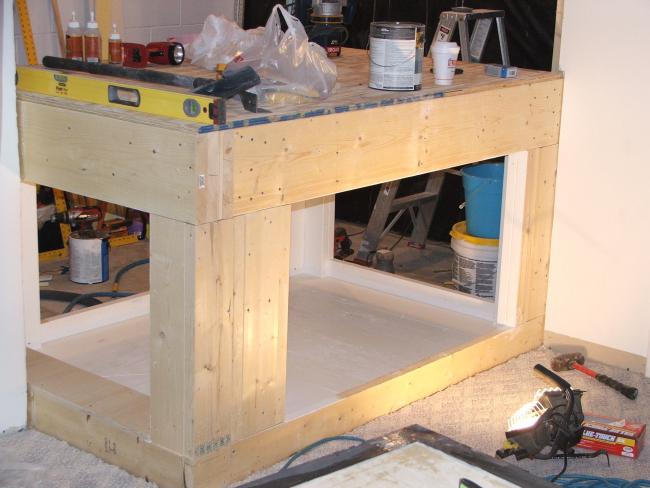
415 Gallon Plywood Tank Build

acrylic51

Active Member
What are RFI plugs? Humidity is an evil and 80% seems like an awful lot in my mind
Right now the room stays about 40-50% humidity. With a large body of water in this confined area and many others with tanks as big and bigger will confirm that humidity is and will be an issue that is a big problem with a big setup, and looking for other ideas besides air handlers.....I've tried used regular bath exhaust fans on my 240 setup in the garage and definitely not enough.....I went the window AC route there along with my 1HP chiller.....Simple bath exhaust didn't even come close to keeping the room cool enough. I do agree cooler air holds less water as warmer air.....
 

acrylic51

Active Member
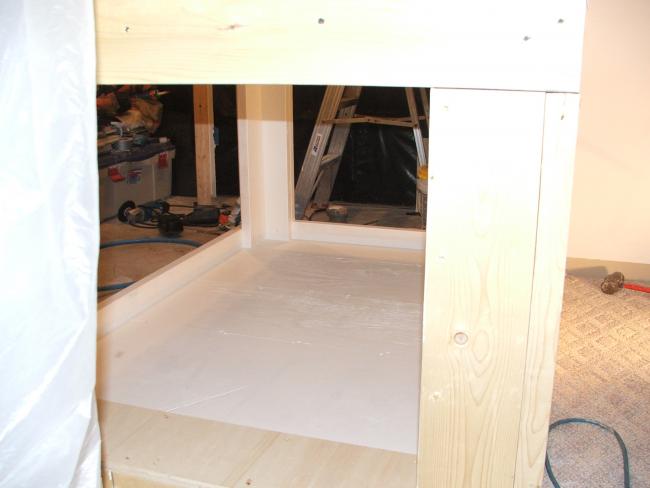
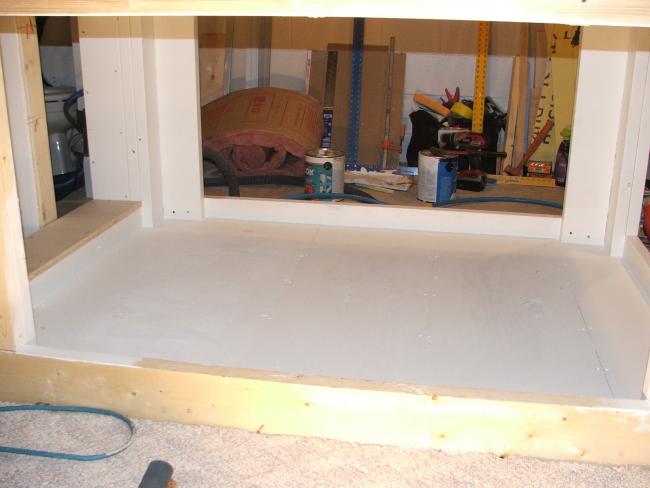
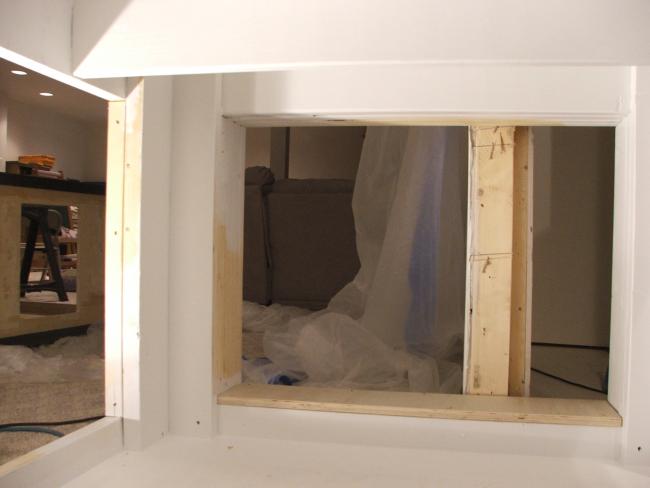
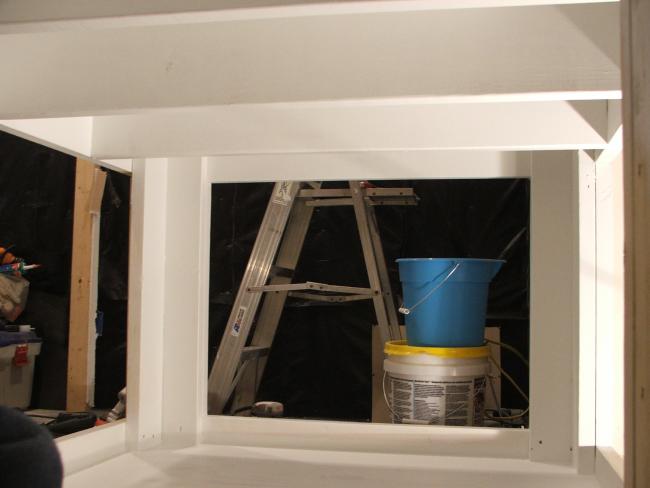
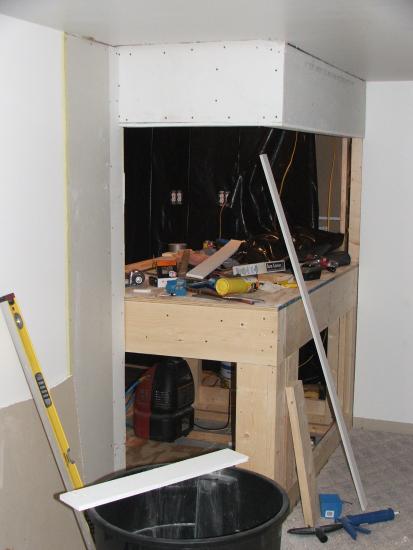
Not a lot done today....Worked on vapor barrier on the ceiling and hung a bit of drywall work and got the stand painted on the inside and started with the install of the FRP board....


acrylic51

Active Member
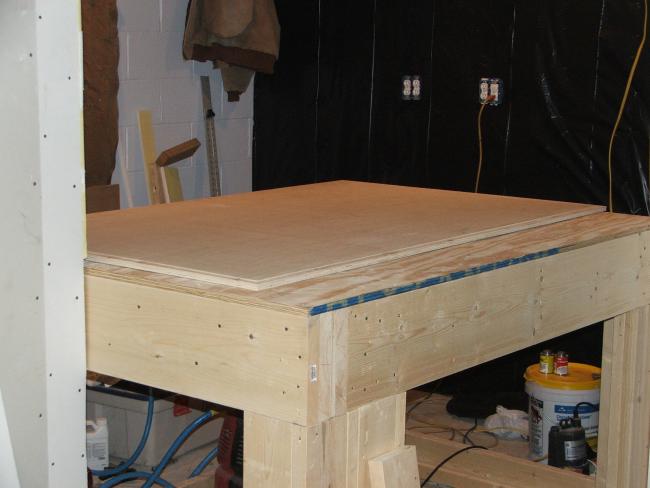
A quick pic of the little bit of drywall work done.......Also a pic of the 3/4" plywood top installed on the top of the stand....


acrylic51

Active Member
Thanks !!!! Height of the stand is 40". A little taller than normal, but don't like to bend alot and look at my tanks. I do love the shallow look down look as well.....
 

acrylic51

Active Member
Originally Posted by stdreb27
http:///forum/post/3269283
not going to use RFI Plugs?
Personally I'd just go find a used 55 gallon or so tank to use as a QT.
What would the purpose of using RFI Plugs? Is it possible you were referring to GFCI? All holding tanks and such will be done out of acrylic....Not an issue drilling glass, just super easy to work with acrylic.
 

acrylic51

Active Member
Did alittle more work on the fishroom over the past couple of days.....got the one wall completely done with vapor barrier and then came up with the crazy notion, that I wanted to incorporate a way to make water changes super easy on myself, so I removed some of the vapor barrier and plumbed a 1" line into the wall that will be hooked to my manifold system off my main circulation pump and during water changes a line will hook up to the pump to the fitting in the wall and will pump water through the pipe directly to the drain by my washer....Still have to test it, but shouldn't be an issue with pumping the water up 8'. I will be using again my trusty Sequence pumps....I honestly love their pumps and haven't had a single issue with them and they are super quiet IMO.
I did do alittle more work on the stand as far as finishing up the FRP installation, and still need to go back and seal all the seams yet, but also started on the front skin of the stand. Also started fabricating up the doors and such for the front of the stand. I still have quite a bit of work to do on the skin, but hopefully it will be a slow week at work which will leave me with extra energy after work to get a bit done. I've also been toying with doing a moveable light rack for over the tank. I want to be able to move the lights completely from over the top of the tank during maintenance, so will have to think on this a bit. I know some people have done it and have used parts from Stanley, but me being a "big" DIY I want to try to fab and build as much of everything as possible....I've also been toying with the idea of motorizing the light track as well....A couple of months ago my garage door decided to crap out on me, and after buying and installing the new opener, I got curious and took the housing open to see what failed and of course the crappy plastic gear stripped out, but shouldn't be to hard to come up with new gears and such and the limiting switches are already there so,....will definitely need SCSInet or anyone else's help in this area......
 

acrylic51

Active Member
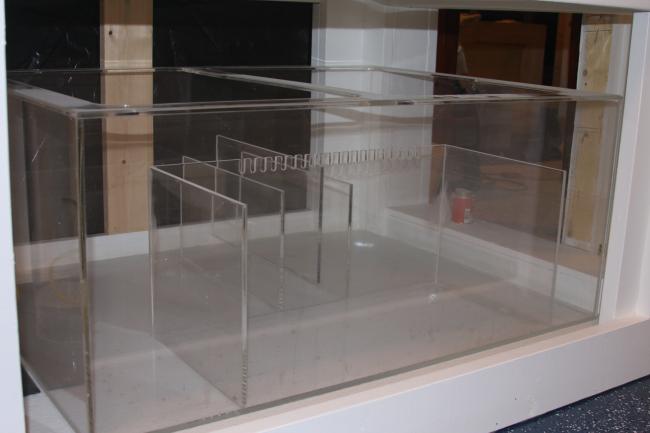
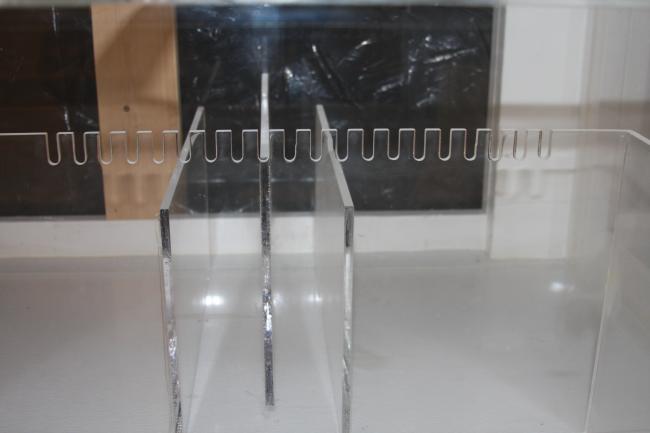
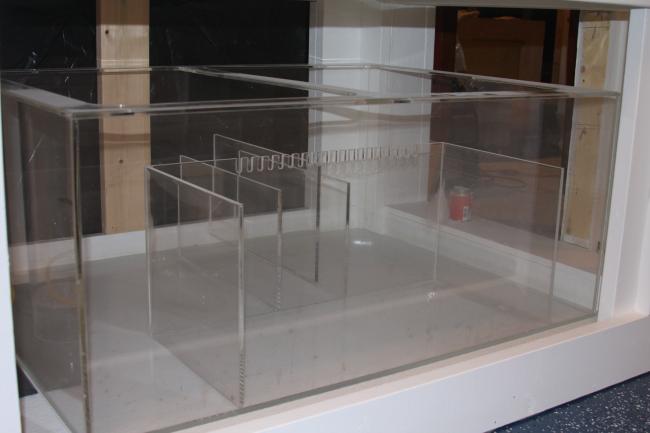
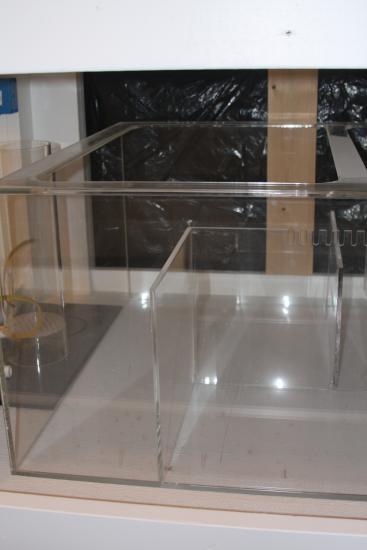
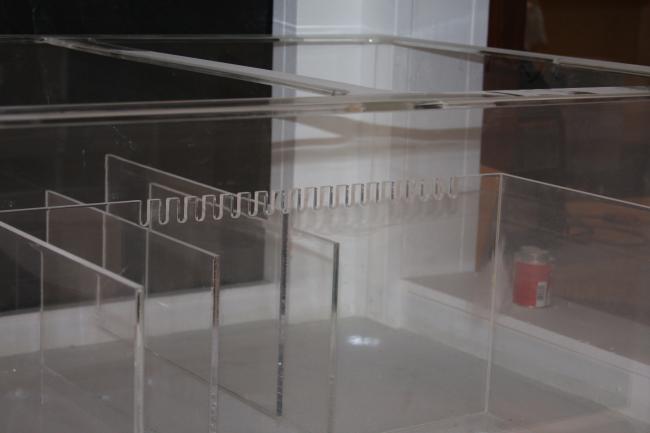
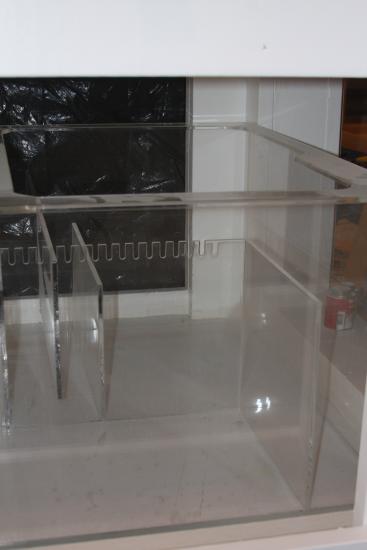
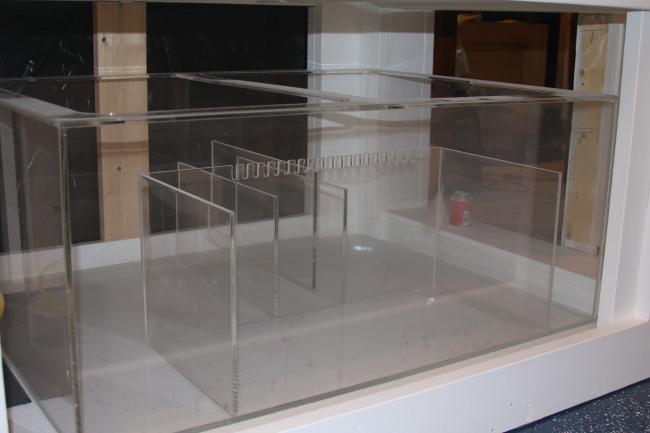
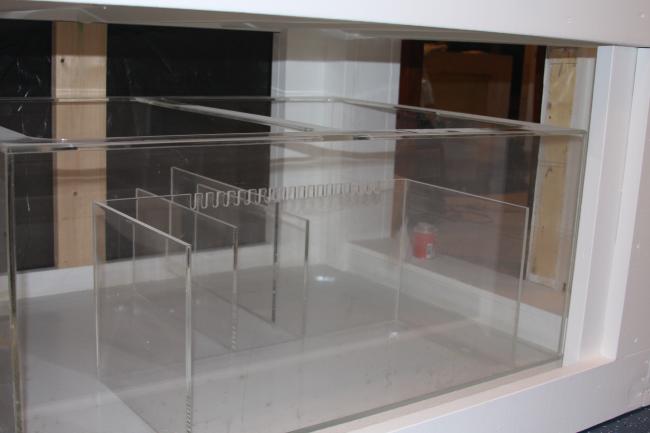
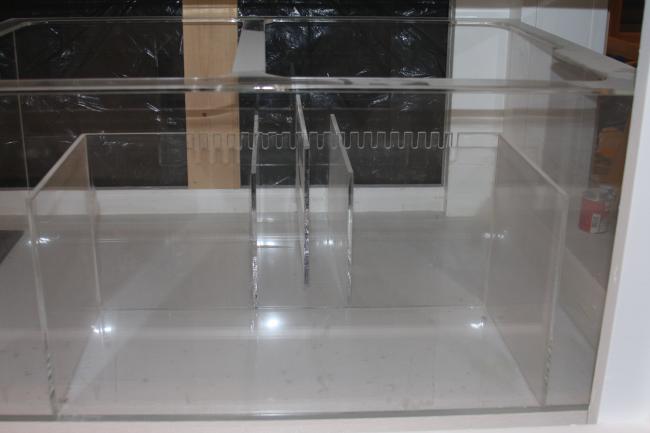
As promised some updated pics of the progress. I did get the sump finished up and I am rather pleased for a change....I do have to give a shout out to James of Envision. James does some of the best acrylic fab and tank construction around....I'd recommend James to anyone looking for a custom acrylic tank build. You won't get a finer tank than Envision. Also James has a very long running and very informative thread on all types of acrylic projects and following his leads and recommendations you can't go wrong.....Again thanks James !!!!!! With that said the sump is already under the sump. I figured that was the safest place for it, since it's out of the way with all the construction currently going on in the fishroom and with the granddaughter running around the house it is out of the way, but a bit dusty, but with a simple wipe down of Brilliance shine cleaner it will look fantastic and ready to go when needed. As promised some pics !!!!!!


acrylic51

Active Member
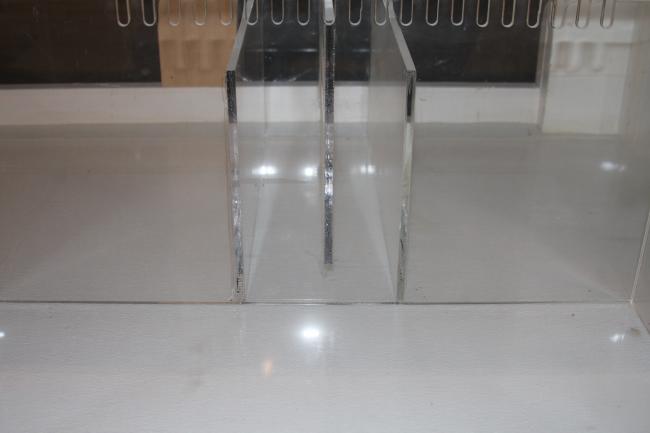
More pics....again super pleased with the super clean joints and you guys can see I have plenty of room for add ons as the system grows.....Notice the big fuge area
The big return area on the left side of the pic looking at it gives me room also down the road to add a algae scrubber to play with as well...


acrylic51

Active Member
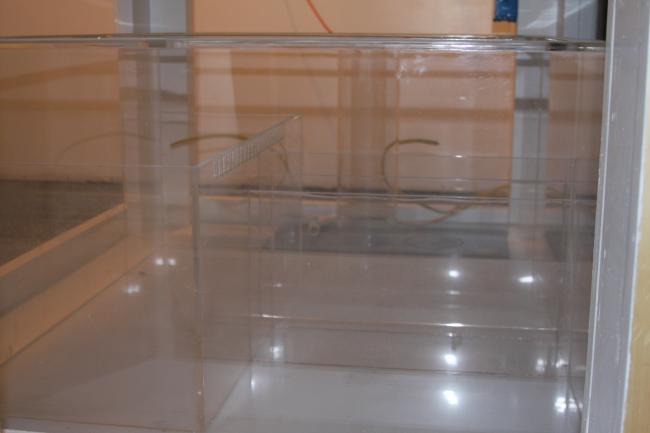
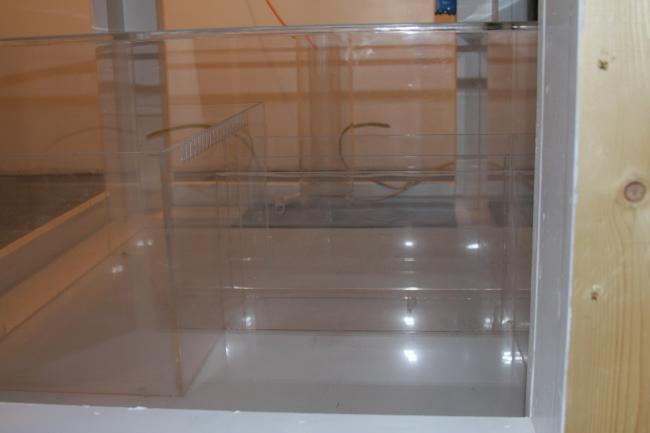
Sorry about all the pics.....just a few more, but in these next shots are from the end, and you can see my DIY Dual Chamber Calcium reactor that is also currently in the works that will see a bit down the road....there is going to be tons of DIY stuff in this build.....


spanko

Active Member
Can you explain the flow through the sump please? Where does the tank water enter, where does it return from, which part is the refugium etc. etc.?
I'll be glad when you hit a new page so we don't have to scroll left to right to read.
 

acrylic51

Active Member
Yeah sorry about that scrolling issue.....bugged the **it out of me as well.....Sorry!!!!! The flow will enter on the right back side near the back of the sump(looking at the right side of pic) the 1 drain line will be split so it can feed the fuge, (area center back of pic) and both drain lines will be filtered using filter socks at start up and eventually be removed. The flow will then flow forward towards the front of the sump which will hold the skimmer area, and then it will flow towards the left of the sump through the baffle area which there are (3) baffles spaced 2" apart, which will then continue to flow to the left where the water from the fuge will spill over into the return area on the left side of the sump. The return area is the left side of the pic. I made this area big enough to incorporate future add ons, my dual chamber calcium reactor and probes and such. I'm planning on using either the Sequence Snapper or might; might squeeze the Dart Gold into the mix depending on future plans for separate frag tank off the side of the room.
 

stdreb27

Active Member
Originally Posted by acrylic51
http:///forum/post/3269392
What are RFI plugs? Humidity is an evil and 80% seems like an awful lot in my mind
Right now the room stays about 40-50% humidity. With a large body of water in this confined area and many others with tanks as big and bigger will confirm that humidity is and will be an issue that is a big problem with a big setup, and looking for other ideas besides air handlers.....I've tried used regular bath exhaust fans on my 240 setup in the garage and definitely not enough.....I went the window AC route there along with my 1HP chiller.....Simple bath exhaust didn't even come close to keeping the room cool enough. I do agree cooler air holds less water as warmer air.....
Sorry I can't type GFI plugs.
Yeah, I'm not sure where you live, but 70-80% humidity with a high 70's dew points is life in south texas. So gaint tanks don't change the air too much. When I had my 180 gallon tank, plus the 2 - 45's the barometer didn't change.
 

acrylic51

Active Member
Stdreb27 that is what I was thinking later on that you meant GFCI....No, certain places I will swap out to GFCI's and other places will have them....I'm not a real fan and I've seen them trip at times. I do not like to run them on the outlet my main pump is on though. That is a personal preference though and some may beat up on me about that, but I've been set that way for many years. Although I do recall SCSInet having a discussion a long while ago that GFCI isn't really the way you want to go, I can't recall the other type off the top of my head, but they would be the breakers to use....Maybe he'll chime in and refresh my our memories. No the outlet under the stand is a little different monster though.....I'm taking alittle extra precaution there.....
 

acrylic51

Active Member
Got a little more progress done on the skin of the stand. Since the tank will be inwall with the fishroom behind I still would like to have full access to things under the tank from the front, so I'm trying to make the underneath as accessible as possible. With that said I'm attempting to make the front skin removable if needed. The skin will be done with Poplar. Alot of people use Oak, but I've just grown tired of using Oak and don't particularly care for it's open grain.
The panel is constructed of 4 separate pieces and I used probably my favorite tool the Kreg jig to join everything....Anyone that hasn't used one should check them out, they are super easy to use and give super results....makes joining panels super easy and no markings or screw or nail holes on the front surface. I will have to take pics of the back of the panels to show people who aren't familiar with the pocket hole design.... Here's a few starter pics with the pieces joined and clean up routing underway.....


stdreb27

Active Member
Originally Posted by acrylic51
http:///forum/post/3270226
Stdreb27 that is what I was thinking later on that you meant GFCI....No, certain places I will swap out to GFCI's and other places will have them....I'm not a real fan and I've seen them trip at times. I do not like to run them on the outlet my main pump is on though. That is a personal preference though and some may beat up on me about that, but I've been set that way for many years. Although I do recall SCSInet having a discussion a long while ago that GFCI isn't really the way you want to go, I can't recall the other type off the top of my head, but they would be the breakers to use....Maybe he'll chime in and refresh my our memories. No the outlet under the stand is a little different monster though.....I'm taking alittle extra precaution there.....
I think he was saying something along the lines of GFI plugs are useless without grounding the tank, oh wait no the other way around grounding is useless without a gfi plug. I don't remember. What sold me on em, was when my lights shorted out and caught fire. I didn't have a gfi plug, but fortunately I was looking right at the thing when it caught fire. That would have never happened with the GFI plugs. It would have (working properly tripped the plug).
 

acrylic51

Active Member
SCSInet did say something a long time ago about what sort of breaker was actually the top choice to use in these situations, but I can't remember off the top of my head. I will have to do alittle digging around.
 

acrylic51

Active Member
Stdreb27 I think AFCI breakers would be a better choice in using vs using the GFCI. Alittle insight on them......
An Arc Fault Circuit Interrupter (AFCI) is a circuit breaker designed to prevent fires by detecting a non-working (i.e., non-intended/non-useful) electrical arc and disconnect power before the arc starts a fire. An AFCI should, but does not always, distinguish between a working arc that may occur in the brushes of a vacuum cleaner, light switch, or other household devices and a non-working arc that can occur, for instance, in a lamp cord that has a broken conductor in the cord from overuse. Arc faults in a home are one of the leading causes for household fires.
AFCIs resemble a GFCI/RCD (Ground-Fault Circuit Interrupt/Residual-Current Device) in that they both have a test button, although it is important to distinguish between the two. GFCIs are designed to protect against electrical shock, while AFCIs are primarily designed to protect against arcing and/or fire.
* 1 Electrical Code Requirements
* 2 Limitations
* 3 Interference with power line networking
* 4 External link
The AFCI is intended to prevent fire from arcs. AFCI circuit breakers are designed to meet one of two standards as specified by UL 1699: "branch" type or "combination" type (note: the Canadian Electrical Code uses different terminology but similar technical requirements). A branch type AFCI trips on 75 amperes of arcing current from the line wire to either the neutral or ground wire. A combination type adds series arcing detection to branch type performance. Combination type AFCIs trip on 5 amperes of series arcing. Advanced electronics inside an AFCI breaker detect sudden bursts of electrical current in milliseconds, long before a standard circuit breaker or fuse would trip. A "combination AFCI breaker" will provide protection against
1. Parallel arcing (line to neutral).
2. Series arcing (a loose, broken, or otherwise high resistance segment in a single line)
3. Ground arcing (from line, or neutral, to ground)
4. Overload protection (for resistance loads such as heaters. inductive loads such as motors may require additional overload protection)
5. Short circuit protection
AFCIs are designed to protect against fires caused by electrical arcing faults. However, they provide no specific protection against "glowing" connections, excess current, high line voltages, or low line voltages.
Glowing connections occur when relatively high electric current exists in a relatively large resistance. Heat comes from power dissipation. Power (in watts, symbol W) equals the current (in amperes, symbol A) squared, multiplied by the resistance (in ohms, symbol Ω). For example, a 60 watt lamp operating on a 120 V circuit draws 1/2 ampere of current. An 1800 watt space heater on a 120 V circuit draws up to 15 amperes. If a bad wiring junction in a circuit has a resistance of 1 ohm, then a 60 W lamp will cause it to dissipate 0.25 watt of power (0.5 A * 0.5 A * 1 Ω). In contrast, an 1800 W heater could theoretically cause the bad wiring junction to dissipate 178 watts (13 A * 13 A * 1 Ω). Note that the current is less than 15 A because of the combined resistance of the heater plus the bad wiring junction. This energy, dissipated in a small junction area, can generate temperatures above 1000 degrees Celsius. Those temperatures can ignite most flammable materials. Bad wiring junctions can occur in utilization equipment, cords, or premise wiring (especially in defective switch, socket, plug, or wire connection, even at circuit breaker or fuse panels). High resistance junctions are commonly observed in improperly terminated aluminum wire junctions. No technology located in a circuit breaker or fuse panel could detect a high-resistance wiring fault, as no measurable characteristic exists that differentiates a glow fault from normal branch circuit operation. Power Fault Circuit Interrupters (PFCI) located in receptacles are designed to prevent fires caused by glowing connections in premise wiring or panels. From the receptacle, a PFCI can detect the voltage drop when high current exists in a high resistance junction. In a properly designed circuit, substantial voltage drops should never occur. Proper wire terminations inside utilization equipment (e.g. appliances, lamps, heaters) and cords prevent high-resistance connections that can lead to fires.
Excess current can heat entire lengths of wire. Thermal circuit breakers are designed to protect against excess current through the permanent circuit wiring. However, excess current through the smaller wires in utilization equipment can exist, at levels below the trip thresholds of a circuit breaker. Overload fault circuit interrupters (OFCI) are designed to protect against excess current drawn by utilization equipment. OFCIs must be located within receptacles.
 
Top