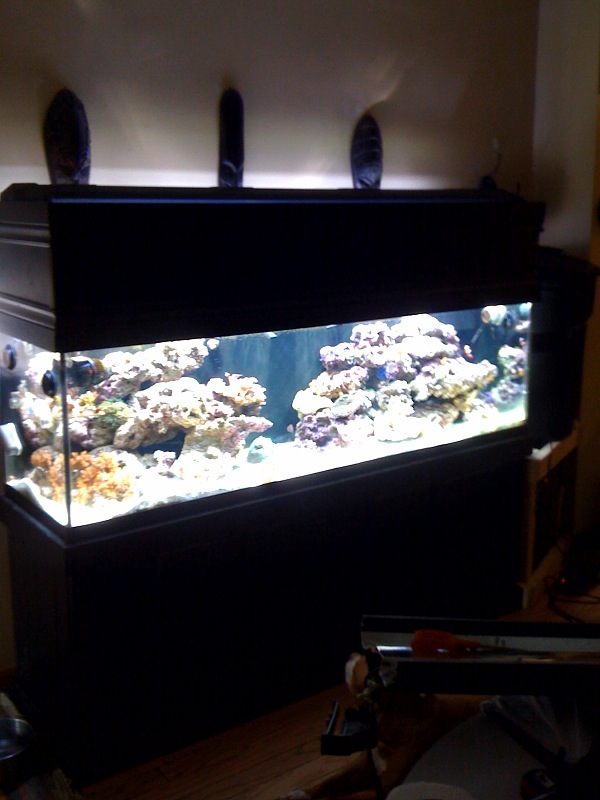
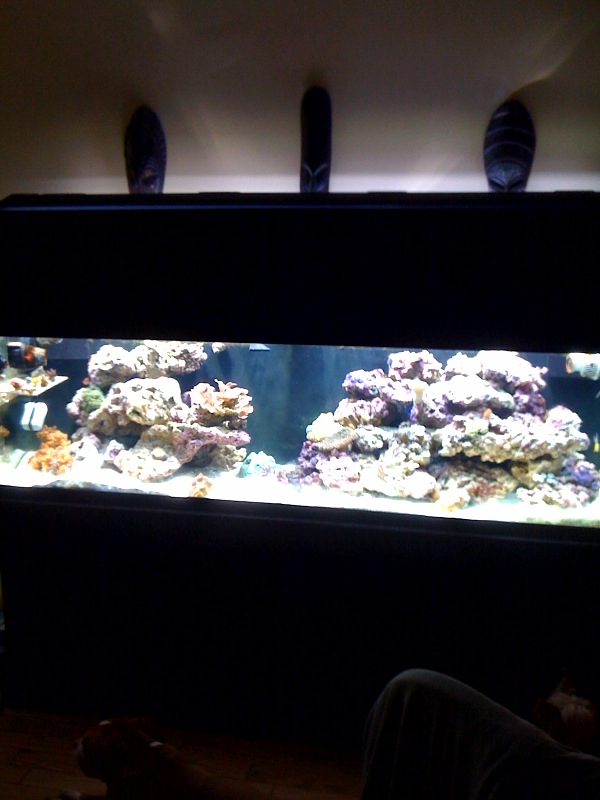
E
E
eric b 125
Guest
meowzer: pm sent
thanks for the compliments guys! i cant wait to be able to turn the center halide on!
thanks for the compliments guys! i cant wait to be able to turn the center halide on!
E
eric b 125
Guest
thanks gcgrad! i finally got around to putting the loc line back onto the left side of the return plumbing. going to home depot today to get some supplies for the canopy build tomorrow. after i get that figured out, i think i'm going to work on the frag tank build.
i want to get a matching stand (standard perfecto blk pine) for the 30L and plumb it to my main system. it's not something i intend to have done anytime soon, but i would like to start working towards it. i have the tank and light, and when i upgrade the main tanks powerheads to vortechs (sometime in the near but not immediate future) i'll have plenty of flow from korralias from the DT. i'd like to drill the frag tank, so there will be another order from glass-holes and most likely another scwd.
i want to get a matching stand (standard perfecto blk pine) for the 30L and plumb it to my main system. it's not something i intend to have done anytime soon, but i would like to start working towards it. i have the tank and light, and when i upgrade the main tanks powerheads to vortechs (sometime in the near but not immediate future) i'll have plenty of flow from korralias from the DT. i'd like to drill the frag tank, so there will be another order from glass-holes and most likely another scwd.
E
eric b 125
Guest
started the canopy yesterday...
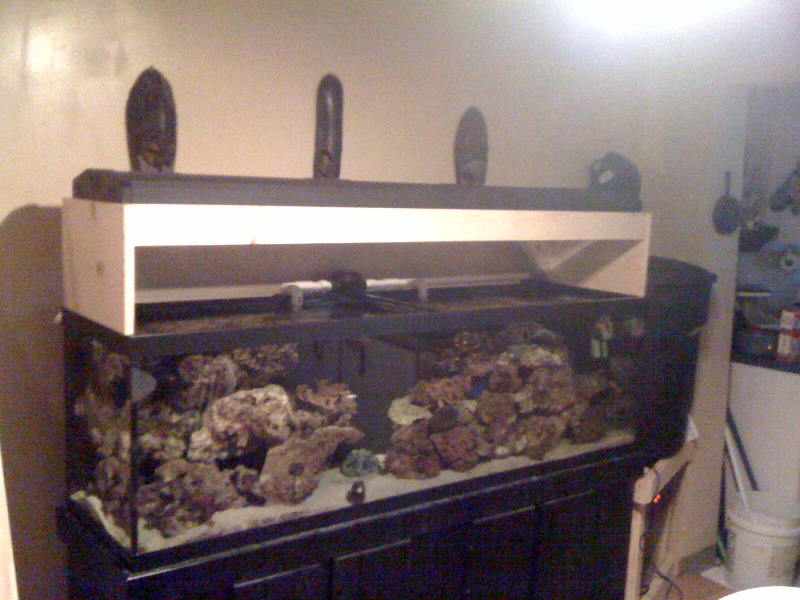
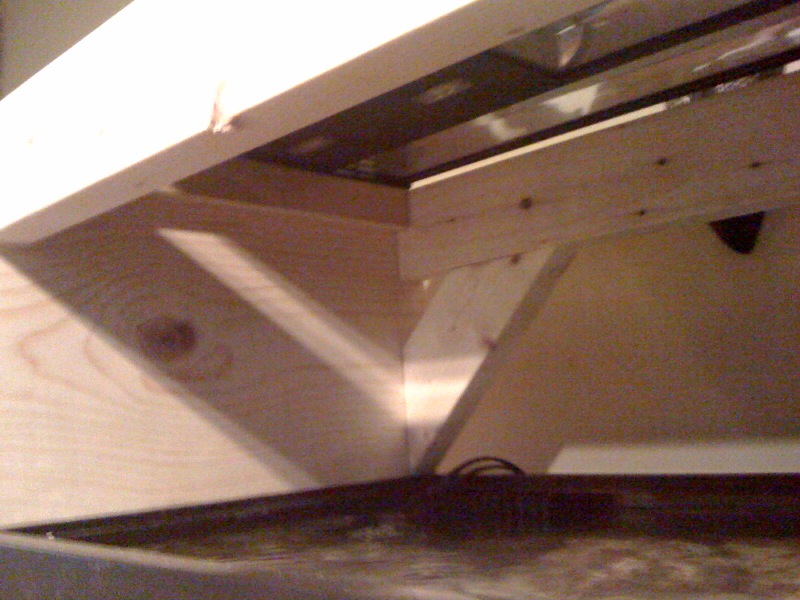
i used a 1 X 12" for the sides, a 2 X 4" for the front and back supports, and a 1 X 2" for the support rails. i wanted this thing to be as simple as possible, because i suck at working with wood. all that needs done today is connecting the front panel, cutting and gluing the trim and paint. the problem with this is: the 1 X 12" that i have for the front panel isnt straight enough. it's warped just a little bit. i'm heading back to HD in a little to see if i can get a better quality of wood that would be straighter. i guess i'm going to go the hinge route, too. i didnt really want to do a hinge, was hoping to be able to just remove the entire front, but hinges seem much easier.


i used a 1 X 12" for the sides, a 2 X 4" for the front and back supports, and a 1 X 2" for the support rails. i wanted this thing to be as simple as possible, because i suck at working with wood. all that needs done today is connecting the front panel, cutting and gluing the trim and paint. the problem with this is: the 1 X 12" that i have for the front panel isnt straight enough. it's warped just a little bit. i'm heading back to HD in a little to see if i can get a better quality of wood that would be straighter. i guess i'm going to go the hinge route, too. i didnt really want to do a hinge, was hoping to be able to just remove the entire front, but hinges seem much easier.
2quills
Well-Known Member
Quote:
Originally Posted by Eric B 125 http:///forum/thread/369906/eric-b-s-125-re-build-journal/160#post_3368450
started the canopy yesterday...


i used a 1 X 12" for the sides, a 2 X 4" for the front and back supports, and a 1 X 2" for the support rails. i wanted this thing to be as simple as possible, because i suck at working with wood. all that needs done today is connecting the front panel, cutting and gluing the trim and paint. the problem with this is: the 1 X 12" that i have for the front panel isnt straight enough. it's warped just a little bit. i'm heading back to HD in a little to see if i can get a better quality of wood that would be straighter. i guess i'm going to go the hinge route, too. i didnt really want to do a hinge, was hoping to be able to just remove the entire front, but hinges seem much easier.
This may be said in hindsight but I would have went with a good grade of plywood. That pine may have a tendency to want to warp on you over time. It looks good though so far, keep the pics coming.
Originally Posted by Eric B 125 http:///forum/thread/369906/eric-b-s-125-re-build-journal/160#post_3368450
started the canopy yesterday...


i used a 1 X 12" for the sides, a 2 X 4" for the front and back supports, and a 1 X 2" for the support rails. i wanted this thing to be as simple as possible, because i suck at working with wood. all that needs done today is connecting the front panel, cutting and gluing the trim and paint. the problem with this is: the 1 X 12" that i have for the front panel isnt straight enough. it's warped just a little bit. i'm heading back to HD in a little to see if i can get a better quality of wood that would be straighter. i guess i'm going to go the hinge route, too. i didnt really want to do a hinge, was hoping to be able to just remove the entire front, but hinges seem much easier.
This may be said in hindsight but I would have went with a good grade of plywood. That pine may have a tendency to want to warp on you over time. It looks good though so far, keep the pics coming.
E
eric b 125
Guest
^^^ see, that's what i was afraid of... i was originally thinking with going with plywood but thought that plywood would warp over time. like i said: by no stretch of the imagination am i good at craftsmanship. oh well, may this be a learning experience. i'm going to coat the inside of it with polyurethane real good. i was told by other reefers that this would be safe...???
the good news is that i found a straight enough 1 X 12" to use as the front panel. things are coming along nicely. i'm working on the trim... thought i'd take a break while the wood glue has a chance to dry a bit before putting on the next piece of trim. i came up with some pretty nifty ideas (at least in my mind they're nifty) that i'll post pics of later today once i get this all disassembled and ready for paint. hoping that if i get started with paint tonight it will be tank ready on tuesday.
the good news is that i found a straight enough 1 X 12" to use as the front panel. things are coming along nicely. i'm working on the trim... thought i'd take a break while the wood glue has a chance to dry a bit before putting on the next piece of trim. i came up with some pretty nifty ideas (at least in my mind they're nifty) that i'll post pics of later today once i get this all disassembled and ready for paint. hoping that if i get started with paint tonight it will be tank ready on tuesday.
2quills
Well-Known Member
Quote:
Originally Posted by Eric B 125 http:///forum/thread/369906/eric-b-s-125-re-build-journal/160#post_3368540
^^^ see, that's what i was afraid of... i was originally thinking with going with plywood but thought that plywood would warp over time. like i said: by no stretch of the imagination am i good at craftsmanship. oh well, may this be a learning experience. i'm going to coat the inside of it with polyurethane real good. i was told by other reefers that this would be safe...???
the good news is that i found a straight enough 1 X 12" to use as the front panel. things are coming along nicely. i'm working on the trim... thought i'd take a break while the wood glue has a chance to dry a bit before putting on the next piece of trim. i came up with some pretty nifty ideas (at least in my mind they're nifty) that i'll post pics of later today once i get this all disassembled and ready for paint. hoping that if i get started with paint tonight it will be tank ready on tuesday.
You'll be alright. It's just a canopy and it's not like you can't make another one in a few years if you had to. You are using glue and planning on sealing it so I wouldn't sweat it too much. Will be waiting patiently for pics of the finished product.
E
eric b 125
Guest
i'm not worried about it. i didnt expect it to be perfect. it looks good enough. got the first coat of white done for the inside, think im done for the day. i figure i'll do one more coat in the morning, then start the black sometime in the afternoon. hopefully i'll have enough paint on it that i can seal it on tuesday.
E
eric b 125
Guest
E
eric b 125
Guest
ran into a bit of a snag... i noticed that my monit cap has been slowly dying:
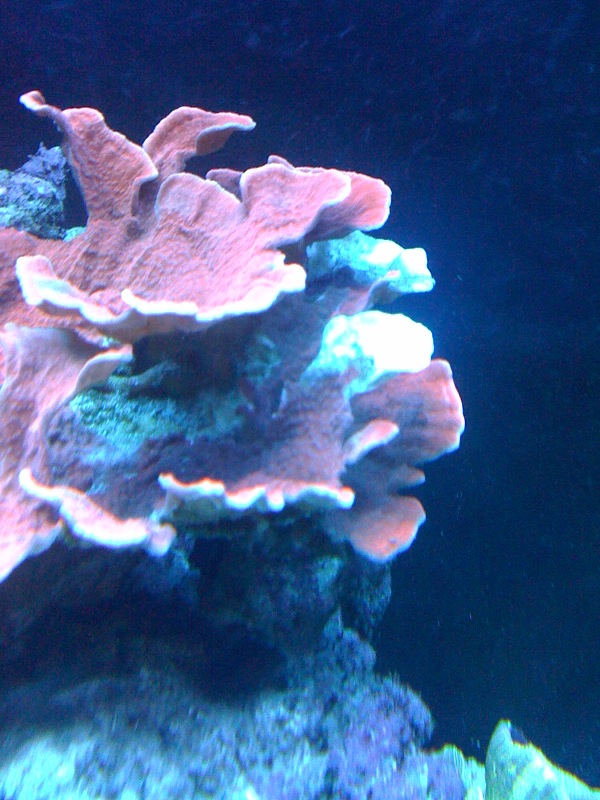
i did some water tests:
ammonia-0
nitrite-0
nitrate-0
pH-7.8
calcium-440
dKH-9
i thought it was secondary to the water from my kati ani unit, because they can inherently lower pH in the water. i've never had this problem before, though. i tested the water that i had mixing the last of my reef crystals and it was 8.4 so i eliminated the kati ani as a culprit. i did the water change and aimed a few power heads toward the water surface. i'm hoping this will help. i'd be surprised if it does though, because there is a ton of agitation in my sump. on top of that, the tank just got a 60 gallon water change 9 days ago. i've tested the pH shortly after the lights come on (which right now is at night because i had the lights off during the day to work on the canopy) and a little before they turn off. both of these readings were 7.8. i'm hoping that the flesh on the monti stops receding. that is my favorite piece.

E
eric b 125
Guest
just tested the pH after the halides were on for a while and its up to 8.2. will test again when i get out of clinical later and hopefully it wont swing. after having a chance to really look at the tank with the halides on i think the tissue regression might be due to low lighting in the middle of the tank. hopefully once i get the middle halide lit tonight it will stop the regression.
E
eric b 125
Guest
canopy is on... need to do a few slight adjustments yet, but it's staying on
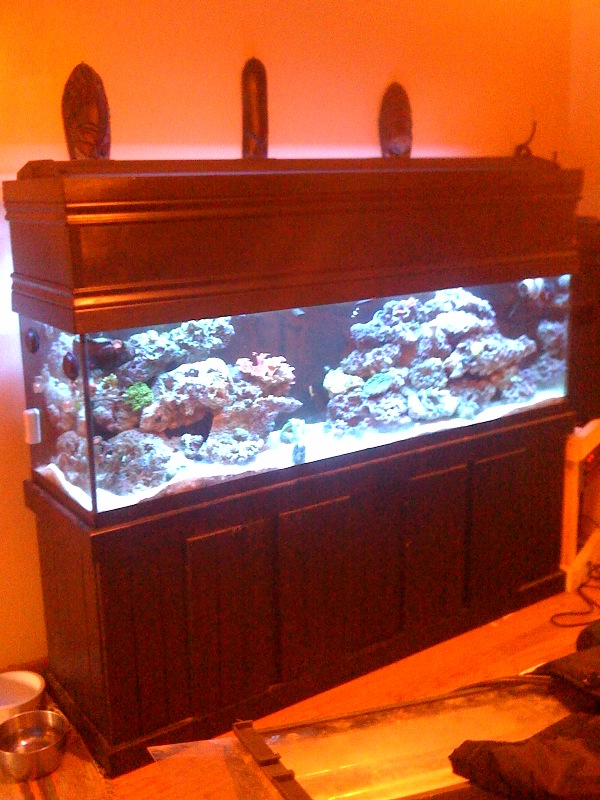
the only problems i had was the miter cuts. i didnt quite get the trim on the bottom as good as i'd have liked to, but like i said: i didnt expect this to be perfect...
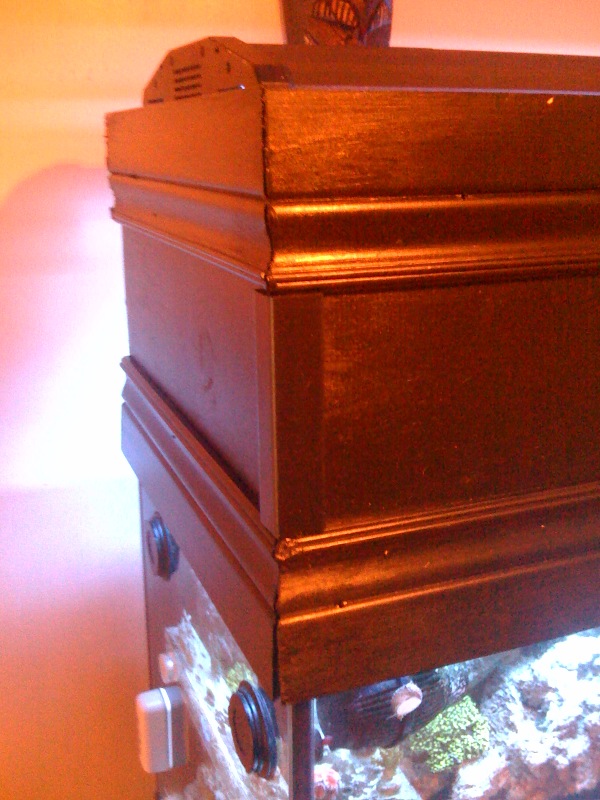
the center brace is taking on a lot of heat, even after the 12" lift, so i'm going to build a heat shield out of a reflector that a friend gave to me... once i have that done i will post pics with all 3 halides on.

the only problems i had was the miter cuts. i didnt quite get the trim on the bottom as good as i'd have liked to, but like i said: i didnt expect this to be perfect...

the center brace is taking on a lot of heat, even after the 12" lift, so i'm going to build a heat shield out of a reflector that a friend gave to me... once i have that done i will post pics with all 3 halides on.
E
eric b 125
Guest
E
eric b 125
Guest
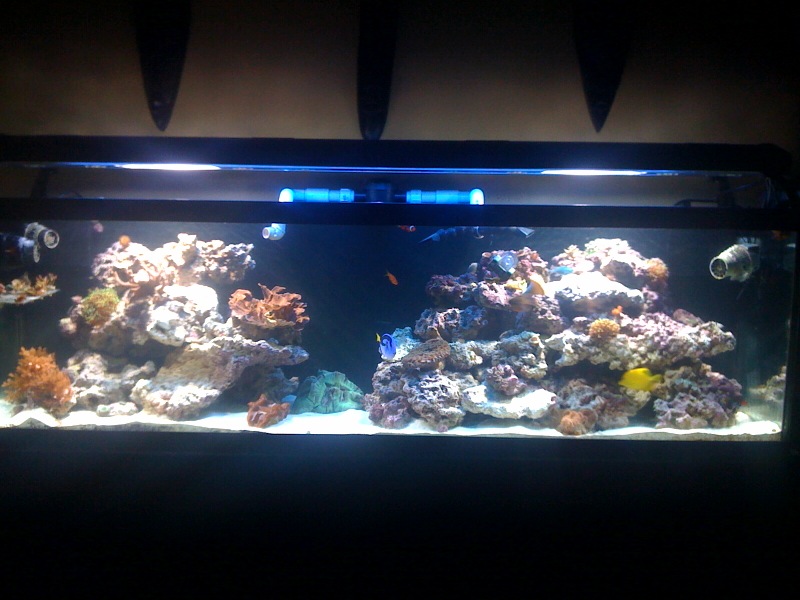
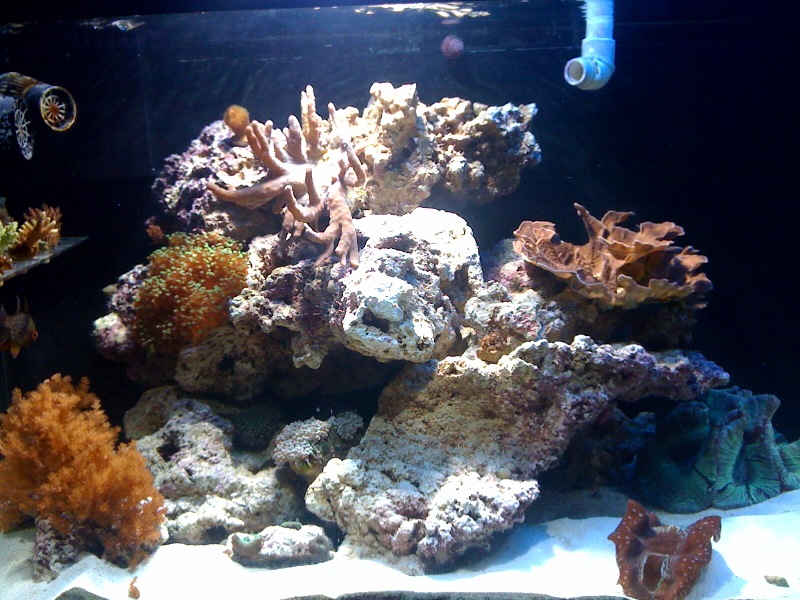
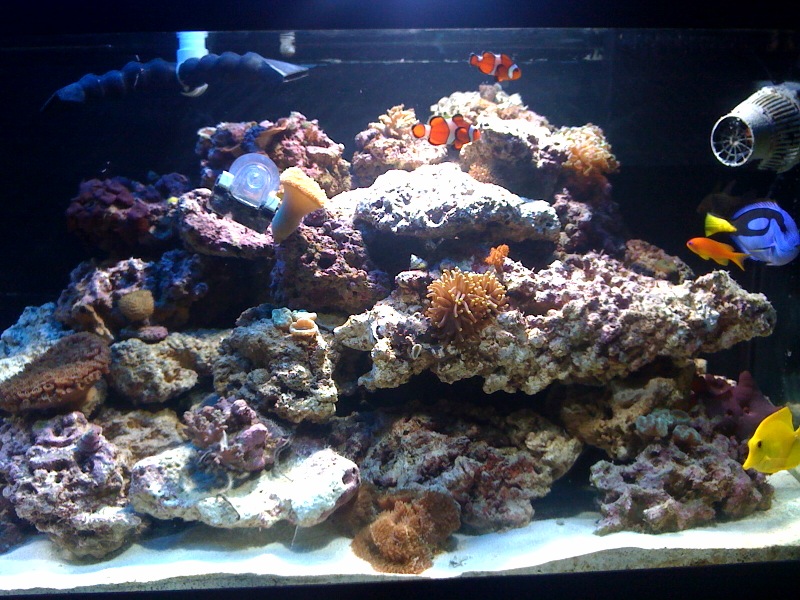
sorry about all the shoddy pics, i still havent replaced my camera after dropping it in the water. these were taken with my phone, but they illustrate the better light coverage. hoping this will stop the slow death of my monti.
E
eric b 125
Guest
the front panel is on hinges, so i can lift it up to feed. i cant flip it all the way up because of the trim on the top, so i needed to figure out how to make it removable. (keep in mind i dont really have the vernacular for this) so i got these metal things that screw into the wood that accept machined bolts...nuts?...bolts. yeah, bolts. so that way i can unscrew the hinges and not worry about wearing out the wood. i'm so pleased with the results of this build. just scrolling up and down on this page and seeing the difference with the middle halide on made all the trouble worth it. $150 well spent.
E
eric b 125
Guest
thanks quills, i appreciate it!

