Flower's Sump/Fuge Build
- Thread starter acrylic51
- Start date
al&burke
Active Member
Quote:
Originally Posted by Flower http:///forum/thread/380517/flower-s-sump-fuge-build/1220#post_3331404

Okay guys...it is 15 inches from the bottom of the refugium to the very bottom of the hole. The hole is 1 1/2 inches across...the screw on part of the bulkhead (??? ) the white part is also 1 1/2 inches across
Shawn have you heard anything from UPS?
What is the final height of the sump Shawn - I think I might have to go 15-1/2" to bottom of hole
Originally Posted by Flower http:///forum/thread/380517/flower-s-sump-fuge-build/1220#post_3331404

Okay guys...it is 15 inches from the bottom of the refugium to the very bottom of the hole. The hole is 1 1/2 inches across...the screw on part of the bulkhead (??? ) the white part is also 1 1/2 inches across
Shawn have you heard anything from UPS?
What is the final height of the sump Shawn - I think I might have to go 15-1/2" to bottom of hole
al&burke
Active Member
Quote:
Originally Posted by Flower http:///forum/thread/380517/flower-s-sump-fuge-build/1220#post_3331416

So you just have to drill the holes....Shawn says the sump is complete...What more can I say..You guys are great!

Still dry as a bone, I will fill it up some more.
Originally Posted by Flower http:///forum/thread/380517/flower-s-sump-fuge-build/1220#post_3331416

So you just have to drill the holes....Shawn says the sump is complete...What more can I say..You guys are great!

Still dry as a bone, I will fill it up some more.
acrylic51
Active Member
Let me get my tape measure....I have the sump sitting in front of the fireplace right now.....On vacation this week and not cold enough to fire the fireplace yet.....Dang!!!!!!! Give me a sec!!!!
Yes Flower the sump is complete waiting for the batteries on the camera to charge to off load the to the laptop........I called UPS last Thursday or Friday and they had just gotten the paper work from the local UPS store.....I called them today, and at first they said they only had 1 claim filed, and then after getting a little heated with the lady on the phone, and explaining to her that the previous week; a lady had given me 2 separate claim numbers. She did eventually find both claims, and said that the local UPS store didn't send all the paperwork....Supposedly they only received paper work on the sump, but I have a duplicate copy of everything I gave the lady local here, and know for a fact she had everything.......Then the story changed to the 2nd claim when the local UPS store scanned it to them it was unreadable, so know corporate is waiting to get a good copy of the paperwork they can read. Honestly I don't understand what they need paperwork for....The pictures speak a 1000 words!!!!!!!

Yes Flower the sump is complete waiting for the batteries on the camera to charge to off load the to the laptop........I called UPS last Thursday or Friday and they had just gotten the paper work from the local UPS store.....I called them today, and at first they said they only had 1 claim filed, and then after getting a little heated with the lady on the phone, and explaining to her that the previous week; a lady had given me 2 separate claim numbers. She did eventually find both claims, and said that the local UPS store didn't send all the paperwork....Supposedly they only received paper work on the sump, but I have a duplicate copy of everything I gave the lady local here, and know for a fact she had everything.......Then the story changed to the 2nd claim when the local UPS store scanned it to them it was unreadable, so know corporate is waiting to get a good copy of the paperwork they can read. Honestly I don't understand what they need paperwork for....The pictures speak a 1000 words!!!!!!!

al&burke
Active Member
Quote:
Originally Posted by acrylic51 http:///forum/thread/380517/flower-s-sump-fuge-build/1220#post_3331425
Al the very top of the sump is exactly 14 1/2".....Dead on the nose.....
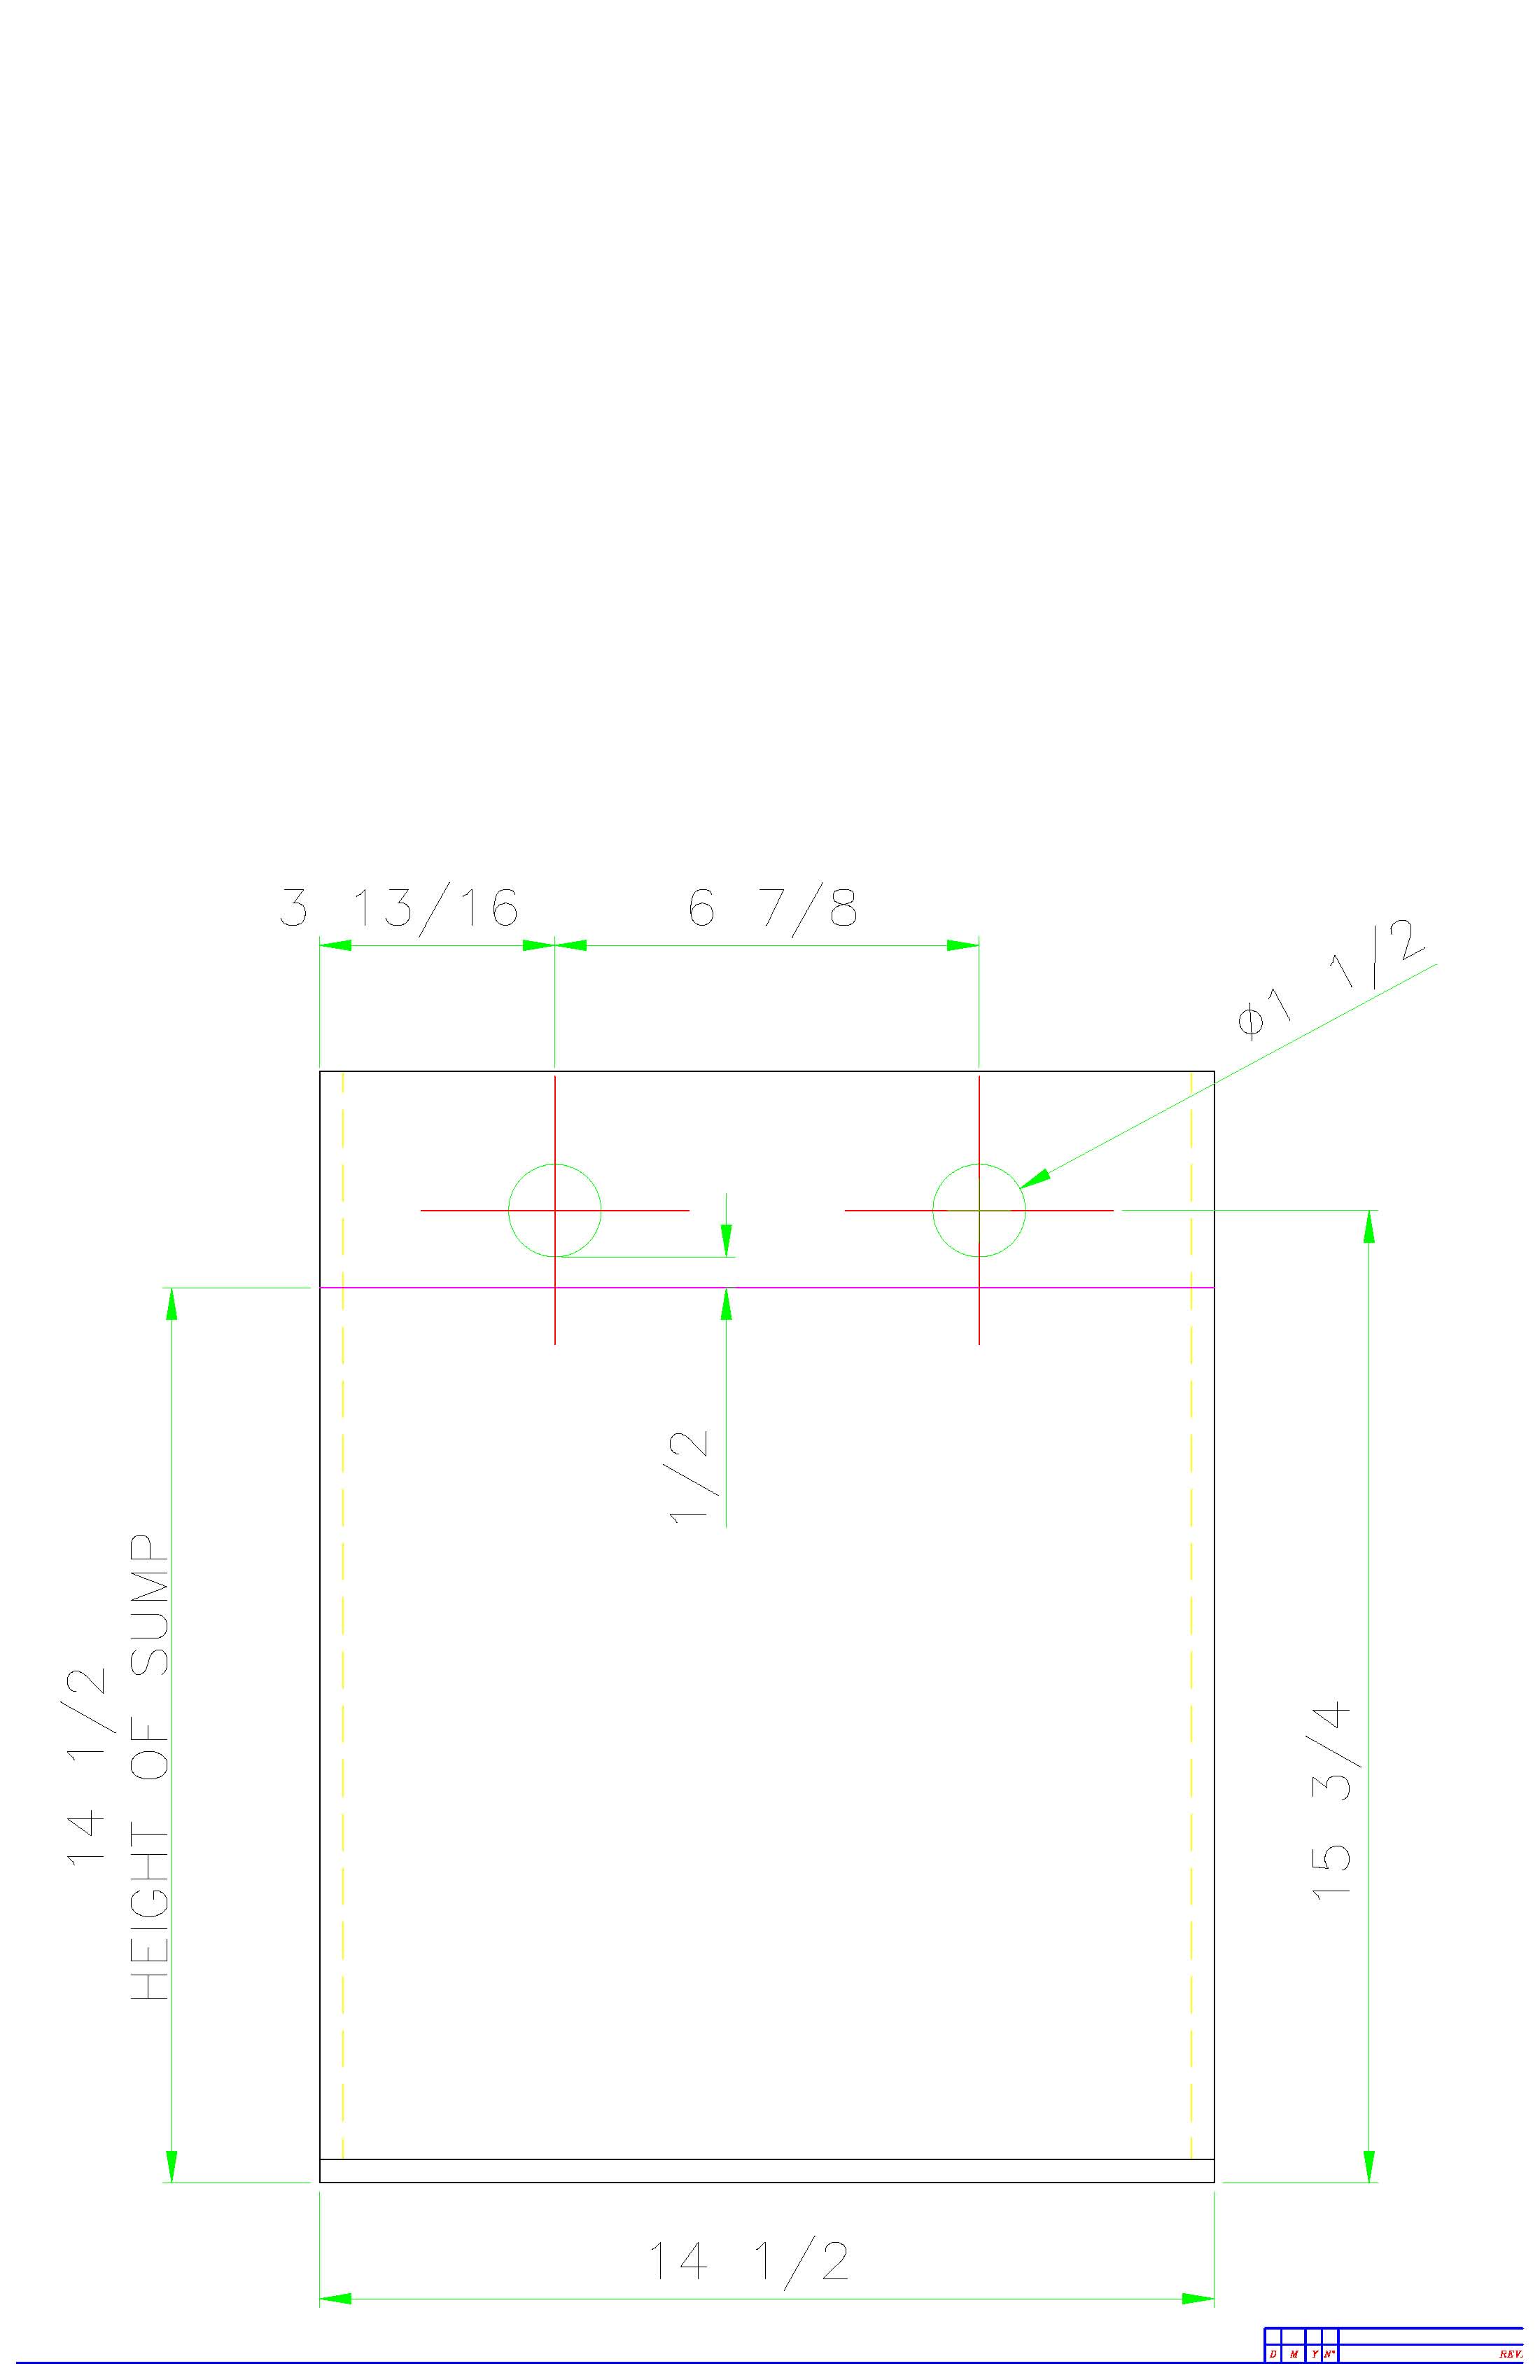
Originally Posted by acrylic51 http:///forum/thread/380517/flower-s-sump-fuge-build/1220#post_3331425
Al the very top of the sump is exactly 14 1/2".....Dead on the nose.....

flower
Well-Known Member
Quote:
Originally Posted by acrylic51 http:///forum/thread/380517/flower-s-sump-fuge-build/1220#post_3331426
Does anyone remember if Flower had posted a pic of her ATO in this thread? If so what page so I can take a peak at it!!!!!!

I'm so sorry..I just got back on..I sneaked a tiny nap before work..My ATO is a JBJ two sensors one for the tank, when the water level drops too low the pump comes on and one for the holding tank, if it gets too low it will stop the system so it won't burn up the pump.

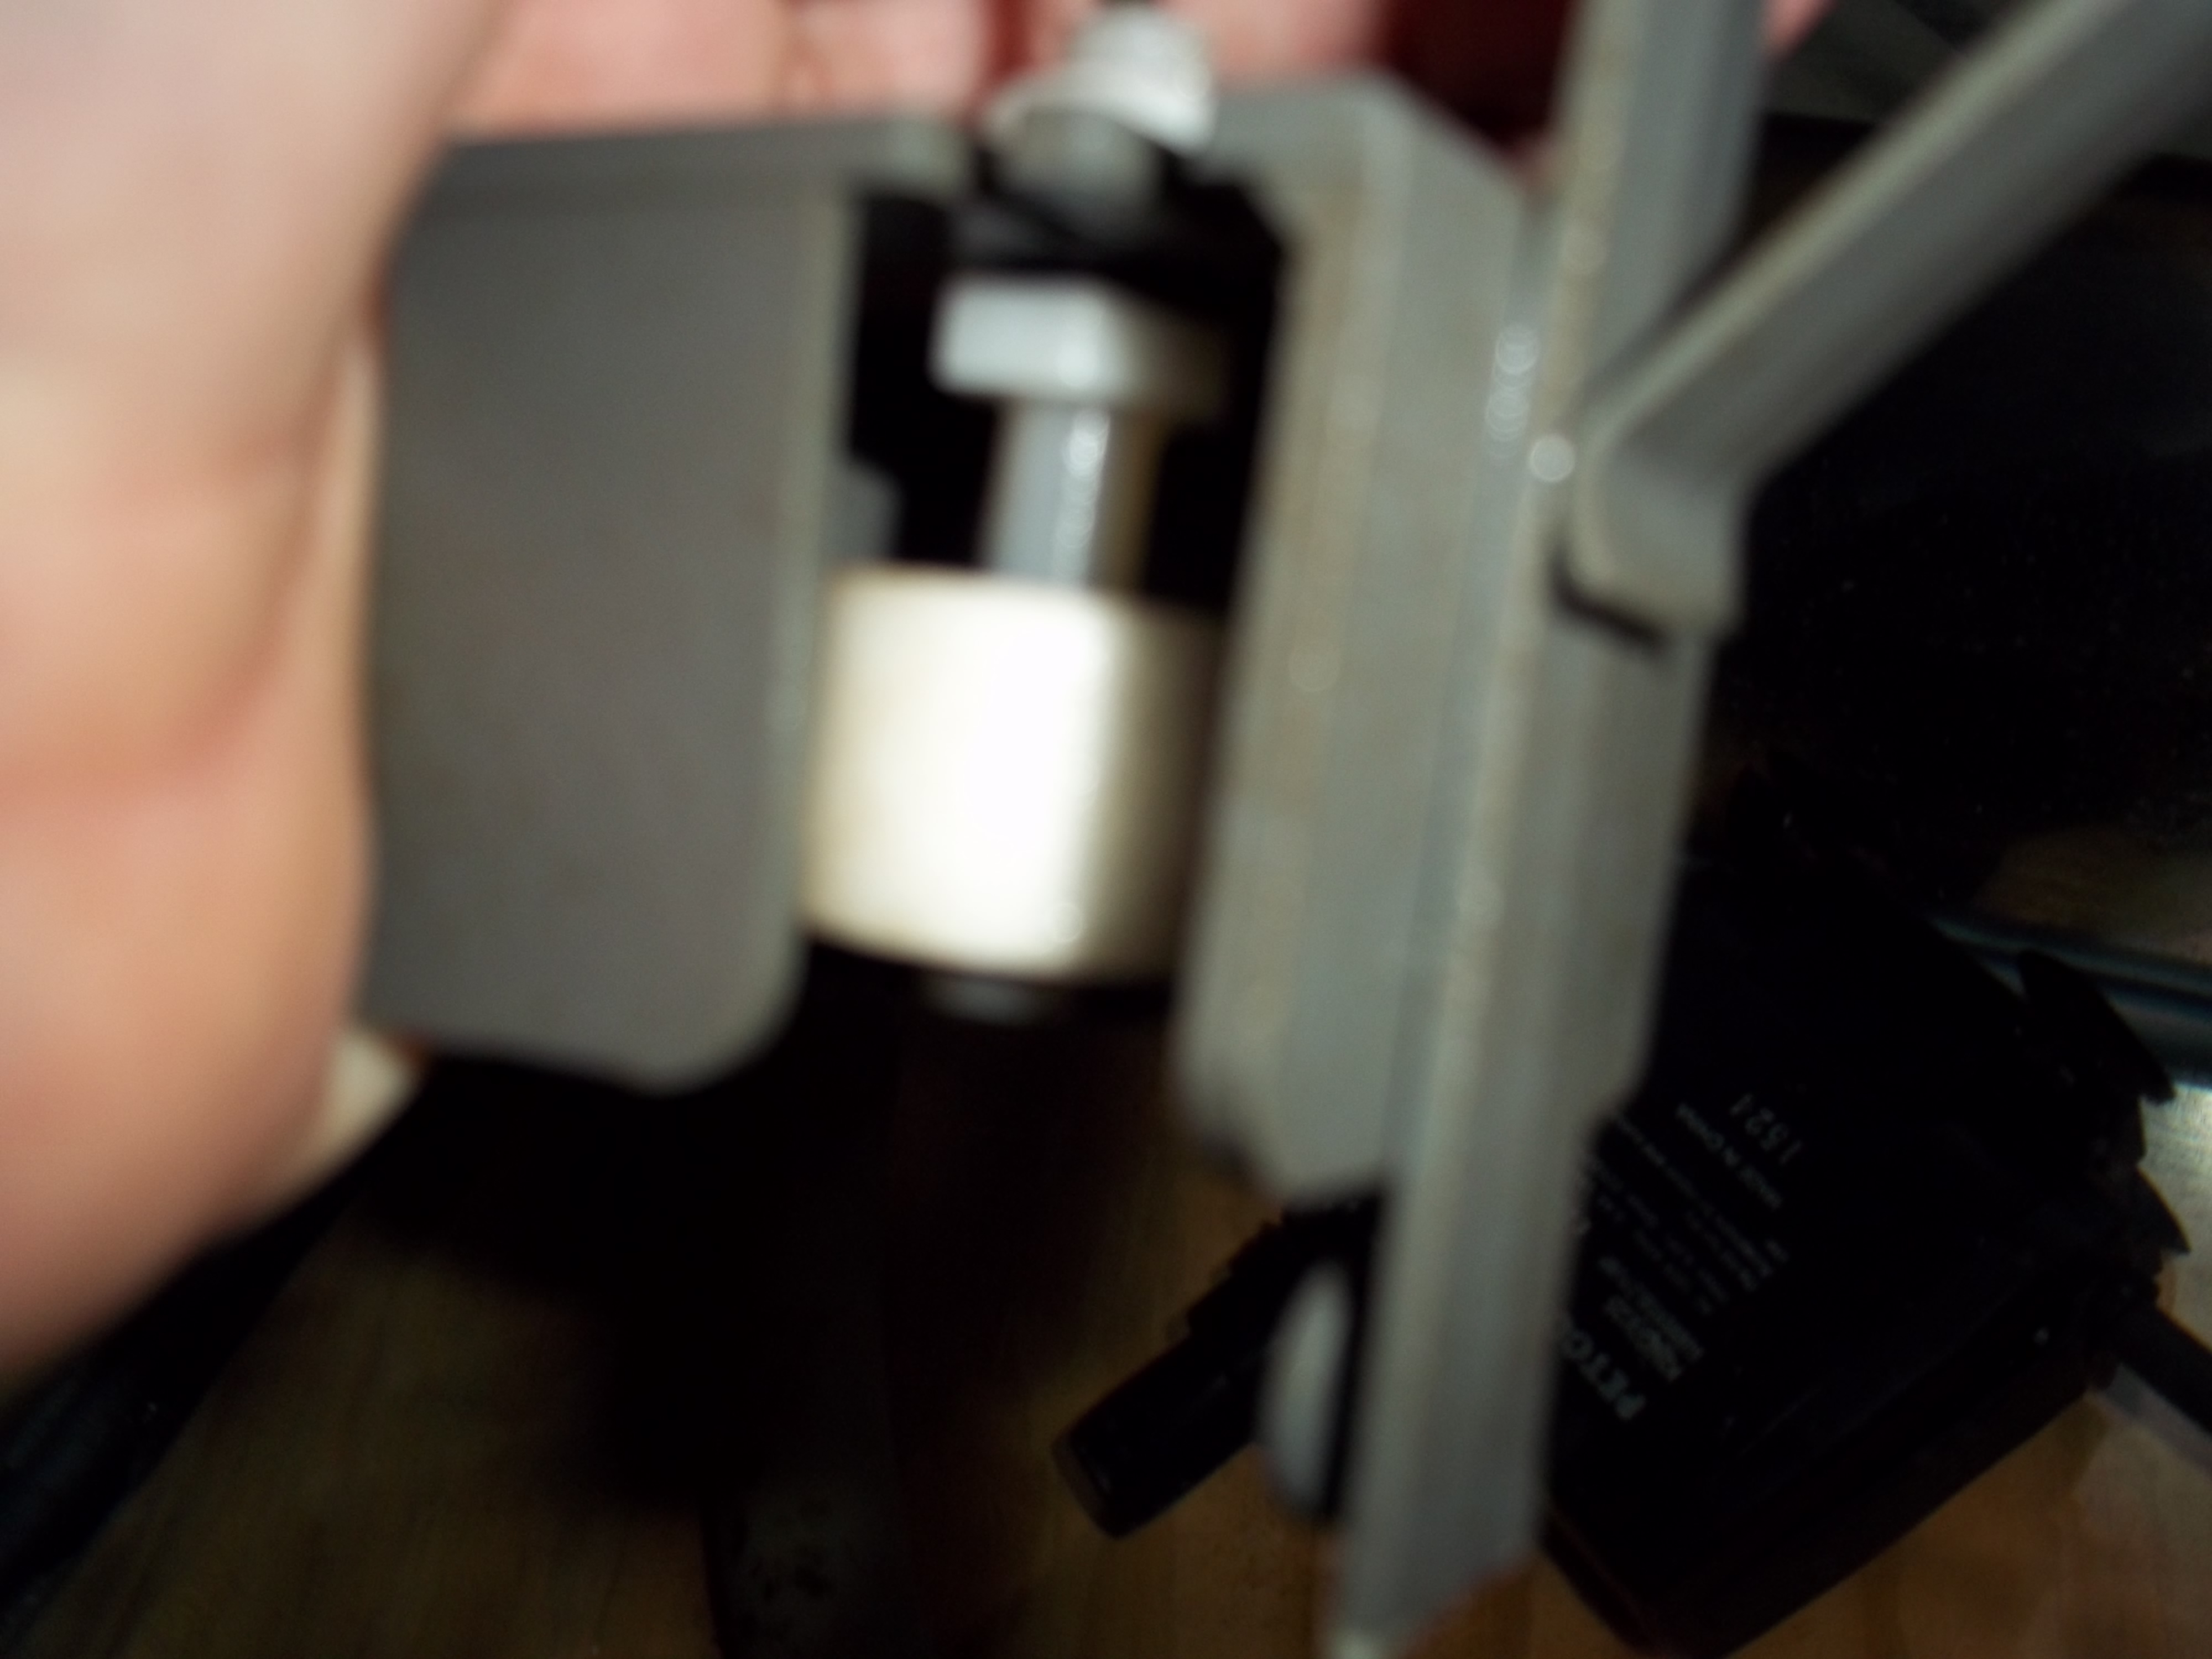
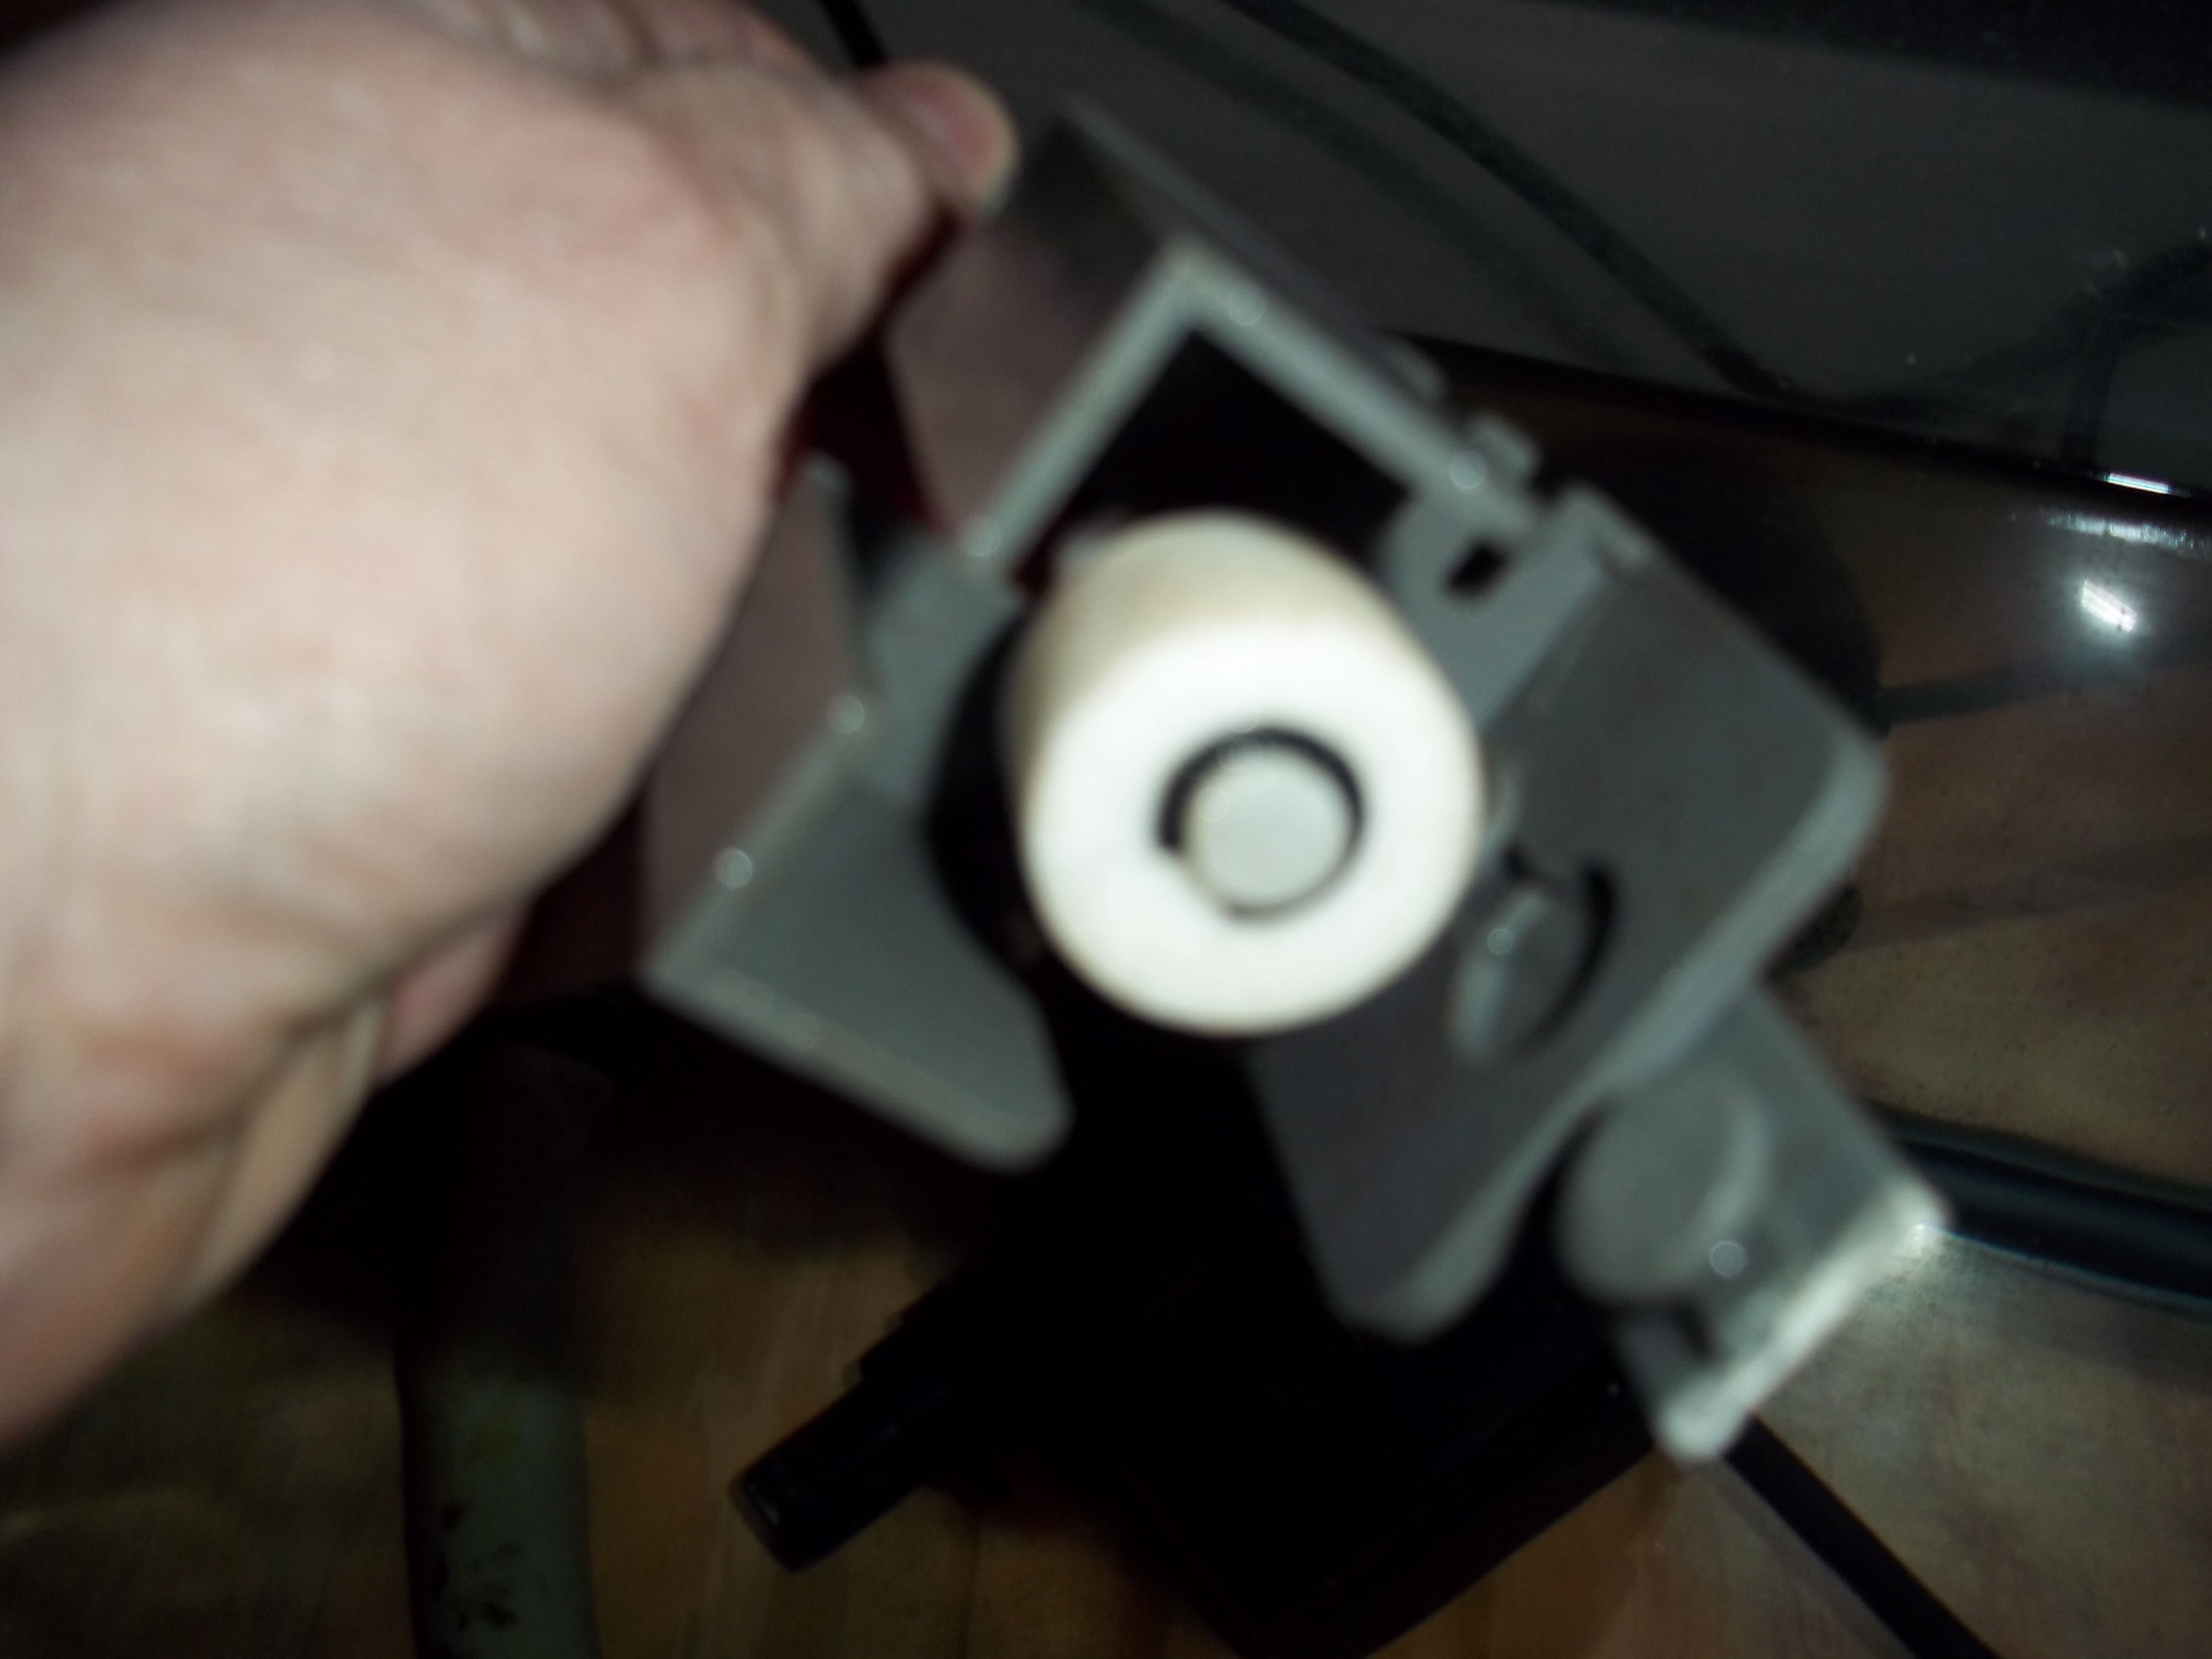
Originally Posted by acrylic51 http:///forum/thread/380517/flower-s-sump-fuge-build/1220#post_3331426
Does anyone remember if Flower had posted a pic of her ATO in this thread? If so what page so I can take a peak at it!!!!!!

I'm so sorry..I just got back on..I sneaked a tiny nap before work..My ATO is a JBJ two sensors one for the tank, when the water level drops too low the pump comes on and one for the holding tank, if it gets too low it will stop the system so it won't burn up the pump.

acrylic51
Active Member
Hmmmm Thank You...just what I wanted to see.....Can anyone confirm that the sensors are 1/4" hole for mounting????? They look like standard float valves.
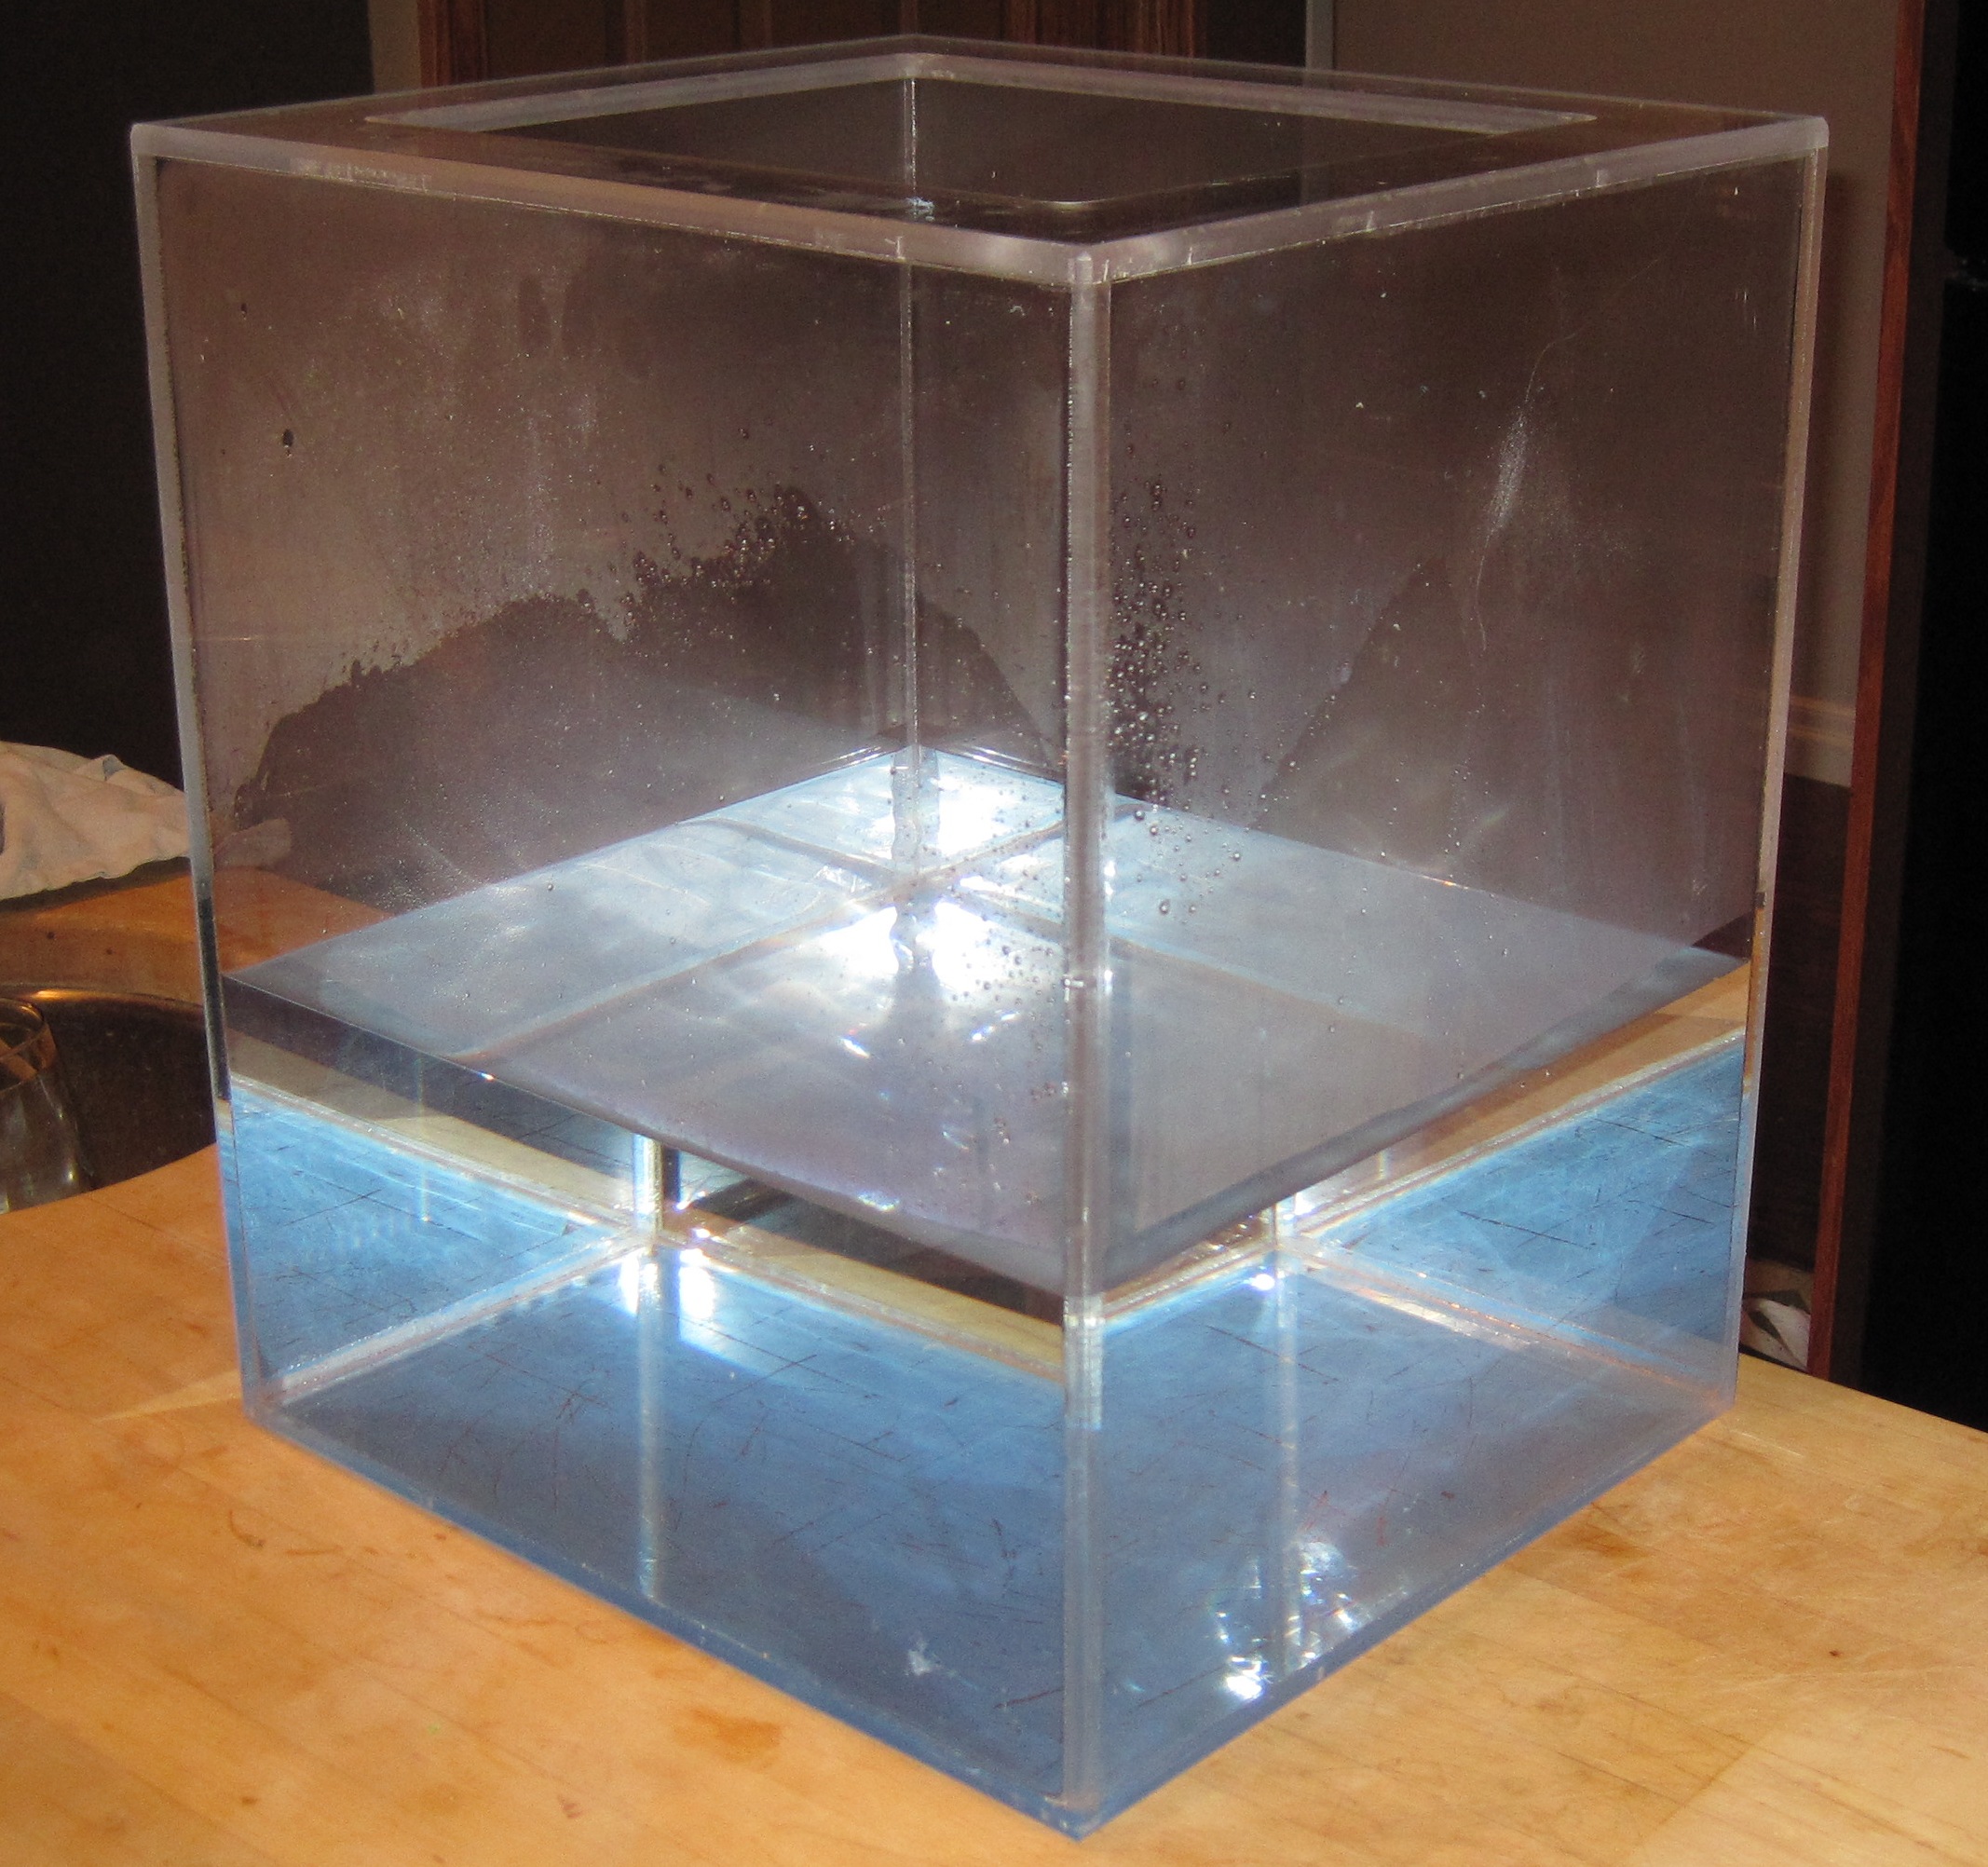
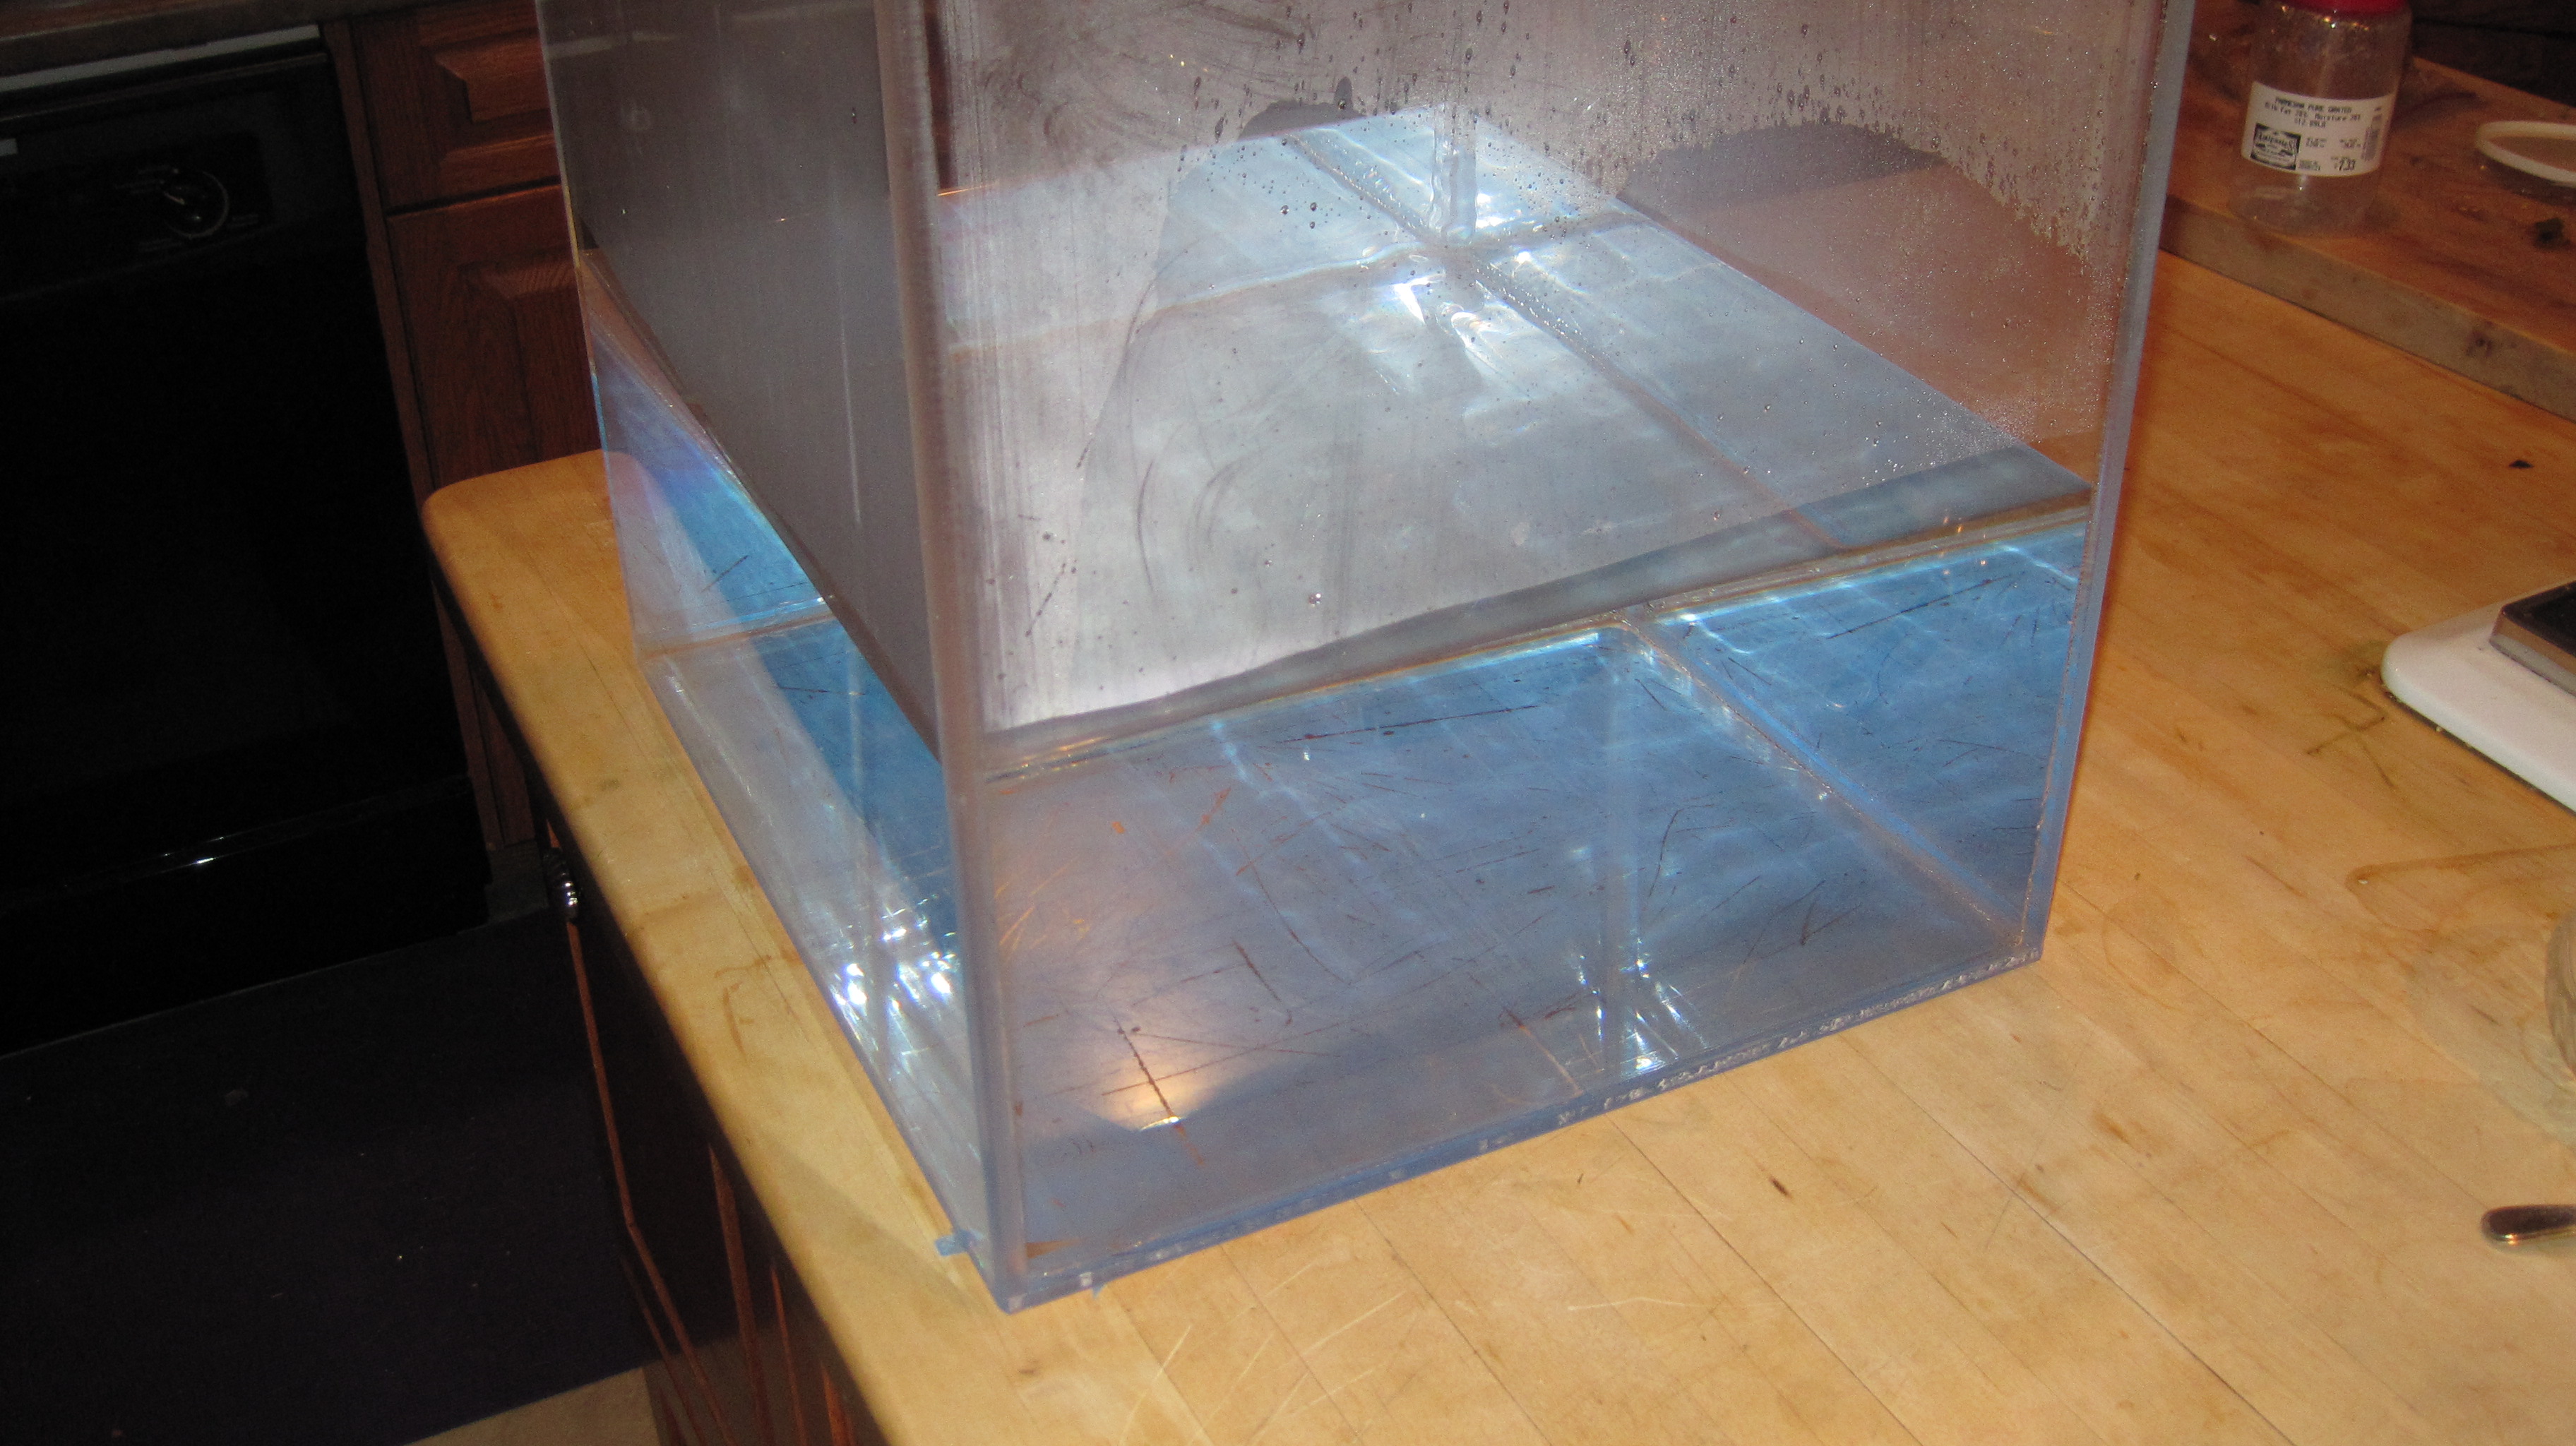
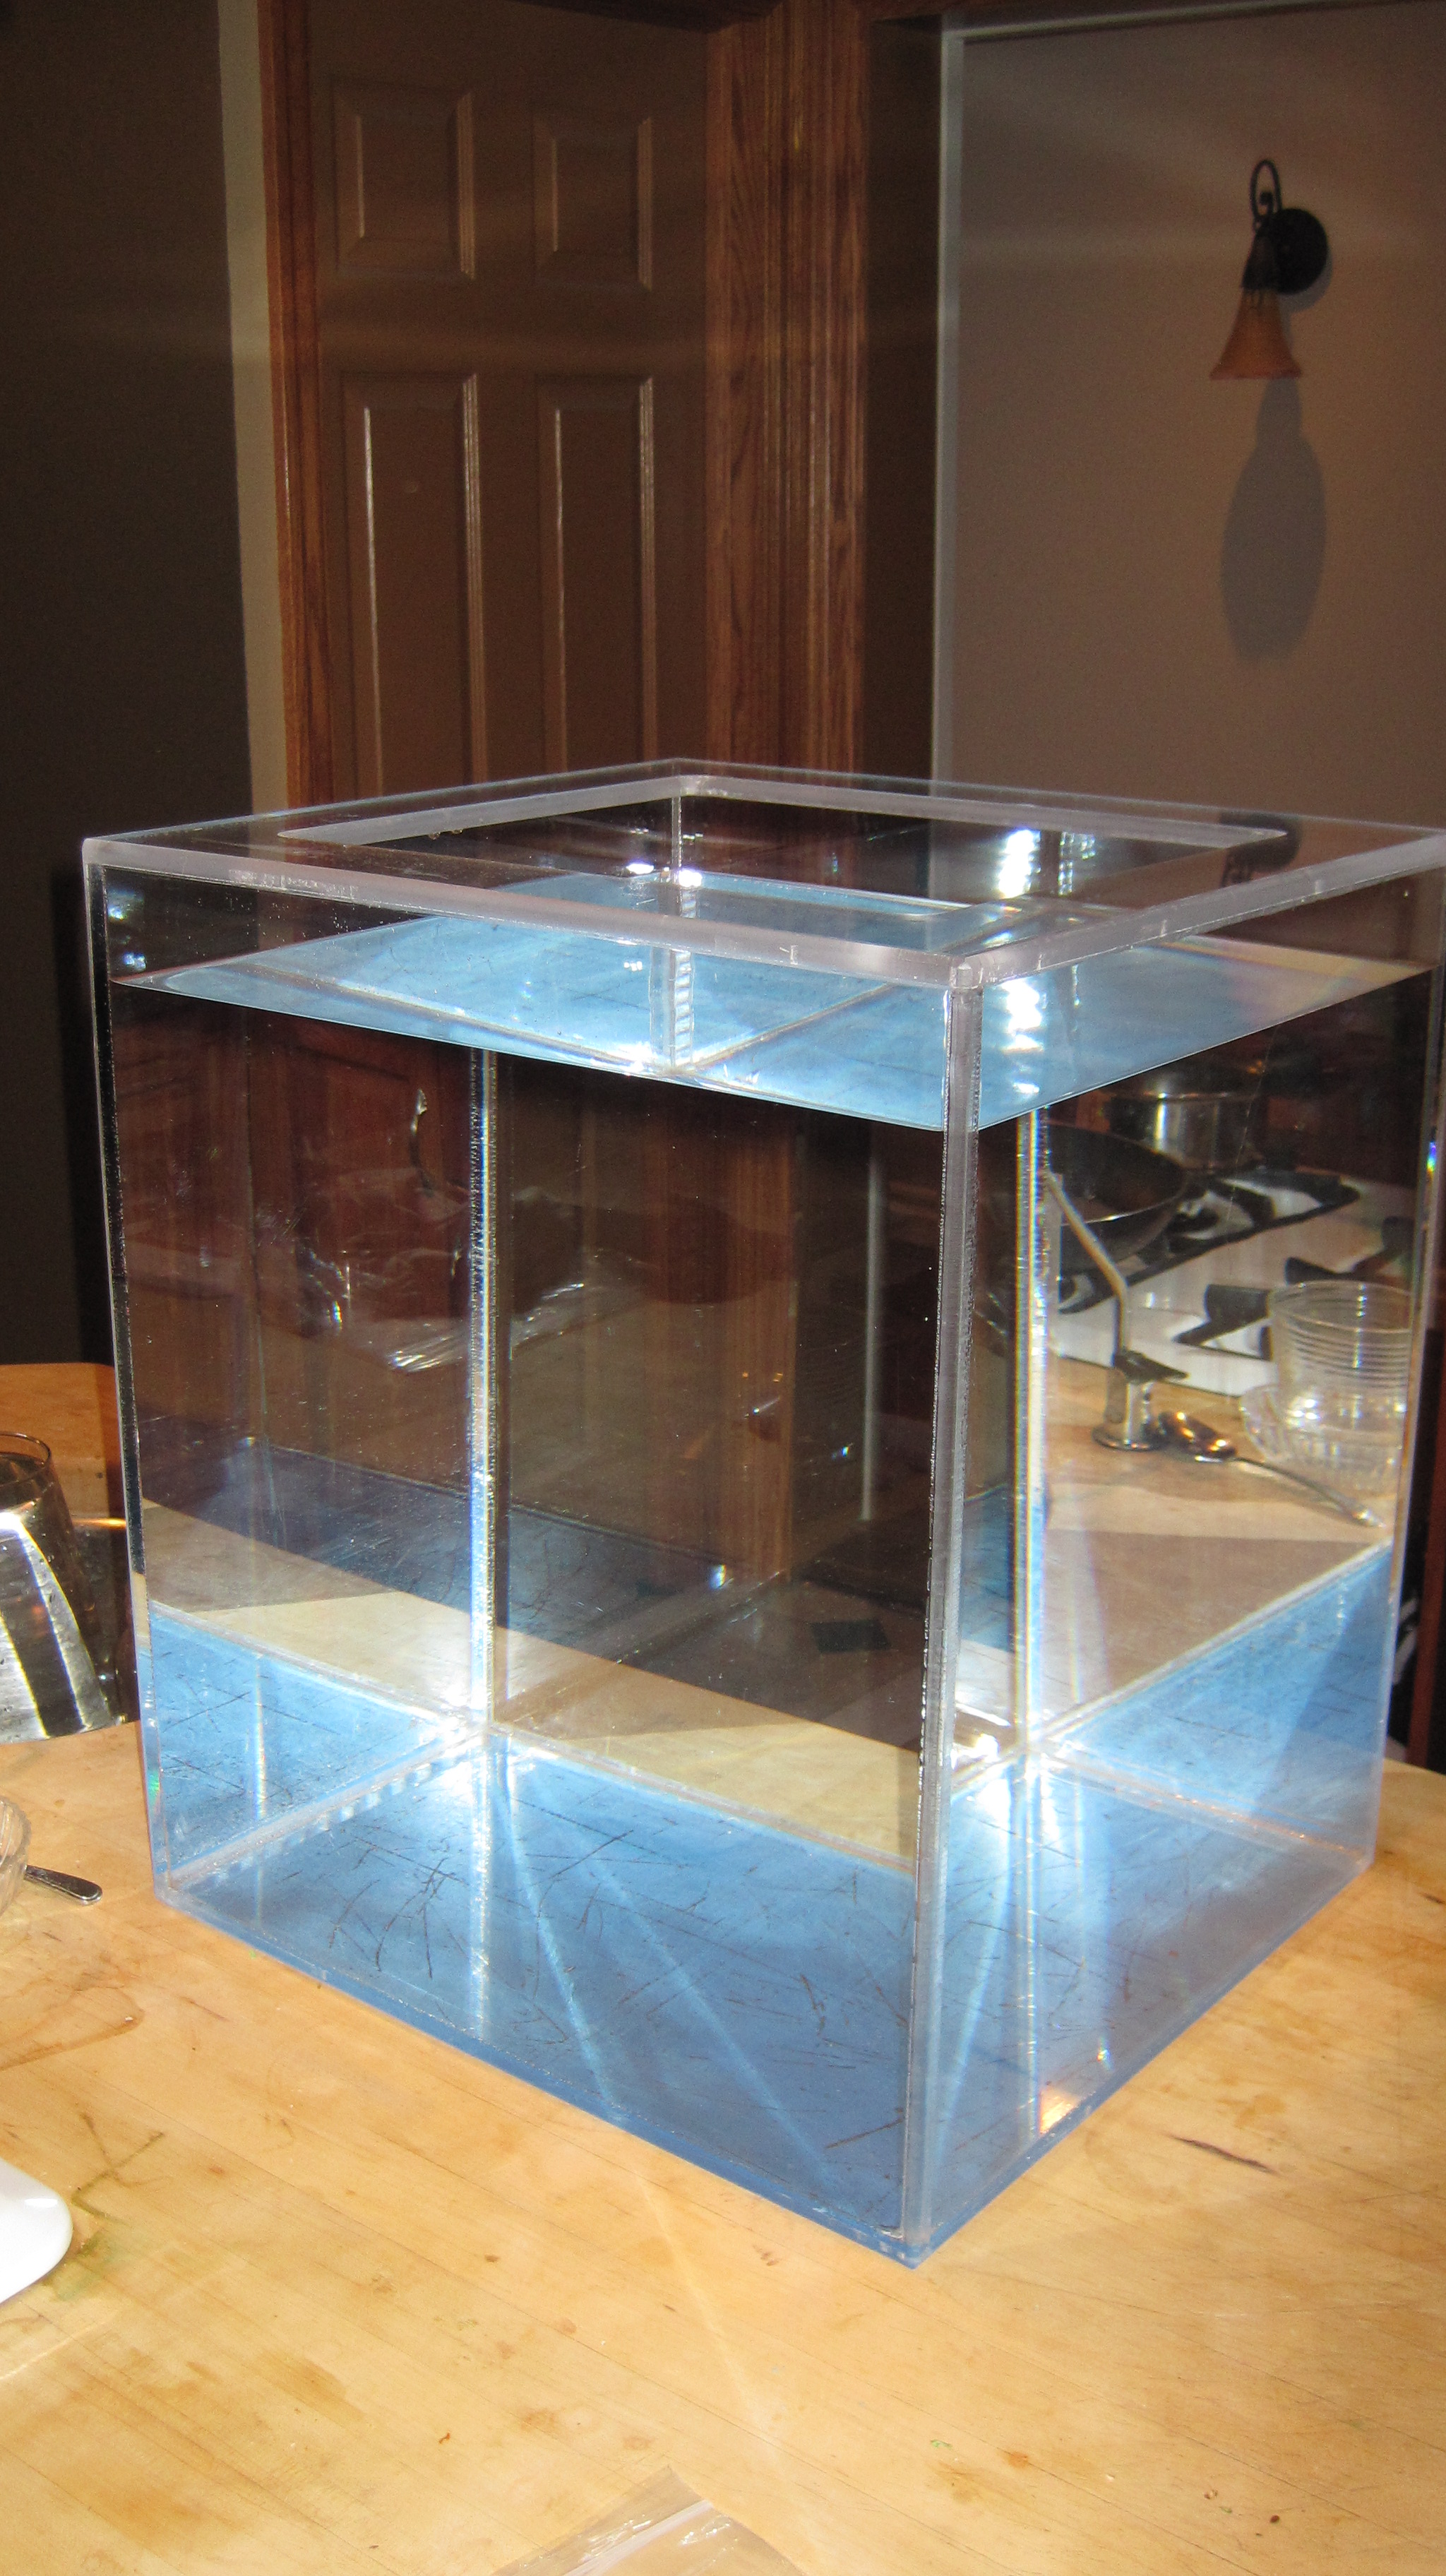
As I had said before the sump is complete and leak tested for actually 48hrs due to a busy weekend, but it is complete, just a couple minor details I want to look at quick....1 is I have to drill the eurobracing over the bubble tower, and the other I won't mention as of yet.....but here are some pics!!!!!
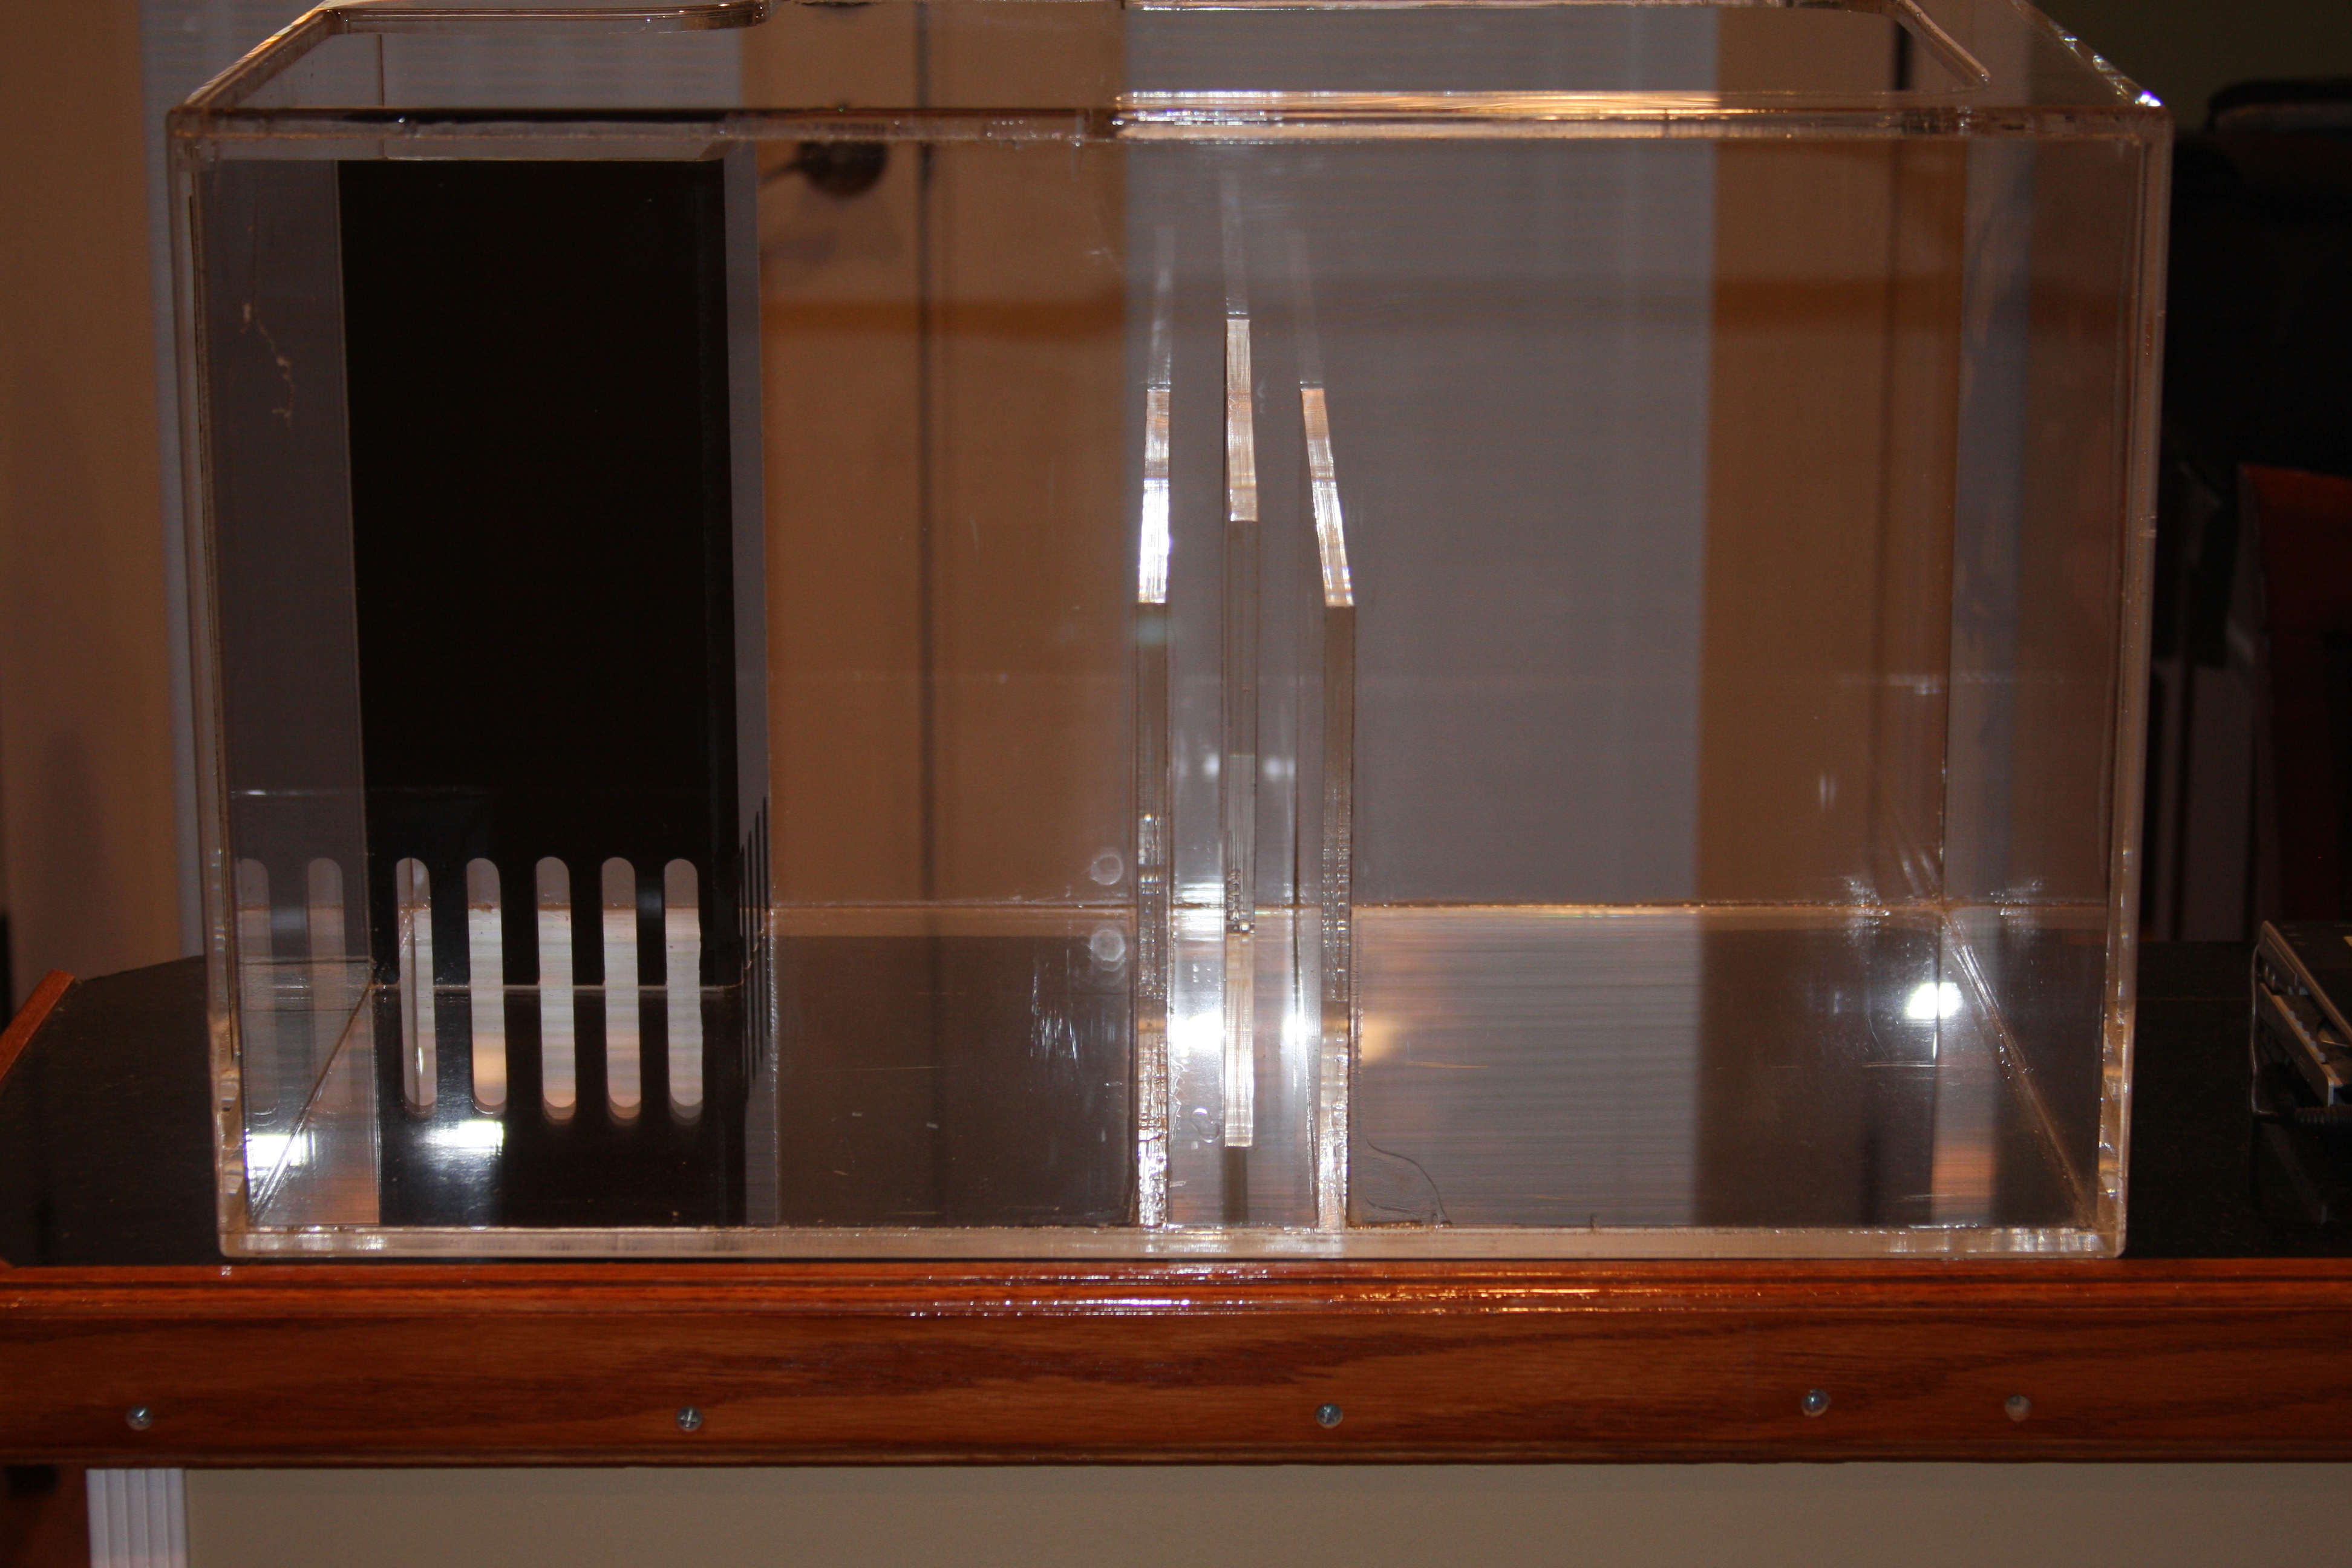
Sorry Flower, but in the upper left corner near the top you can see I got a tad sloppy and dribbled glue......

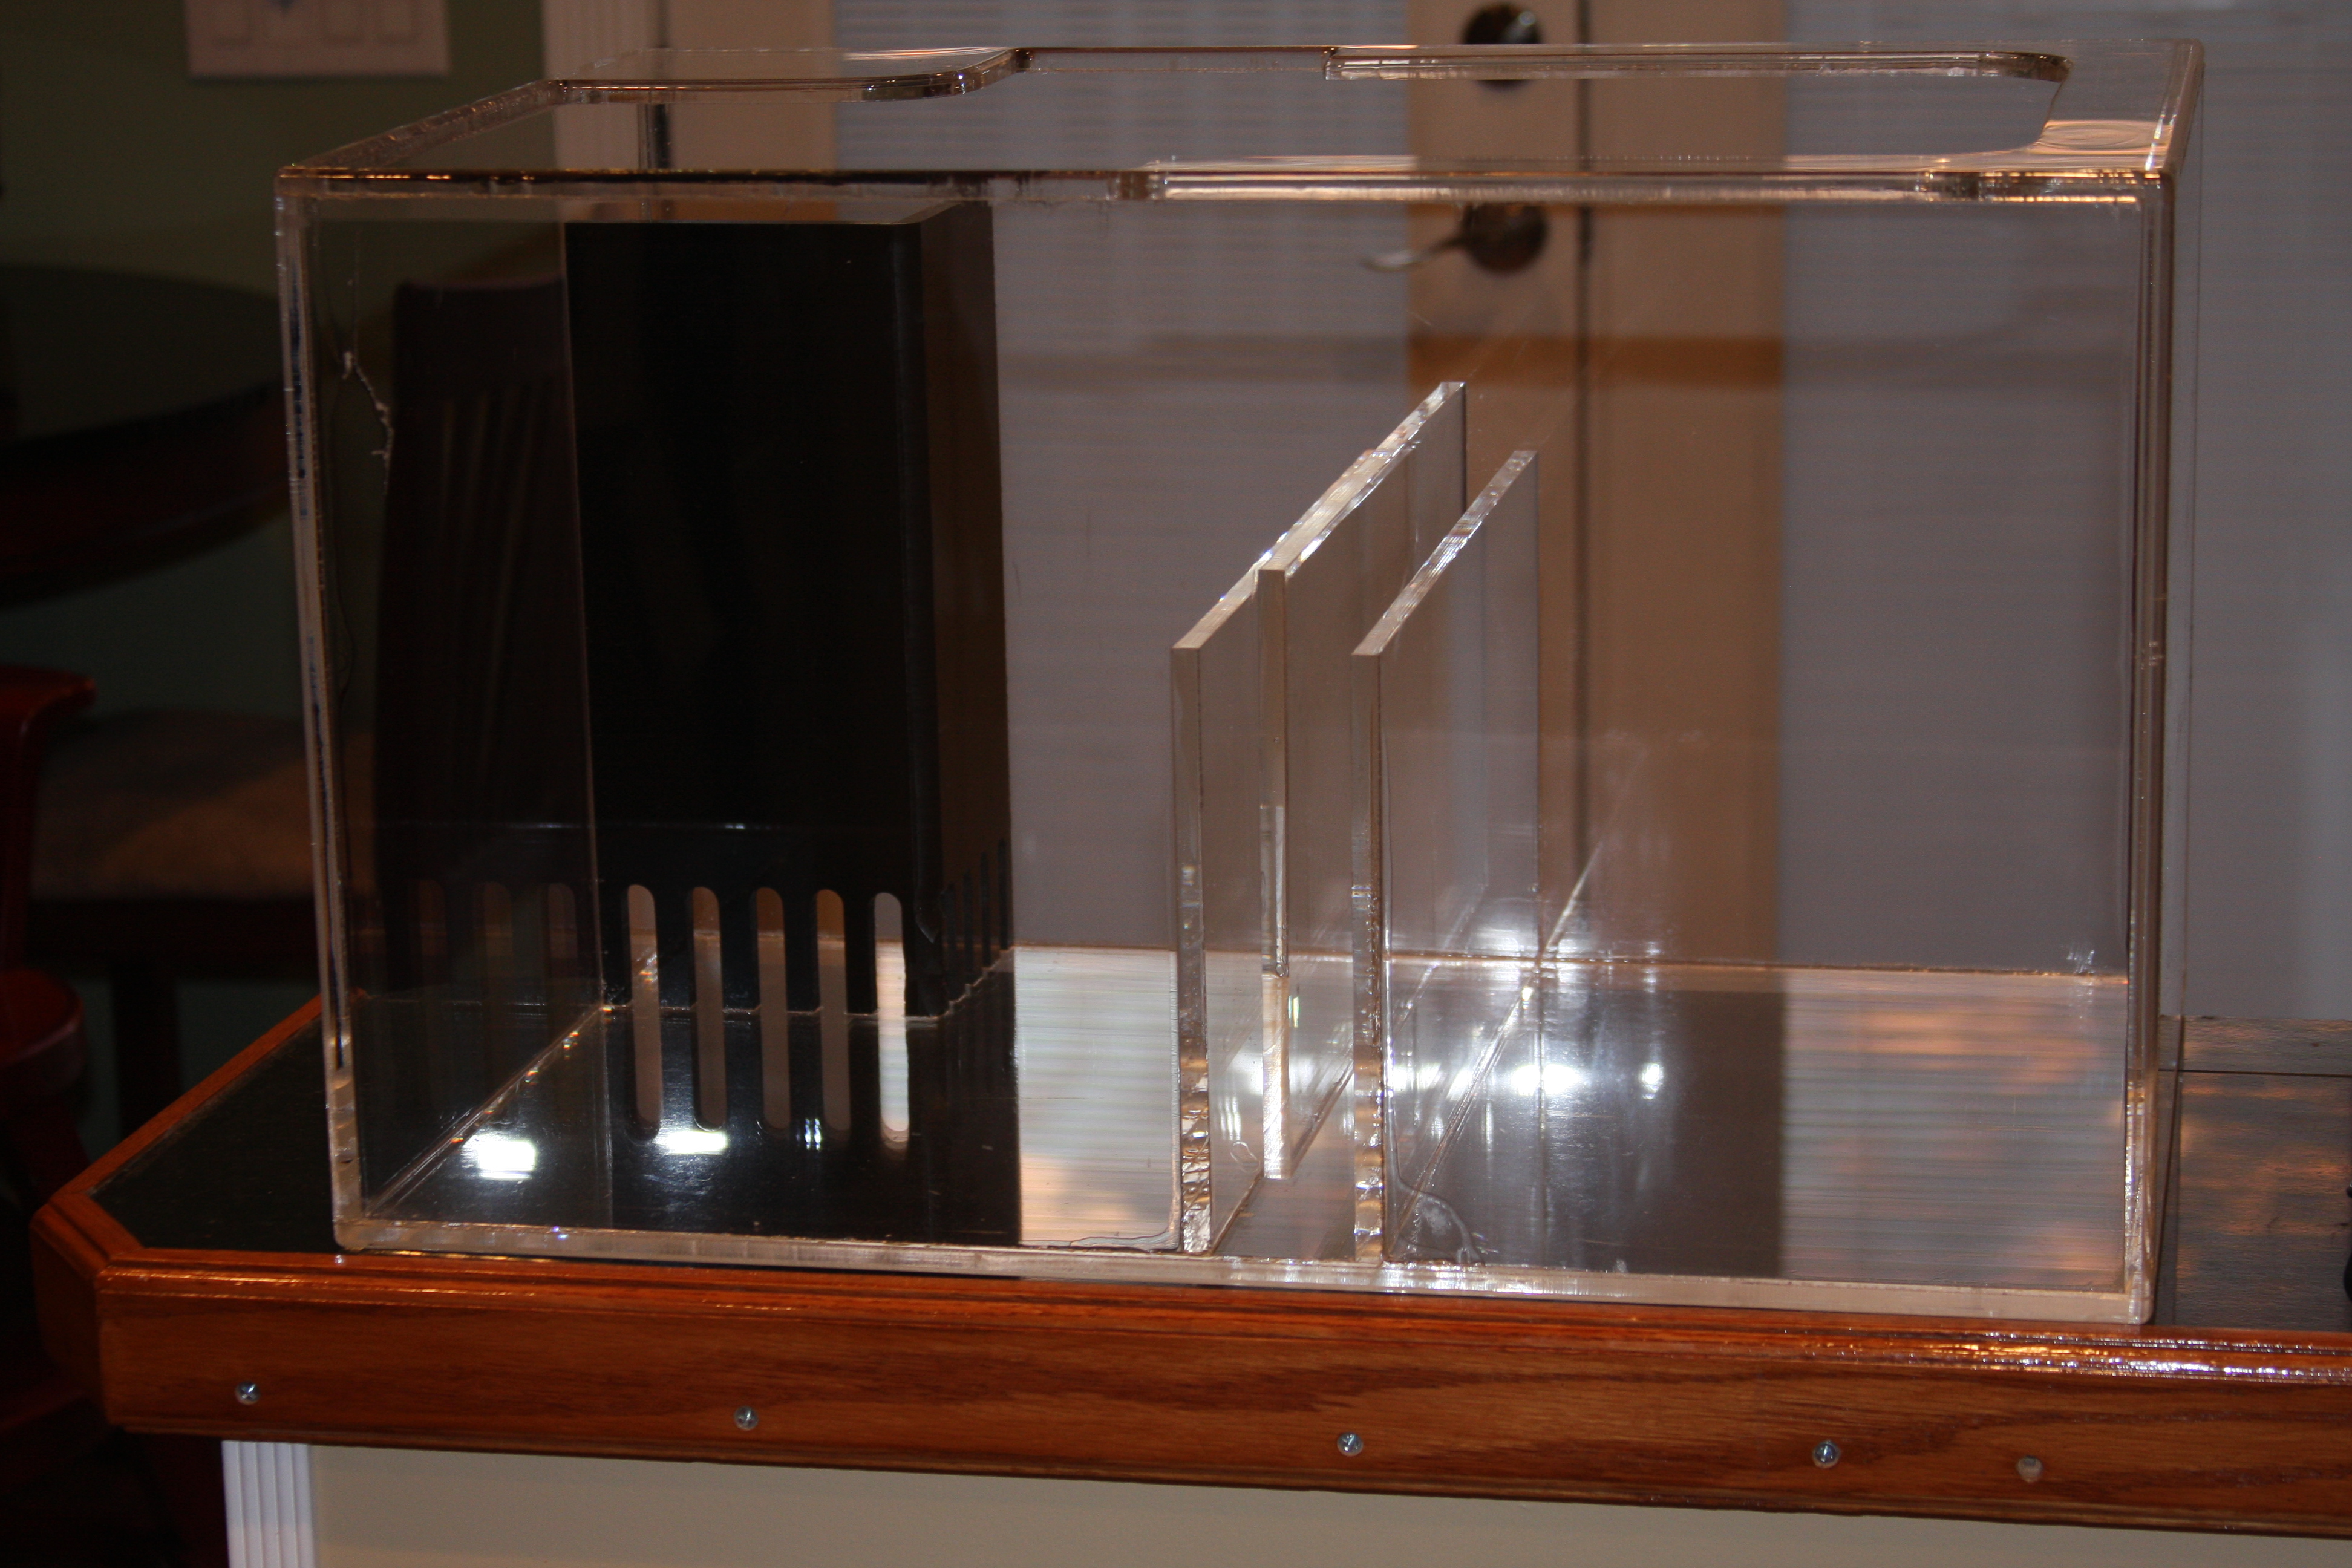
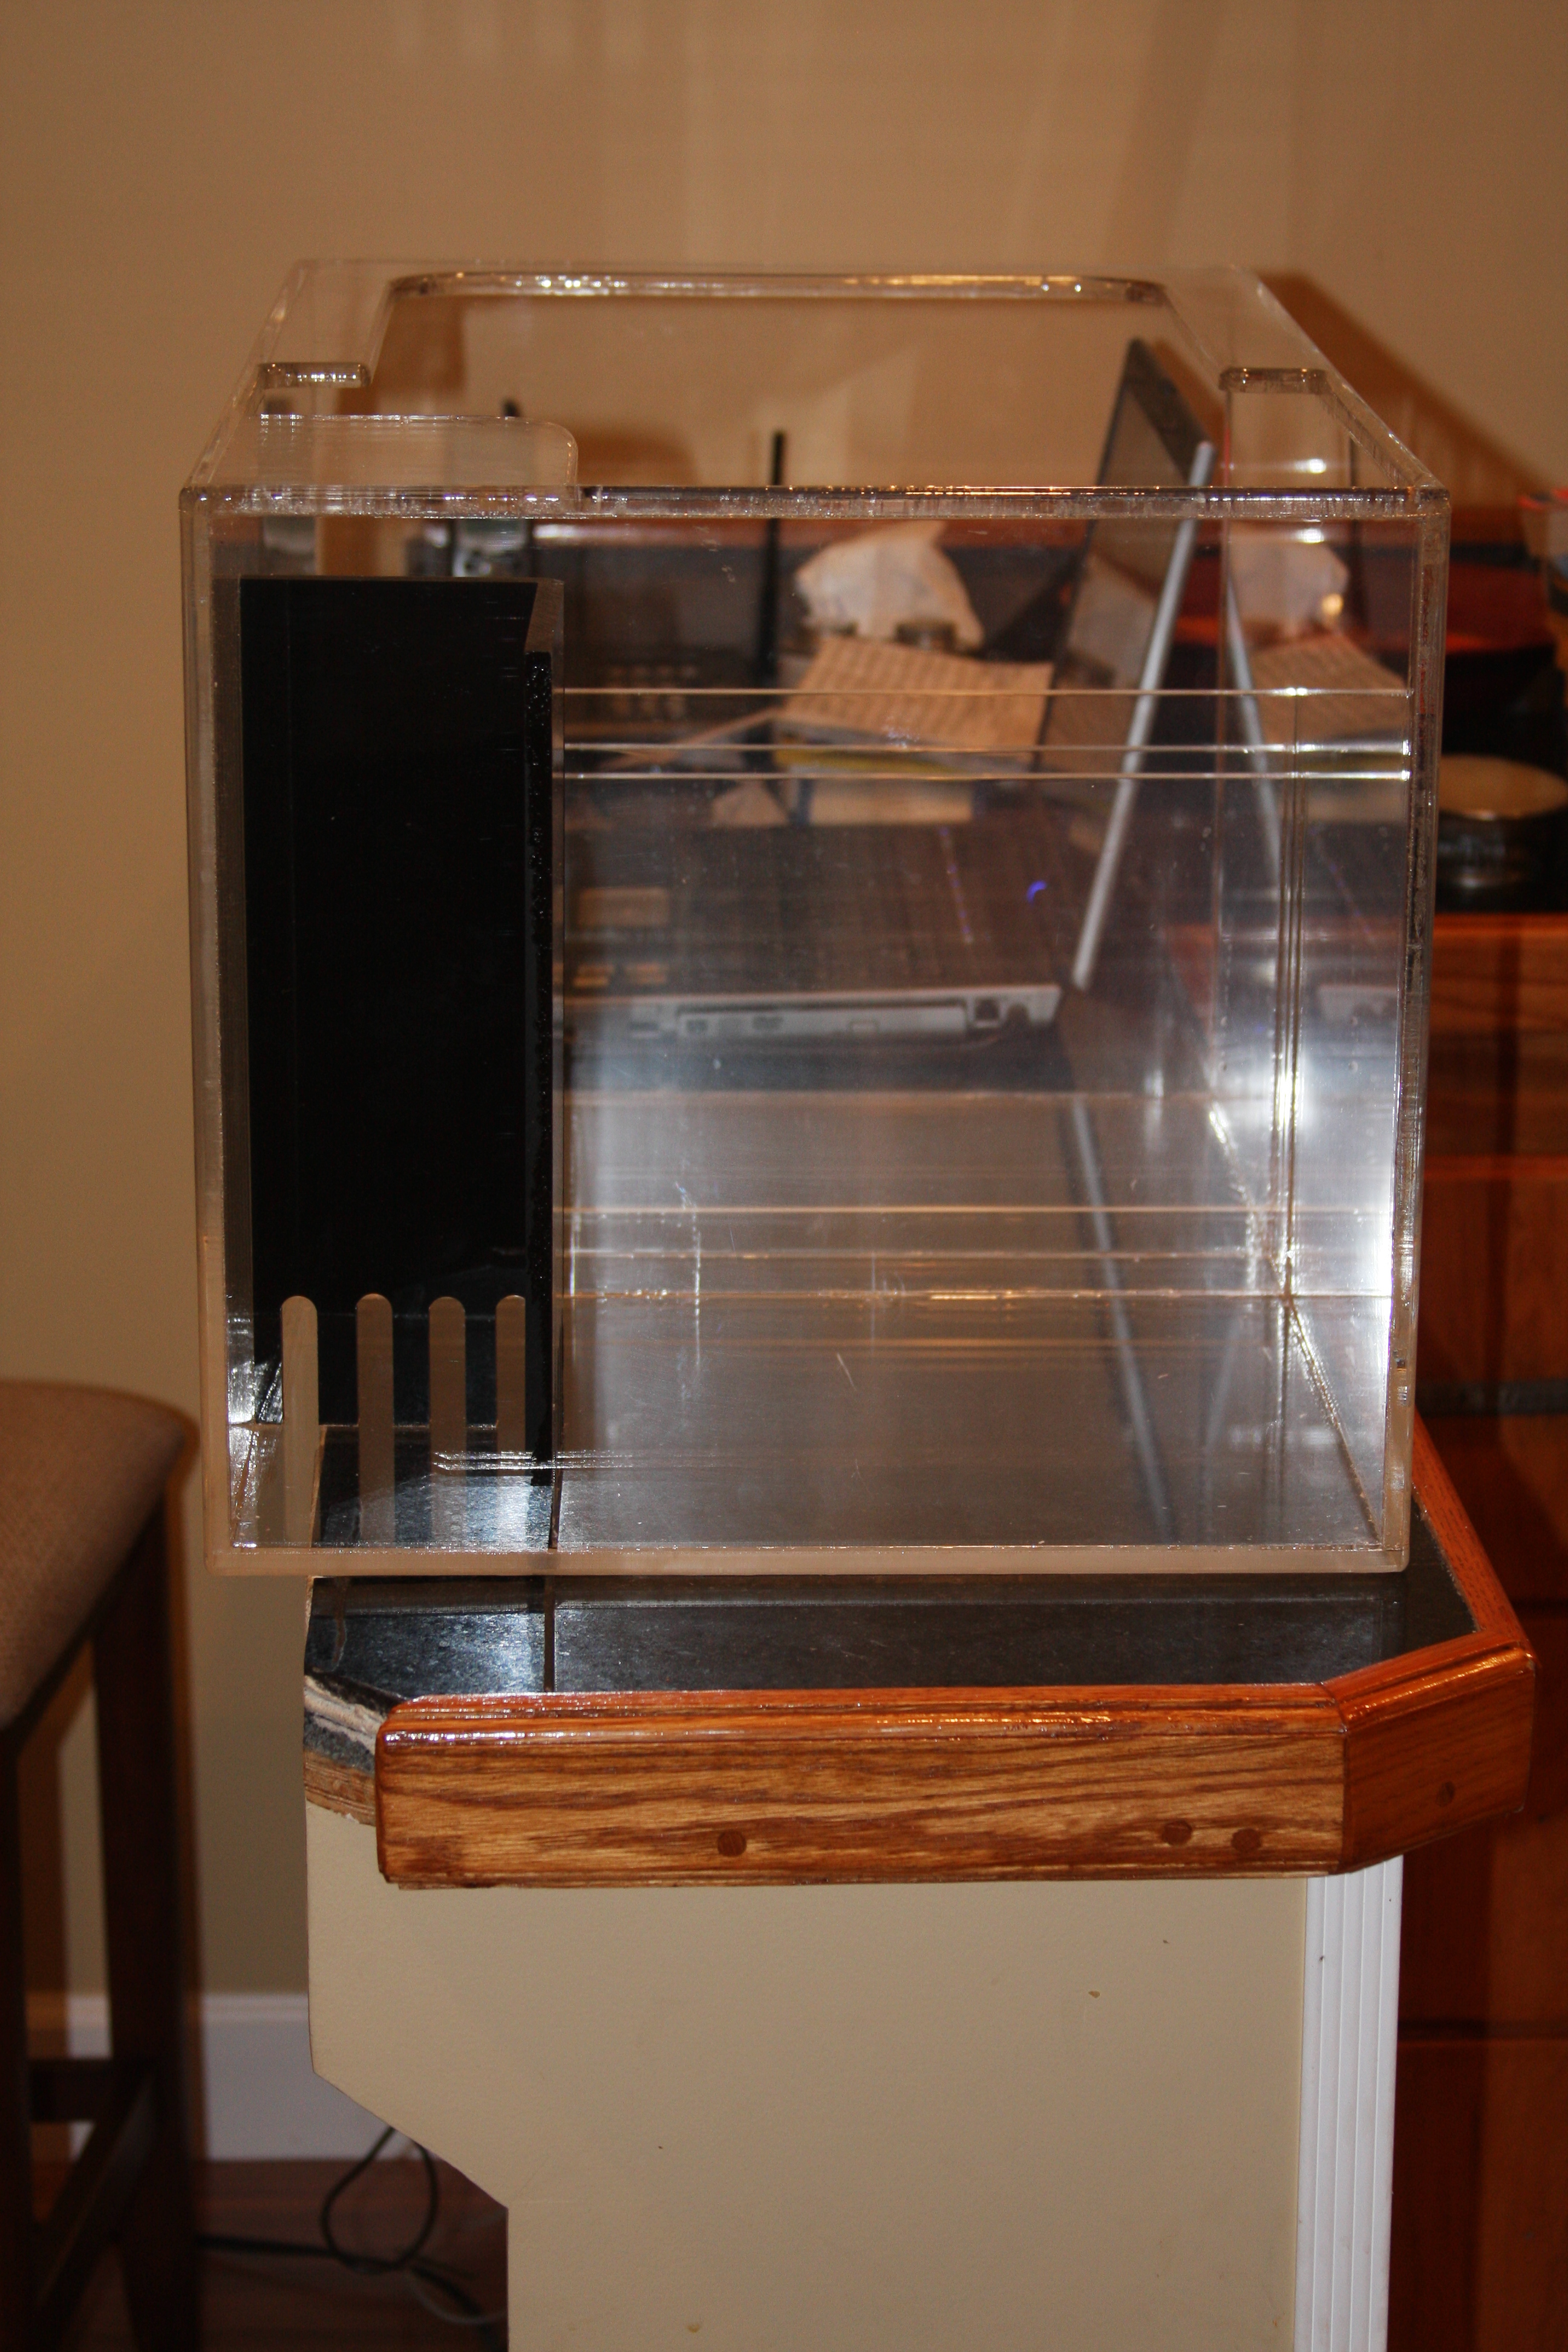
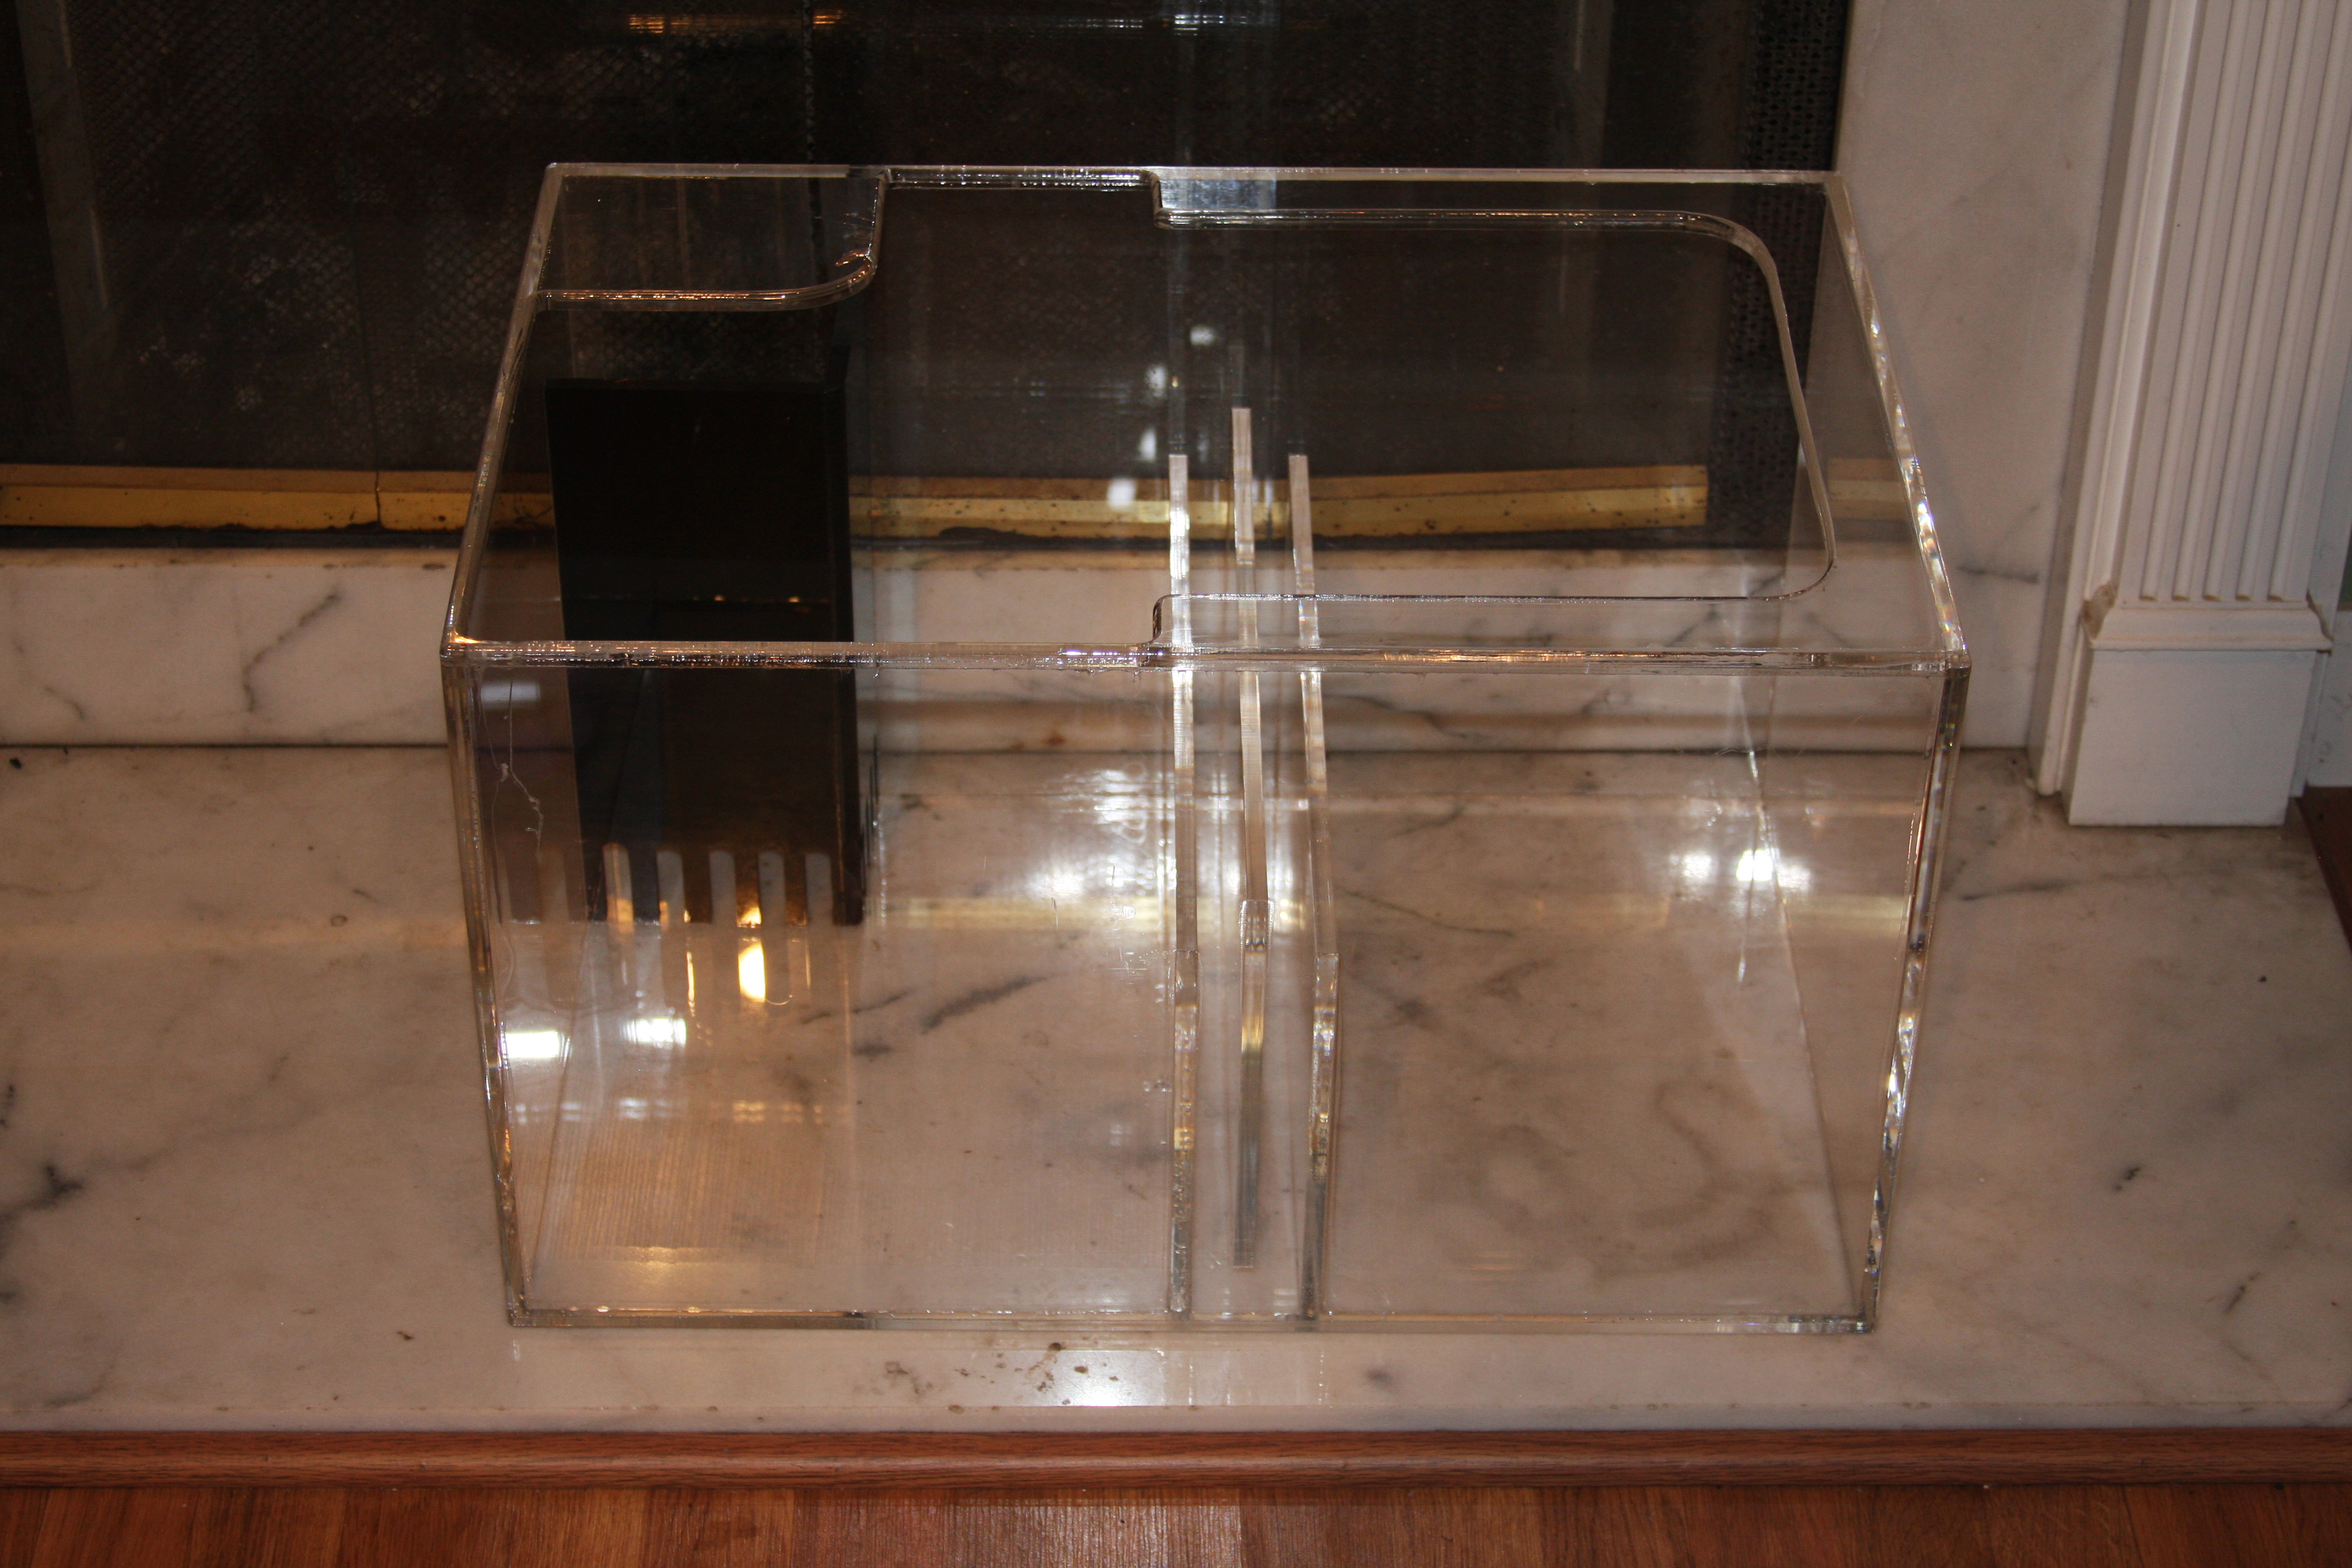
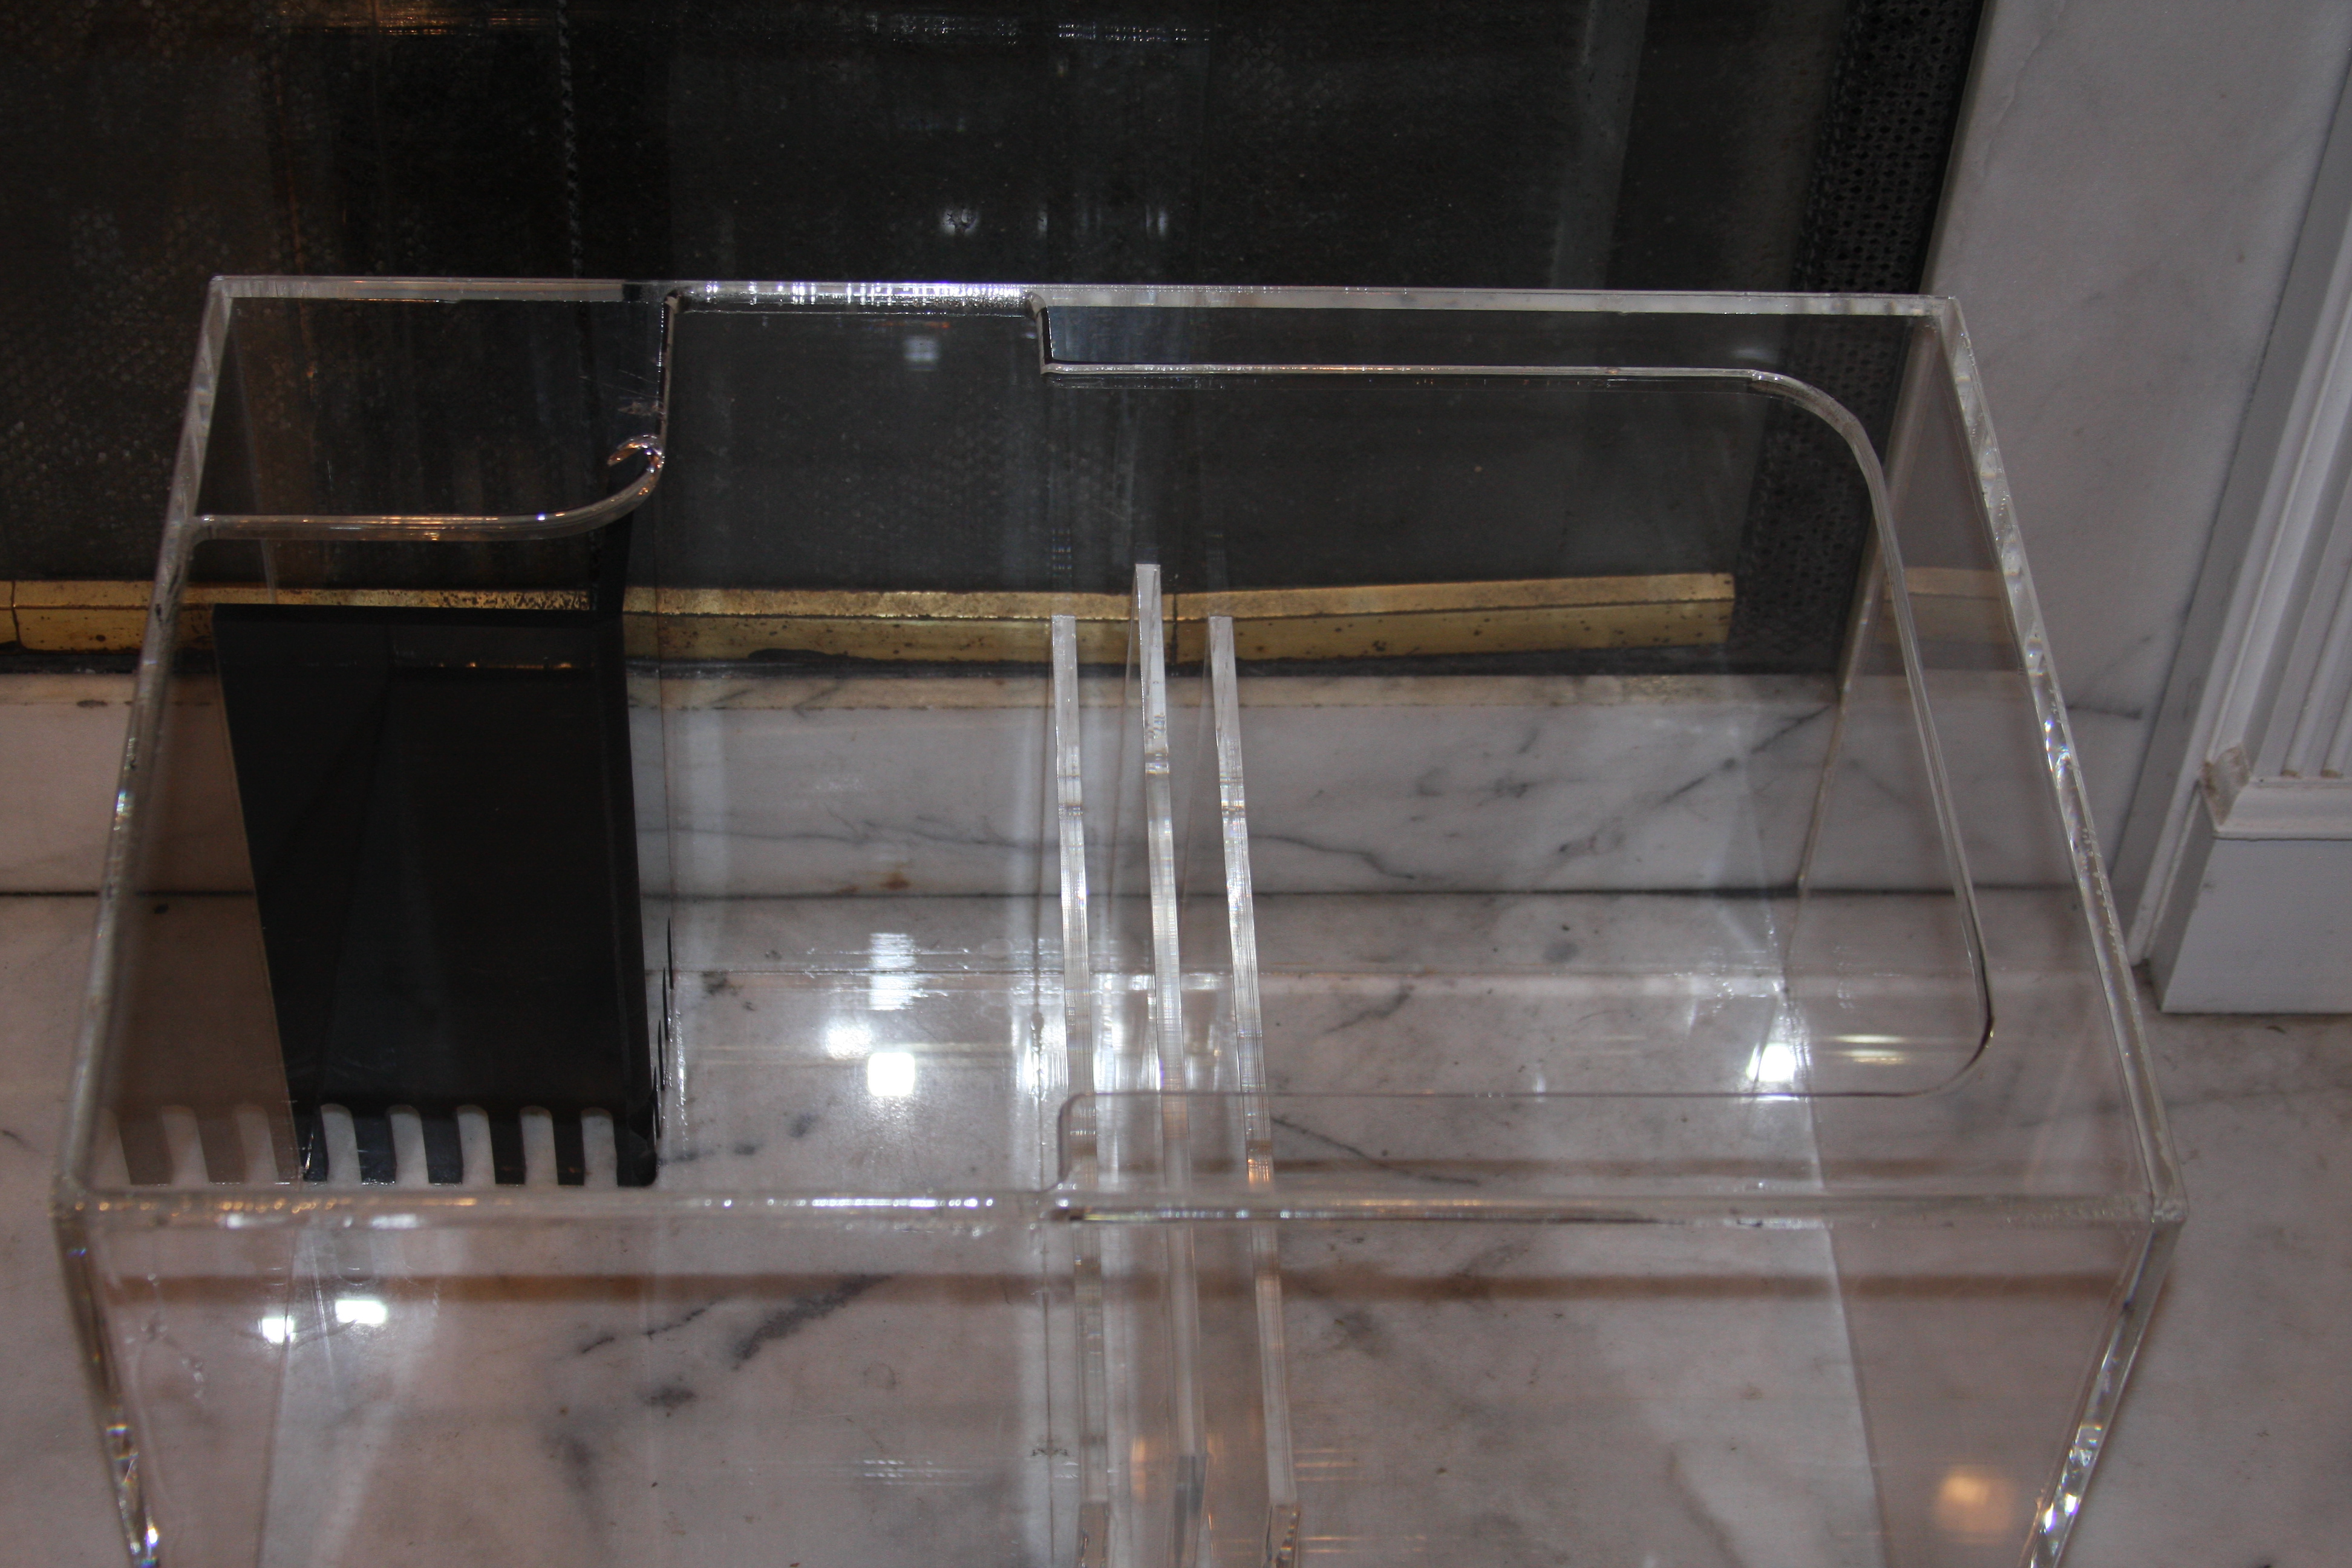
The area over the bubble trap I still have to drill out....I did knick it with the router as you can see the chip, but at least it didn't break or explode.....Seams are super clean for a quick turn around for Flower!!!!
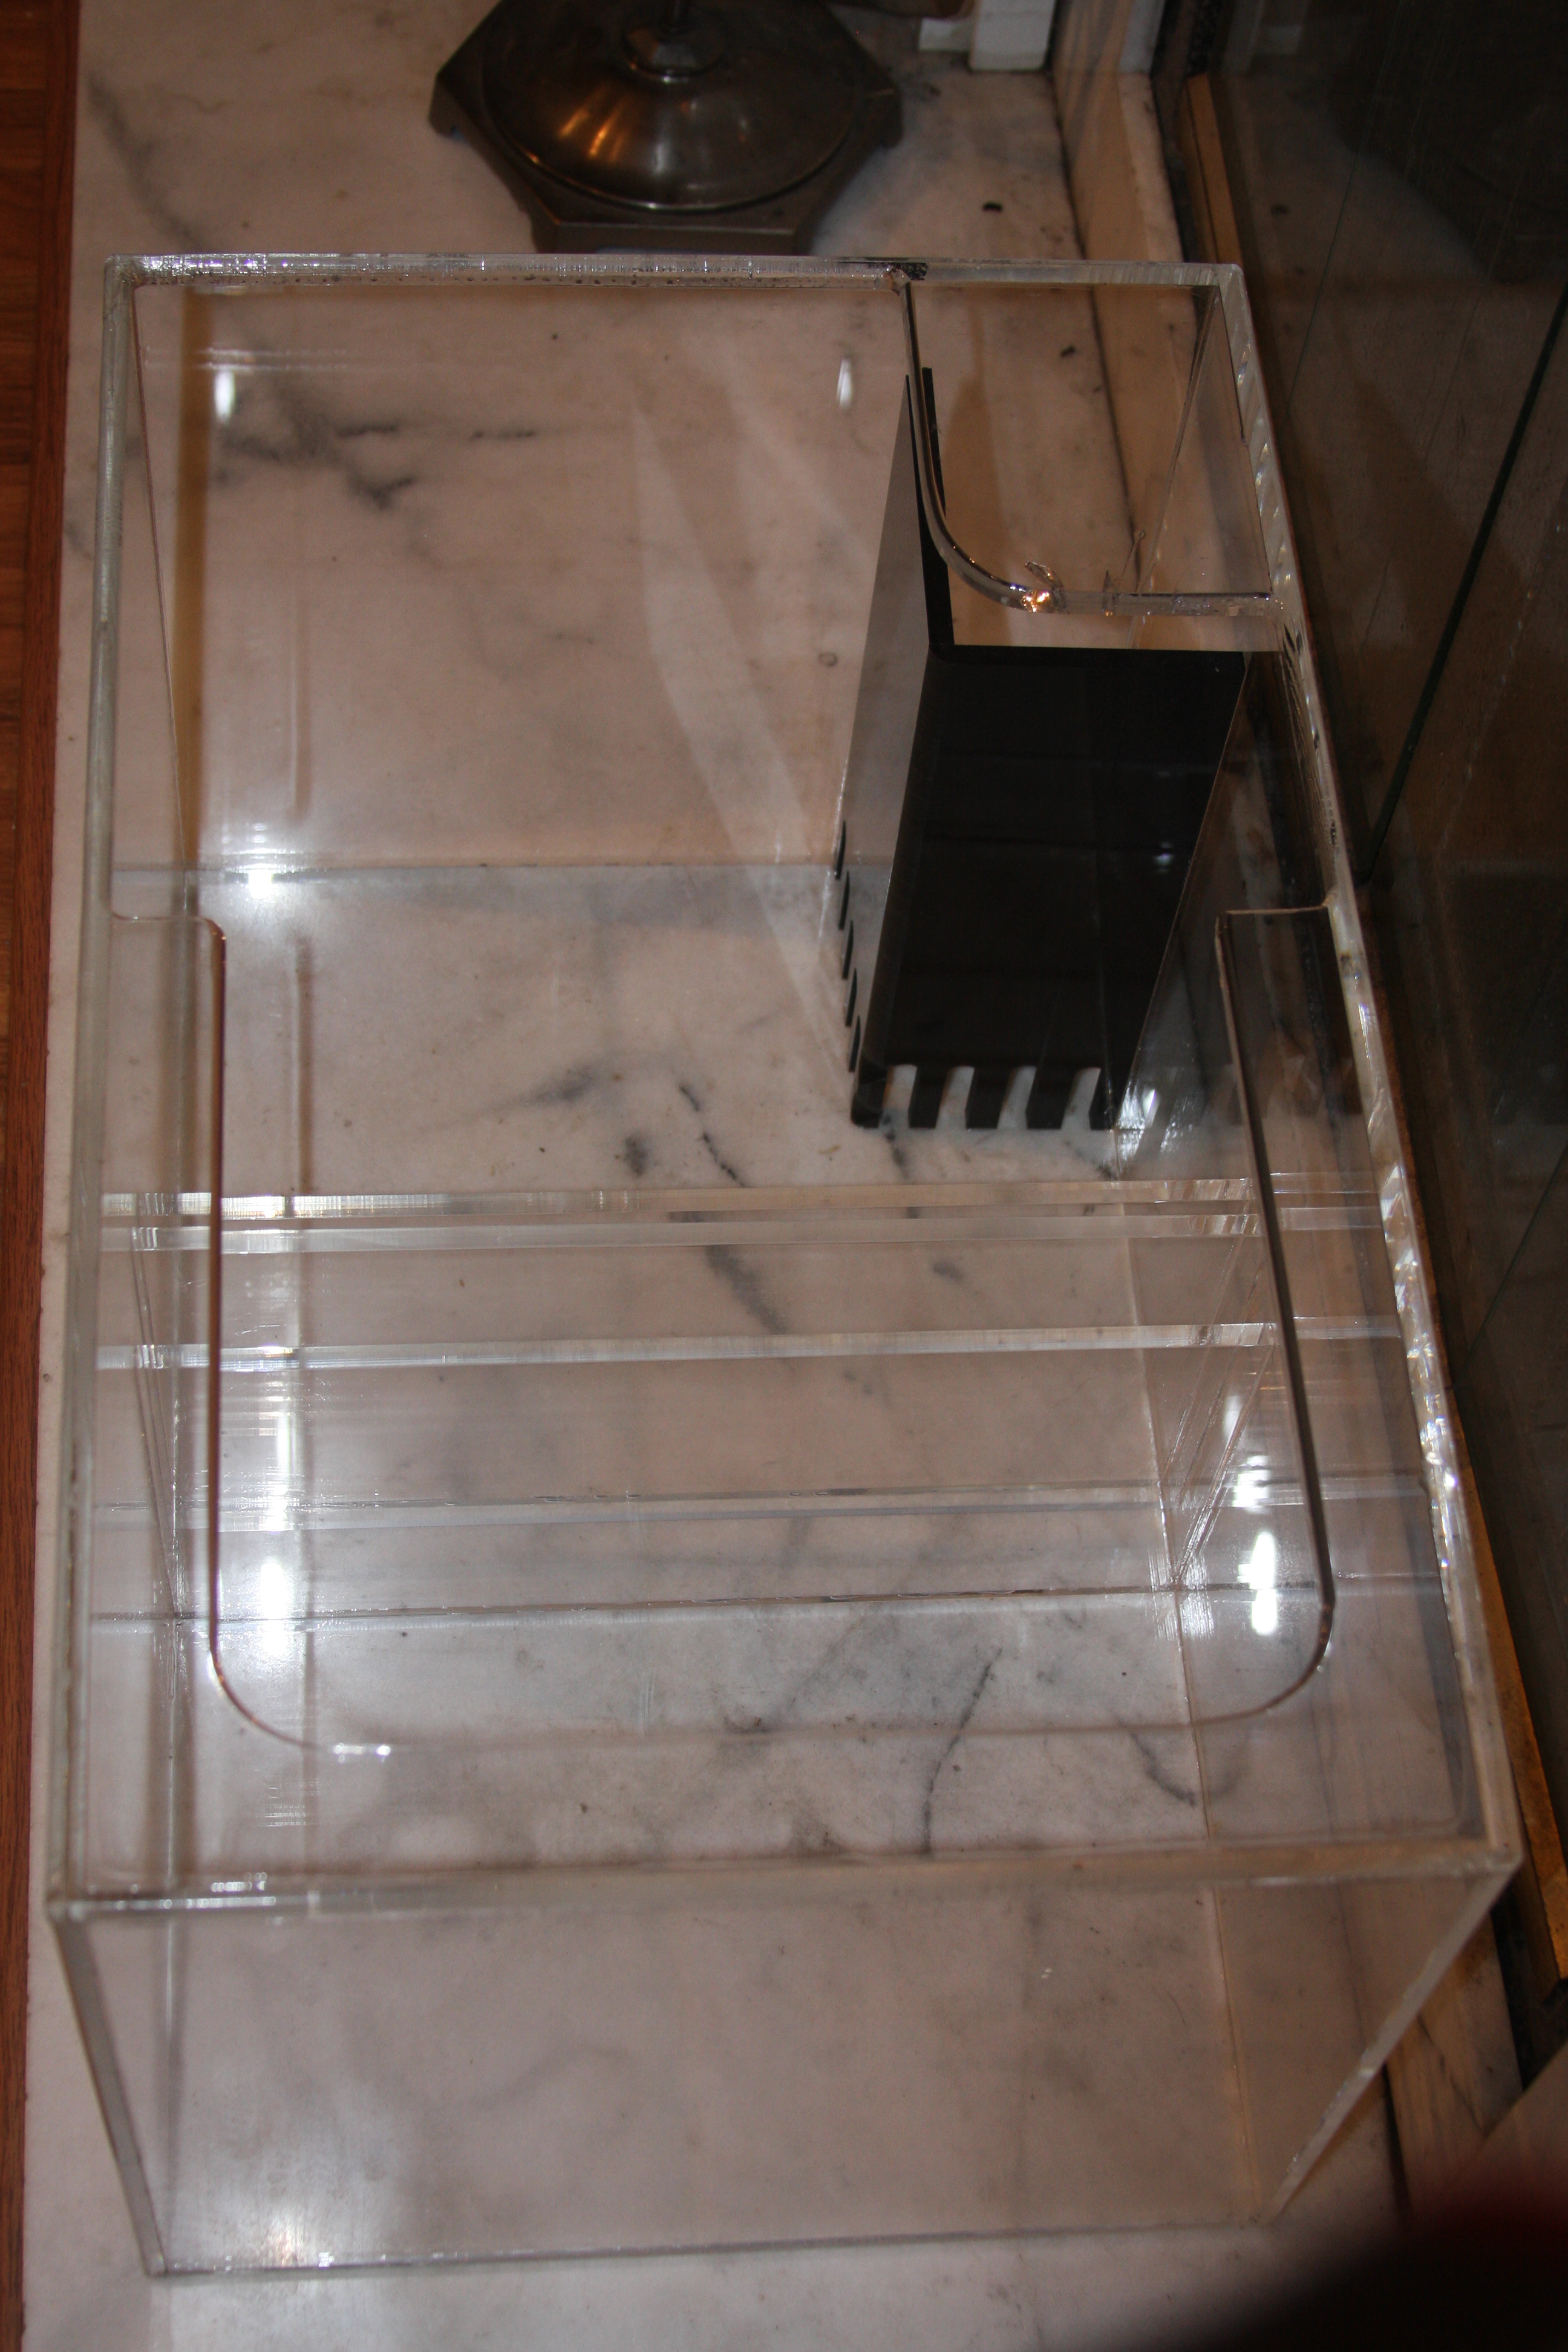
As I had said before the sump is complete and leak tested for actually 48hrs due to a busy weekend, but it is complete, just a couple minor details I want to look at quick....1 is I have to drill the eurobracing over the bubble tower, and the other I won't mention as of yet.....but here are some pics!!!!!
Sorry Flower, but in the upper left corner near the top you can see I got a tad sloppy and dribbled glue......

The area over the bubble trap I still have to drill out....I did knick it with the router as you can see the chip, but at least it didn't break or explode.....Seams are super clean for a quick turn around for Flower!!!!
acrylic51
Active Member

Quote:
Originally Posted by Al&Burke http:///forum/thread/380517/flower-s-sump-fuge-build/1220#post_3331432

acrylic51
Active Member
Fill it to the brim......!!!!!!!
Quote:
Originally Posted by Al&Burke http:///forum/thread/380517/flower-s-sump-fuge-build/1220#post_3331422
Still dry as a bone, I will fill it up some more.
Quote:
Originally Posted by Al&Burke http:///forum/thread/380517/flower-s-sump-fuge-build/1220#post_3331422
Still dry as a bone, I will fill it up some more.
2quills
Well-Known Member
No, Al...don't knock it off the bench

Wow...excellent work you guys. Shawn you did make some changes there didn't you. The bubble trap matches the skimmer stand now and the bracing is totally different. Looks like it should actually be easier to install and remove the skimmer.

Wow...excellent work you guys. Shawn you did make some changes there didn't you. The bubble trap matches the skimmer stand now and the bracing is totally different. Looks like it should actually be easier to install and remove the skimmer.

