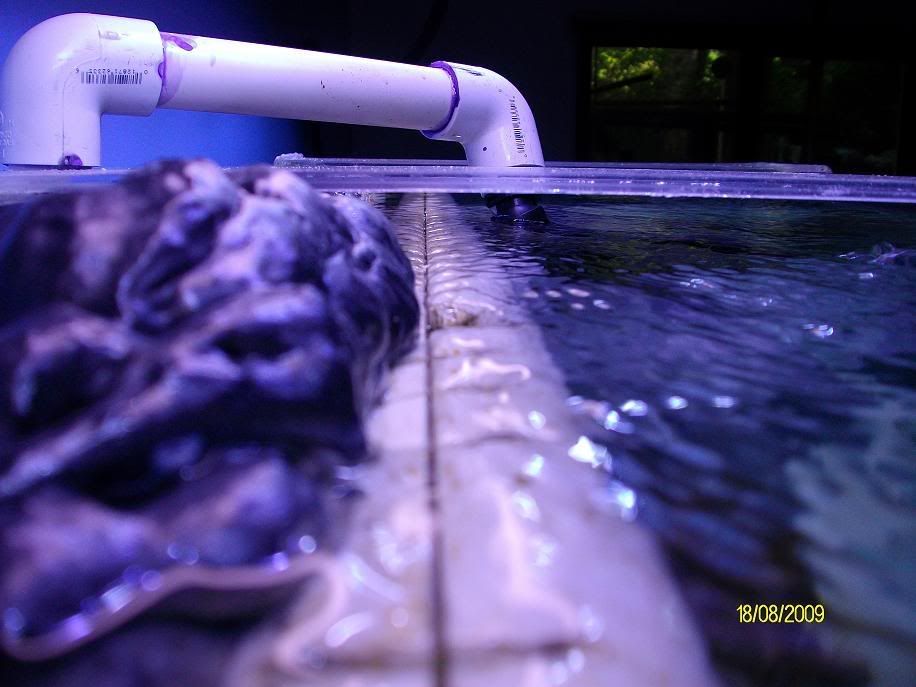
1a. Pulls nicely. A very thin layer comes across the top. obviously the strongest points are about 6" and closer, but from what Ive read and been told, there is alot more getting skimmed from further away then the nakd eye can see. So to answer that, yes, It does a great job.
1b. If I were to do it all over again...part of me wants to do the next build with a traditional over flow, part of me wants to try something else I got brewing based on a lot of Japanese style reefs Ive seen. Definitely this is something I didn't regret, but there are some things I didn't like about this:
- it was a pain to get it leveled right(well not too bad...but like 4 attempts till it was leveled each meant dumping the tank and re-filling it)
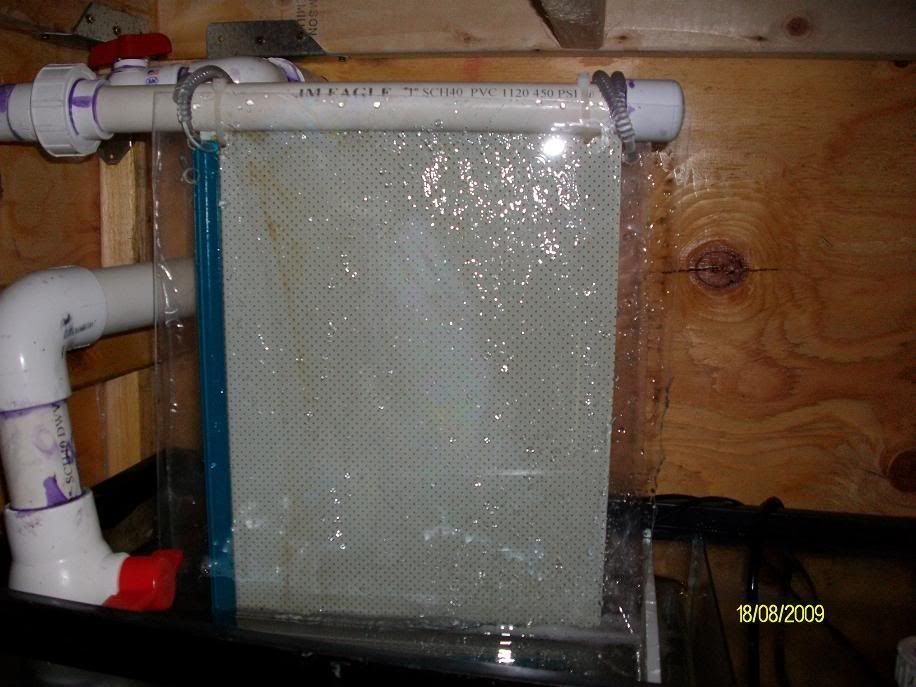
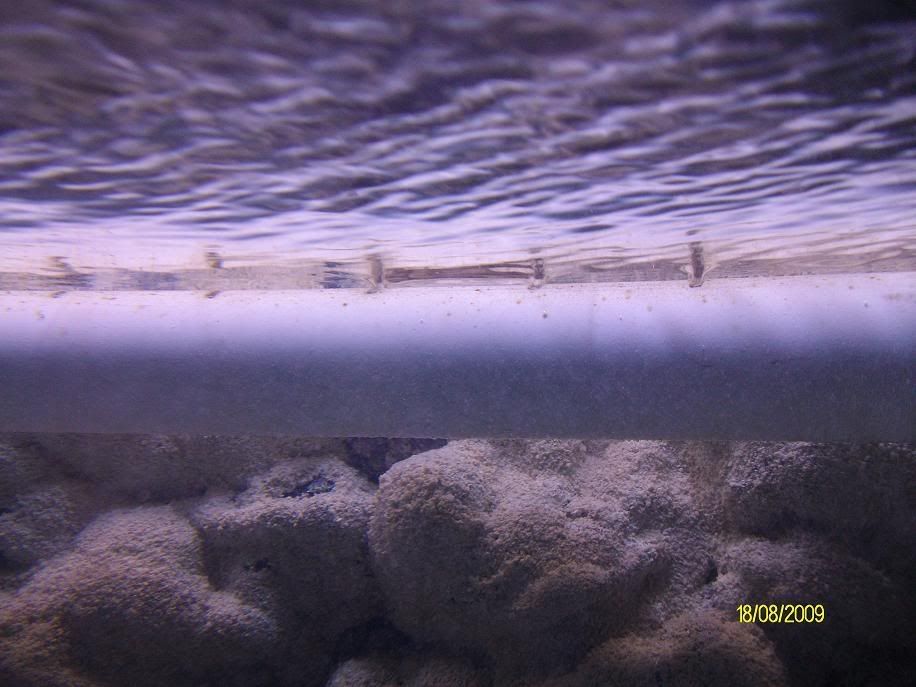
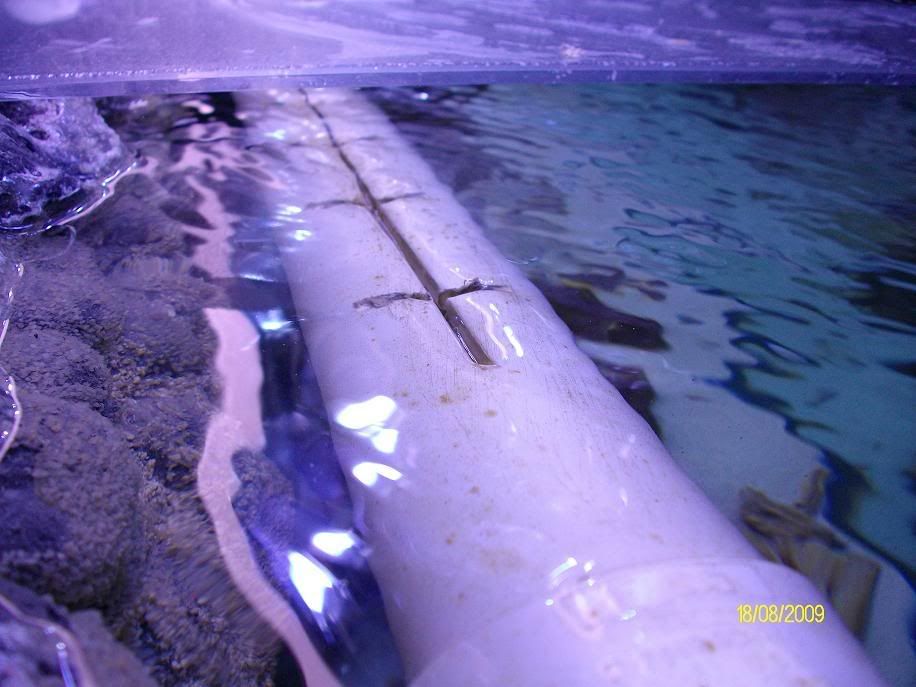
- getting a design that pulled even across the whole length took some trial and error. And repeated attempts, but the end result is a nice even pull thanks to the vertical slits doubling up near the center.
- the white bar will look tacky till I get it covered in polyups, and Coraline. And as such, I should have taken the time to fill it in with foam and coat it with epoxy/sand once I got it leveled...this would have really blended it in nicely. But I'm in uncharted areas, and wasn't sure if this bar was going to be coming out in the future...or staying in.
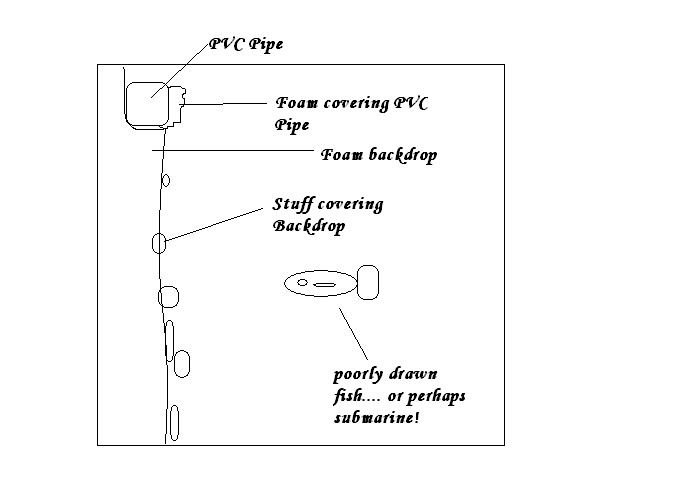
*note: I have entertained the idea that it might have been possible to do the foam wall DIRECTLY against the glass, making it sealed and blended into the overflow bar. But to do So I would have first had to been dam sure the overflow was leveled and glued in perfect. The only feasible way I could see that done would be to do the stand first, find out where it sits level with he water, then glue in the overflow perfectly level. Then break it all down, lay the tank on its side, and build the wall into the glass that way. Very complicated, but not impossible.
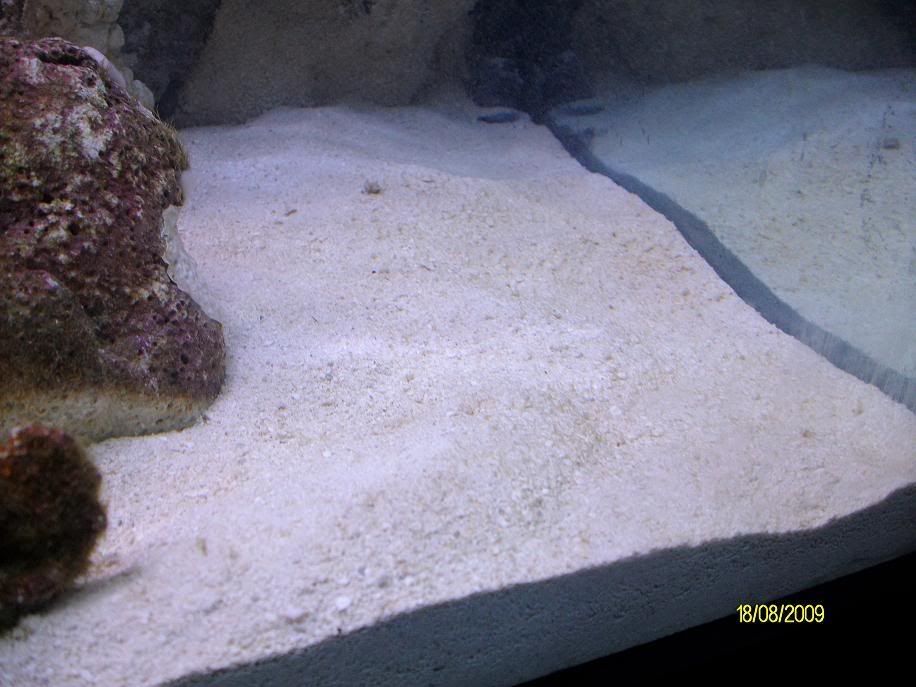
2. Yes absolutely! lights are a must. I was just surprised I got any algae buildup in the shadows under the stand, since I haven't wired in the lights yet. Considering I had the MH lights on 8hours or more a day, I didn't expect it to show up on the scrubber before the DT.
3. Who said anything about not having a fuge?
I got dual chambers in my sump. I can control the water flow to each side individually, I have plenty room for upgrades. And the ability to choose how fast/slow I want water to flow.
For starters Ill have about 30lbs of broken up LR directly under the scrubber station. The idea is pods will drop from the scrubber screen directly into the LR section. If needed , I can have a macro algae station in with the LR, or put it in the opposite side of the tank. Because I have so much room in my sump I have a lot of flexibility for future needs.
Right now its slow going because I can only buy so much at a time. This thing will grow over the years and I hope to keep everyone updated on all my success and failures.
Thanks for the compliments, and if you ever have any questions feel free to ask. I will always do my best to help.