Progress Build (WITH PICTURES)................

shelbeth

Member
UPDATE
Since adding Microbe Lift-Special Blend (Bacteria) I have noticed that the GHA is starting to die off. What was green is starting to turn brown. I've also noticed alot more coralline algae growing. The purple is starting to take over, and the green is dying off. I've also noticed a few feather dusters growing on my LR as well. AND, the water is becoming VERY crystal clear.
These are the water Parameters:
Ph....................8.2
Nitrite................0ppm
Nitrate...............0ppm
Ammonia...........0ppm
Phosphate.........0.02ppm
Calcium.............380ppm
It also helped that I replaced the active carbon filter in the Biocube. Running the skimmer, and emptying the skimmate is helping out alot too. I even went as far as rinsing out the microbubble sponge in the back of chamber 3. It was nasty! I'm so excited!
See. The GHA is starting to die off. It's turning brown. The hermits, snails, and Emerald crab are tearing it up now.
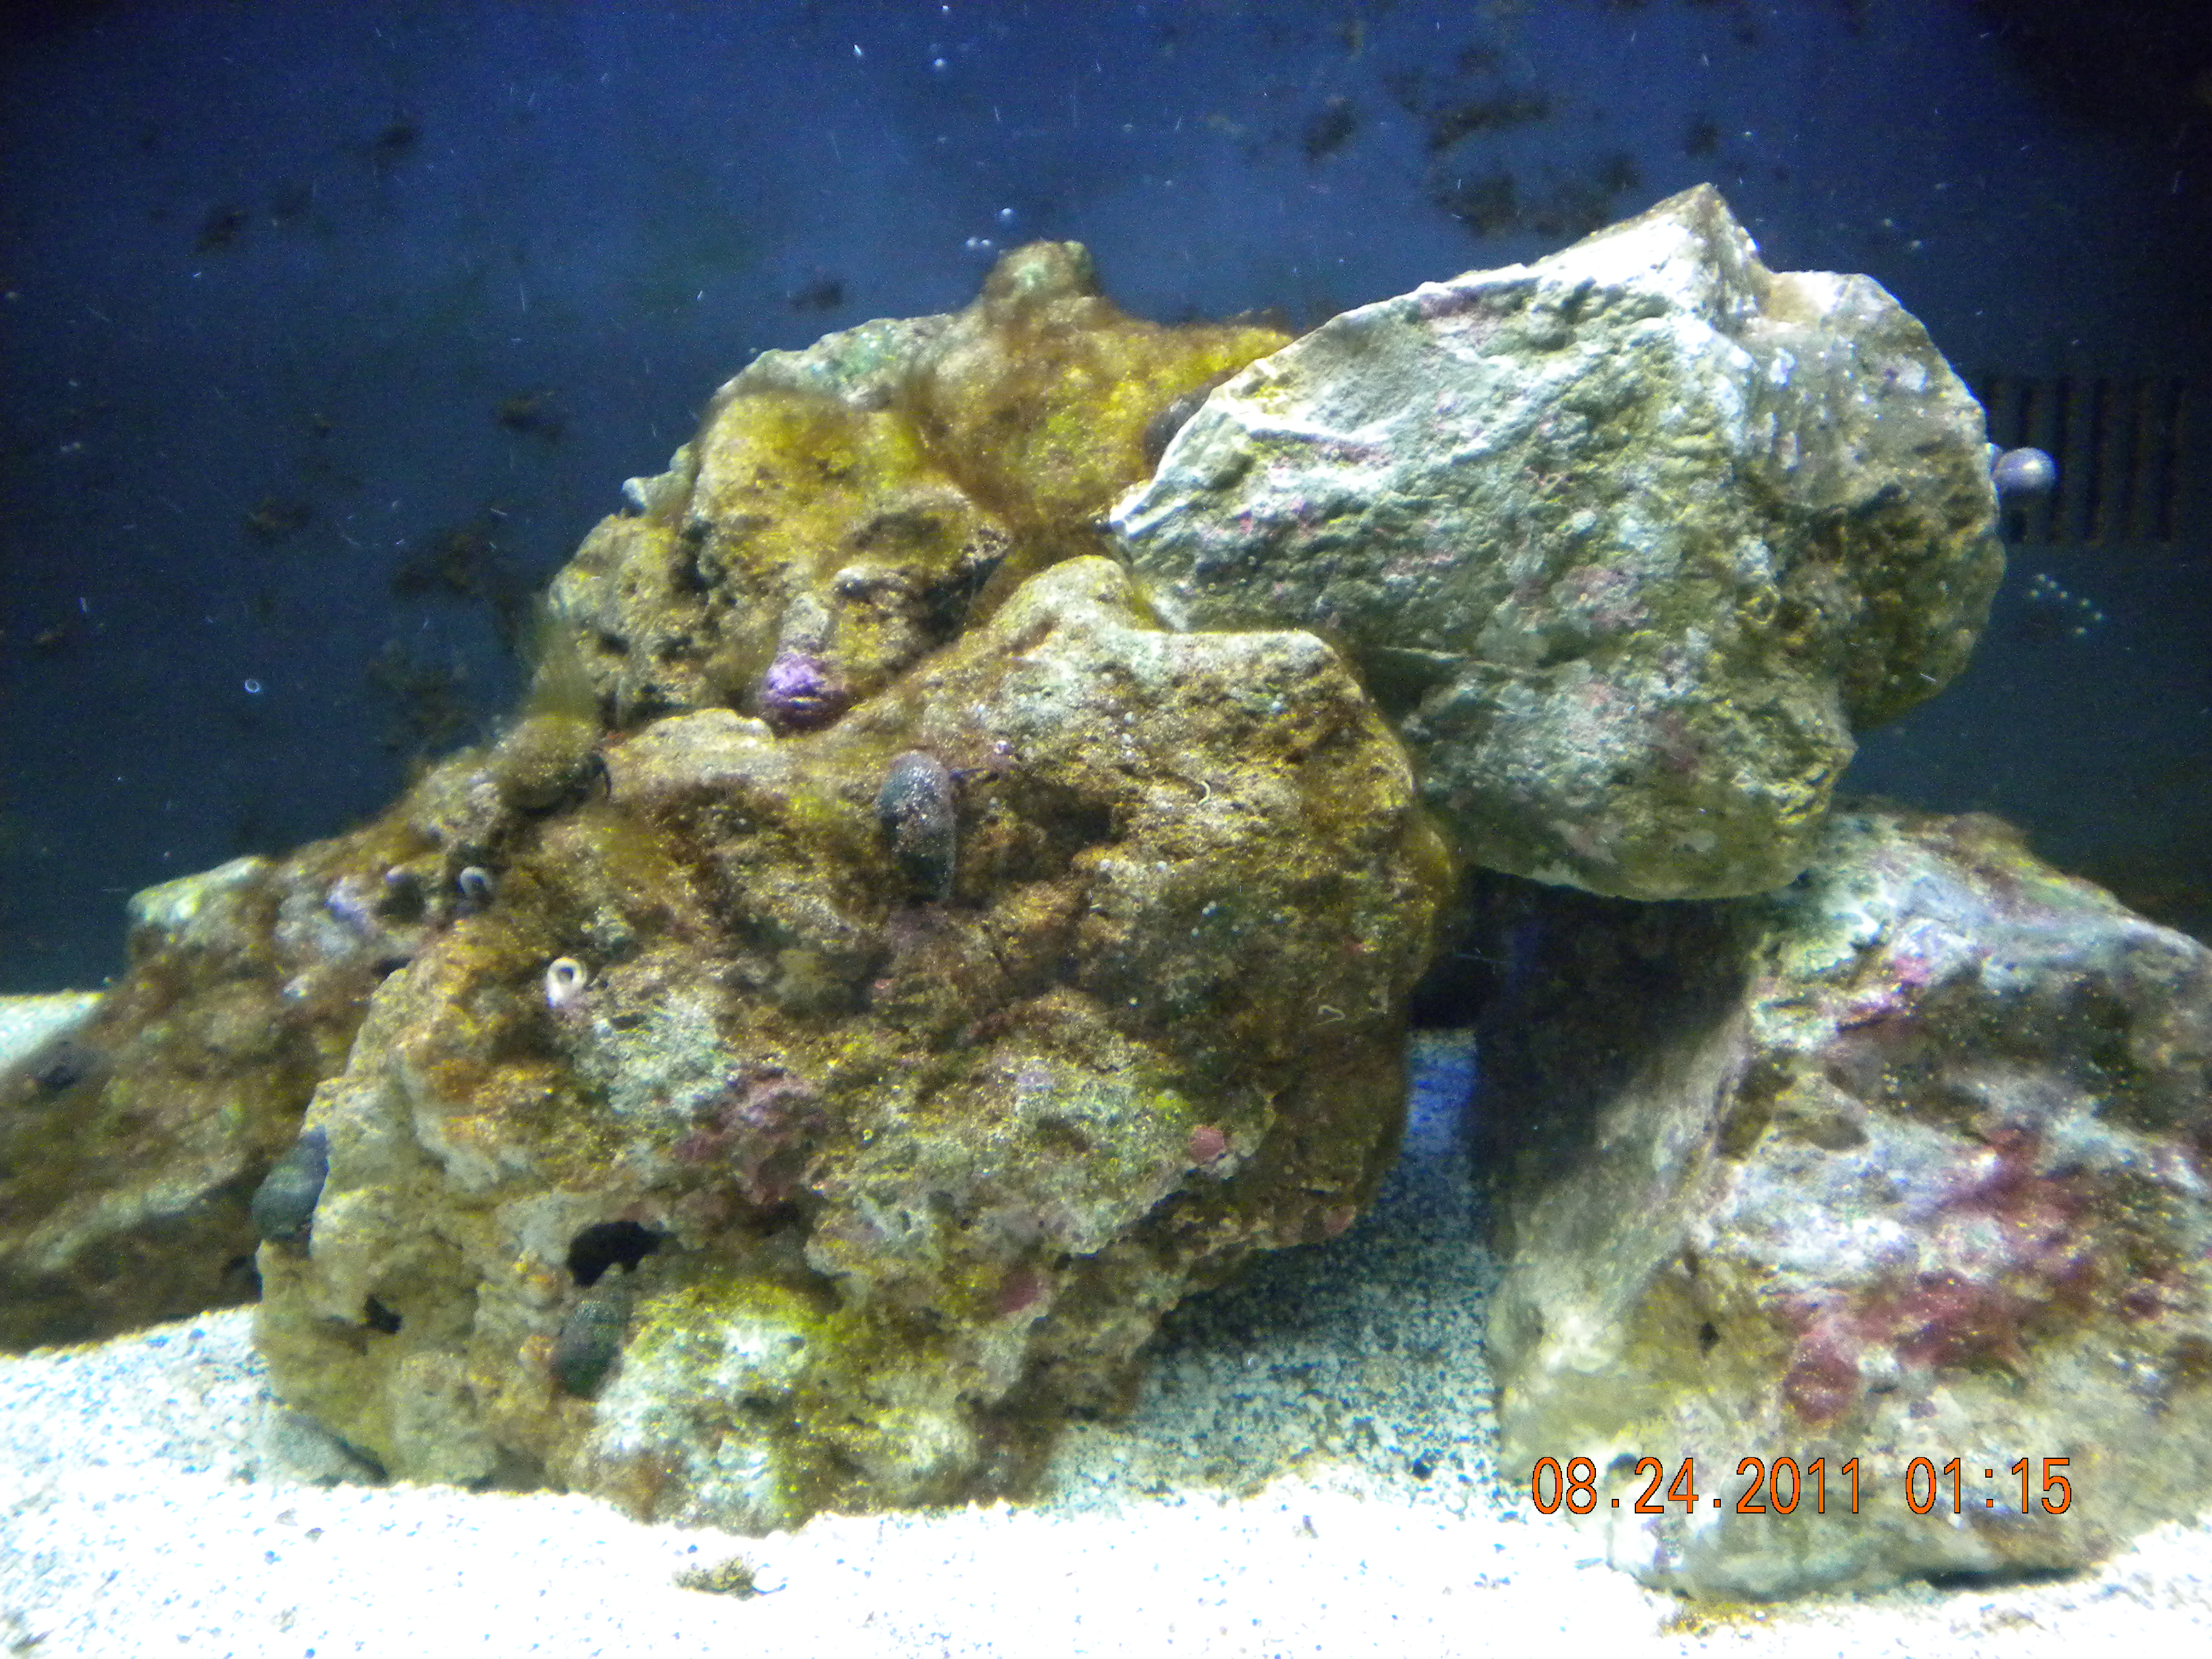
Look closely, you can see 2 feather dusters starting. At first, I thought it was purple hair algae, and then I noticed the tubes connected to them....lol
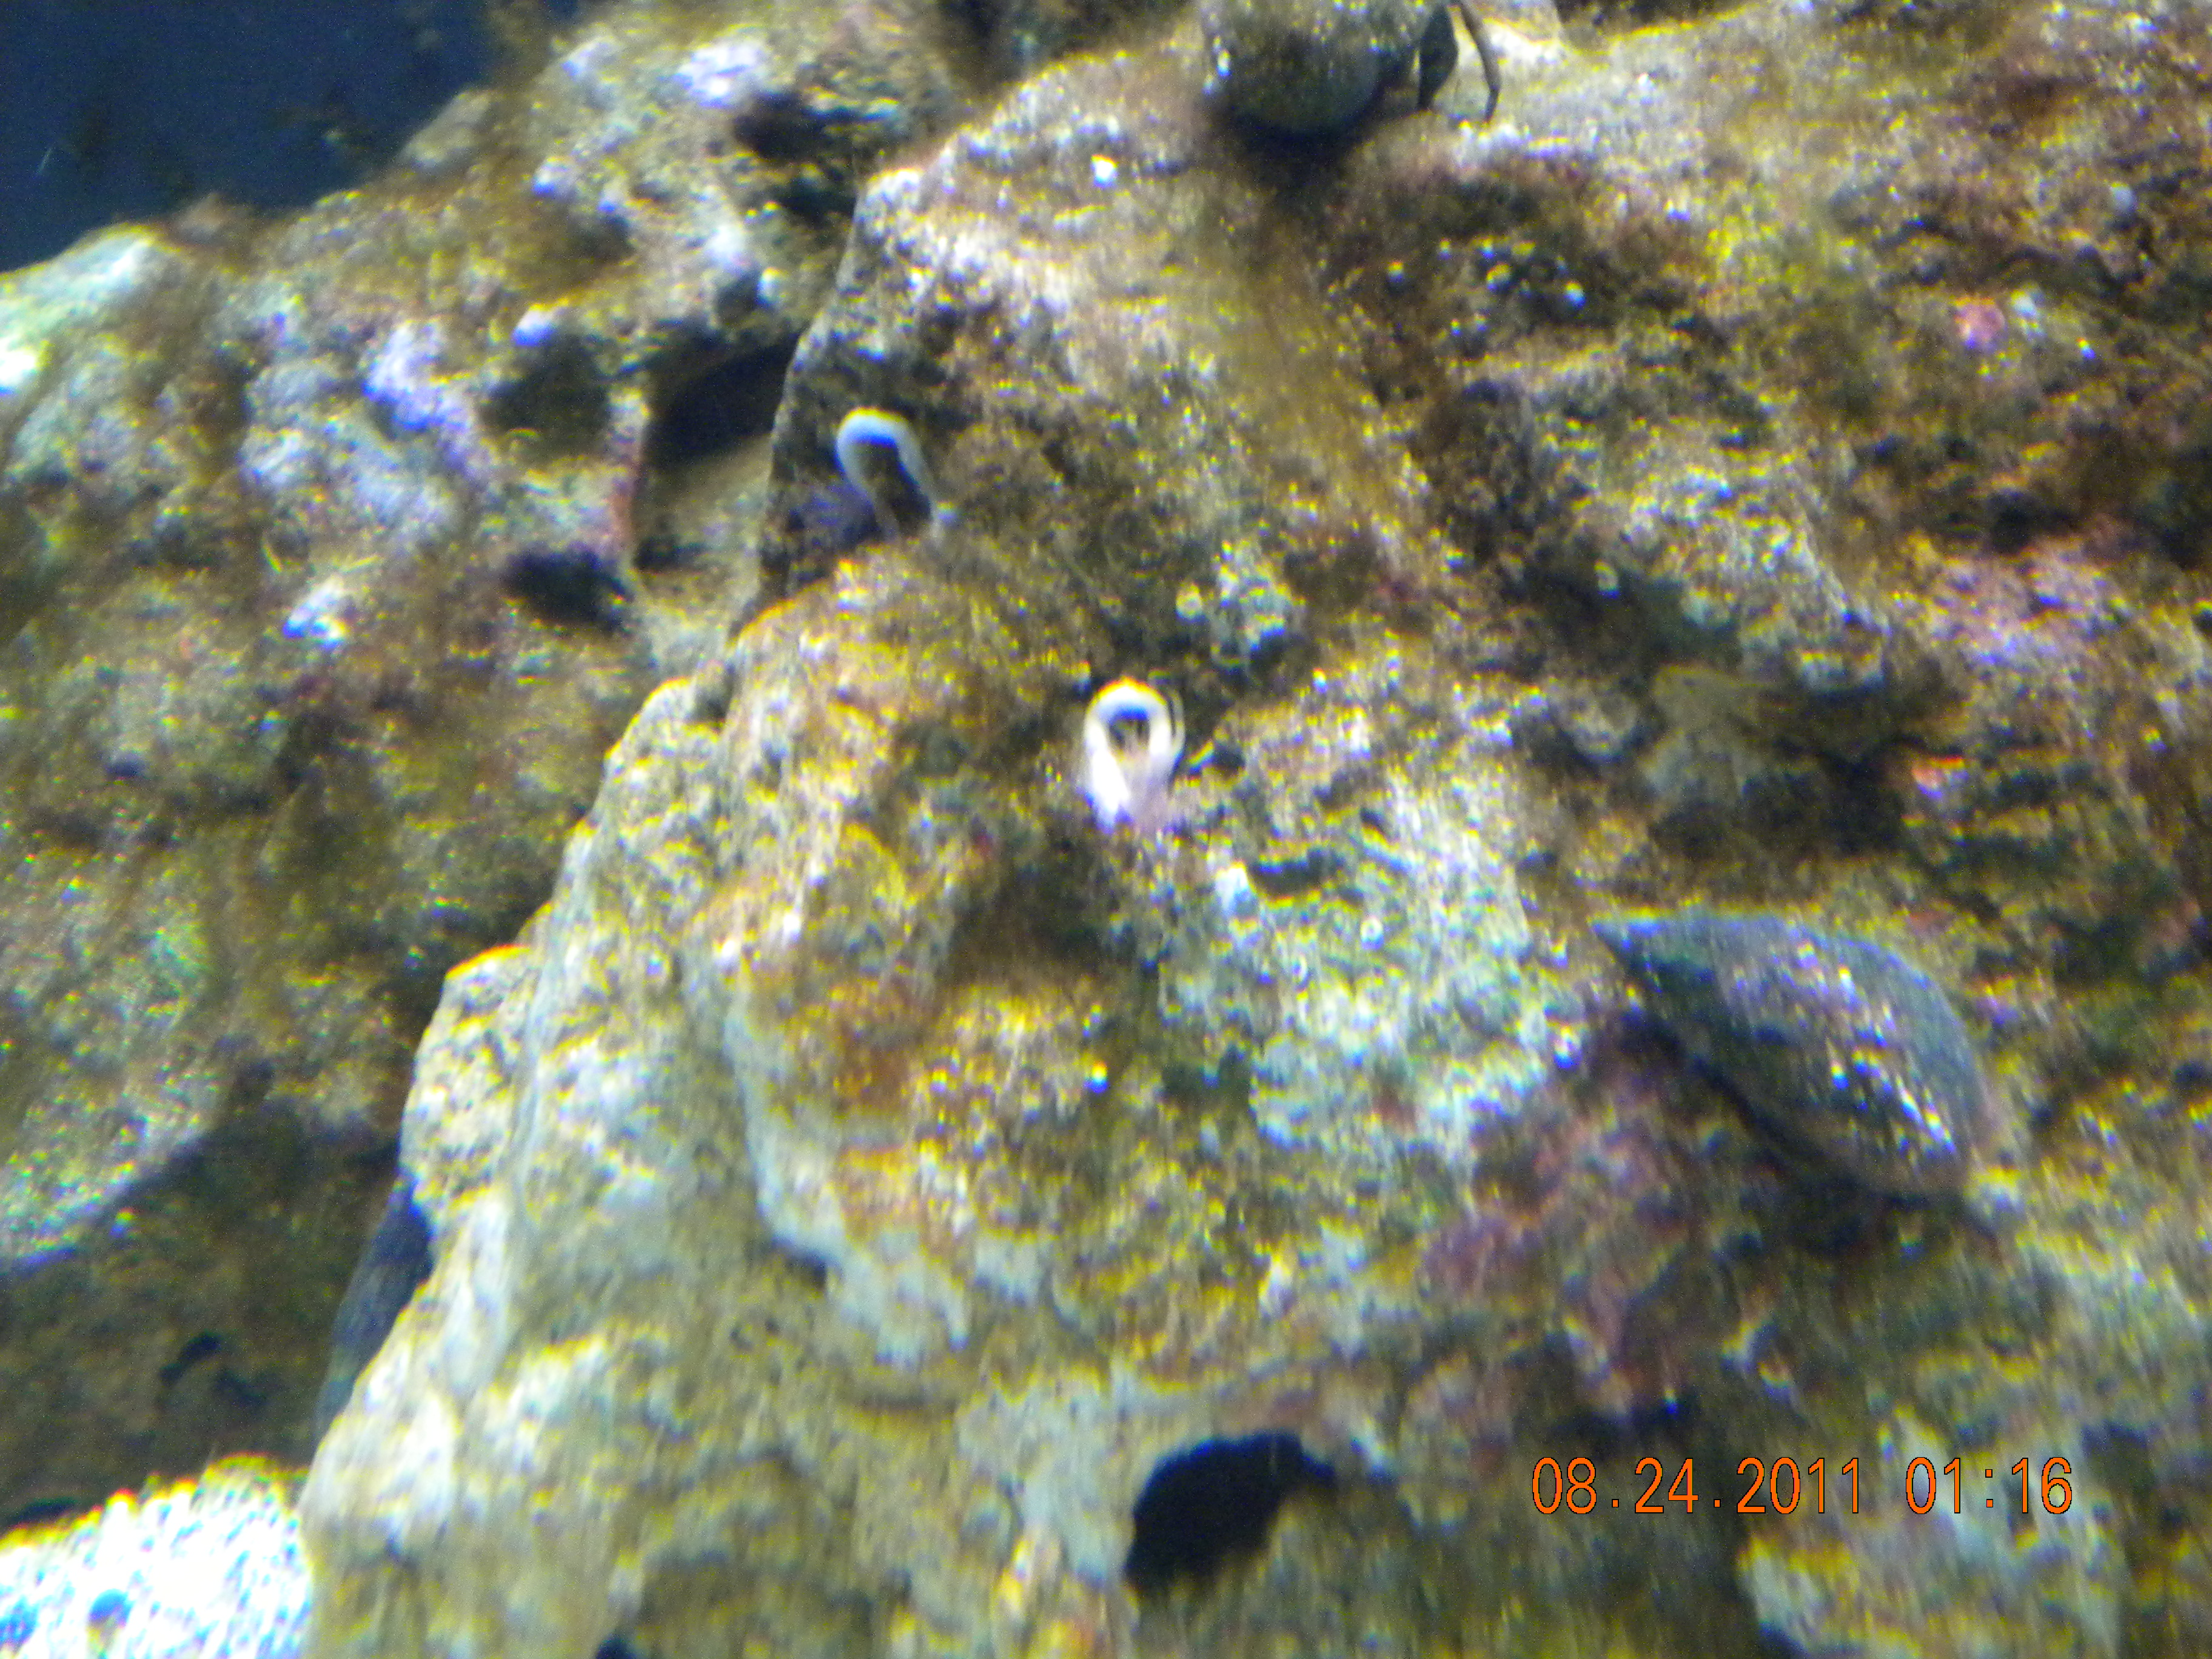
A closeup view of the feather dusters. You can also see that the hermit crabs' shells are starting to get covered in corralline algae too.
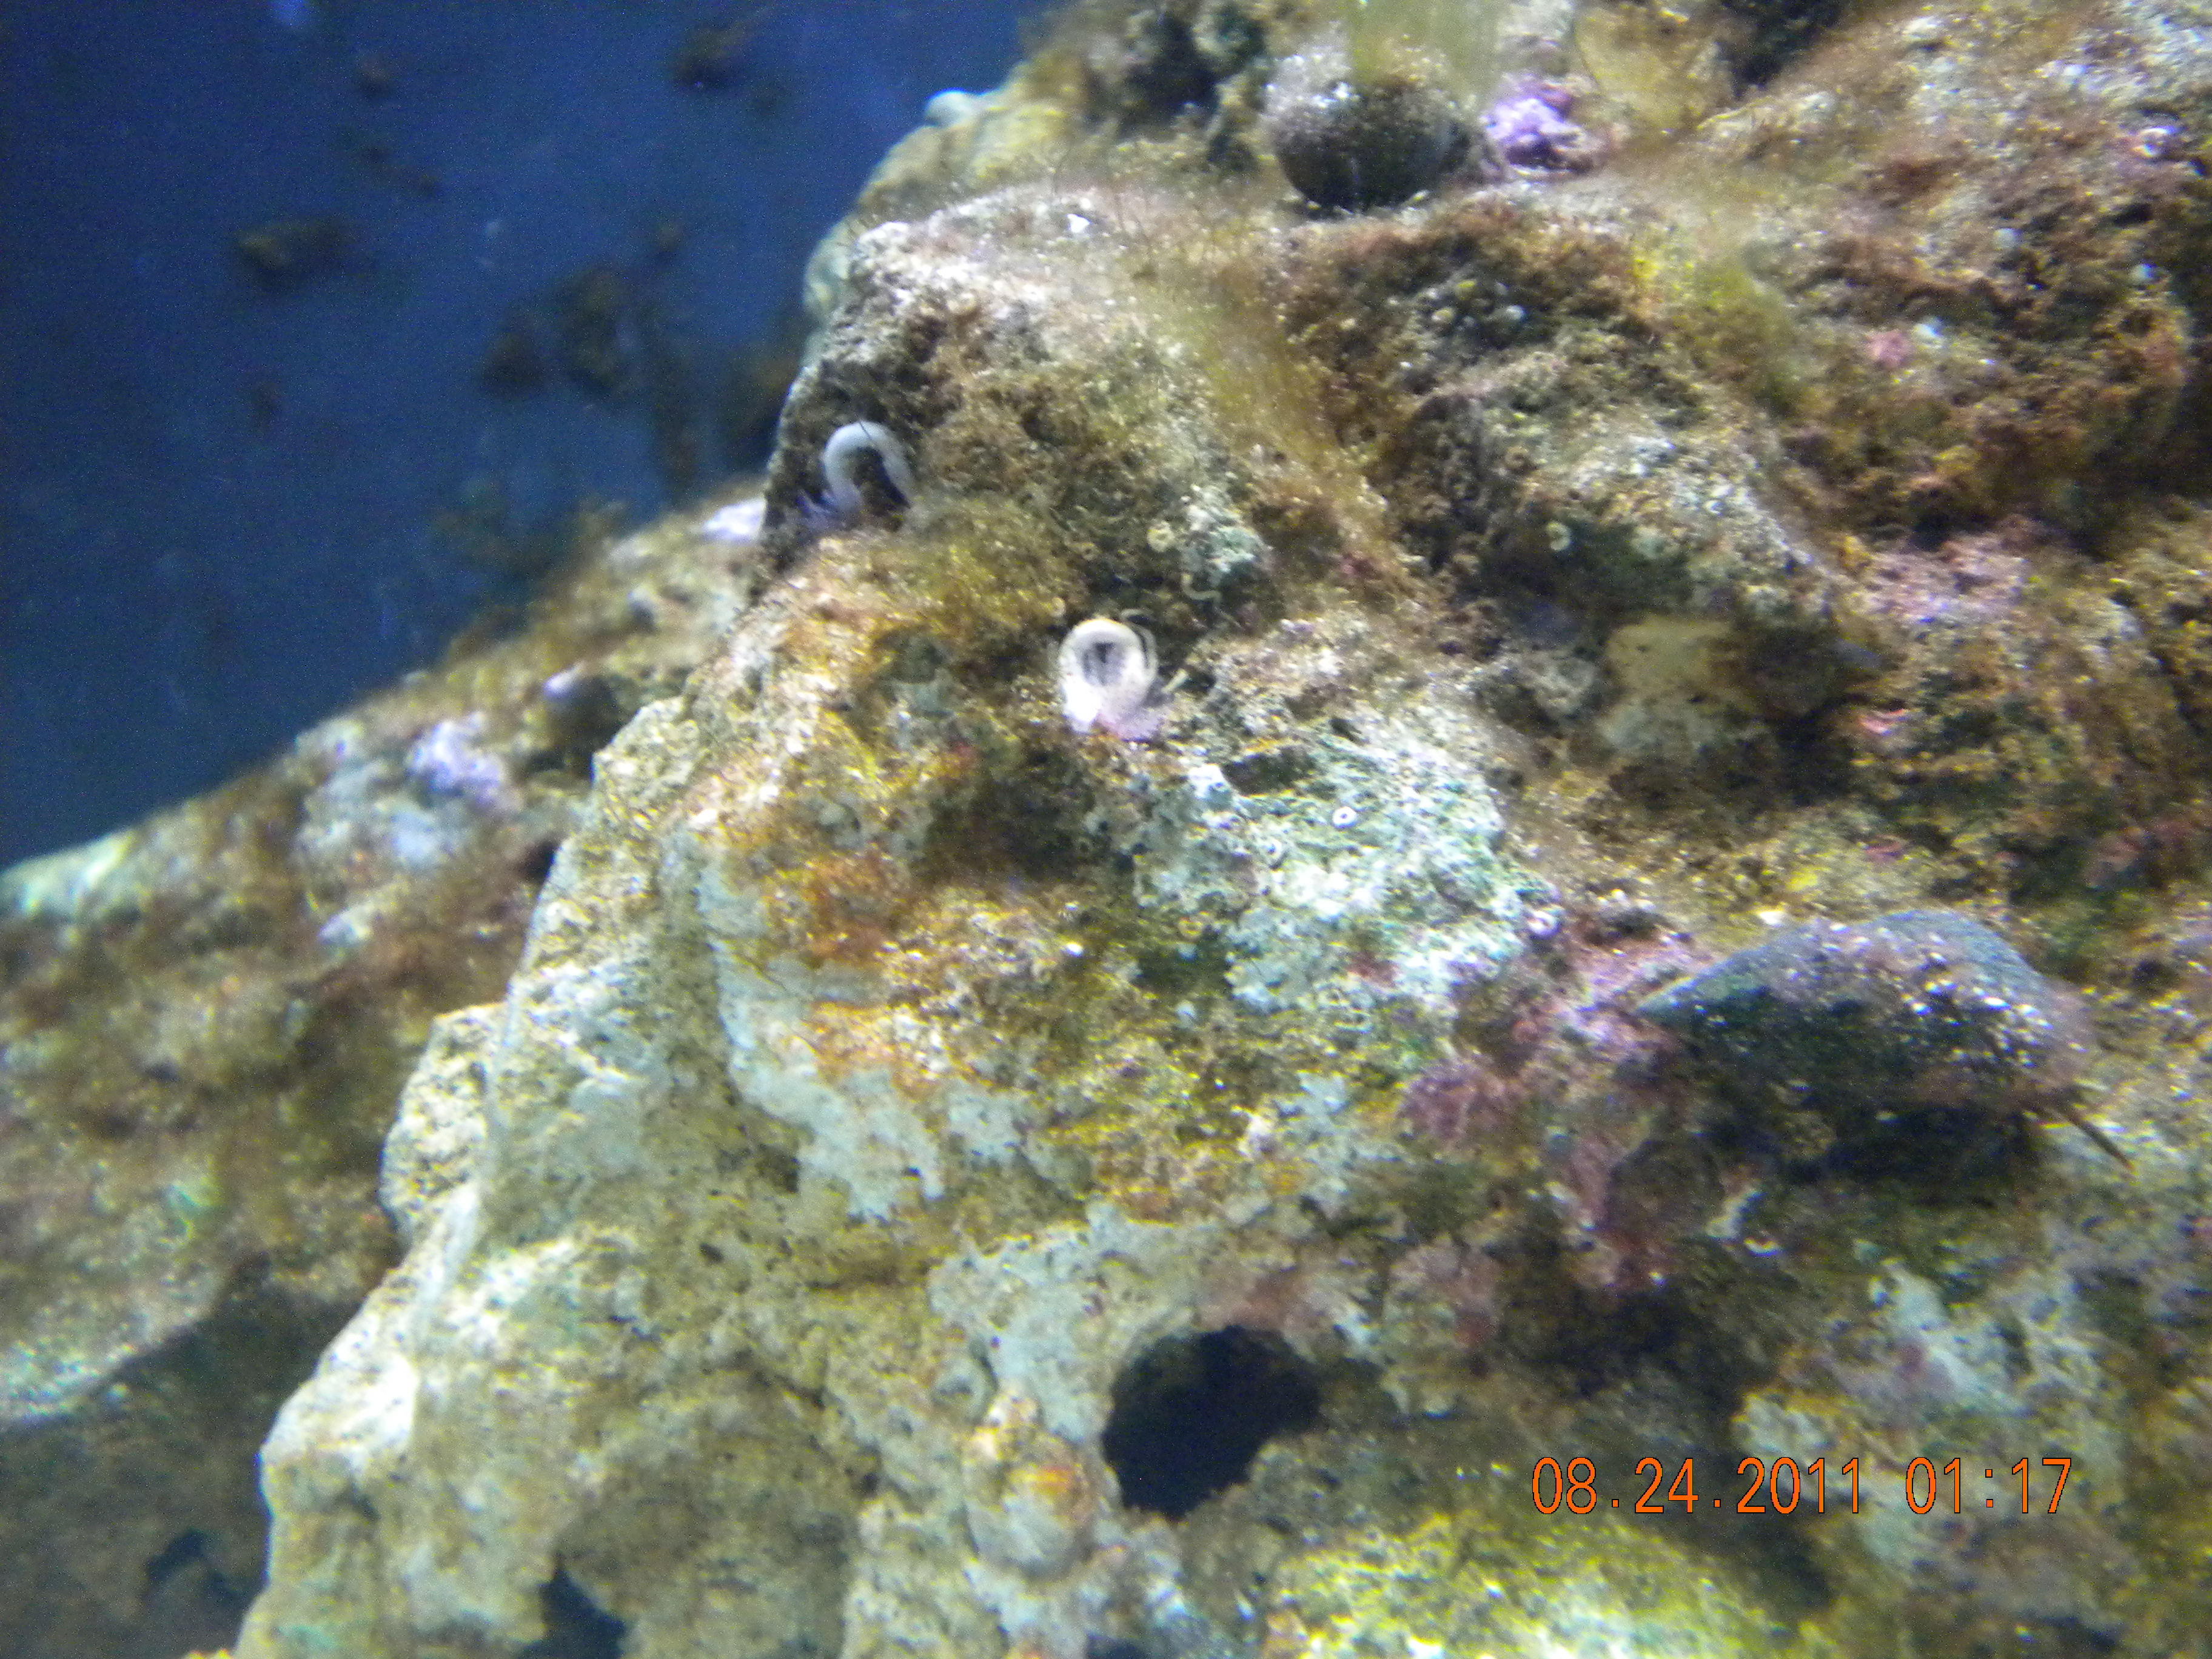
Purple starting to take over.....YAY!
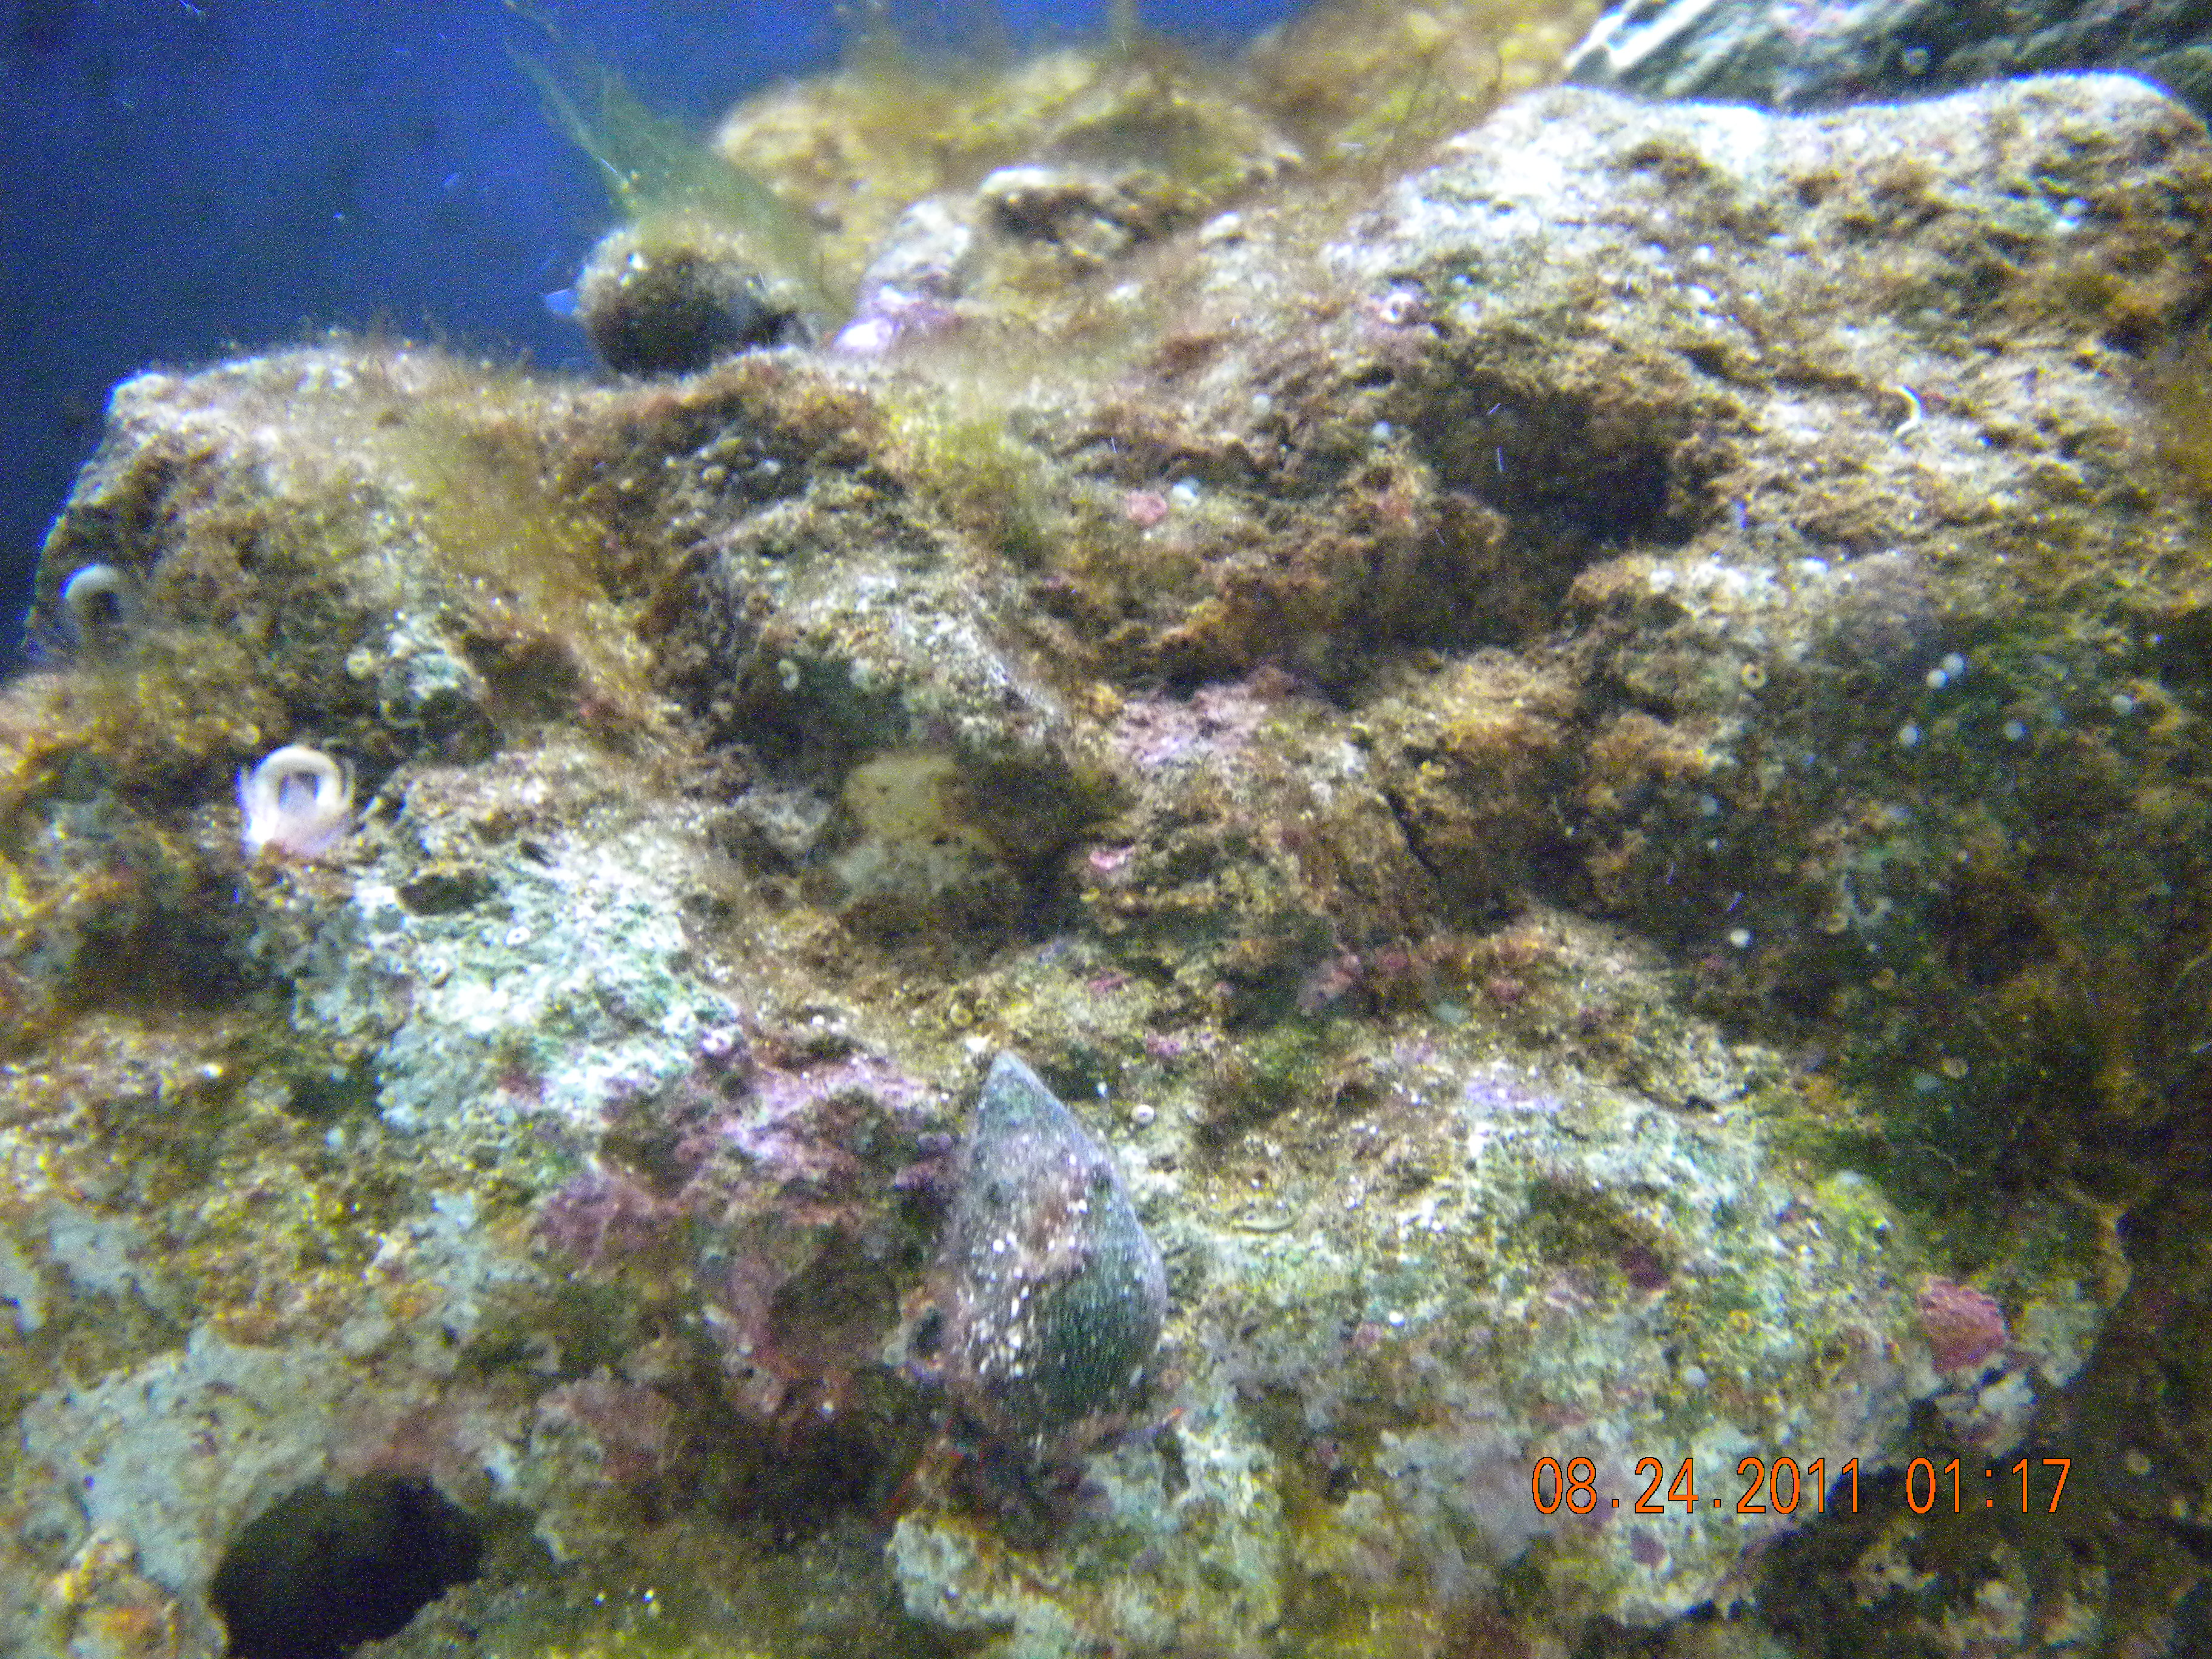
More Purple starting to take over....I'm so excited!
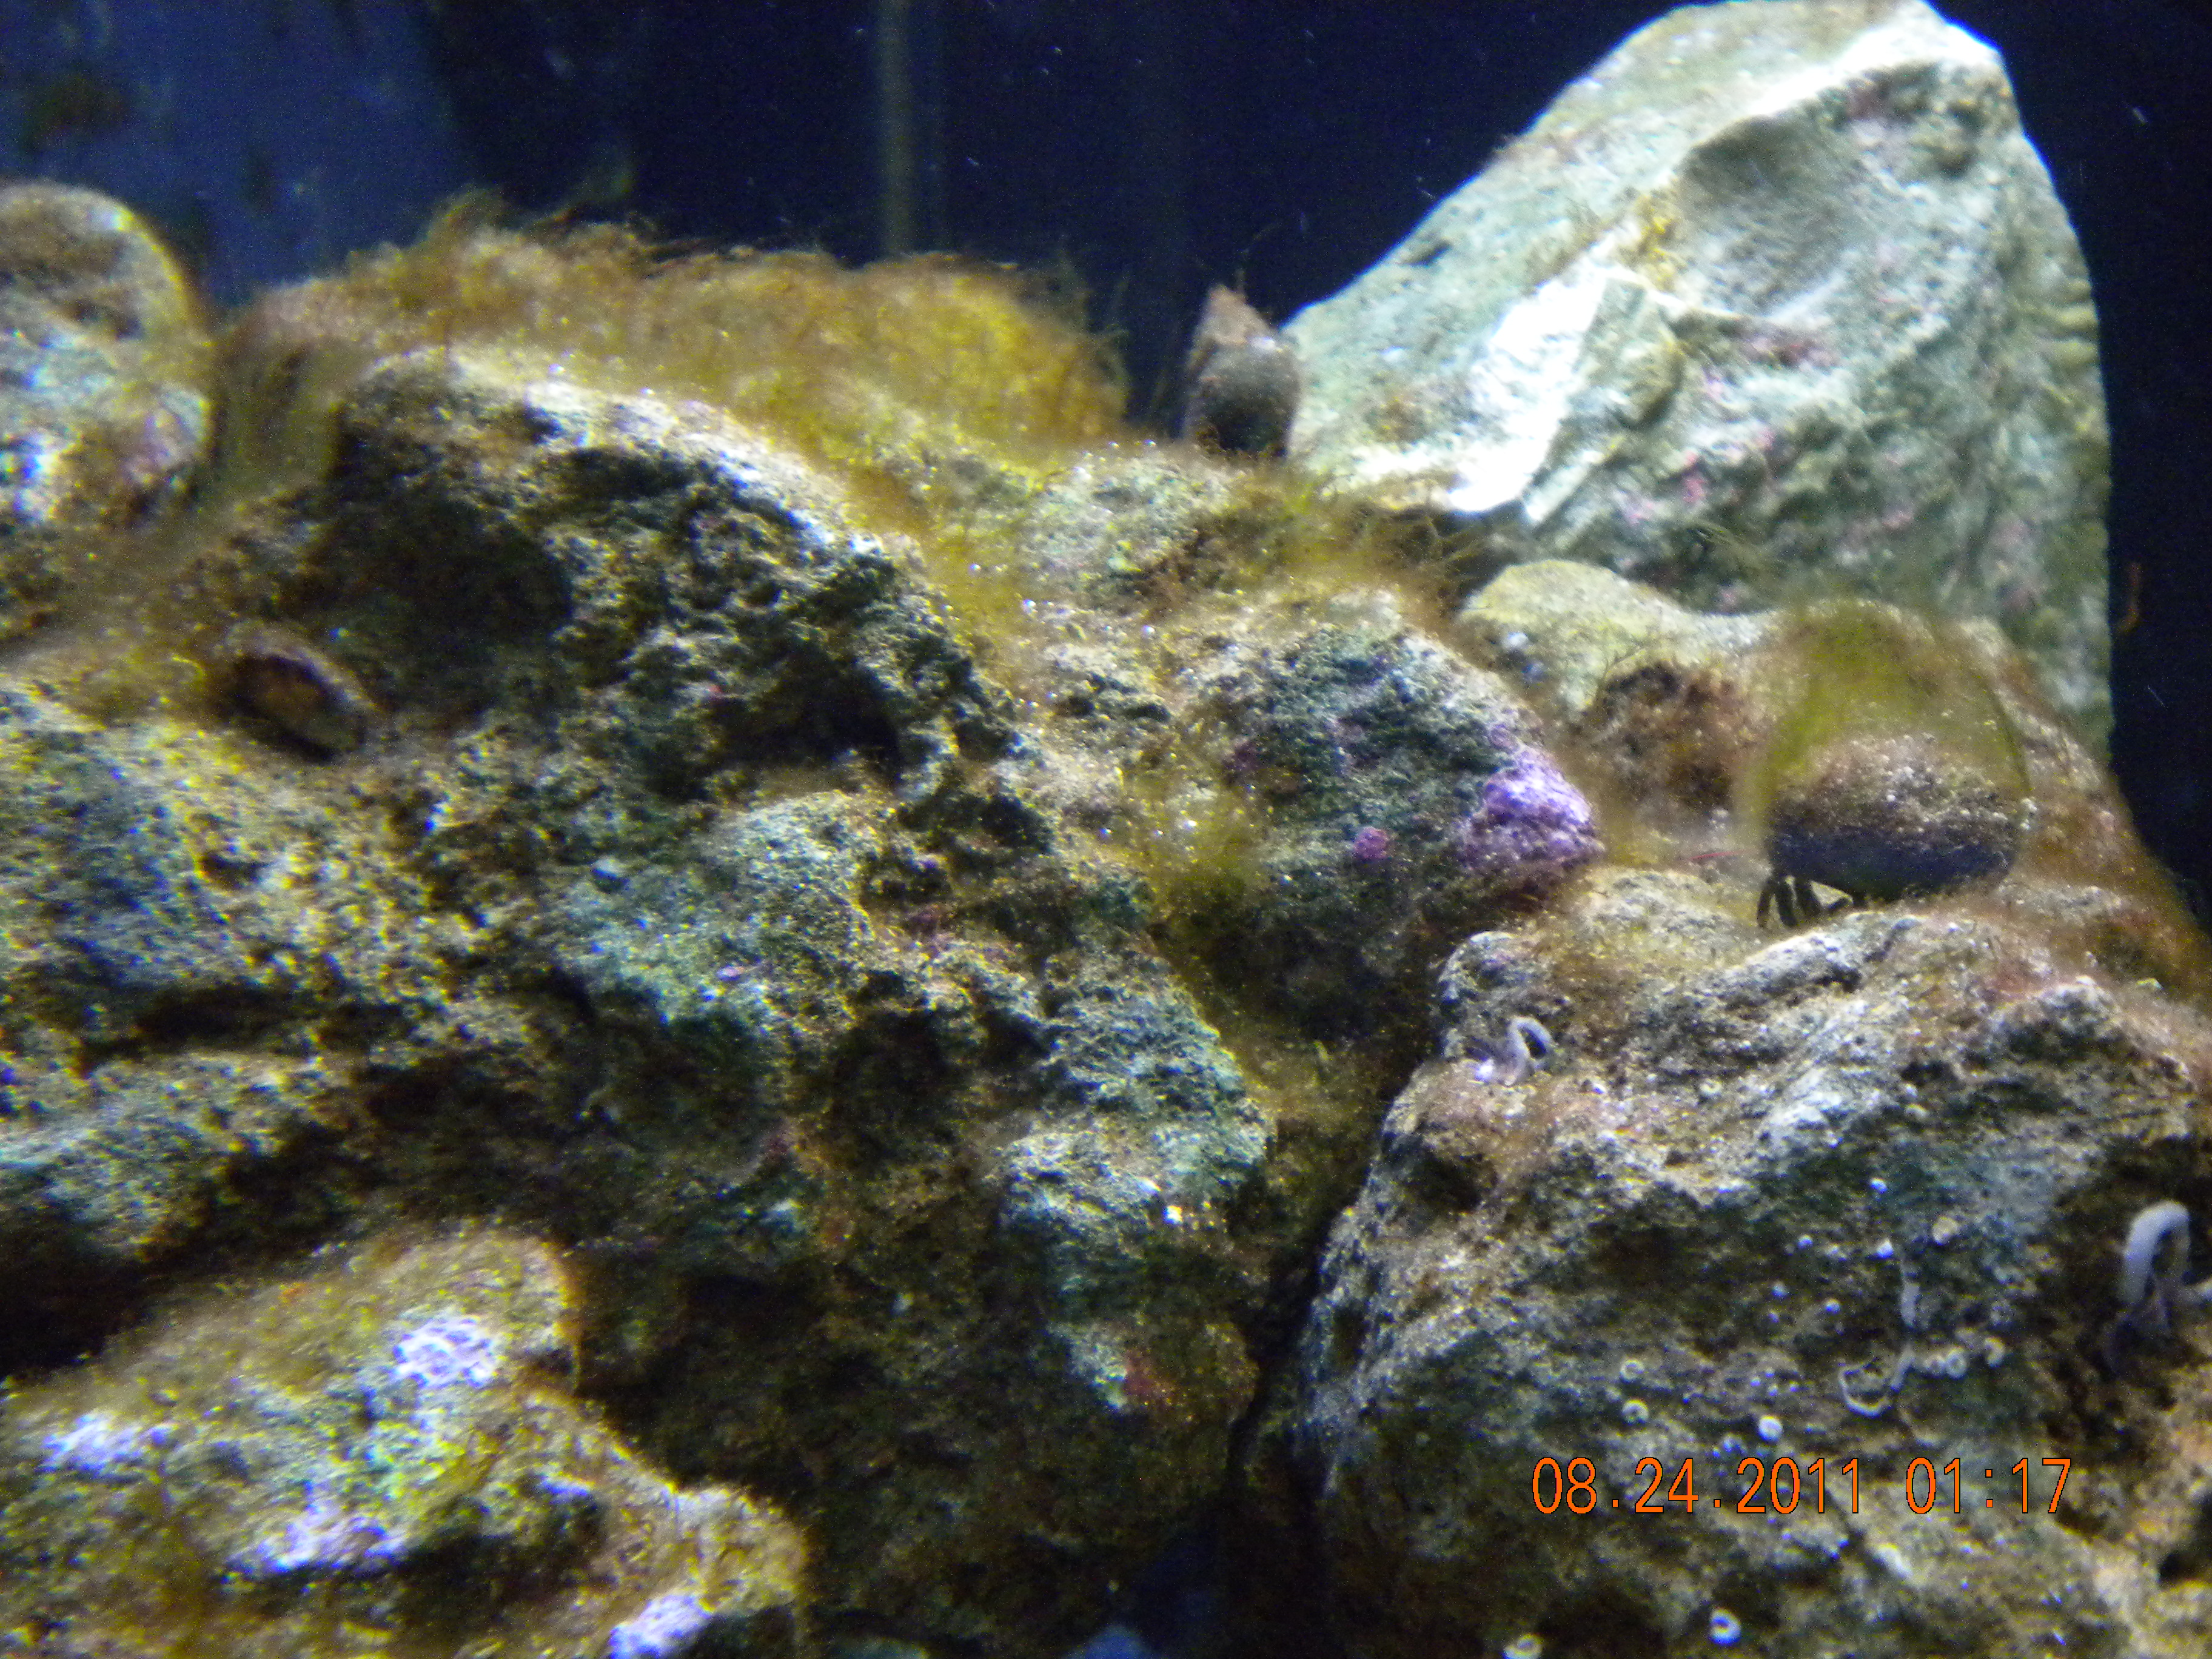
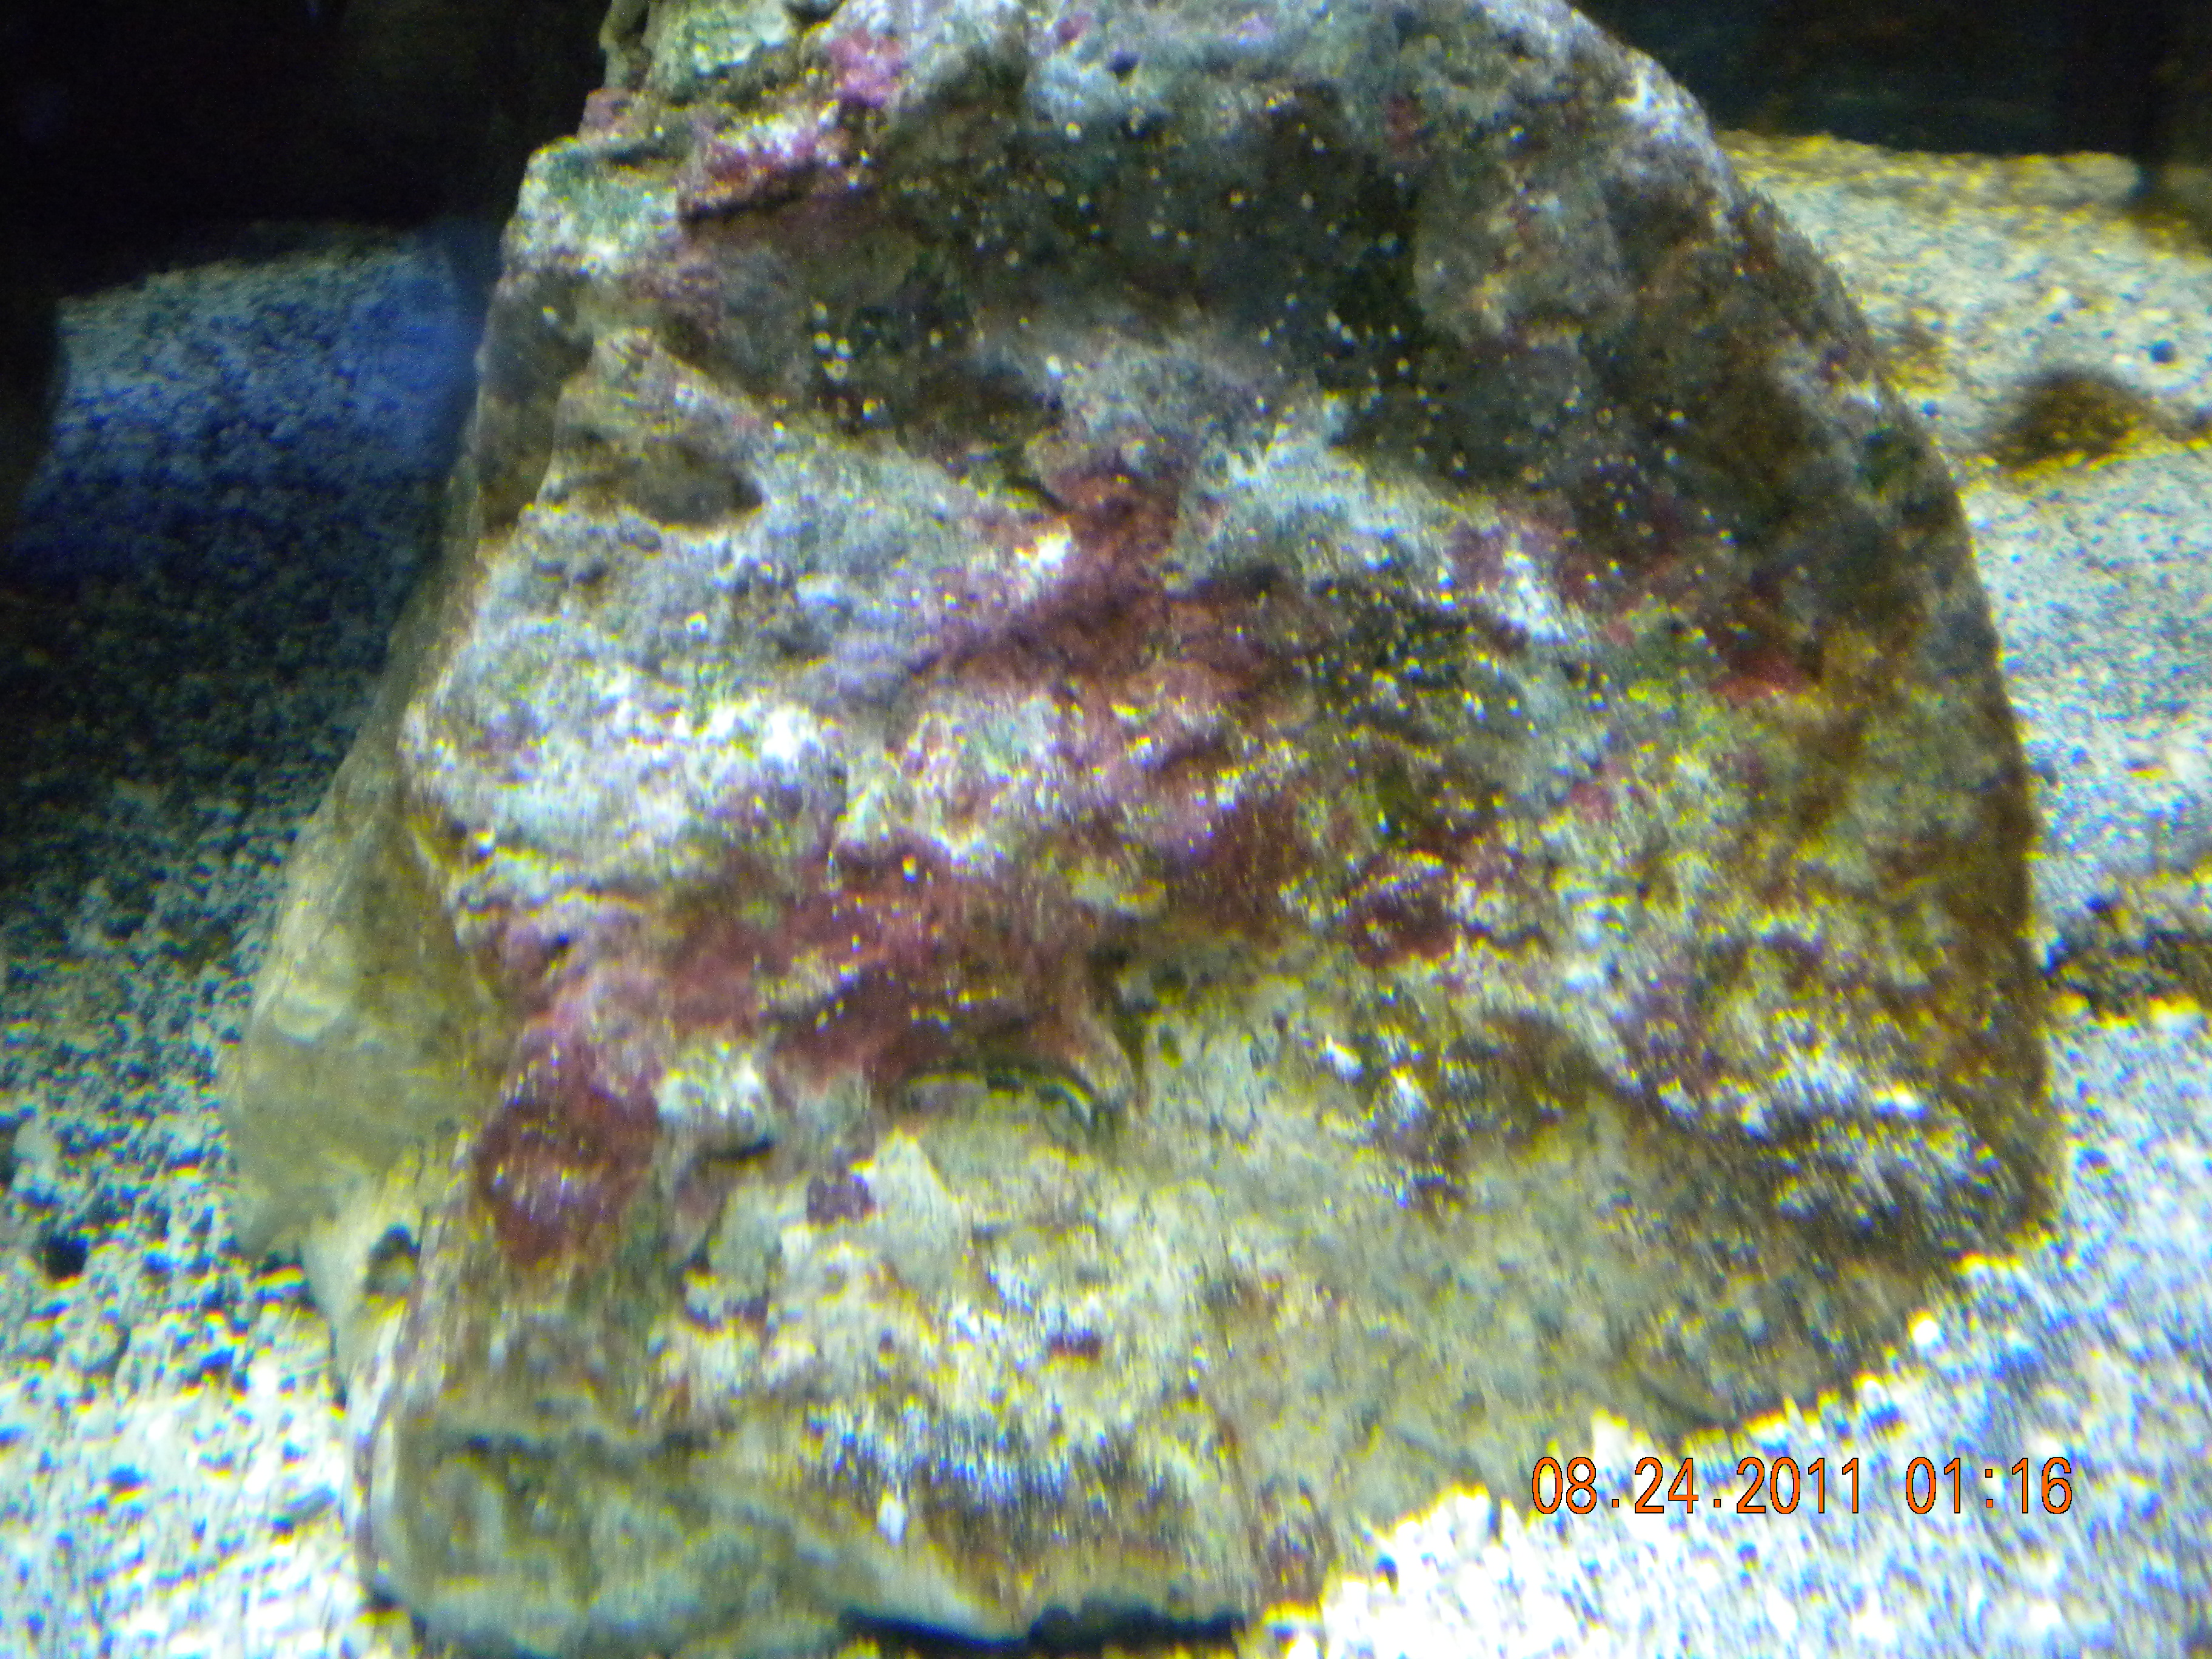
More Purple. Nice! Hey, I started to notice thse white pimple looking things starting to grow on this rock. They're whitish is color, and have small holes in the middle of them. Almost look like barnicles starting to grow on the rock. What are they?
 

slice

Active Member
Look here, scroll down to the "SESSILE" section and look at the pictures of "Feather Duster #3 - Spirorbids and see if that is what you have.
I have a ton of them on the back glass where it doesn't get scraped and some on rock.
http://www.lionfishlair.com/hitchhiker/hitchhiker.shtml
 

shelbeth

Member
Quote:
Originally Posted by Slice http:///t/386735/progress-build-with-pictures/80#post_3410624
Look here, scroll down to the "SESSILE" section and look at the pictures of "Feather Duster #3 - Spirorbids and see if that is what you have.
I have a ton of them on the back glass where it doesn't get scraped and some on rock.
http://www.lionfishlair.com/hitchhiker/hitchhiker.shtml
Yeah, I do see EGGS (Snail Eggs) and FEATHER DUSTER #2. Cool. SCORE!
 

shelbeth

Member
UPDATE:
Ok, so I decided on my limited income that I would make my own live rock. I bought the portland cement, crushed oyster shells, water softening rock salt, and I even included live sand in the mix.
The reason for the live sand in the mix, is pretty self explanatory; because I dsire life to grow on the rock, and cycle the correct bacteria and such.
Anyway, I just made my first batch tonight. I made one cavern (pretty large), a column, and a base rock. I am going to take the rocks out of the mold tomorrow at 5:30pm (24 hours dry time).
I'll post pics soon, as soon as I take the rocks out of the mold.
 

shelbeth

Member
Quote:
Originally Posted by 1guyDude http:///t/386735/progress-build-with-pictures/80#post_3416034
wat did u make the mold out of?
+1 cant wait for pics!
I used damp play sand. Then I found big rocks and pushed them into the sand for the molds. The cavern rock I made, I used a mold of a rock, placed a dome of play sand on top of it, leaving the edges exposed, and then added more of the live rock mix on top of it. When drying, the two will bond together and form a cavern, natural looking cavern.
I'm just as excited to see how the end result will look.
BTW, the reason for the rock salt, is because when I take the rocks out of the mold, the rock salt will still be in the mixture when dry. I'll place them in freshwater for about 2 months (give or take 2 weeks) and the rock salt will dissolve, leaving natural live rock looking pores in the rock.
 

shelbeth

Member
Okay, okay........
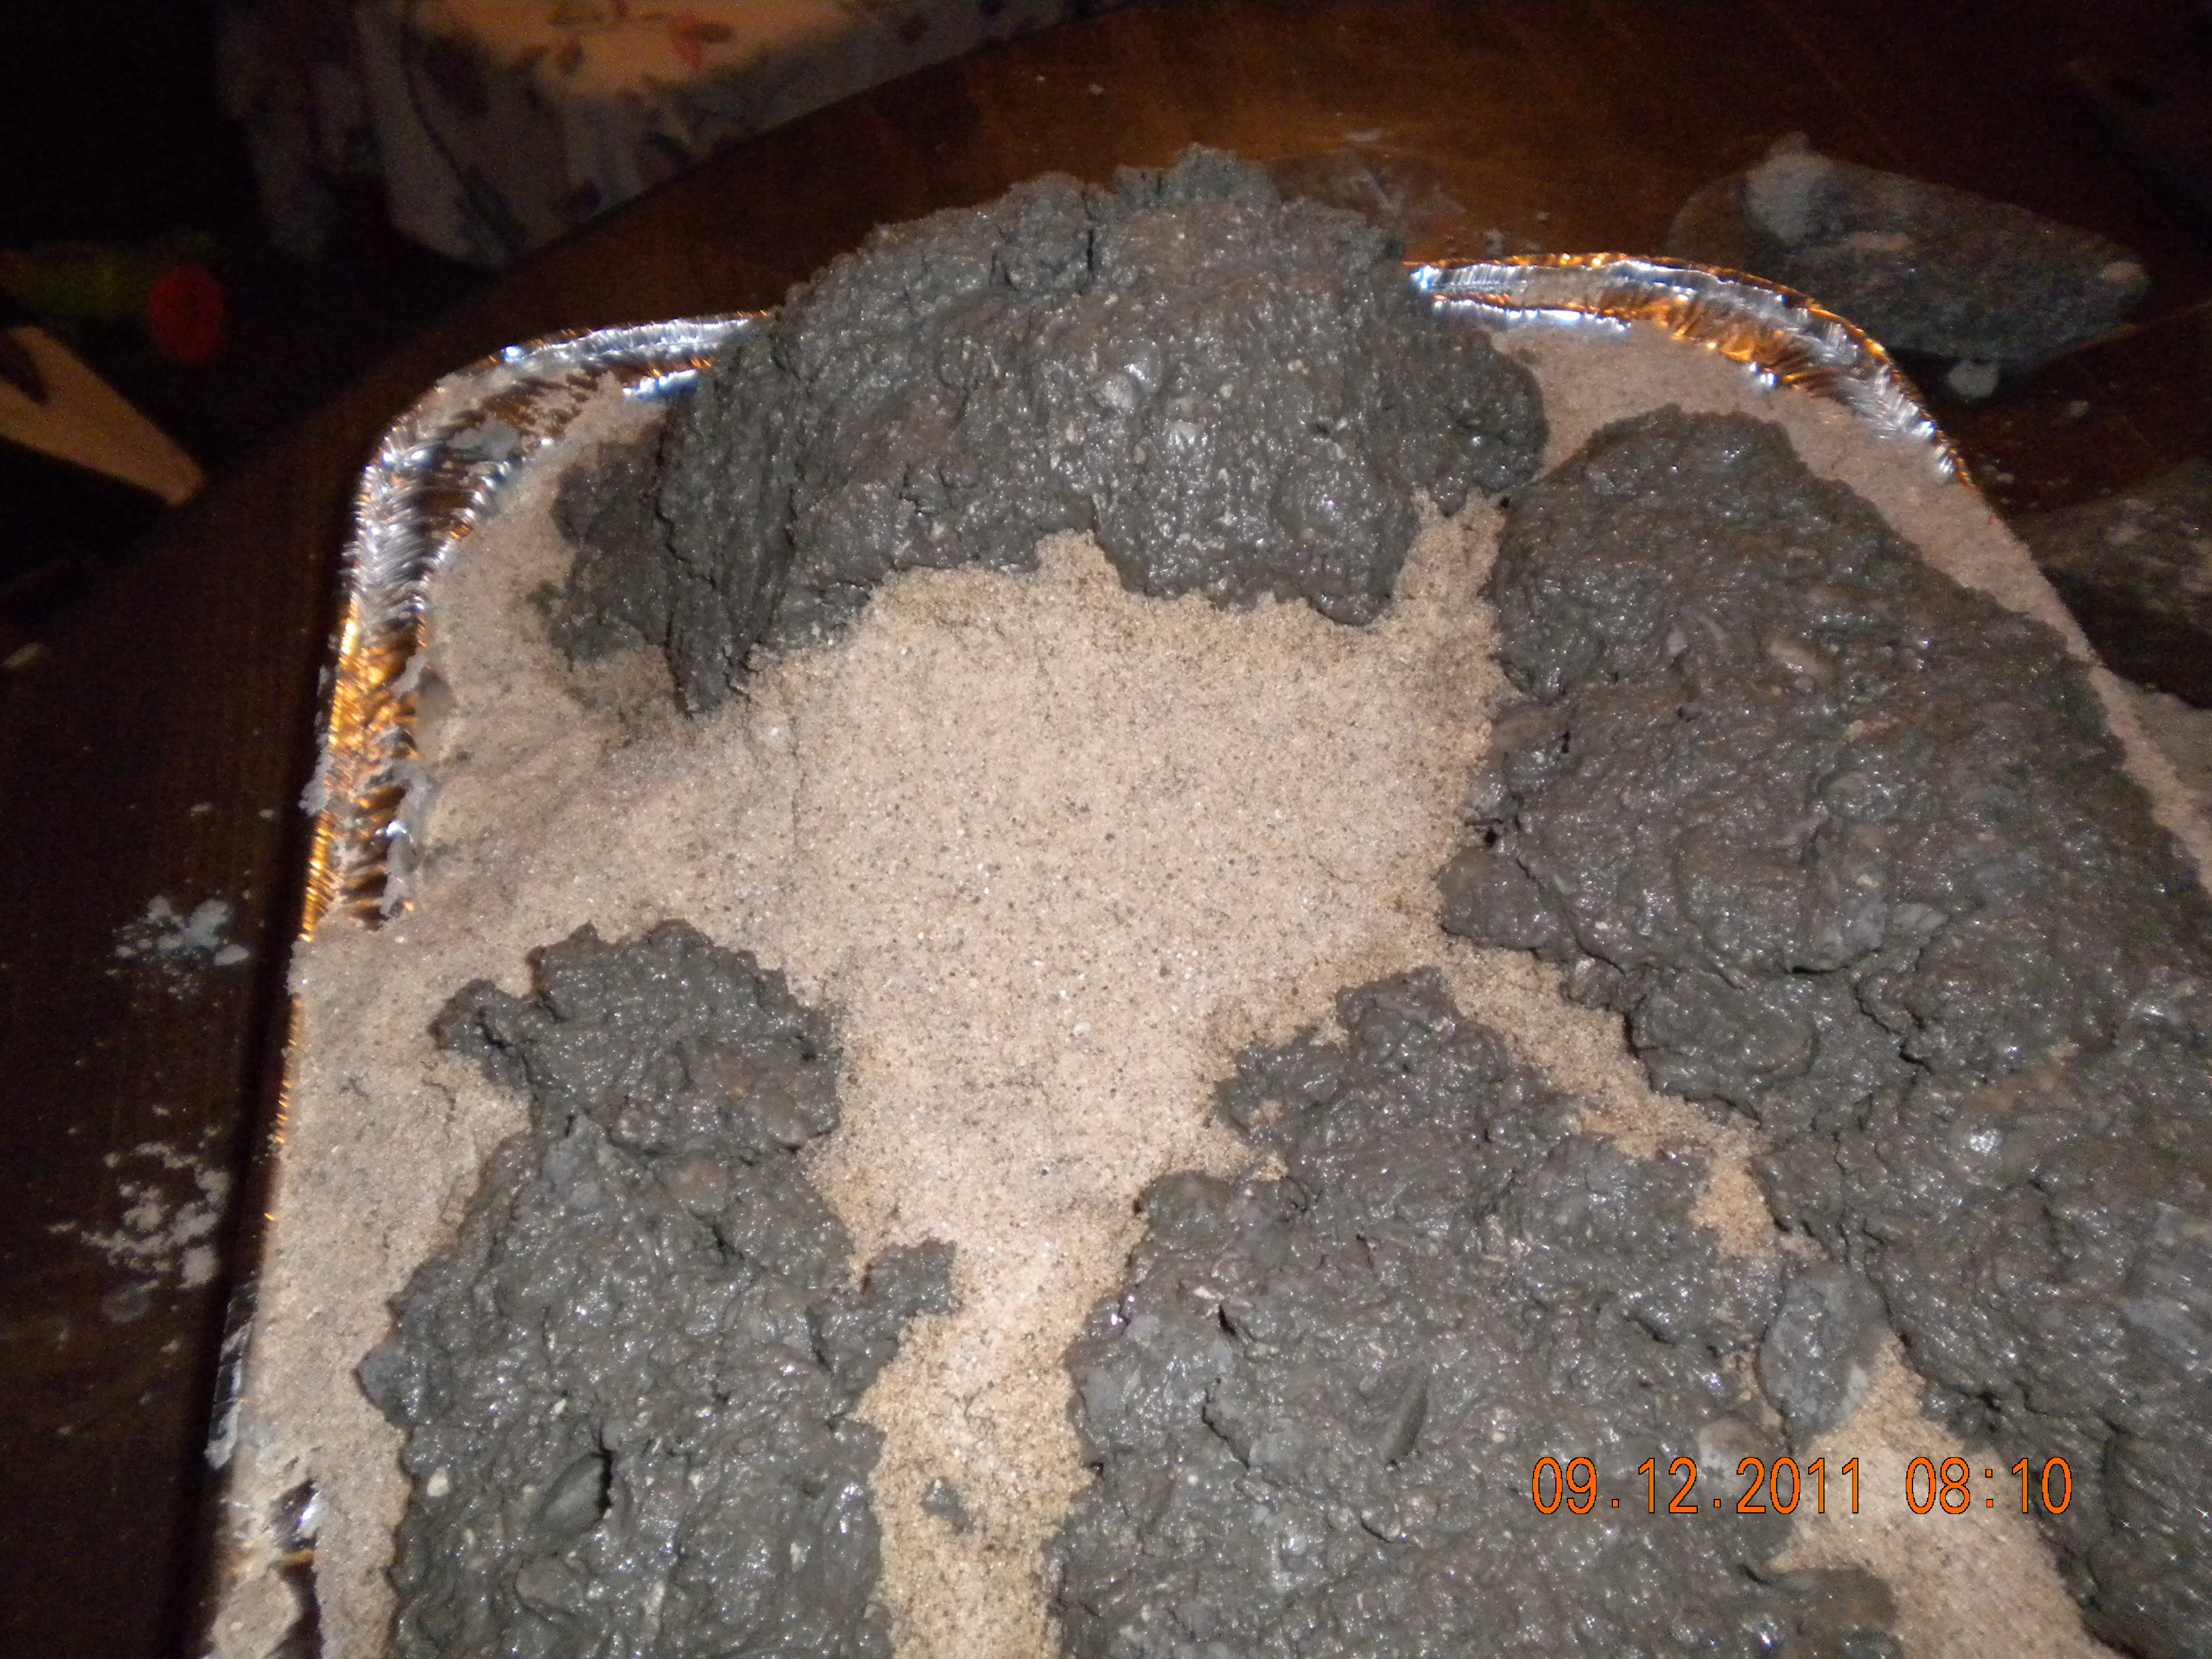
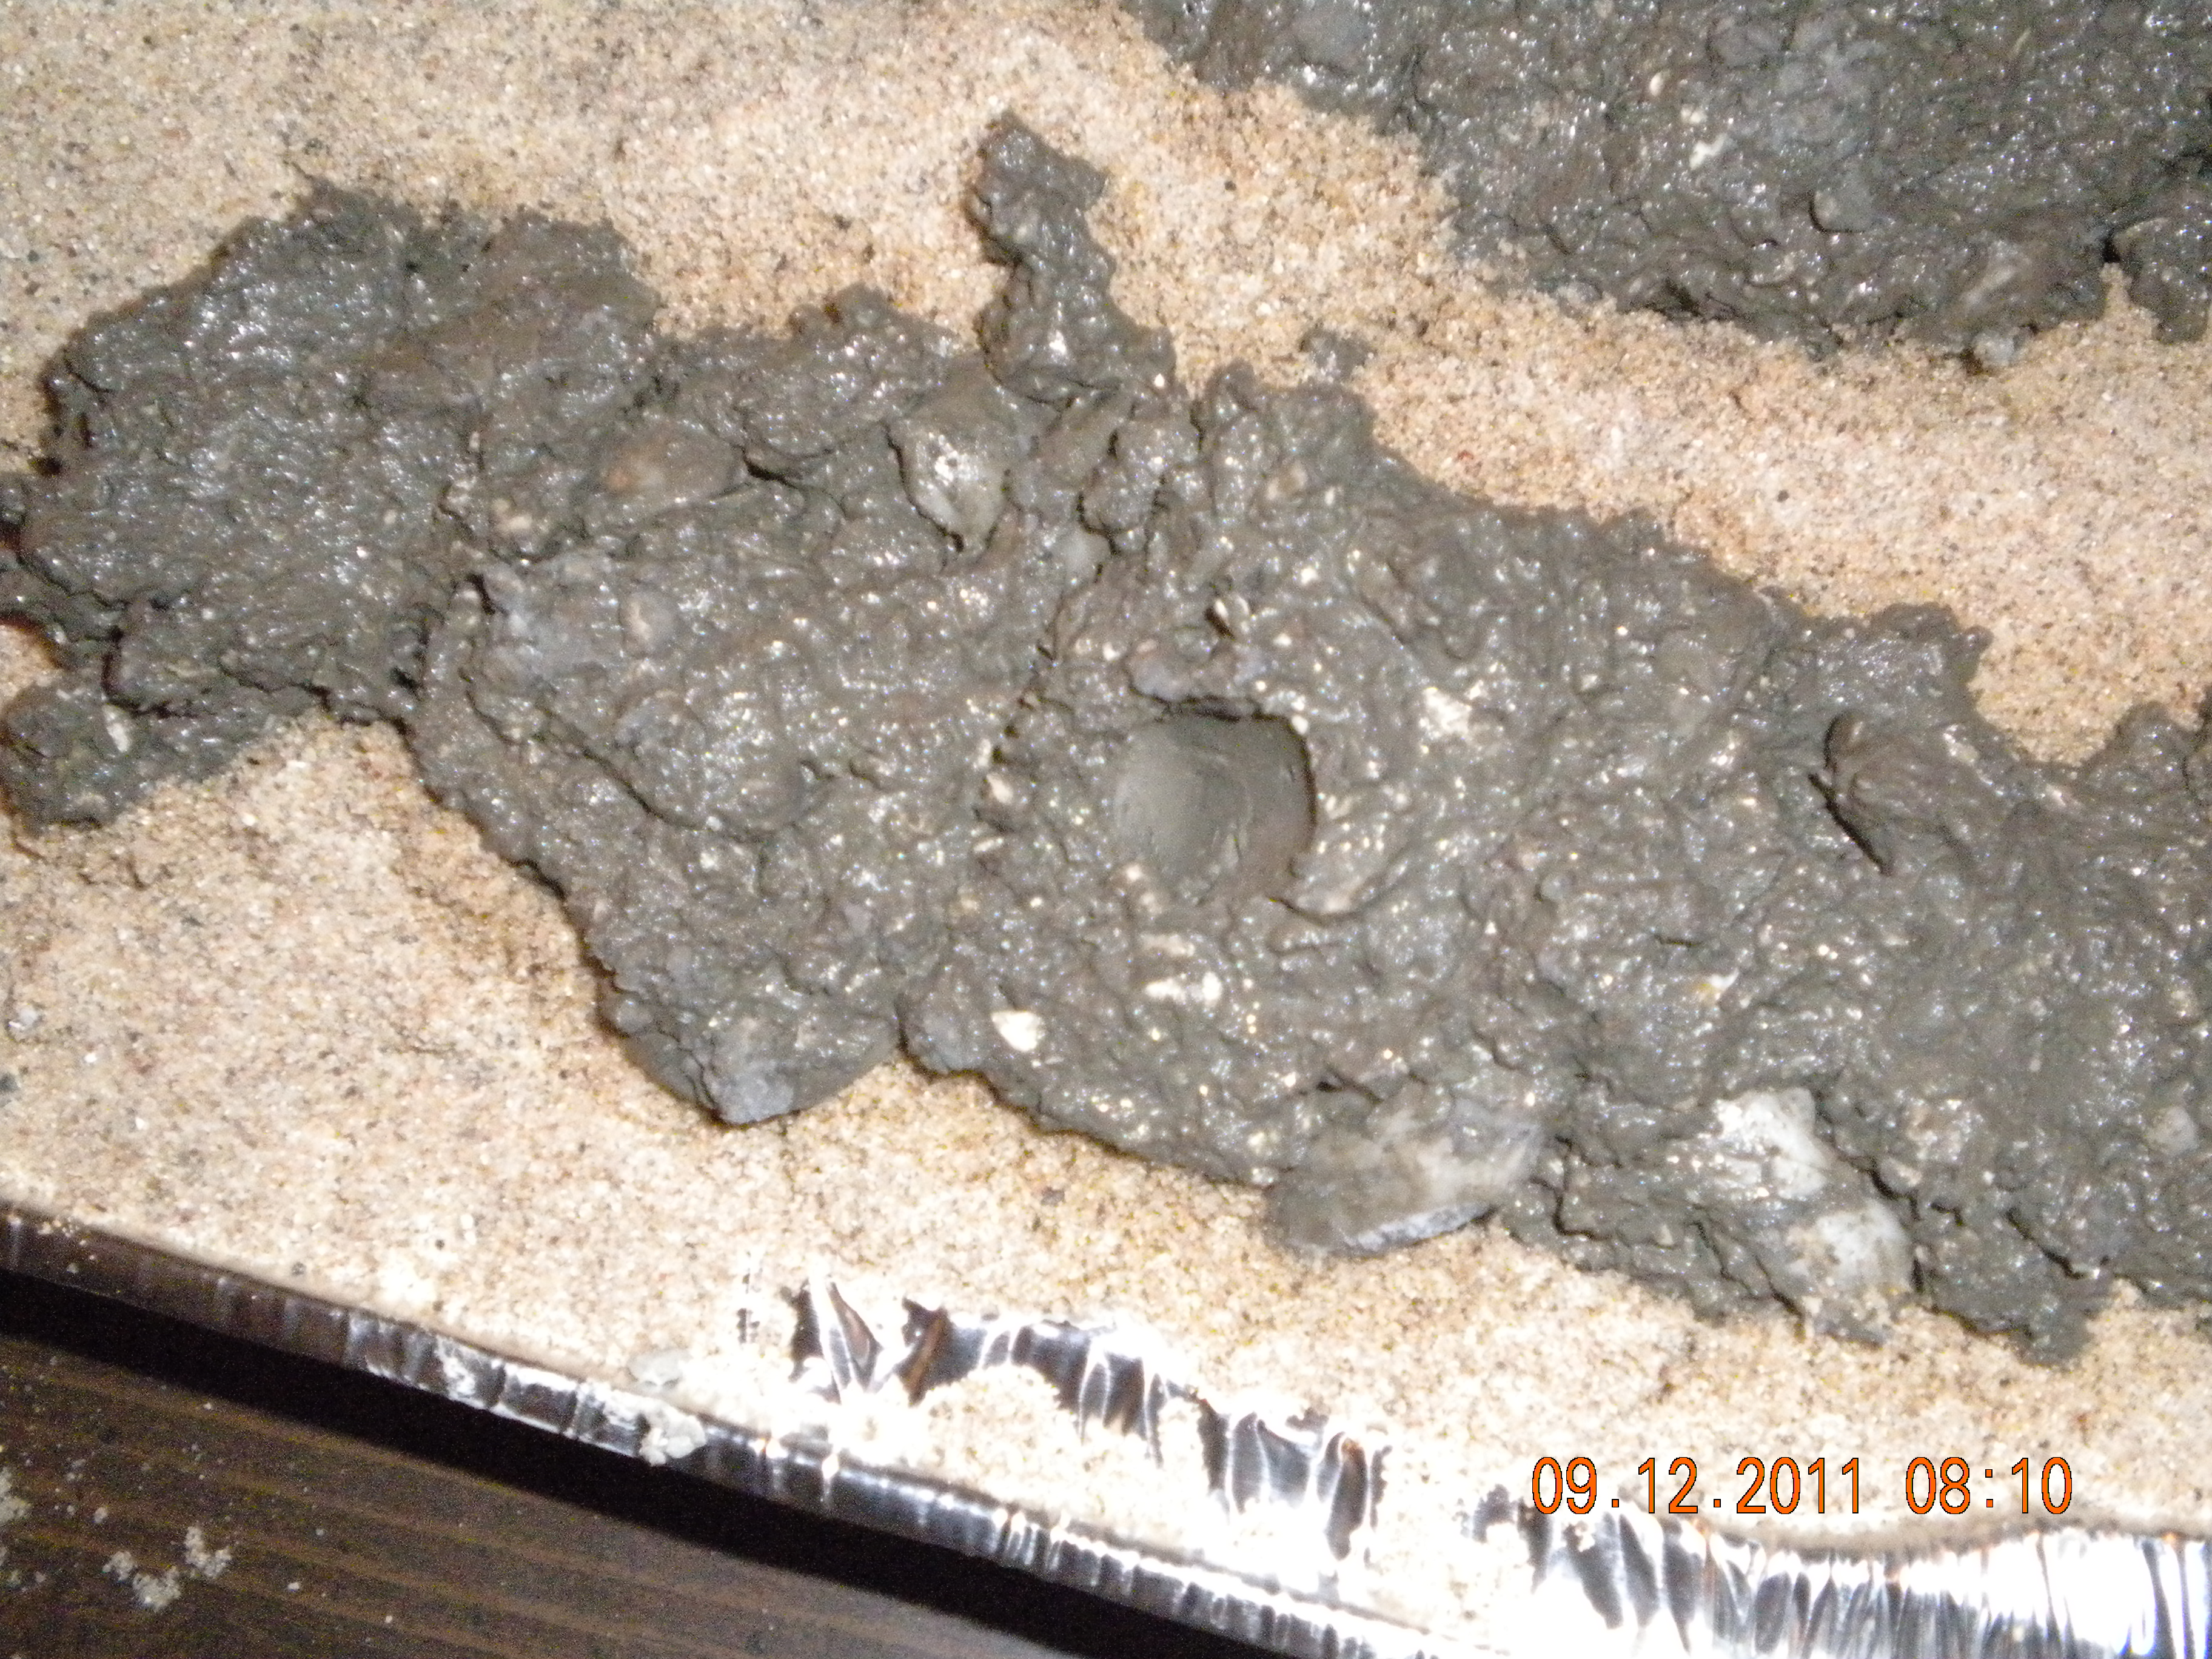
Here are some pictures. They're only stage one right now. I was thinking of making more and selling them, fully cured; ready to put in your tank, and having established life in them. I have a whole bunch of ideas, and can make any structure someone asks for. I can even make puzzle pieces, that can be bonded together for a perfect aquastructure. Just an idea I was kicking around.
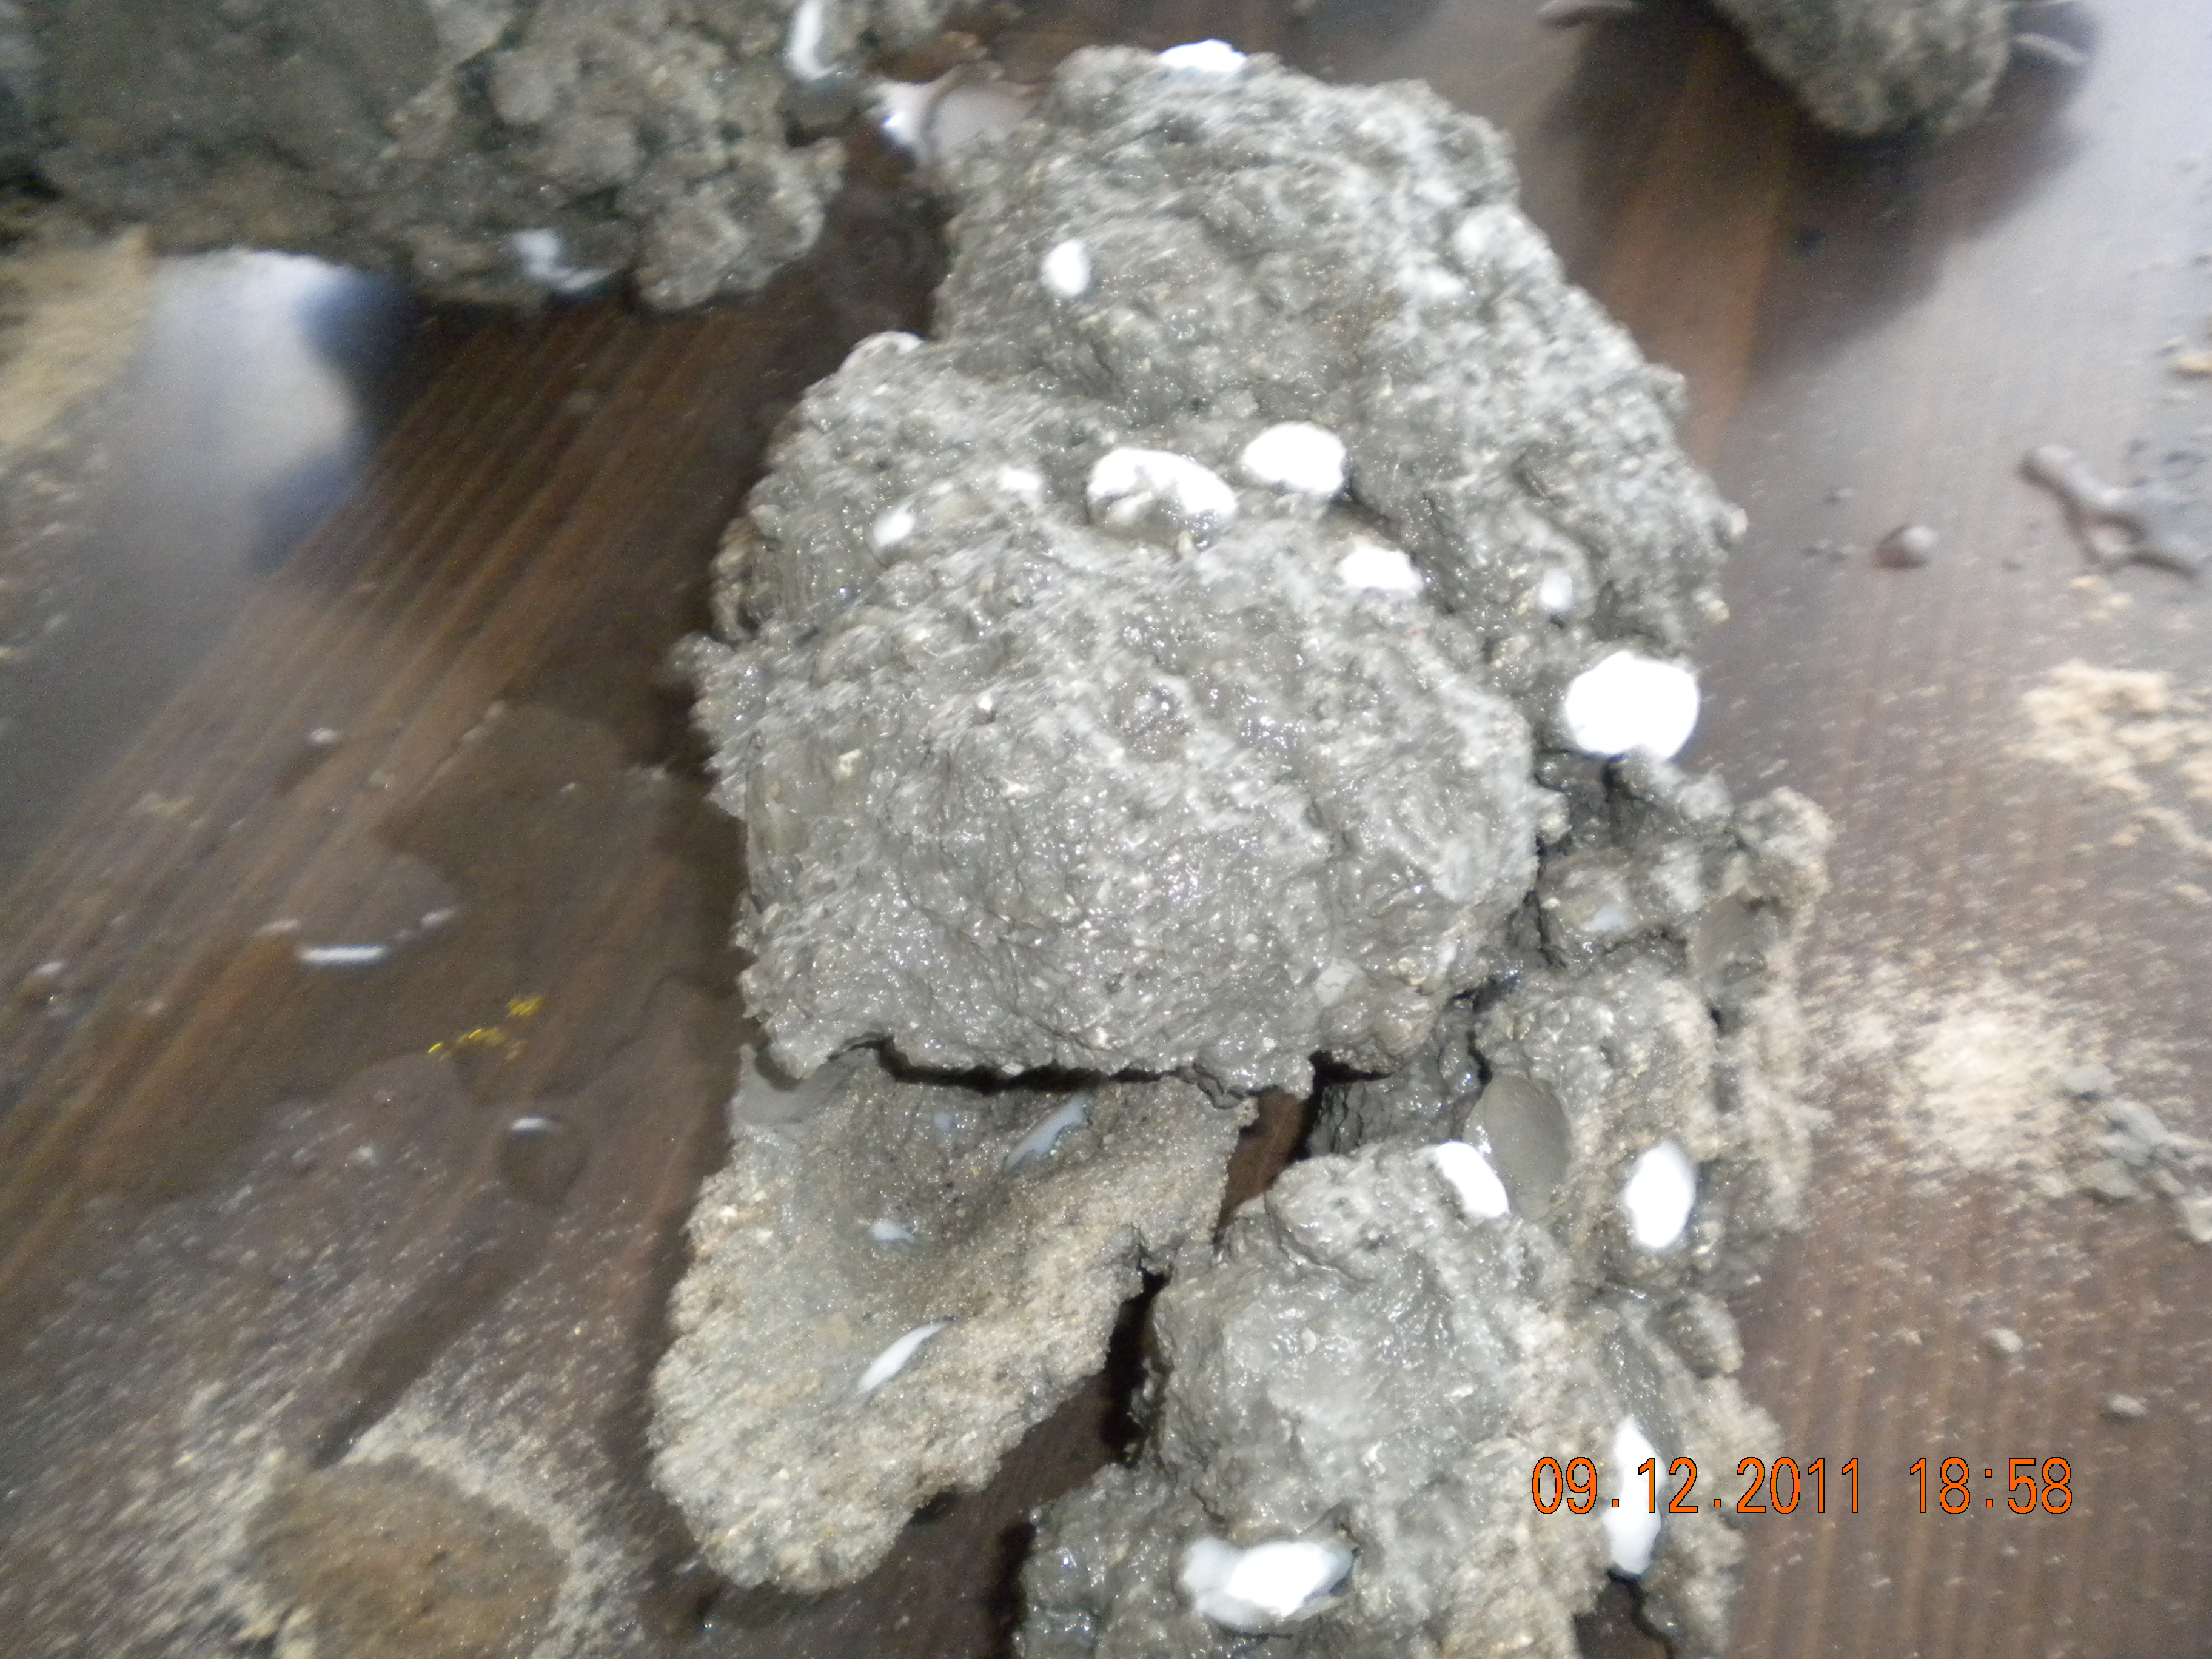
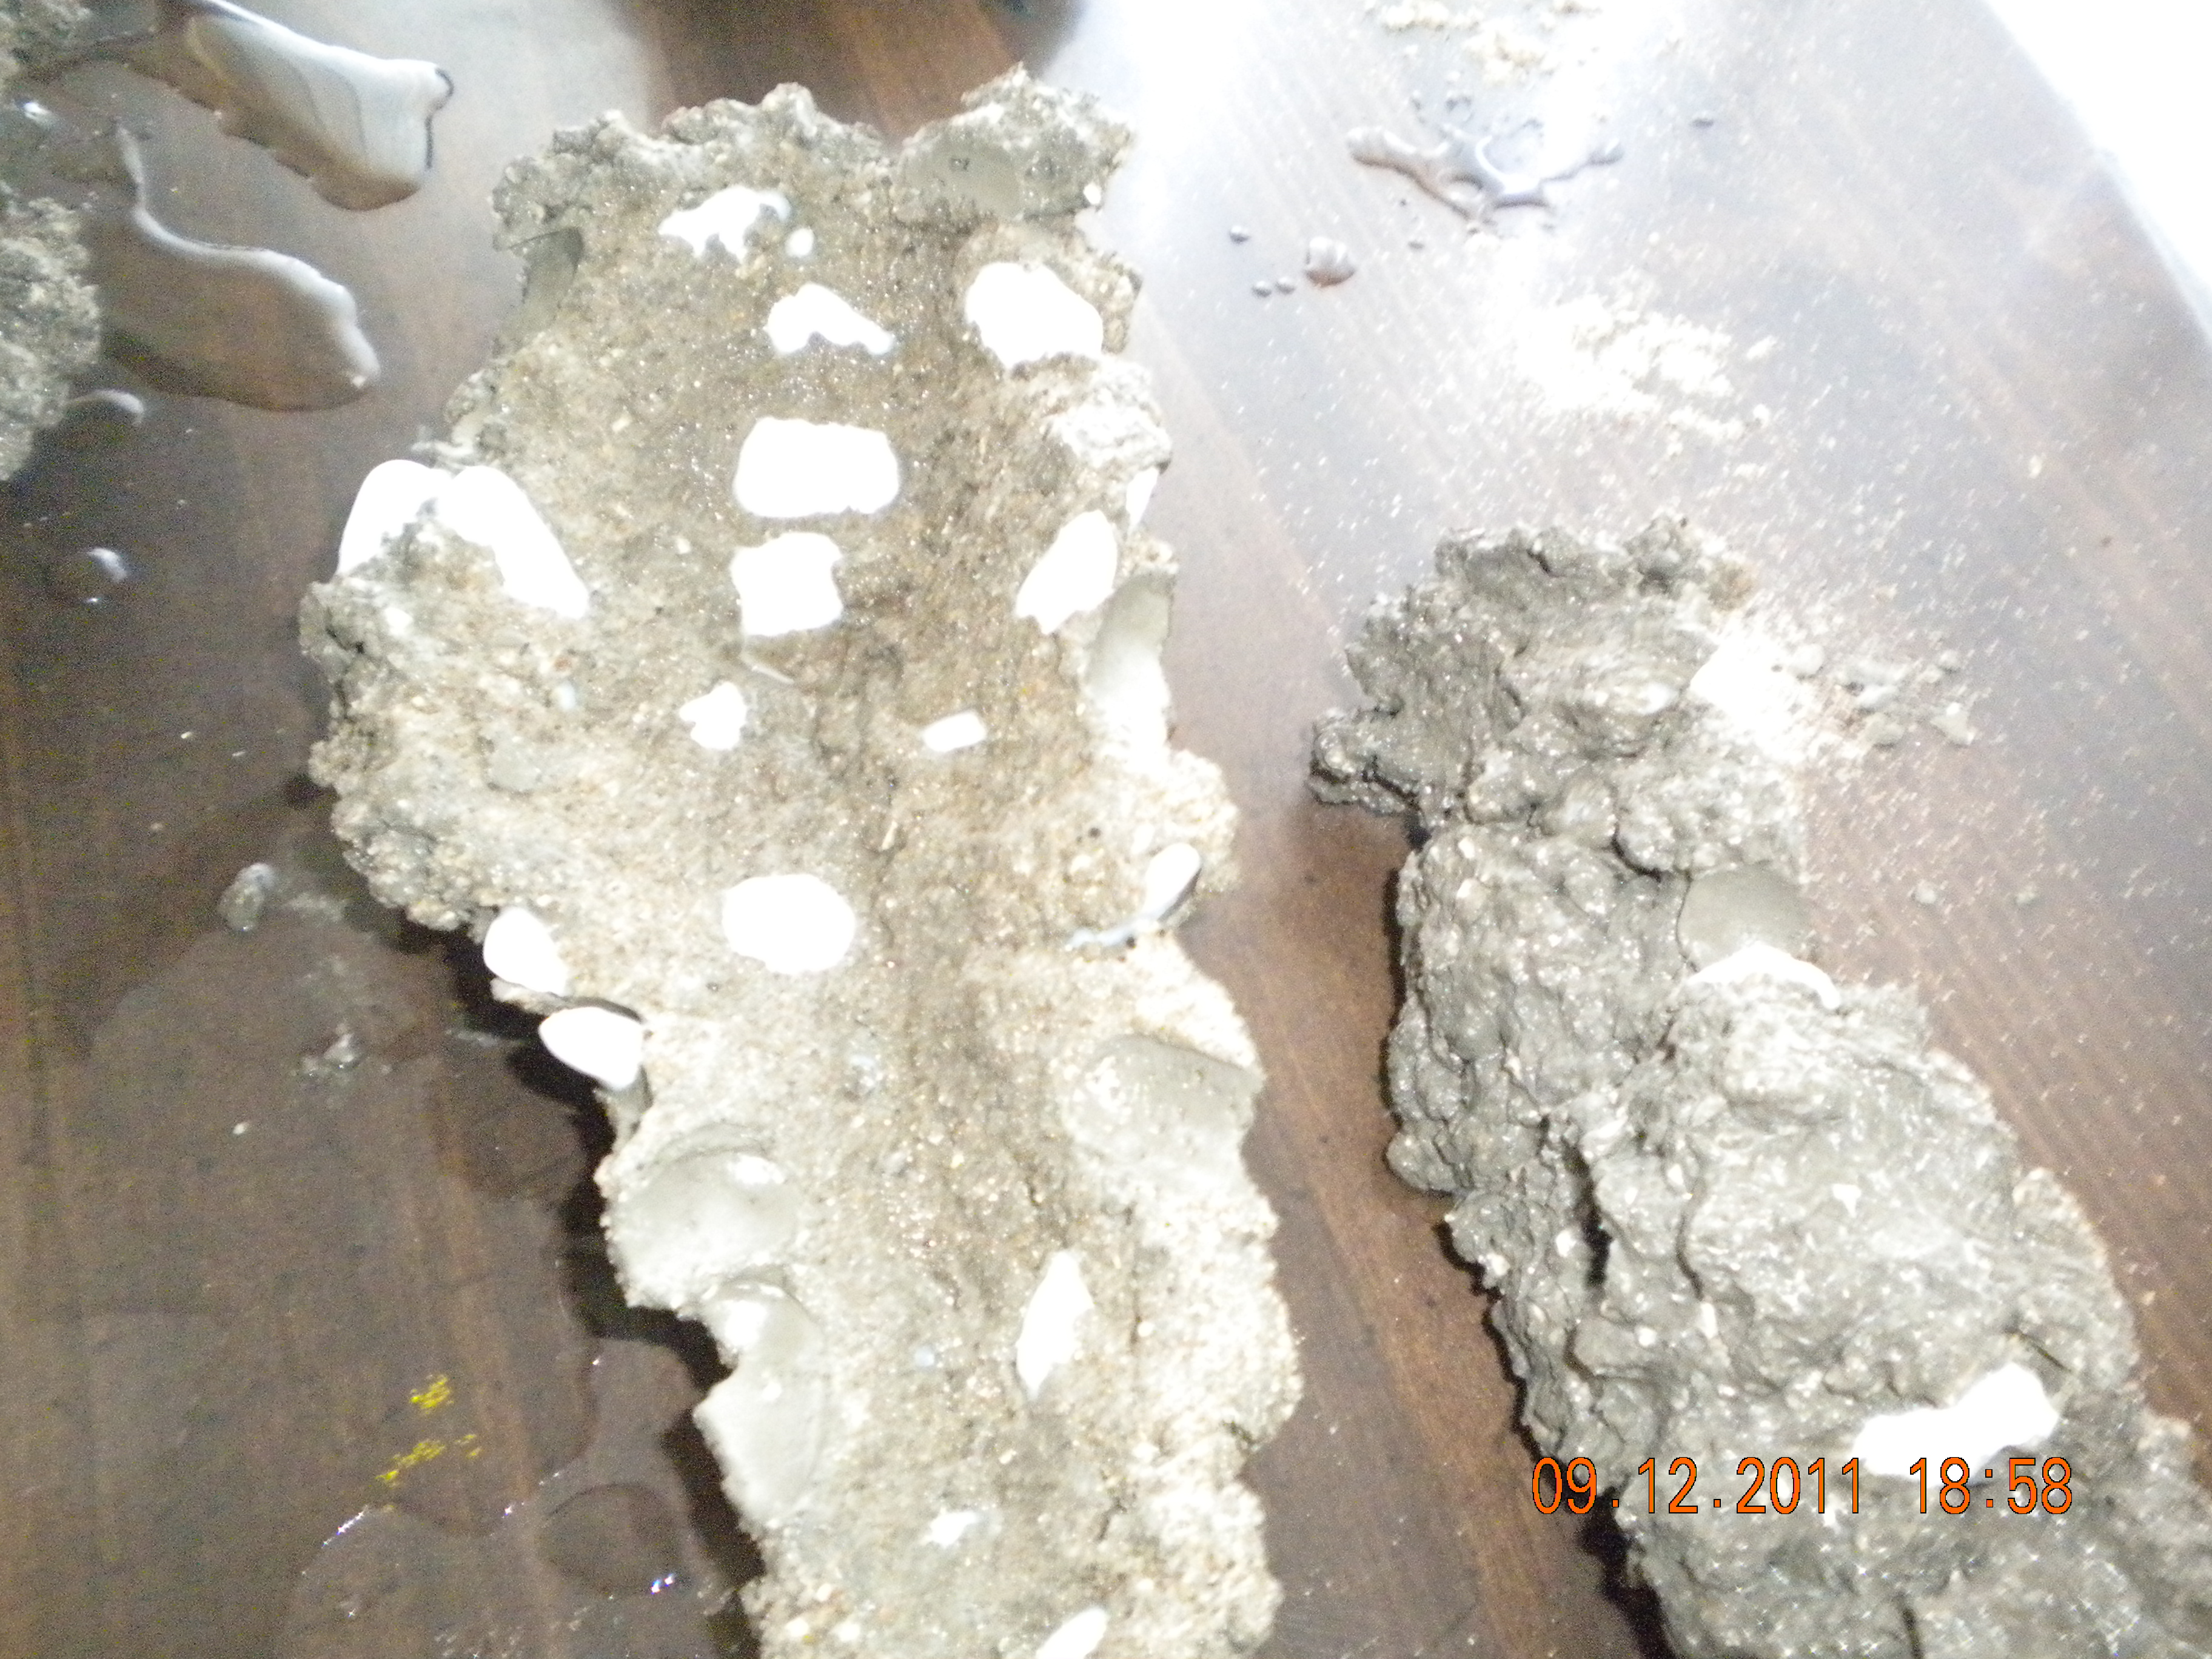
I made a total of 4 pieces. The one in the bottom right corner is the cavern, rear view.

The one way in the back is the cavern, frontal view. There is more live rock mixture under the sand. You can't see it now, but when I finally pull it out of the mold, you'll see it.

I found a piece of rock salt that was easy to remove. I removed it so you can see how the pores will look all within the rocks when completely dissolved.
 

flower

Well-Known Member
Fascinating...two months is a long wait, you have the patients of a saint. I'm surprised the damp sand made a mold like that, very ingenious.
 

teresaq

Active Member
I did that a few yrs ago. I still have some of it in my tank. Its really heavy, unless you get lots of holes from the rock salt. I do rememer curing it in a big tub with powerheads running and changing the water every few weeks because the ph gets really high.
If I had seen this thread earlier, I would have suggested base rock like marco rock. Its pretty cheap, and really nice rock.
T
 

shelbeth

Member
Rocks Out Of Mold
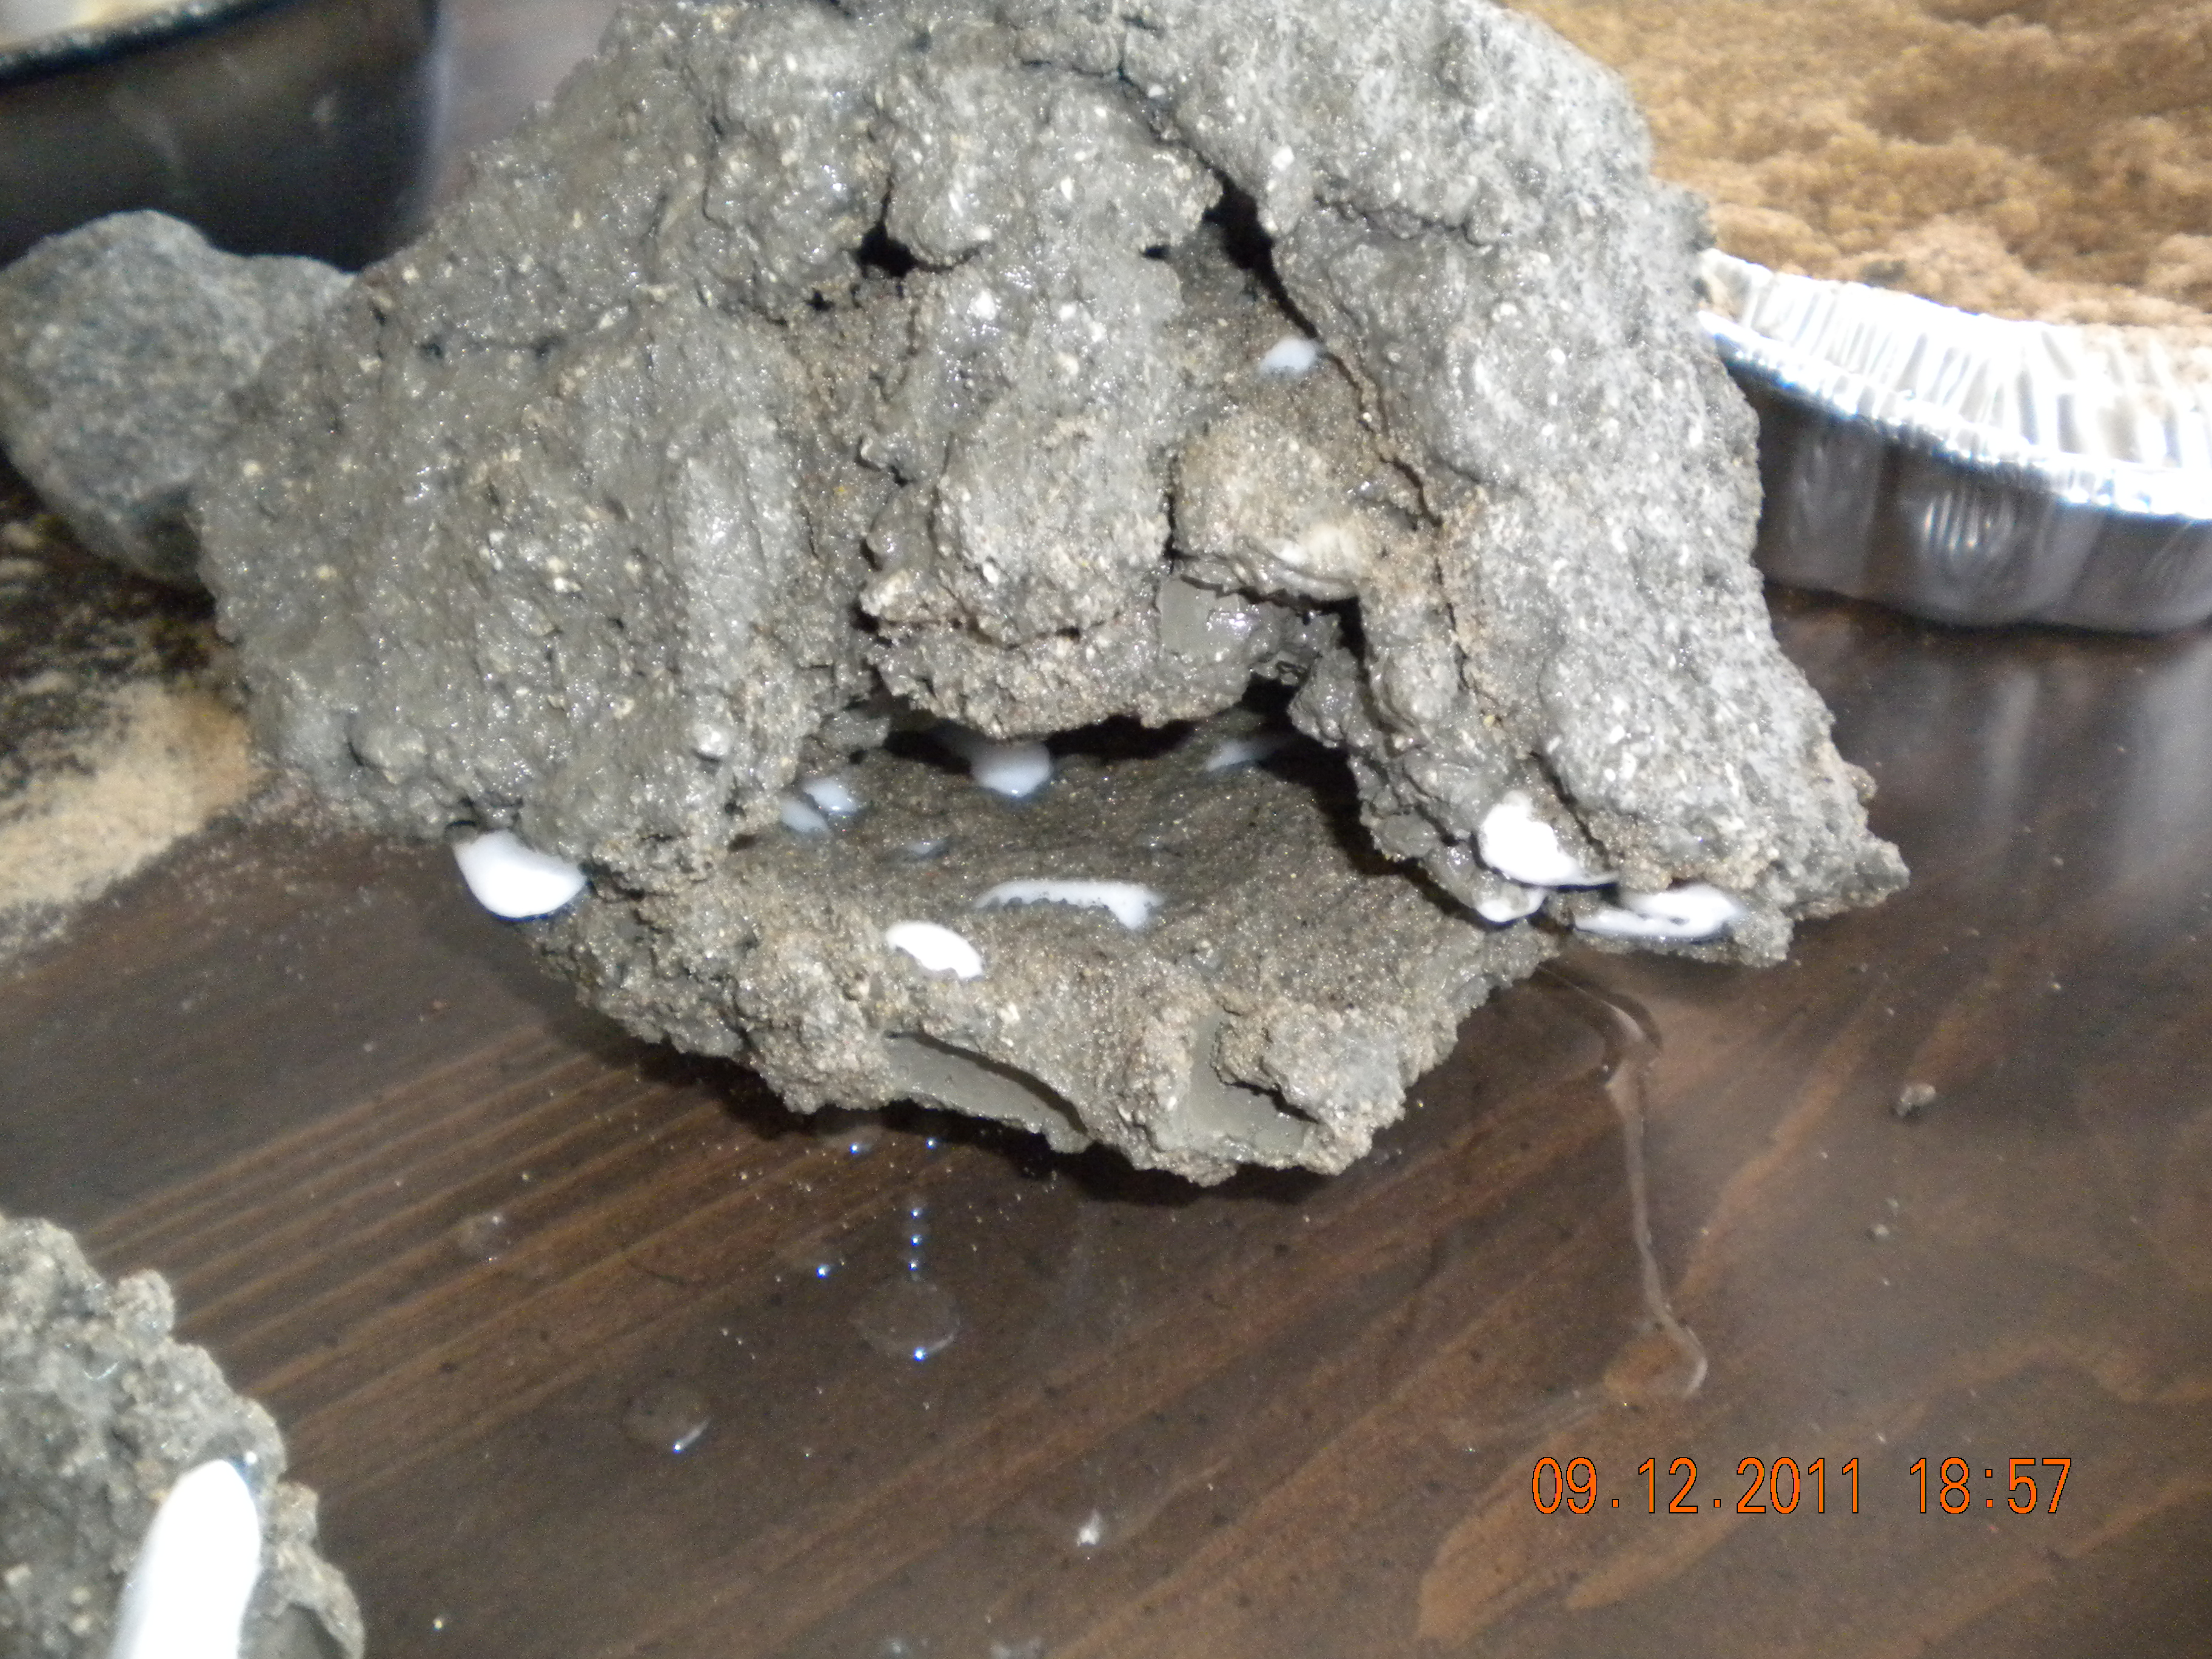
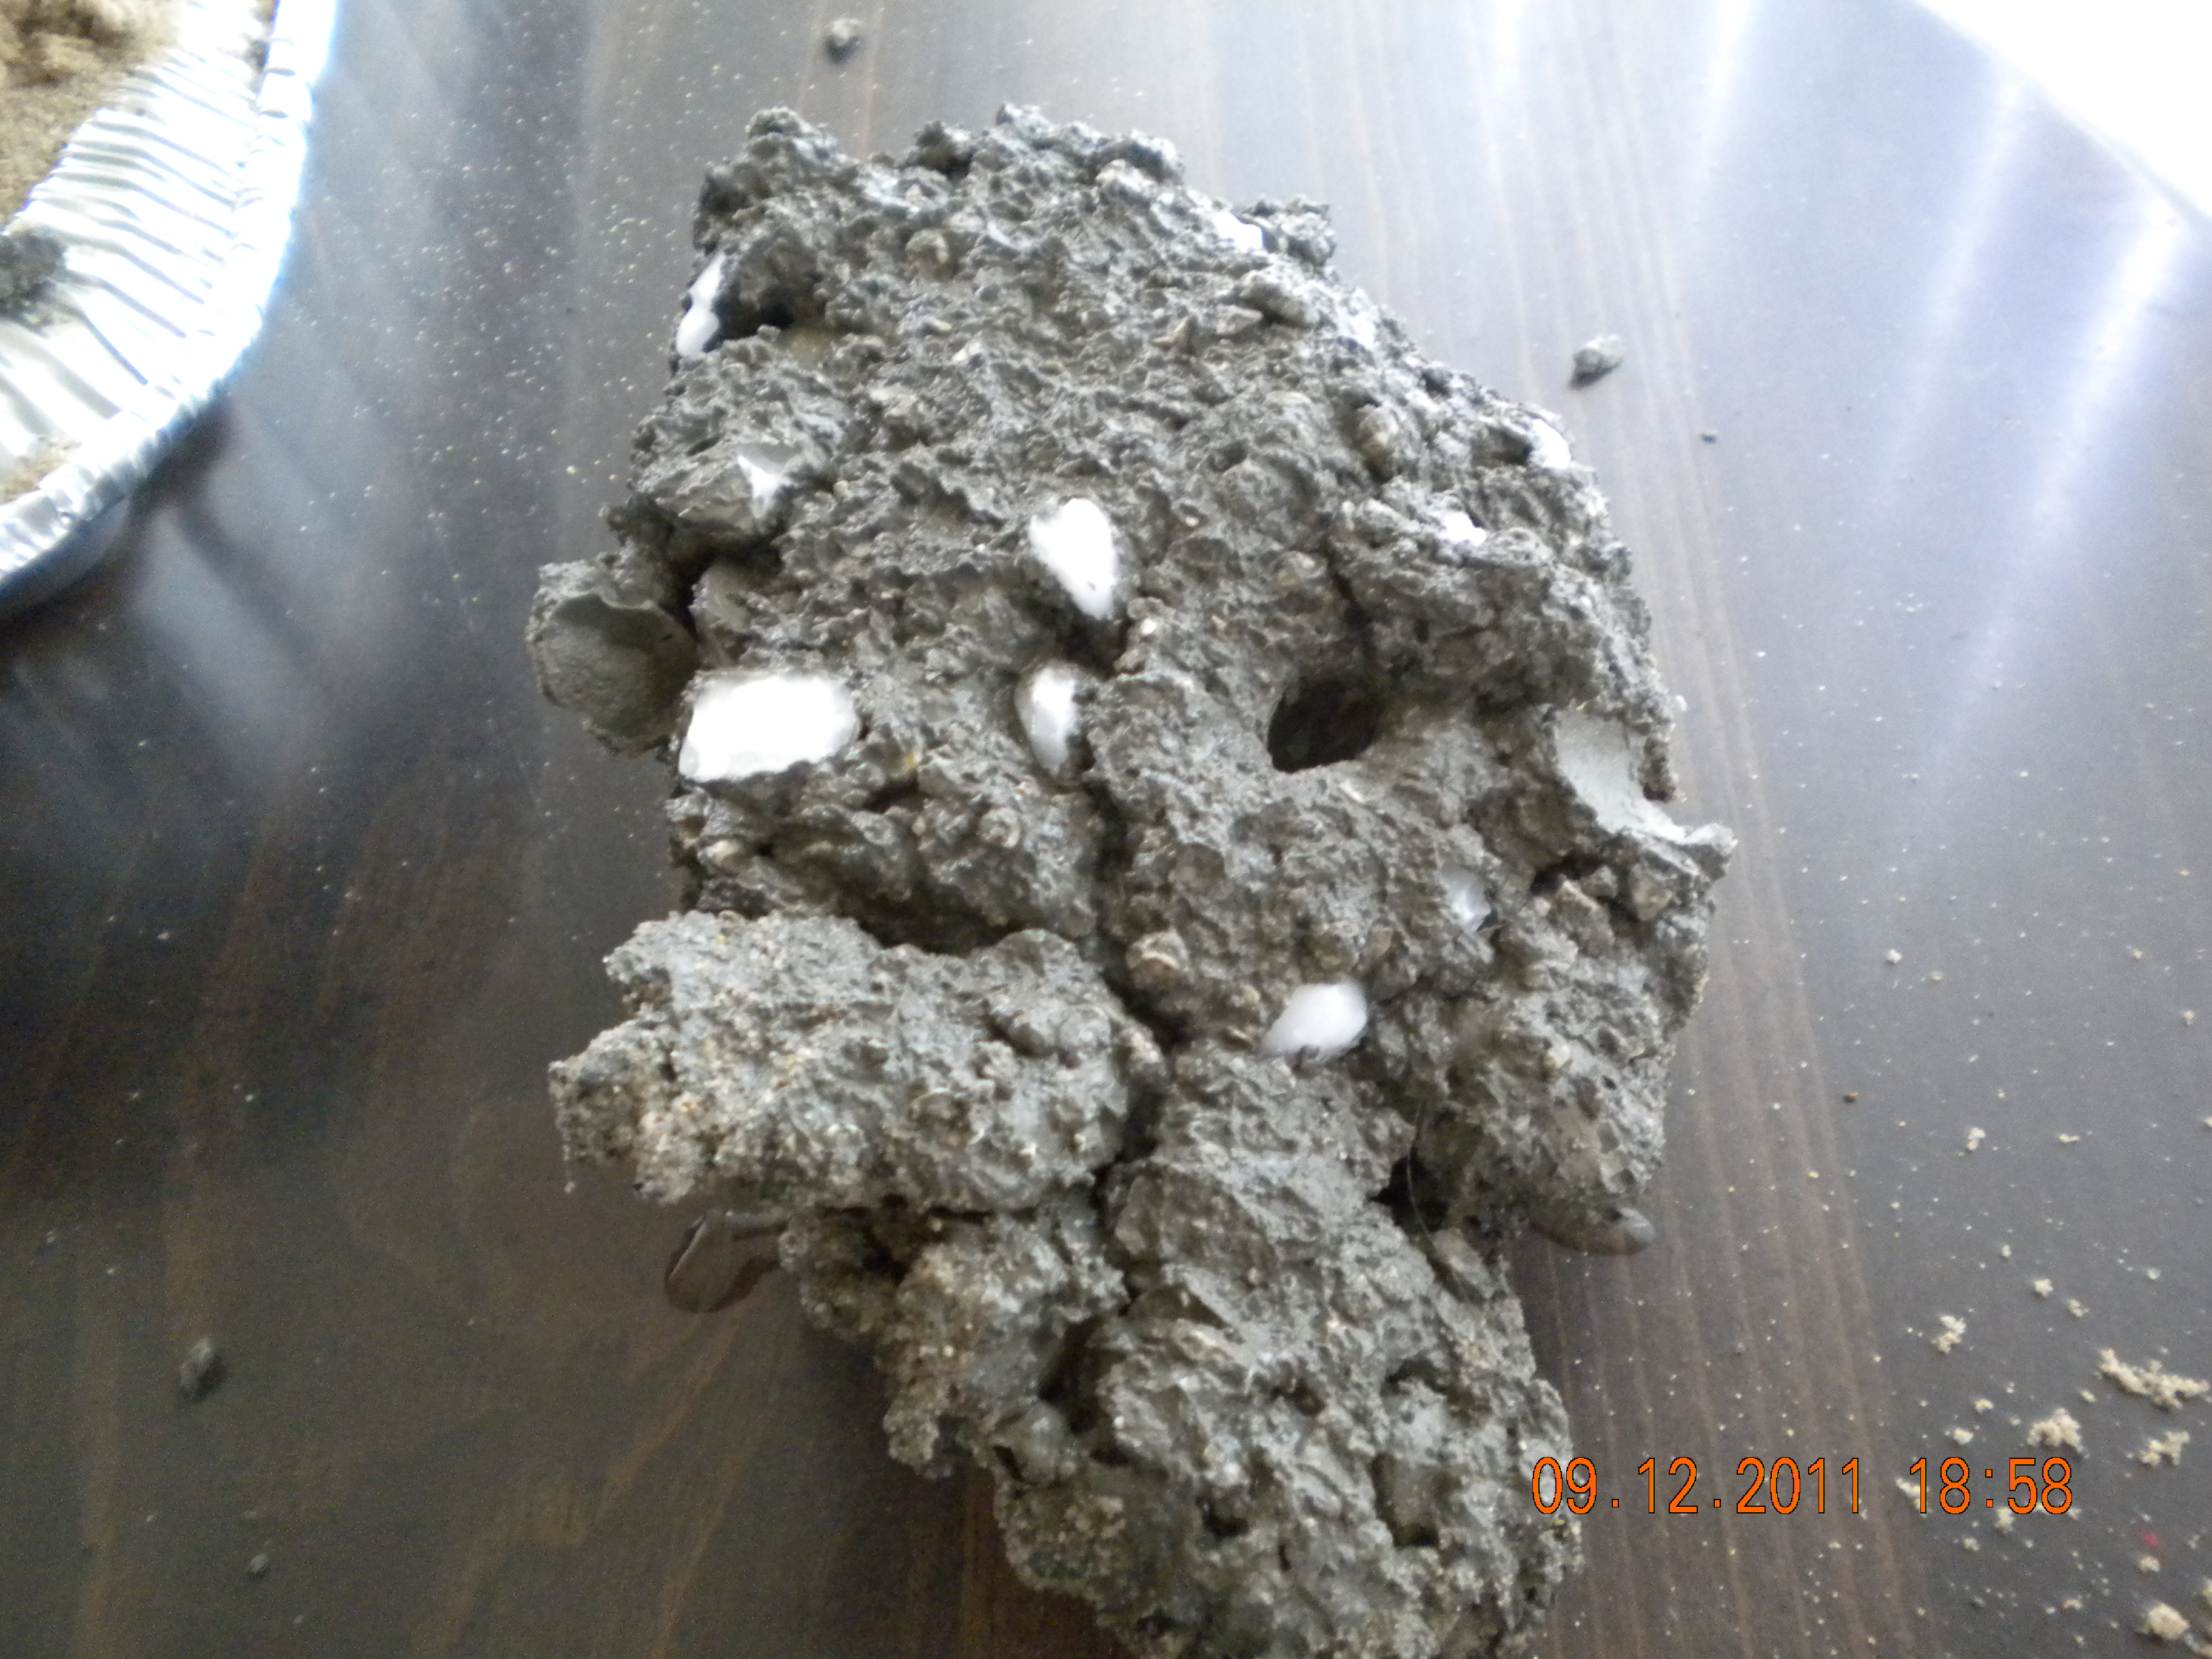
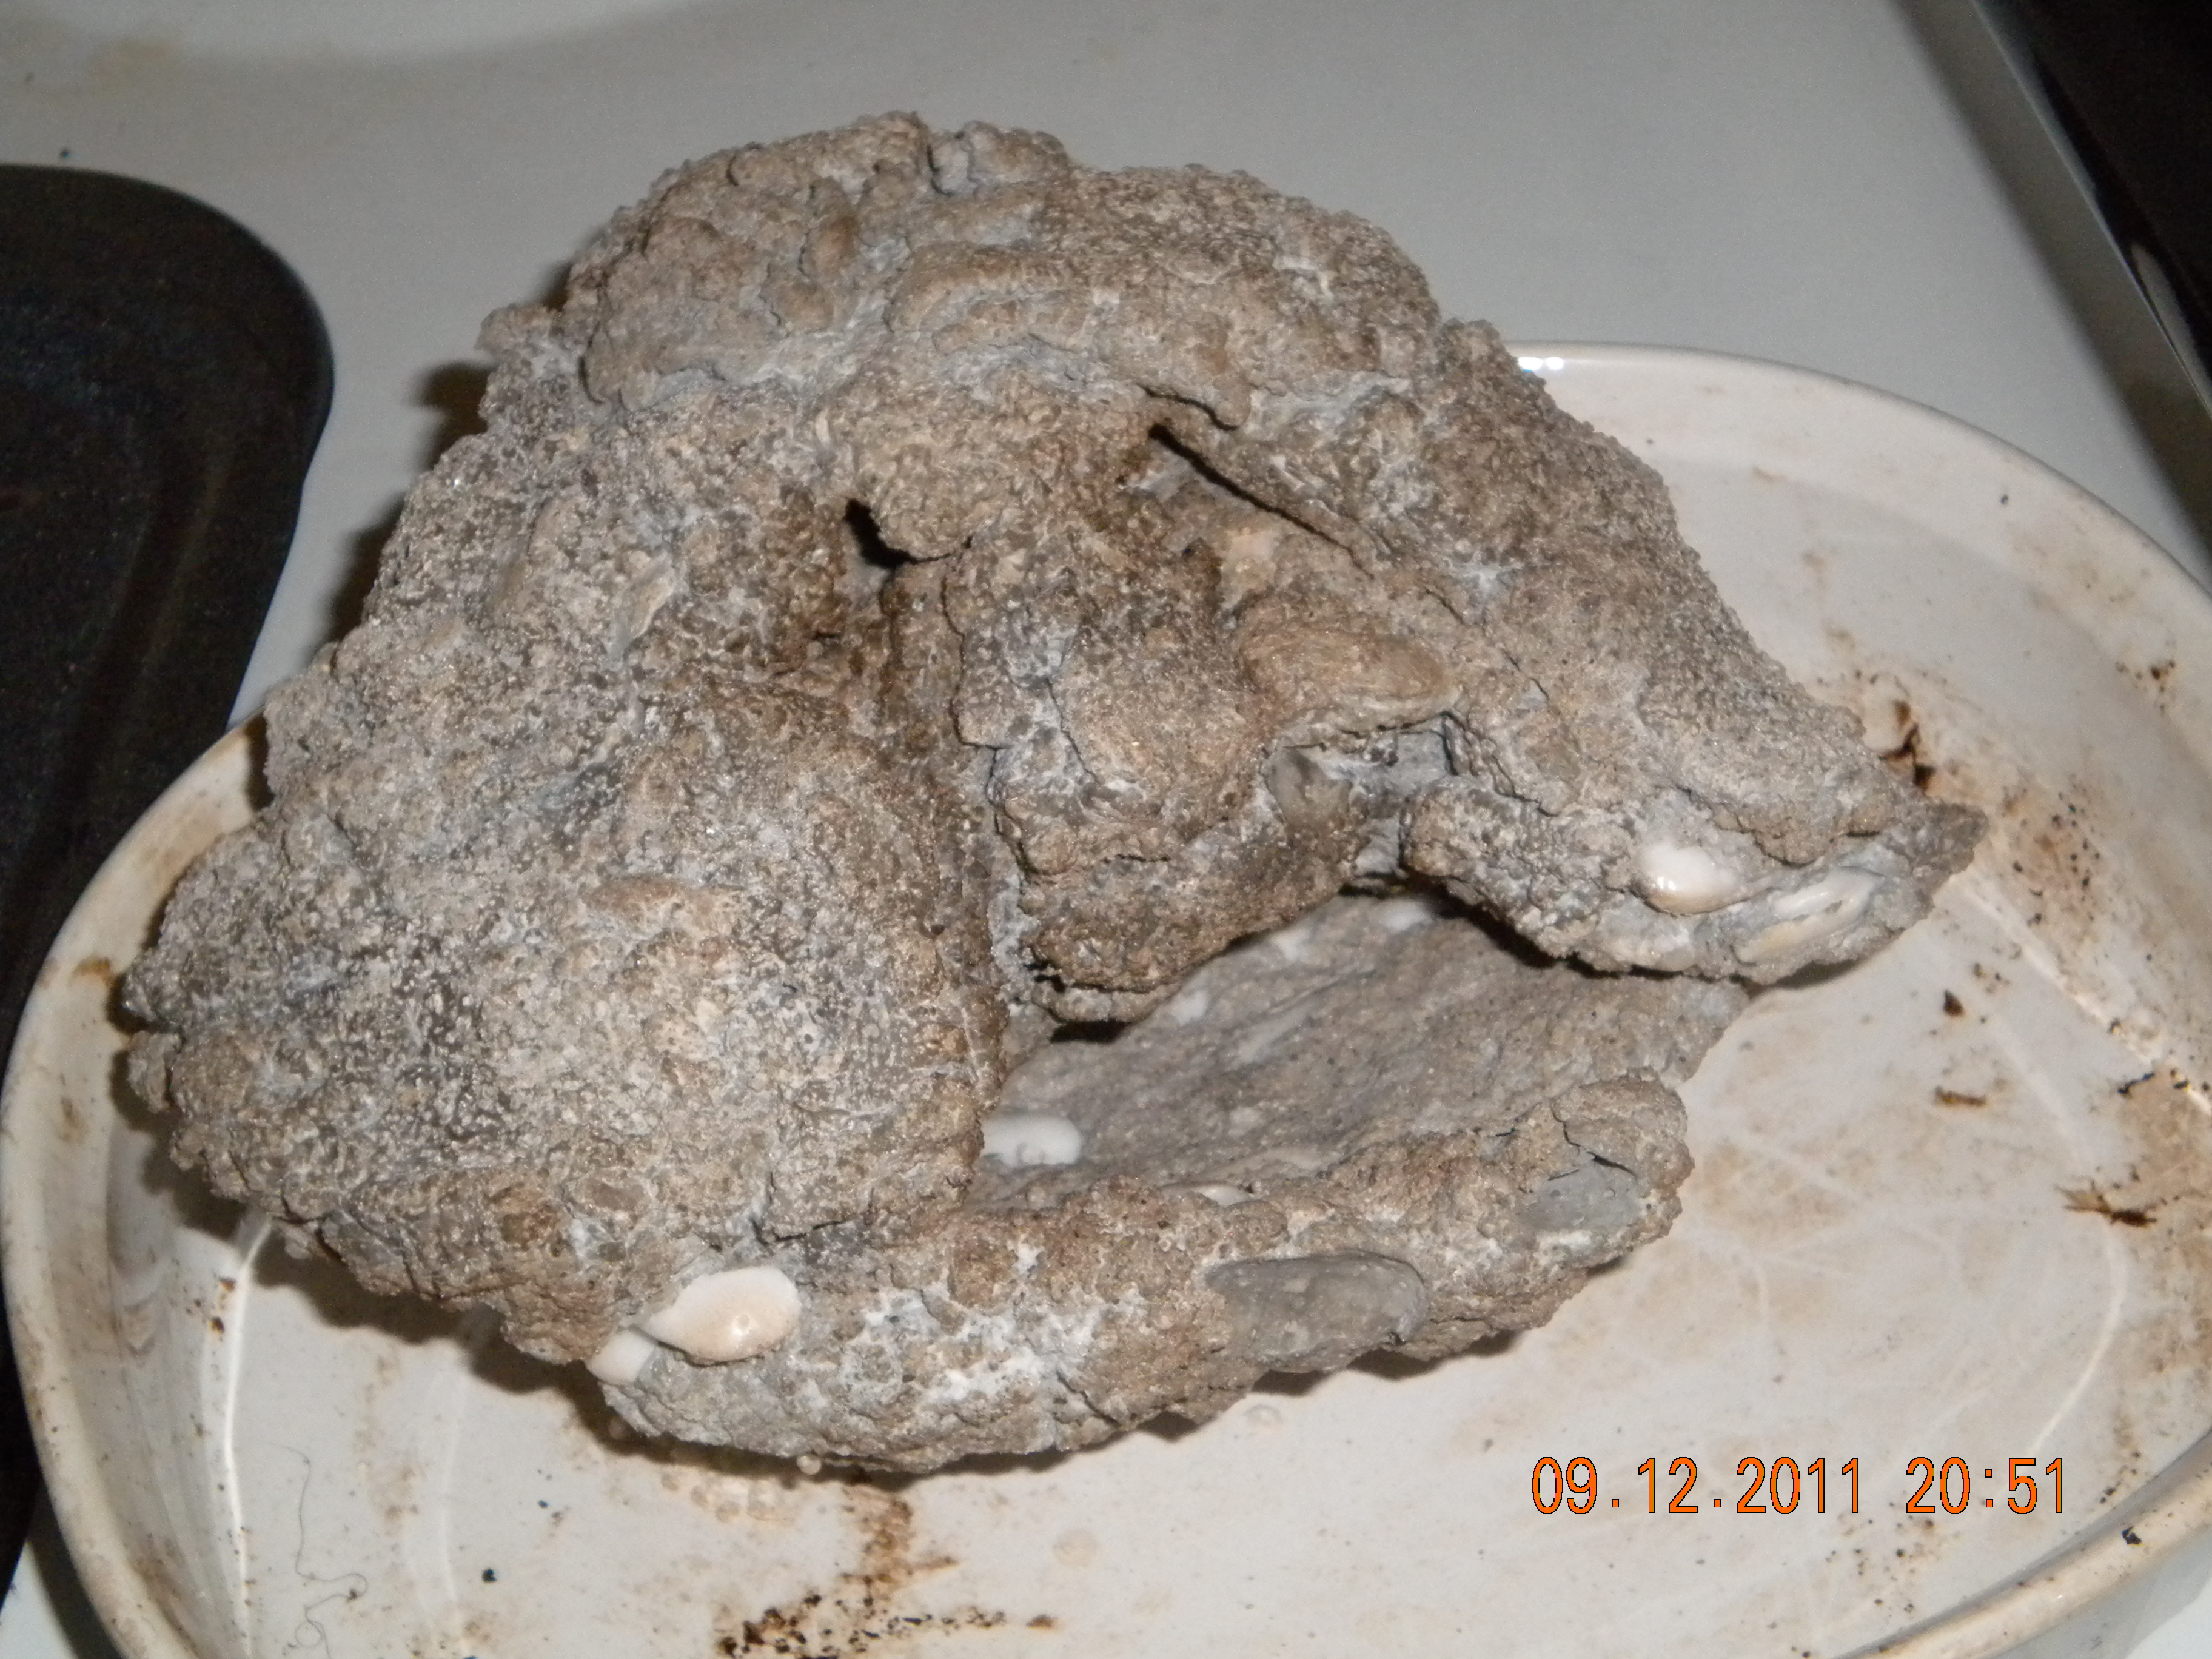
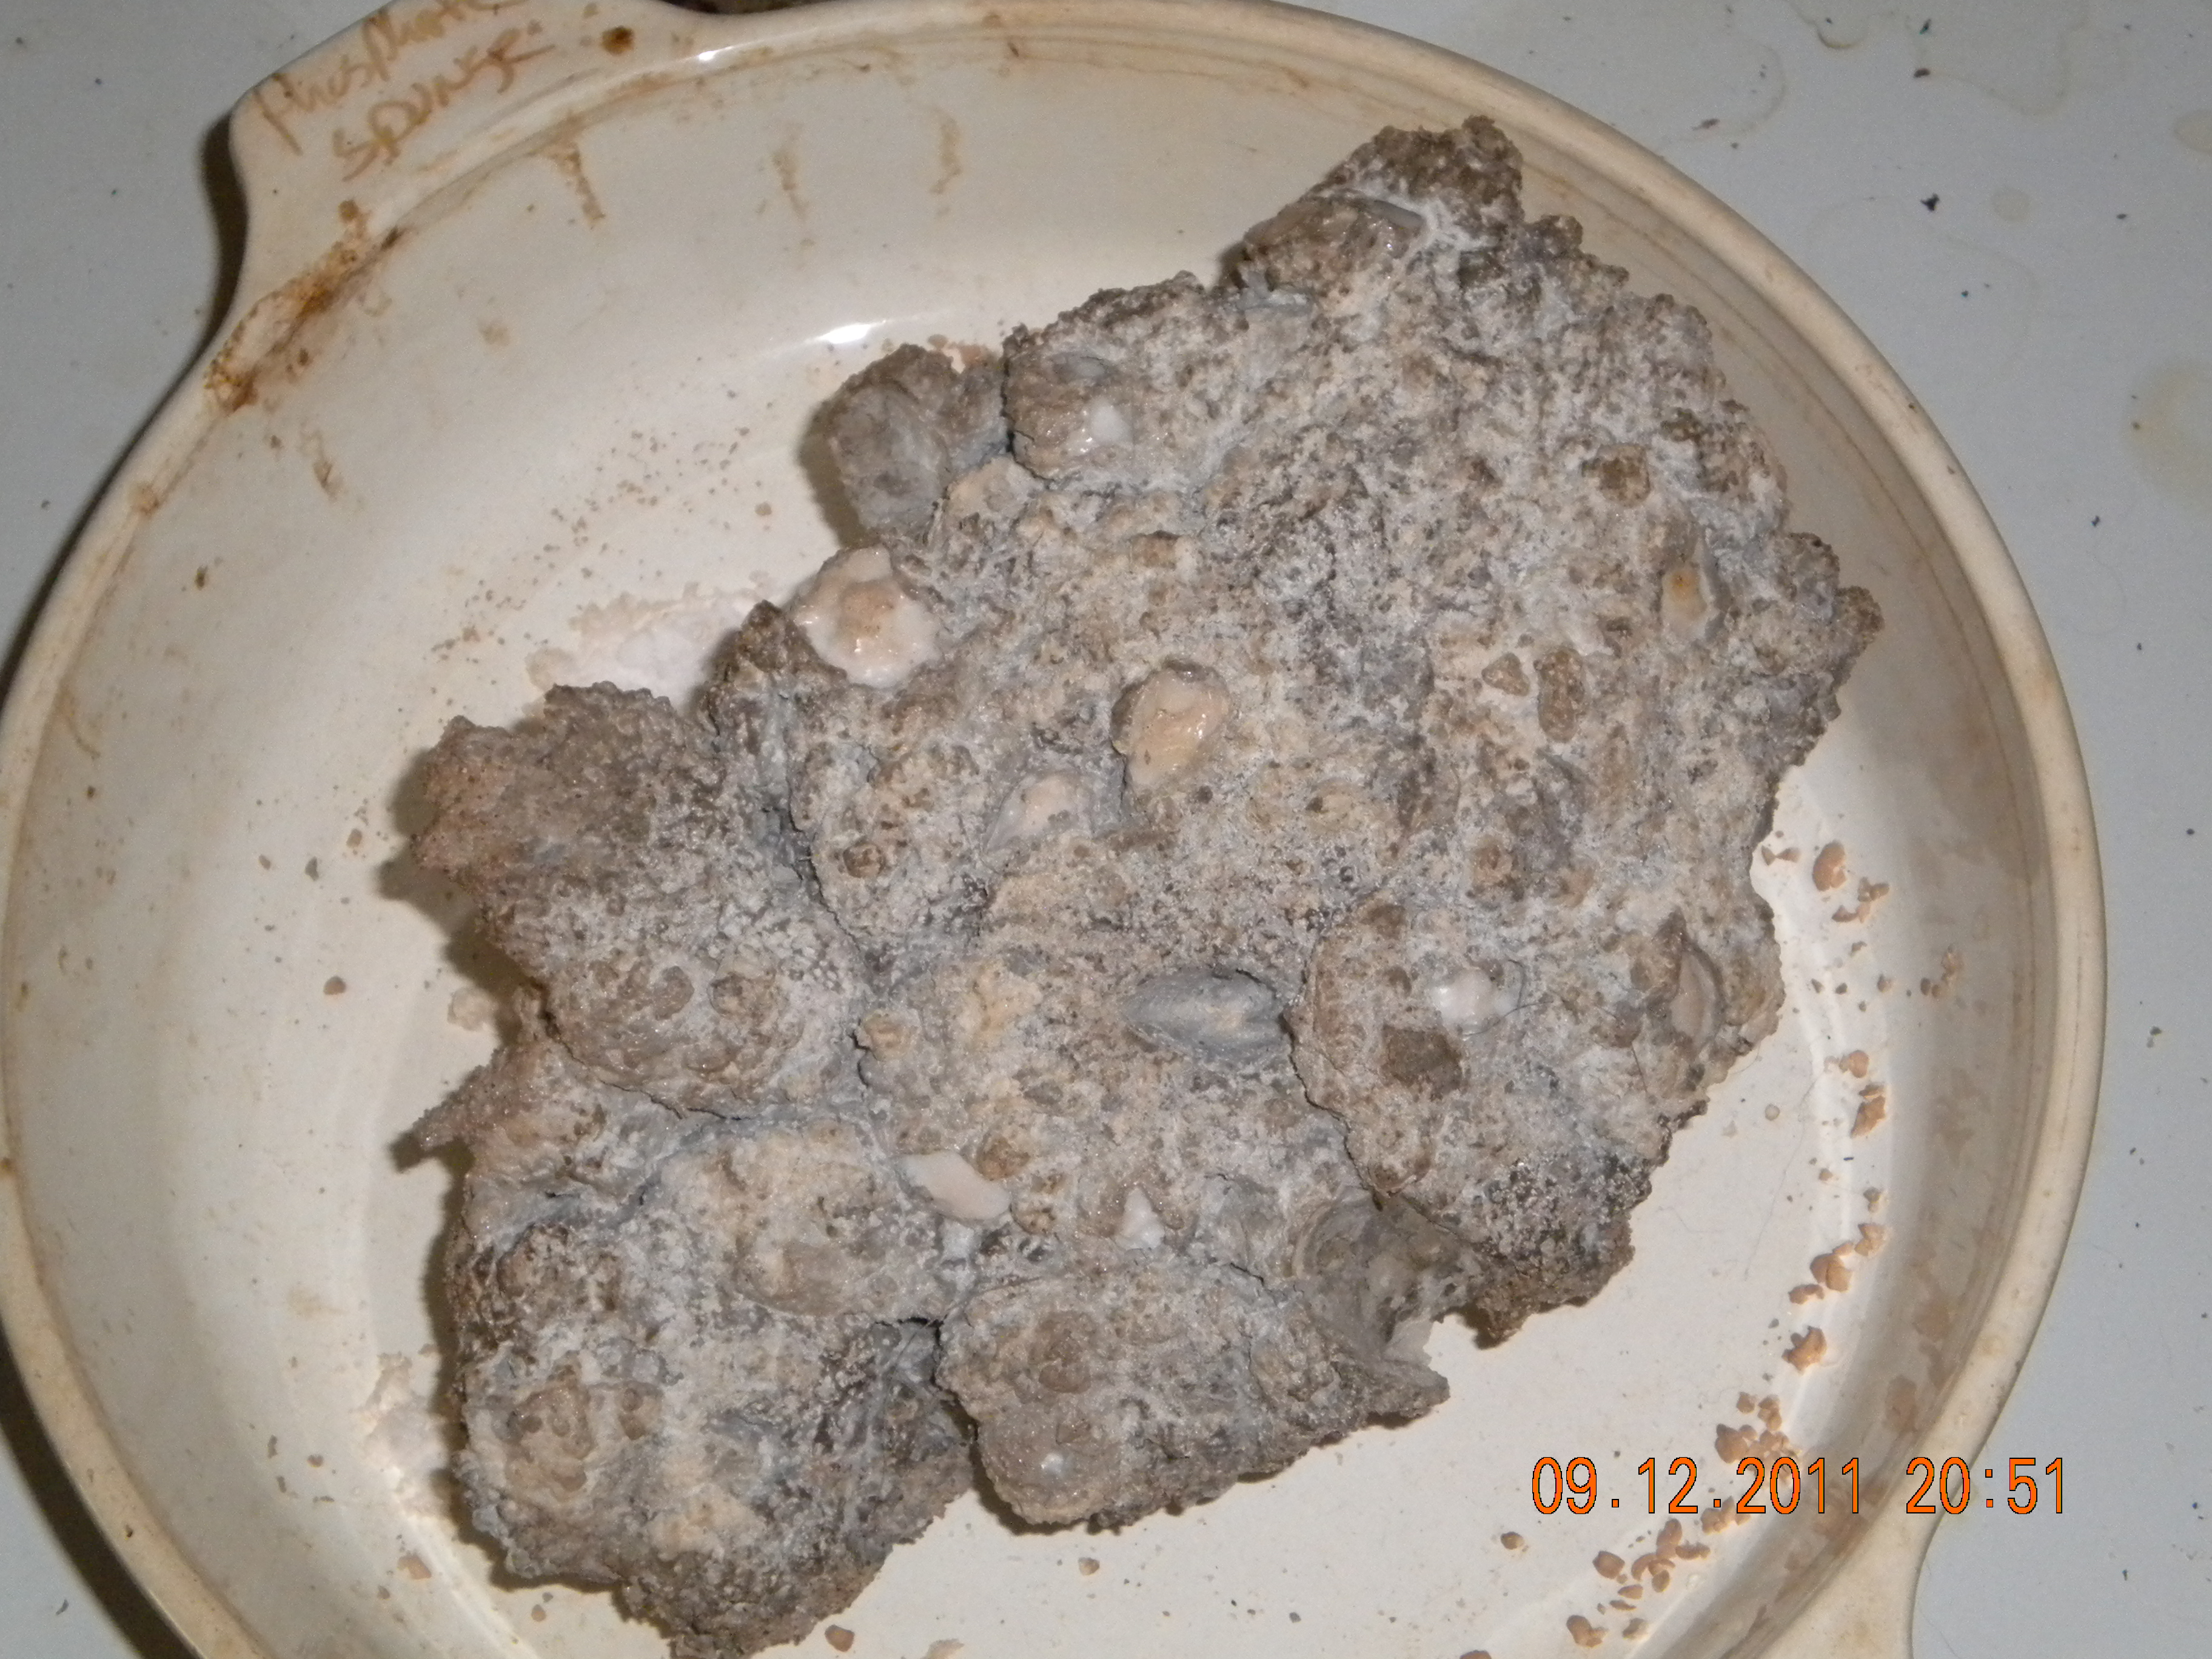
Ok, so here are the pictures of the rocks out of the mold. They're pretty neat. The next step is baking the rocks in the oven at 500 degrees for 3 hours. Baking will harden the rocks even more, and give it a natural rock look (take away the luster). And then after that, I'm going to soak them in water to dissolve the rock salt for about 2 months. The curing process is VERY IMPORTANT because the lyme in the Portland cement will cause the the ph to spike way off of the charts. Daily water changes for the first 2 weeks, and then weekly water changes after that will cause the ph to come down.
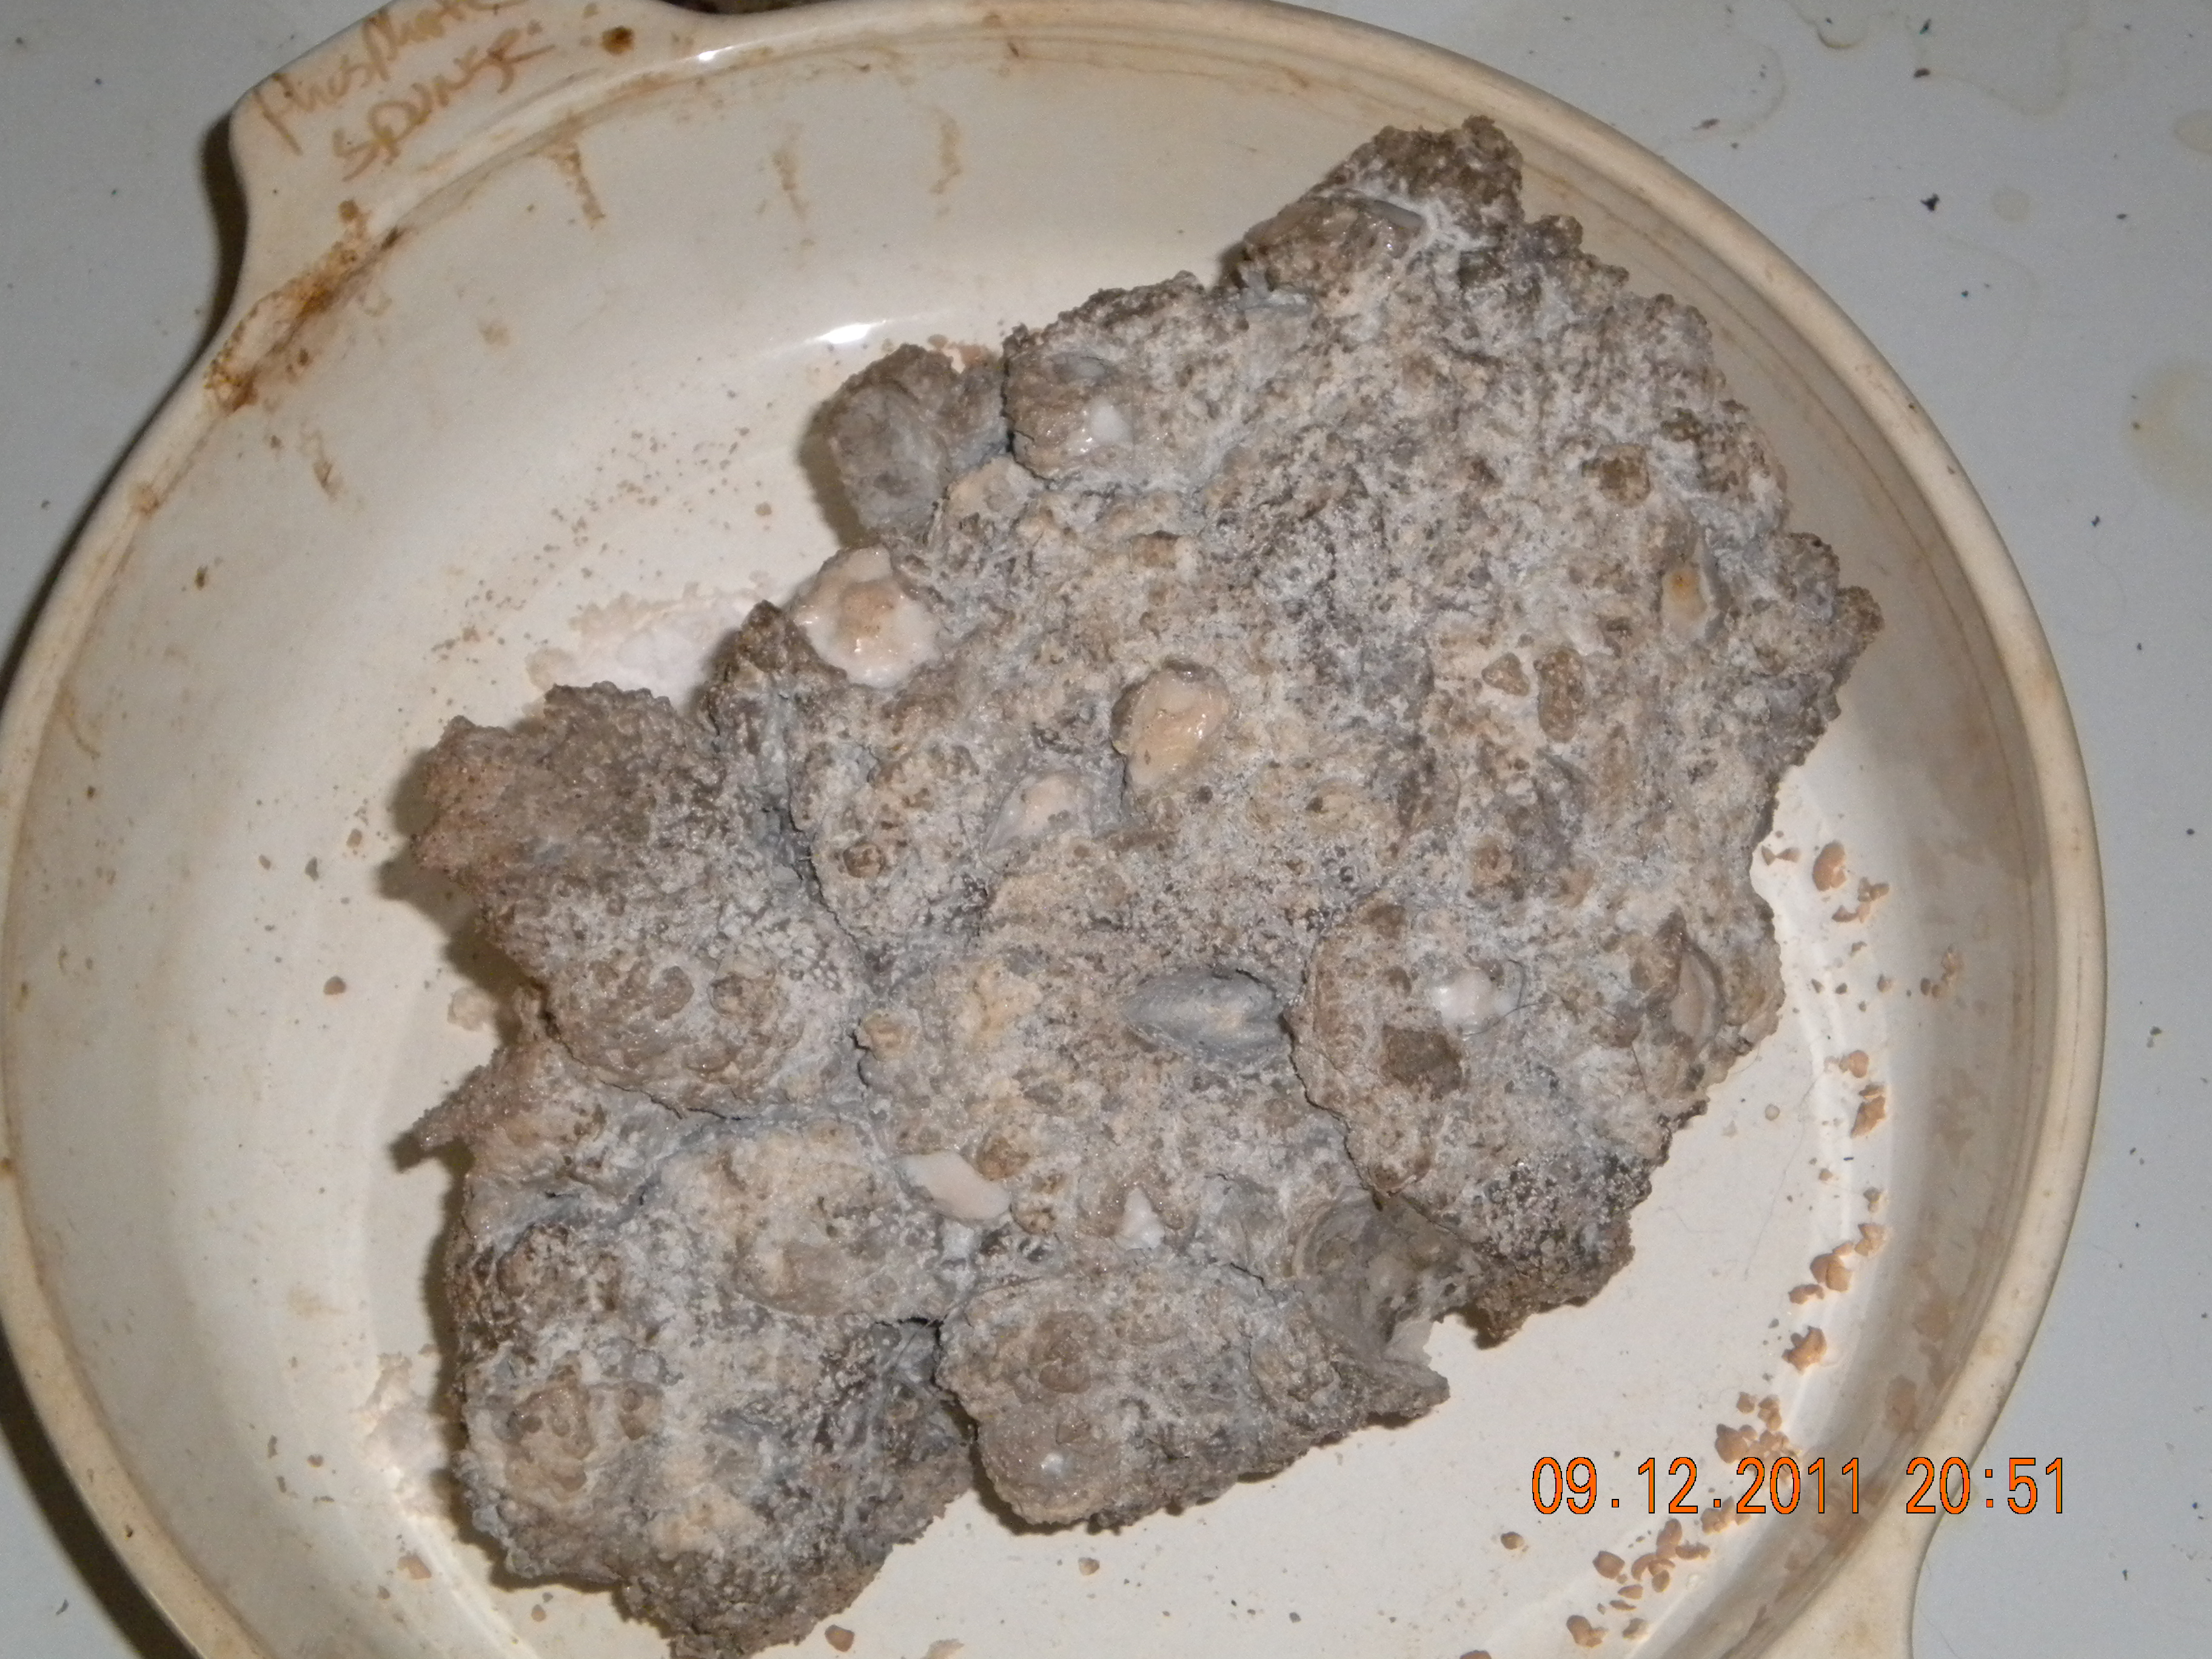
Honestly, I didn't plan on this coming out this way. This is the cavern, and I call it "Grandma".......lmao

You can still see the rock salt in the mixture. When I finally soak it in the water, those will dissolve, and you'll see pores.

Here's another smaller cave. It's a long cylinder cave. The top comes off, but I don't know if I want to use it as a column, or a cave. I used the other rock (on right) to prop it up.

The same piece with top off.
 

flower

Well-Known Member
Okay...The grandma rock is creepy....It looks like a Halloween thing.
Even the side view looks like a fossilized corpse. But at least she looks kind of happy, she is grinning.
 

shelbeth

Member
Quote:
Originally Posted by Flower http:///t/386735/progress-build-with-pictures/80#post_3416141
Okay...The grandma rock is creepy....It looks like a Halloween thing.
Even the side view looks like a fossilized corpse. But at least she looks kind of happy, she is grinning.
Creepy?........yeah.....but I didn't plan on it looking that way at all. Some of the sand, as it dried out, sloped a little bit, and formed this structure. It's still funny looking though. Do you want it for your tank? Scare the rest of the fishes away....lmao
 

shelbeth

Member
UPDATE:
Instead of baking the rocks for 3 hours, I only baked them for 1 and 1/2 hours. I did this because as I was checking in on them, they were browning, and I didn't want them to turn too brown. The 1 and 1/2 hours was perfect browning and the luster was gone. I was going for realistic weathering and rock look.
The next step is to let them cool down naturally, because if I force the cool down, they would crack and break up. After they cool down, I'm going to soak them in freshwater for approx. 24 hours for the salt to dissolve. Then I'm going to place them in a high flow area and change water constantly. I read that some people put them in the tanks of their toilets, so every time they flush, it circulates, and adds new water. I might do that.....lol.....put grandma in the toilet, that's just sounds wrong....lol
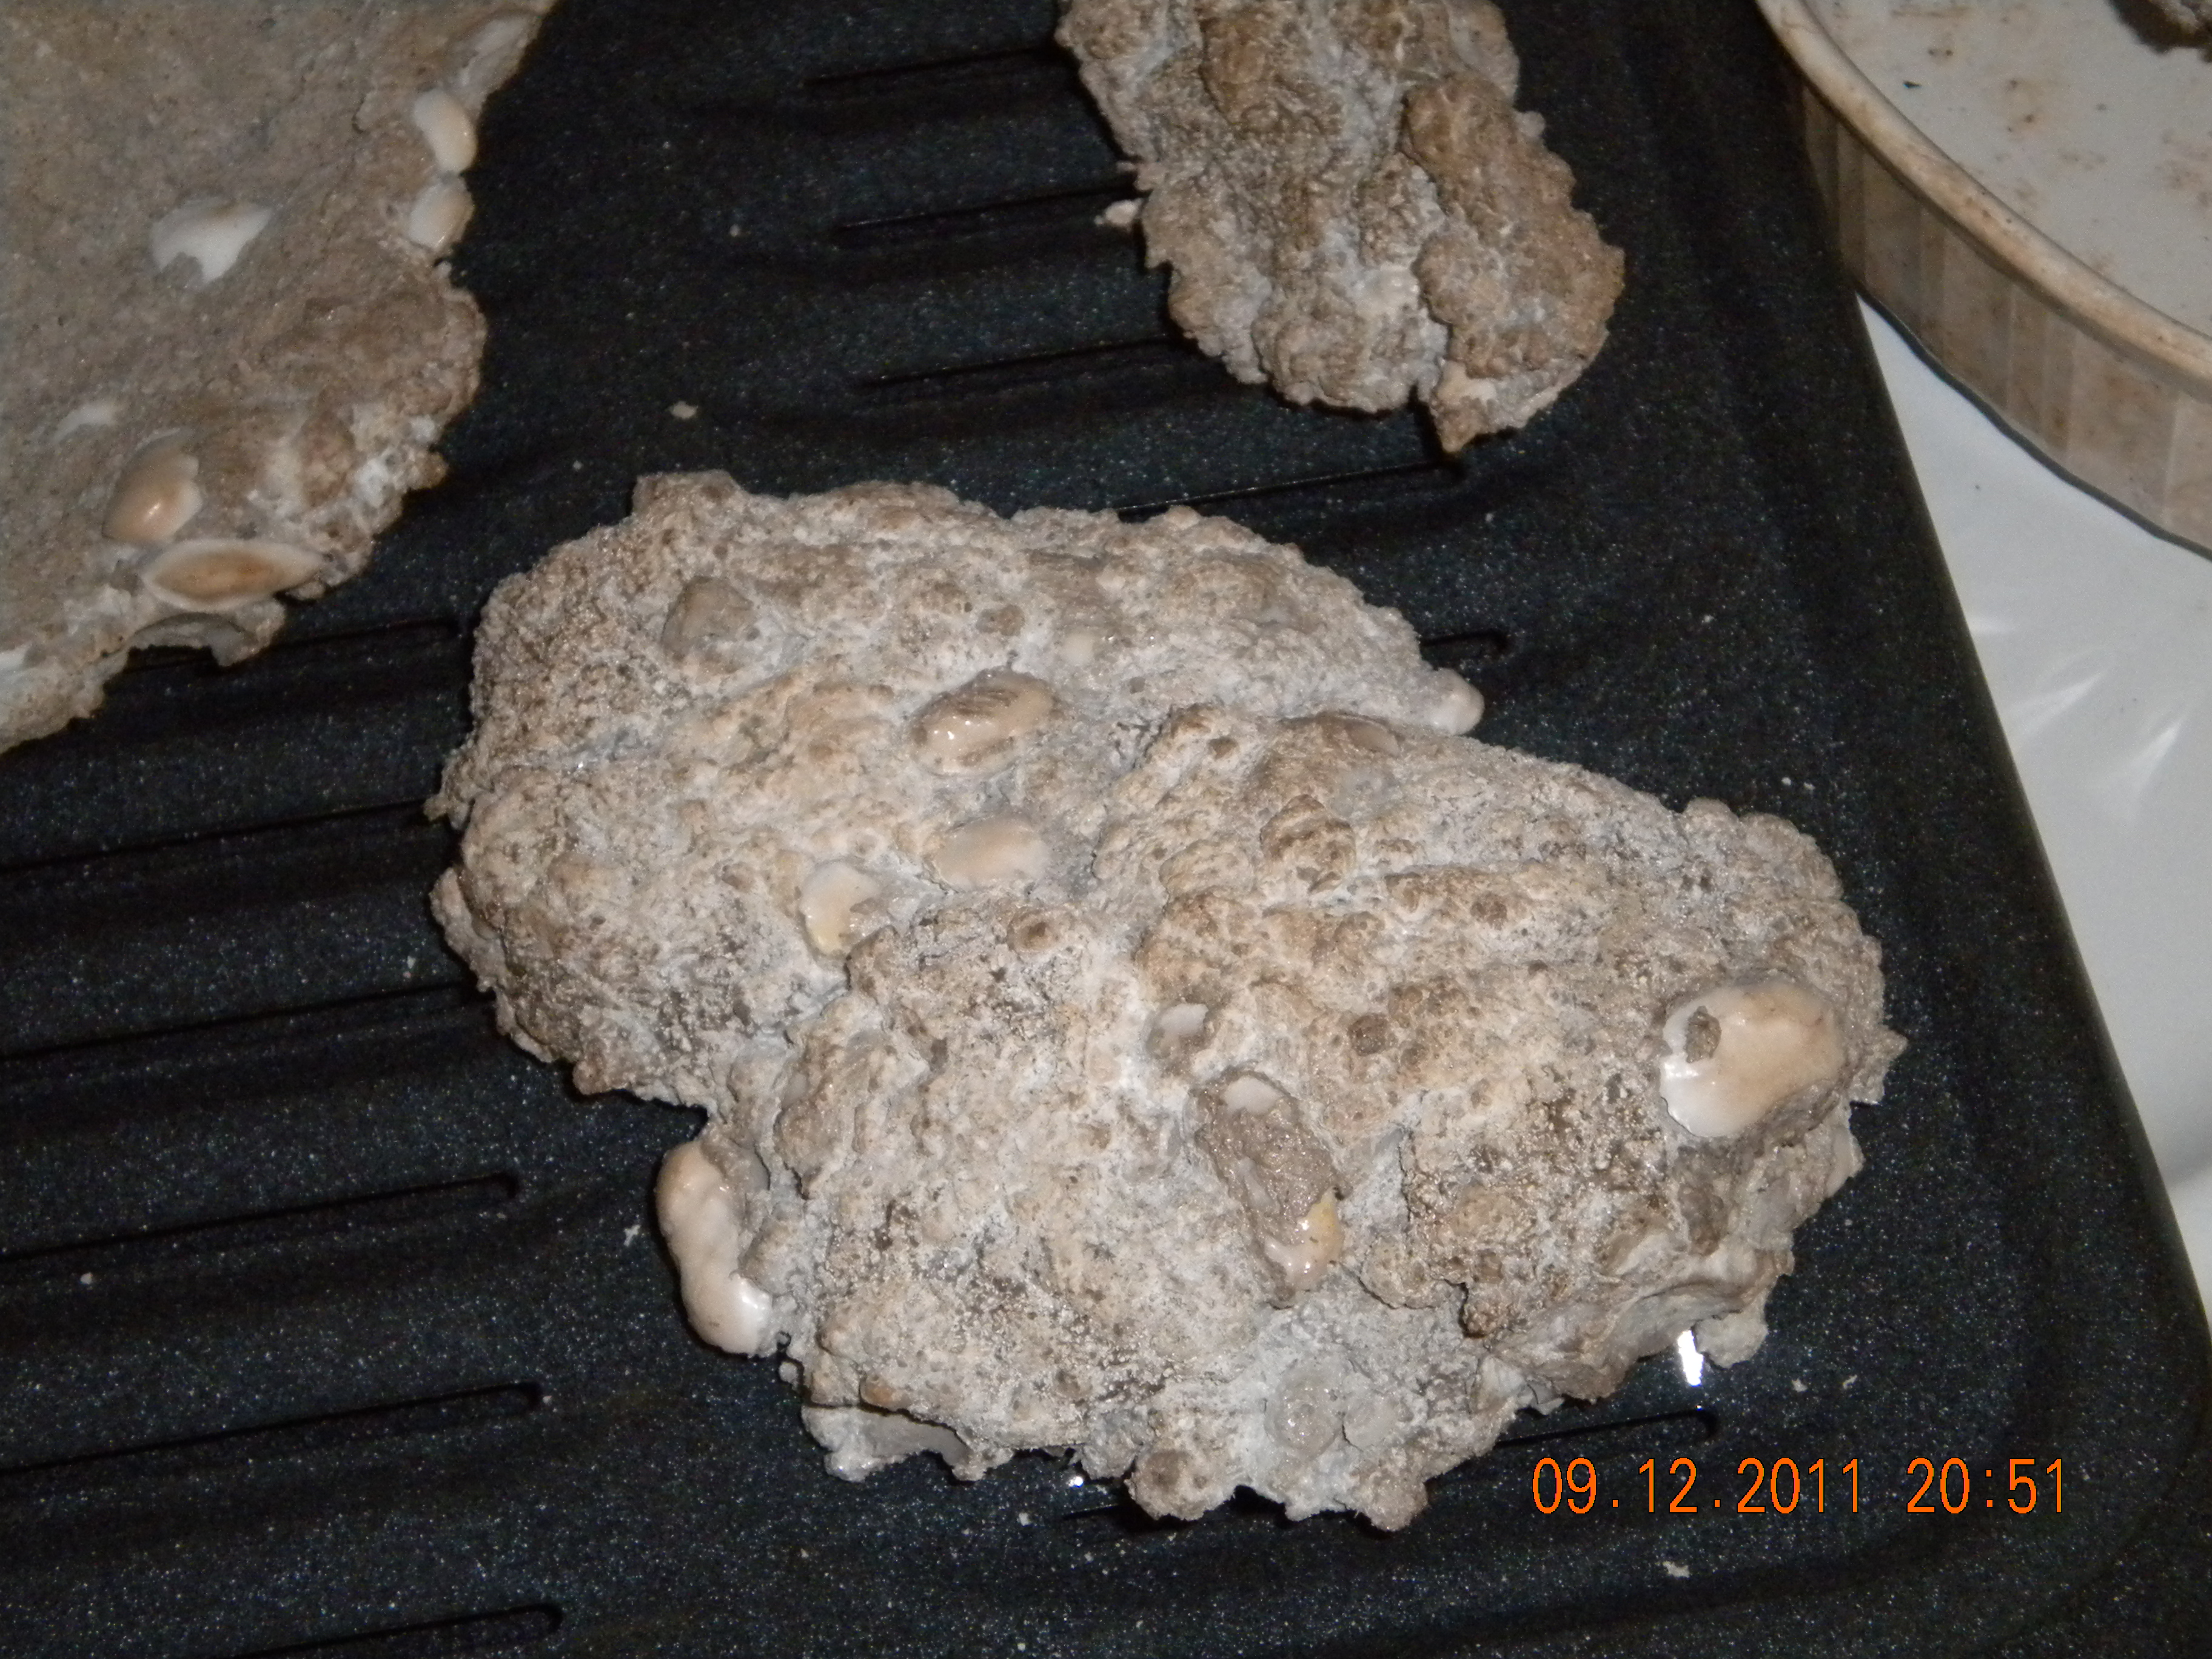
You can see the browning of the rock, and how the luster is gone, and more realism is added.

Another browned rock added for realism and luster delay.

Grandma got baked! LMAO
 

shelbeth

Member
UPDATE:
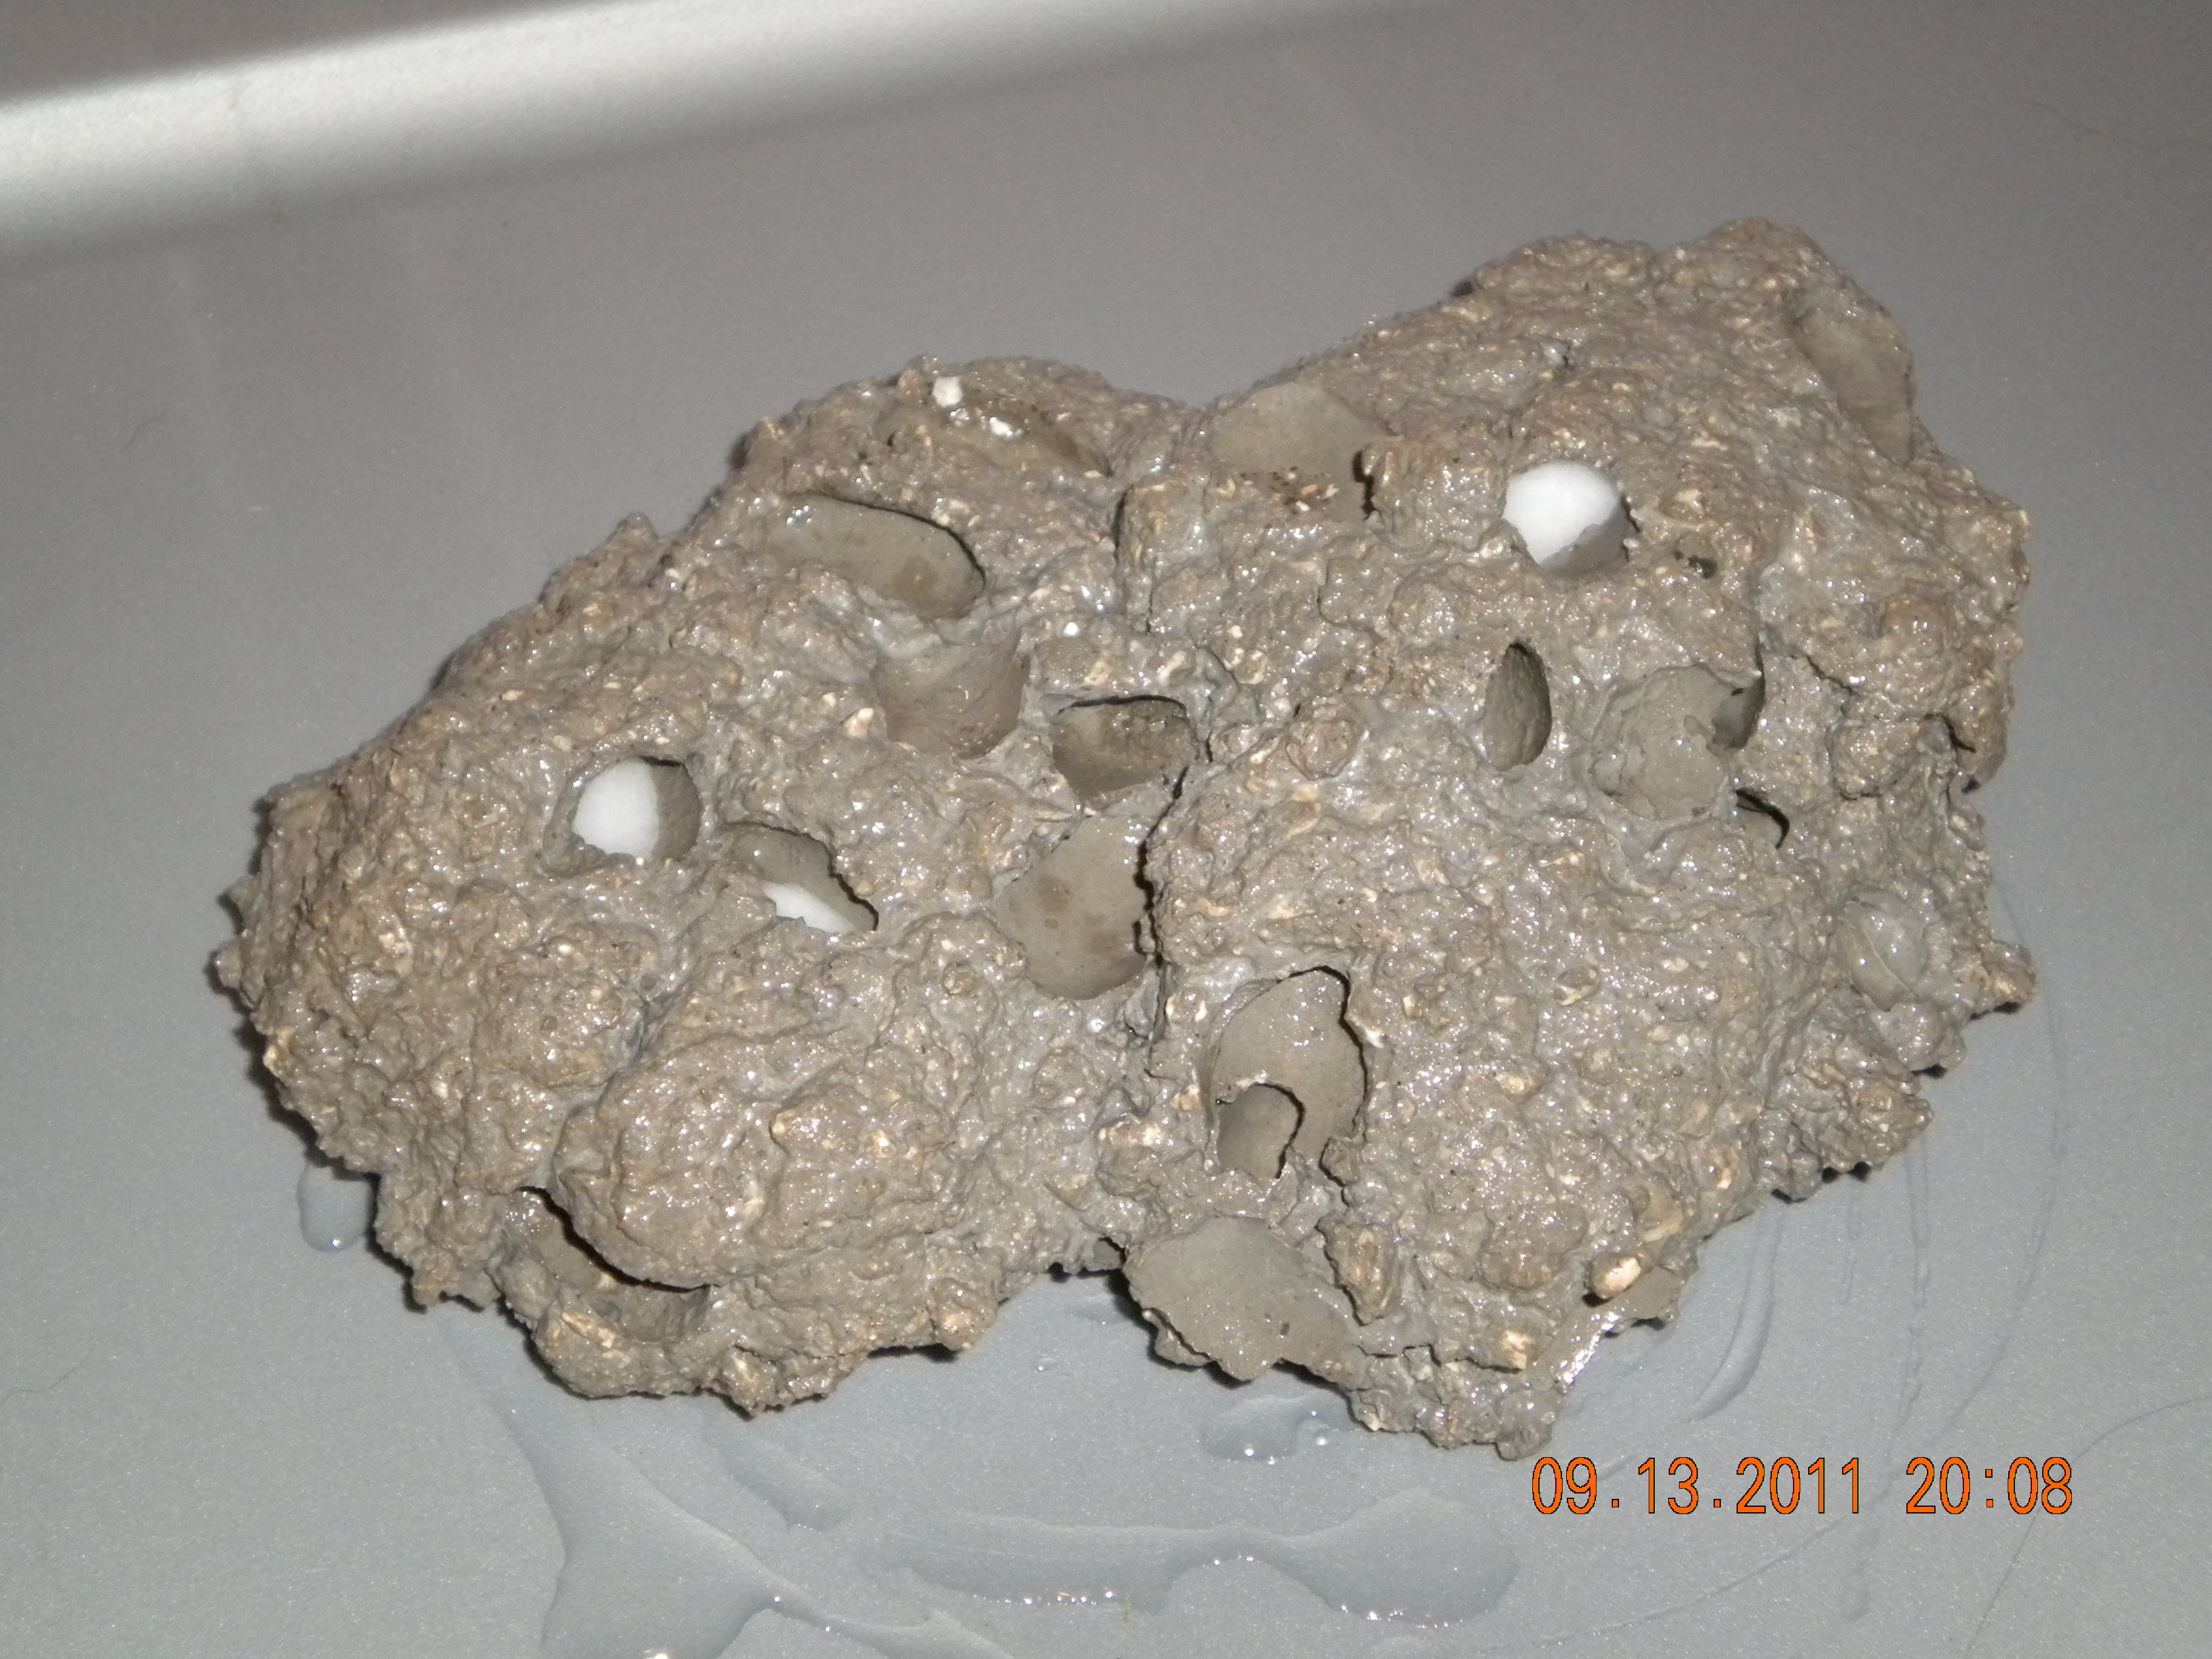
Here is a picture of a live rock with most of the rock salt dissolved. The salt is still dissolving in the other rocks, so I only have this picture to show.
You can still a couple pieces of rock salt in the live rock. But I wanted to share this picture to show what the pores will look like once all of the rock salt is dissolved.

Before Salt Dissolves:
 
Top