Saltn00b's Multi-Phase Upgrade Diary!
- Thread starter saltn00b
- Start date
saltn00b
Active Member
alright so last night i stayed up past my bedtime setting up the new toys.
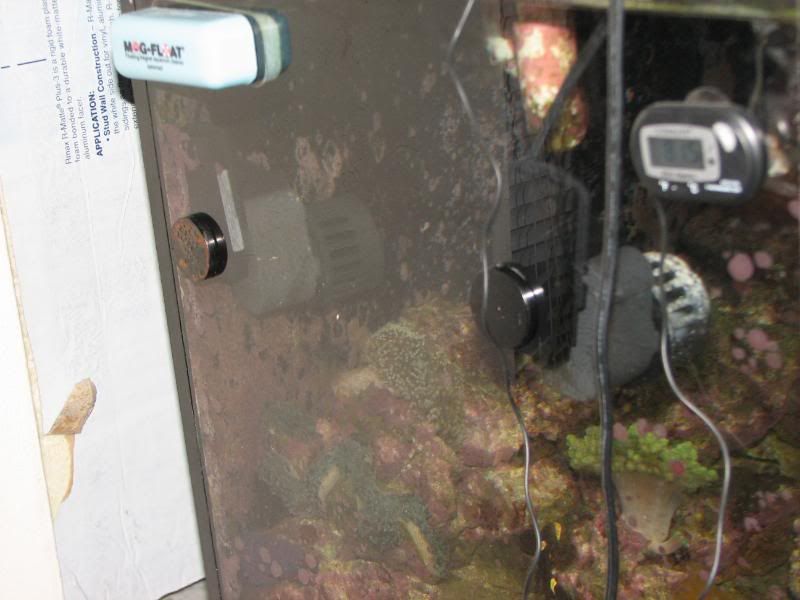
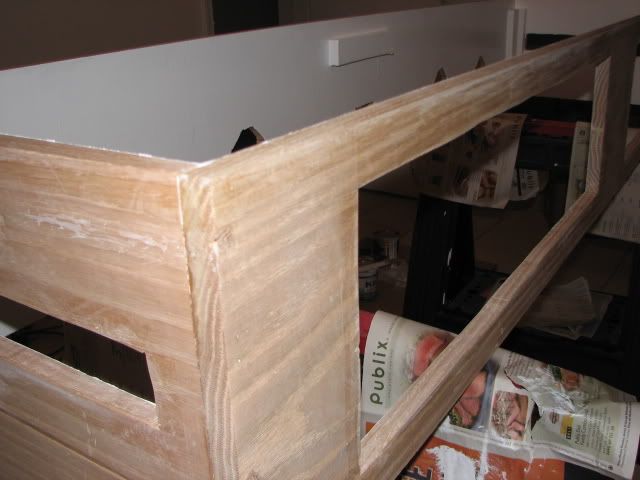
cleaned out the MJ 900s with vinegar, put in the sureflow mods. placed them in the tank, mounted the wavemaker and hooked them all up (with the existing 1200s /dumas SFs). All internal magnets have been changed to algaefree's plastic cased magnets. i believe i have three 50s and 1 100. the external magnets are the 80 lbs pull force disc mags from gaussboys.com. (these were once the internals as well for the original 2, but began rusting, even though they should not have)
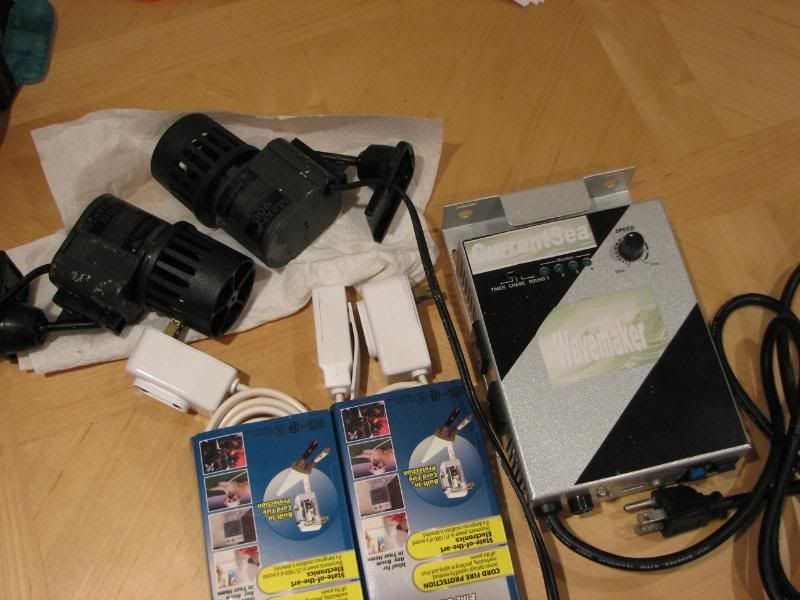
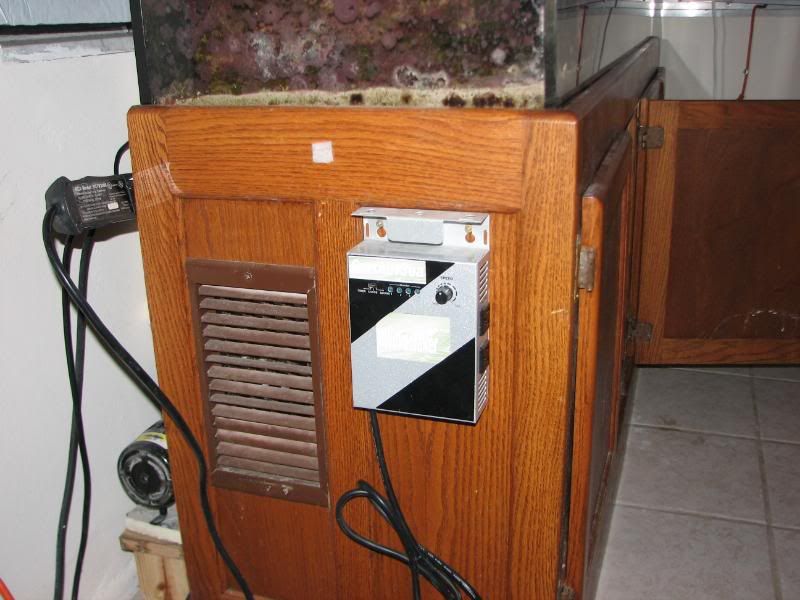
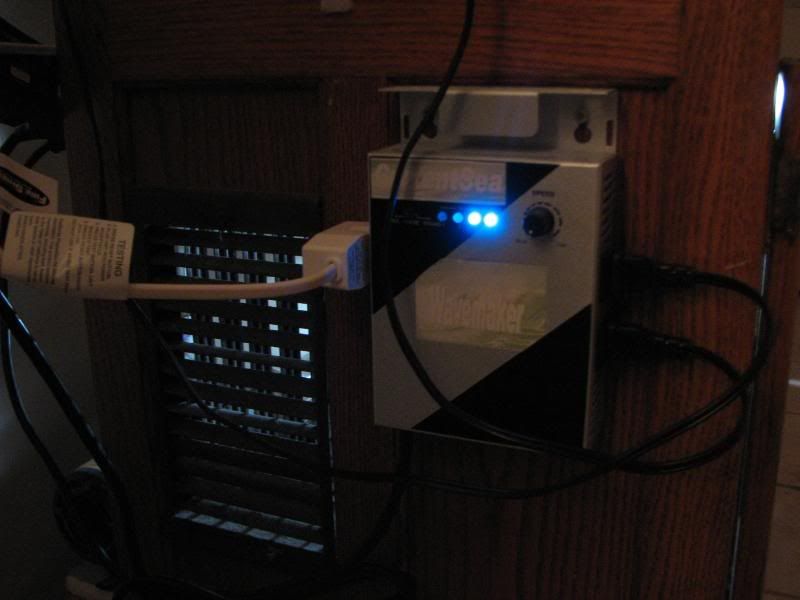
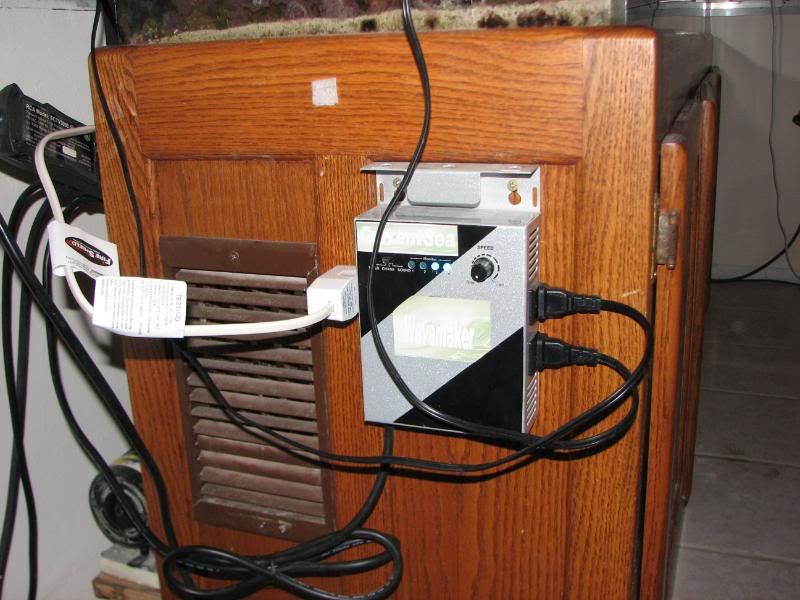
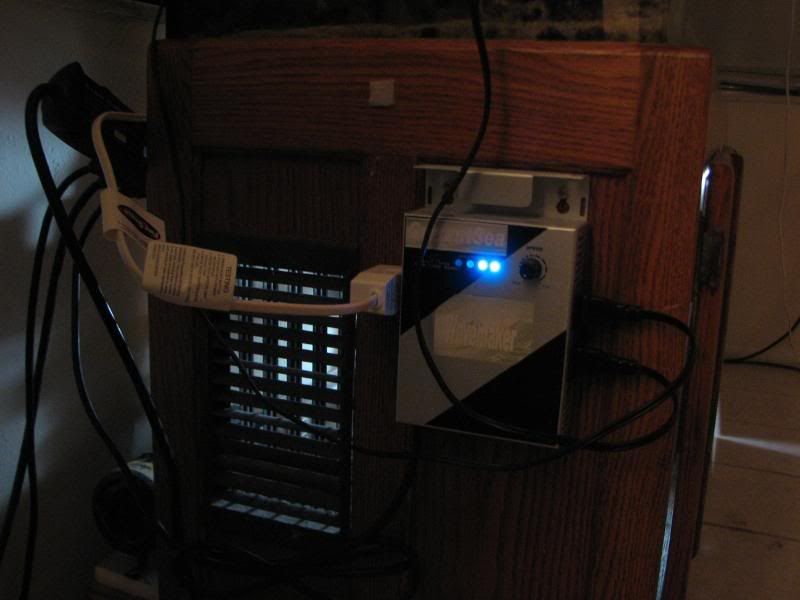
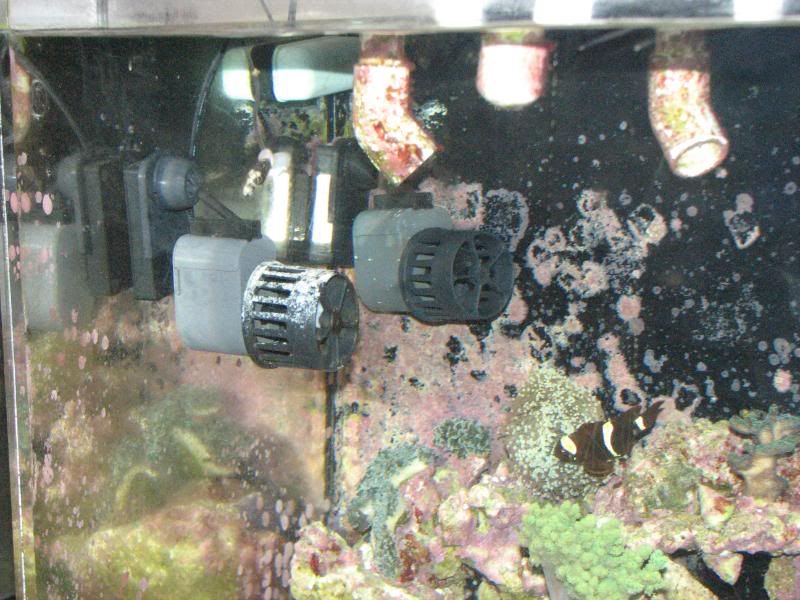
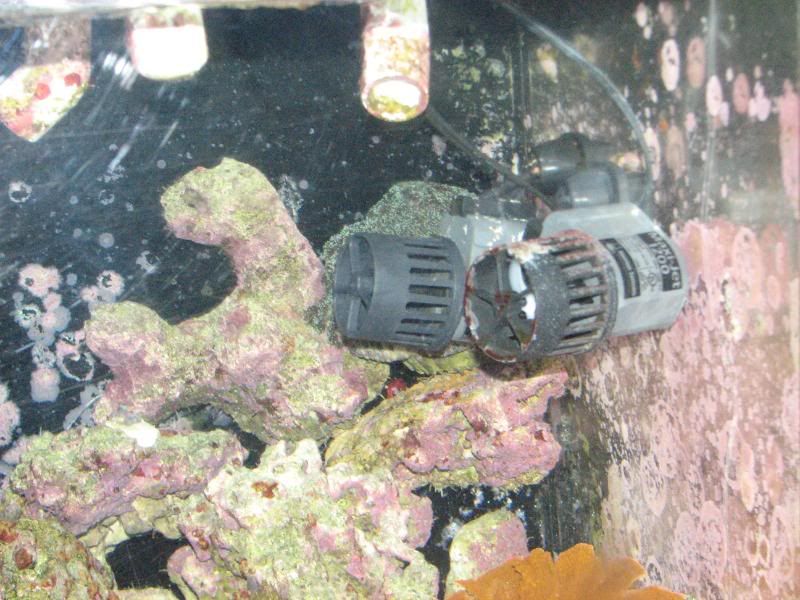
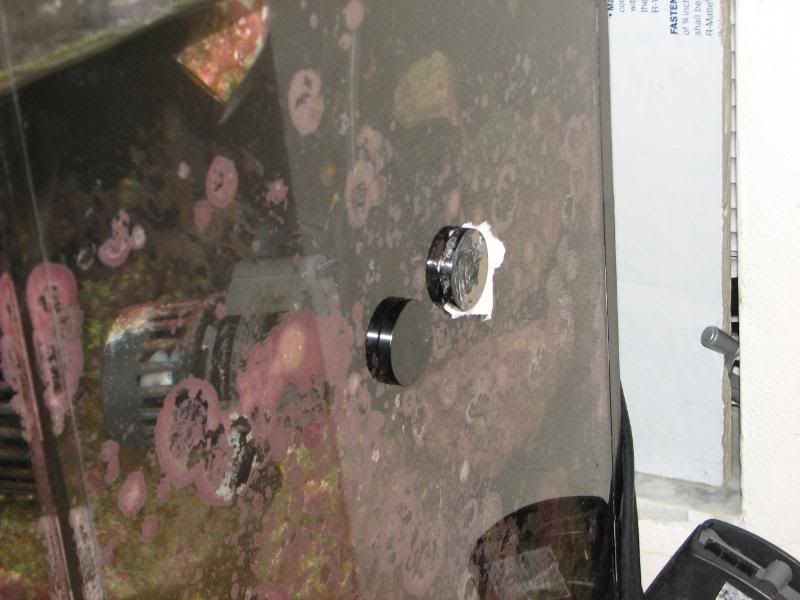
i estimate each side now pushes about 4500 GPH.
experimenting with the wavemaker, i placed the final setting on the timed function for about 10 mins / side. upon switchin i get no loud clicking like they are starting up in reverse or anything of the sort. virtually silent running save for a split second "ta-pfft" noise on engaging.
this wave maker seems to be designed around MJs, and MJ mods, some of you are suggesting that the constant on/off can cause burning out, or other problems? please let me know.
cleaned out the MJ 900s with vinegar, put in the sureflow mods. placed them in the tank, mounted the wavemaker and hooked them all up (with the existing 1200s /dumas SFs). All internal magnets have been changed to algaefree's plastic cased magnets. i believe i have three 50s and 1 100. the external magnets are the 80 lbs pull force disc mags from gaussboys.com. (these were once the internals as well for the original 2, but began rusting, even though they should not have)
i estimate each side now pushes about 4500 GPH.
experimenting with the wavemaker, i placed the final setting on the timed function for about 10 mins / side. upon switchin i get no loud clicking like they are starting up in reverse or anything of the sort. virtually silent running save for a split second "ta-pfft" noise on engaging.
this wave maker seems to be designed around MJs, and MJ mods, some of you are suggesting that the constant on/off can cause burning out, or other problems? please let me know.


saltn00b
Active Member
this thread is still alive!
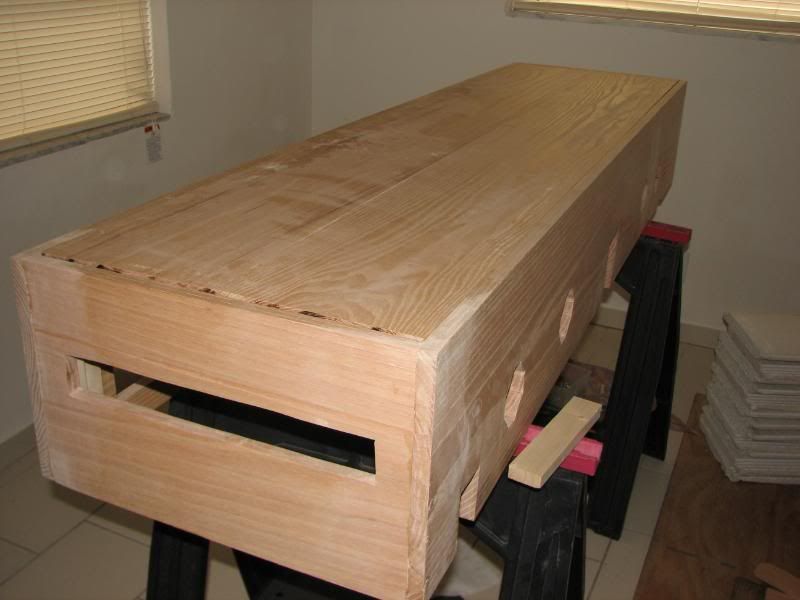
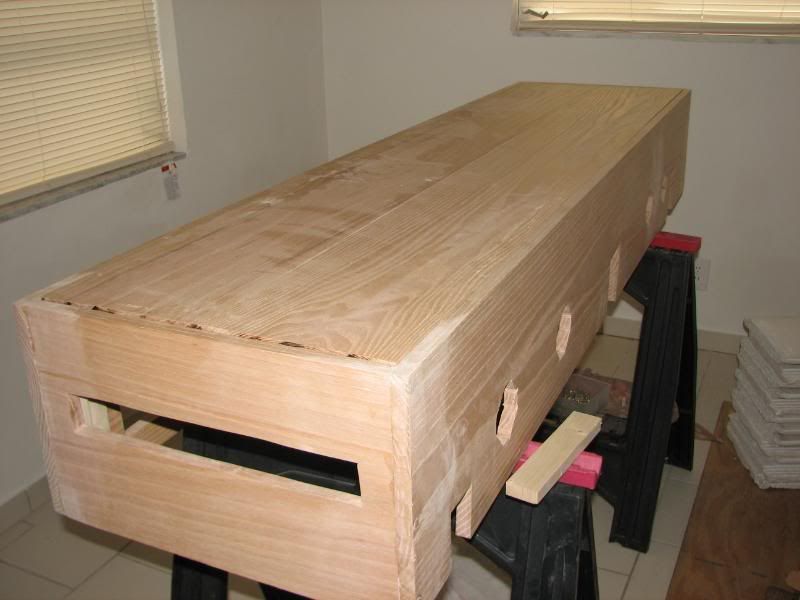
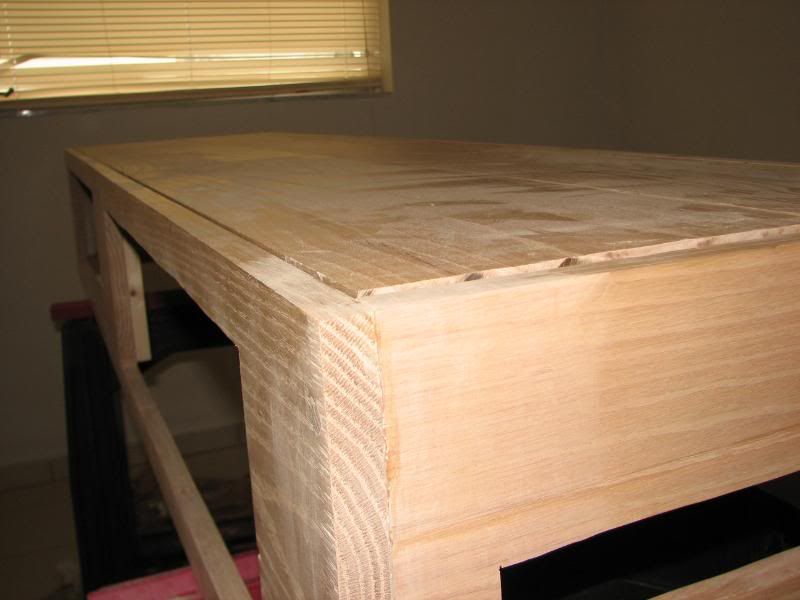
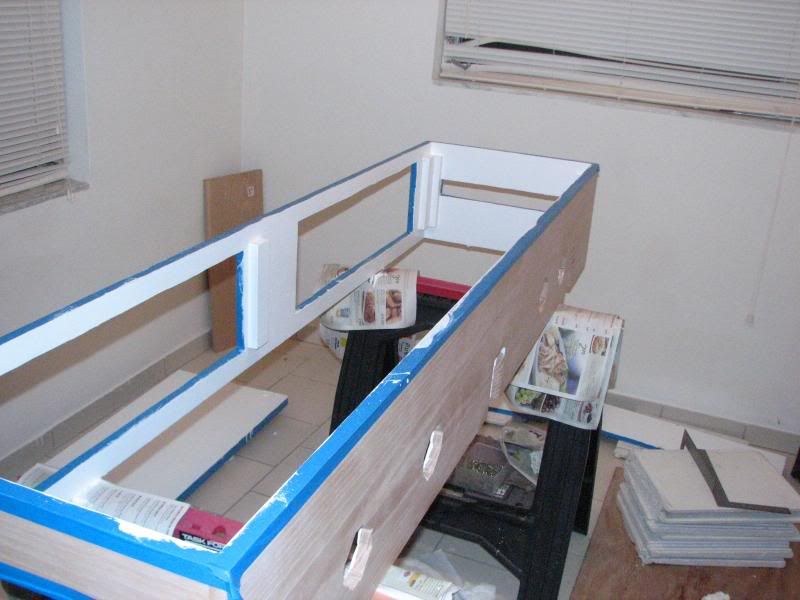
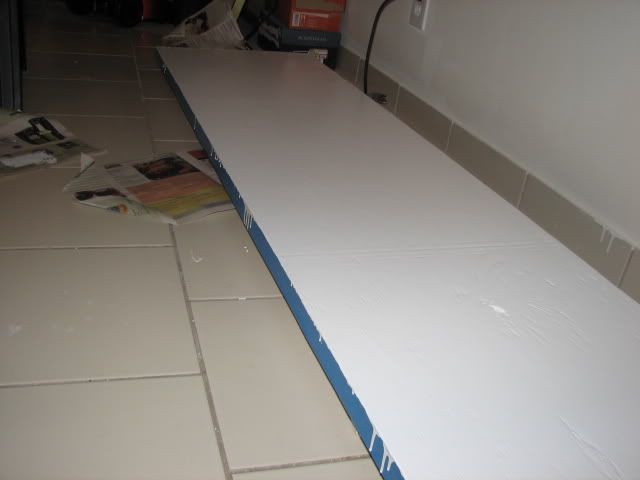
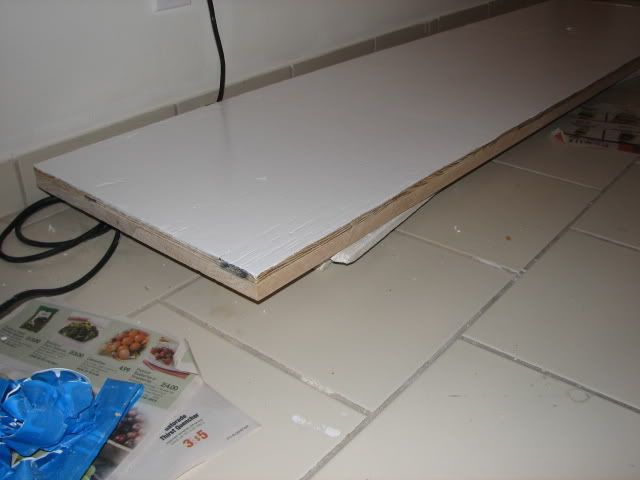
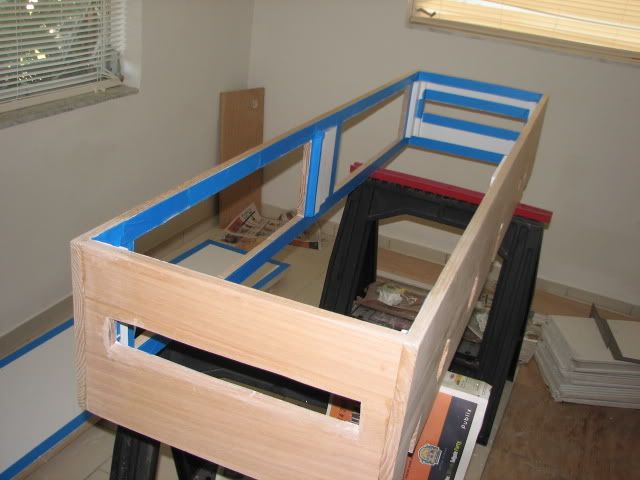
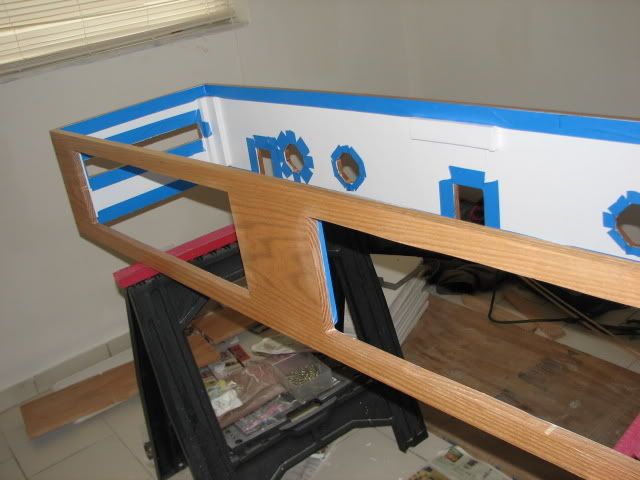
it has been rather slow lately, but as far as the canopy goes, after 4-6 coats of the sealer/poly it wasnt really getting any darker (because i was sealing it every time) and it was getting a not so nice feel to it. so the course of action i took was to finely (400 grit) sand the whole thing down and apply one last coat.
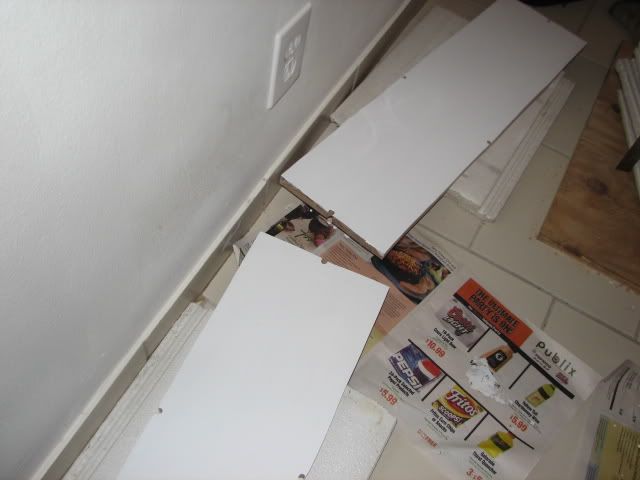
i have attached the cabinet doors, but most of those screws stripped (junky little buggers), so this weekend i will be removing those (hopefully) and re-screwing in the doors.
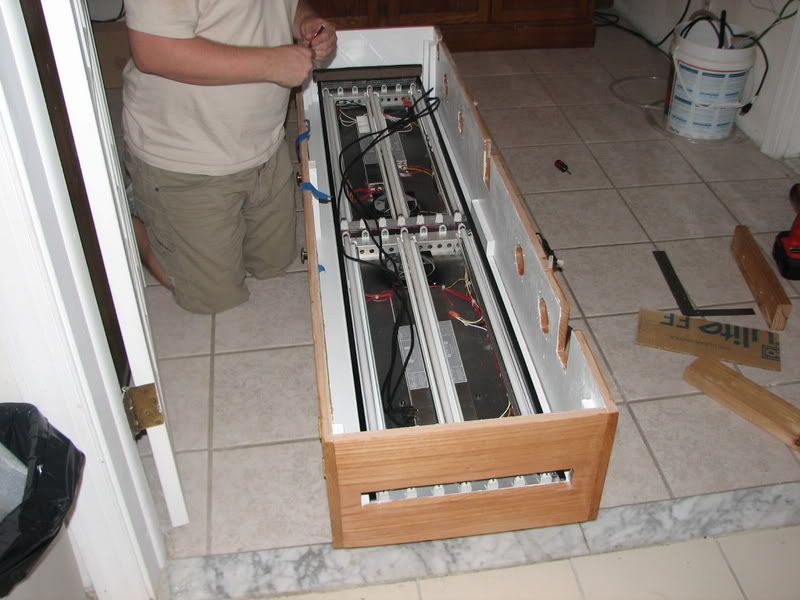
also on the plate, is the cooling system. i decided to ditch the very loud, junky, low-flow, expensive and rusty 110v Radio shack fans from my old canopy that i have been saving this whole time, and get a computer power supply from newegg.com with 4 powerful, near silent , high CfM (air pushing) 12v computer case fans. oh and did i mention they also each have 4 blue LEDs that will add a cool ambient moonlight effect when the T-5s go out.
got those in the mail today
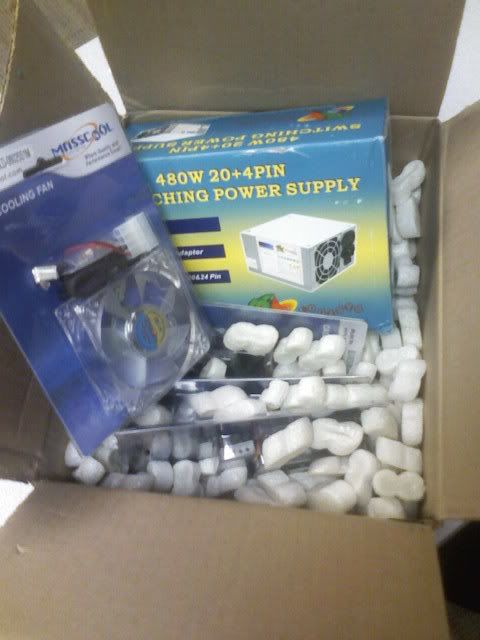
found out that the newer computer power supplies only turn on if they are connected to a computer mother board. this can be easily fixed by jumping the single green wire on the mb strand to any of the other black grounding wires. thanks google!
voila

please note that is not my hand, i am not that tan. i was ready to shut the power off in case my coworker was feeling the wrath of 110 volts.
this weekend isistius will assist me in assembling the moving top and T5-constellation unit for near completion on this canopy project! after that i think the only remaining items will be some magnets for the doors, knobs / handles and some trim.
and finally, i should add that as i finally complete the last phases of these upgrades, i will be moving to my first house. in about three weeks i close and then i will be moving the tank soon after that. so i will include the moving chronicles and other updates here as well. thanks to everyone that has been paying attention all this time and post up and say hi so i know at least someone still reads this!!
it has been rather slow lately, but as far as the canopy goes, after 4-6 coats of the sealer/poly it wasnt really getting any darker (because i was sealing it every time) and it was getting a not so nice feel to it. so the course of action i took was to finely (400 grit) sand the whole thing down and apply one last coat.
i have attached the cabinet doors, but most of those screws stripped (junky little buggers), so this weekend i will be removing those (hopefully) and re-screwing in the doors.
also on the plate, is the cooling system. i decided to ditch the very loud, junky, low-flow, expensive and rusty 110v Radio shack fans from my old canopy that i have been saving this whole time, and get a computer power supply from newegg.com with 4 powerful, near silent , high CfM (air pushing) 12v computer case fans. oh and did i mention they also each have 4 blue LEDs that will add a cool ambient moonlight effect when the T-5s go out.
got those in the mail today
found out that the newer computer power supplies only turn on if they are connected to a computer mother board. this can be easily fixed by jumping the single green wire on the mb strand to any of the other black grounding wires. thanks google!
voila
please note that is not my hand, i am not that tan. i was ready to shut the power off in case my coworker was feeling the wrath of 110 volts.
this weekend isistius will assist me in assembling the moving top and T5-constellation unit for near completion on this canopy project! after that i think the only remaining items will be some magnets for the doors, knobs / handles and some trim.
and finally, i should add that as i finally complete the last phases of these upgrades, i will be moving to my first house. in about three weeks i close and then i will be moving the tank soon after that. so i will include the moving chronicles and other updates here as well. thanks to everyone that has been paying attention all this time and post up and say hi so i know at least someone still reads this!!
saltn00b
Active Member


sk8r_dave
Member
Moving chronicals? That sounds so epic... wierd because i moved to a different house two weeks ago... Anyways, i've learned so much from this thread i'd just like to say thank you, and that i'll keep reading this for sure. Also i thought is was insane that the thread didn't die either, that's pretty cool...
saltn00b
Active Member
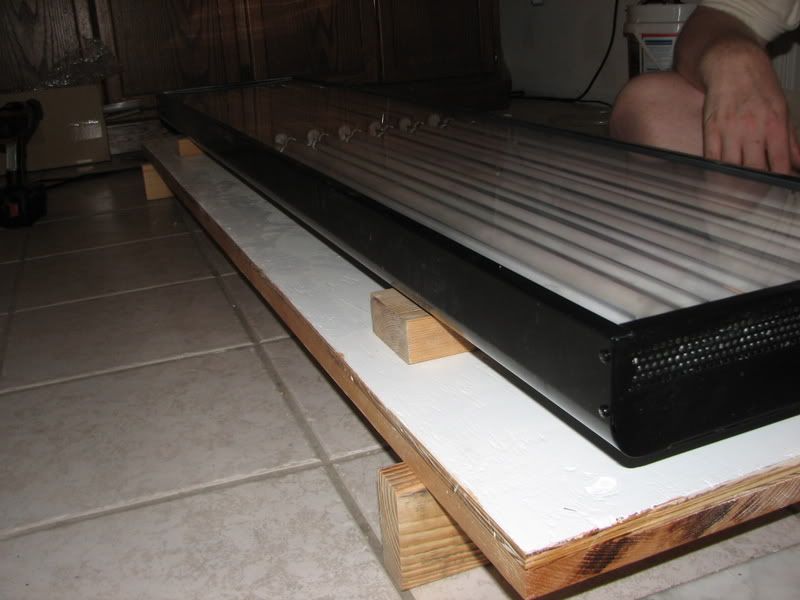
well guys after about 10 hours yesterday, the canopy is 99% done!!
first we had to pull all of the brass screws on the doors and reinstall them without stripping the screws this time. brass is very easily stripped!
then the installation of door knobs

installing the fans

size check
the constellation required the removal of bulb positions 2,3, 5 and 6 to get to the mounting holes. This worked out great because if you recall way back when i got this thing, 3 of the reflectors were bent and aquactinics sent me replacement reflectors. they were sitting in the shipped box this whole time and now i just throw out the bent ones and replaced with the new ones.
big thick washers to support the weight
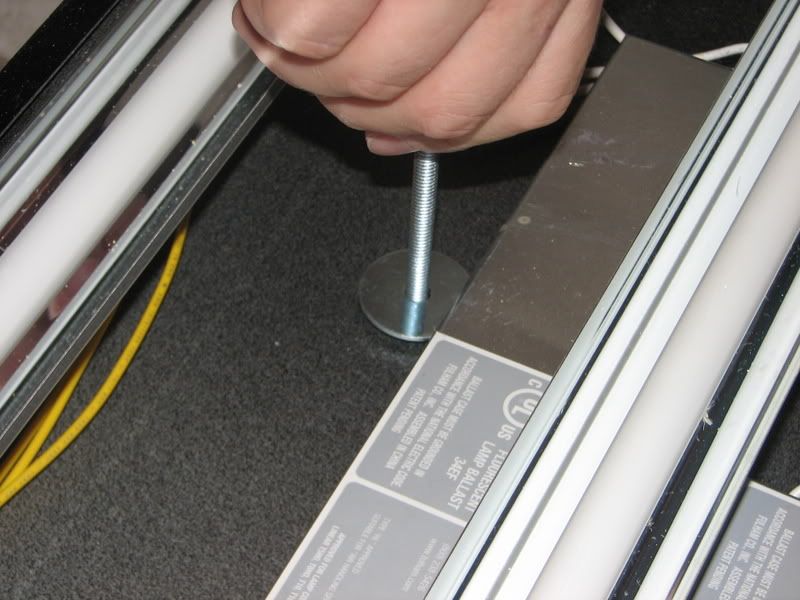
washers on top, followed by locking nuts and hat bolts.

screwing through constellation, the 2x4 and the lid proved to be slightly more challenging than expected, but we got it in the end.
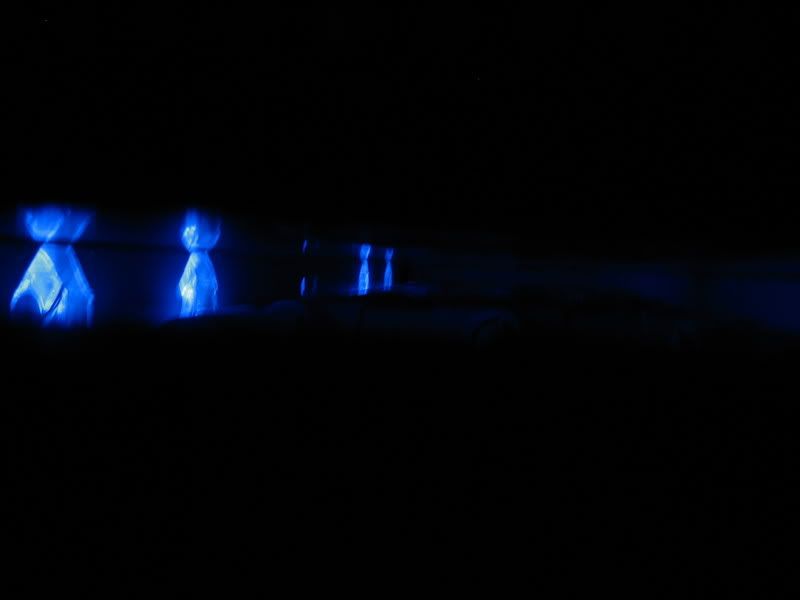
on and plugged in! except we realized that the fans were put in backwards. unfortunately being computer case fans, the lights were intended to point ouf of the case, not in. reversed it proved to have only a very minor blueish moonlight effect on the tank in a pitch black house, so no real loss.

now the tank always has a funky blue aura.

first we had to pull all of the brass screws on the doors and reinstall them without stripping the screws this time. brass is very easily stripped!
then the installation of door knobs
installing the fans
size check
the constellation required the removal of bulb positions 2,3, 5 and 6 to get to the mounting holes. This worked out great because if you recall way back when i got this thing, 3 of the reflectors were bent and aquactinics sent me replacement reflectors. they were sitting in the shipped box this whole time and now i just throw out the bent ones and replaced with the new ones.
big thick washers to support the weight
washers on top, followed by locking nuts and hat bolts.
screwing through constellation, the 2x4 and the lid proved to be slightly more challenging than expected, but we got it in the end.
on and plugged in! except we realized that the fans were put in backwards. unfortunately being computer case fans, the lights were intended to point ouf of the case, not in. reversed it proved to have only a very minor blueish moonlight effect on the tank in a pitch black house, so no real loss.
now the tank always has a funky blue aura.
saltn00b
Active Member
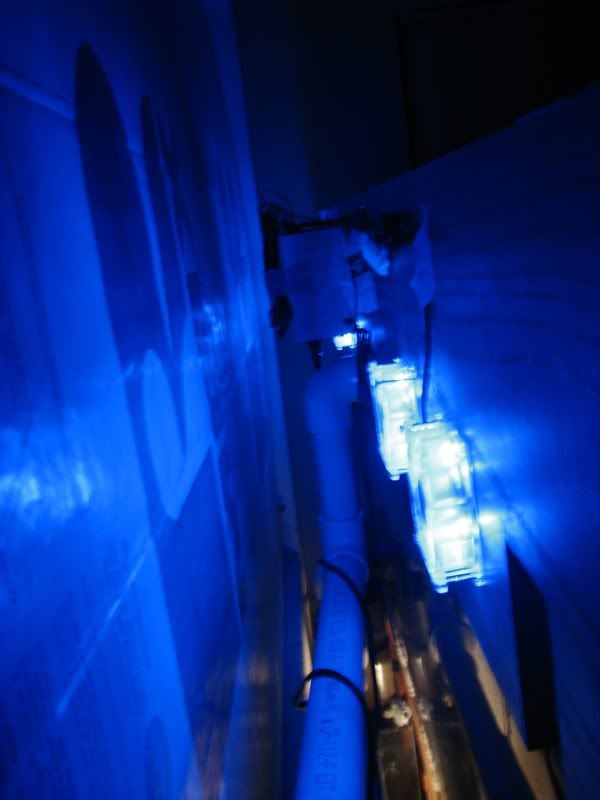
inside vent view
we tried a junky staple gun to secure the wiring in the back , but i broke the gun within 10 minutes. made in china, you get what you pay for. here i used painters tape as a temporary fix.
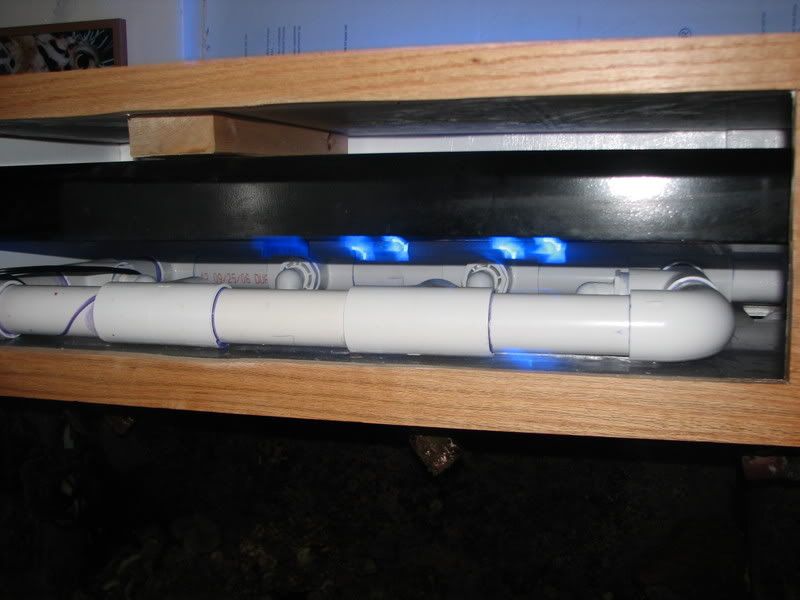
actinics
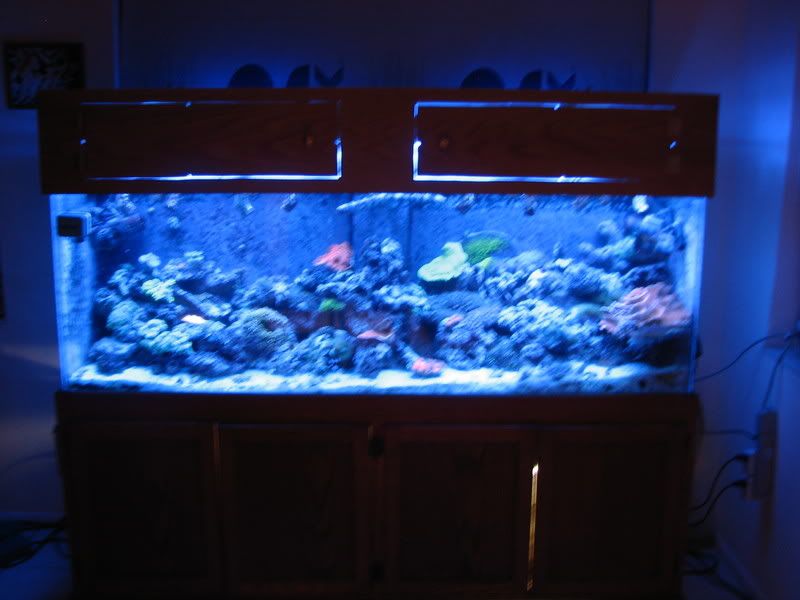
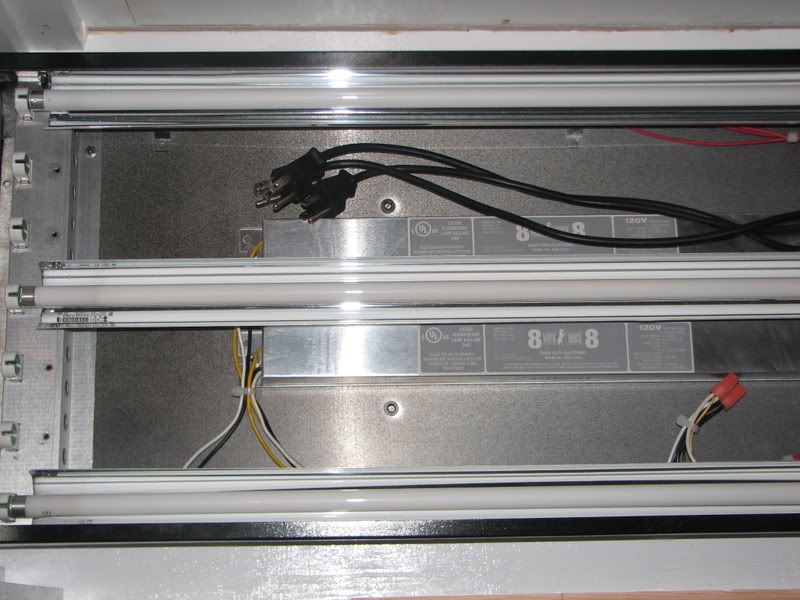
and in the morning, the tank is running fine. nice and quiet, ambient T5 light blocked, and a cool (for my tank) 81 degrees. i will keep a close eye on the temp. when i open the door it is a warm and humid air in there which may thinks there should be a little more venting, but so far so good. this is actinics and whites:
remaining items:
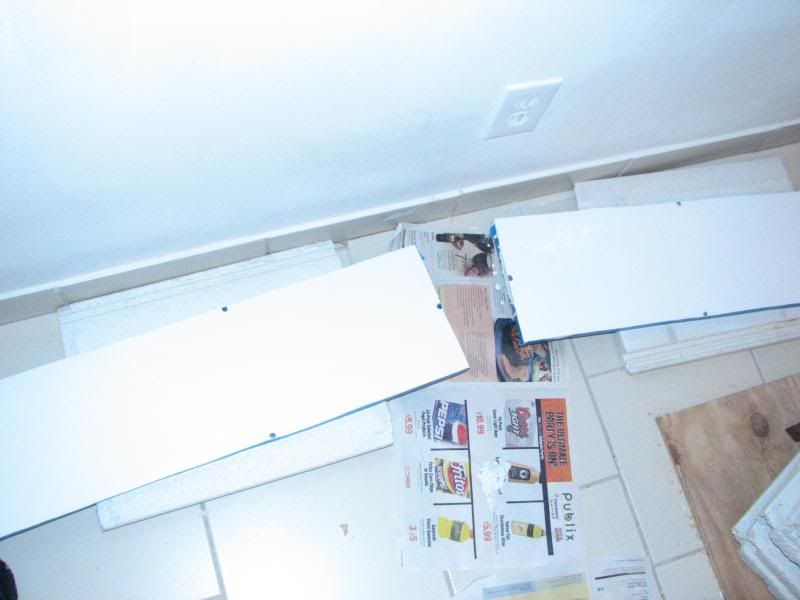
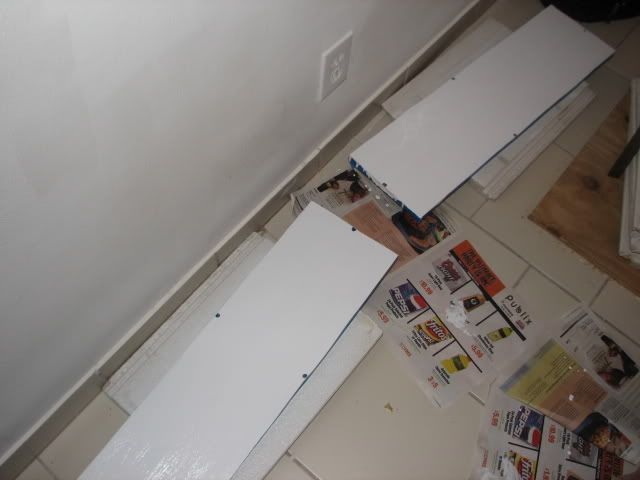
trim on the cabinet doors
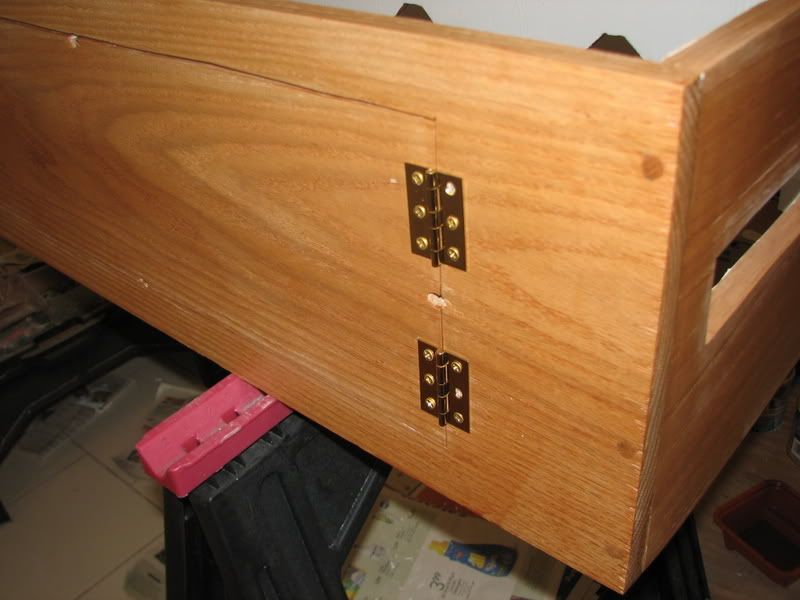
cabinet door hinge
[hr]
caps (2-3 stripped screws could not be pulled)
lid handles
wiring staples or other securing method
mesh to cover the side vents, but maybe not.
we tried a junky staple gun to secure the wiring in the back , but i broke the gun within 10 minutes. made in china, you get what you pay for. here i used painters tape as a temporary fix.
actinics
and in the morning, the tank is running fine. nice and quiet, ambient T5 light blocked, and a cool (for my tank) 81 degrees. i will keep a close eye on the temp. when i open the door it is a warm and humid air in there which may thinks there should be a little more venting, but so far so good. this is actinics and whites:
remaining items:
trim on the cabinet doors
cabinet door hinge
[hr]
caps (2-3 stripped screws could not be pulled)
lid handles
wiring staples or other securing method
mesh to cover the side vents, but maybe not.
saltn00b
Active Member
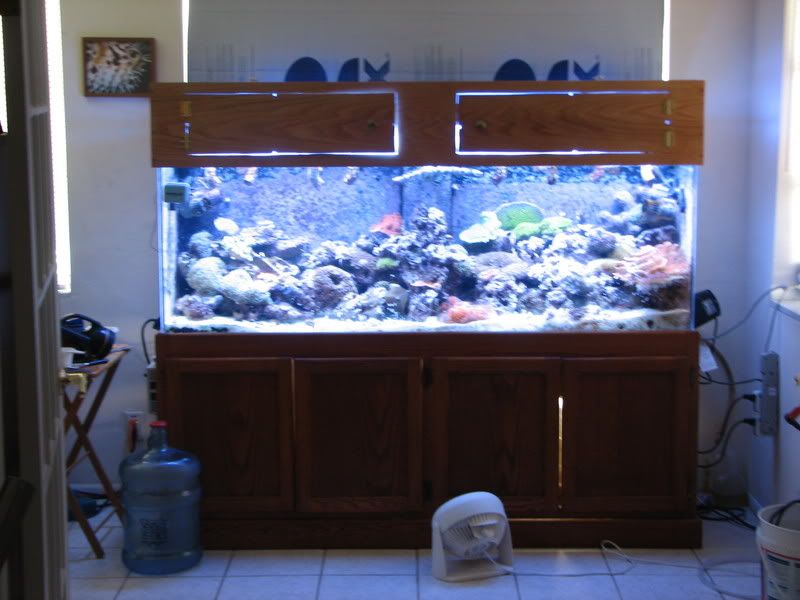
well by the end of the first complete day, the tank went from 80 - 83.2, about 1 degree cooler than the emergency / temp fan as seen in the last pic on the tile, that i have been running for the last year. the lights are also closer to the water, but there really is no air exhaust in the design, and the inside is noticeably warmer. so i believe i will drill some holes in the top of the lid, directly above the constellation exhaust 5" fans. with heat rising, and the fans to help push it, this should drop the core temp of the inside considerabbly, and hence the tank temp. any other ideas are welcome!