Sweatervest's 125g reef build!!
- Thread starter sweatervest13
- Start date
2quills
Well-Known Member
That looks real sharp, man. The stain shouldn't be too tough to match up. Most moldings are hard wood anyway so they should be pretty close. Go over everything real good with 220grit sandpaper. I like to do a light coat of stain first and then do a second coat to help blend the lighter areas with the darker ones. I like to stain by hand with a cotton rag, applying and wiping the stain off as I go as to not let it sit in one area for too long. That being said you'll want to be real careful on the area where you have the two screw holes on the front center of the stand. That stainable wood Putty will soak up the stain in an instant and leave you with two really dark spots. I would try to work around those areas first and then just dab those spots very very lightly to try and blend them. Might want to practice with a scrap piece.
sweatervest13
Active Member
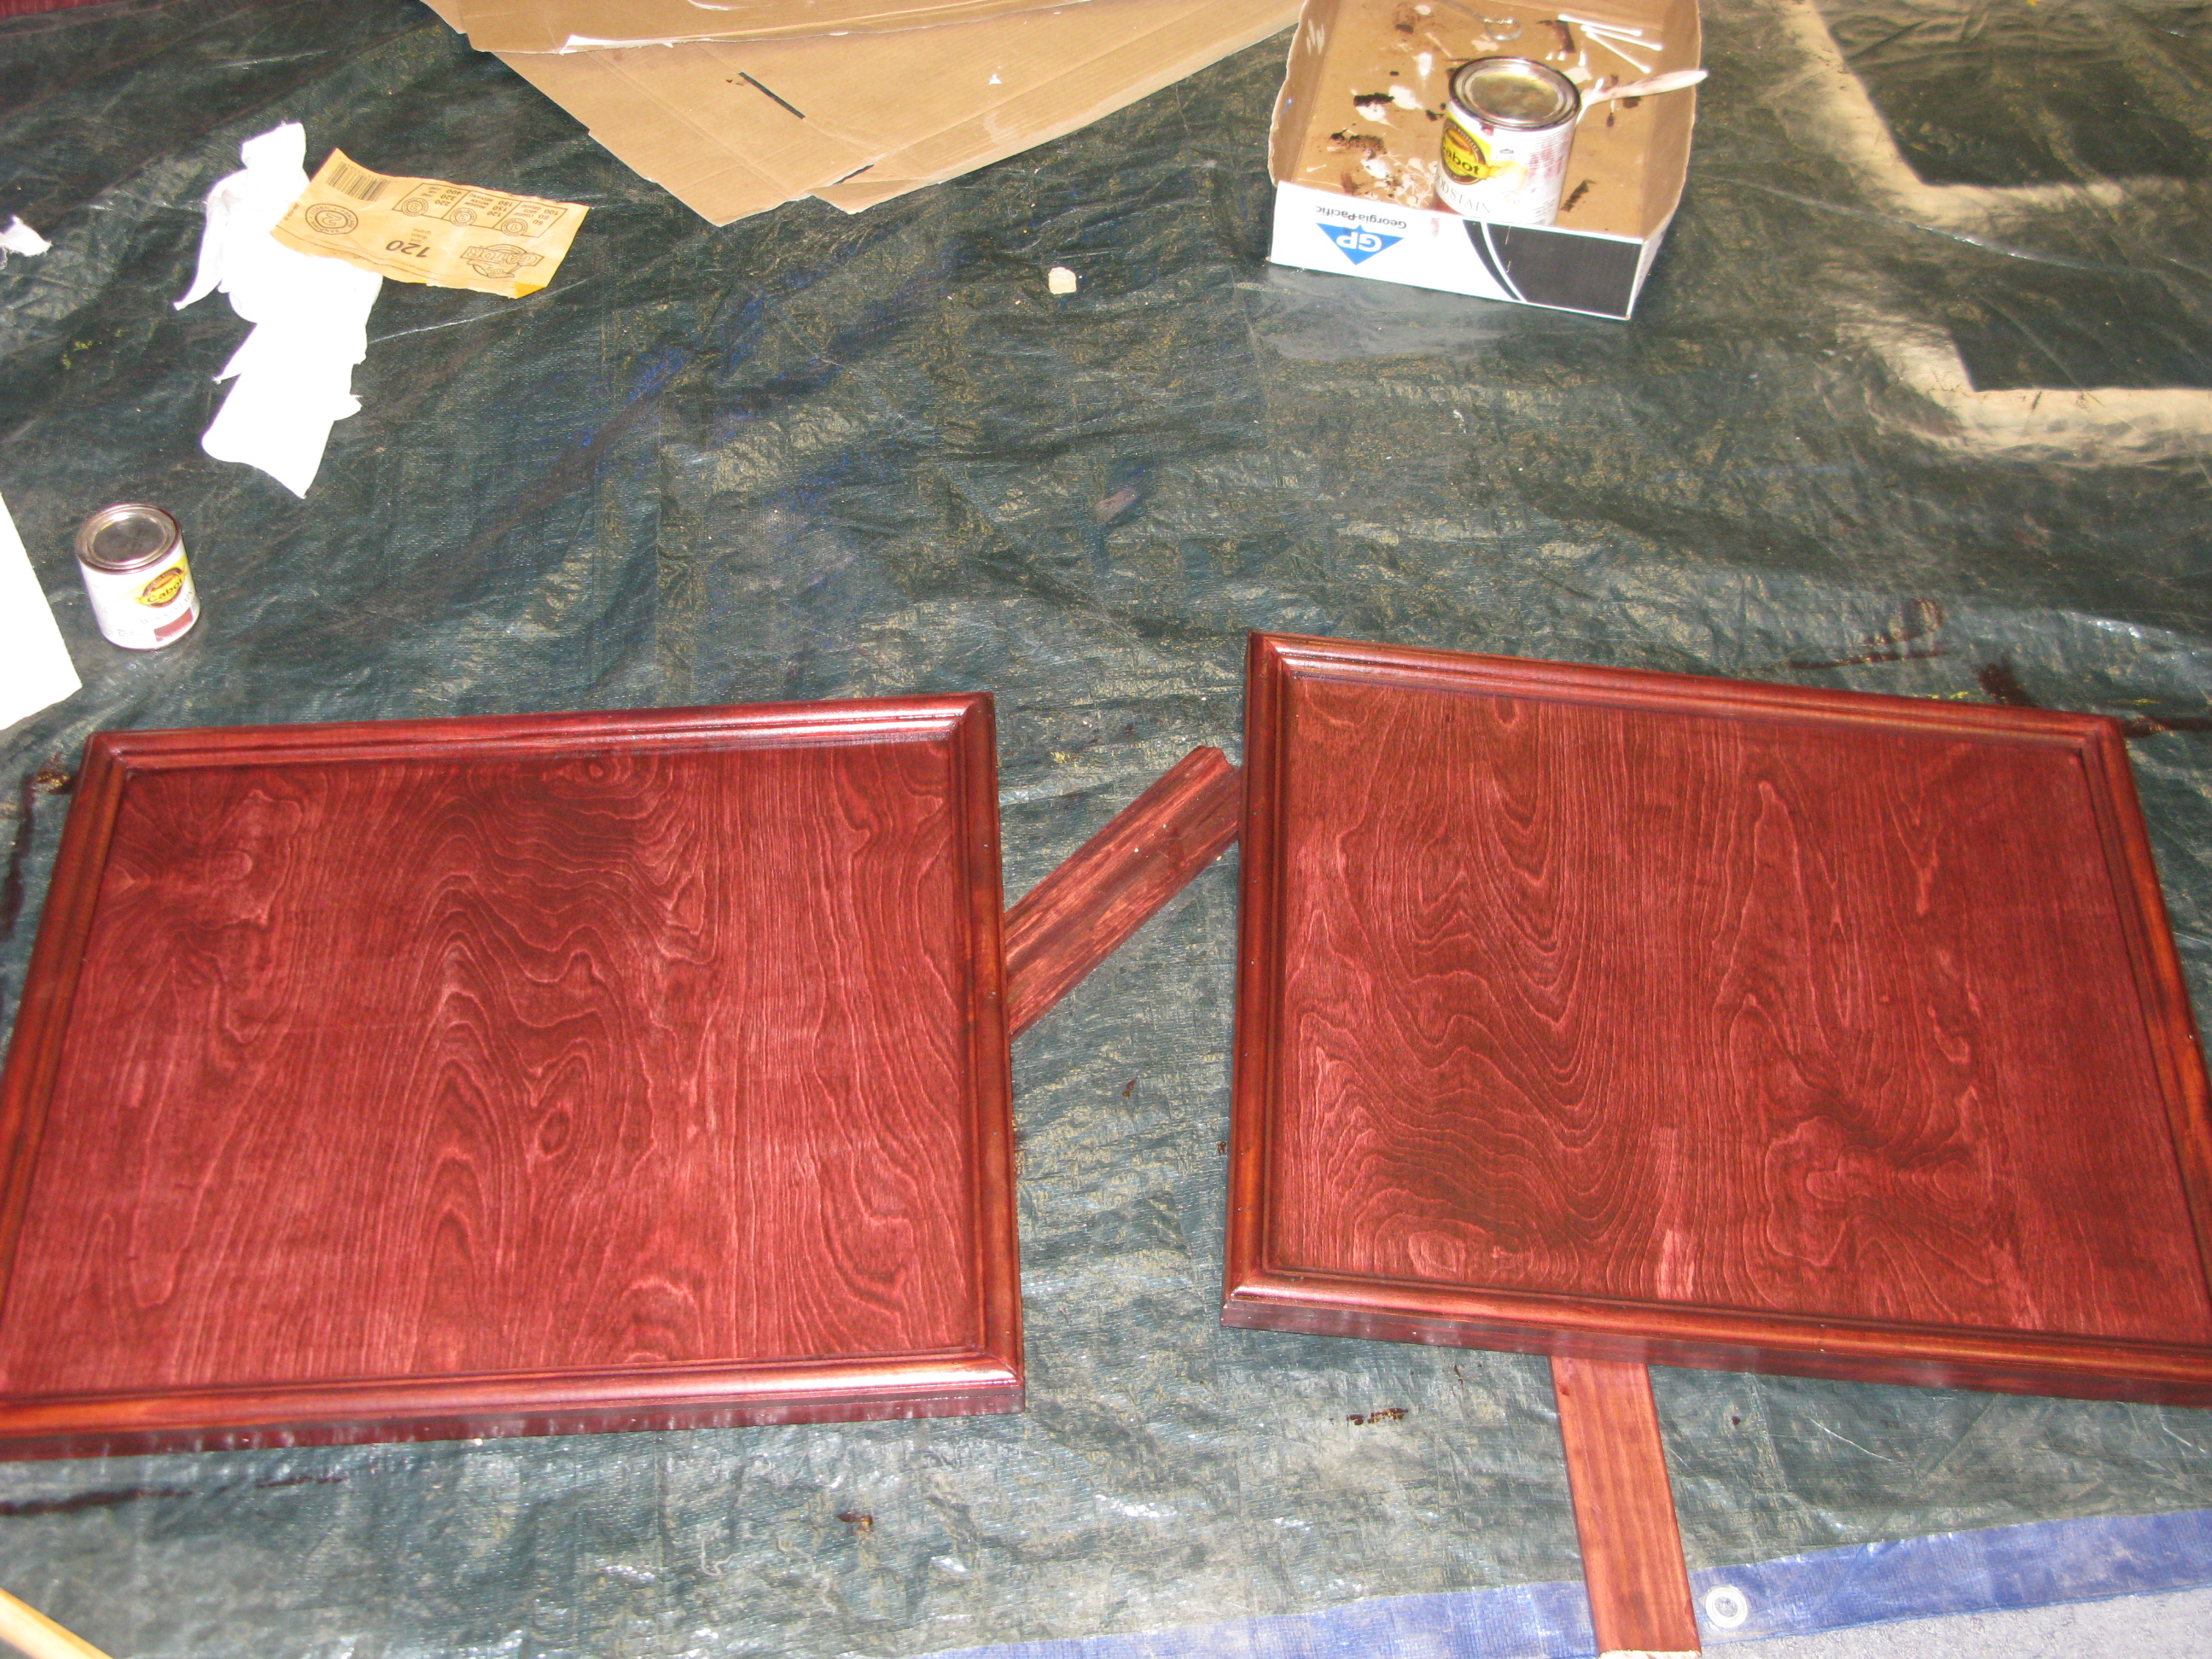
Sorry for the super long delay on this guy. I have been working on this little by little. I completed the trim on the doors and I started to pratice staining. I have never stained anything before and it is a lot different from painting. But I like the process so far. I took a piece of each type of trim molding and used the cut out of the doors to see how the different woods would look. I put one coat on Sunday afternoon and at frist it looked kinda pink (red mohogany Cabot stain). The moldings took the stain a bit different/ darker then the Blonde plywood, but after the second coat of stain yesterday it evened out more. At frist I was doubting the color of the stain and went to Lowes to get a brown mohogany stain (but I did not open it yet cause I wanted to see the red with a second coat). So, I will most likely take the other tester can of stain back.
I used some wood filler to cover the holes in the front and top of the stand. I am not too worried about the top of the stand cause it will have the tank on top, but the front has me a bit concerned. I think I will try what 2quills said and just try to work around them, then just dab to try to match. I am sure it will soak up the stain like nobodys business. I will also be cutting a small hole in the top of the stand to have the drain/return pipes from the reef ready tank go to the sump. I am a bit dissapointed in myself for not thinking about that first before I covered the entire top of the stand. But at the time I had that used 125g tank that I was going to drill the back wall or get external overflows. I don't think that cutting that small hole for the pipes will be too big of a deal. I will just use a jigsaw and go slow. I will wait until I get the tank made before I cut it out. I plan on getting the tanks overflow just a few inches off center because I have a support 2x4 dead center of the stand. Does anyone see any problems with doing this?
A couple of questions for the staining experts. Do I sand between each coat? Is it an issue to stain the top before I cut out the hole for the overlow? I should use 220 grit paper? How many coats do I put on? When staining should I move the stand so the the area that I am working on is parallel with the floor? Meaning that I flip the stand so that the front is now the top, or is it okay to stain it vertically? Sorry if these seem like dumb questions but I have no experience on this and you guys are a big help.
I hope to have the stain on within a week. I still need to mount the doors and paint the inside with the exterior latex paint. Well If I have any left. I would not think that the small inside of a fish tank stand would use a whole gallon of paint, but it did. It must have been that 3/4 gallon of paint I spilled on the carpet that used it all up. Maybe the wife will talk to me today after all it was two weeks ago.
Thats all for now. Thanks.
Ryan
sweatervest13
Active Member
Okay, I am going to start staining the stand tonight. I decided to go with the red mohogany. I think three coats will look nice. I will light sand between each coat. I will put up some pics soon.
2quills
Well-Known Member
Will be waiting.
 Yep the light sanding between coats will help give it a richer darker look but isn't always necissariy. on denser woods it should help as most oil based stains act as a bit of a sealer after the first coat. Really comes down to personal preference. I didn't sand between coats on mine. But I only did one coat of cherry and two on the golden oak trim.

sweatervest13
Active Member
sweatervest13
Active Member
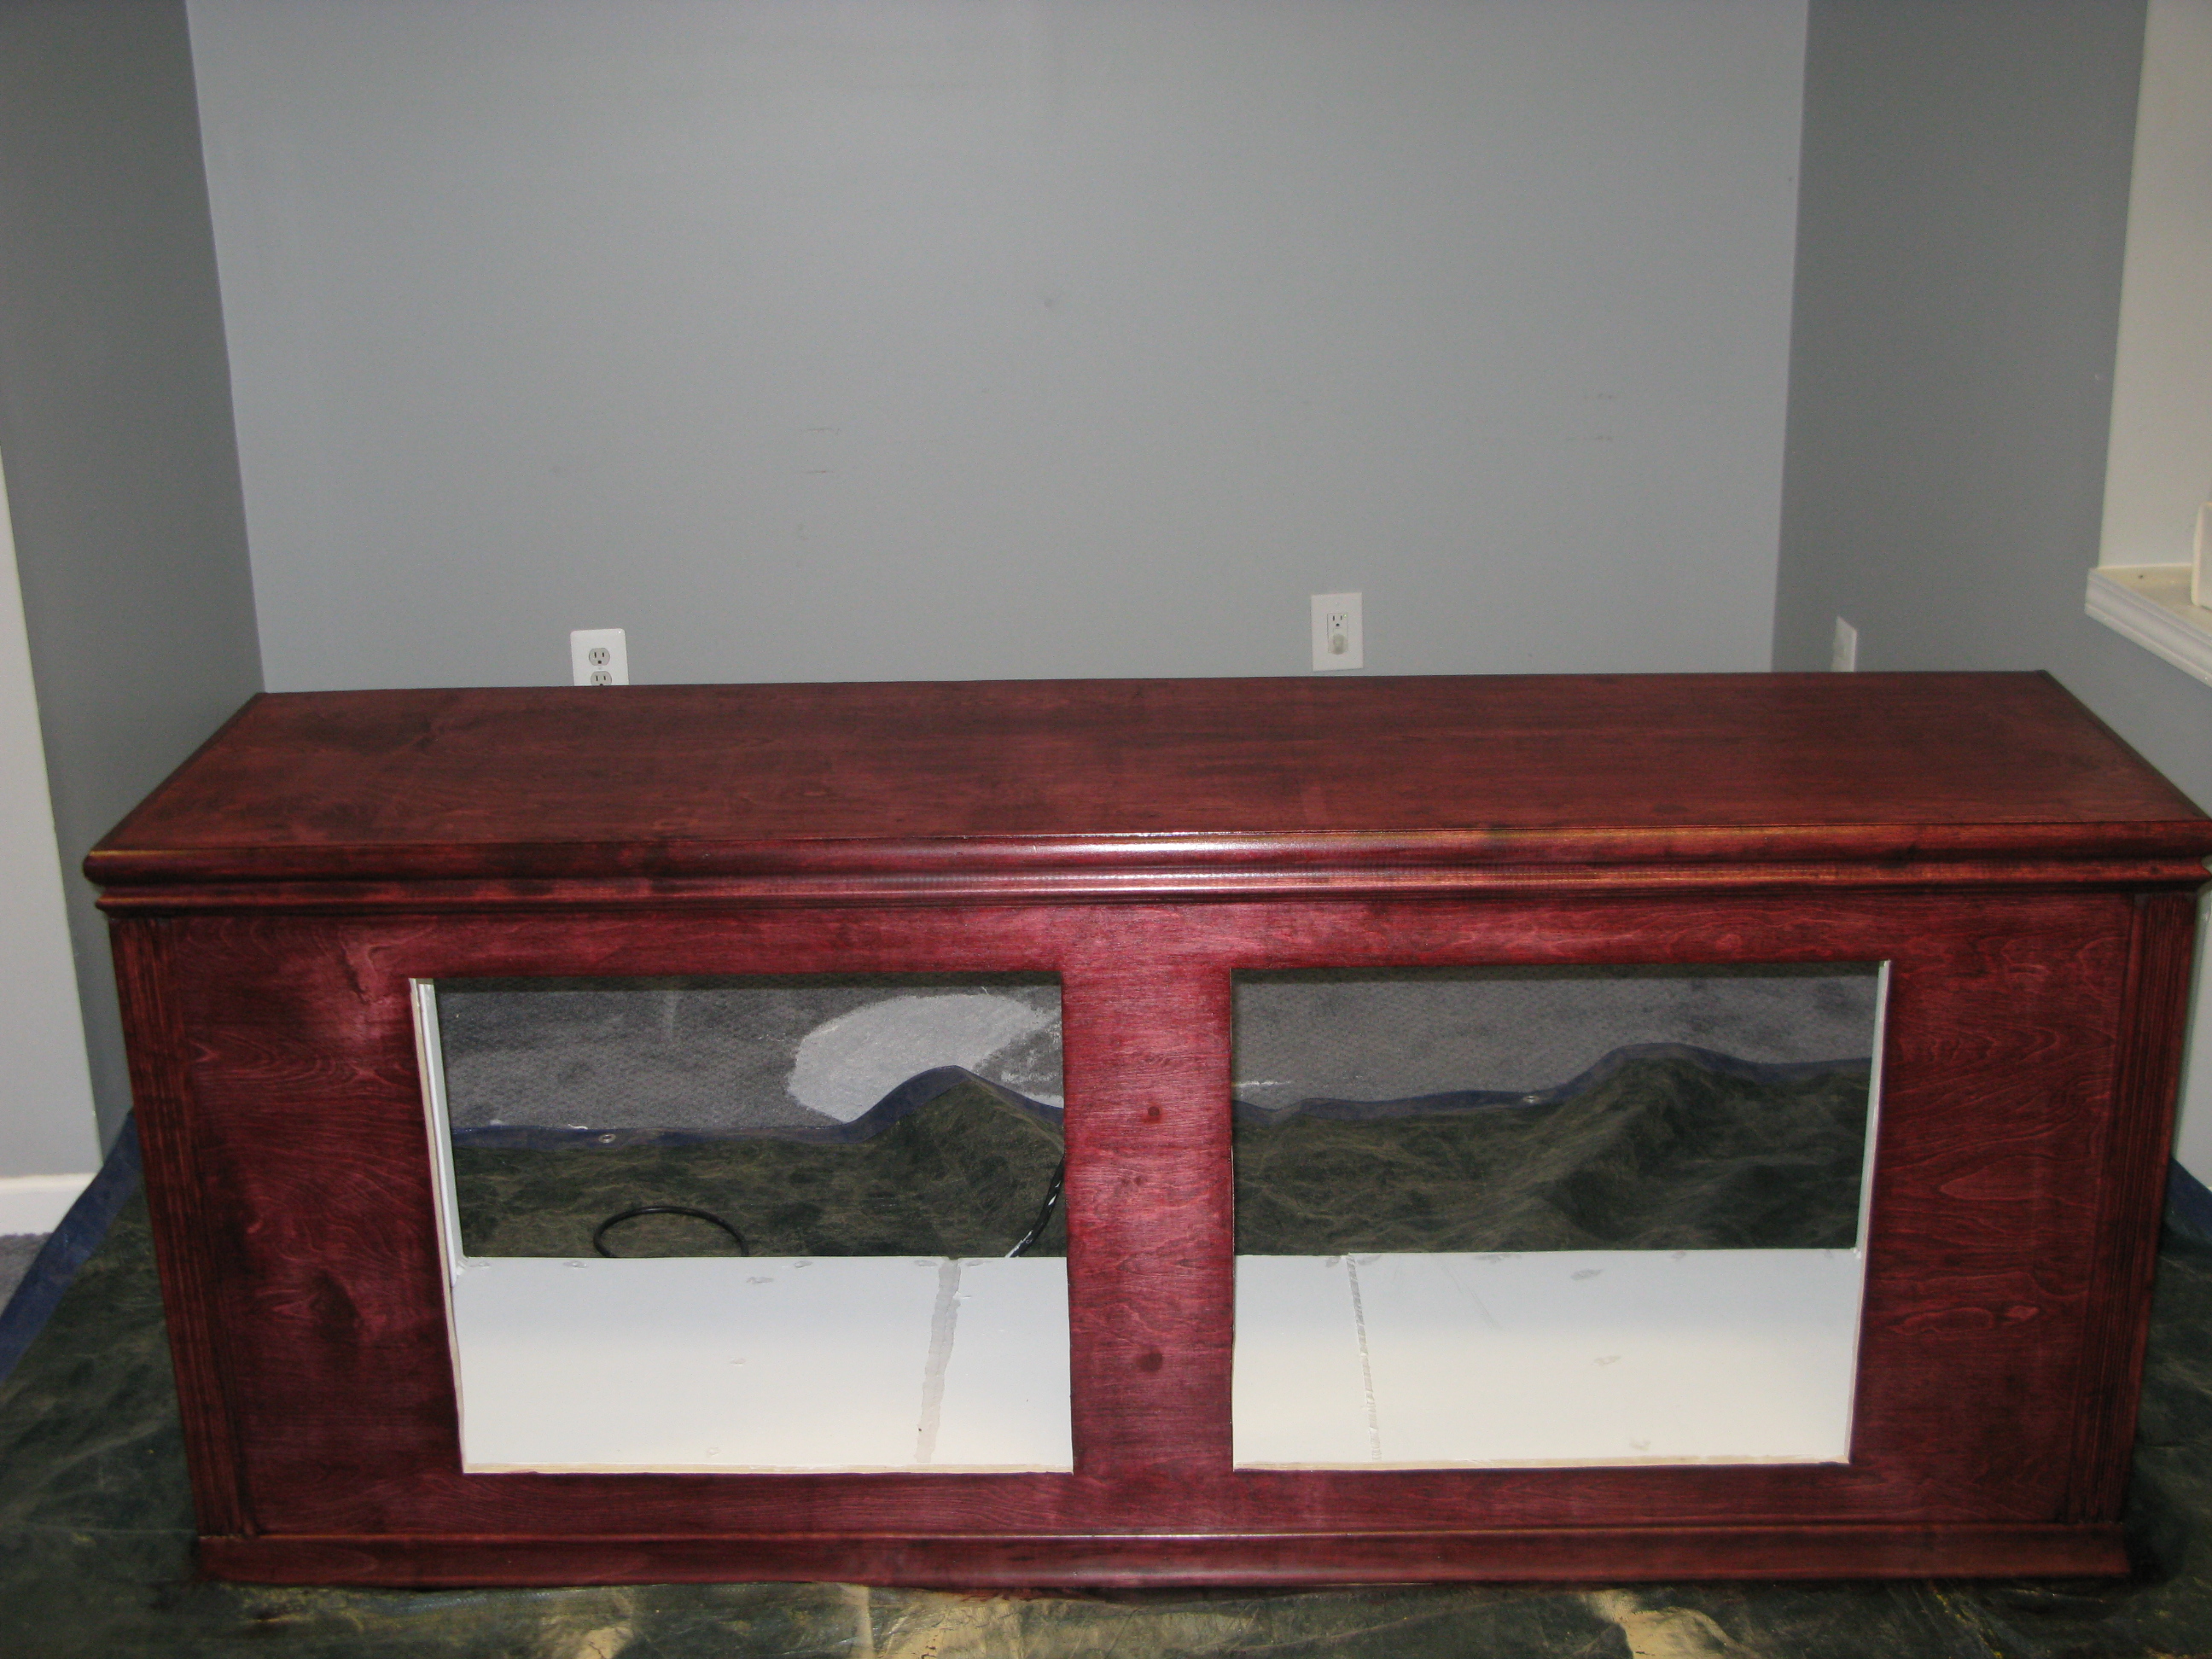
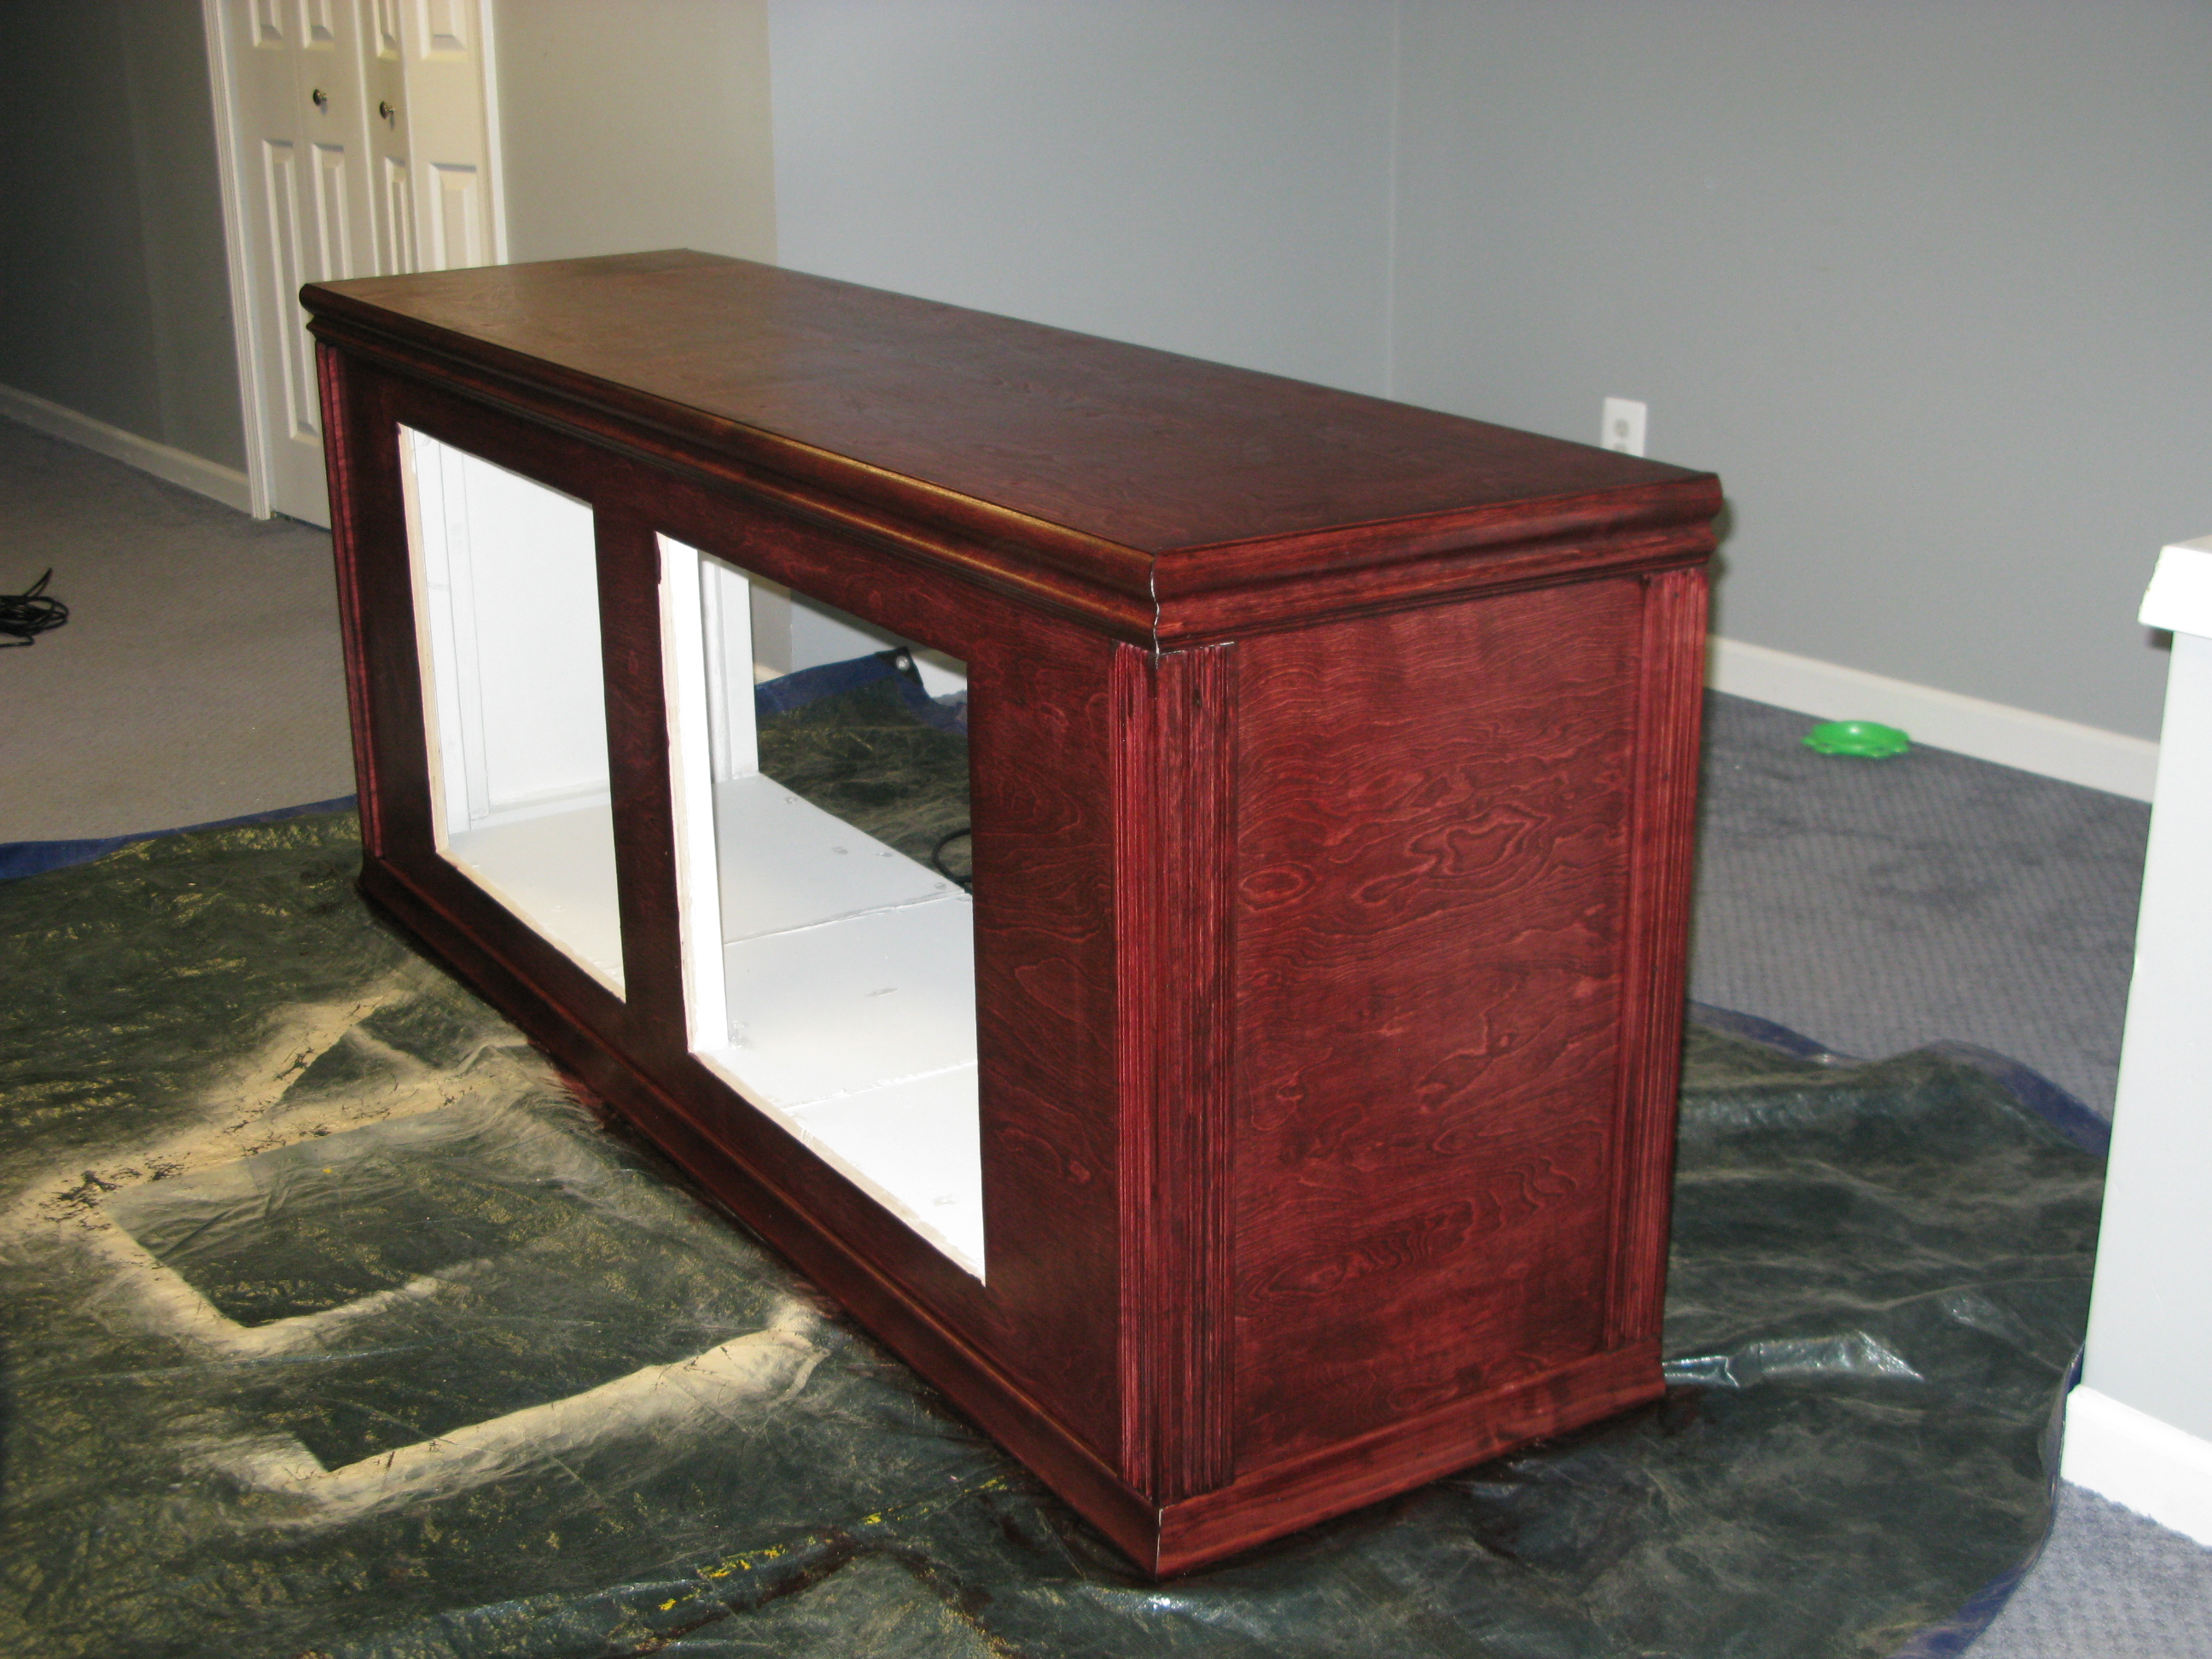
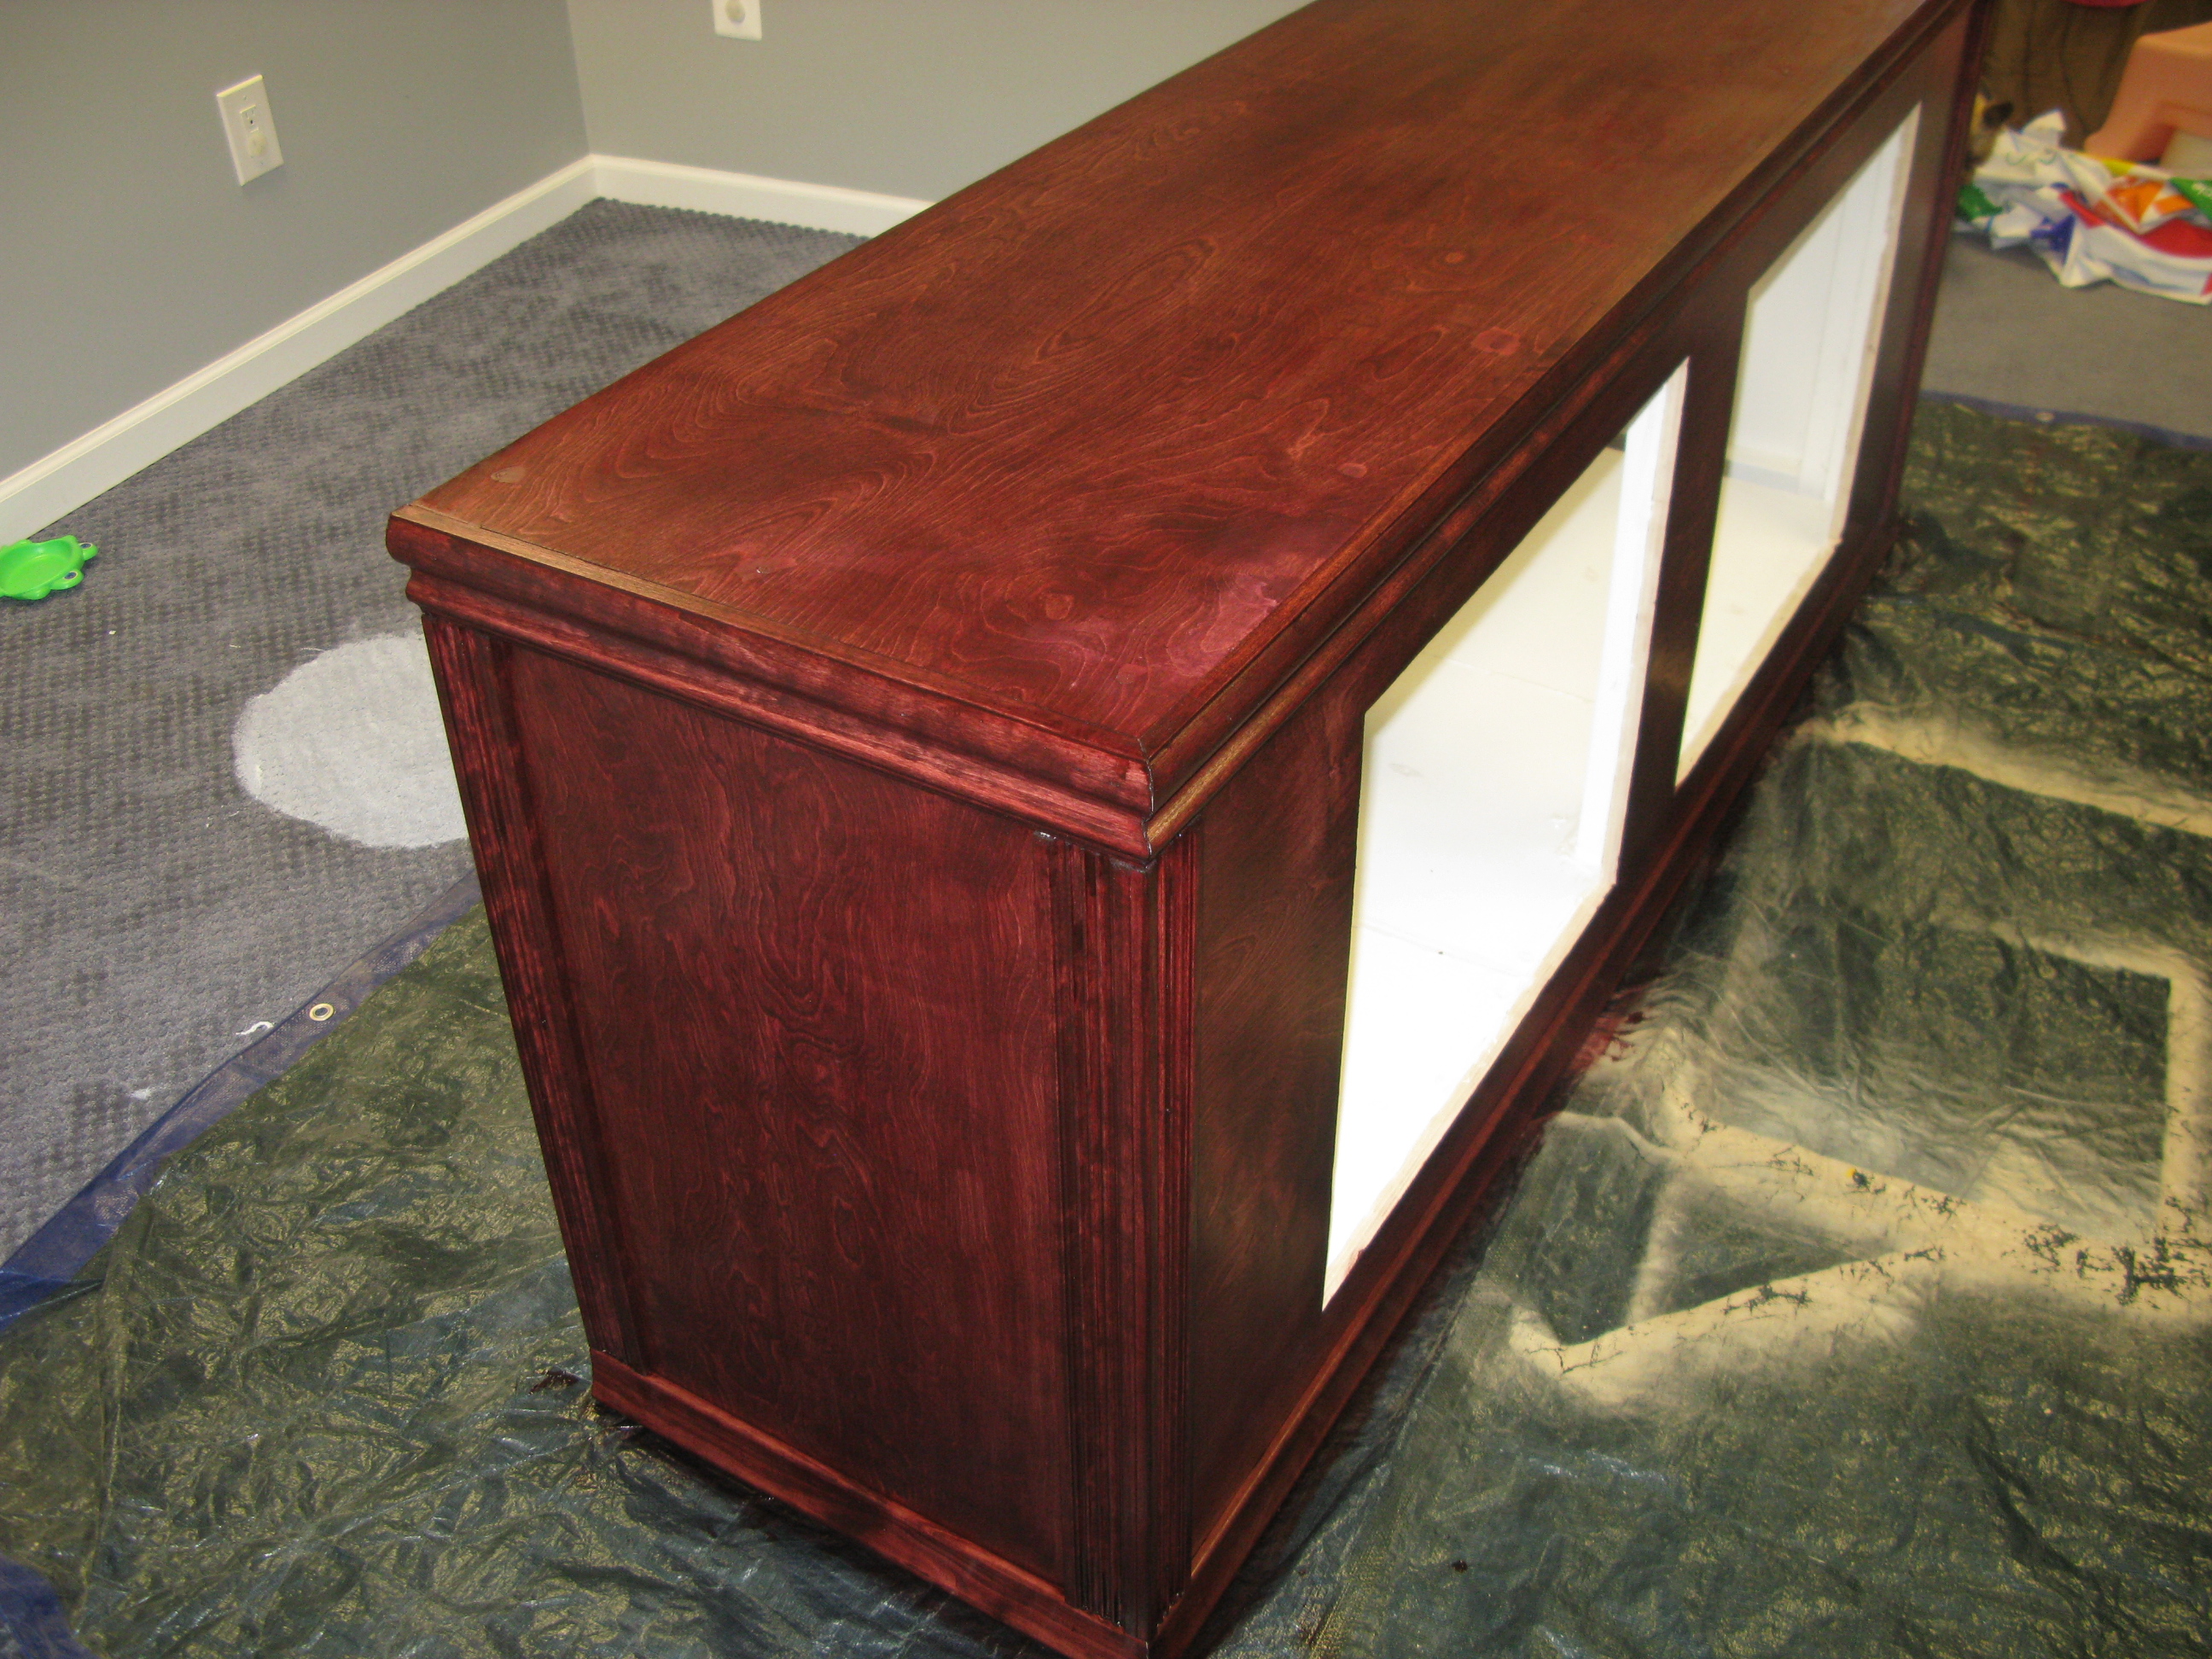
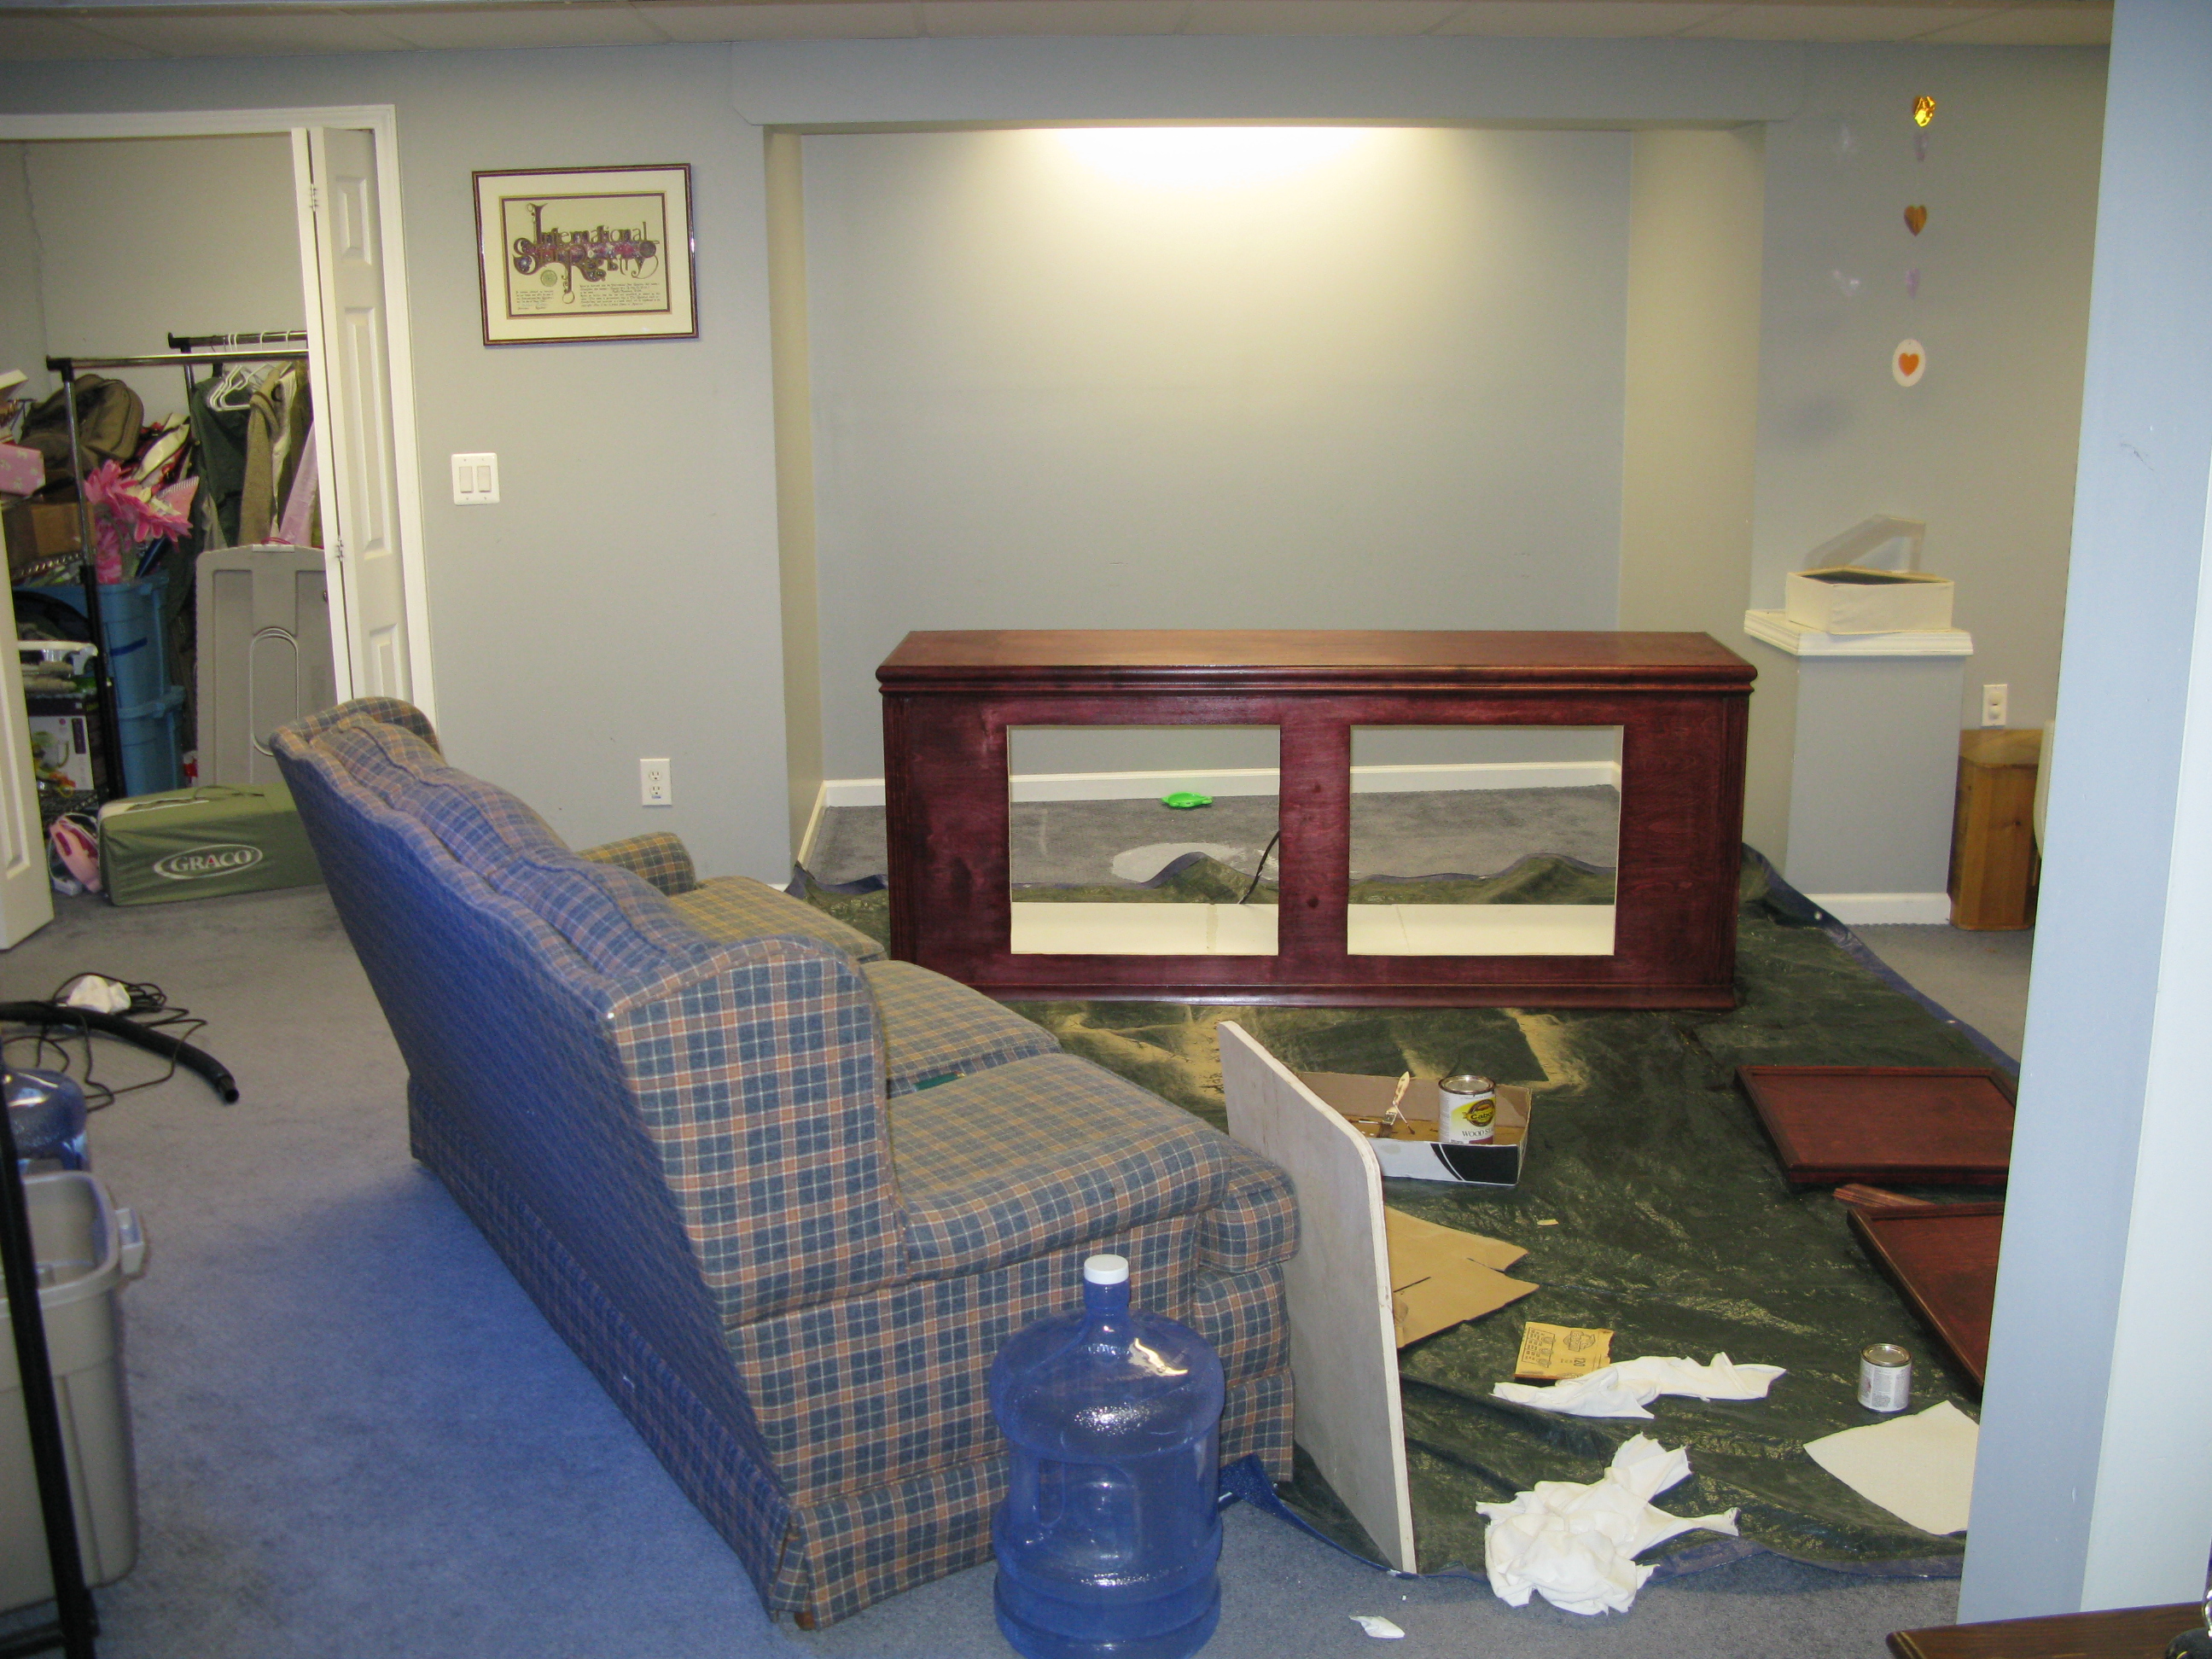
Well after three coats of stain I think it is done. I don't think it turned out too bad. Its by no means perfect but I like it. I still need to put a protector of some type on. I am not sure which way I am going to go on that. I had to include a wide shot just to show what a mess I made of the basement for the better part of a month. My wife is a saint. LOL
sweatervest13
Active Member
Quote:
Originally Posted by 2Quills http:///forum/thread/385156/125g-stand-reinforcement-and-skinning/20#post_3385430
It looks great, man. Once you get some clear coat on there it's going to really pop. lol I think I see a boo boo on the carpet. Did you spill some paint?
Oh ya. Almost a whole gallon of paint. It was right before I went to bed a few weeks ago. I did not know what to do, so I had my shop vac right next to it. Turned that sucker on and sucked up all the paint. I had to buy a new shop vac. LOL. Oh well.
What do you think would be best for a clear coat??
2quills
Well-Known Member
Quote:
Originally Posted by sweatervest13 http:///forum/thread/385156/125g-stand-reinforcement-and-skinning/20#post_3385479
Oh ya. Almost a whole gallon of paint. It was right before I went to bed a few weeks ago. I did not know what to do, so I had my shop vac right next to it. Turned that sucker on and sucked up all the paint. I had to buy a new shop vac. LOL. Oh well.
What do you think would be best for a clear coat??
Well if it were a regular piece of furniture I would go for a lacquer finish. But since we're dealing with salt water and water evaporation I'm going with poly urethane on mine. It's a lot more durable. I'll be going with semi gloss. You could also coat the inside of the stand with it to if you wanted to. Probably not totally necessary though with the paint work you did in there. But it would help protect it for a long time to come.
acrylic51
Active Member

Quote:
Originally Posted by sweatervest13 http:///forum/thread/385156/125g-stand-reinforcement-and-skinning/20#post_3385313
2quills
Well-Known Member
Hey dude, I decided to jump over to this thread since this is where all the building is going on. When you get some time shoot us some actual measurement of a couple of things.
The actual measurement between the two vertical 2x4's in the center and a measurement across the length of underneath the stand to where the plywood bottom ends on each side.
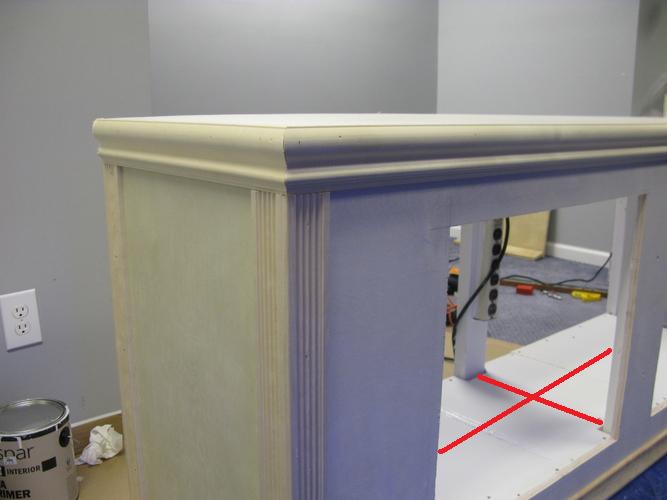
Also, it looks like you haven't closed off the back side of the stand which gives you a little more room for installing tanks. So I'm curious as to the dimensions of the two openings on the back as well as the two on the front where the doors will be.
The actual measurement between the two vertical 2x4's in the center and a measurement across the length of underneath the stand to where the plywood bottom ends on each side.
Also, it looks like you haven't closed off the back side of the stand which gives you a little more room for installing tanks. So I'm curious as to the dimensions of the two openings on the back as well as the two on the front where the doors will be.
acrylic51
Active Member
Just taking a wild guess from looking at the pics....I think you could easily stuff a nice size sump in the range of 44+" under there. My buddies stand is something similarly built using the same size tank, and was easily able to get a 43" sump underneath without going in from the back.....Your possibilities are unlimited at this point of the game IMHO......Looks good though!!!!!
sweatervest13
Active Member
Okay, I have some family staying with us from out of town so my evenings have been busy. But I was able to get some measurements.
floor of stand- 62"x15" The inside height is at least 22 3/8"
Front doors- 23 3/8"x20 1/2" both doors
Back openings- 29 1/2"X 22 3/8" 22 3/8" is the height.
I am planning to use a store bought tank. I don't think my skills or equiptment is up to the task of trying acrylic so a glass tank is my only option. I think a standard 55g tank is 48" long but only 12" wide. I could fit the width but IDK about the length. Like Acrylic was saying he is helping his buddy and they are putting in a 43" sump.
What do you guys think that I could fit in there? Do you think that it would be better to try one larger tank, or two smaller tanks?
Here is what I want to accomplish:
In the sump I want the first chamber to have some type of filter sock or filter floss (basically some type of mechicanical filtration). I am not sure what the best place in a sump would be for it, but I would like to run chemi-pure elite. Then I need a skimmer chamber (not sure the best way to do this, i.e how big to make it) I was looking at the SWC skimmers, or a reef octo. I also want to have a refugium of a decent size. I am kicking around the idea of an ATS. I don't see any drawbacks on a ATS and it does look kind of simple to set up, so I think it is going to make its way into the plans. I also want to try to leave enough room for a ATO unit. I have read great things on the Tunze one with the dual sensors. I would like to leave some room if possible for future upgrades (carbon GFO reactor type things) I am sure I am missing something so I you see something that I missed that could be helpful let me know.
I should look into like a RKL type deal, and maybe some probes of some sort. Not sure what is out there for a decent price. But I like the idea of bringing in some technology to make things easier.
I think that I will look at some of Melvs sumps designs and see if there is something I can steal ideas from. LOL. BTW I sent him an email about getting a quote on building a sump, still have not heard back from him. Oh well!! lol
BTW. I think that I will just use this thread going forward for the sump build. Right?
2quills
Well-Known Member
Sounds good. Will take a look at this again tonight and see what kinda ideas we can throw at ya. Mark is a pretty busy guy but he will get back with you eventually, he always has with me. If you're looking for a custom I think Shawn is a little closer to MI than mark is.
Edit: Had to edit, whenever I go back and read posts that I made on my phone they always sound crazy lol. Stupid intuitive keyboards. I think you can change your title to the thread and just call it your 125g build. Makes it easier for everyone to keep the related stuff in one thread unless it's a totally unrelated topic.
Edit: Had to edit, whenever I go back and read posts that I made on my phone they always sound crazy lol. Stupid intuitive keyboards. I think you can change your title to the thread and just call it your 125g build. Makes it easier for everyone to keep the related stuff in one thread unless it's a totally unrelated topic.
sweatervest13
Active Member
My house guests left and we made it past the holidays in one piece. Lol. I finally got to putting a finish on the stand. I went with 2Quills suggestion and used Polyurethane (Cabot semi gloss). I have two coats on it right now and is starting to look good. I love that glassy shine. Add this to the list of first time projects, but I had an unlikely helper... My Mother-in-Law. Lol. She is an artsy fartsy type and has been hand painting furniture for years for like art fairs. She coached me thru the process and made sure I did not get any bubbles or crazy brush strokes in the finish.
I think that the two coats looks good but I think that I am going to put at least two-three more coats on just to be on the safe side. I realized that when I painted the inside of the stand that I left a couple of areas unpainted/unstained. The door frames are the exposed plywood, and the back of the stand I have more exposed plywood. I put some polyurethane on the door frame and on the bottom of the inside of the stand as well. I will get the back exposed plywood a few coats going forward.
The tank should be done in a week or so. I will have to borrow the wife's mini van to get it home. Once home I am going to take it straight down to my basement. I hope to have the stand mostly done by then. I will kinda dry fit the tank on the stand to see where I need to cut out the top for the overflow holes going to the sump area. I figured that would be the best way to get the top of the stand cut.
sweatervest13
Active Member
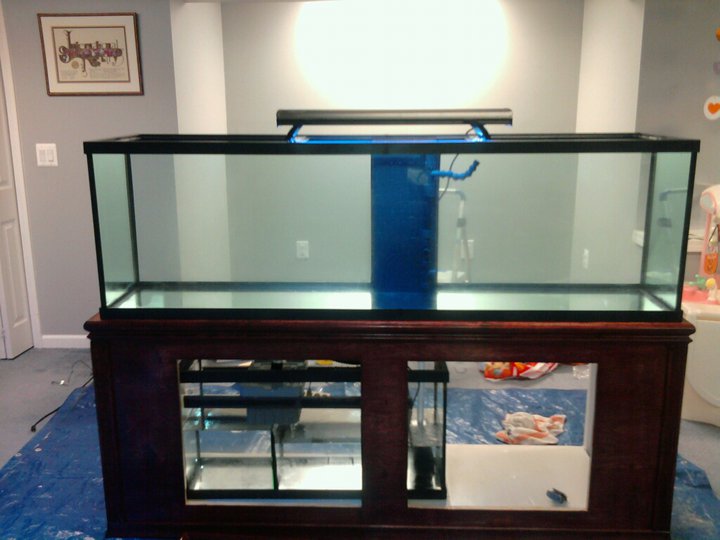
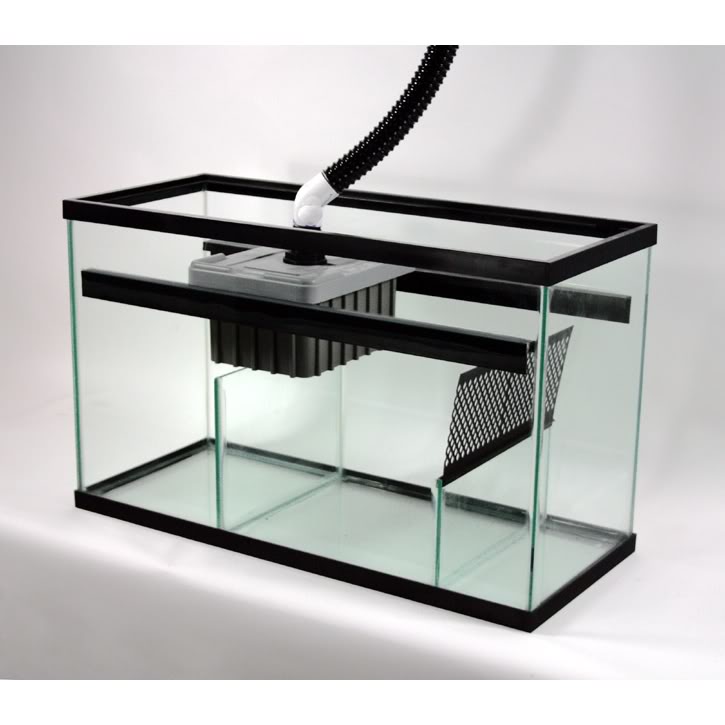
I picked up the new 125G yesterday. I am super excited. I think it looks great. I did decide to go with the Great Lakes Aquarium sump, the owner just kept knocking down the price to a point that I was cheaper then if I did a DIY. The sump is a 36G I think the measurements are 36x12x18. It is a bit tight under the stand with the sump. I am already thinking that the stand should have been at least 6" higher. Oh well. I had to temp remove the 2x4 support that was in the back of the stand to get the sump in. It was a bit of a pain but not too bad.
I drilled holes in the top of the stand for the drain and return pipes. Right now the tank is kind of soft plumbed with some hose that came with the sump and some 3/4" tubing that I had. I think that I want to hard plumb it with PVC, that way I can add a ball valve and a disconnect. I might need some help with figuring out what I need to do all that.
I still need to choose a skimmer, right now I am looking at some of the SWC skimmers. The one I would like is the 150, but I am having trouble finding it for sale. NikeSB had some really good things to say about this skimmer on a post a few weeks ago. But like I said, I am having trouble finding it.
Man of man I have a lot of stuff to do on this tank still. I LOVE IT!!!!!
mr. limpid
Active Member
Tank stand looks great, are you building a canopy to match? Whish I would sealed the inside of my stand had to many water spills grain is all raised glad its on the inside. Looks like you have plenty of room on the right for QT tank or storage . Your light seams to be a little short. LOL.
sweatervest13
Active Member
Quote:
Originally Posted by 2Quills http:///forum/thread/385156/sweatervest-s-125g-reef-build/20#post_3390494
Looks good dude.

I see what you're saying about the height. Wondering if you'll even be able to cram a skimmer into the sump. May have to think about going with an external skimmer. How much head room do you have above the sump?
Thanks!!
For the skimmer I think it will be close but should work. I am looking at some of the SWC models and the 160 xtream has a footprint of:
Foot Print:
LxWxH in inches
9*7*20.58
So, the skimmer section which is on the left side of the sump is like 12"x12" and the inside of the stand is a bit deceiving. BUT I will have to have it all put together out side of the stand then put the sump under the tank.
2Quills, would your recommend hard plumbing this sump?? Or should the soft hoses work? I think that I would like to add a ball valve to both the drain and return line in case I need to do maintenance on the equiptment.
I think with the extra space I have I want to add an ATO system later on.
Originally Posted by 2Quills http:///forum/thread/385156/sweatervest-s-125g-reef-build/20#post_3390494
Looks good dude.

I see what you're saying about the height. Wondering if you'll even be able to cram a skimmer into the sump. May have to think about going with an external skimmer. How much head room do you have above the sump?
Thanks!!
For the skimmer I think it will be close but should work. I am looking at some of the SWC models and the 160 xtream has a footprint of:
Foot Print:
LxWxH in inches
9*7*20.58
So, the skimmer section which is on the left side of the sump is like 12"x12" and the inside of the stand is a bit deceiving. BUT I will have to have it all put together out side of the stand then put the sump under the tank.
2Quills, would your recommend hard plumbing this sump?? Or should the soft hoses work? I think that I would like to add a ball valve to both the drain and return line in case I need to do maintenance on the equiptment.
I think with the extra space I have I want to add an ATO system later on.
