125 Reef Tank Build

scopus tang

Active Member
Wow! Drilled it yourself and everything. Way to Go! Looks great ~ looking forward to seeing the hard plumb in place.
 

veni vidi vici

Active Member
Originally Posted by Scopus Tang
http:///forum/post/2637014
Wow! Drilled it yourself and everything. Way to Go! Looks great ~ looking forward to seeing the hard plumb in place.
I have to say ,i was really nervous staring the first hole.But after you get the feel for it the bit works great.Cuts like butter
 

scsinet

Active Member
Originally Posted by Veni Vidi Vici
http:///forum/post/2636972
For the time being im going to continue using my Coralife SS125 in sump untill the funds become availabe,I plan on keeping my bioload light untill then.My first 2 prioritys are going to be a 3rd MH ballast and reflector.I plan on using the
Sunlight Supply Galaxy 250W Electronic Ballast and a retro reflector.Not sure which one yet.For my CL return im going to use Reeflo Dart with the returns going over the top.4 total .I plan on useing my sump return to supply my phos reactors.
Thanx for taking a peek


Google "Ballastwise."
I use these ballasts. Great price points.
 

veni vidi vici

Active Member
Originally Posted by SCSInet
http:///forum/post/2637240
Google "Ballastwise."
I use these ballasts. Great price points.
The price is outstanding,Its a electronic ballast .....HMMM
Would this be a good ballast for a electronically challenged DIY guy?And are there any limitations to this ballast as far as running different types of Mogul based bulbs? Does it need to be encased in a ballast box?
 

wattsupdoc

Active Member
The ballast is pretty simple to connect. No real genius needed to wire it up. It is already in it's own "box". You might take a look at sanjays reef lighting page for technical data involving this ballast and any lamps you might have in mind for it. This will help you decide which bulb/ballast combination you choose. I'm pretty sure the sunlight supply will fire any bulb compatible with it's rated power. But it will, as with any ballast, fire different bulbs differently.
 

scsinet

Active Member
Originally Posted by Veni Vidi Vici
http:///forum/post/2637394
The price is outstanding,Its a electronic ballast .....HMMM
Would this be a good ballast for a electronically challenged DIY guy?And are there any limitations to this ballast as far as running different types of Mogul based bulbs? Does it need to be encased in a ballast box?
I personally feel that any ballast should be in an enclosure, but these aren't "open frame" ballasts like their magnetic counterpart.
Check out my 180 build thread, it's got some pics of the ballasts - I used 3 of them for my lighting system.
It's easy to connect like doc said... 2 wires in (black and white) and 2 wires out (red). All you need to do beyond that is ground the whole setup.
 

wattsupdoc

Active Member
If they are like the icecaps E.B., (I'm 99.9% sure they are)as well as most MH electronic ballasts I have seen, are in an enclosure made specifically to be out in the open. They are encased in an aluminium housing just like our fixtures are constructed with. As well, (at least the ice caps are anyways) encapsulated inside the enclosure in tar. Much like the old magnetic ballast were. Waterproof connectors (grommets) are supplied at the cords connections. Very nice piece of equipment really.
I'm really pretty sure the sunlight supplies are plug and play also.

Otherwise I'm with you on the ballasts in enclosures, isolating them from direct contact on wooden or other flamable surfaces too. You did a fab job on your's.
Ballasts like advance, workhorse(electronic) or iron core magnetic etc, MUST be in an enclosure. Those that are in enclosures already that have vents in the enclosure should be located away from any moisture.
 

veni vidi vici

Active Member
I got a few more things off the check list done today.I painted the back of the tank yesterday with Rust-oleum appliance epoxy.Man i love this stuff ,When it dries its like a hard shell,very durable.But if anyone ever uses it make sure you let the first coat dry before you add a second.I didnt wait long enough or i waited to long ,i went to touch up a speck i missed and the paint spider webed on me.I had to scrape it and do it over in that section.
I also installed my overflow bulkheads ,i didn't want to take a chance on them leaking so after i inspected them and cleaning them i used a little bit of gasket silicone.
I also picked up my glass for my overflow.2'6"x6"x2" and got it siliconed together.I think because its so thin im going to have a heck of a time siliconing the inside.Im going to give the overflow a few hours to set up before i put it in the tank.We shall see.


veni vidi vici

Active Member
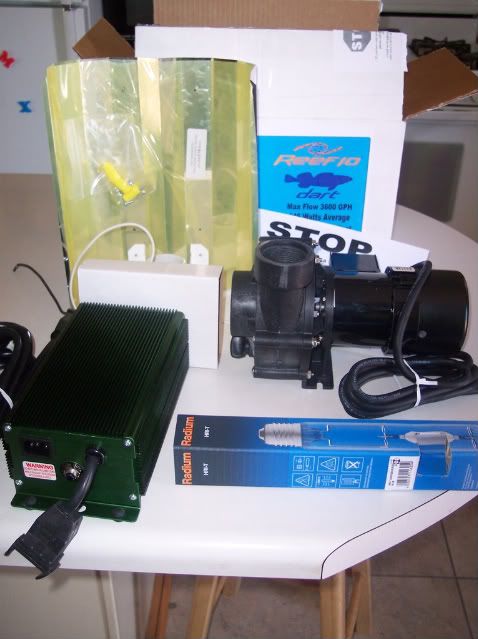
I received my modular line lock yesterday.Today My Sequence Dart Pump will be here and my Ballast and Reflector,I think i got a good deal on the Retro kit.I ended up going with the Galaxy Sunlight Supply Electronic Ballast,Spider reflector ,and a Radium 20k bulb for $250.I probably could have done better $ wise with a different ballast like the one SCSInet suggested but i dont know enough about them.However i will give them a shot on my next project"frag tank".
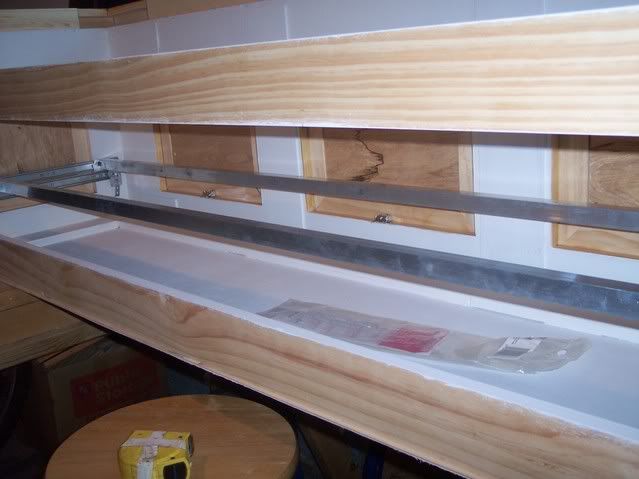
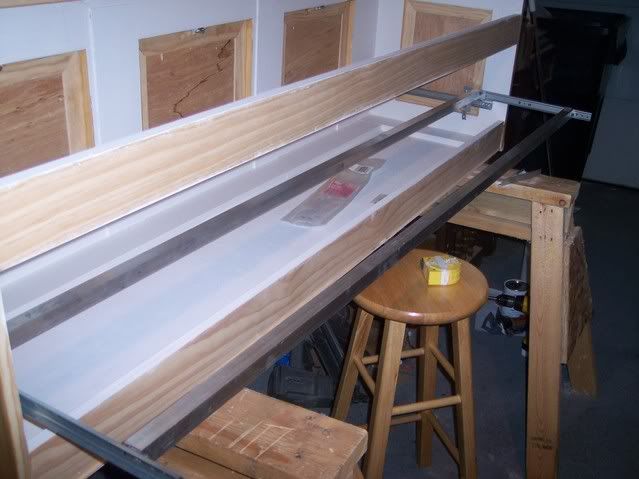
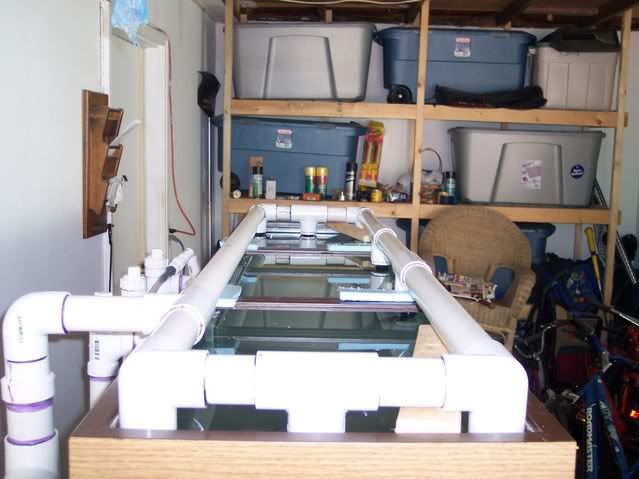
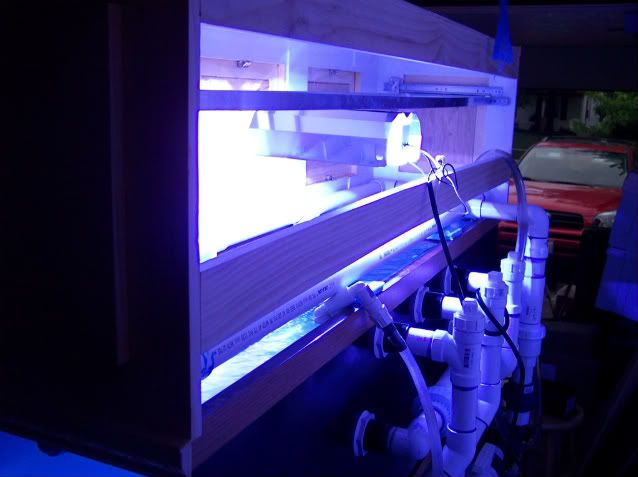
I also built my lighting rack so that it will slide out of the back of canopy so its out of the way for maintenance and other things.
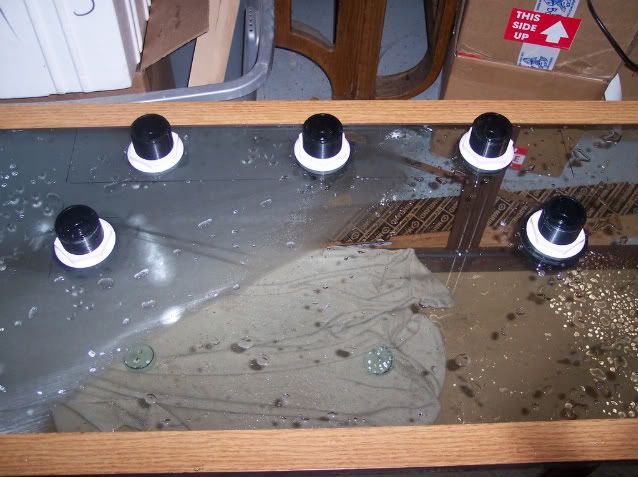
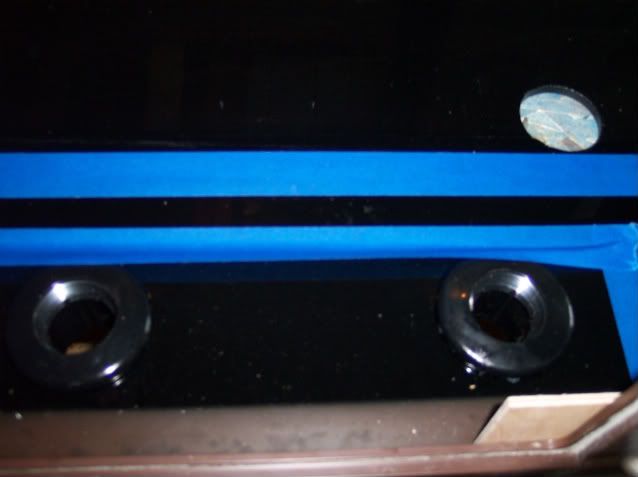
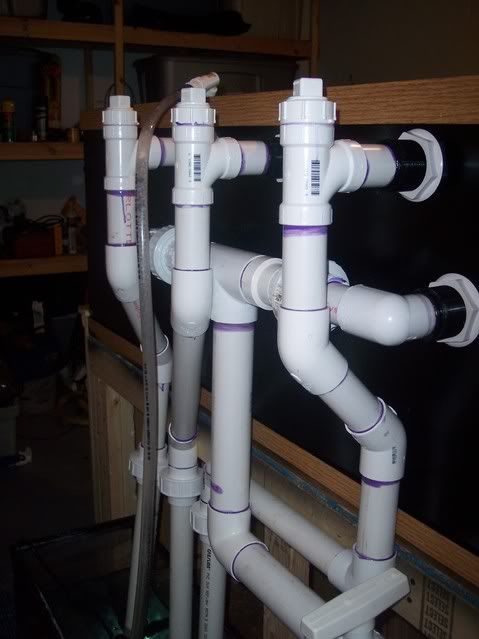
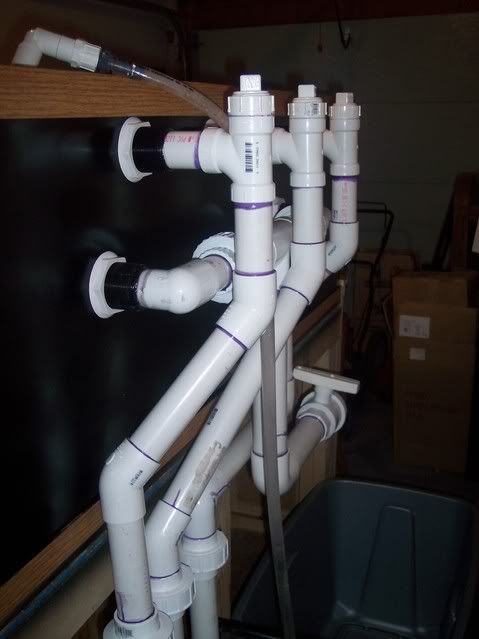
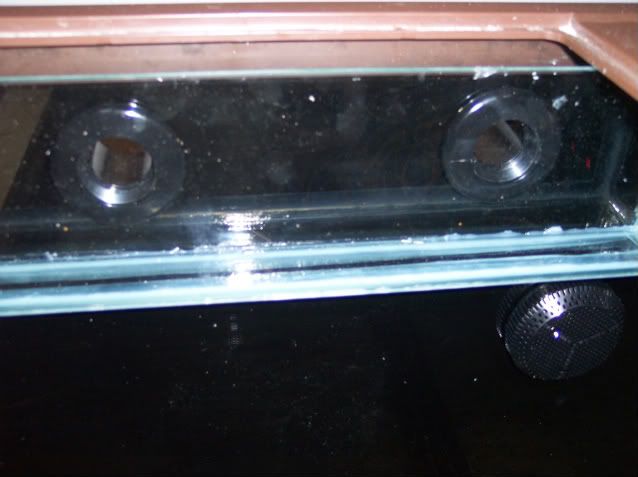
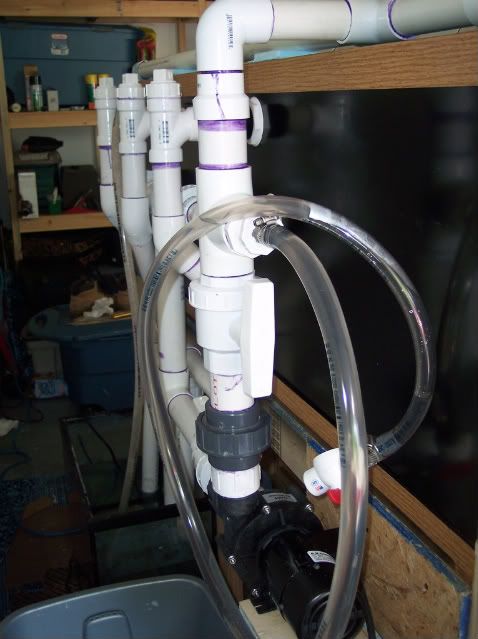
Plumbing is just about done,i just need to hook up my CL pump and fabricate my manifold for the top of tank,it has 8 Modular line returns.
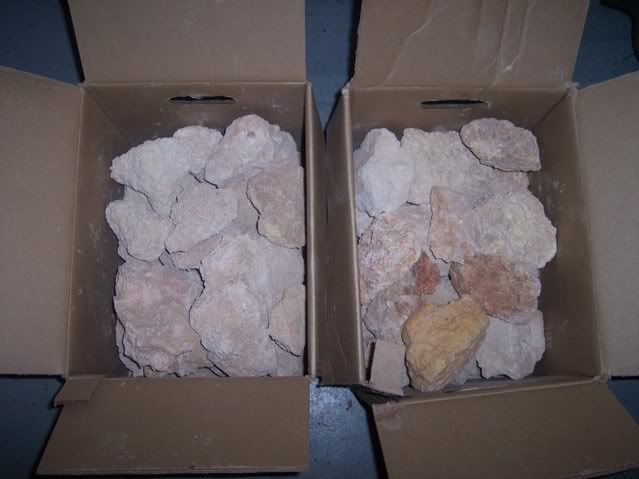
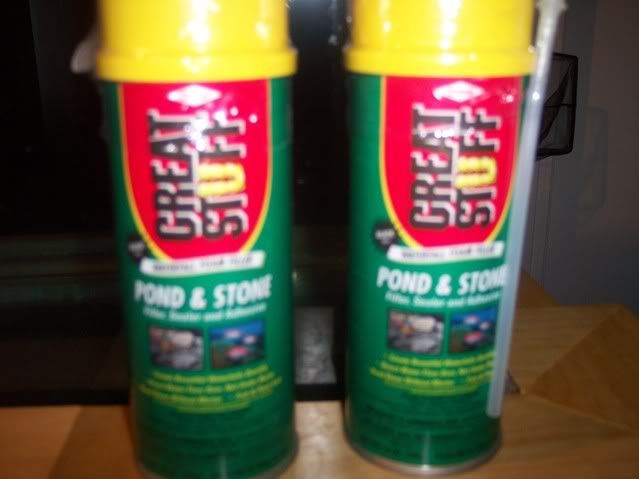
And finally get going on my calcium carbonate tufa rock/foam wall.
I'm almost there ,i have to still finish underneath tank odds and ends.I have to still build platform for my 30 gallon tall top off kalk reservoir that will eventually be just a gravity fed ATO after i get a calcium reactor.I think i should have it in the house next week end.

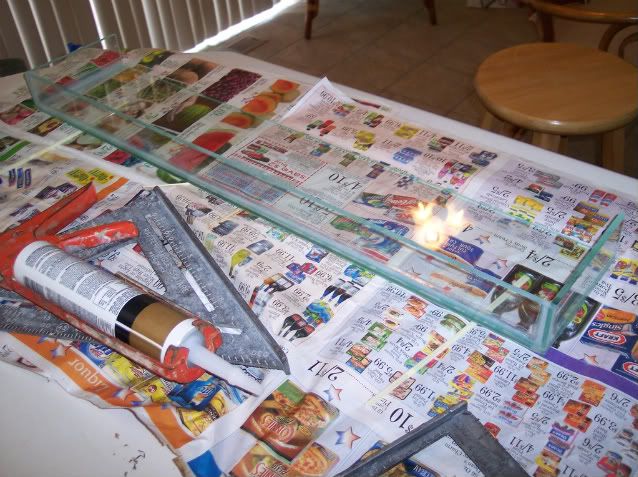
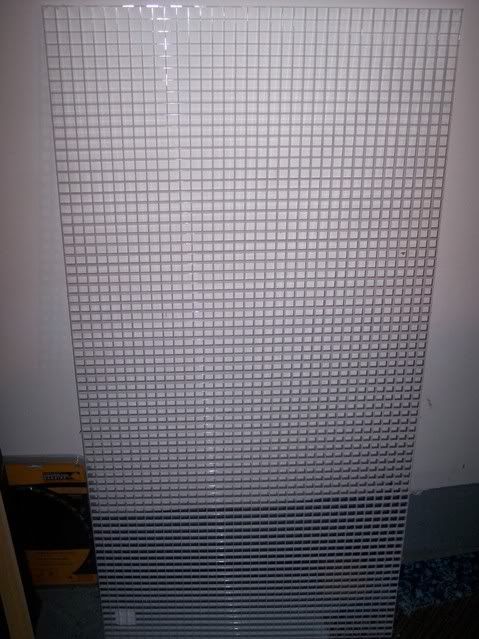
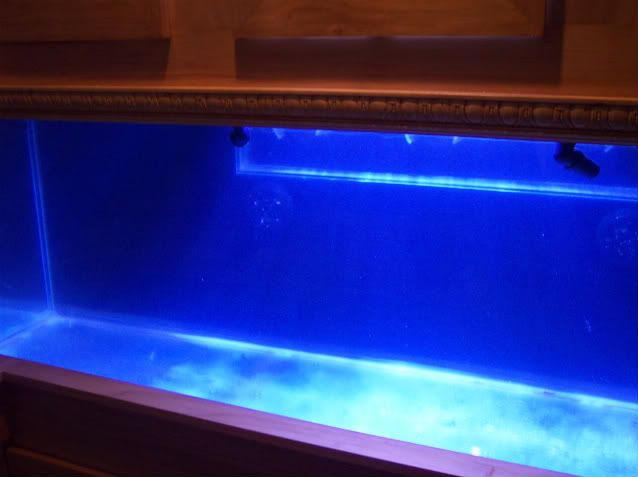
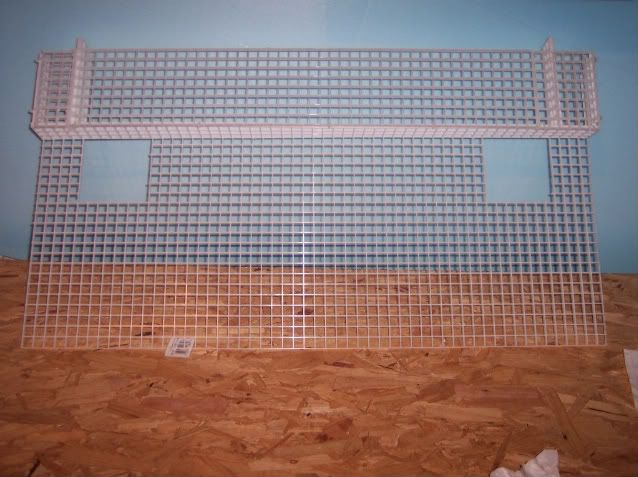
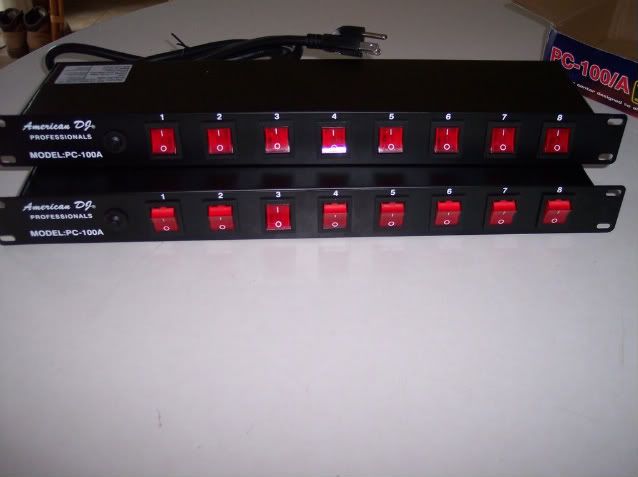
Here are a few pics of what i have done.


trish&dave

Member
Beautiful set up! Cannot wait to see how you plumb your refuge. I am in the process of trying to set mine up with a W/D as my main drain and planning to run our refuge off of the w/d.
 

veni vidi vici

Active Member
I plumbed up the Dart pump,and man this thing rocks.1. its whisper quiet and 2.it blows out some water.I think im getting close to the max with only 24" head.I changed the 1.5" discharge pipe up tp 2" and then back down to 1.5"for the manifold with my 8 modular line fittlings.I might do 6 up top and 2 down low.Ill go over the top and then down the back behind my foam/rock wall.I also added a "T" and some 3/4" hose for easy water changes.Before i get started on the back foam/rock wall im messing around with the idea of useing my 2 modded MJs and some flex pvc.Im going to try and get some mid level to low flow .
Now im just waiting on my side outlet 90s to arrive then everything except the foam rock will be done.


veni vidi vici

Active Member
Can anyone tell my what the recommended way to mount Hamilton Reef Star reflectors?Horizontal or perpendicular to front of tank?
TIA
 

veni vidi vici

Active Member
One more step in this build and ill move it into its final resting place.

Lights!I only have one in until i make the switch.


Here is the start of the foam /rock backing,this will be the center section.
 
Top