415 Gallon Plywood Tank Build

acrylic51

Active Member
I could actually drop down to a smaller fan though that would be a little more energy friendly.....but I like overkill most of the time......I wish Lowes and HomeDepot had a delivery for small items....Just call them up, place your order and they delivery....Kinda like the pizza or Chinese shops!!!!! Now that would be killer!!!!!
 

tlsohio

Member
What an absolutely amazing project!! This is the most beautiful home diplay, I have ever seen!! Beautiful woodworking as well, I'm speechless beyond that!! I agree with meowzr, I really enjoy the pictures! Very, very nice!!
 

acrylic51

Active Member
Thank you!!!! Not even close to beautiful.....I've seen some that are just totally mind blowing....but they push me.....
Quote:
Originally Posted by tlsohio http:///forum/thread/376802/415-gallon-plywood-tank-build/440#post_3321604
What an absolutely amazing project!! This is the most beautiful home diplay, I have ever seen!! Beautiful woodworking as well, I'm speechless beyond that!! I agree with meowzr, I really enjoy the pictures! Very, very nice!!
 

acrylic51

Active Member
Quote:Originally Posted by WangoTango http:///forum/thread/376802/415-gallon-plywood-tank-build/460#post_3322044
No water in it yet?

I still haven't decided if I'm going with glass or acrylic yet for the viewing panels. This has by far been my most challenging build......every last detail has to be accounted for, all cuts exact....I have thrown a fee extra steps in the process with laying fiberglass throughout the whole tank. Most usually forgo that process.... Hey Wango are you still in PA? You can always come by and give me a hand!!!!!
 

acrylic51

Active Member
Quote:Originally Posted by tlsohio http:///forum/thread/376802/415-gallon-plywood-tank-build/460#post_3321923
I think you're being modest! When your project is finished, from what I've seen so far, it will be mind blowing too!!!

Keep your fingers crossed!!!! A lot of small loose ends to tie up and a week of vacation coming up and hopefully by vacation time I'll be back to working tank and pouring the last of epoxy.... I'll take volunteers to come mix the epoxy while I pour?!?!?
 

tlsohio

Member
If I lived closer, I'd be there in a heart beat. I love DIY projects, my capabilities are a bit more limited than yours though, lol! I'll keep a watch for more pictures.
 

acrylic51

Active Member
Ok....after a hectic work week, and another just around the corner.....Ran into a little issue.....Mounted up my movable light rack only to find that it's "racked"....So all you wood guru's give me some advice on how to tweak it into place. The light rack does move, but with it being racked it's not as smooth as it should be, and getting it completely level is all but impossible. It's close, but most know how anal I am; and it will drive me insane from here to eternity.....Here's a couple pics, need ideas.
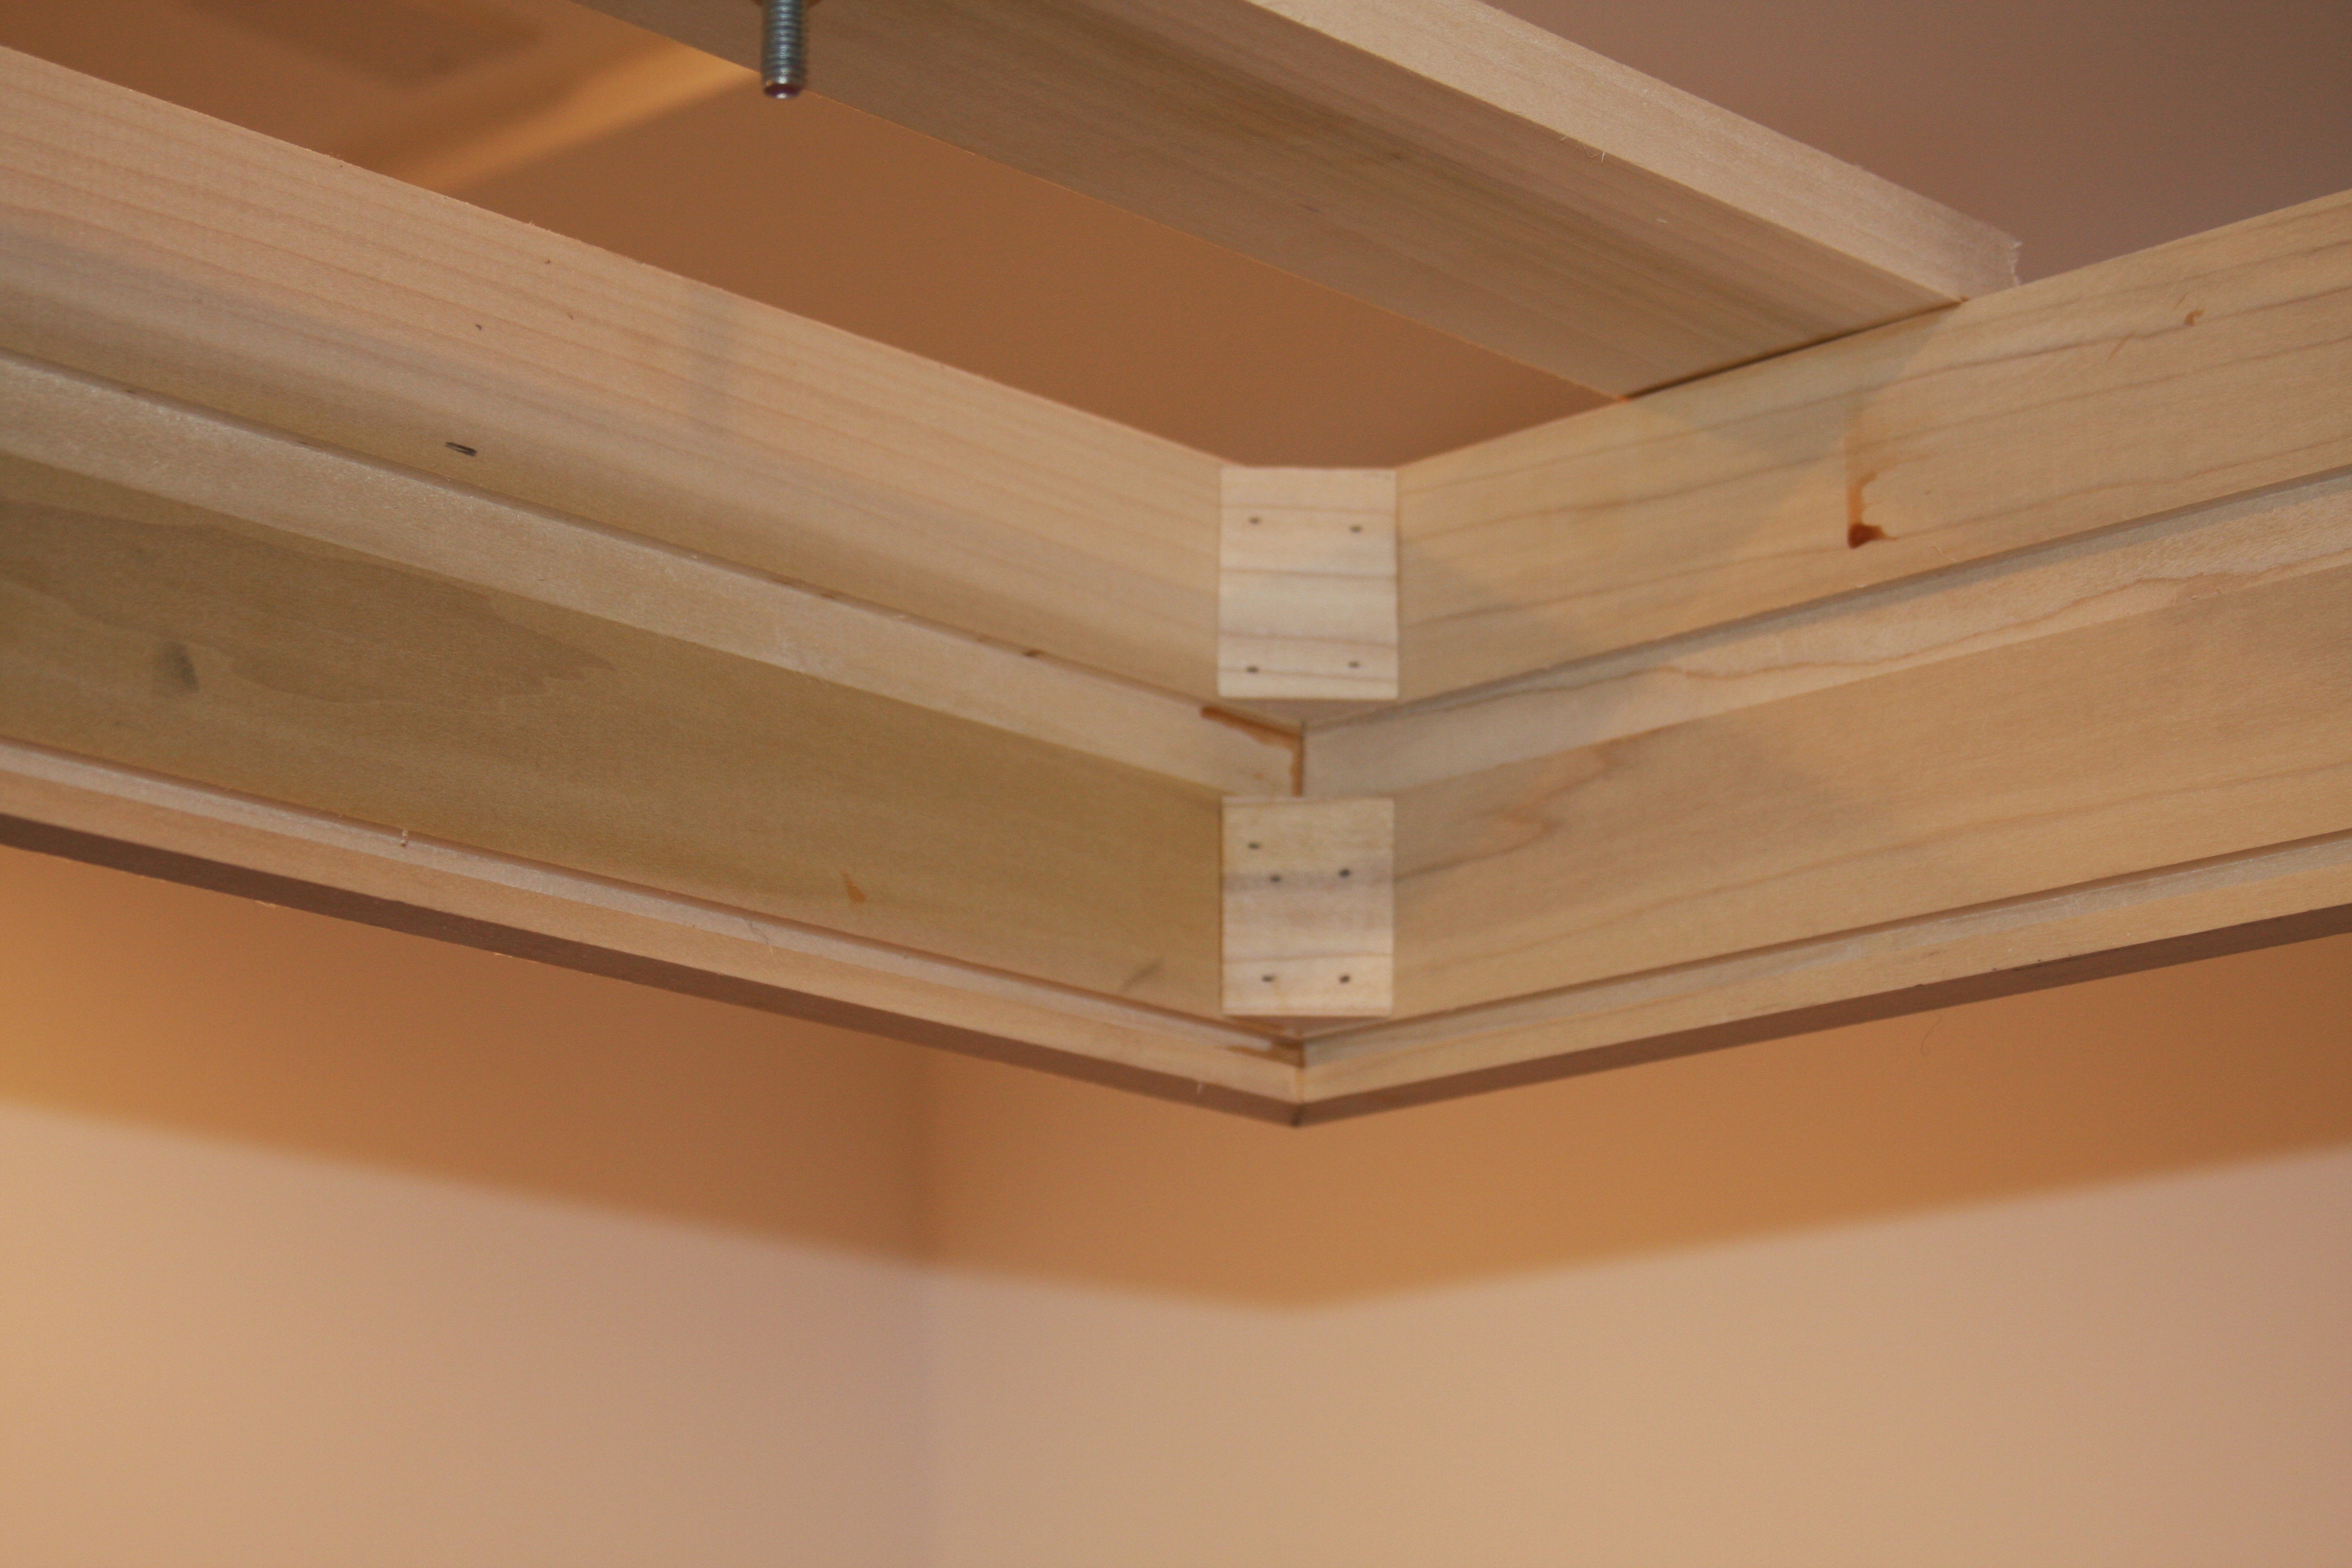
This is a shot of the basic construction. There is a 1/4" lip routed the whole way around except on the back panel so an acrylic splash guard can be slid into place to protect the LEDS. The corners are all braced as you see in the pic. The 3/4" routed slot, is where I am thinking of using 3/4" aluminum angle for the heat sinks to ride on so they are adjustable, but that idea might change after a thread I just recently stumbled upon, so mounted of the heat sinks, and adjustability might change.
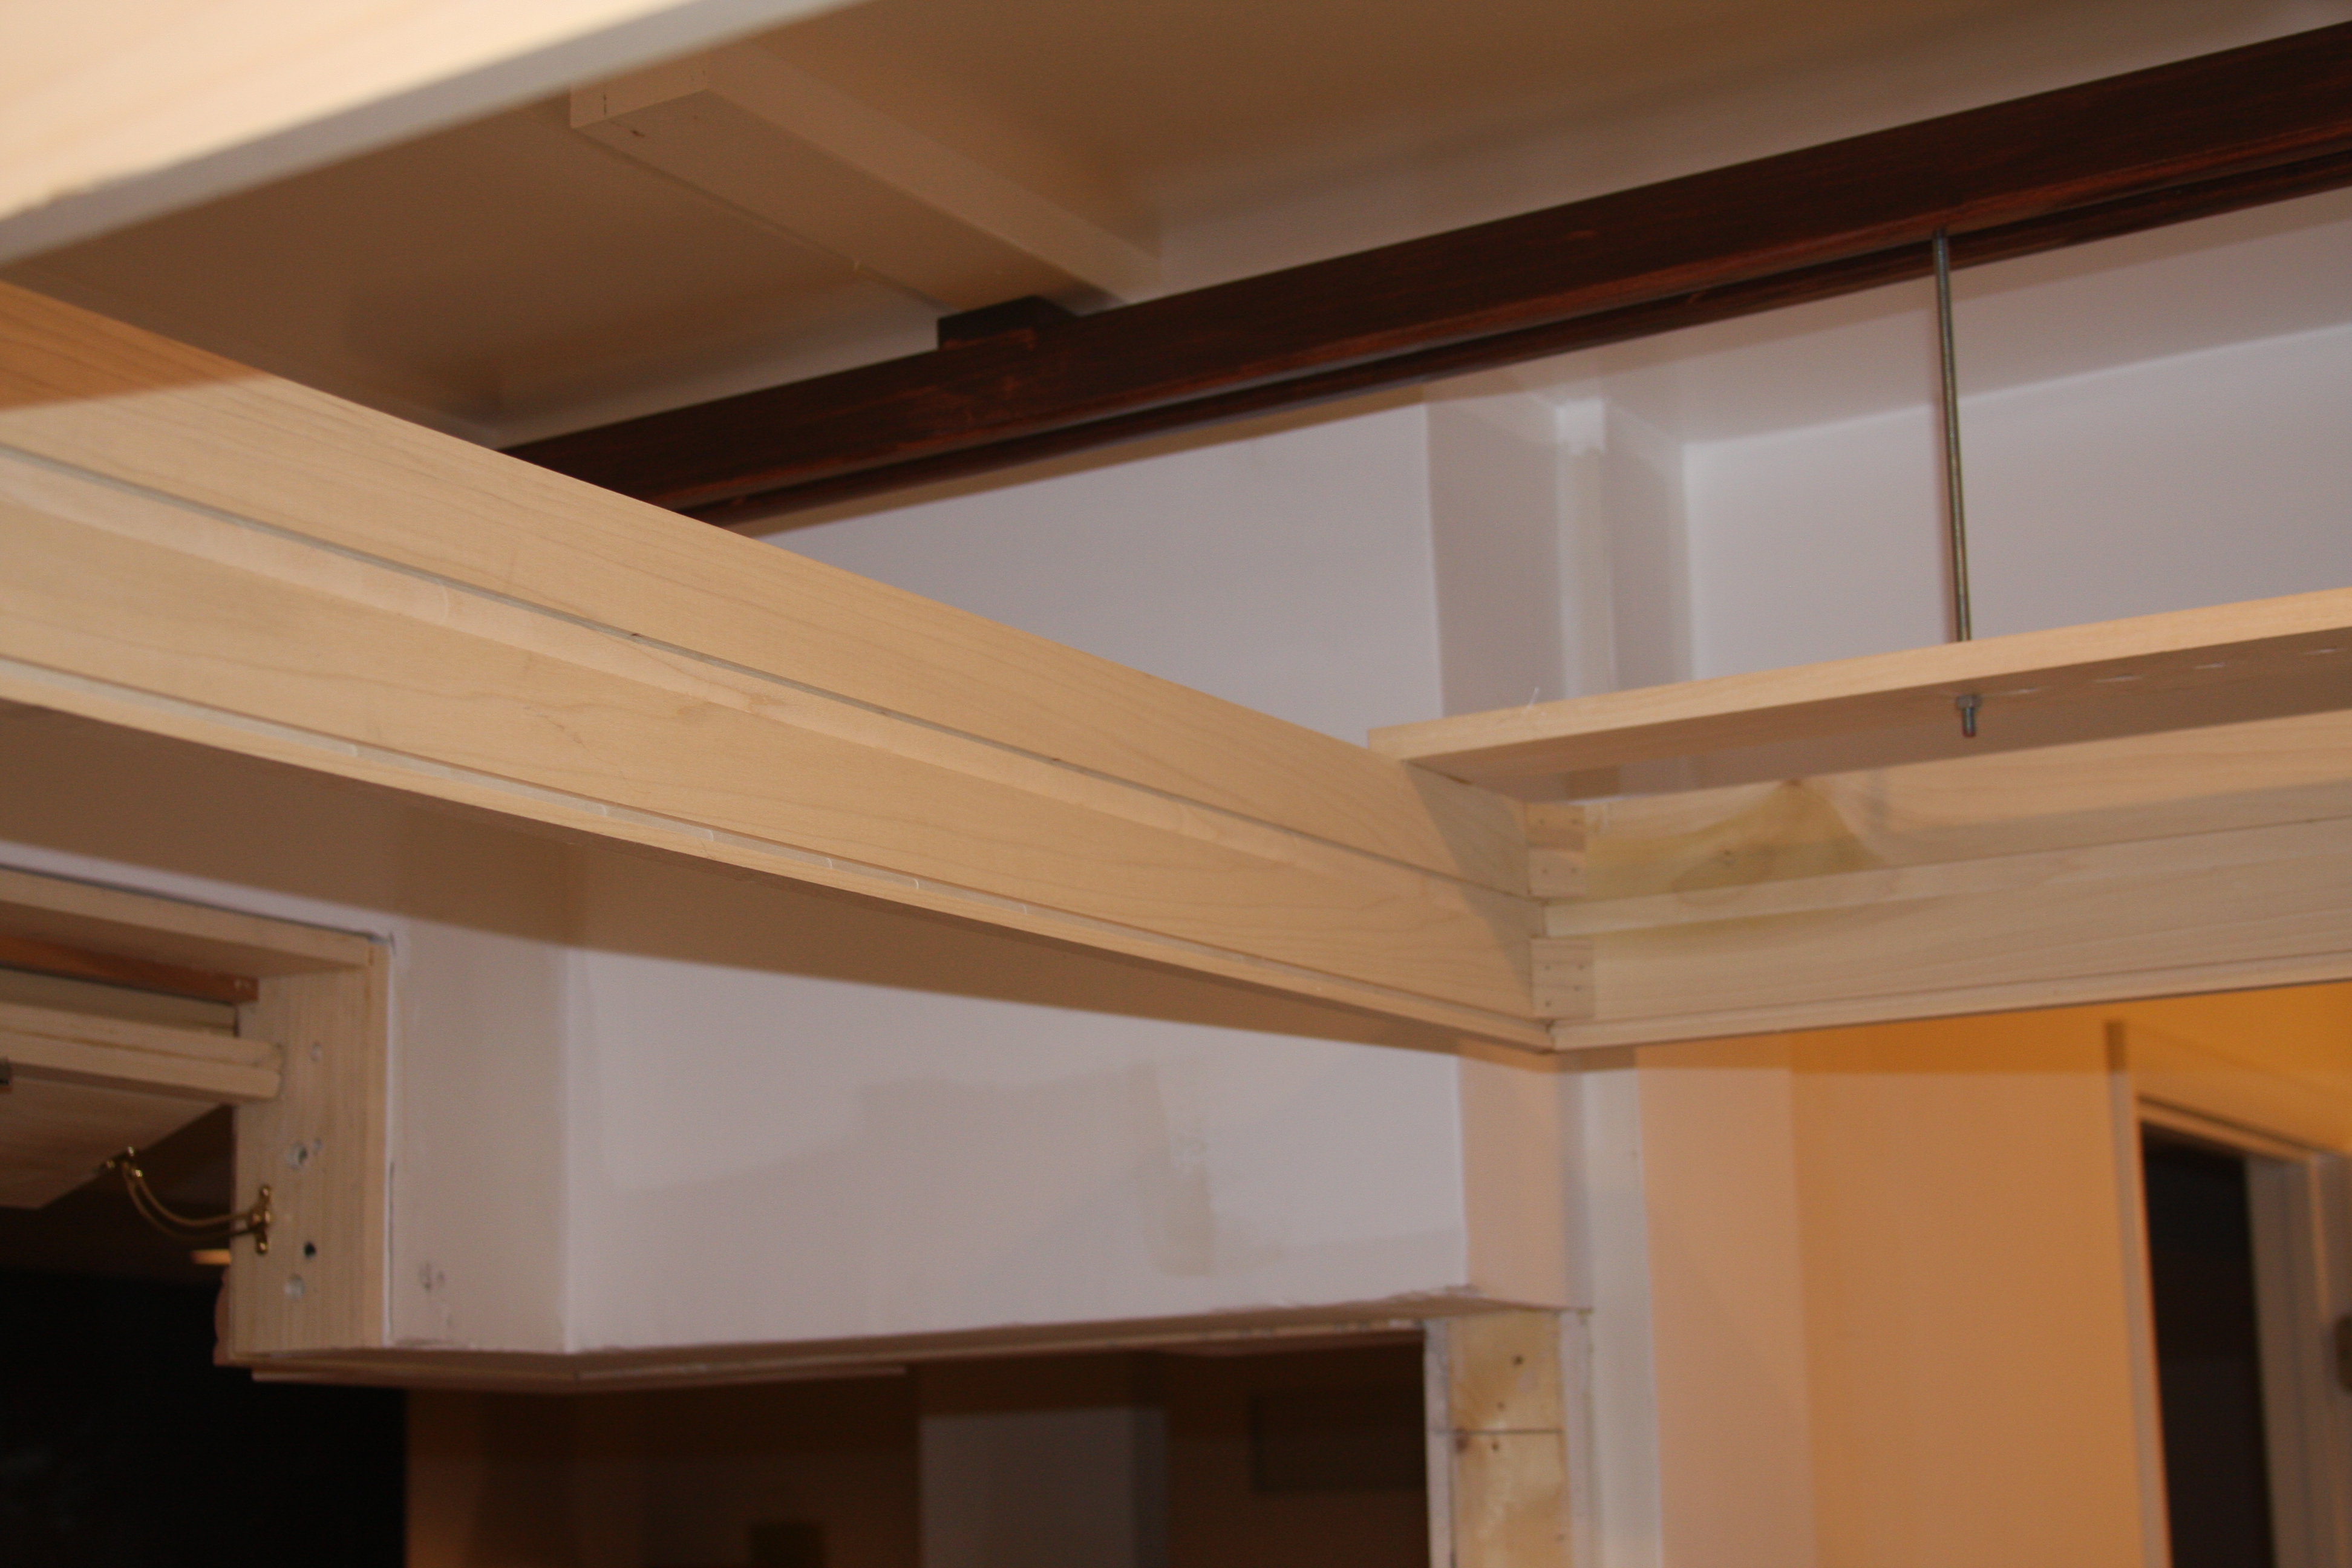
Just another shot of the other side. This shot shows how the rollers are actually attached to the LED rig itself. The threaded rod allows me to adjust the height the LEDS will sit above the tank. you can also see in the background the door of the canopy open. I did use the friction hinge as you had suggested earlier Corey!!!!
Don't know if it will be heavy enough to handle the door being reinforced later on though.
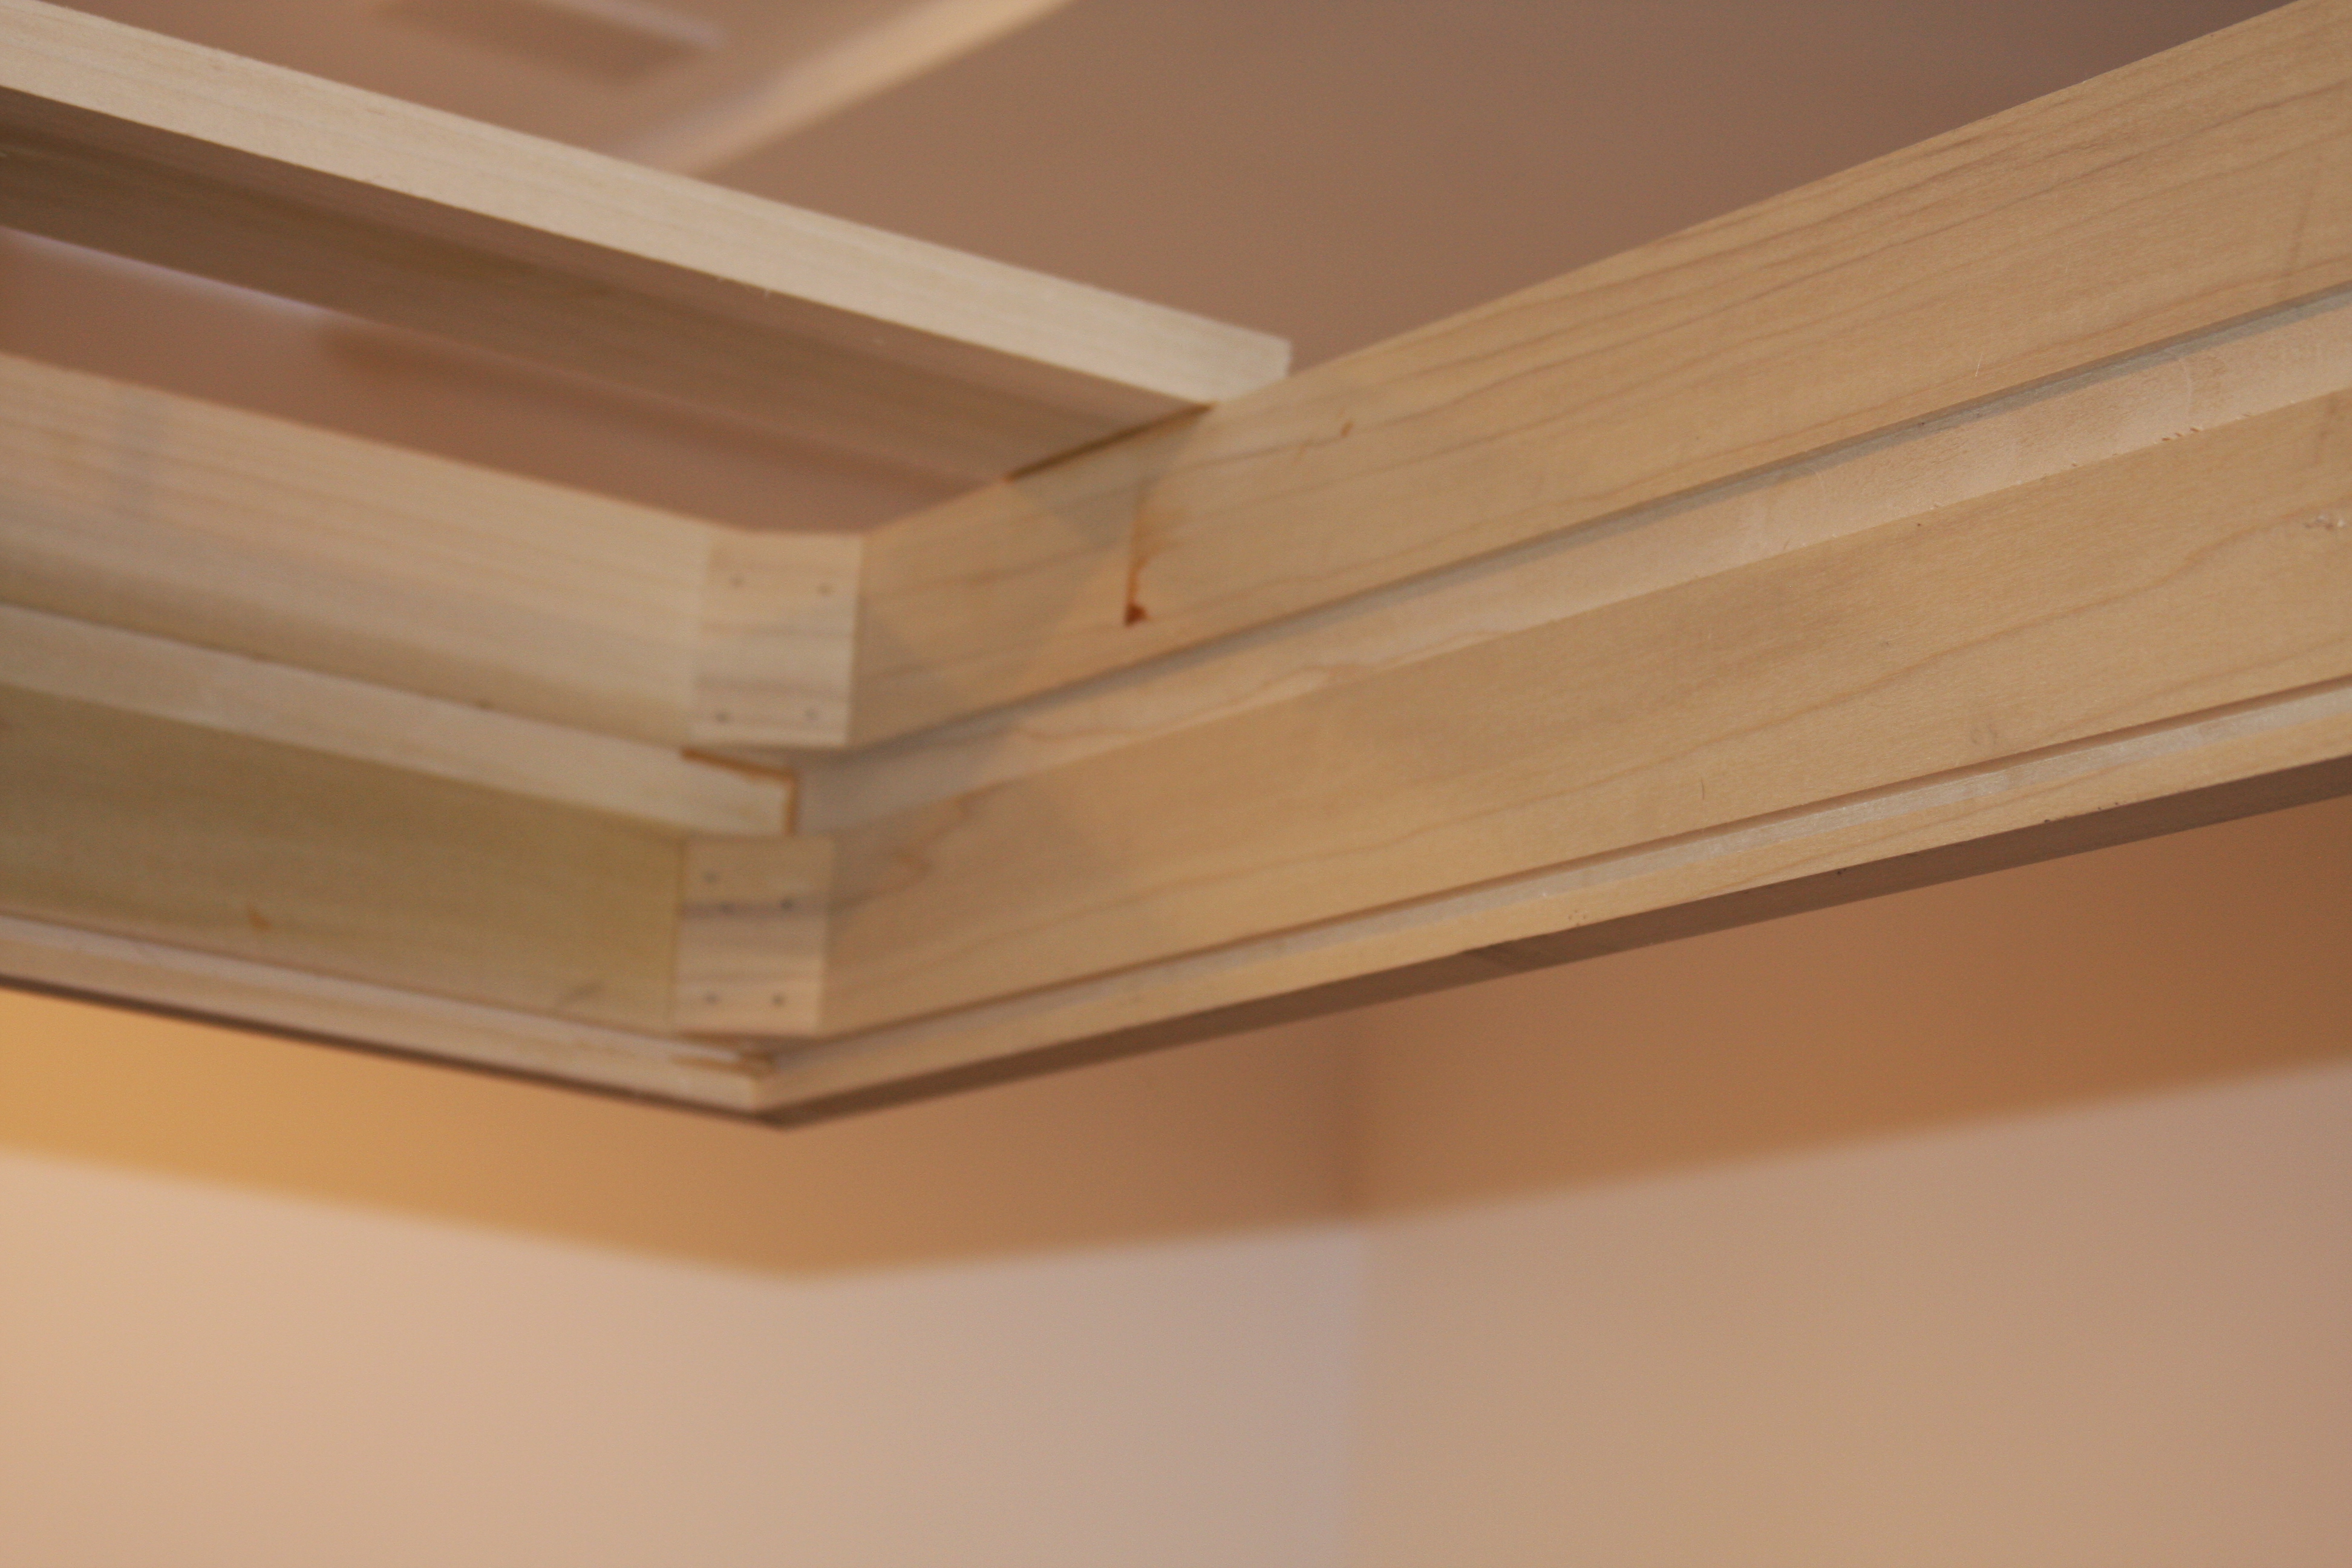
Just another shot of the construction
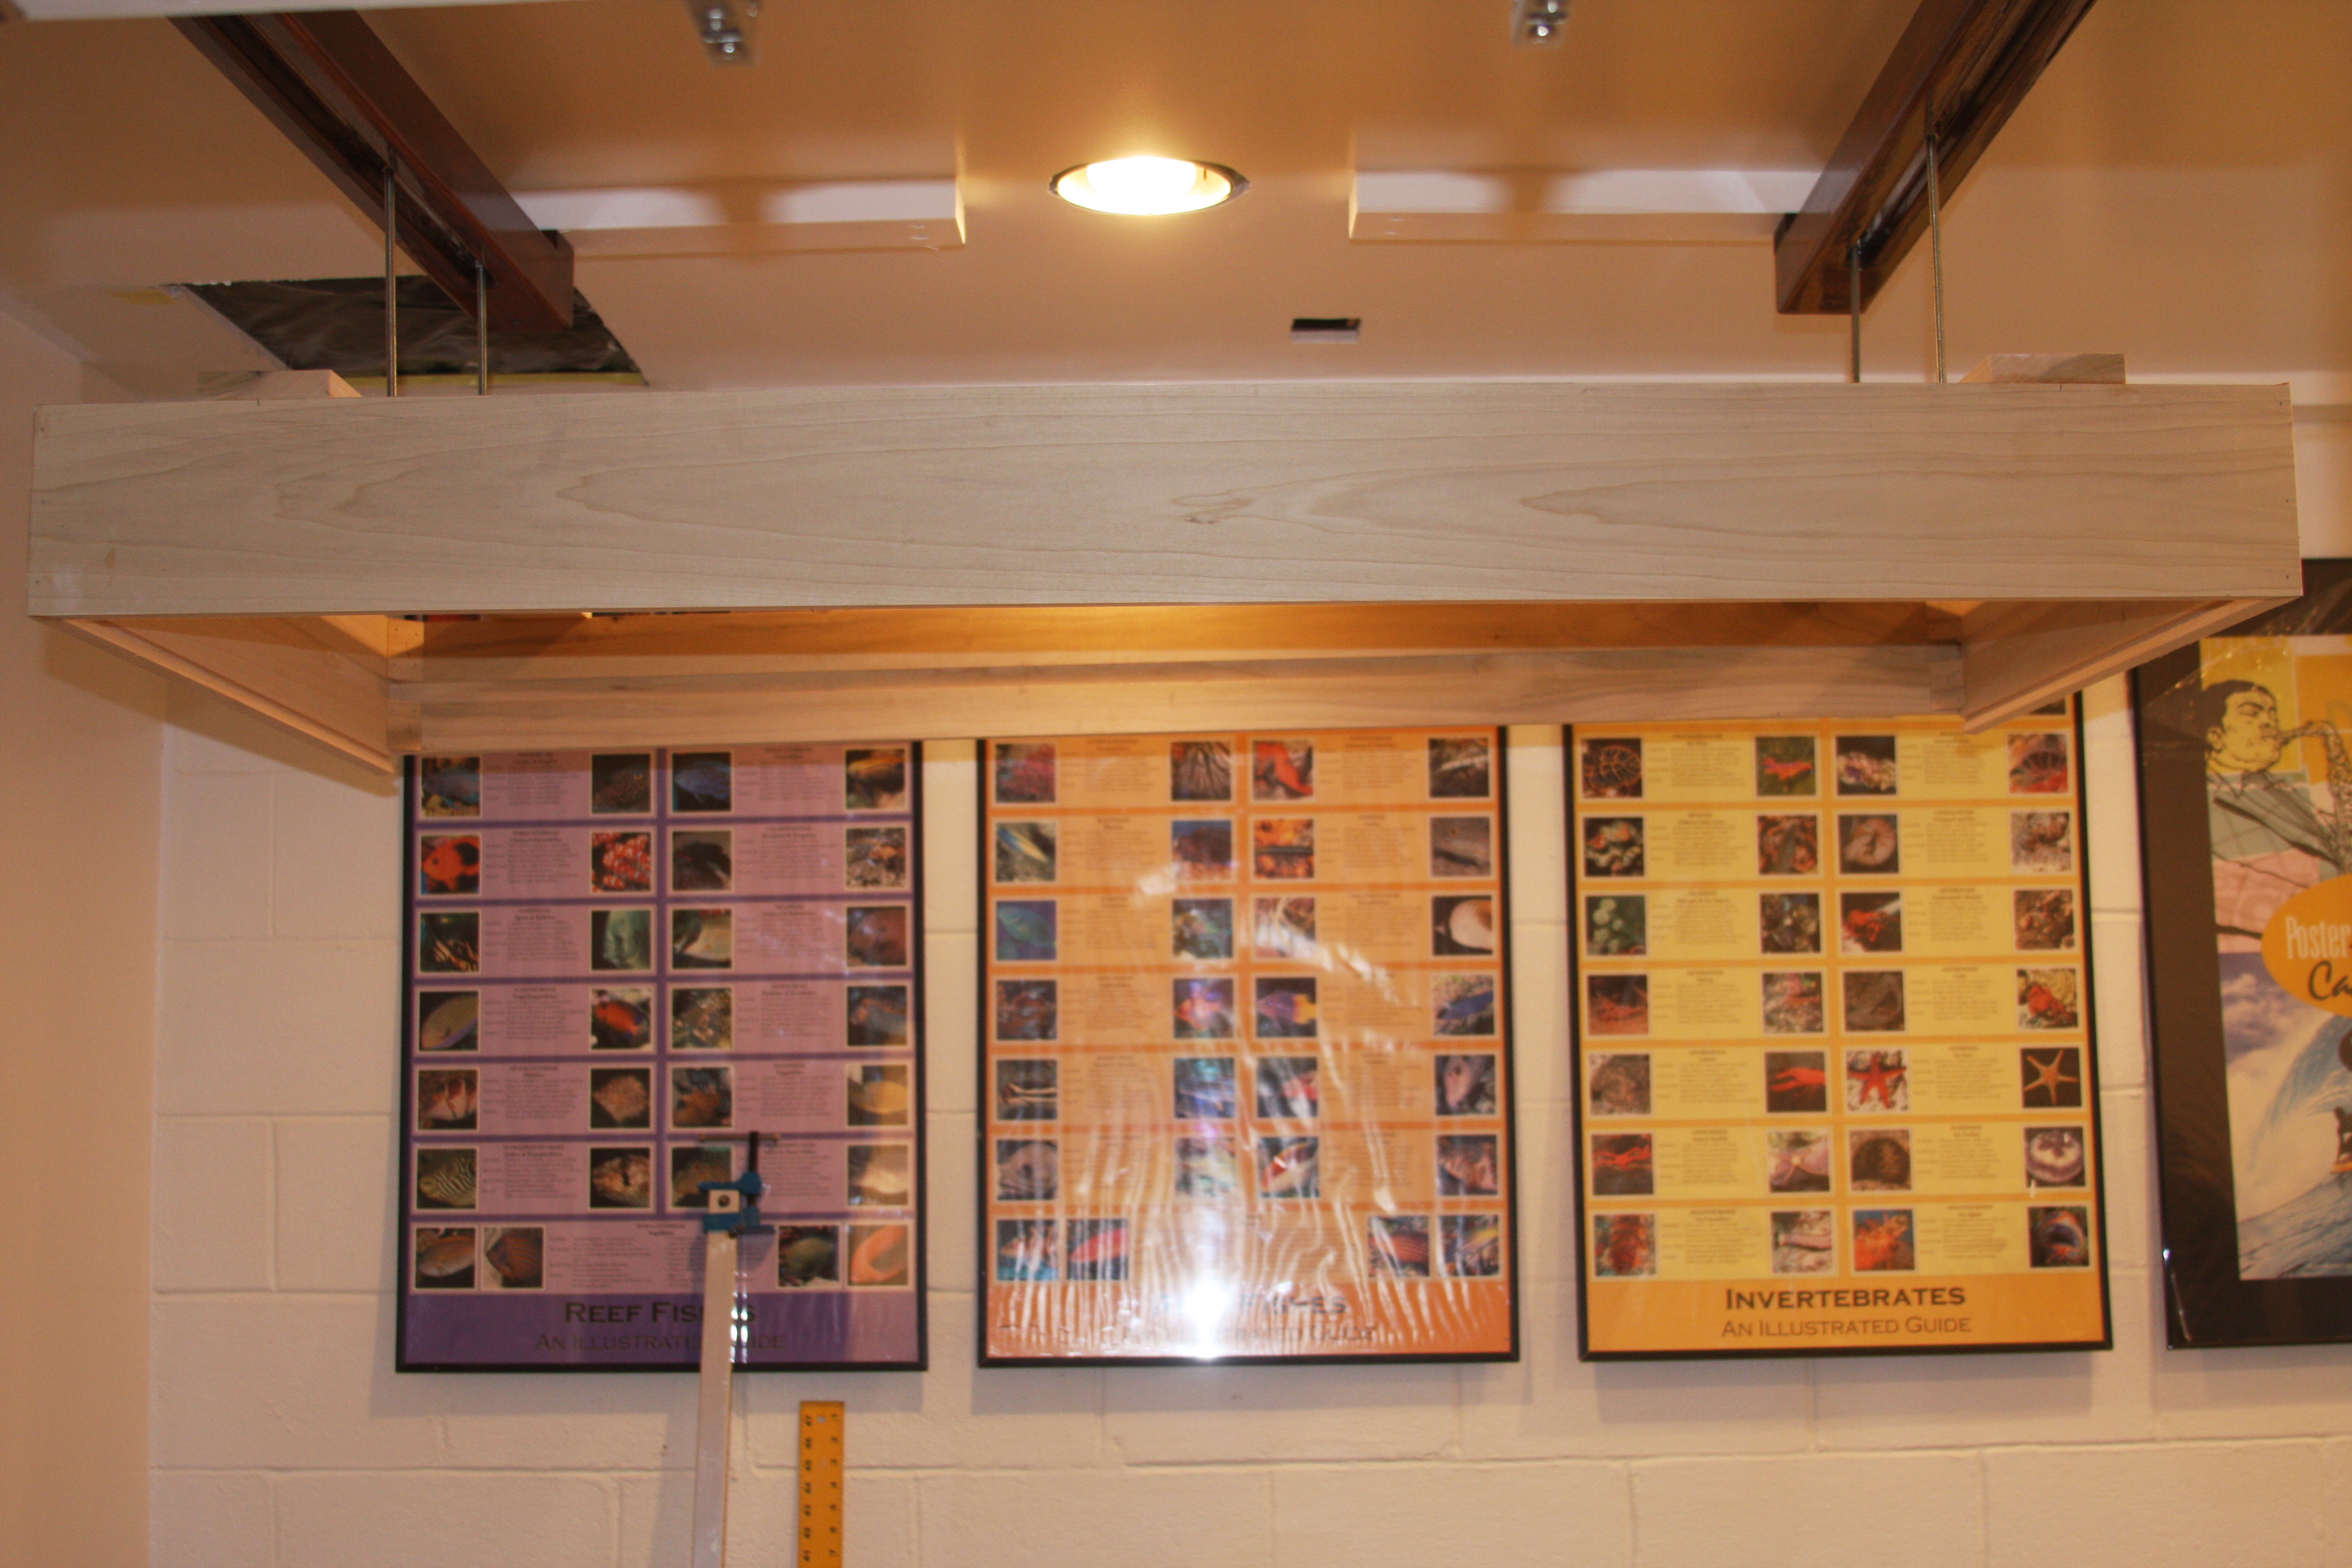
This is a shot from the viewing area. The door of the canopy is open revealing the light rack. You can see in the pic it appears level, but you can also see that it is racked. I have double checked my levelness of the mounts and everything is fine. I know for a fact it is the light rack itself.
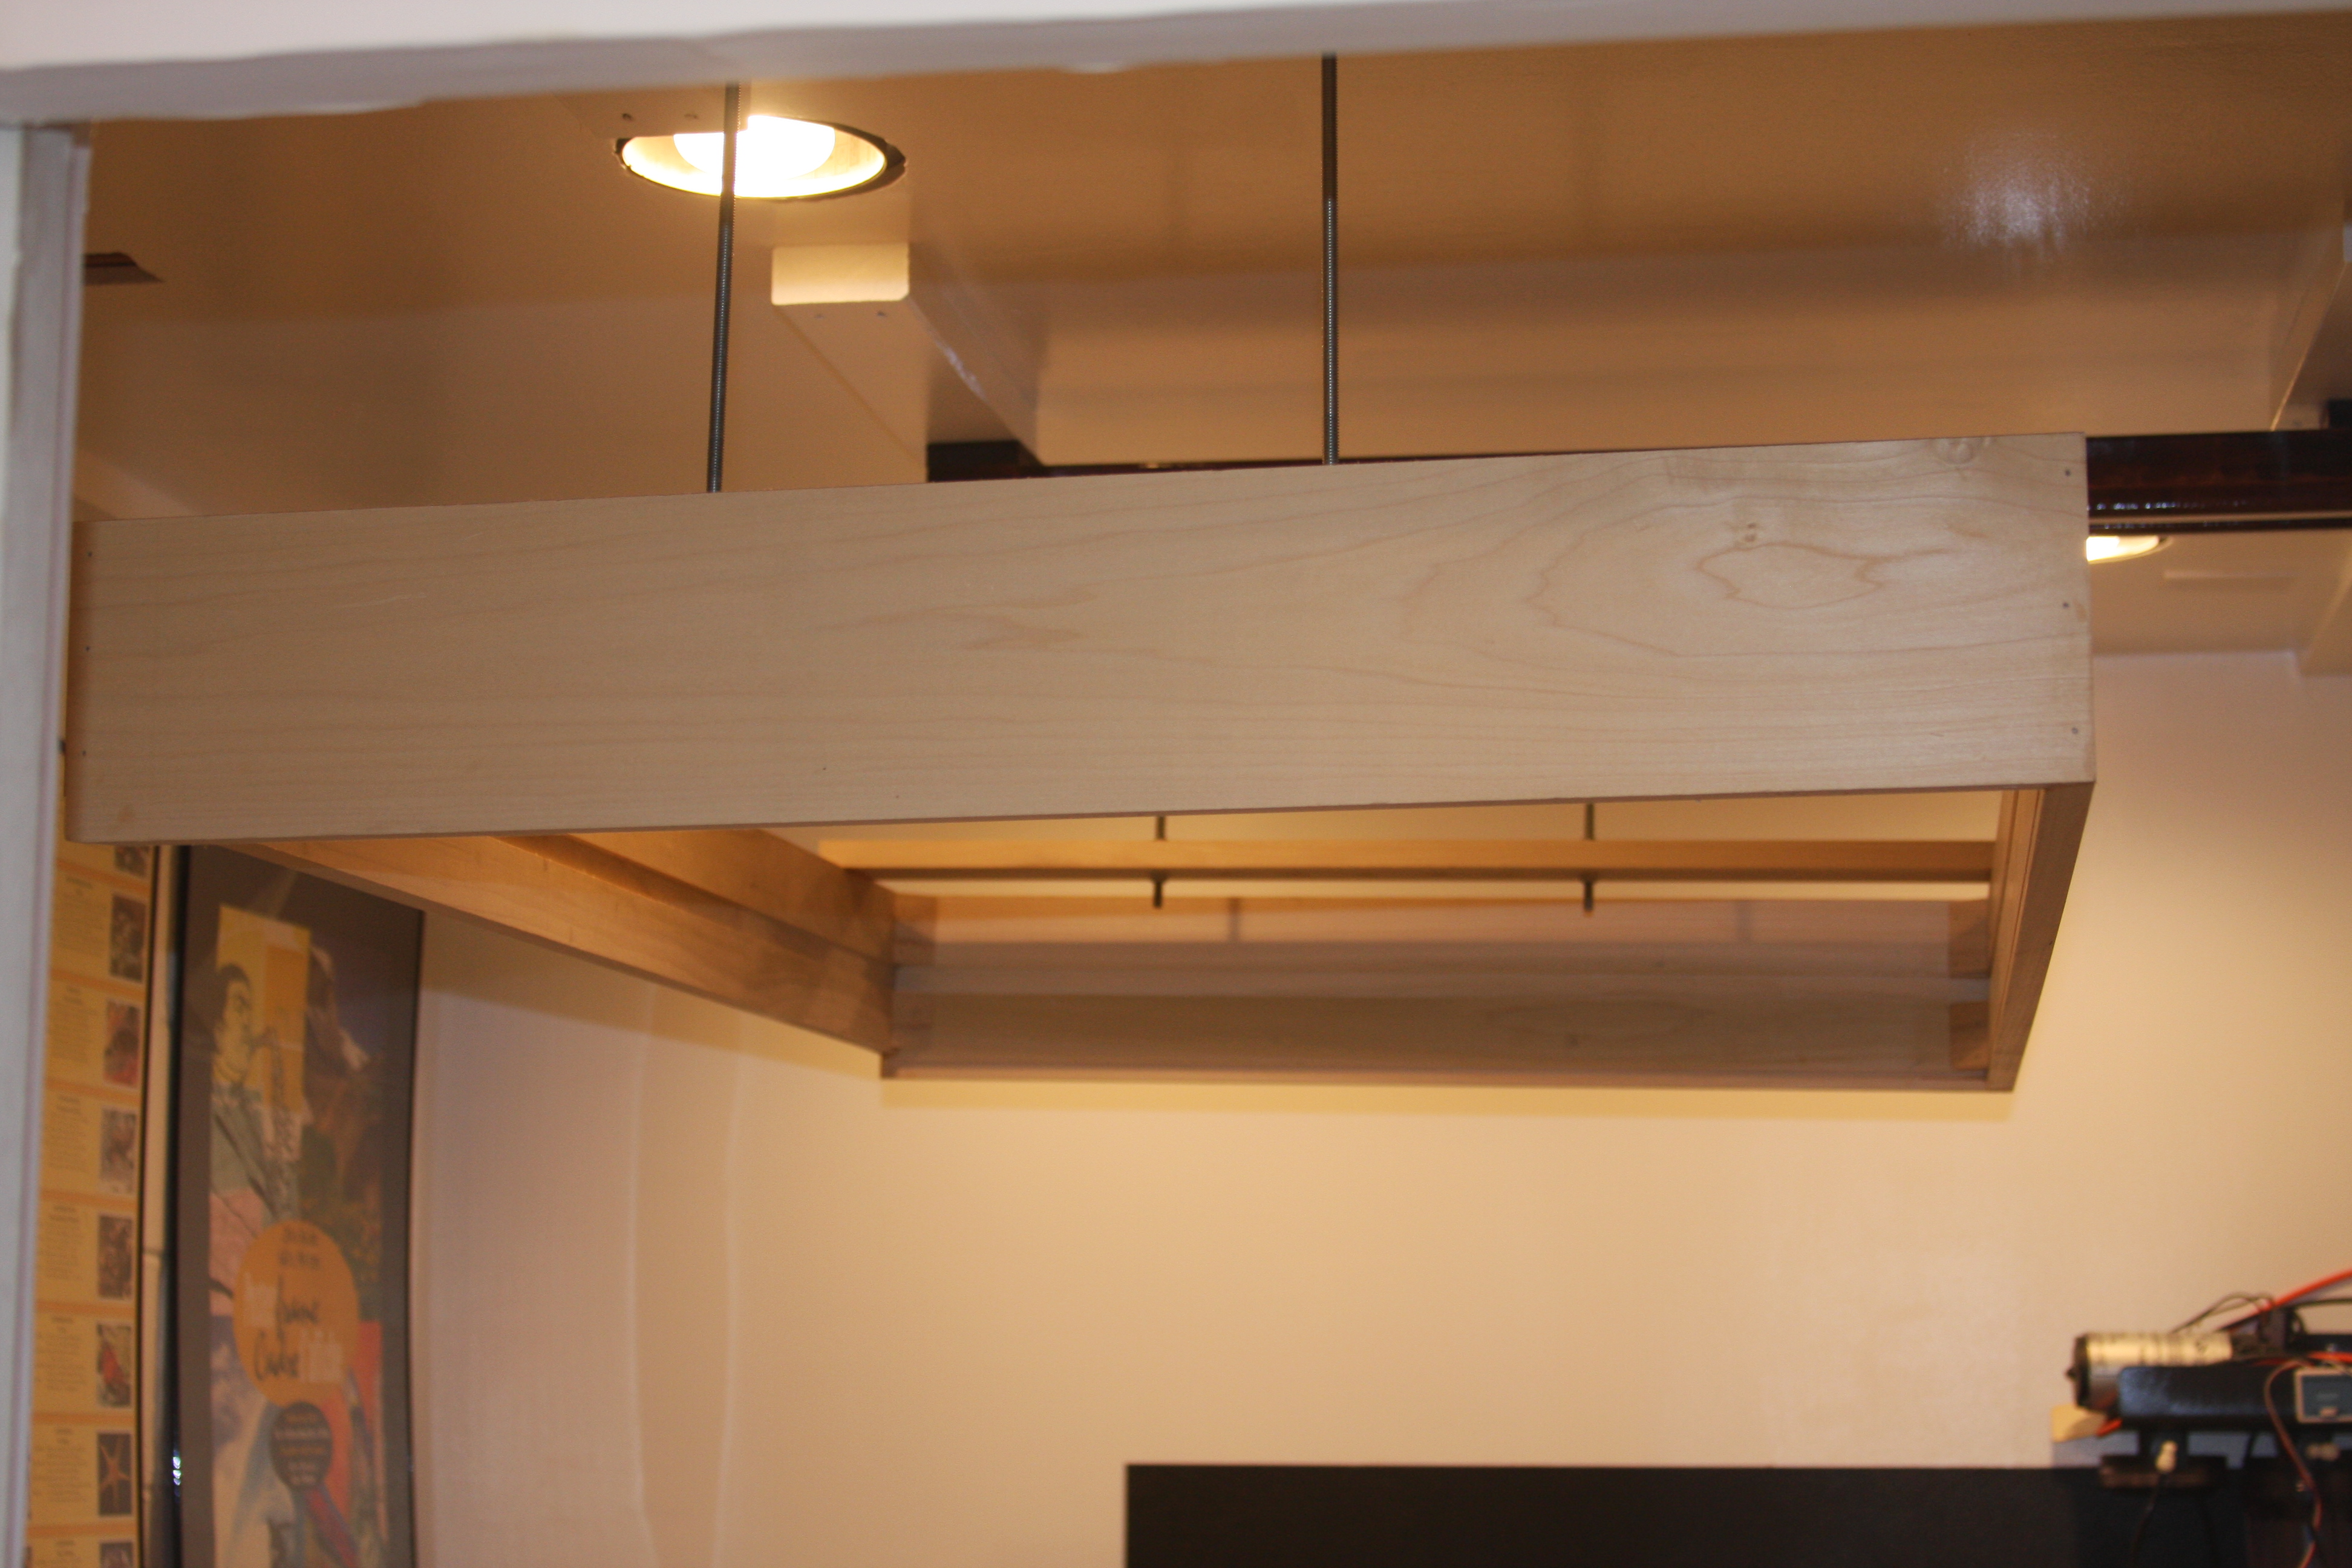
From this side shot you can really see that it is racked.....Any ideas on how to straighten? I do have a piece that goes in the center of the light rack to accept the acrylic splash shield, but don't think that is enough to tweak things back into place......HELP
 

2quills

Well-Known Member
Wondering if you can straiten it out using the threated rod that's already up there. Are there washers and nuts on the threaded rod on the top side of the boards or just the bottom?
 

acrylic51

Active Member
I forgot to pick up washers, but even when I try to tighten and length the other side per say, it doesn't have much affect...it still racks. That was honestly my first thought was to try to straighten it with the threaded rod.
 

2quills

Well-Known Member
If you were to take the rack down and lay it out on the floor, would it flex enough to lay flat without cracking?
 

2quills

Well-Known Member
I think I've got a couple ideas I'll shoot your way when I get home tonight that might work. I'll try and sketch it out so you can see what I'm talking about.
 

al&burke

Active Member
Shawn - I've been thinking about this one, haven't come up with anything yet. I think you might have to rebuild it, TOL
 

2quills

Well-Known Member
So how do you like the friction hinges, aside from they could be a little more heavy duty?
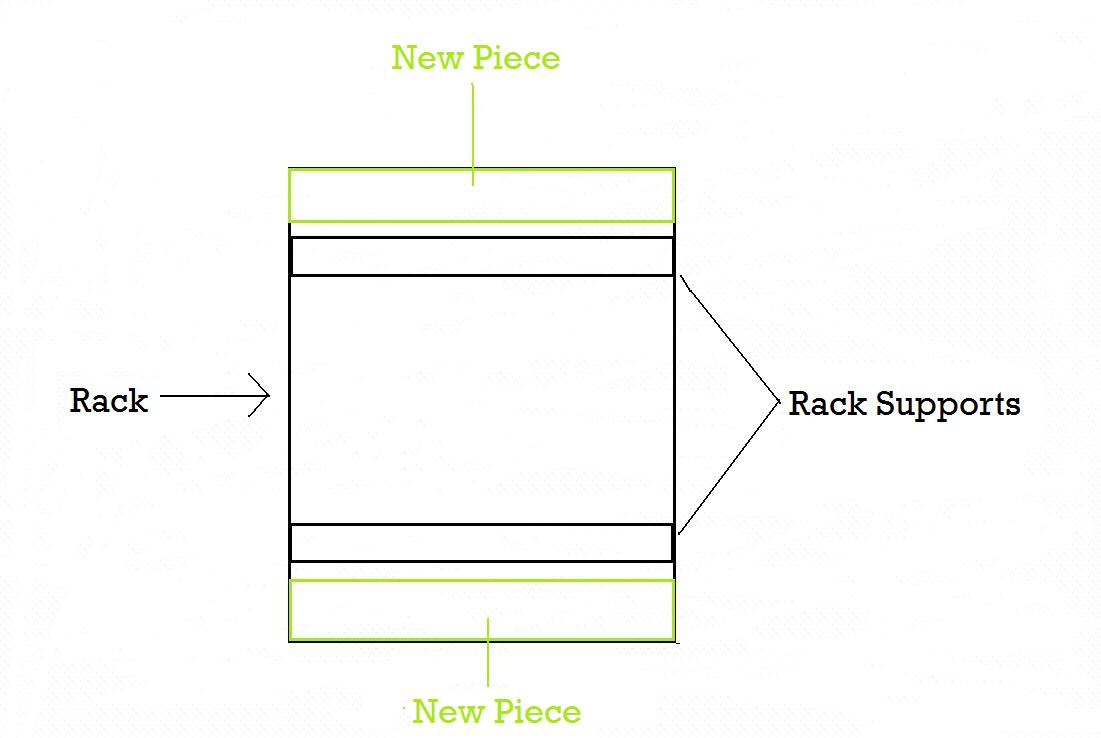
Ok...so a simple idea that I think might work would be to take it down (like you have). Lay it out on a flat/level surface. Maybe take some weights and set them on the support pieces or something to keep it flat, perhaps clamp it down. Get yourself 2 boards and cut them to the width of the frame. Set them on top of the rack from one corner to the other. Glue and tack them in each of the corners and all the way down the side of the frame. Let the glue set up and cure for a day or however long it takes.
If the frame is racked then it must mean that it's twisting in the corners. So with the corners secured then in theory it shouldn't twist like that because it won't be able to. Plus, I think it will only help to further support and beef up that rack. You'll probably want it to be pretty rigid I'd imagine. Even if it seems rigid right now if you do decide to use the heavy heat sinks like you mentioned then that might change a little. Especially with the rack being moved or slid around. I'd imagine that you want to keep it as light weight as you can, perhaps you could do some simple trim around the rack with some 1x3 stock and figure out a nifty way to tie in all the trim in a way that it could act as some measure of support at well. Just a thought.
Top down view of the rack and the boards that I was talking about....
 
Top