415 Gallon Plywood Tank Build
- Thread starter acrylic51
- Start date
2quills
Well-Known Member
How about sprinkling the sand on top. And then that way if you do end up going with a shallow sandbed and the stuff does happen to get blown around then you won't really notice the bare bottom. Just out of curriosity, other than sand being blown around is are there other reasons why a barebottom tank would be beneficial? Ease of maintenance or something along those lines perhaps? I would assume that with all the flow it should keep food, deutris...etc. suspended in the water column for filtering?
acrylic51
Active Member
Planning mainly SPS, so planning along the lines of low nutrients. I've never been a fan of sandbeds.... DSB can be utilized elsewhere in the system and doesn't give me a clean look in my mind. Honestly I dont't know if there would be alot of sand blowing. I do know on the last setup, I use the OM with revs in the front corners of the tank, and it did move sand and where talking about 18" easily above the bottom....
I haven't totally decided if I will use the OM on this setup, but might, and go with them plumbed through the bottom of the tank and use loc line or something to direct flow. I'm leaning towards the VFD pump. More efficient. For the top I'm thinking of using smaller tunzes (3) across the front for flow towards the back. Hard to explain without pics!!!
I haven't totally decided if I will use the OM on this setup, but might, and go with them plumbed through the bottom of the tank and use loc line or something to direct flow. I'm leaning towards the VFD pump. More efficient. For the top I'm thinking of using smaller tunzes (3) across the front for flow towards the back. Hard to explain without pics!!!
acrylic51
Active Member

2quills
Well-Known Member
Order it from somewhere else??? I have a small piece left over from when I cut mine down to fit the 50G. It's only a 17"tall by 7"wide piece but it should be enough to do a little test sample. I could probably fit it in an envelope and send it to you if you'd like.
I forget how tall your tank was, but I've only seen this stuff sold in 24" heights max from just breifly checking the web.
I forget how tall your tank was, but I've only seen this stuff sold in 24" heights max from just breifly checking the web.
acrylic51
Active Member
Thanks again Corey!!!!!!
 I'll make some phone calls first thing in the am before work starts calling!!!!!!
On another note, I have been doing a little work on the tank and such, and had promised some pics of the progress. Nothing super spectacular unless you enjoy a little sanding and fiberglass work, but here is the progress made since finishing up on Flowers sump.
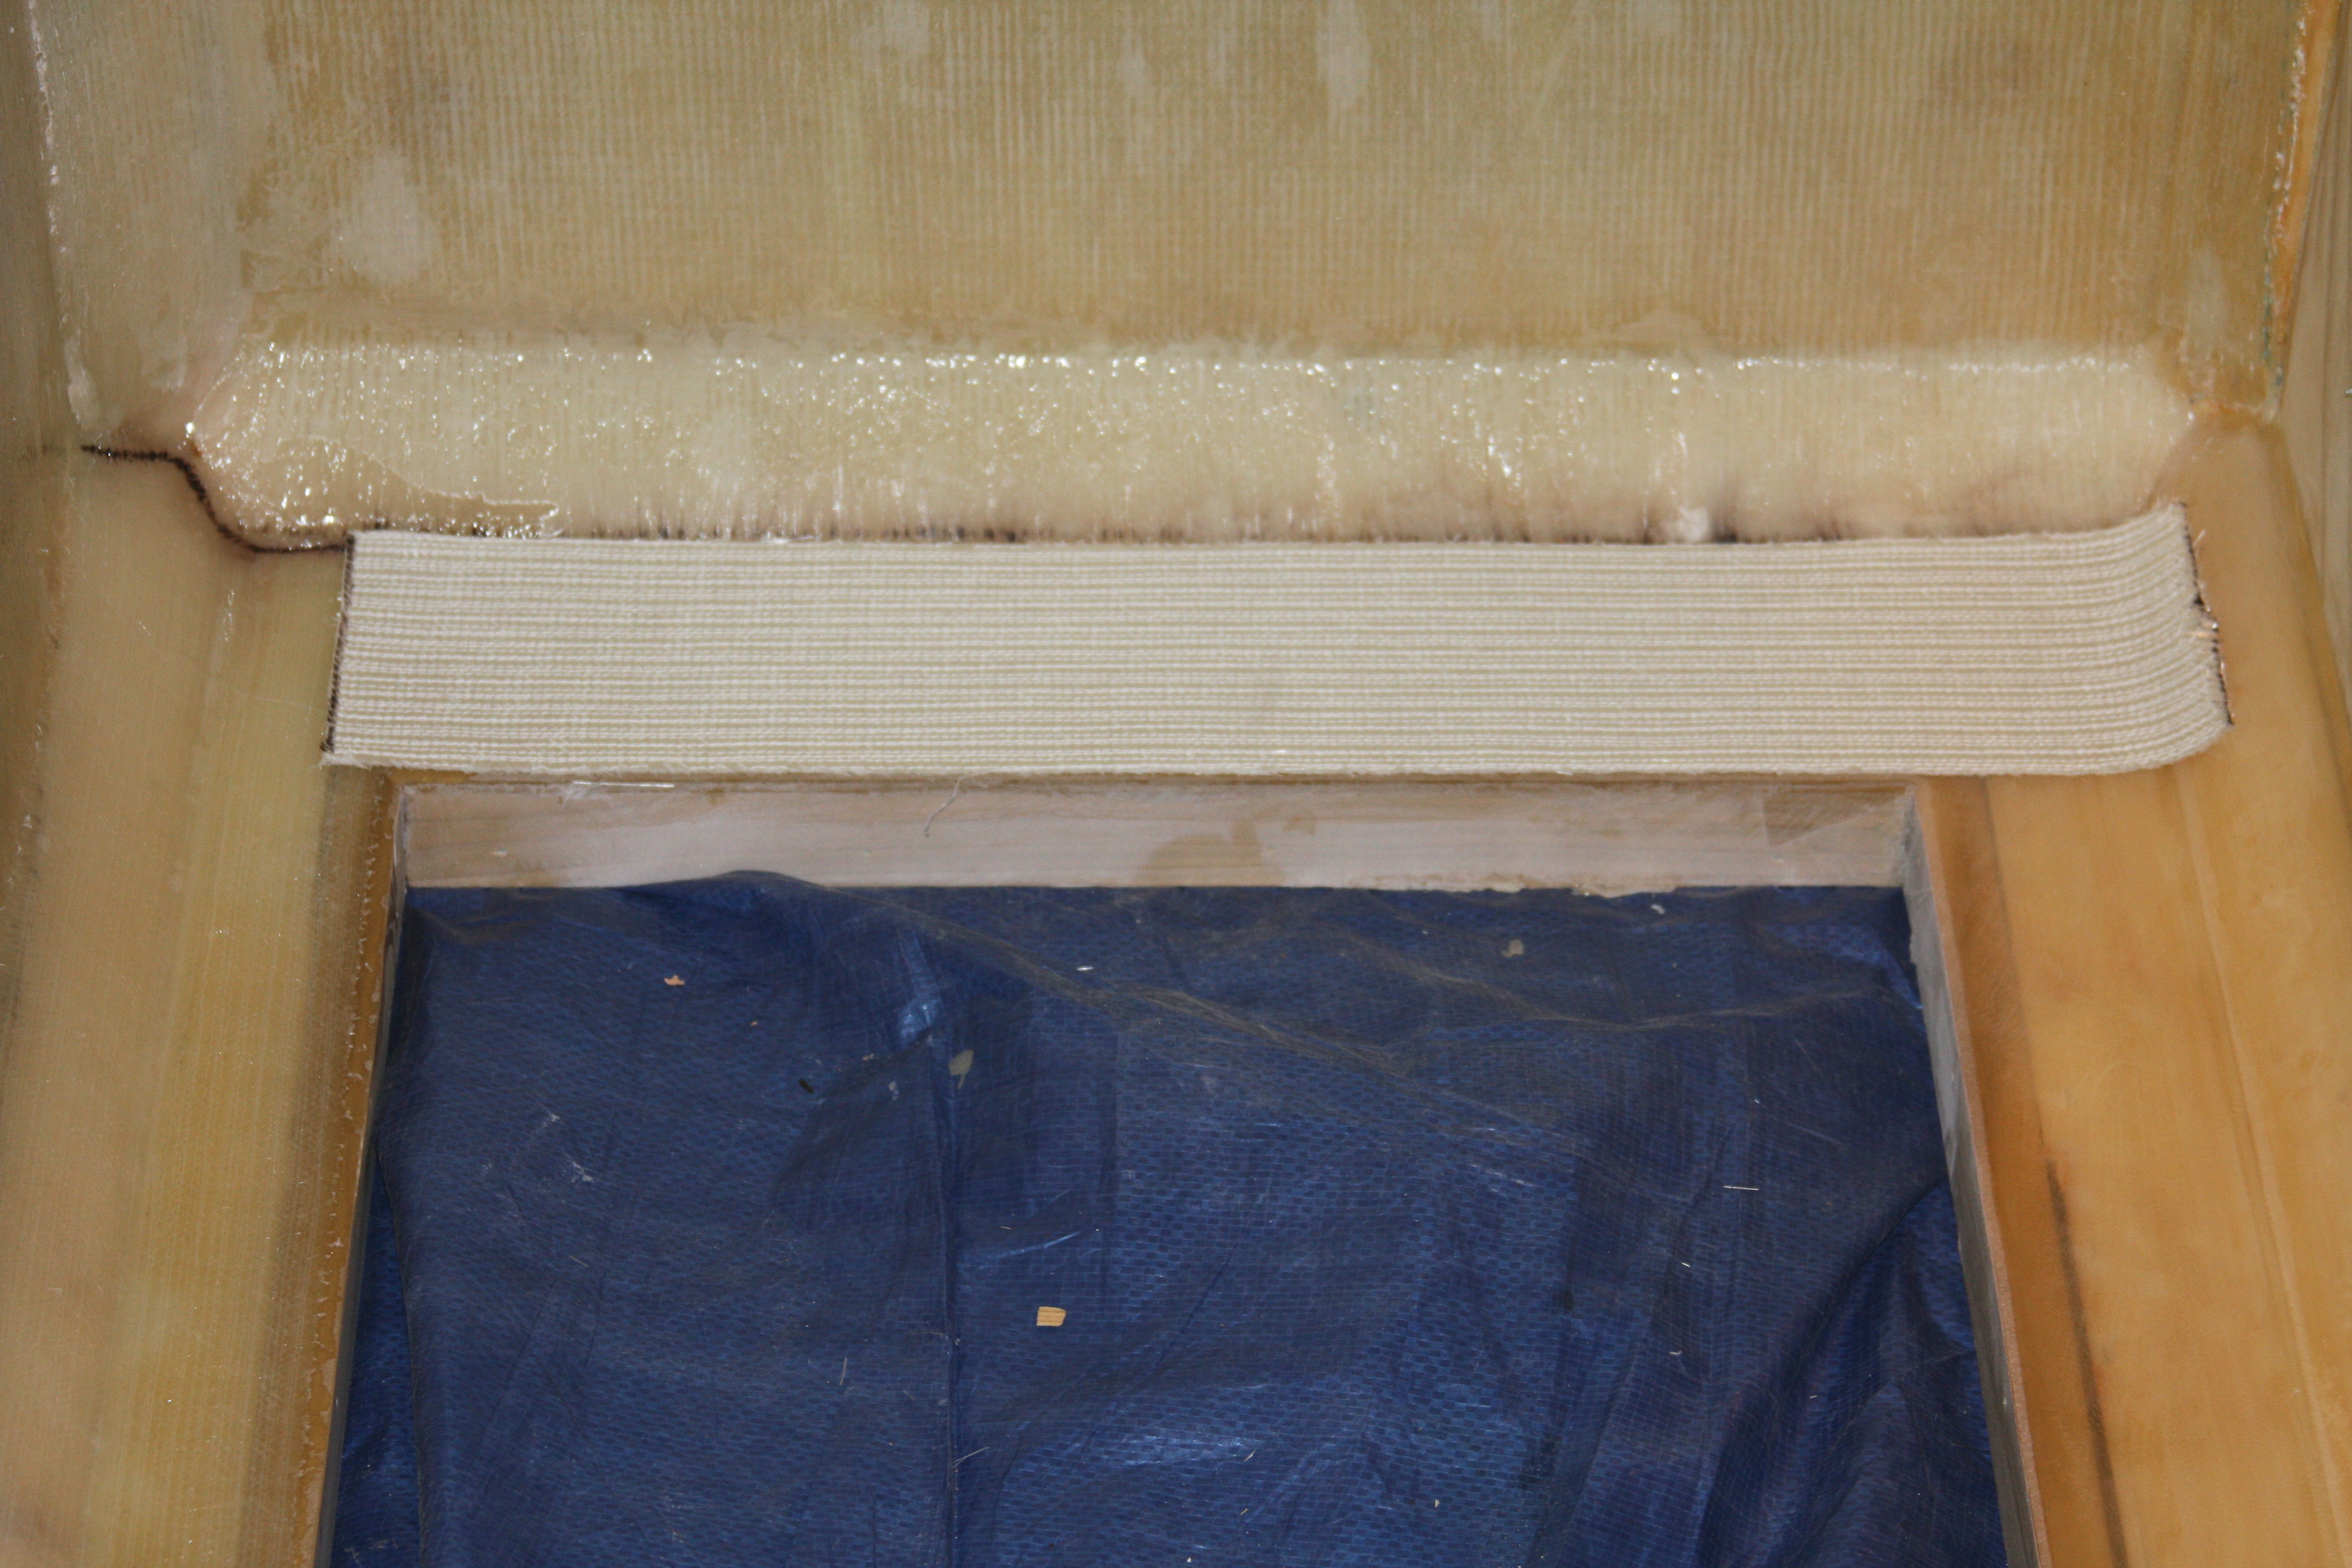
Mocking up the fiberglass for the ends of the tank, before wetting the fiberglass out.
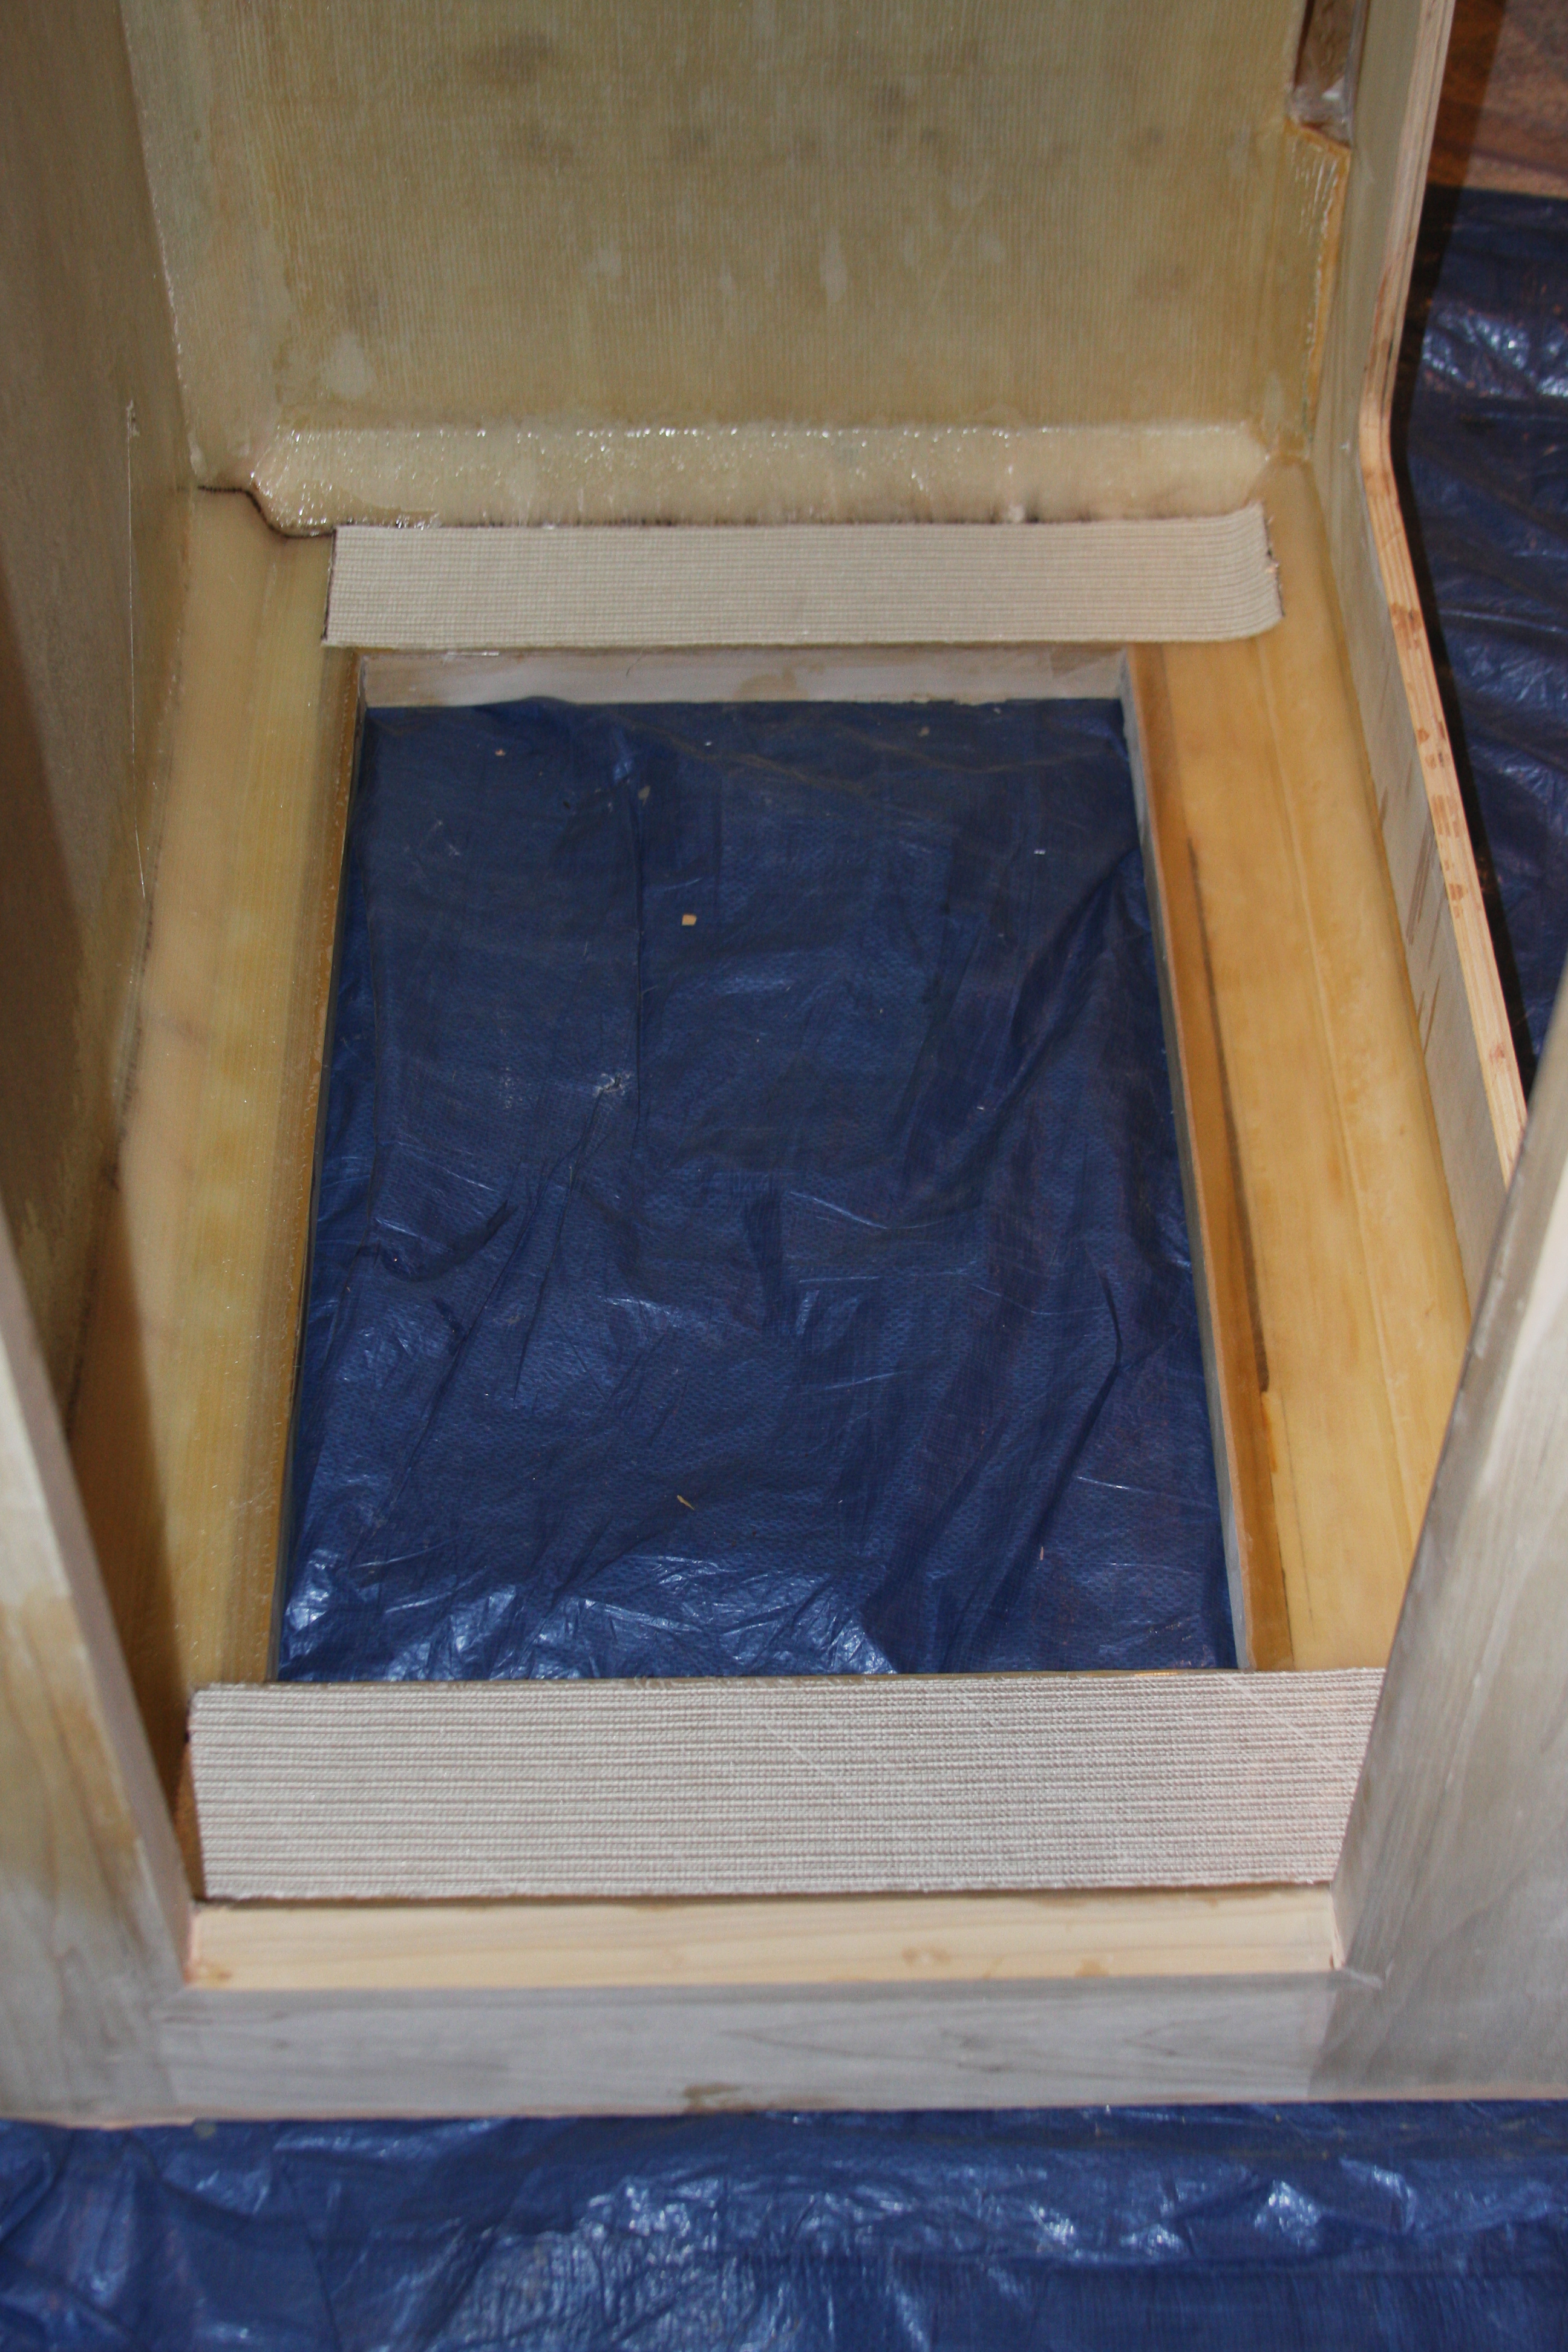
Both sides now mocked up and cut to fit....I take my wife's iron, and crease the corners, so they lay perfectly into the corners on the 45's.
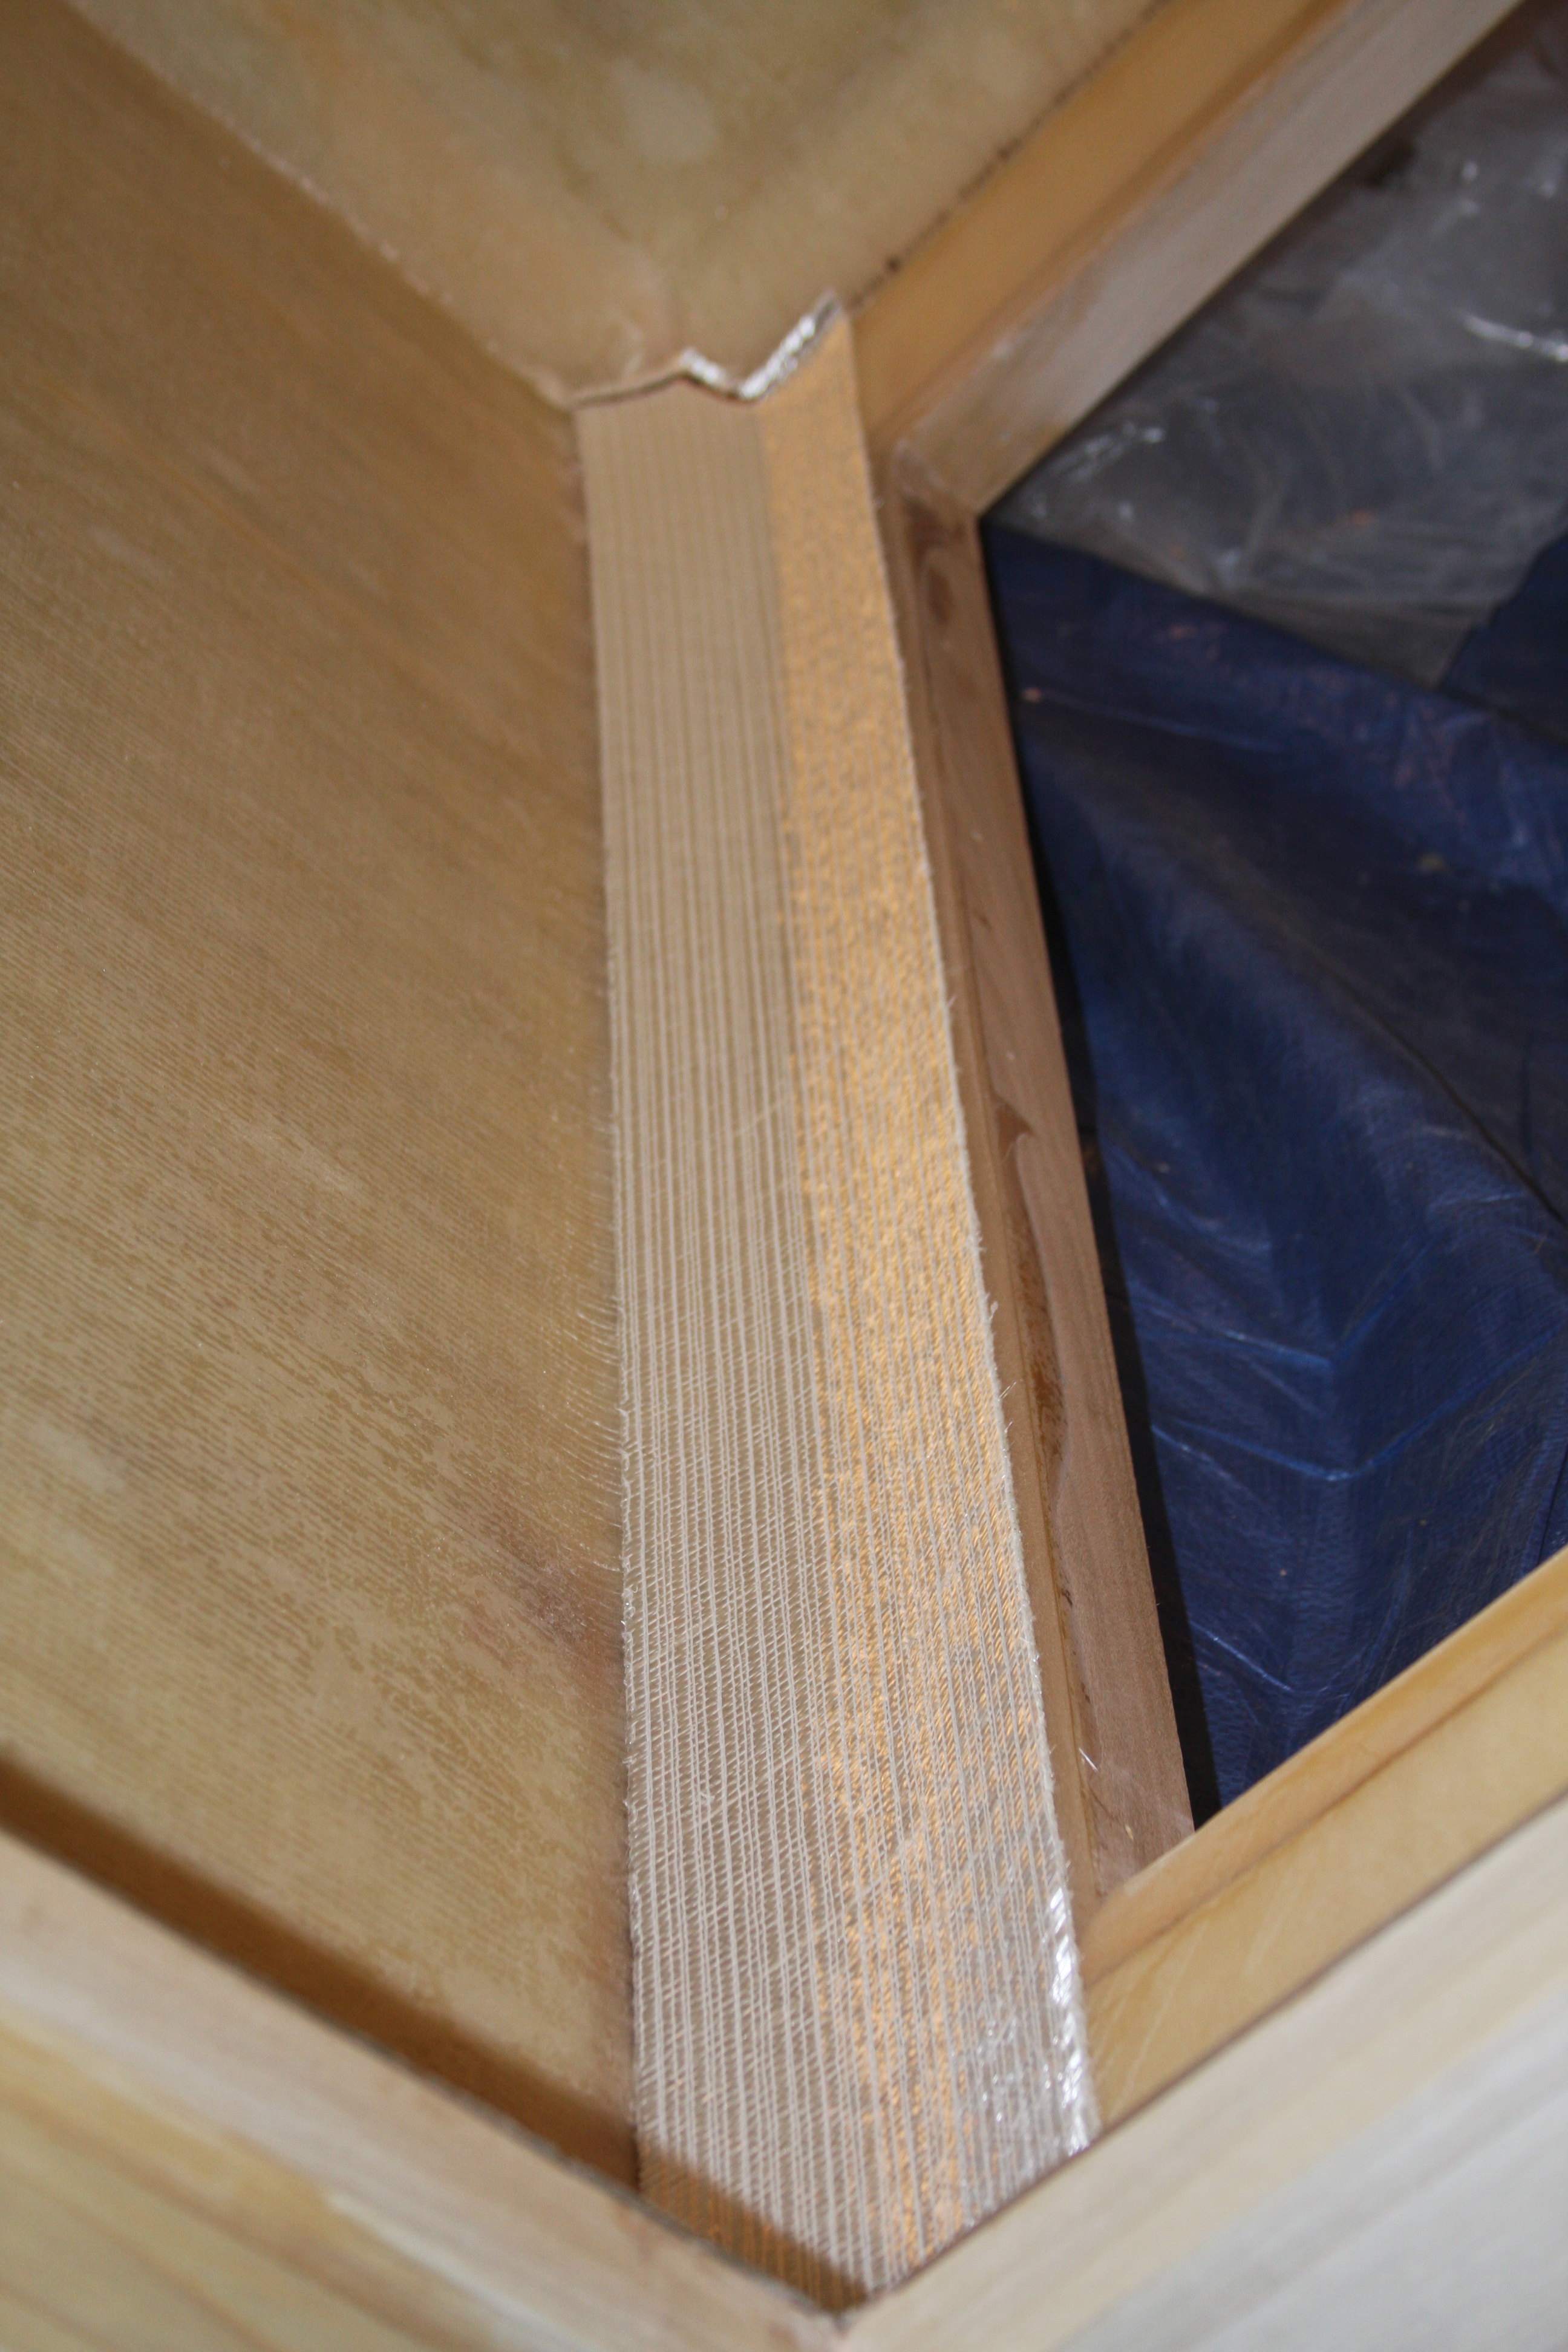
You can see how I've taken the iron, and warmed and creased the fiberglass to lay to make it easier to trace and cut a good fit into the corners and seams.....
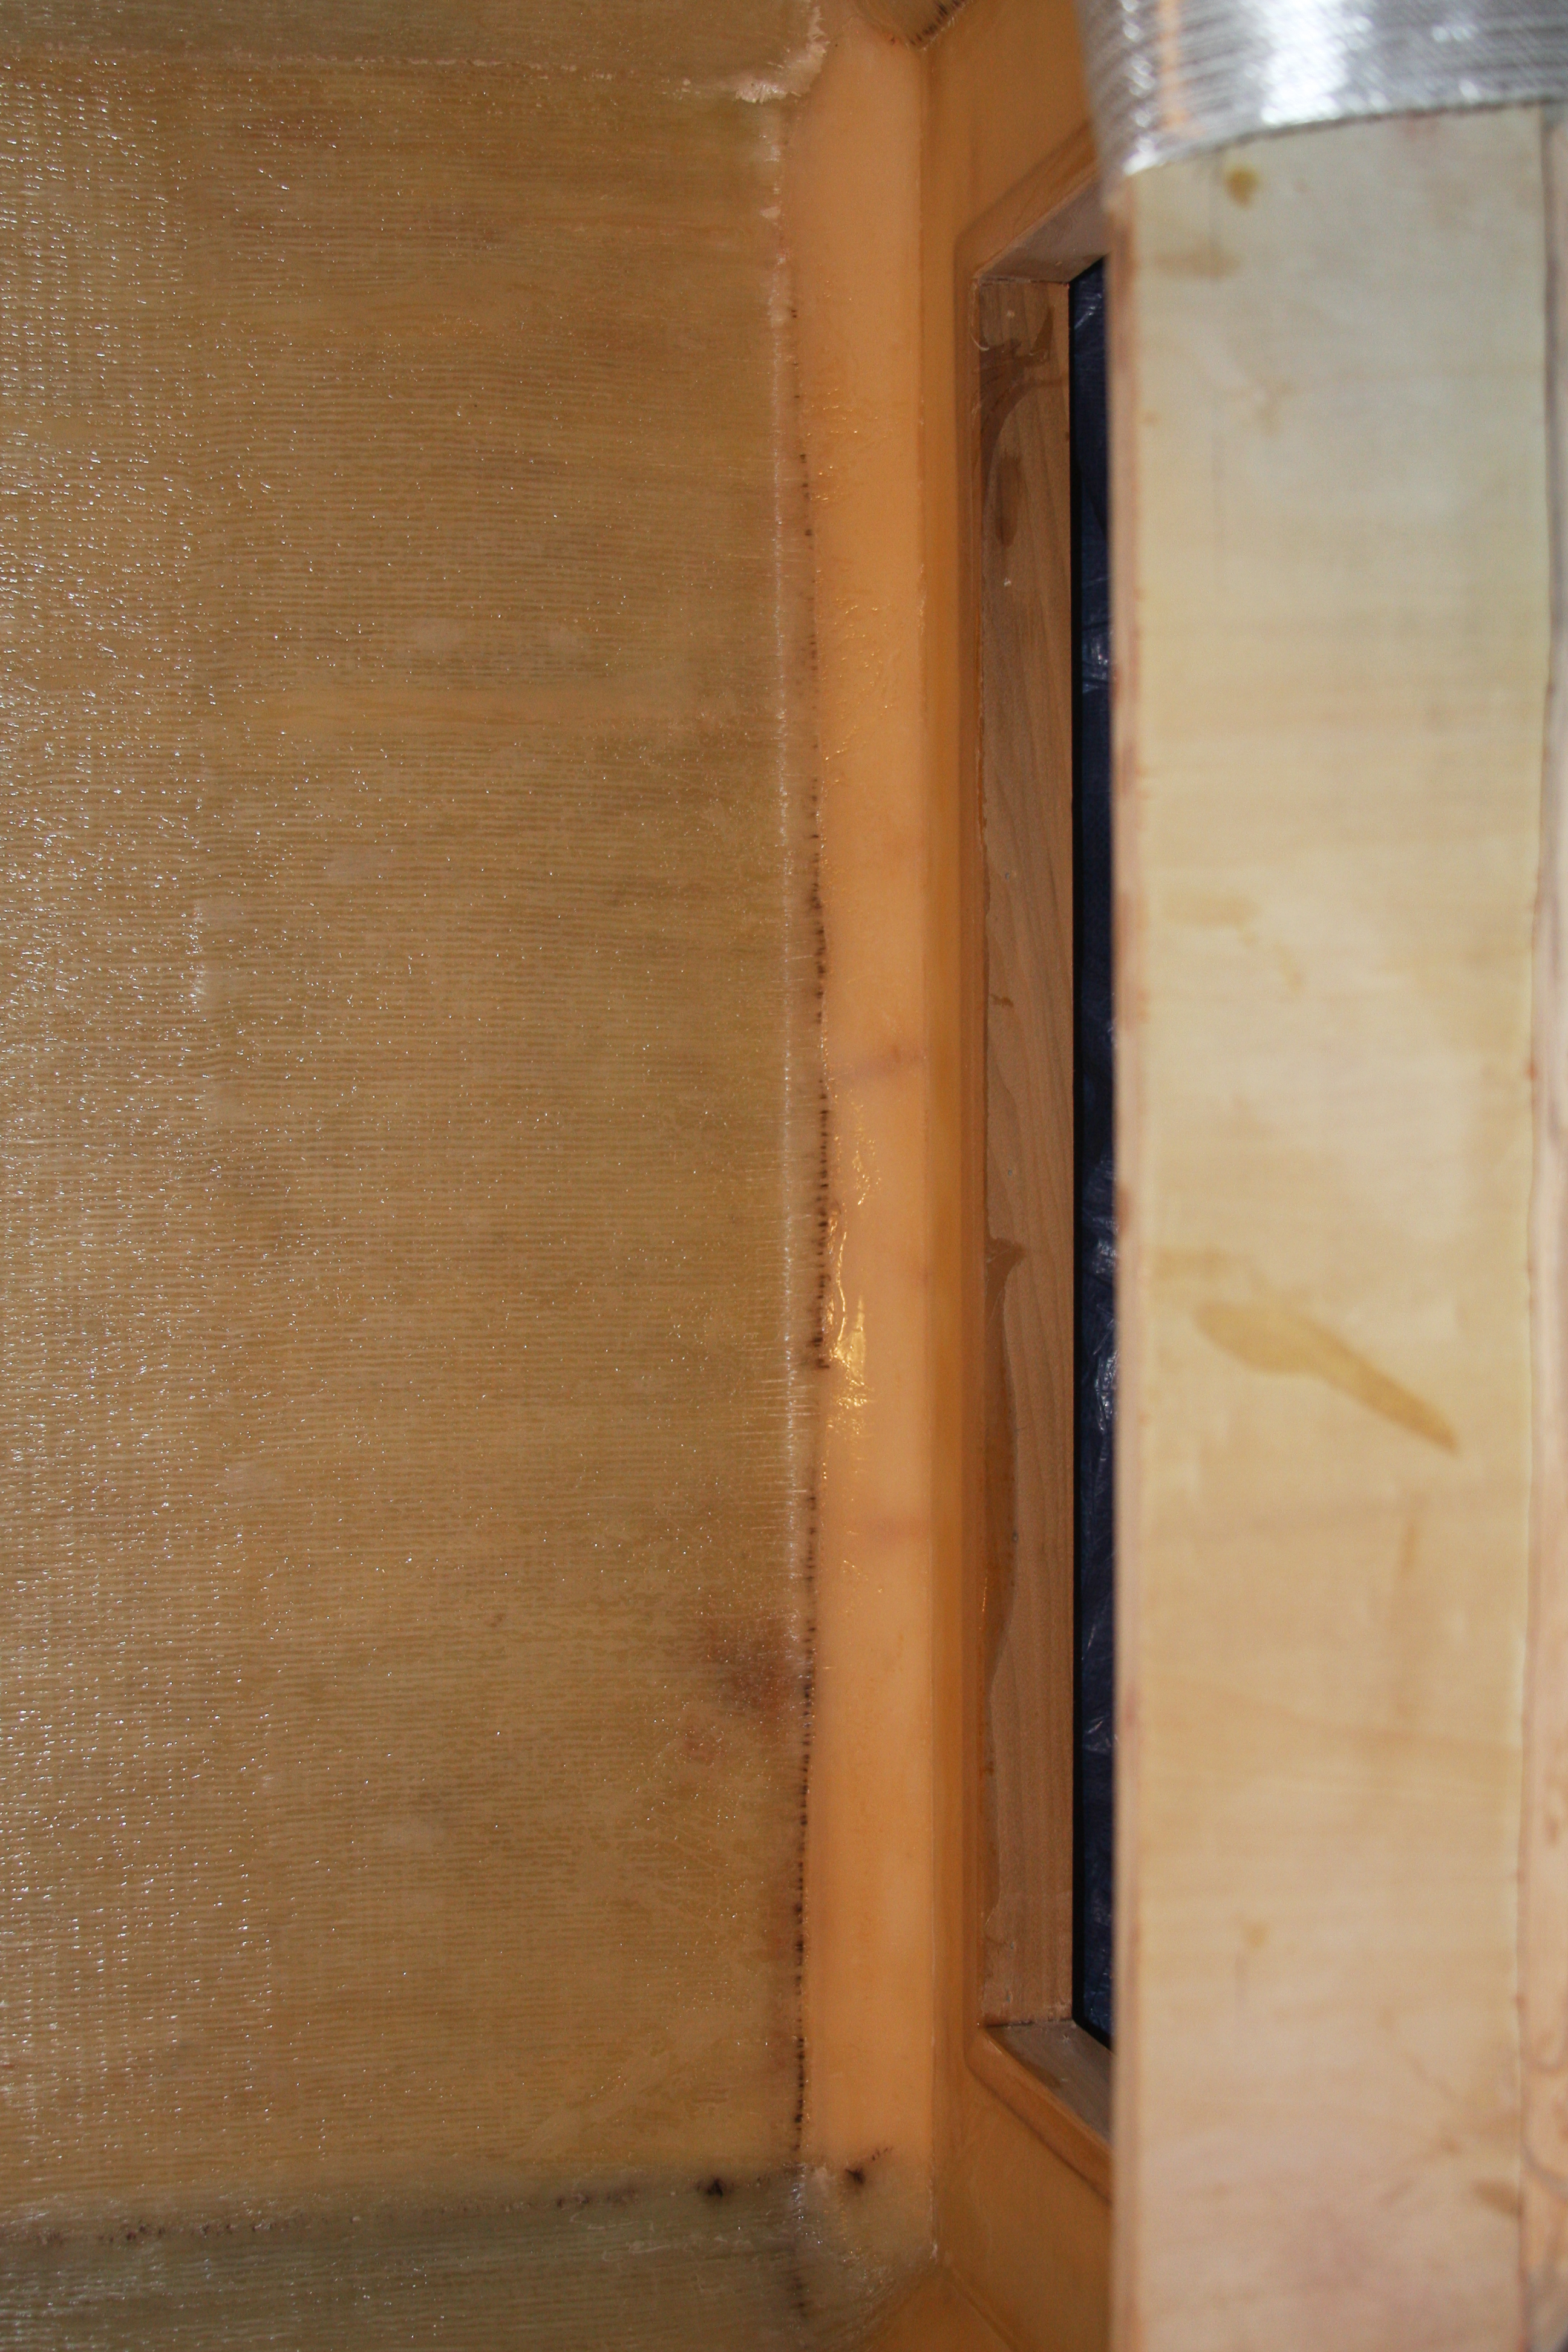
The start of the fiberglass being wet out......
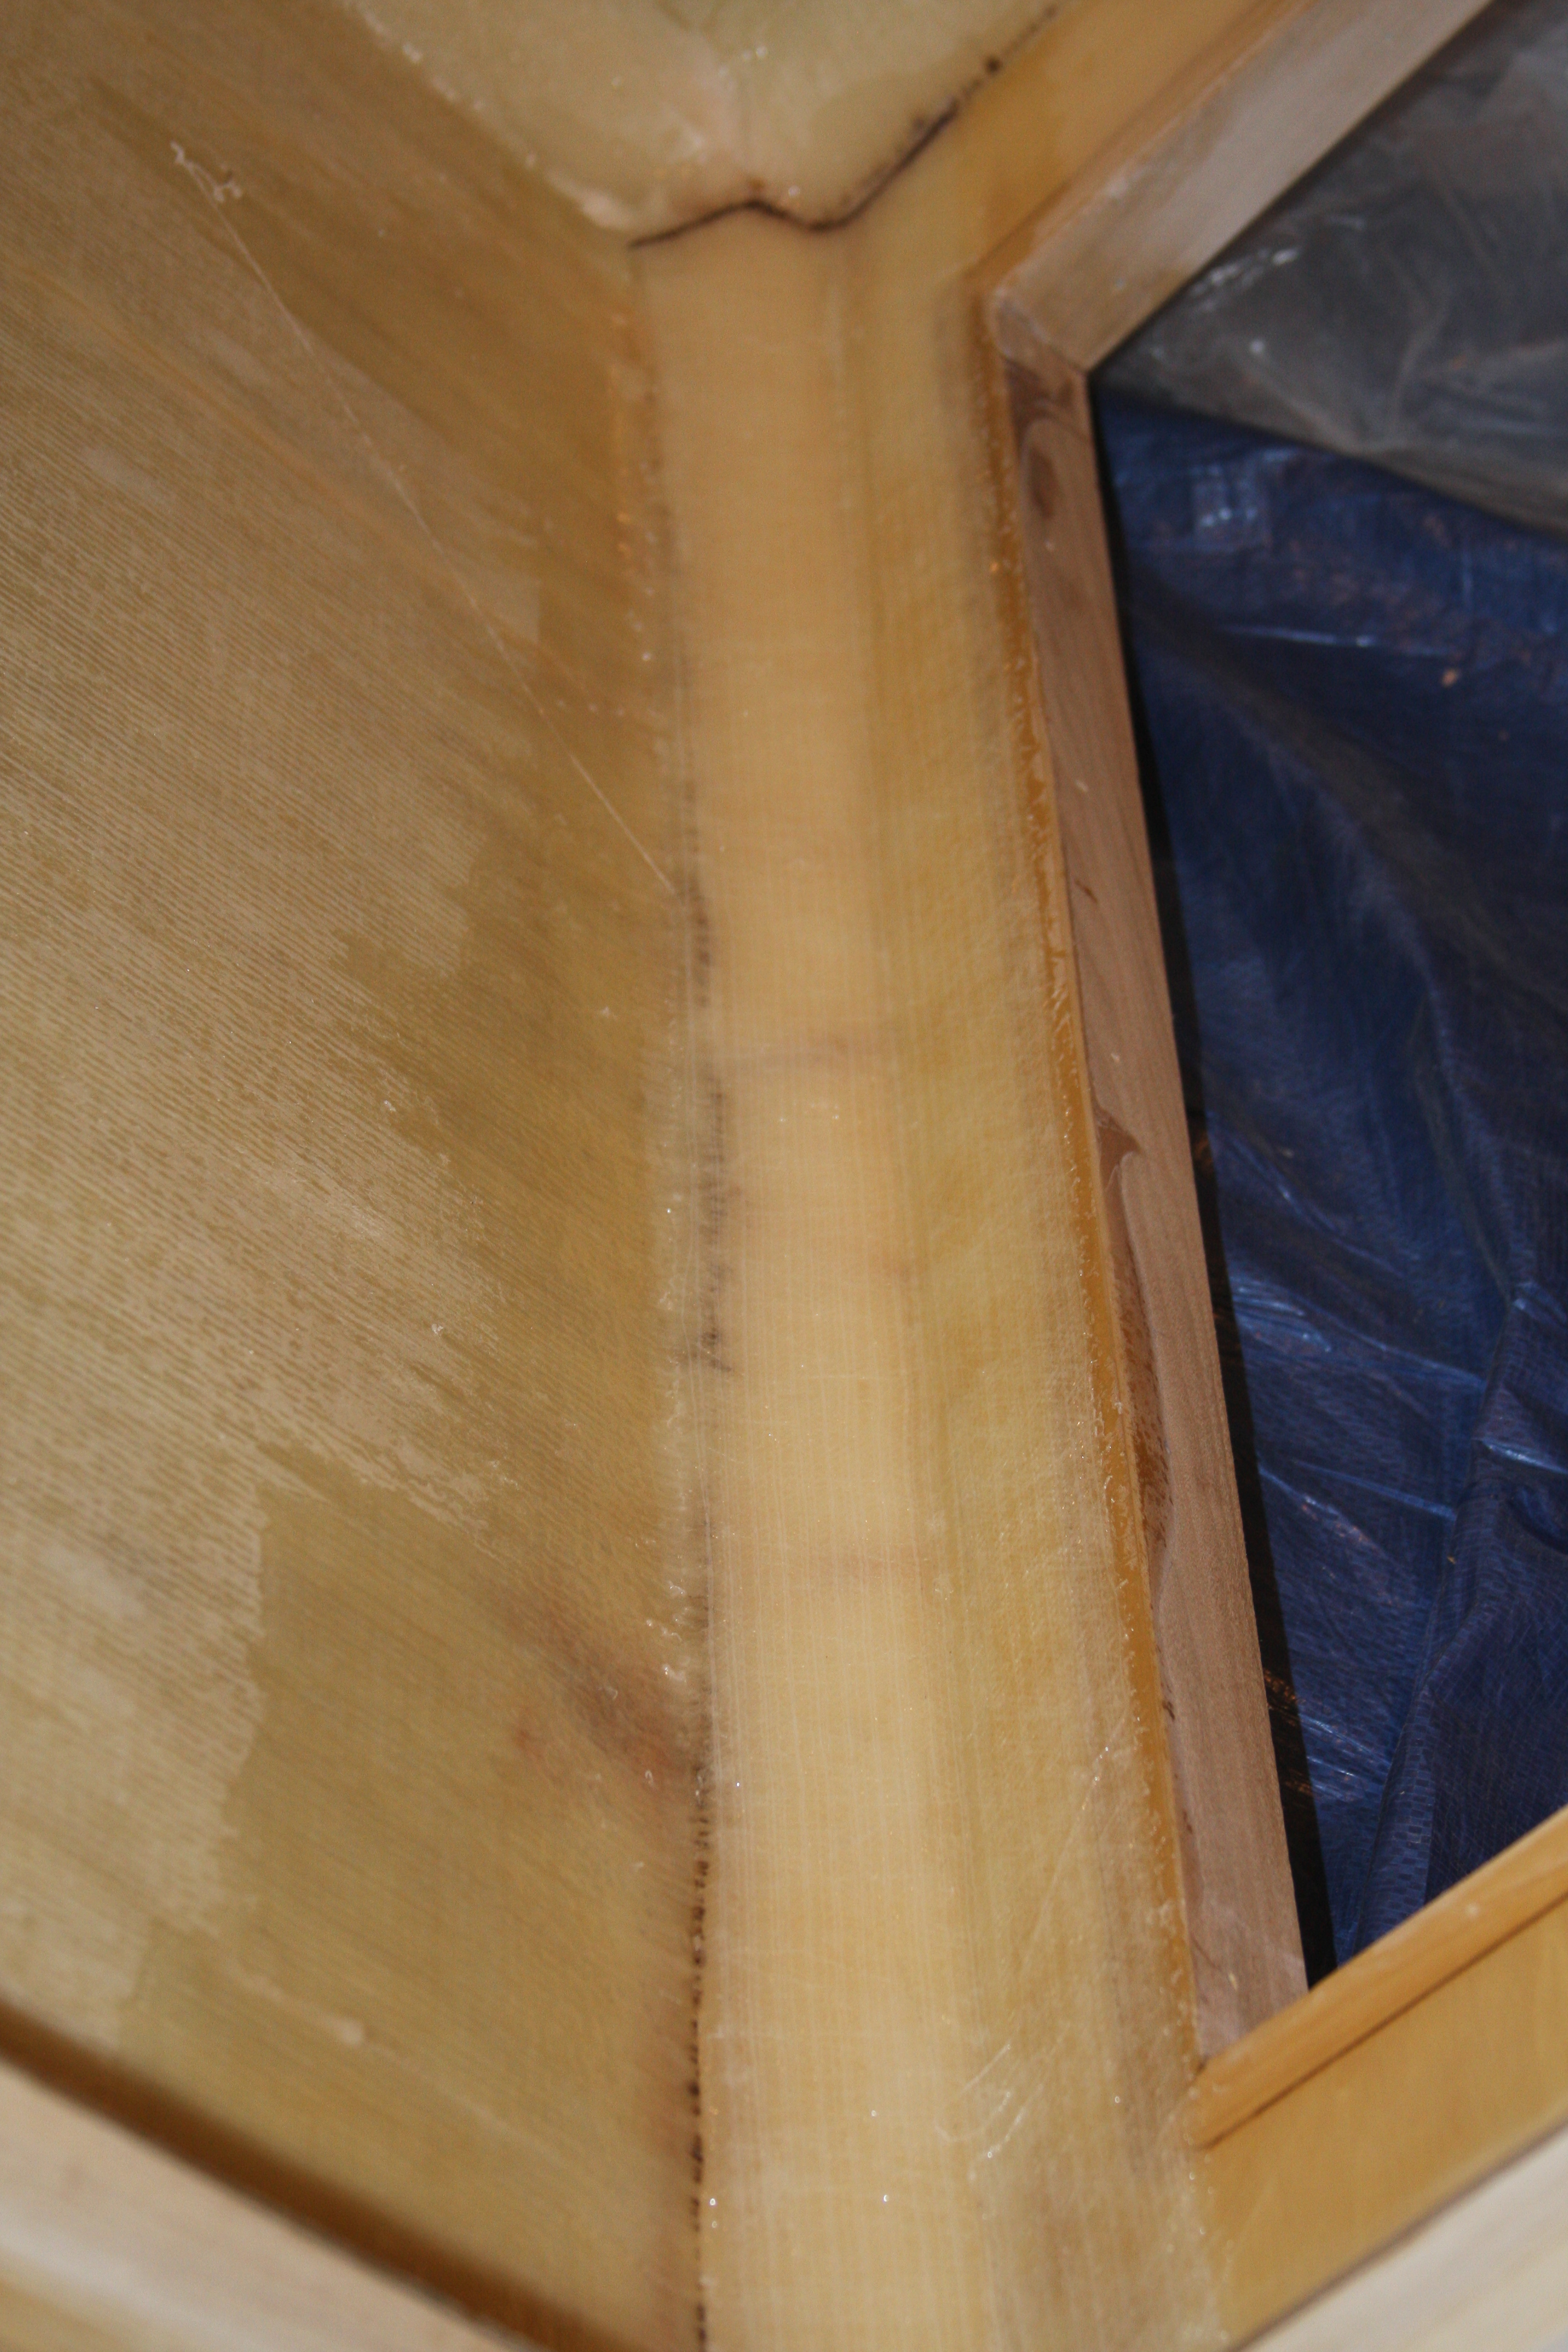
Again just a little more wet out work!!!!!!!

On another note, I have been doing a little work on the tank and such, and had promised some pics of the progress. Nothing super spectacular unless you enjoy a little sanding and fiberglass work, but here is the progress made since finishing up on Flowers sump.
Mocking up the fiberglass for the ends of the tank, before wetting the fiberglass out.
Both sides now mocked up and cut to fit....I take my wife's iron, and crease the corners, so they lay perfectly into the corners on the 45's.
You can see how I've taken the iron, and warmed and creased the fiberglass to lay to make it easier to trace and cut a good fit into the corners and seams.....
The start of the fiberglass being wet out......
Again just a little more wet out work!!!!!!!
acrylic51
Active Member
More pics of the progress.....I don't enjoy sanding between the pours of epoxy, and usually at this time of the year in the freight business, we aren't as busy as we have been. I'm not knocking being busy, but this is my time of the year to get a lot of things done around the house before the holidays, and just enjoy the season....You honestly have a decent amount of time between pouring, and setup, to where you can pour another layer, but with the work schedule it's days between pours......
 Which means to get a good bound the surface must be roughed up with 60 grit, and then wiped down, and let dry and then pour again.....
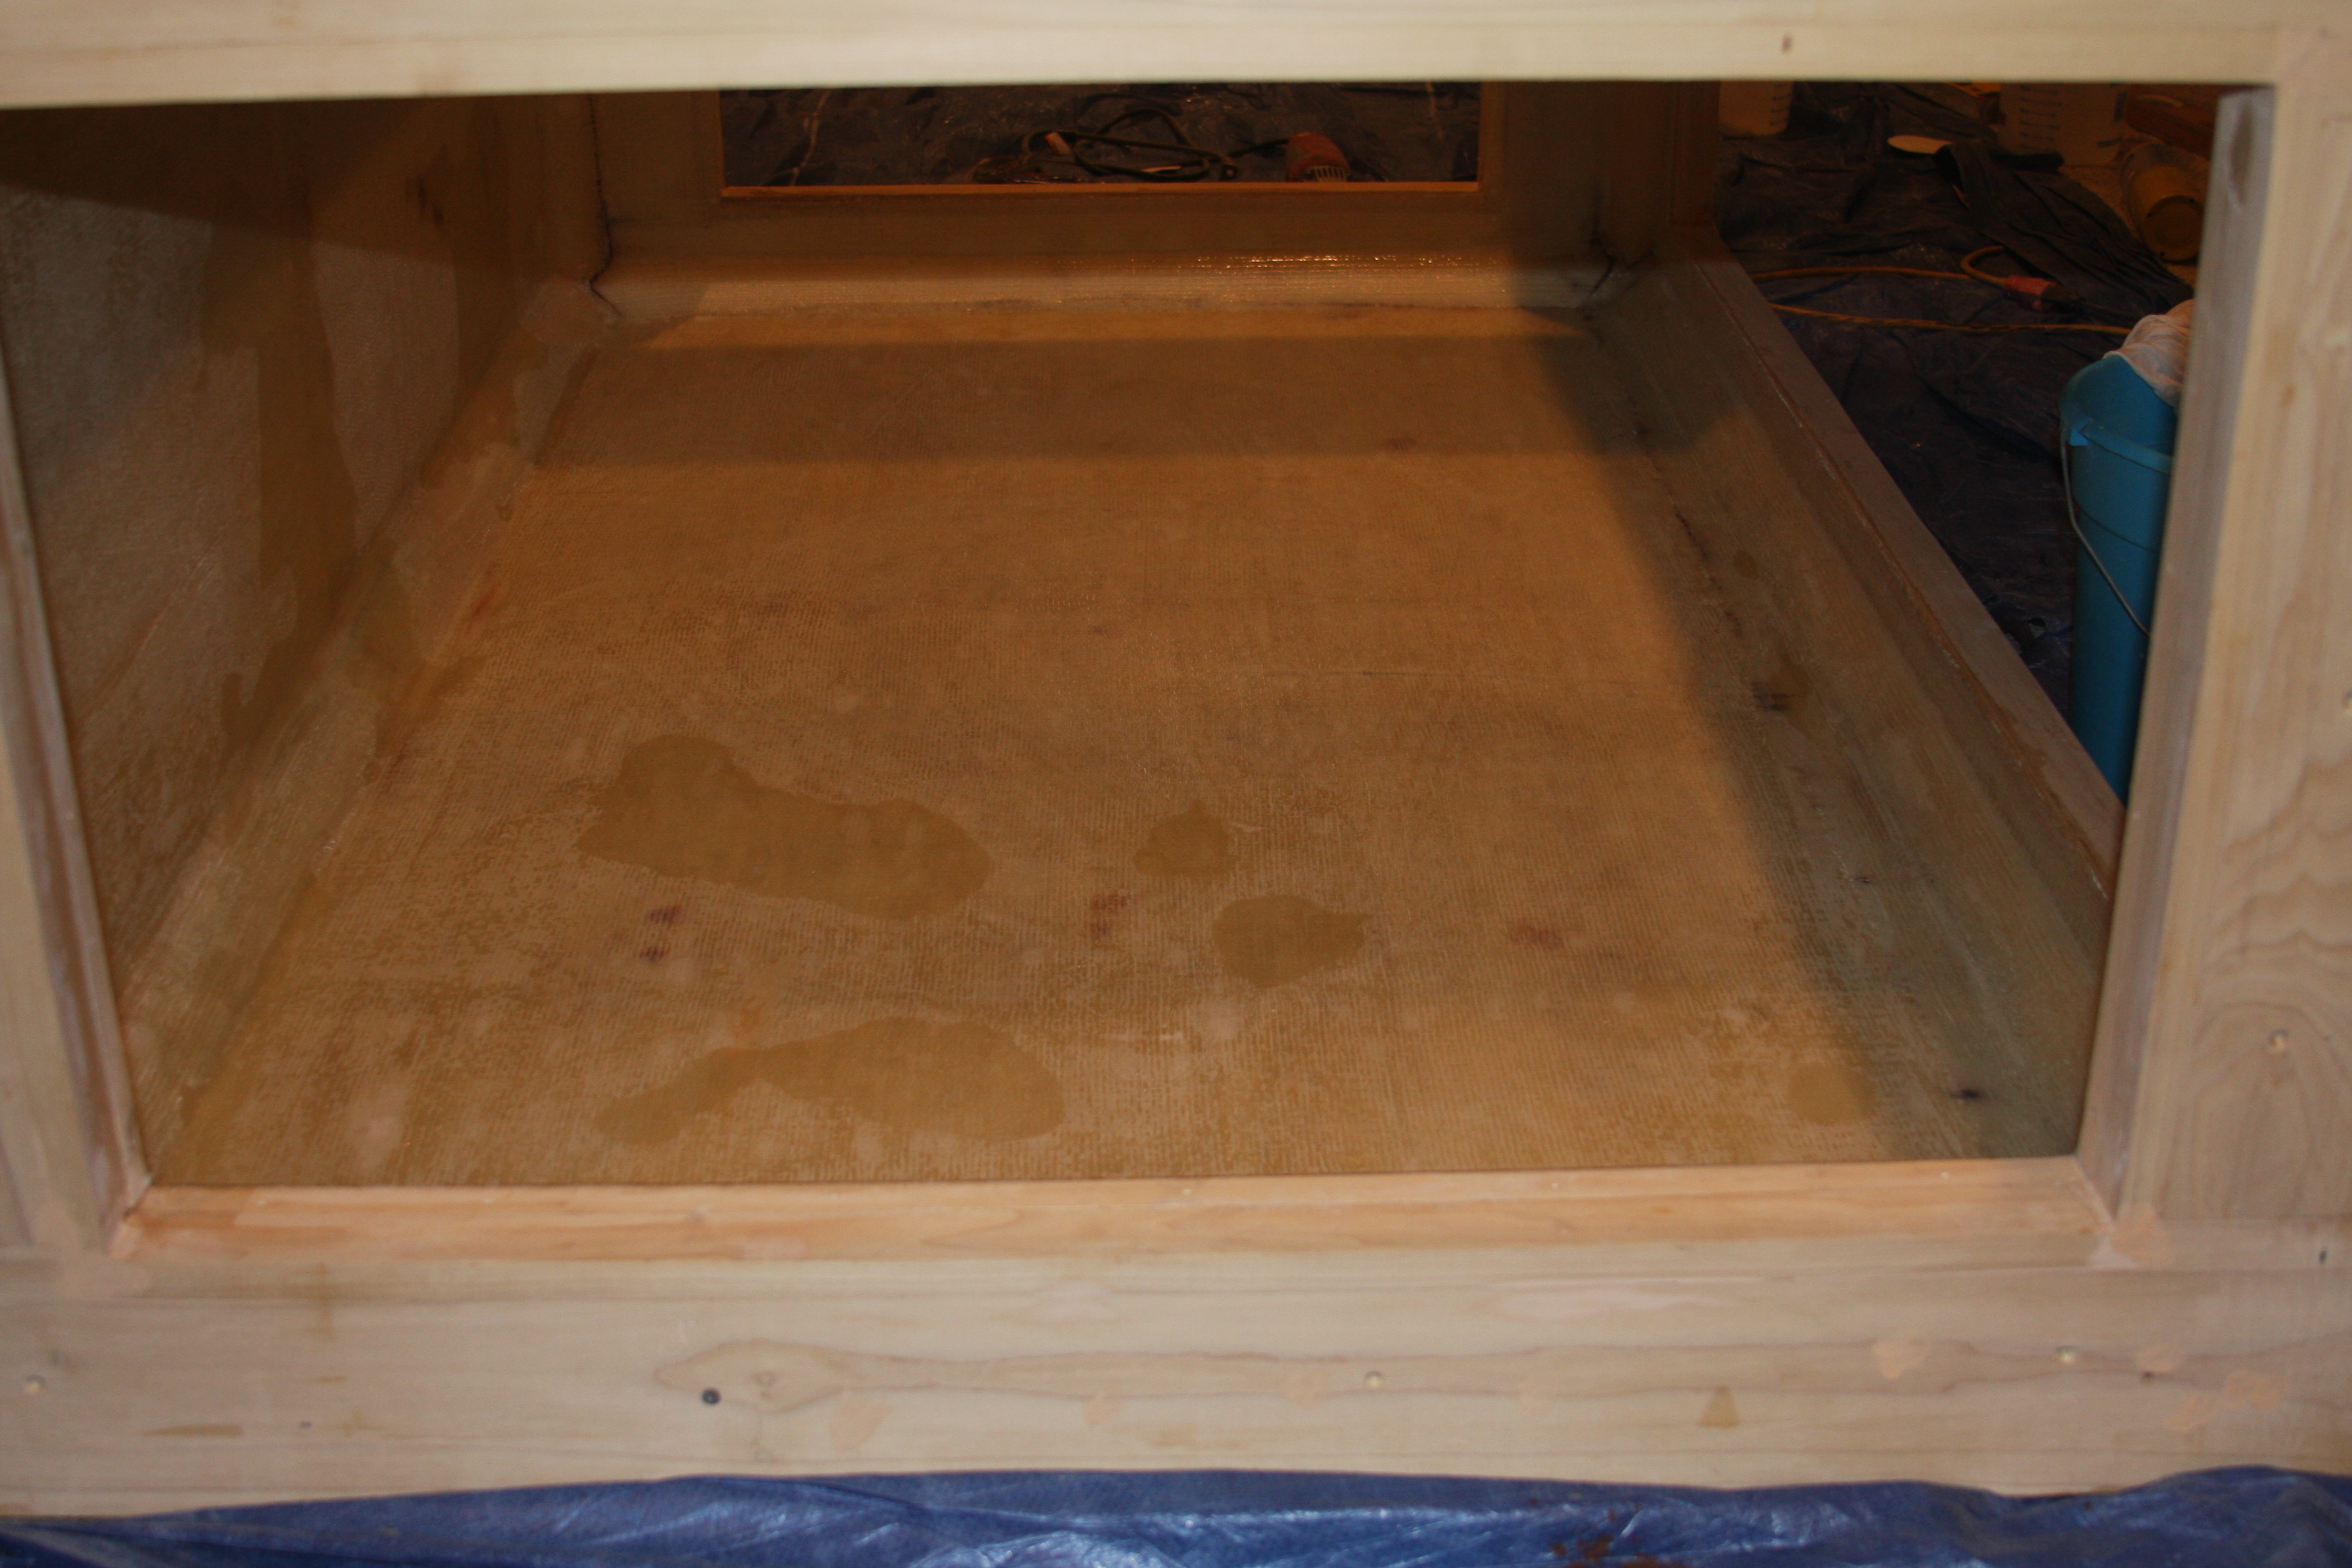
Sorry about the wet spots.....No my dog didn't pee in the tank.....He probably would if I didn't watch him. Just finished wiping/washing the tank down inside to prepare for the start of the pour....
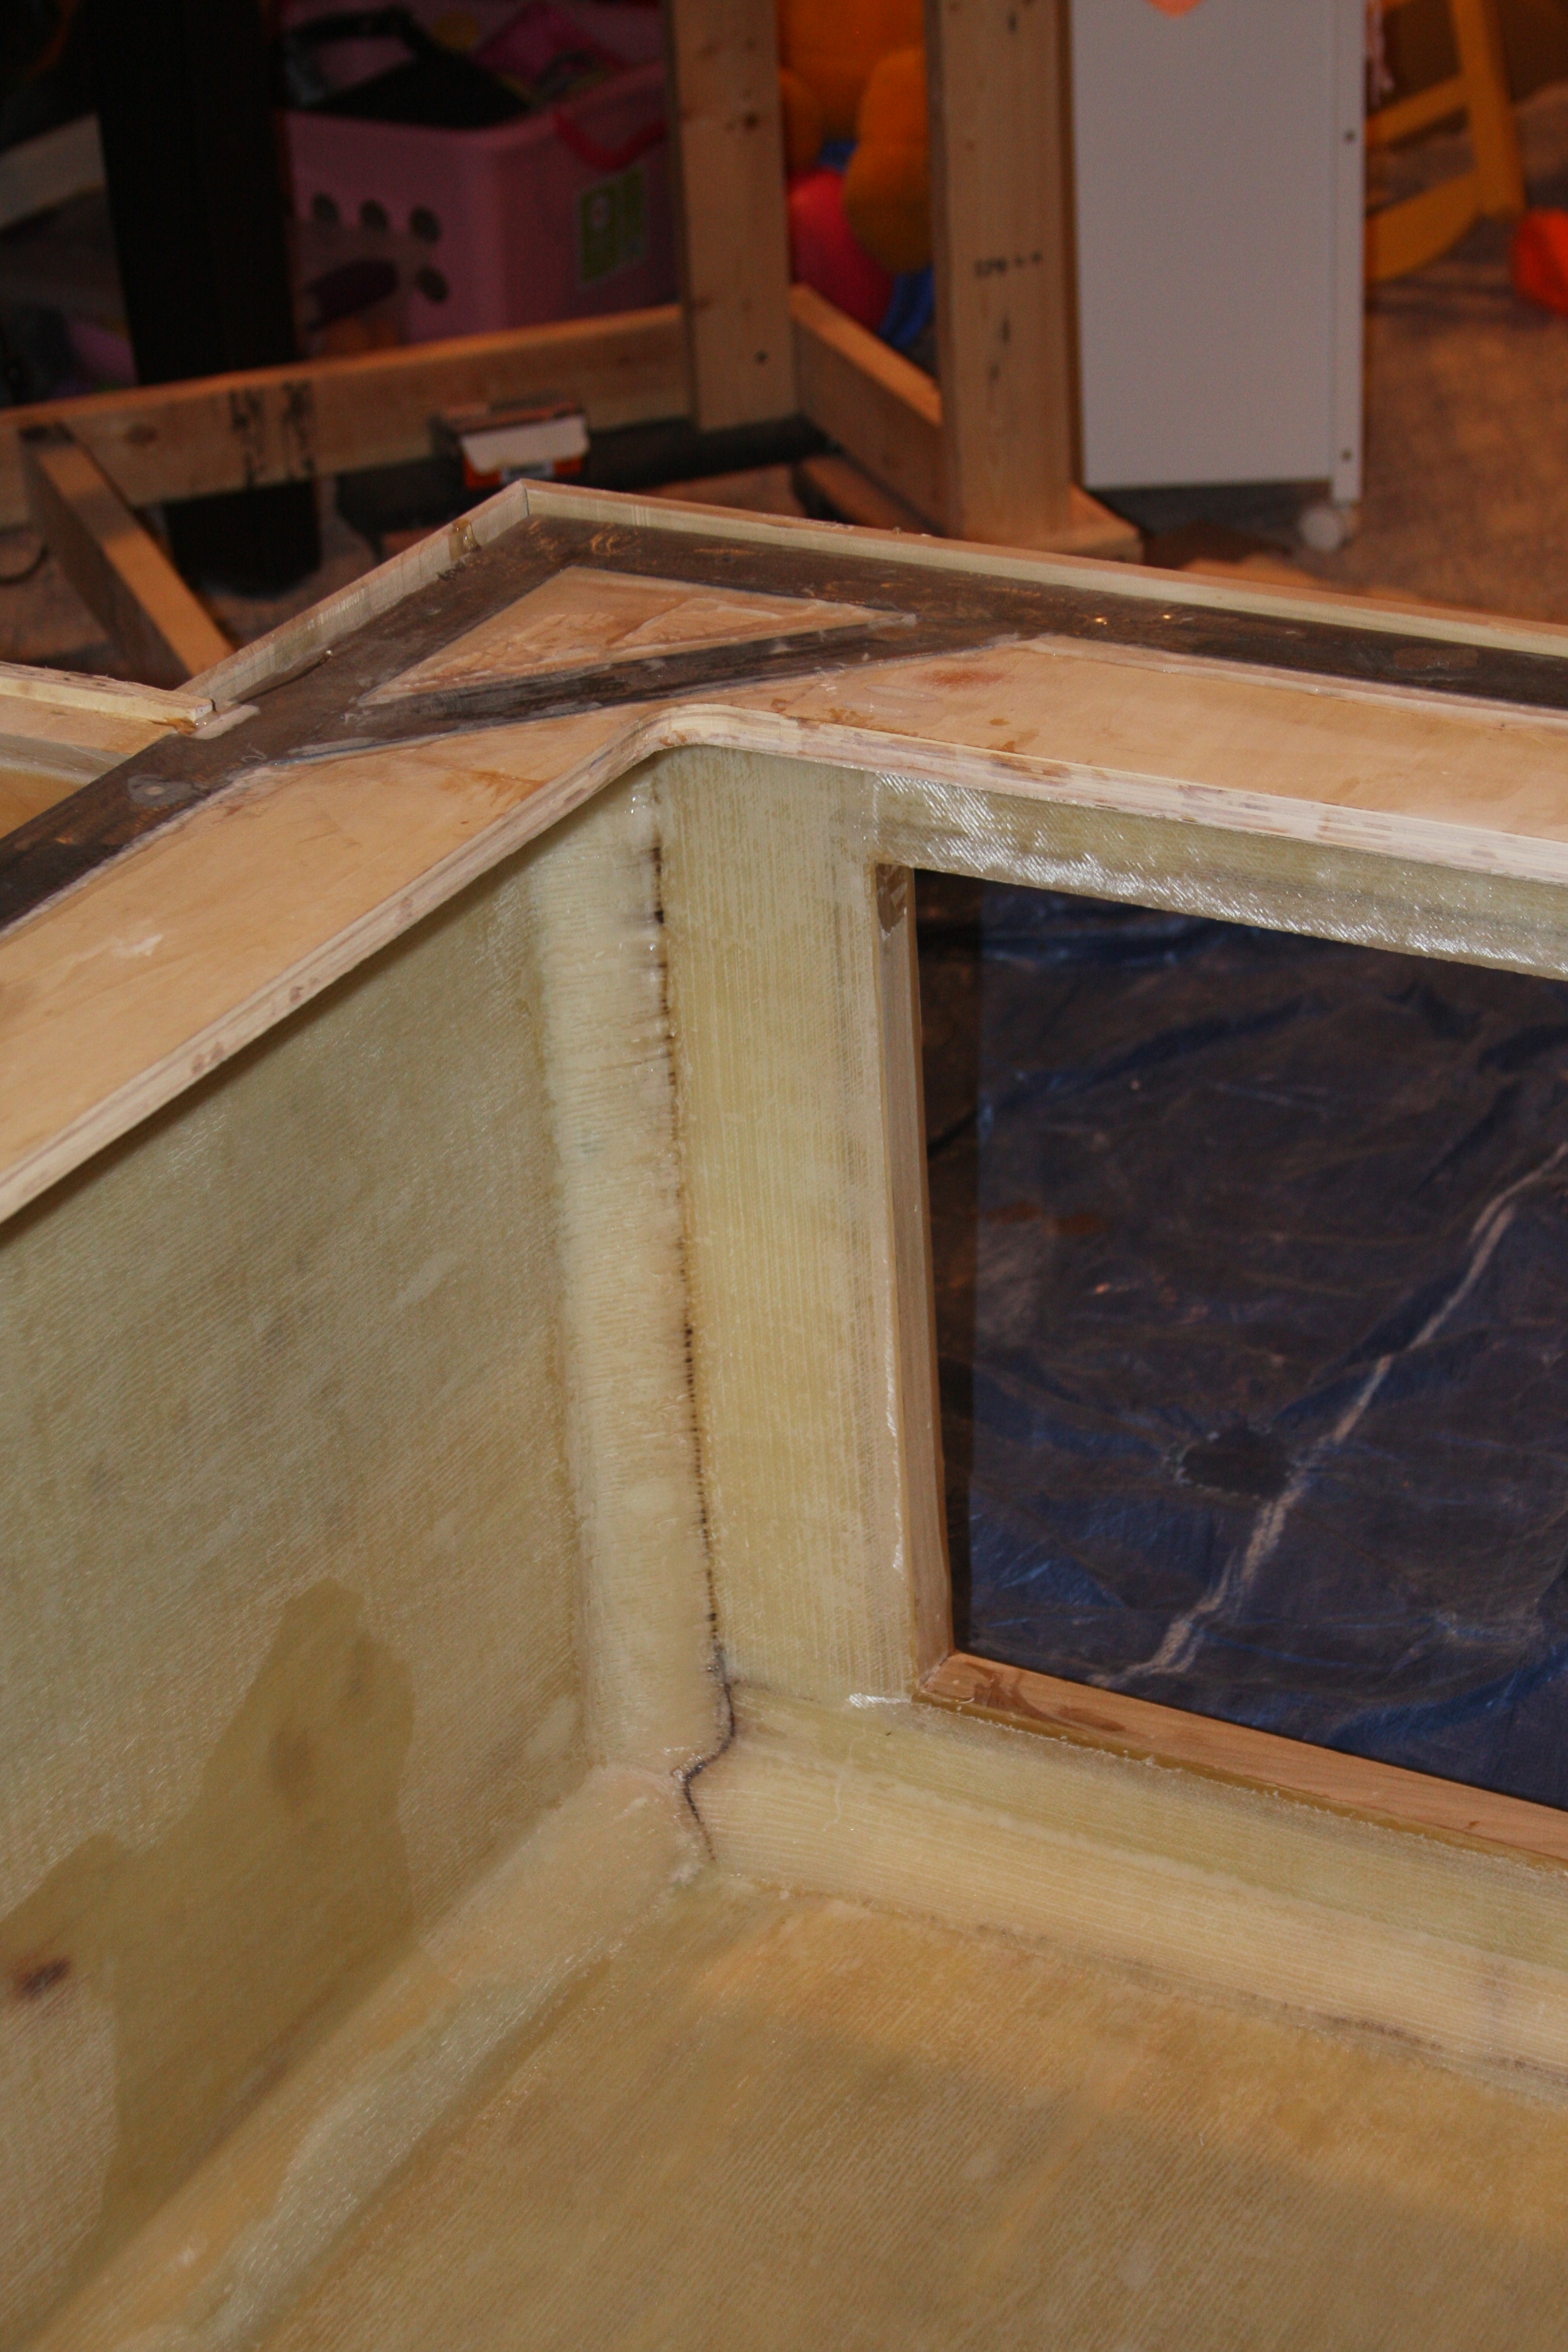
Just a quick shot showing the entire tank is glassed!!!!!!
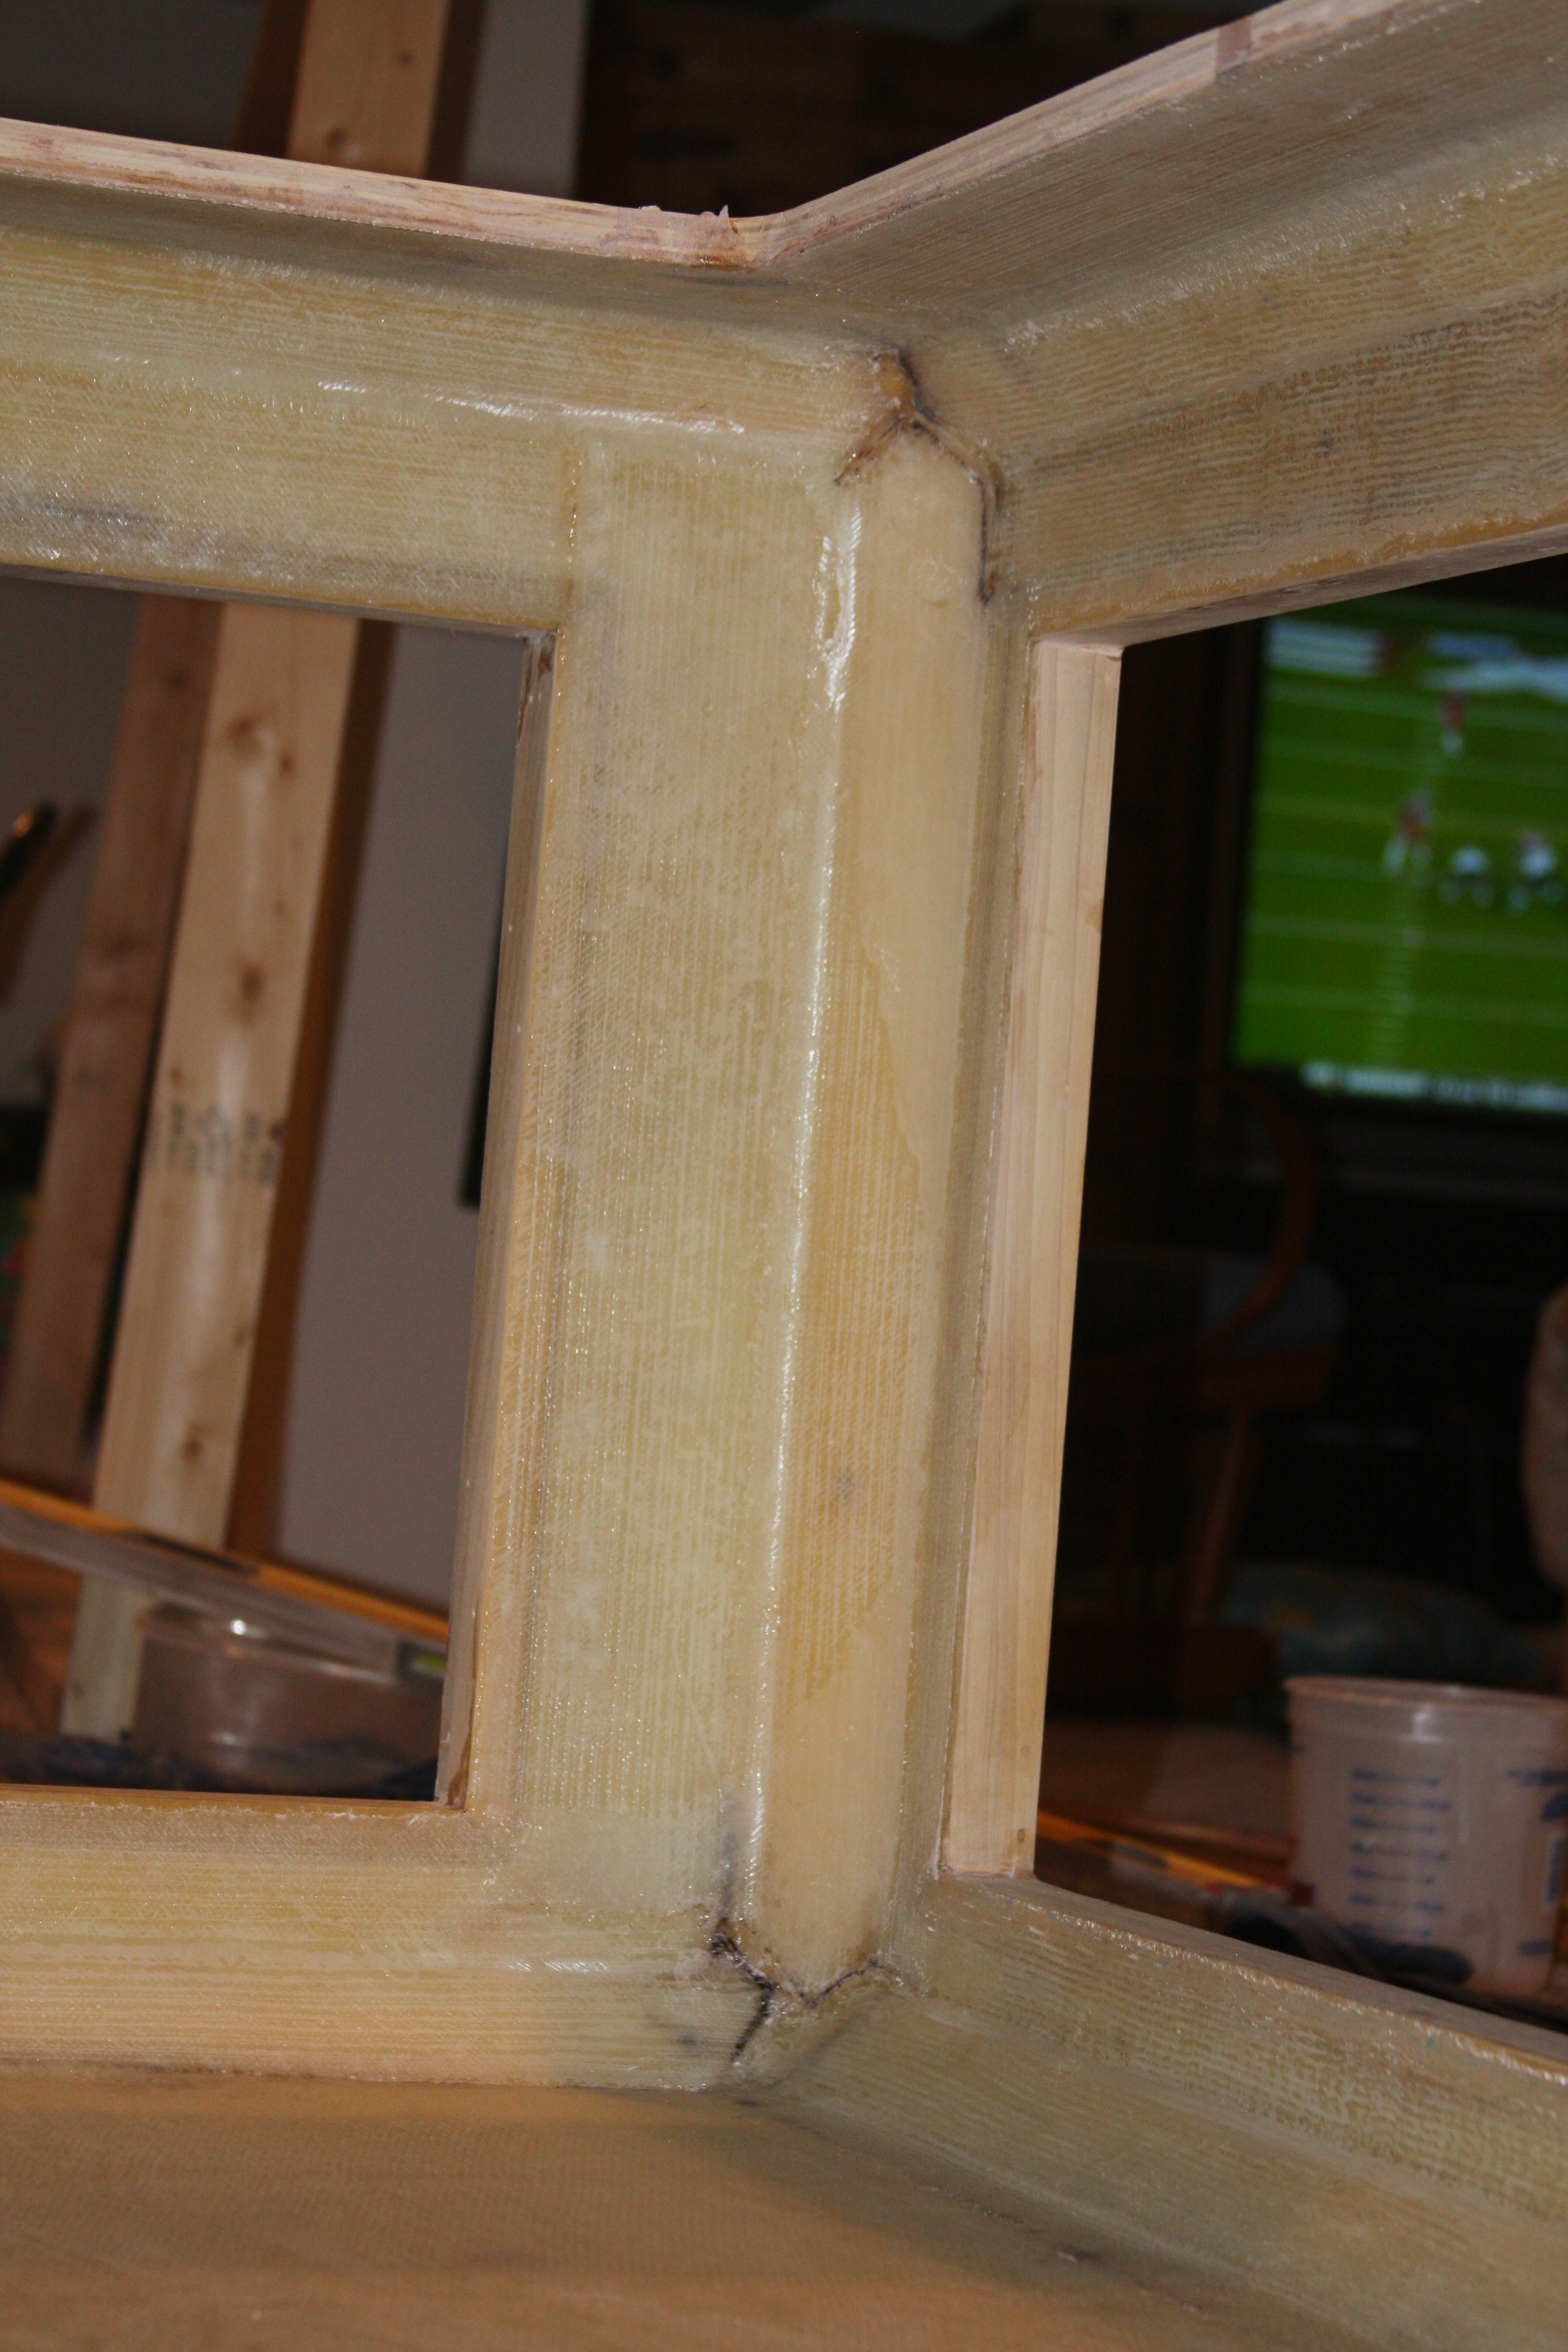
Just another shot showing the glass work!!!!!
An area that actually became a concern for me was the underside of the top euro bracing.....Another guy built a plywood tank, and had an issue with his bracing cracking, and there could be several reasons why, but I think his conclusion was the tank bracing was actually being exposed to water and was taking on moisture and allowed the bracing to crack. With that said; I decided to not skimp and buy more biaxial fiberglass and glass the underside of the euro bracing. At least this way I physically have to wet out the fiberglass and know that it is sealed, and it will receive additional coats of epoxy during the final pour process. It actual is a PITA to flip the tank completely over on it's top and work the underside of the euro bracing, but well worth it now I'm done....

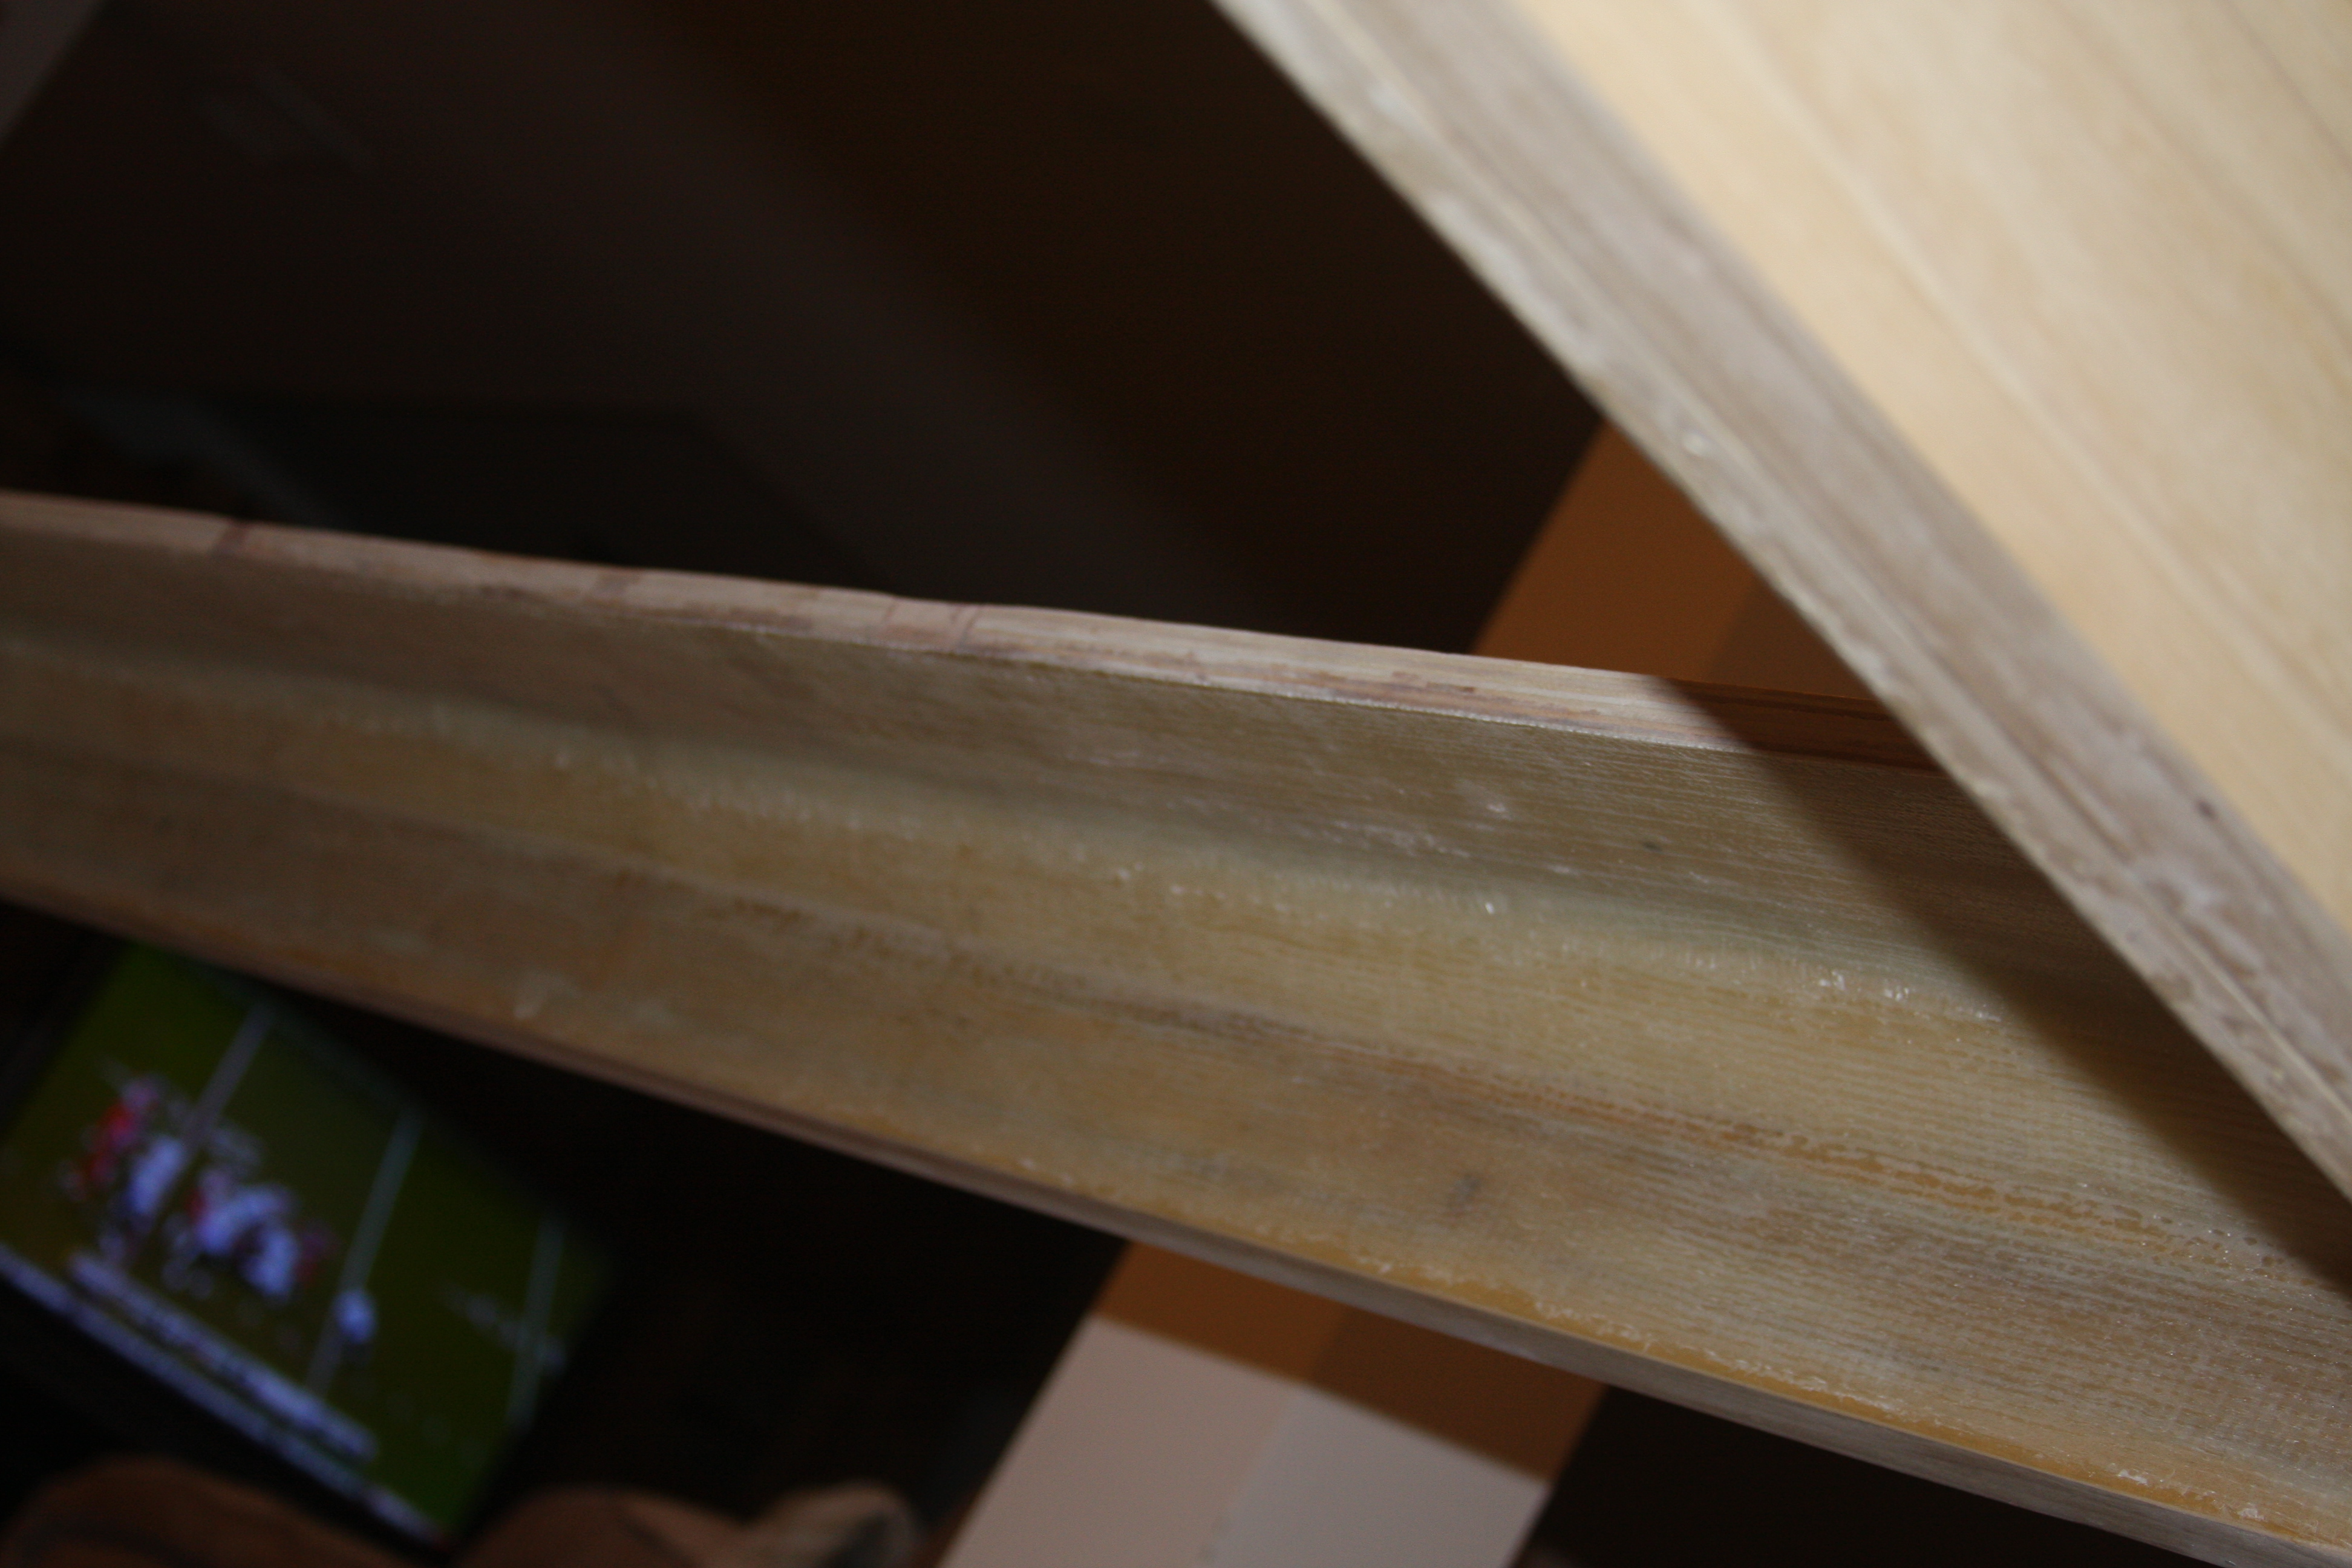
Hard to see, but the underside of the euro bracing glassed. It was kind of neat, because the euro brace is actually tied into the front frame work and the rest of the tank structure by overlapping the fiberglass. Took a bit to feather the edges.....The exposed edge of the wood you see in this pic, won't be glassed, but will be taped off, and a good epoxy pour on the exposed edge.

Sorry about the wet spots.....No my dog didn't pee in the tank.....He probably would if I didn't watch him. Just finished wiping/washing the tank down inside to prepare for the start of the pour....
Just a quick shot showing the entire tank is glassed!!!!!!
Just another shot showing the glass work!!!!!
An area that actually became a concern for me was the underside of the top euro bracing.....Another guy built a plywood tank, and had an issue with his bracing cracking, and there could be several reasons why, but I think his conclusion was the tank bracing was actually being exposed to water and was taking on moisture and allowed the bracing to crack. With that said; I decided to not skimp and buy more biaxial fiberglass and glass the underside of the euro bracing. At least this way I physically have to wet out the fiberglass and know that it is sealed, and it will receive additional coats of epoxy during the final pour process. It actual is a PITA to flip the tank completely over on it's top and work the underside of the euro bracing, but well worth it now I'm done....

Hard to see, but the underside of the euro bracing glassed. It was kind of neat, because the euro brace is actually tied into the front frame work and the rest of the tank structure by overlapping the fiberglass. Took a bit to feather the edges.....The exposed edge of the wood you see in this pic, won't be glassed, but will be taped off, and a good epoxy pour on the exposed edge.
acrylic51
Active Member
I also got a little more done on the tank during the lack of updating....I had the plywood frame of the tank originally sitting on the stand when I started applying the outer skin to cover the angle iron, and so the tank could have a nice finish on just as the stand and canopy. I did find the stand was out a bit, and wasn't happy, and had tossed the idea about using really thin foam to take up the small variance; which the foam would have been overkill. I started thinking about how to level the bottom perfect.
Well I had the tank with the bottom up and standing there looking dumb as usual, I thought to myself; I have the perfect form/dam. The outer skin made the perfect dam and knew the tank sat perfectly level with the outer skin, so I poured the entire bottom with epoxy to make the bottom of the tank perfectly level. At some point I'll have to snap a pic, when I have to flip it back over....Was a bit tedious, but now my mind is at total ease!!!!!!!
Well I had the tank with the bottom up and standing there looking dumb as usual, I thought to myself; I have the perfect form/dam. The outer skin made the perfect dam and knew the tank sat perfectly level with the outer skin, so I poured the entire bottom with epoxy to make the bottom of the tank perfectly level. At some point I'll have to snap a pic, when I have to flip it back over....Was a bit tedious, but now my mind is at total ease!!!!!!!
acrylic51
Active Member
Some progress made on the stand as well.....No clear coating as of yet. Still have to add 1 trim piece and then should be able to start with the poly on the stand......
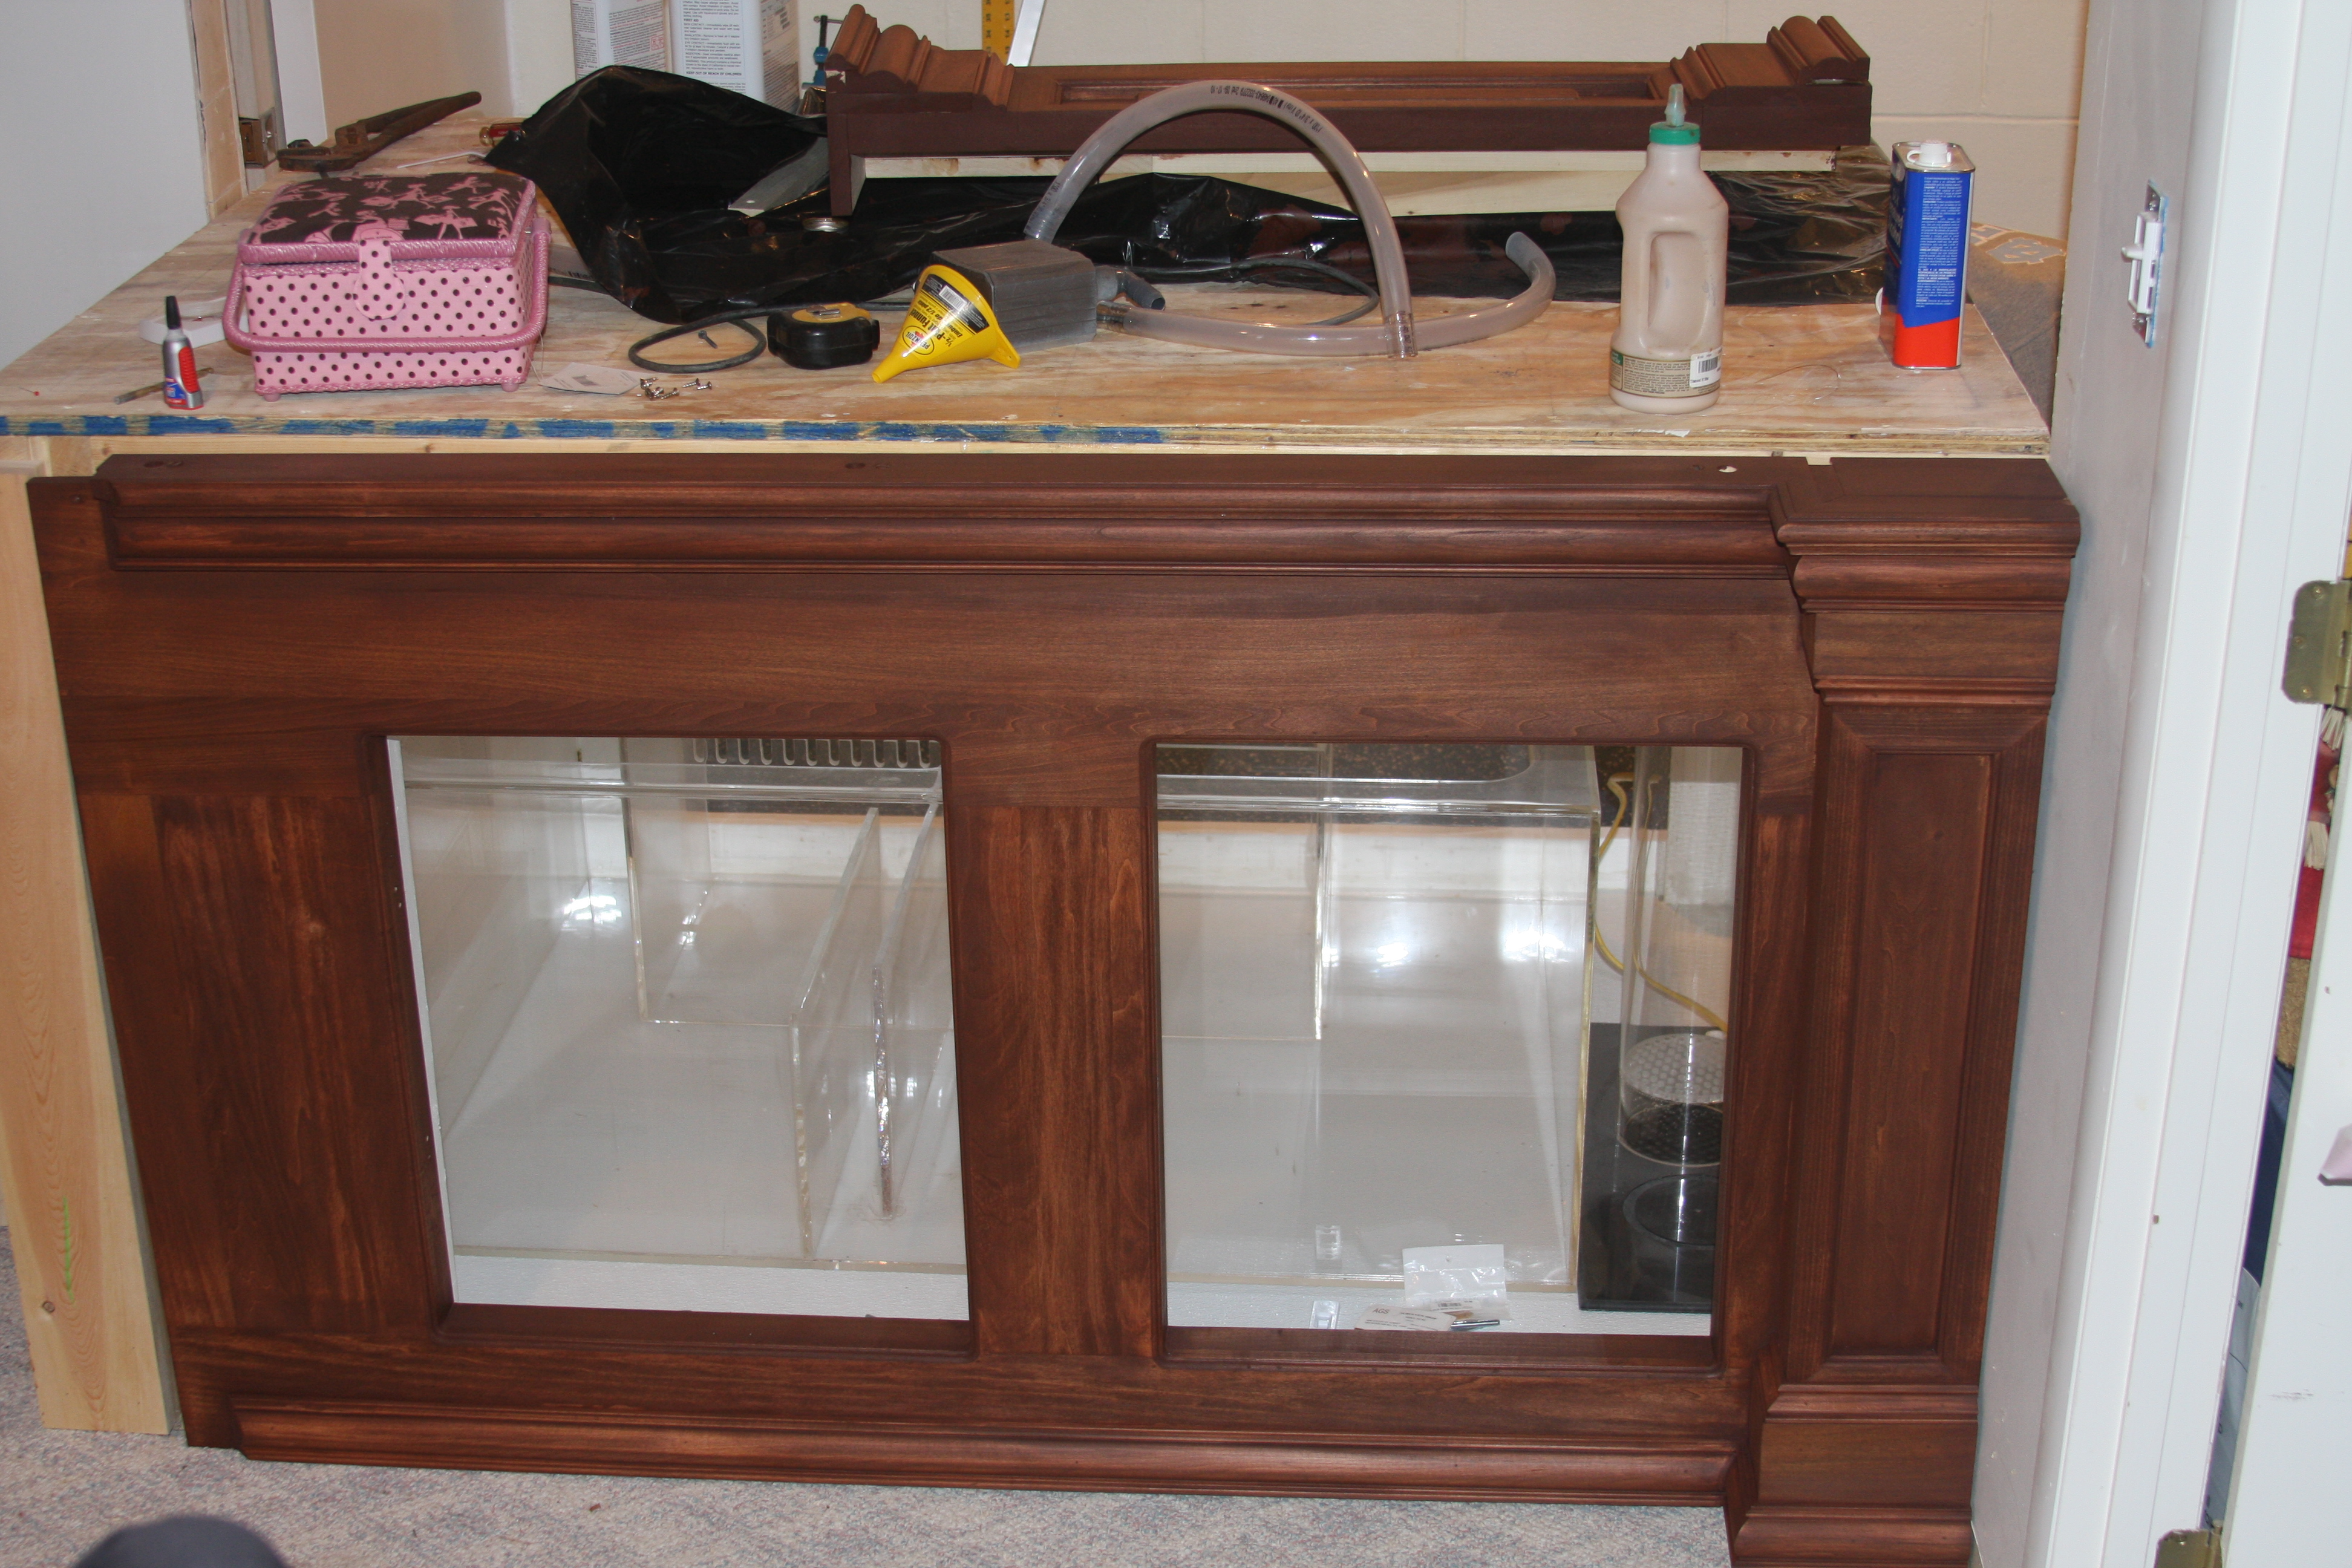
You can also see in the background the side panel for the stand is also stained ready for poly as well. The corner standoff for the stand is also stained!!!
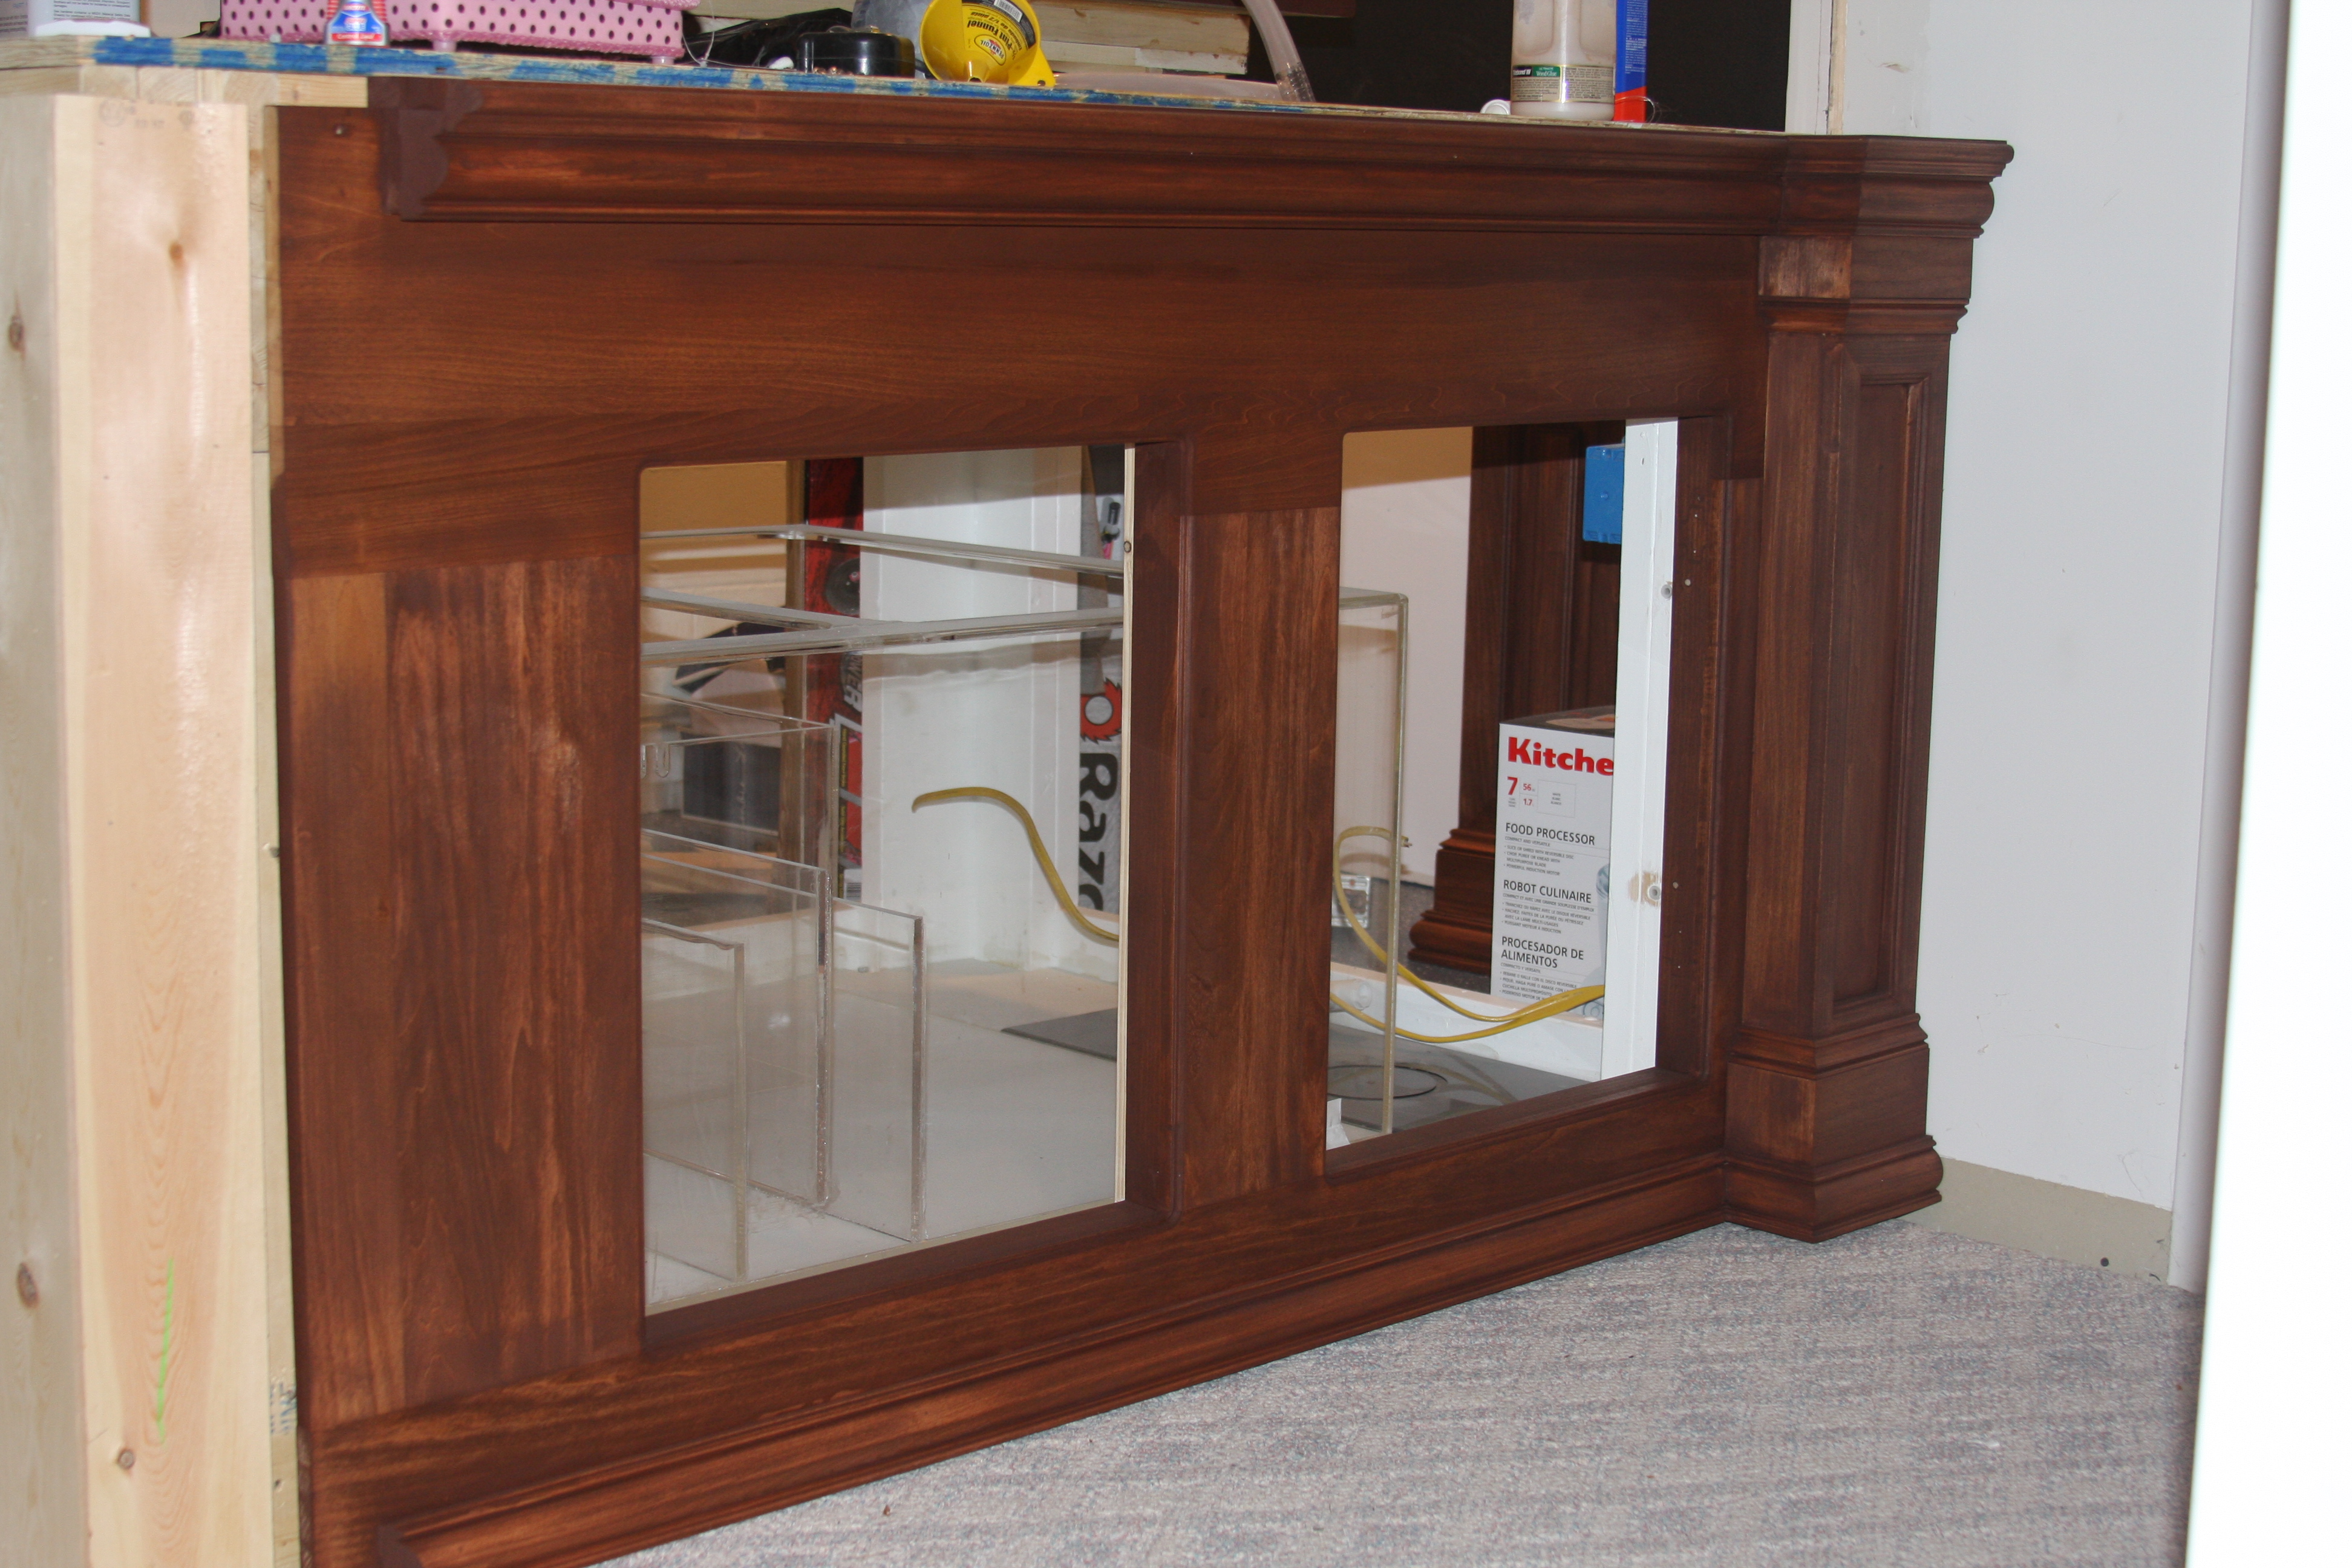
Just another shot of the front skin. You can also see in the background the corner standoff for the stand!!!!
You can also see in the background the side panel for the stand is also stained ready for poly as well. The corner standoff for the stand is also stained!!!
Just another shot of the front skin. You can also see in the background the corner standoff for the stand!!!!
al&burke
Active Member
Shawn, I ofter wondered if dry rock could be sliced say 1/4" thick and epoxied to the back of the tank, I think it would look kind of neat, even add some shelves so you could put some corals on it, imagine zoas growing all over the back of your tank. I almost think that dry base rock could be sliced with a band saw, very carefully. IDK what do you tkink, of course the rock would have to be glued in after your glass was in.
acrylic51
Active Member
Al........
 Joking!!!!! I had sent Corey a text and asked him to check on his end if he could round the background up for me and we had a good conversation this afternoon, and I did manage to round up a roll. I found a supplier, and he has 17 rolls of the stuff, and funny thing everyone else that supposedly carries it is out......
 Yeah all 17 rolls are sitting in Va.....I was hoping to only order what I needed, but had to order a roll of 50' to get what I wanted.
Could be a possibility, Flower's thread on the wall kind of caught my attention......I'm not sure about using a band saw to cut the dry rock down, would probably have to use a tile saw to do it.....Mmmmmm I have to get my tile saw (2) of them back from different buddies of mine.....That actually would look pretty neat, any pics of tanks done that way????
Played hooky from work today and got a little done on the tank itself. I had already washed it done on the inside, and did the initial pour of white epoxy on the bottom. We are still under discussion and options/ideas on what to do with the bottom, but the white layer of epoxy will be my indicator if nothing more if the epoxy is ever compromised. If the epoxy would start to flake or peel it would be evident, because the white would show through.......I will have to take some pics and post of the initial tint pour. The first section I poured I didn't use enough pigment, but then found the perfect measurement of pigment to use. I also have to remember not to pour from the very bottom of the mixing container as well. Will post some pics in a bit. Still using the torch looking for air bubbles!!!!!!

2quills
Well-Known Member
Hmmm...tile saw or if you know anybody with a brick/concrete saw would be better. Sometimes places that deal with stone will cut rocks for you. I hate to say it now since you already purchased the roll of backround but a rock wall is not a bad idea IMO. A real Live Rock wall A rock wall, with a dark blue bottom and if you did your rock work inside of the tank right it could somewhat simulate like a rocky cliff and the dark blue bottom would seem like it dropped down into the great abyss? lol...I don't know I'm just throwing it out there now.
Everything looks like it's coming along great. The color on the stand looks really good, can't wait to see it all shiny and finished.
Everything looks like it's coming along great. The color on the stand looks really good, can't wait to see it all shiny and finished.
acrylic51
Active Member
Thanks Corey!!!!! I was browsing the foam wall thread over on the other forum and some I liked some I didn't..... Just as anything you have to allow for things to grow in and color up naturally. I was curious if the epoxy stuck to the egg crate for the simple fact of building it outside the tank and have the wall removable, but attached to the tank with nylon screws???? I just need to find out alittle more on it.... I did like the idea of what Al had pointed out earlier about cliffs and overhangs that could be used for spas, GSP and such!!!! I will have some time to read and think since progress will be slowed due to the holidays.
Al on my 240, that is exactly how I did the finish. I ha posted pics way back in the thread and Corey had made the comment about shinty enough to shave with as a mirror. It does turn out beautiful that way, and really not any more time consuming as with a brush, and less room for run marks.
Al on my 240, that is exactly how I did the finish. I ha posted pics way back in the thread and Corey had made the comment about shinty enough to shave with as a mirror. It does turn out beautiful that way, and really not any more time consuming as with a brush, and less room for run marks.
posiden
Active Member
Quote:
Originally Posted by acrylic51 http:///forum/thread/376802/415-gallon-plywood-tank-build/540#post_3337992
Could be a possibility, Flower's thread on the wall kind of caught my attention......I'm not sure about using a band saw to cut the dry rock down, would probably have to use a tile saw to do it.....Mmmmmm I have to get my tile saw (2) of them back from different buddies of mine.....That actually would look pretty neat, any pics of tanks done that way????
Its not a rock wall but, its the parts to build one. They already have the flat side done to them. Its the prime cuts.
http://www.marcorocks.com/index.asp?PageAction=VIEWPROD&ProdID=109&HS=1
al&burke
Active Member
Quote:
Originally Posted by Posiden http:///forum/thread/376802/415-gallon-plywood-tank-build/540#post_3338062
Quote:
Originally Posted by acrylic51 http:///forum/thread/376802/415-gallon-plywood-tank-build/540#post_3337992
Could be a possibility, Flower's thread on the wall kind of caught my attention......I'm not sure about using a band saw to cut the dry rock down, would probably have to use a tile saw to do it.....Mmmmmm I have to get my tile saw (2) of them back from different buddies of mine.....That actually would look pretty neat, any pics of tanks done that way????
Its not a rock wall but, its the parts to build one. They already have the flat side done to them. Its the prime cuts.
http://www.marcorocks.com/index.asp?PageAction=VIEWPROD&ProdID=109&HS=1
I did type something, now I forget, oh hay - I like that look you could do the color of the background a greyish color, you could be reall creative in the corners and make them look like rock pillars. Endless
