415 Gallon Plywood Tank Build

snakeblitz33

Well-Known Member
I've noticed that a lot often light part has to do with the intensity of the light. Old bulbs (cfl's) just stop producing as much algae as a new bulb does. To me, if using LEDs I would have to make absolutely sure that par does not drop off over time and the intensities stay relatively the same. Benefits of using LEDs is that you can fit it in a tighter spot.
I agree that horizontal length means more than vertical with larger systems. Keep in mind that every single square inch of screen should have an equal amount of light or else the one inch per gallon rule is null.
 

2quills

Well-Known Member
Led efficiency doesnt drop like other light sources do. Thats the beauty of it and why you dont have to worry about change outs. They do drop very slightly in efficiency towards the end of thier life span. But the drop is minimal comparitively and it only happens after many thousands of hours of use.
 

snakeblitz33

Well-Known Member
Ok. Thanks Corey. LEDs are becoming more and more of interest to me for their application in saltwater reef aquariums too. You know I'm going to try my own DIY led build soon too. I just need to do a lot more research.
Acrylic, if you do go with LEDs for your scrubber, PLEASE do a build thread or on here. I'm trying to learn more about them. It I'm still hesitant about trying a build myself. Especially after all the trouble meowzer had.
 

acrylic51

Active Member
Not a problem Seth.....Curious if someone can shoot me the link to Floyd's build thread......I thought I had bookmarked it, but can't find it anywhere for whatever reason. Keep in mind I'm not attempting to build a scrubber to totally run my setup. What I'm after is a combination that would work in conjunction with my skimmer......I would like to attempt harmony between the 2, but know they are competing against each other!!!!!
 

acrylic51

Active Member
Thanks for the info Corey!!!!! No wonder I couldn't find it on RC......I knew I had read it somewhere, but so much jumping around....Hopefully I can get some updated progress and pics up here shortly......I do smell water though!!!!!!
I might have a skimmer issue, but need to get a bit more info, but worse case it would have to be run externally......
 

acrylic51

Active Member
It's been a bit since I updated the thread here.....I was on vacation last week and with the holidays did get a bit of work done, but was anticipating a little more, but we all know that we sometimes over simplify or under estimate the time it takes.....
Anyways most of you know I'm pretty anal about the work.....Finally got started plumbing the tank from the return pump. I had purchased a manifold system and started plumbing from there and didn't really care for it once I started working with it, so went another route that was suggested on the previous page......I wanted to keep all the plumbing at 1 1/2" as long as possible before I had to reduce it down to 1" for the bulkheads. Through my original planning I was planning on running 1" straight off the manifold to the returns, and bought 1" gate valves, but again after actually getting started and working, I went back with the original plan of running 1 1/2" lines and just had to use reducers to utilize the gate valves already purchased.......
Again pretty anal about plumbing work and didn't get good pics, because of space and trying to get FTS of the plumbing is rather hard, but here are a couple pics of the plumbing I've taken so far....I will try to get more pics shortly and will probably do a walk around video so you can see the progress a little better.....
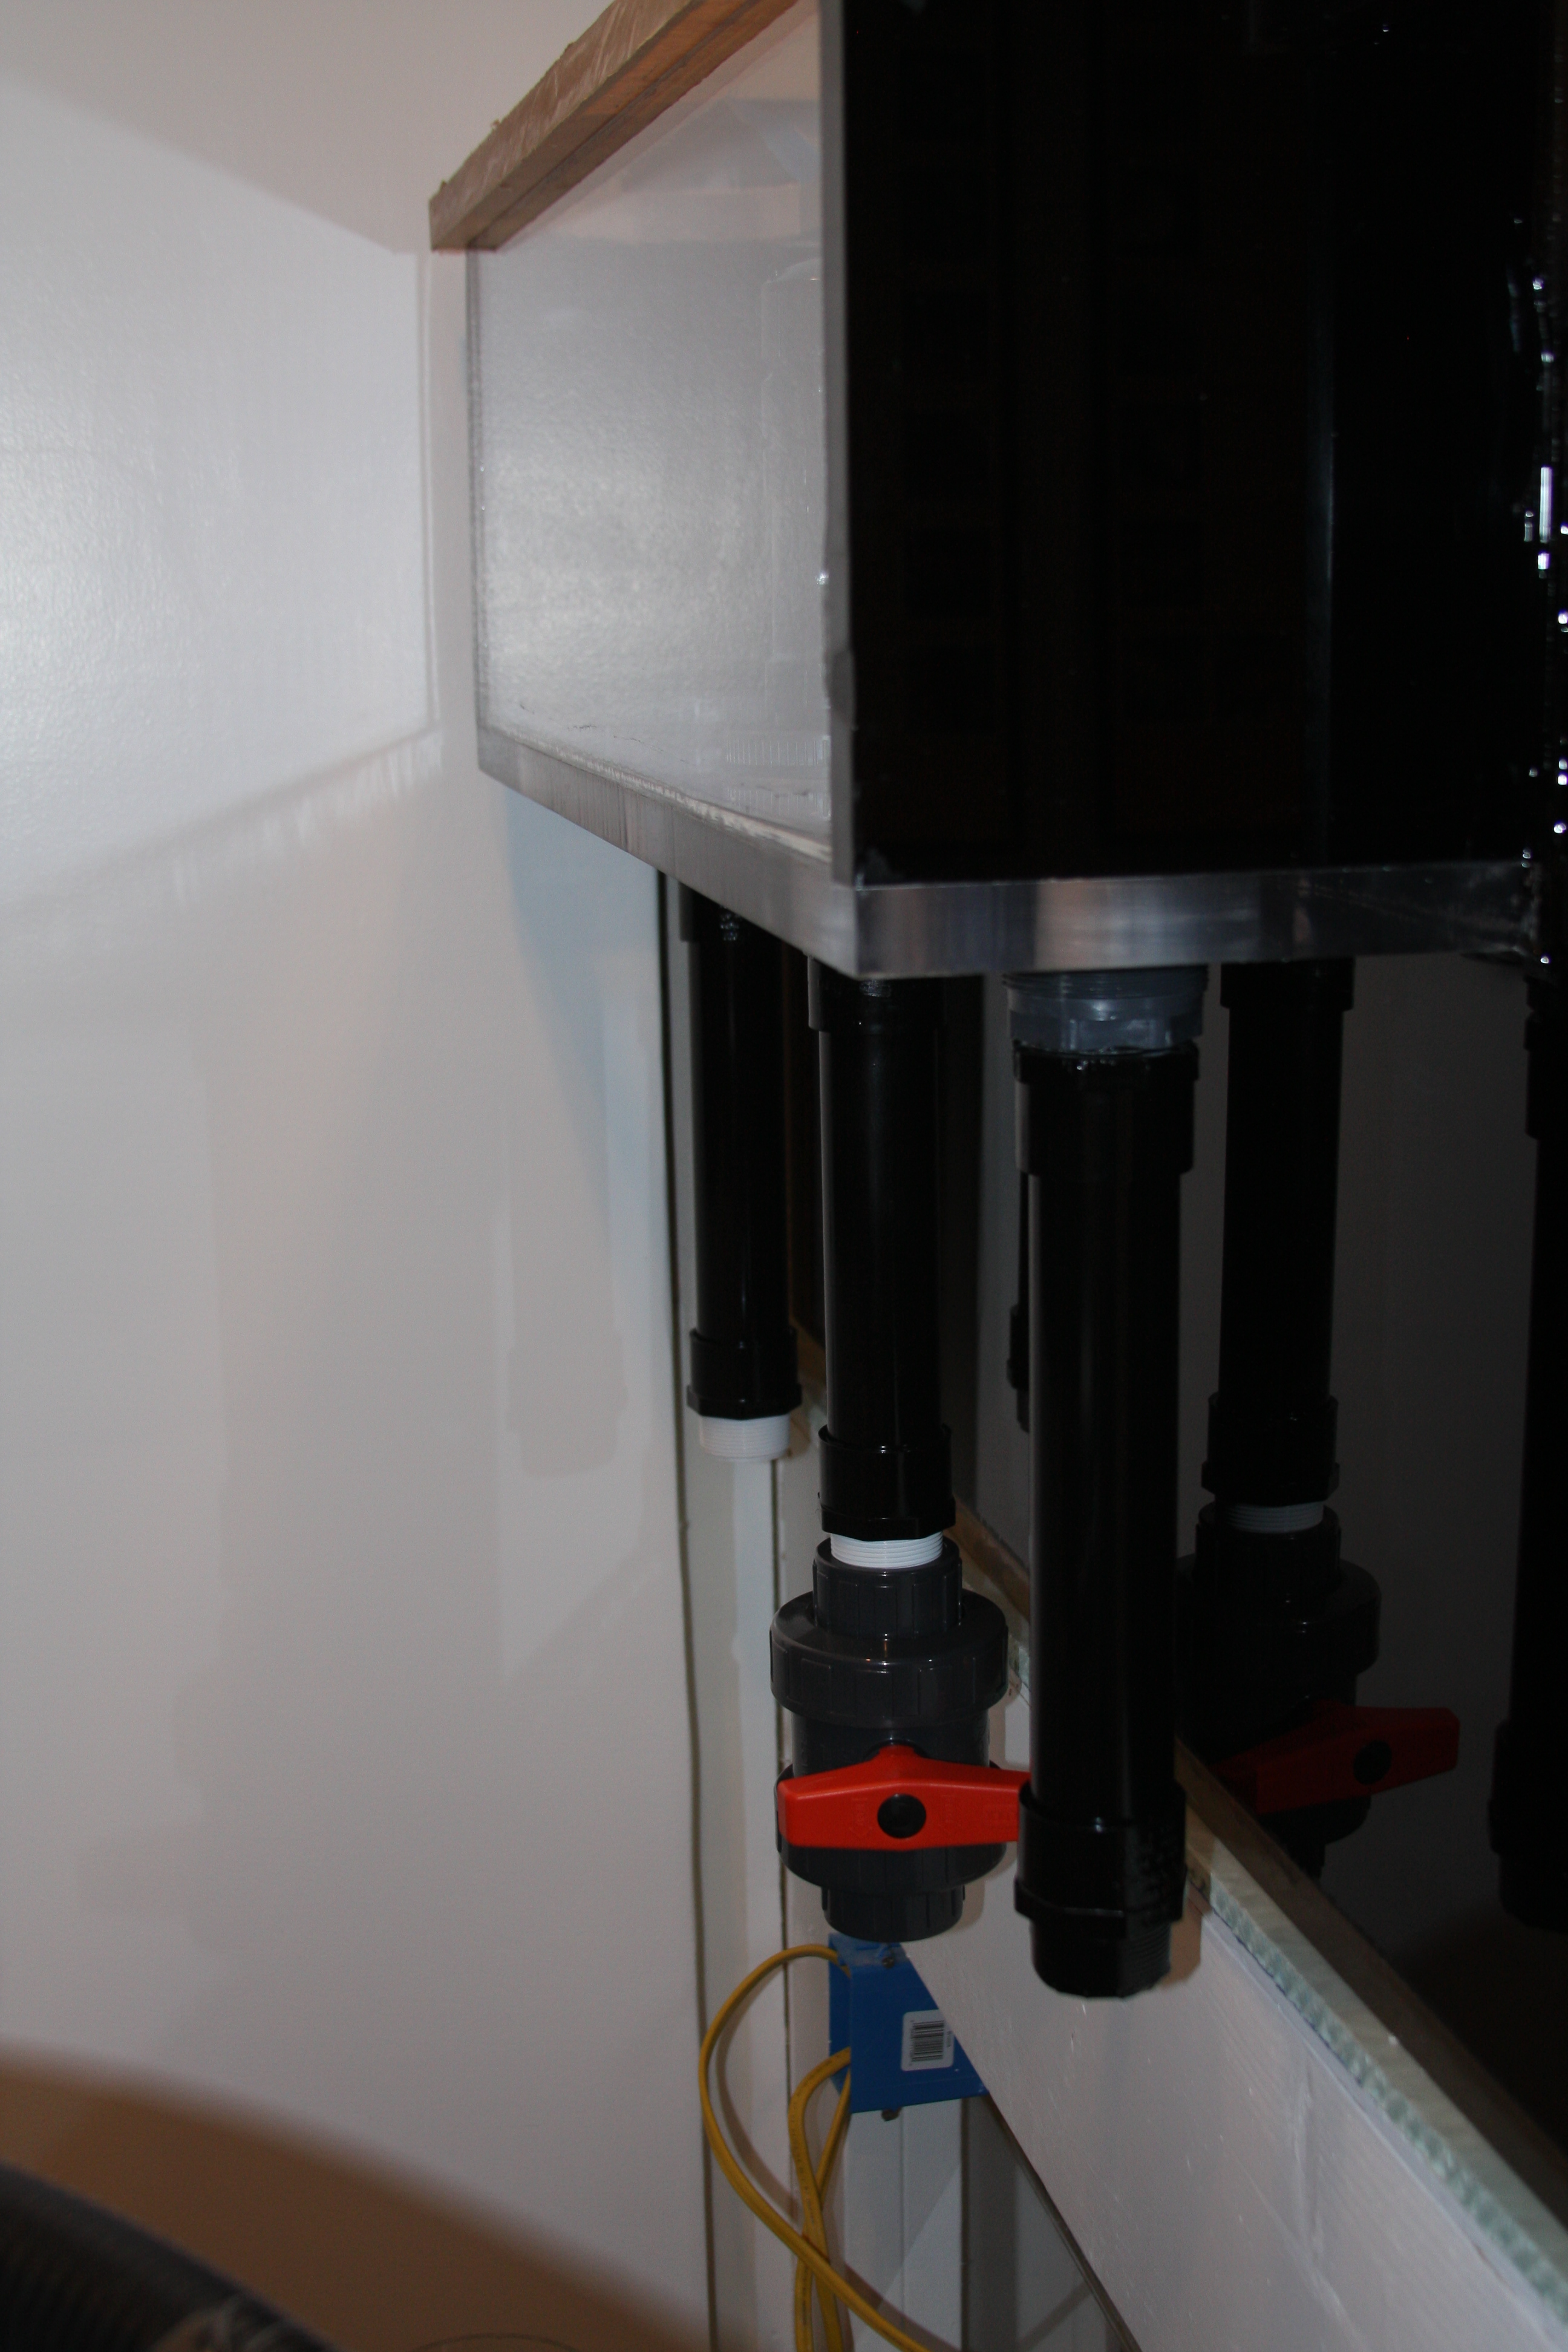
A shot of the plumbing started off the overflow box......Again taking a bit of time due to me having to have all the plumbing painted black.....
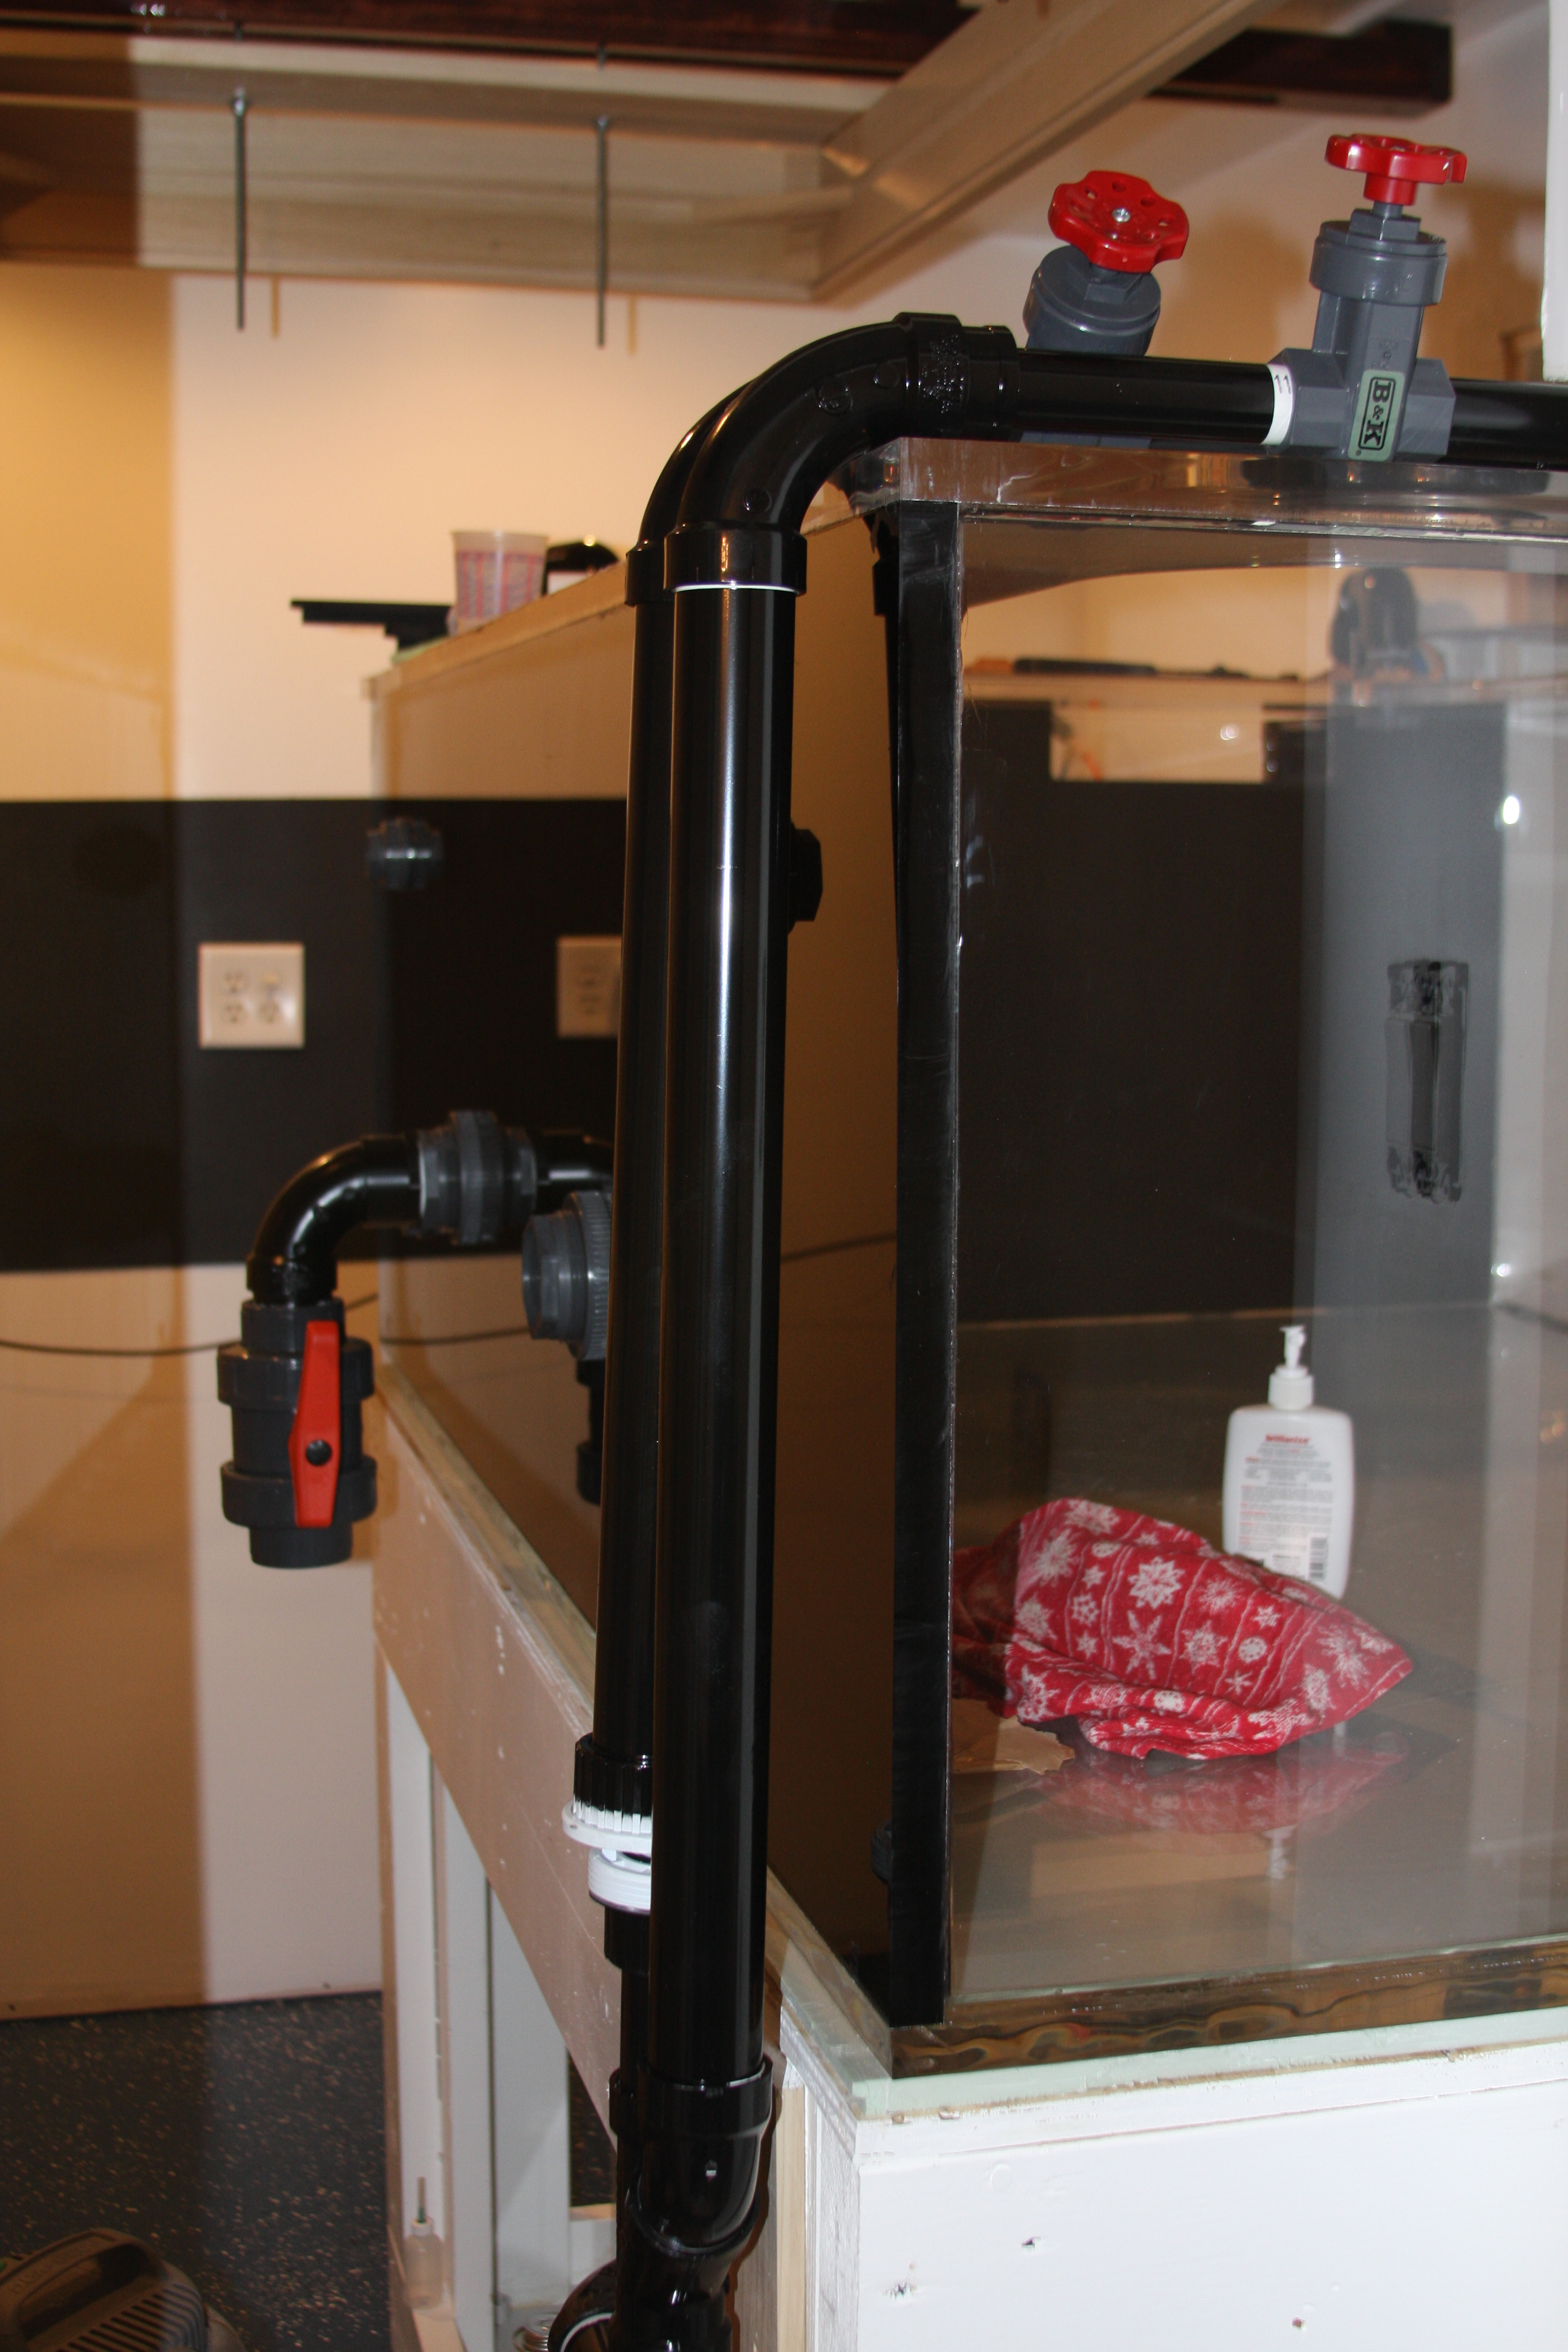
The plumbing work started coming from the return pump going to the 2 returns on the right side of the tank. You can see things are just being dry fitted. Each return line once split has it's own gate valve for precise flow control.

Same pipe work as the above pic, but from a different angle.....As I had mentioned wanted to try to carry the 1 1/2" pipe as long as I could and on this side of the tank as soon as I got to the gate valves on top of the tank, I didn't have much choice but to reduce it there to 1" because of clearance issues, but it's all workable......
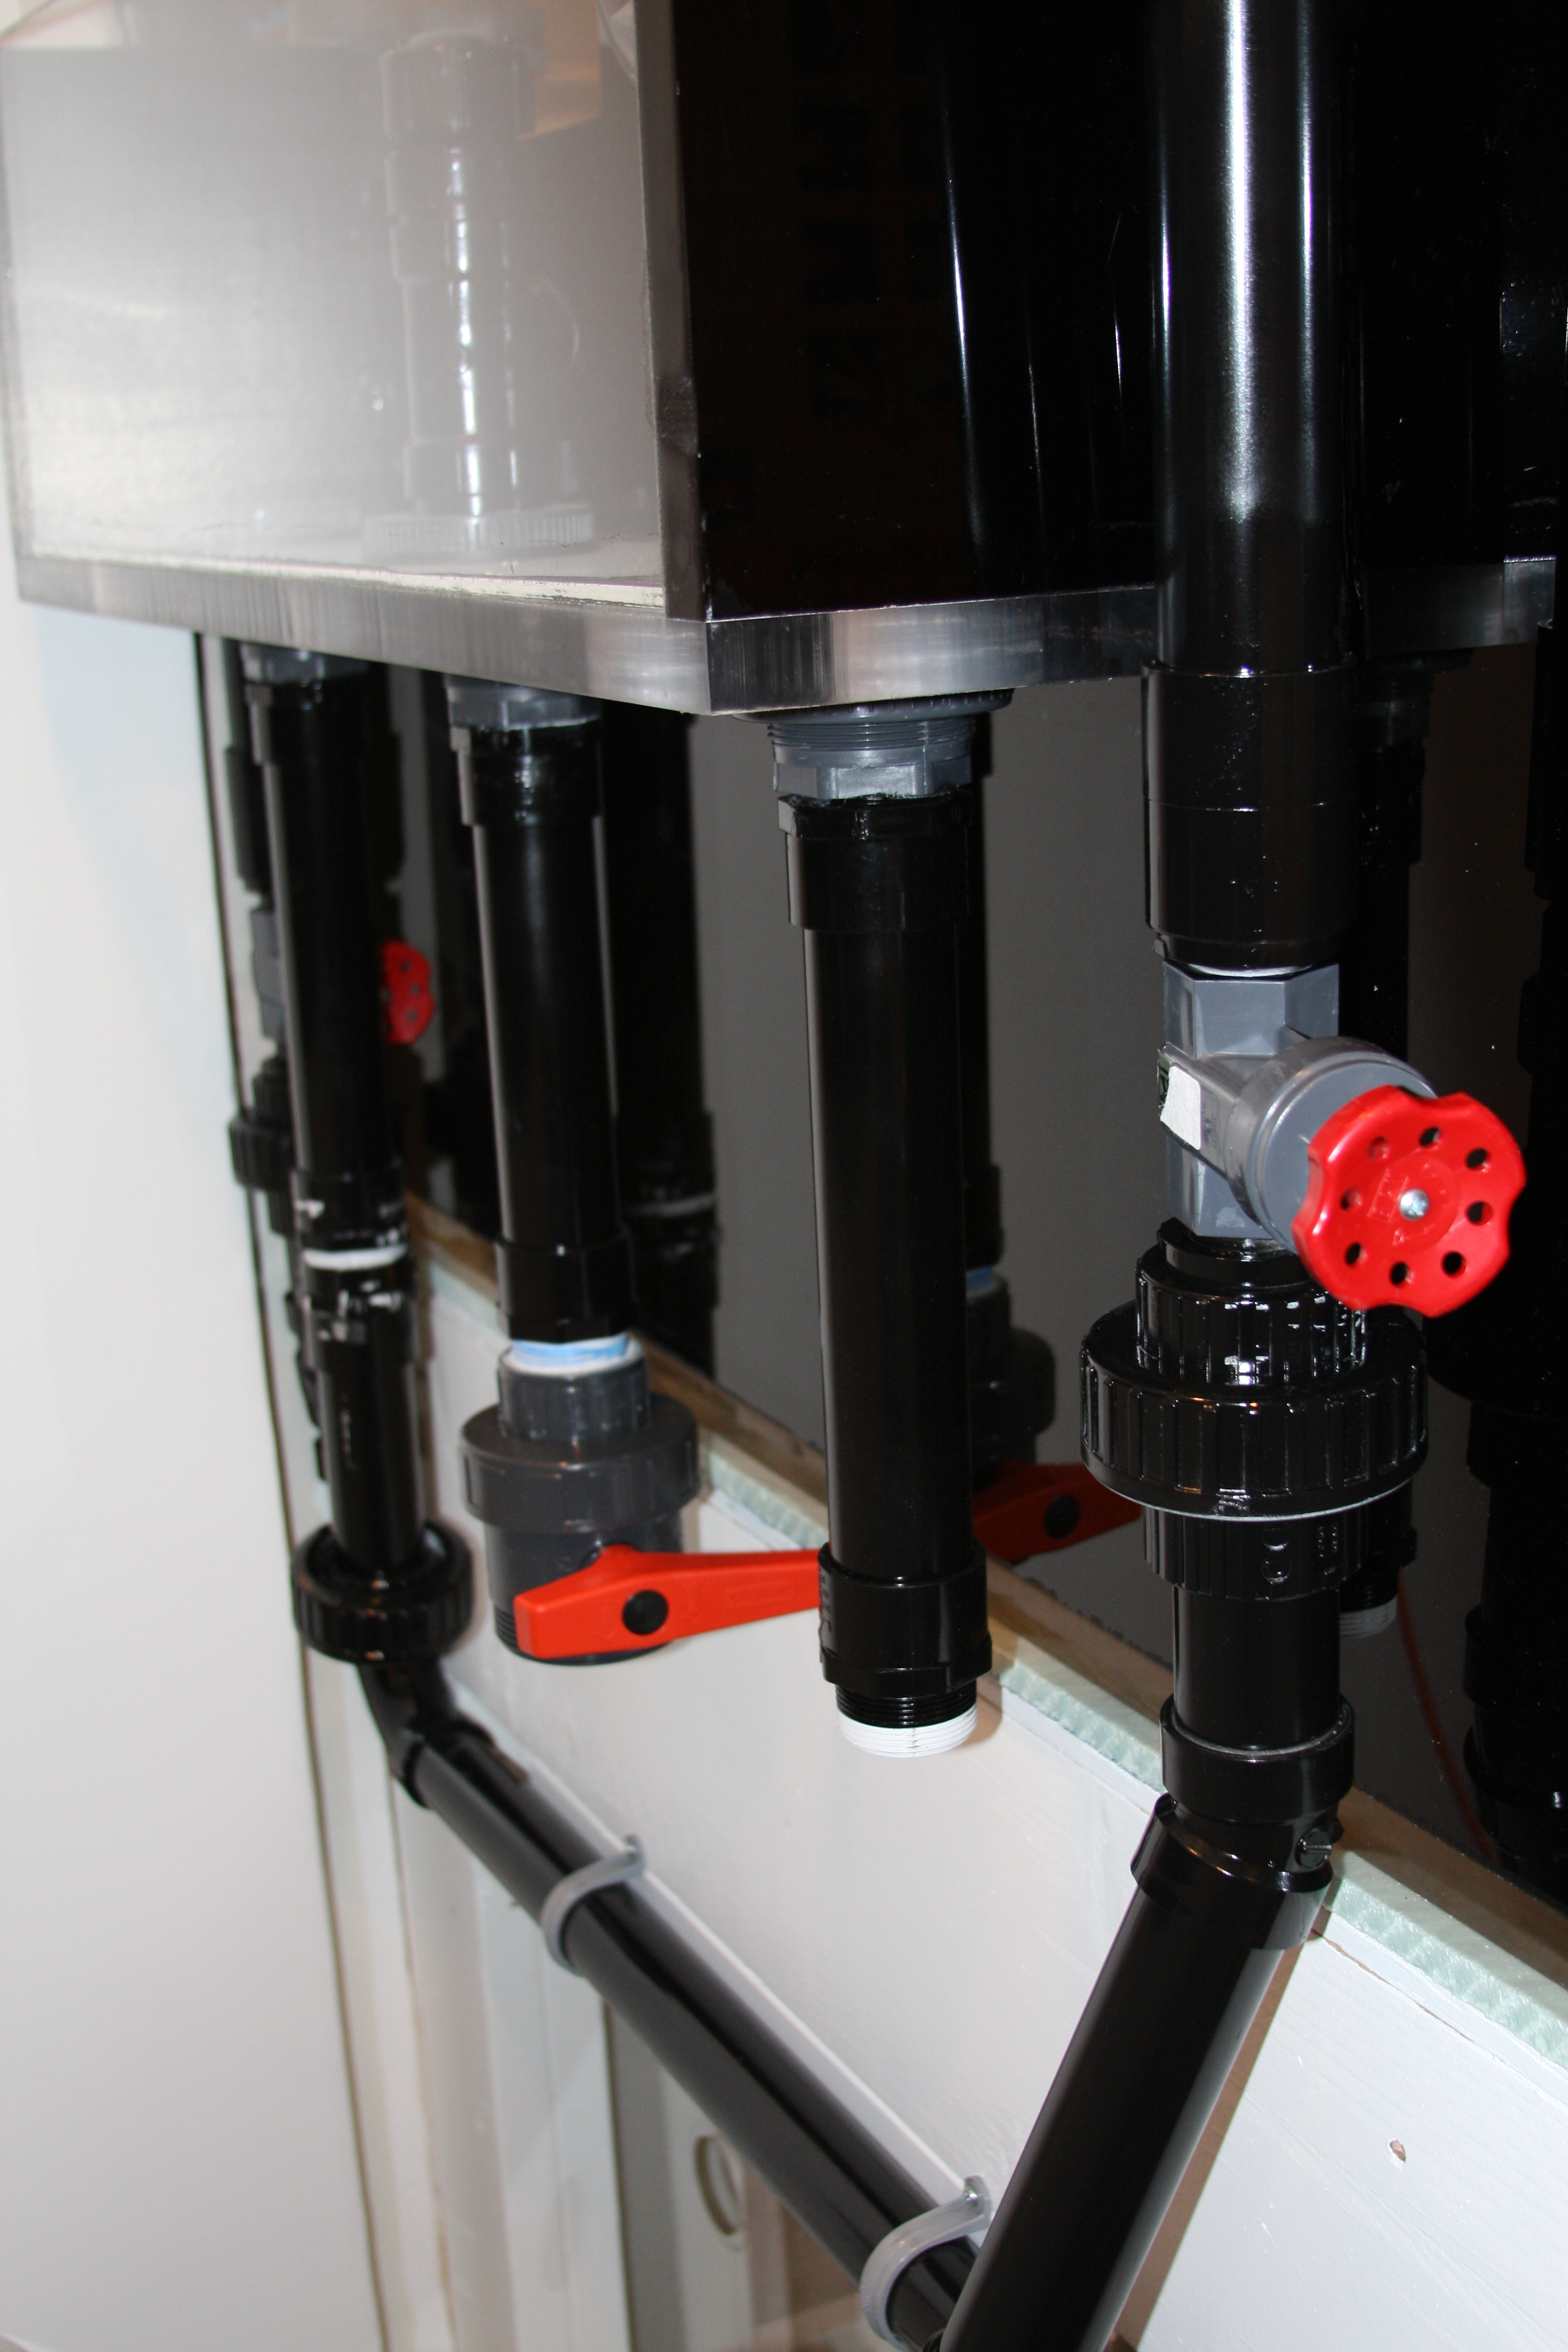
I
Again pics of the plumbing work done on the opposite end of the tank where the overflow is....As I had mentioned pics are hard to get, so a video might show a little more detail, but I ran 1 pipe off the manifold to this end of the tank and split it then into 2. Each pipe going to the bulkheads have their own individual gate valve to allow precise flow control on the returns.....I also used unions, so if needed I can pull the plumbing apart. You can also see that I scuffed a bit of the paint work up, but have to go back and touch up some areas when time permits.
 

acrylic51

Active Member
Also in 1 of the pics you can see I have fabricated the euro bracing for the overflow, but I had a mental brain fart, and couldn't remember my mix ratio for the WeldOn 40. Needless to say traveler jarred my memory, and just need to find the time to mix and glue into place.....

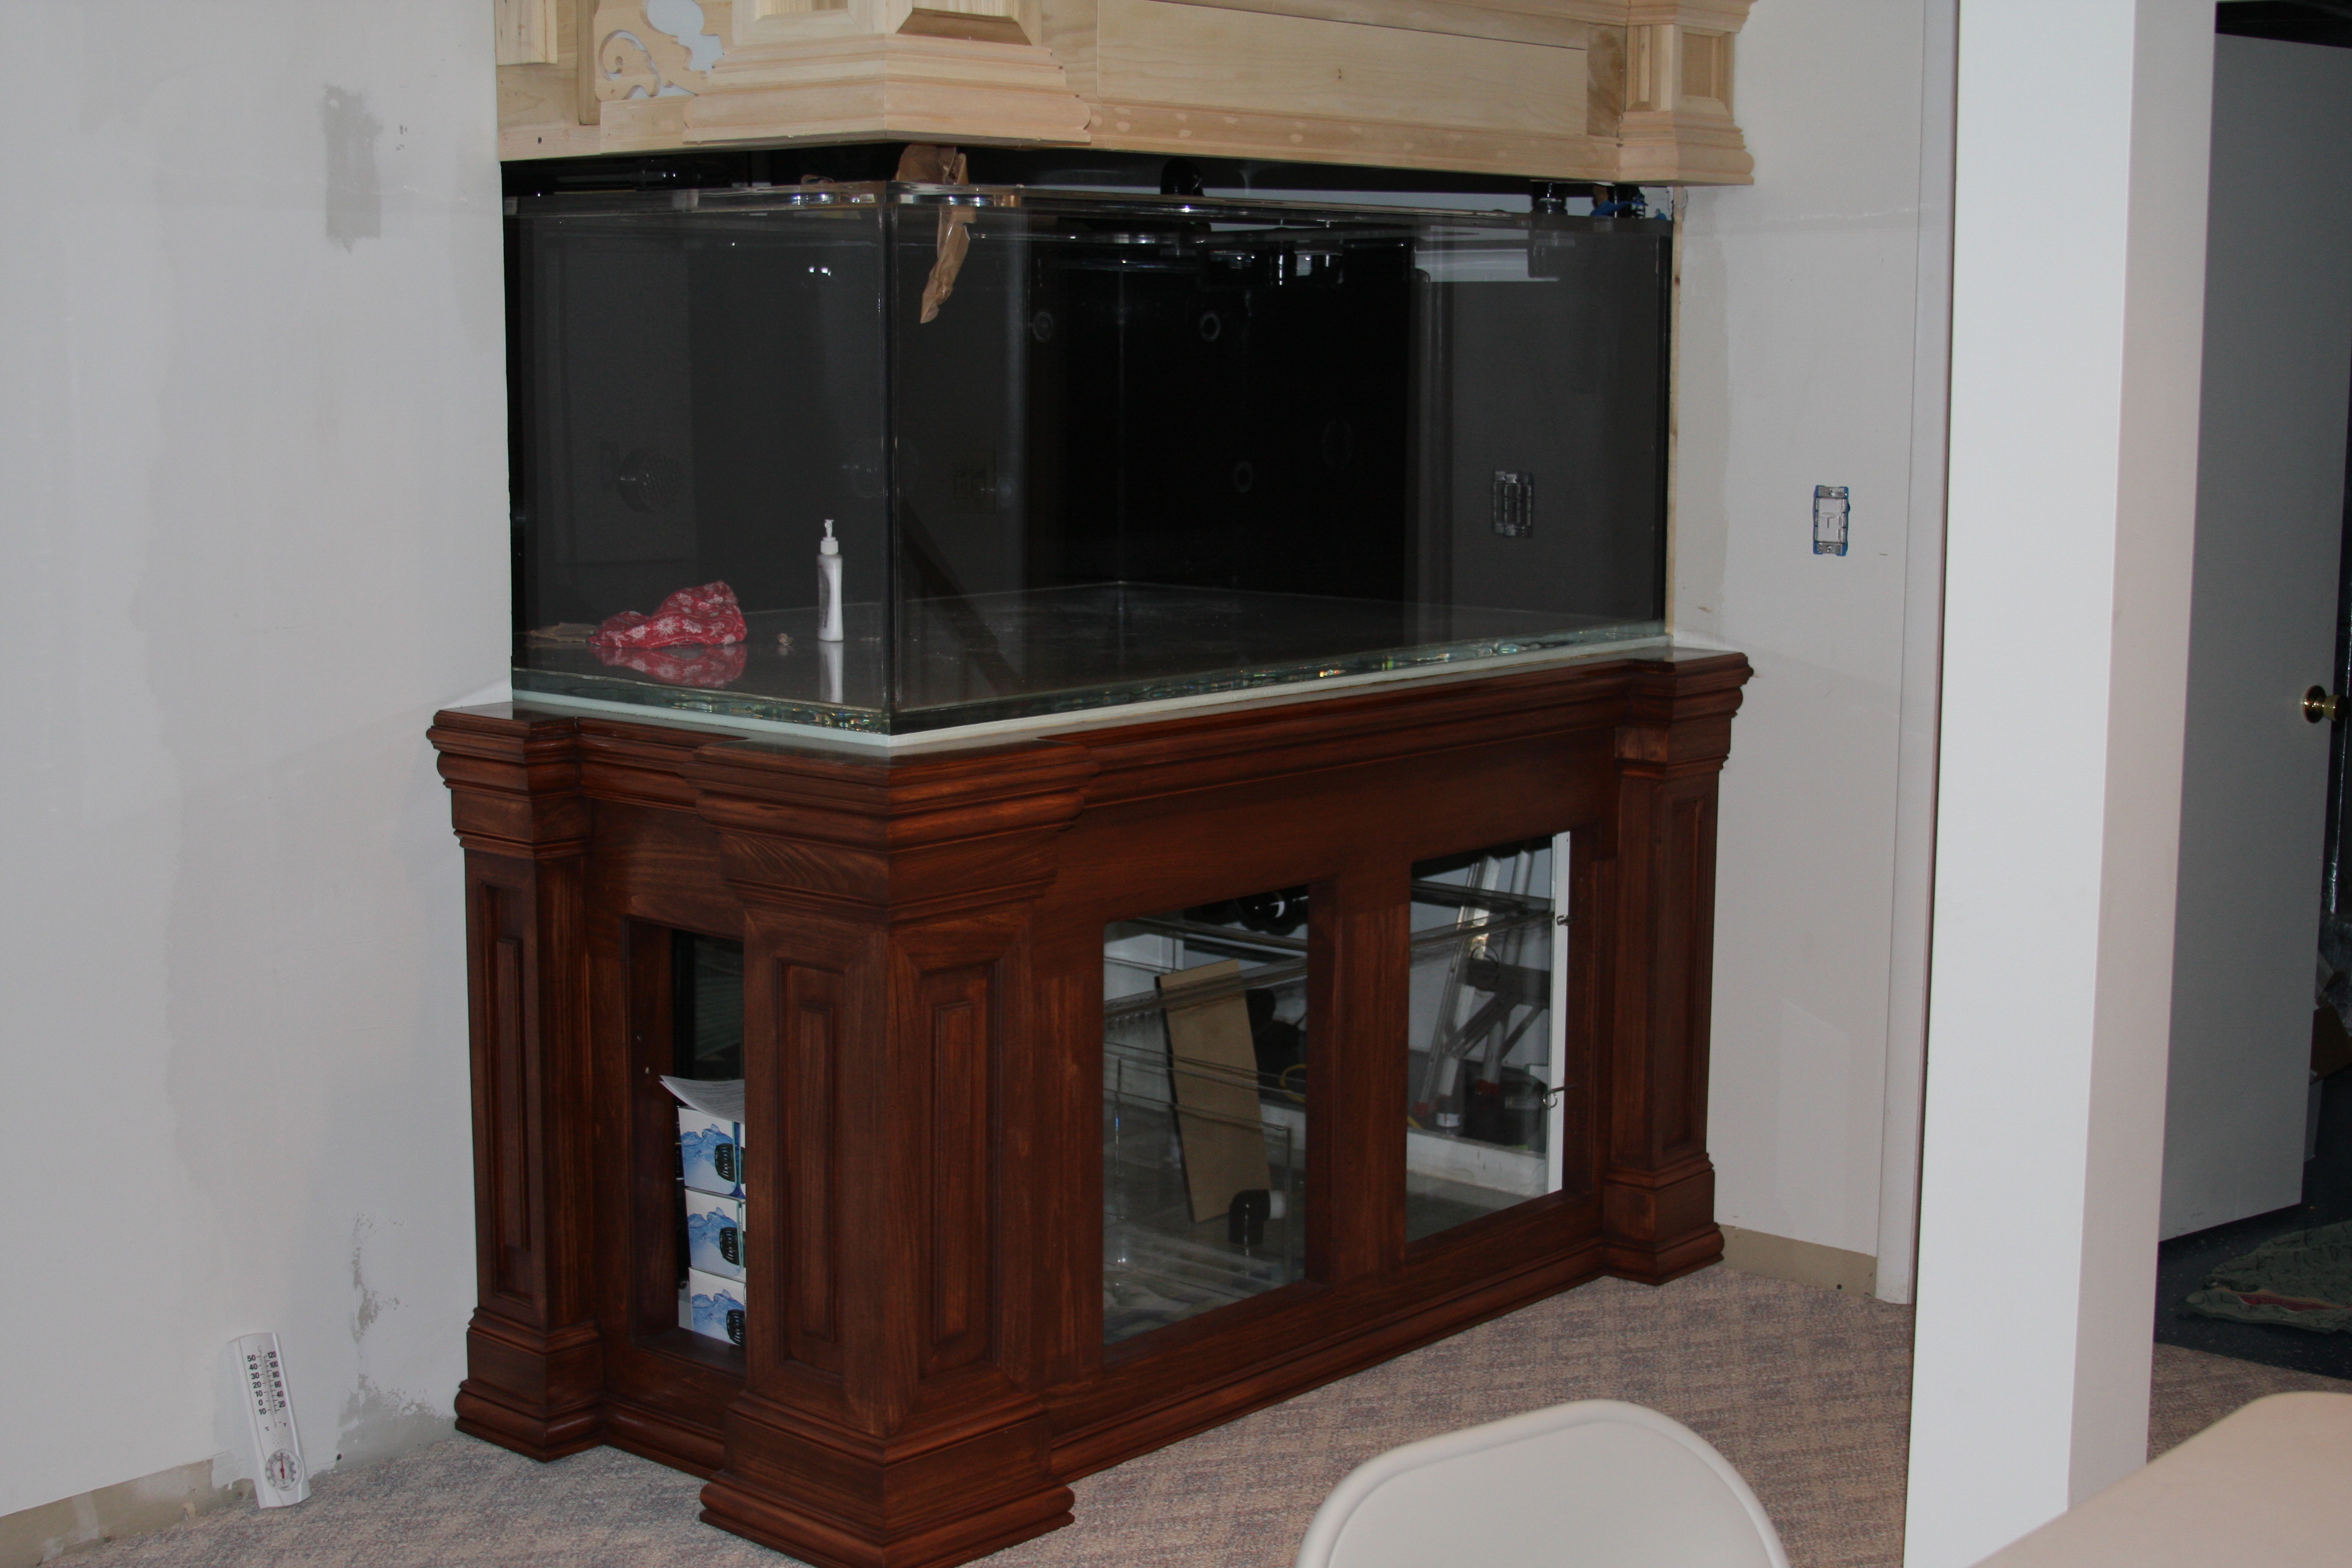
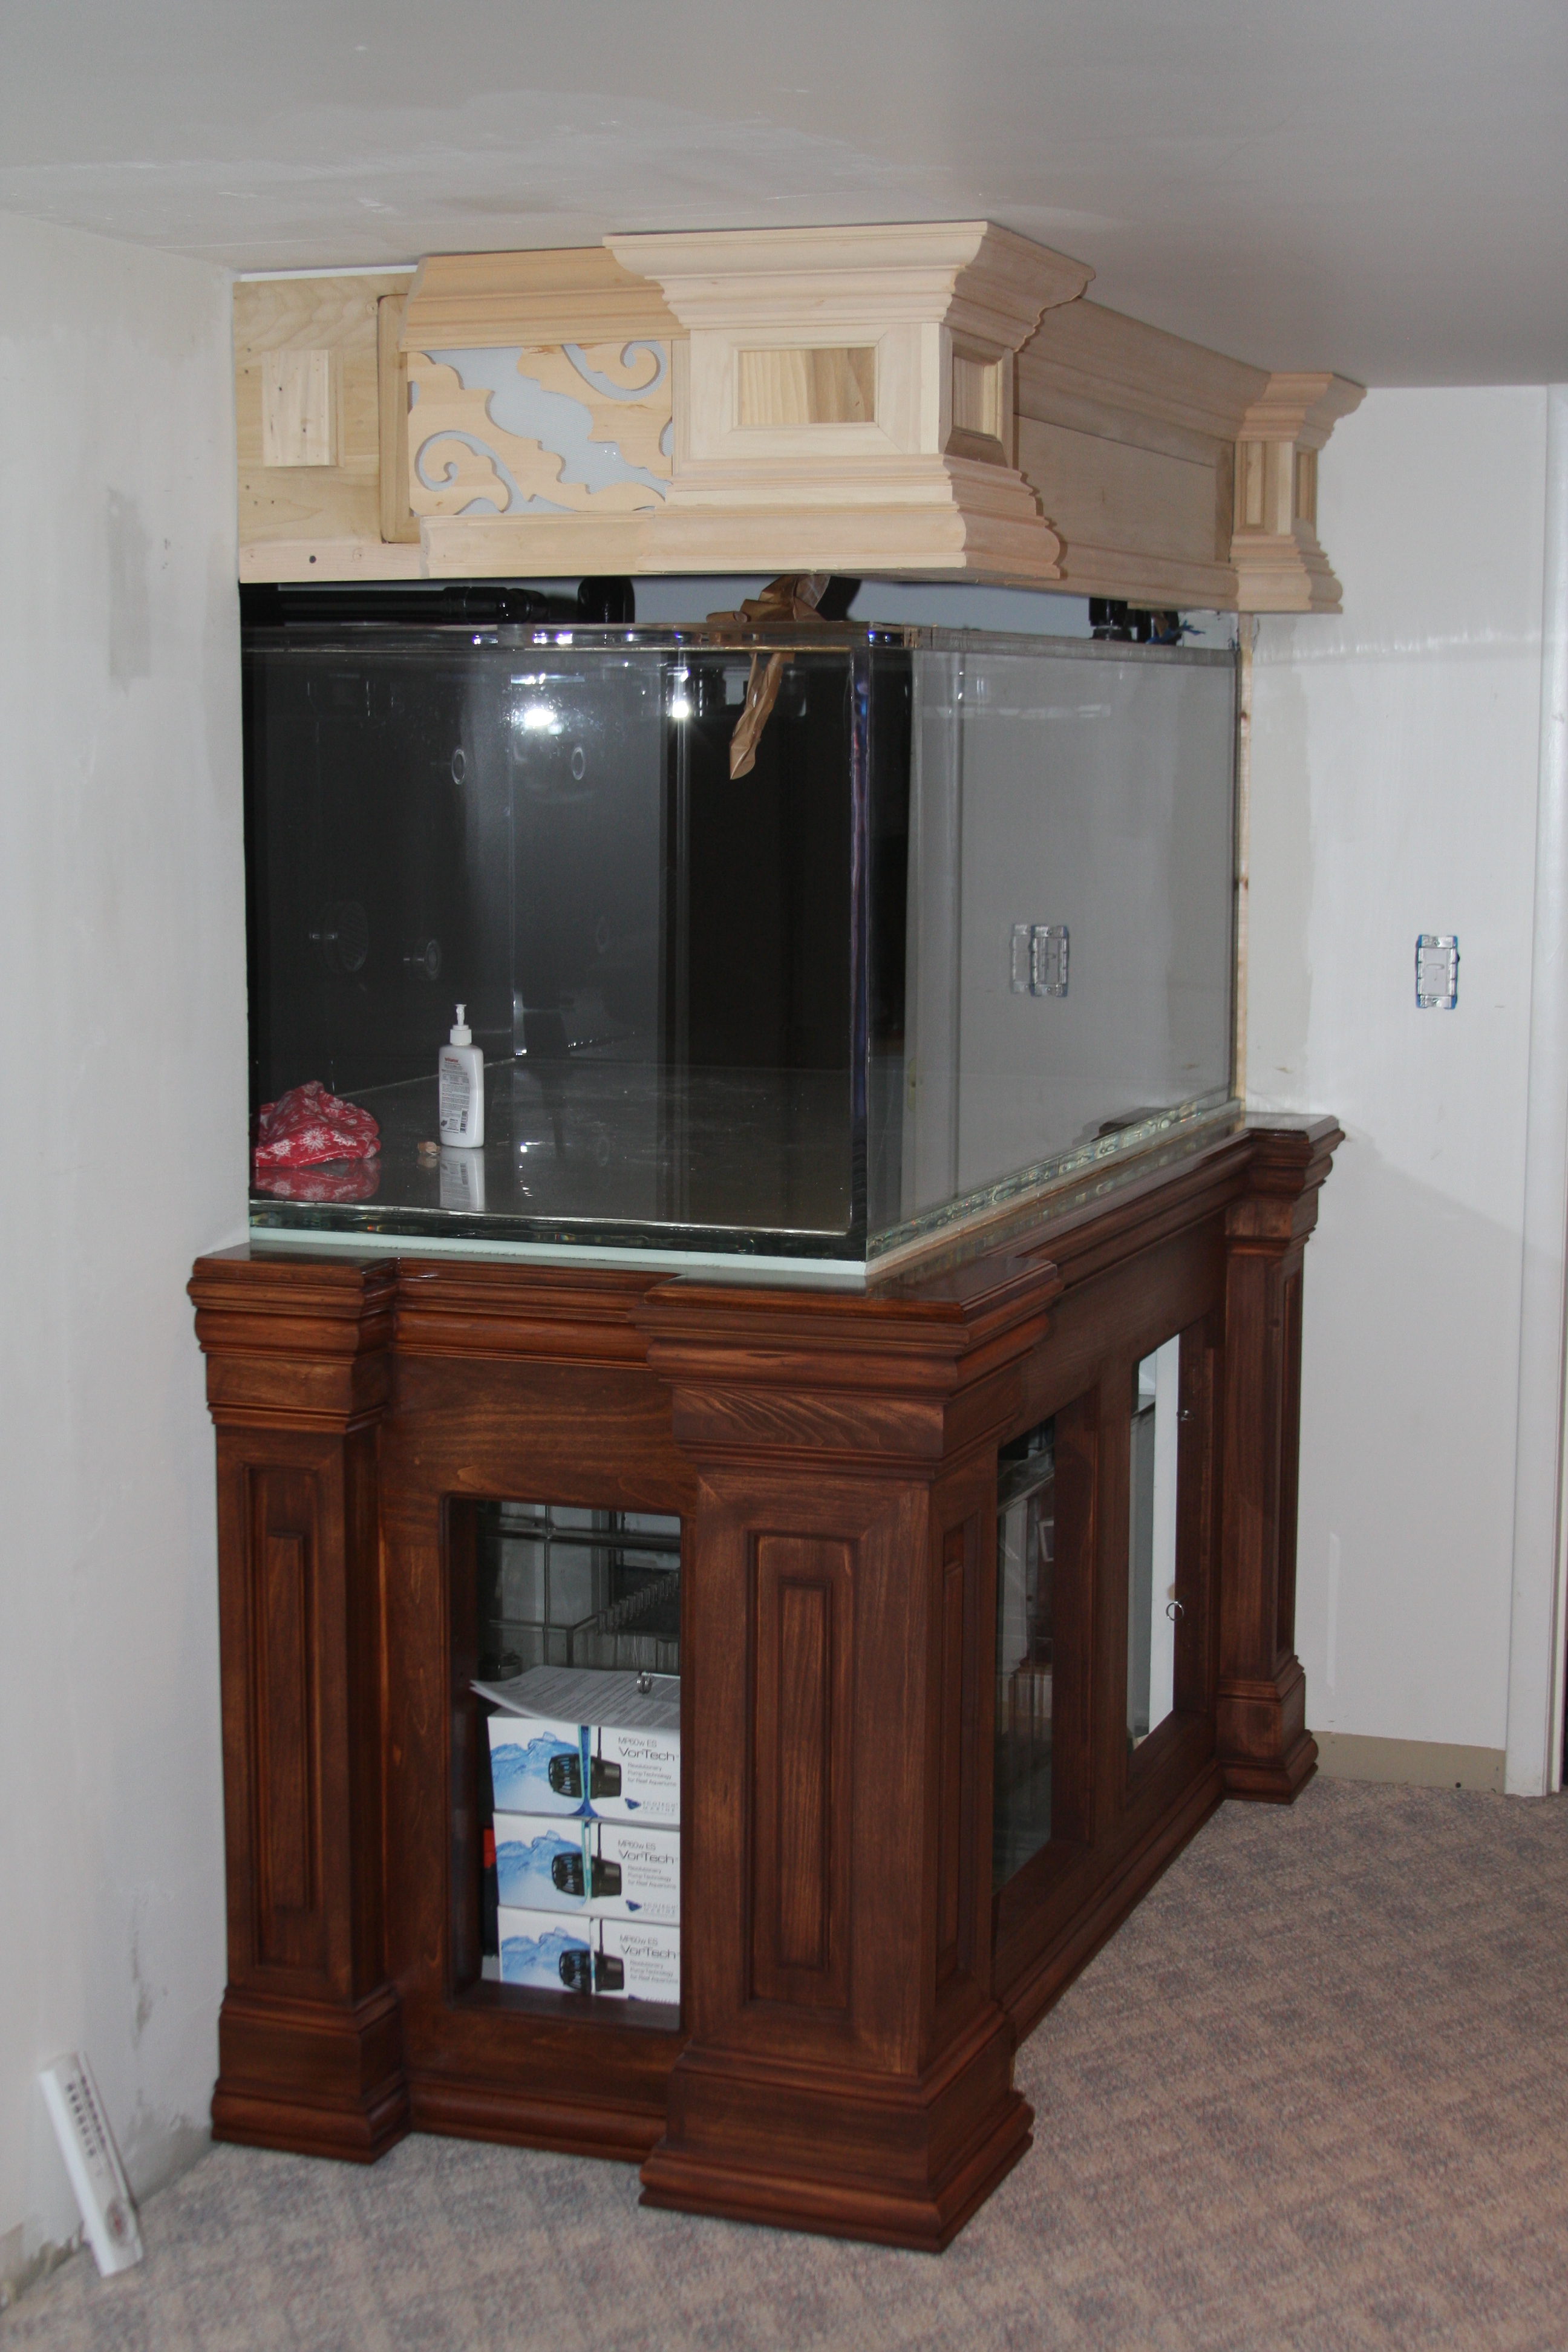
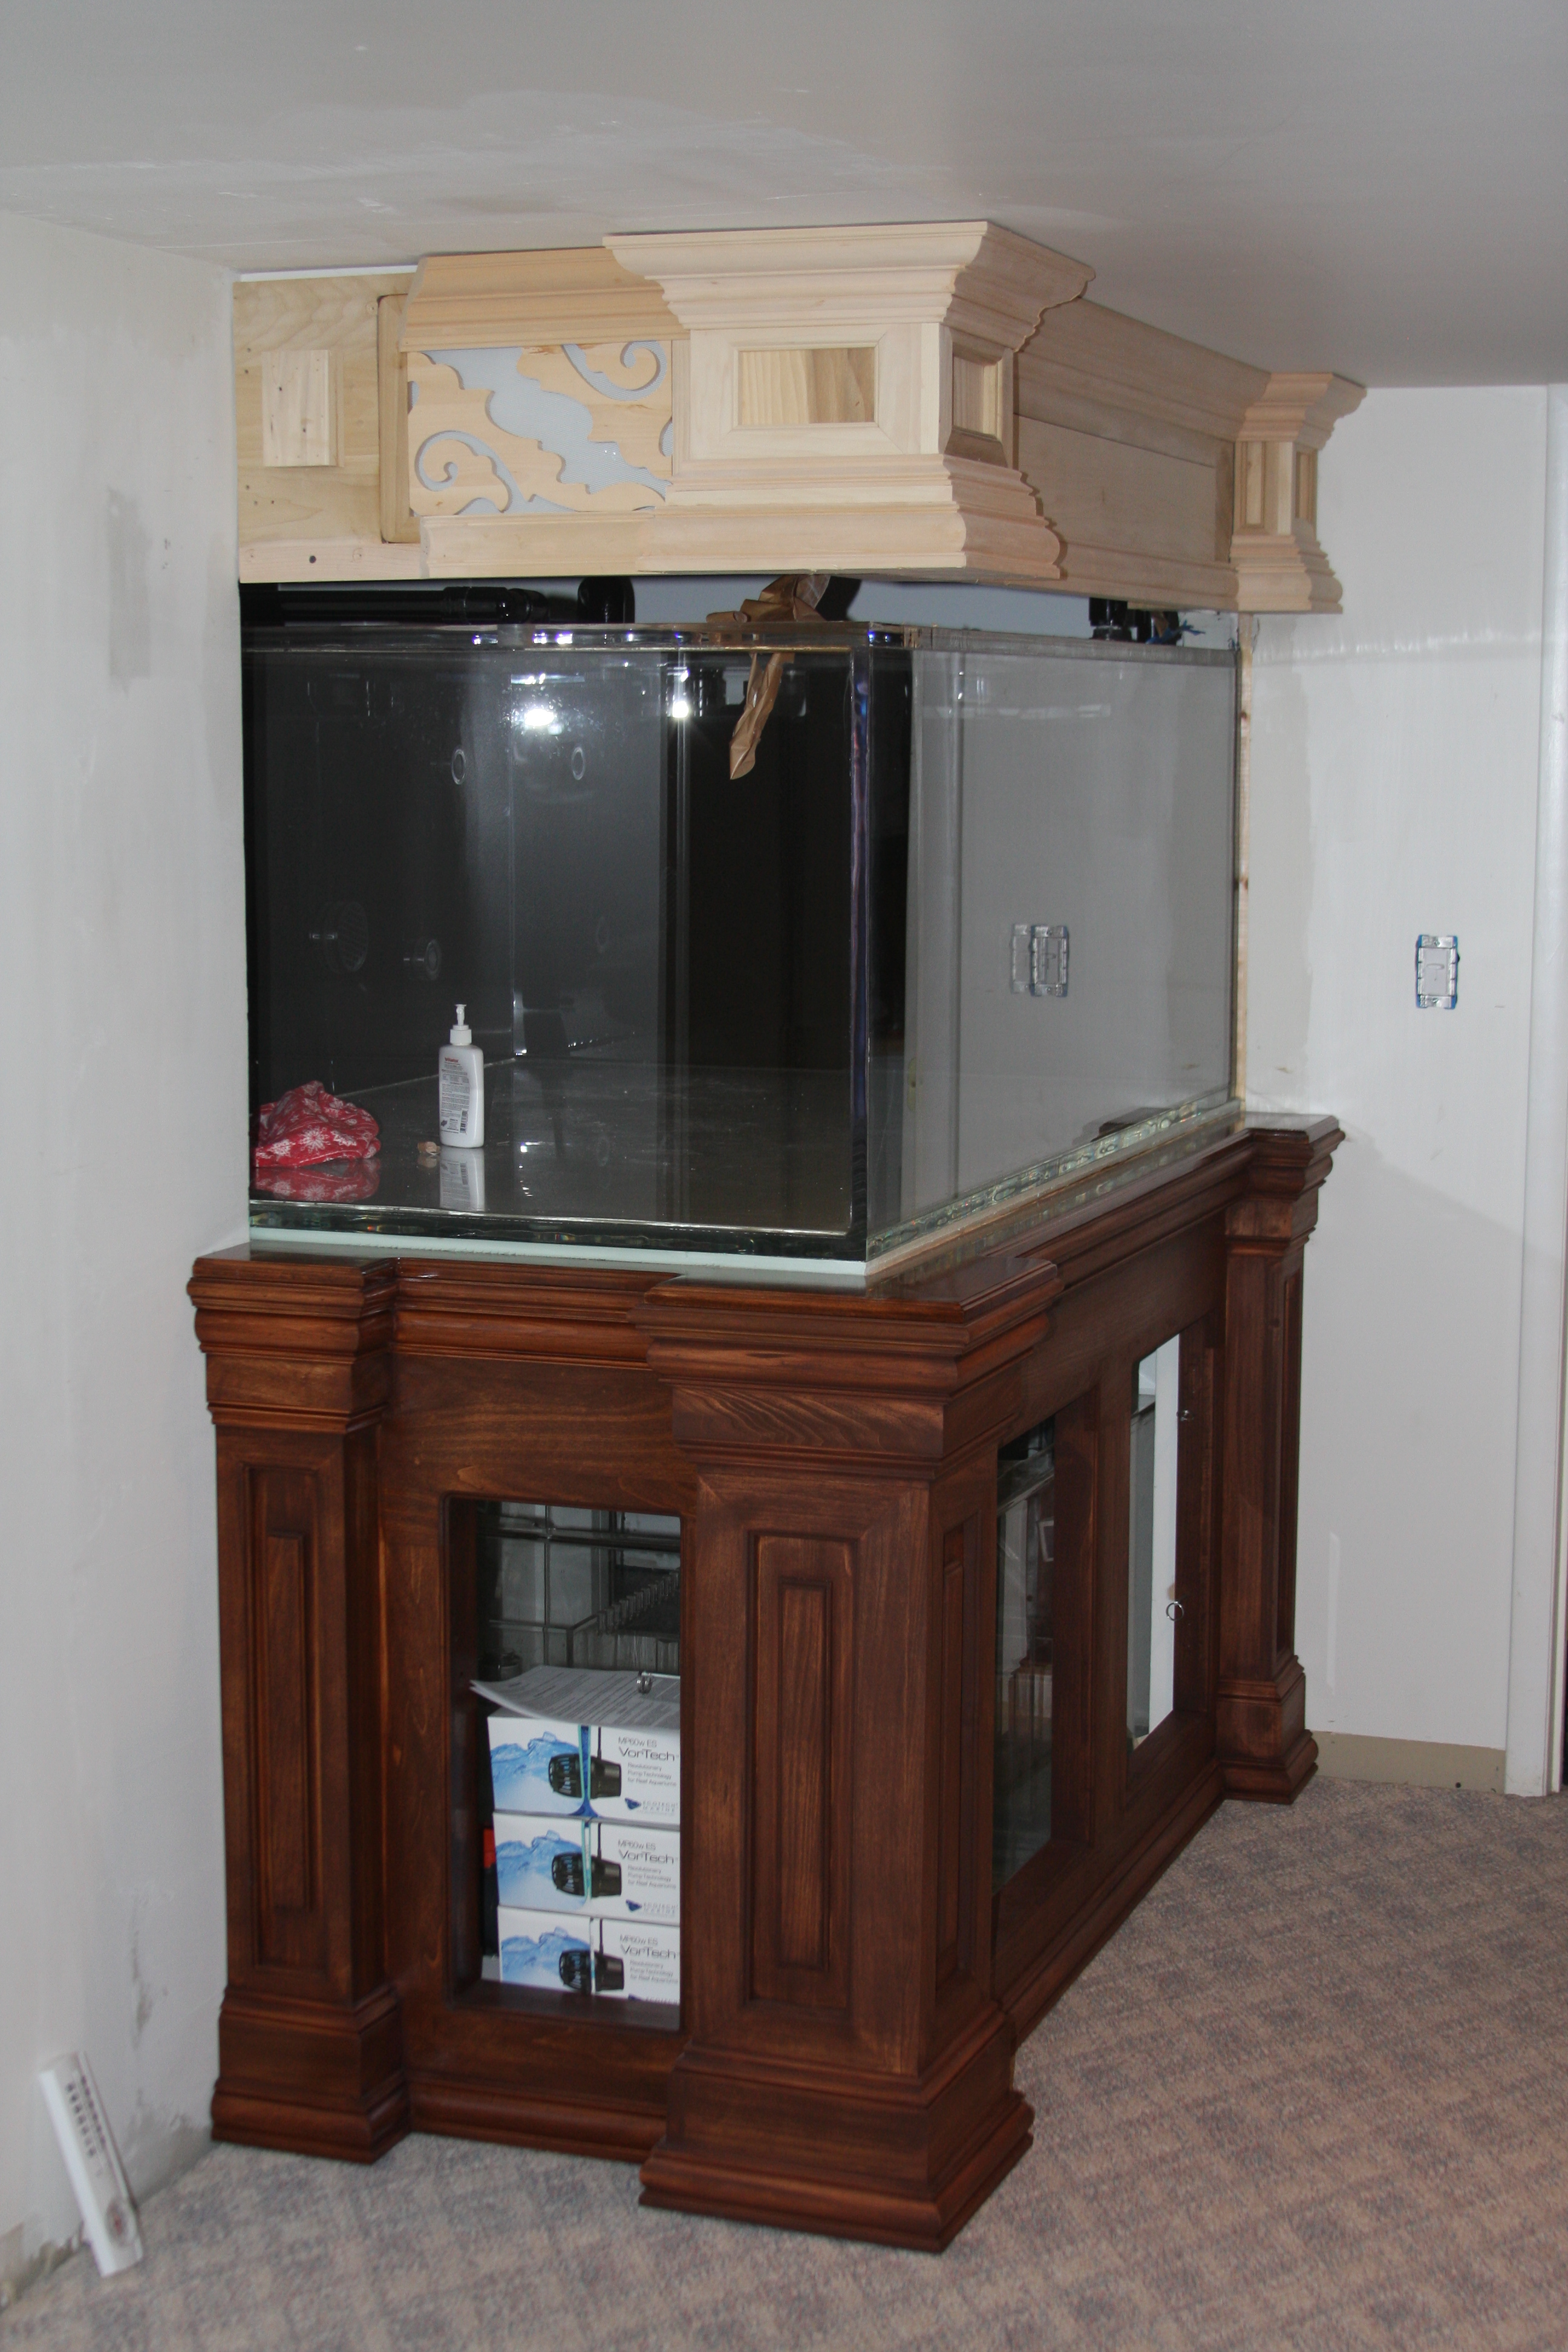
Still need to do a the poly work on the stand, and get the canopy down and sand and finish, but with the holidays I had to clear my clutter from the family room floor.....Just a couple shots of it slowly coming together......

Just a different angle shot of the tank.
 

acrylic51

Active Member
Still have a little work to do on the tank for my liking.....I finally picked up the 1/16" black acrylic for the bottom of the tank. I'm still not sure if I'm going BB or SSB at this point, and there are a few things I need to still weight out in my head/mind and looking for input in that area. Again I've put a good bit of thought into the the flow for this tank. I'm trying to overcome a lot of the pitfalls we commonly see when setting up a system. With a BB tank, the flow can be unlimited, but with a SSB the flotw is limited to a point. I'm still planning/considering doing the CL ports in the bottom of the tank.......
This is were the sand can become an issue, but the CL ports in the bottom of the tank can't be done or worked out until the rock work is tentatively laid out. The ports in the bottom are dependent on the rock work, because I don't want the CL ports easily visible if possible......
For the CL ports that are already drilled in the back of the tank; Friday I picked up a Reeflo Gold Dart pump to power the back CL.....That pump alone pushes 4300gph. Also on Friday, and I probably gave it away I picked up (3) Vortech MP60's for the tank......(2) will be placed on the same side under the oveflow box firing the length of the tank, and the 3rd MP60 will be on the opposite side of the tank firing back. Each of these pumps from numbers I've seen can yield 7000-7500 gph flow. Again a lot really depends on the rock work inside the tank, but I figure this is a really good starting point between the CL and the 3 MP60's.......

You can see the MP60's hidden under the stand!!!!!! Rather excited to fire these puppies.....
 

acrylic51

Active Member
I only told Corey about my mishap with the plumbing.....I was rushing trying to get it all together before Christmas, and the 1 union away from the overflow I forgot to put the lock collar on when I glued it into place, and upon leaving the fish room I just happened to see the collar laying on the toilet.......
Well needless to say it was back out to Lowes for a new blade to cut things apart, and then reassemble......Guess what.....I got everything to reassemble and glued back into place and forgot the same da*n lock collar again.....Needless to say during my trip to Lowes I bought extra for whatever reason.....
I have to get some pics of the manifold I built coming off the return pump. I did make a blunder and not put a "T" in the manifold to feed my BRS reactor, but not a big issue really. Worse case I just power it with a small feed pump. Not what I had originally planned, but nothing is perfect.
 

acrylic51

Active Member
Quote:
Originally Posted by Al&Burke http:///t/376802/415-gallon-plywood-tank-build/1260#post_3445606

Quote:
Originally Posted by Gemmy http:///t/376802/415-gallon-plywood-tank-build/1260#post_3445602
It's looking fantastic. The stand and canopy look great.
Quote:
Originally Posted by 2Quills
http:///t/376802/415-gallon-plywood-tank-build/1260#post_3445607
That really does look great, man. Plumbing too. Looks like it fits.

Thanks guys!!!! You push me.....I still have to do some fab work to perfectly conceal the tank on the canopy, and have to rework/rebuild the bar ledge on the stand. The canopy will actually be easier, since it's more trim work than anything, but the stand bar ledge has to be done totally from scratch, but at least I have a pattern to work with and exact measurements......
 

acrylic51

Active Member
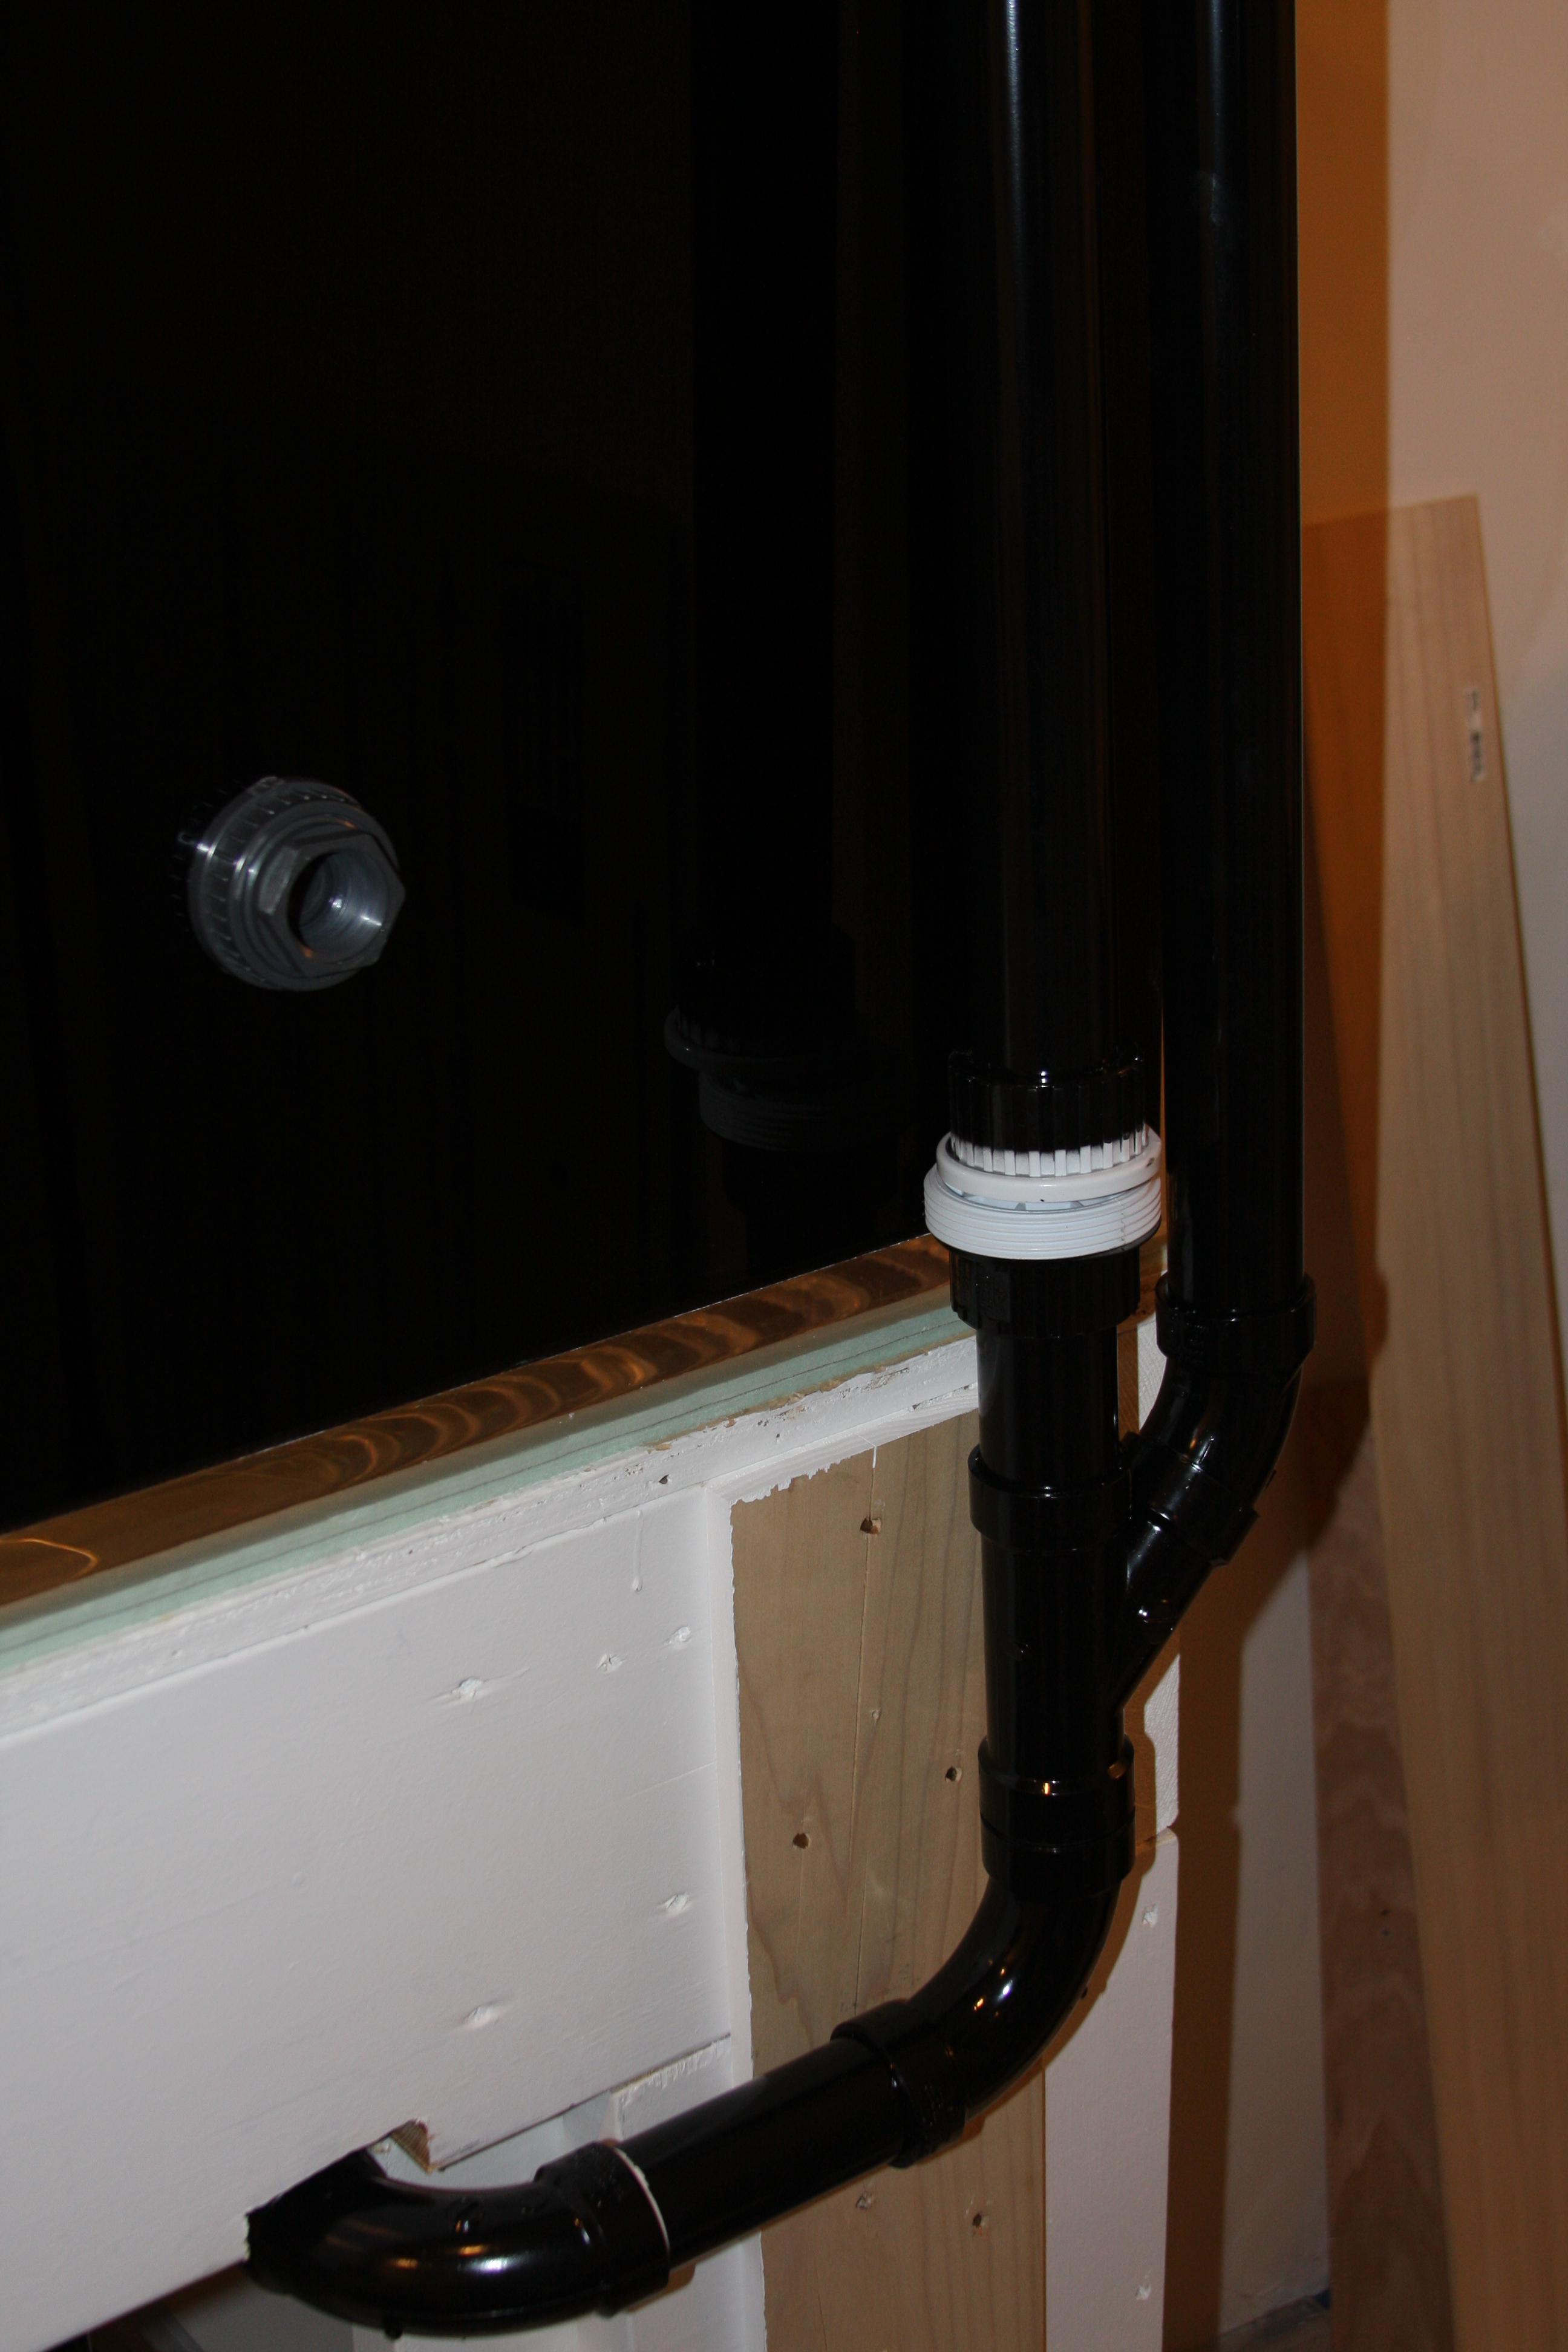
Here's a quick shot of my plumbing mishap.....This is were I forgot to put the lock collar in place before I glued everything......

Notice anything missing from this pic......
 

al&burke

Active Member
Oh no - can you cut it and put a coupling in - what side does the union tightener go (what do you call those anyways)
 

acrylic51

Active Member
That's exactly what I had to do Al.....I was royally pissed.......and then to do it 2x.....The collar or tightner should be covering the area where it's white in the pic.....I didn't forget about getting you that info Al.....I'm hoping Corey remembers the name of that thread with the LEDs that the guy had his heat sinks milled and fans CNC'd into the heat sink......
 
Top