415 Gallon Plywood Tank Build

acrylic51

Active Member
Having a horrible time ordering parts to get this tank fired.... Ordered all my loc line for the returns and got the stuff in yesterday!!!! Was excited and ready to put them in after work only to realize I forgot to order the adapter pieces the thread into the bulkheads to connect to the loc line.....

Anyone know any tricks to get the loc line apart and together without the pliers?
 

2quills

Well-Known Member
Quote:
Originally Posted by acrylic51 http:///t/376802/415-gallon-plywood-tank-build/1260#post_3446040
Having a horrible time ordering parts to get this tank fired.... Ordered all my loc line for the returns and got the stuff in yesterday!!!! Was excited and ready to put them in after work only to realize I forgot to order the adapter pieces the thread into the bulkheads to connect to the loc line.....

Anyone know any tricks to get the loc line apart and together without the pliers?
I have a set of the pliers but they are only for assembly purposes. The easiest way I've found to get them apart is just to bend them really tight as though your going to snap a twig and they come apart really easy. It gets a little bit tough when you're trying to take off just a nozzle or one little segment piece. It can be done by hand although having a pair of channel locks in each hand helps as well.
 

acrylic51

Active Member
Thanks Corey!!!!! No luck finding the pliers to work the loc line, but did use the trick with the channel locks and super easy to separate the segments. Haven't had any issues with breaking them down into single segments that way. Not super easy getting the "fan" ends on, but found boiling some water and soaking them a bit, makes them a bit more manageable to get on the ends.....
Did manage to pick up the adapter pieces I inadvertantly forgot to order from **************.....Had to run 1hour and 20 minutes out of my way after work last night, but had to have those pieces to keep moving along......Suppose to be doing the holiday "family party" with my wife and her side of the family, but I keep finding myself slipping away to the computer or in the fishroom doing odds and ends.....Hopefully when it all clears out I can get some more pics and maybe a short video......
 

snakeblitz33

Well-Known Member
Lol. I now how it is finding more solace and comfort in aquatics than family sometimes. Glad to see that things are progressing. Can't wait to see actual pics of your flow design instead of sketchup.
Decided if you were going to go ssb or bb?
 

acrylic51

Active Member
Actually at this point I'm am leaning very heavily towards BB. I want mad/insane flow within the display and with employing (3) MP60's along with initially an OM powered by a Reeflo Gold Dart I have a suspicion that I'm on the verge of madness!!!!! Thinking sand is not a possibility.
Im hoping to get the black acrylic I brought in to get it cut down to size and laminated in the bottom of the tank here shortly!!!! That way the bottom will be black already and if after intital flow tests/leak test the flow is to insane I'm still covered. If flow tests are marginal I will opt for a SSB with larger grain sand.
I finally did get the loc line started and in place on the returns last night. Boiling water was the ticket for assembly of the fan nozzles.
 

snakeblitz33

Well-Known Member
Ah. Ok. I got yah. Why black though? Personal preference?
Ive been looking at those starboard bb tanks on RC and jeez, those things look slick. My budget didn't allow for that, so I ended up just painting the bottom underneath my tank flat white. I actually really like the look!
That is a lot of flow! Going to blow your fish away!
With all that flow, I am guessing you want to get into some serious SPS coral?
 

acrylic51

Active Member
Yes a lot of flow, but it can all be toned down if needed and wanted. I'd rather have more and be able to control, and as the tank matures, the flow can be adjusted and increased.......I'm still debating putting the additional CL in the bottom panel of the tank.
The bottom of the tank I opted to do in black. I had looked and researched starboard, but the biggest complaint is actually cleaning the starboard over time since it's not a perfectly smooth surface. The black acrylic is more a personal preference and thinks it will make photographing the tank a little easier than a white bottom. I don't see much gain in a white bottom, but that's just my opinion though. Kind of like the personal difference between a blue or black background on a tank. I actually did the bottom of my plywood tank in white, but again the epoxy is perfectly smooth and could easily be rubbed down or scrubbed vs trying that on the starboard. Basically a big cutting board in your tank. That's what most guys use, and that's were I came up with the idea of starboard and then embedding sand in epoxy. Faux sandbed, but again the major issue is cleaning/algae issues.
 

snakeblitz33

Well-Known Member
Lol. Yeah. Algae issues for sure. Making it textured like that and then having a lot of flow through the tank bottom would make a natural algae scrubber. Wouldn't look good at all. I'm anxious to see the black acrylic look and to see if it does take better pics.
I noticed how much brighter my tank was after I painted the bottom white. No idea if it was just coincidence or not. I didn't read it, but what did you end up doing with your plywood tank?
 

acrylic51

Active Member
I have thought so much about so many aspects of the build it's insane Seth......I've done many setups over the years and using different background colors, but I think it does come down to more preference though. I would think that black would be an easier color as a back drop for photography purposes...By no means am I an expert on photography though. Black on the bottom.....White as I mentioned I did use on the other tank bottom and yes it does make it super bright, but I think light hitting that white bottom/background is going to scatter light and at times could be eye piercing IMO......Depending on the lighting and how the light hits the bottom that light will be shot in all directions. I can remember years ago, when people would line the inside of the hoods with white trying to deflect errant light back downwards into the tank. With that said the use of white on the bottom in my thinking would again reflect the light....
I've seen a couple bare bottom tanks done with black.....Actually looks super clean as long as the tank is clean and crap is settling everywhere.....Almost as if I'd be using black sand, but without the hassles of sand blowing around......
But again when I look at a tank I really don't want to see all the other distractions going on.....I don't honestly want to see sand and what not....I want to see fish, corals all like suspended floating.......Again that's probably why I've never been a proponent for DSB in the DT.....Consume valuable space.....and ugliness I don't want to look at....
The plywood tank.....Hmmmmmm.....I was willing to give it to my buddy who lives down the road, but there was no way we could have gotten it into his house where he wanted to actually place the tank. Actually at this moment the tank is sitting in the driveway waiting to be picked up. You probably remember how much care, time, effort went into the epoxy work, and I was worrying about the epoxy thickness........Well 2 weeks ago cleaning up for the holidays, I took the sawzall to the tank.....Its was a b*tch getting through the angle iron embedded in the epoxy, but after 10 blades and a afternoon, the tank was cut in 9 pieces. Actually it gave me a good chance to see how well the epoxy was and the actually thickness; since once your start pouring your guessing on thickness at times. Needless to say when I did get it all cut apart and was able to look at cross samples the thinnest area of epoxy was a 1/4" way thicker than needed.....I'll have to get some pics of it all cut up and the thickness tomorrow......
 

acrylic51

Active Member
Quote:
Originally Posted by 2Quills http:///t/376802/415-gallon-plywood-tank-build/1280#post_3446739
Rest In Peace/Pieces. - plywood tank. :(
Quote:
Originally Posted by meowzer http:///t/376802/415-gallon-plywood-tank-build/1280#post_3446743

Thanks guys!!!! A lot of love and labor went into that baby, and it was sad cutting up, but I didn't know anyone crazy enough to go that big....I think my buddy is a little afraid of his wife.....

Quote:
Originally Posted by Gemmy
http:///t/376802/415-gallon-plywood-tank-build/1280#post_3446746

Oh and I thought of your tank build on Friday night when I picked up some corals. The guy had a closed loop system that was bare bottom (painted black). The tank looked SWEET. I was in total awe of his tank.
Actually I think the bottom done in the black acrylic will actually look sweet, but clean as well......
 

acrylic51

Active Member
Tried to get a couple more shots of the crazy plumbing work done....Plumbing is all tied together....Actually painting the last few pieces needed to tie the overflow to the sump. Still debating if I want to pull the sump from the stand and glue in my bubble tower or make the bubble tower totally removeable from the sump itself. What do you guys think.....

Anyways a few more pics.....
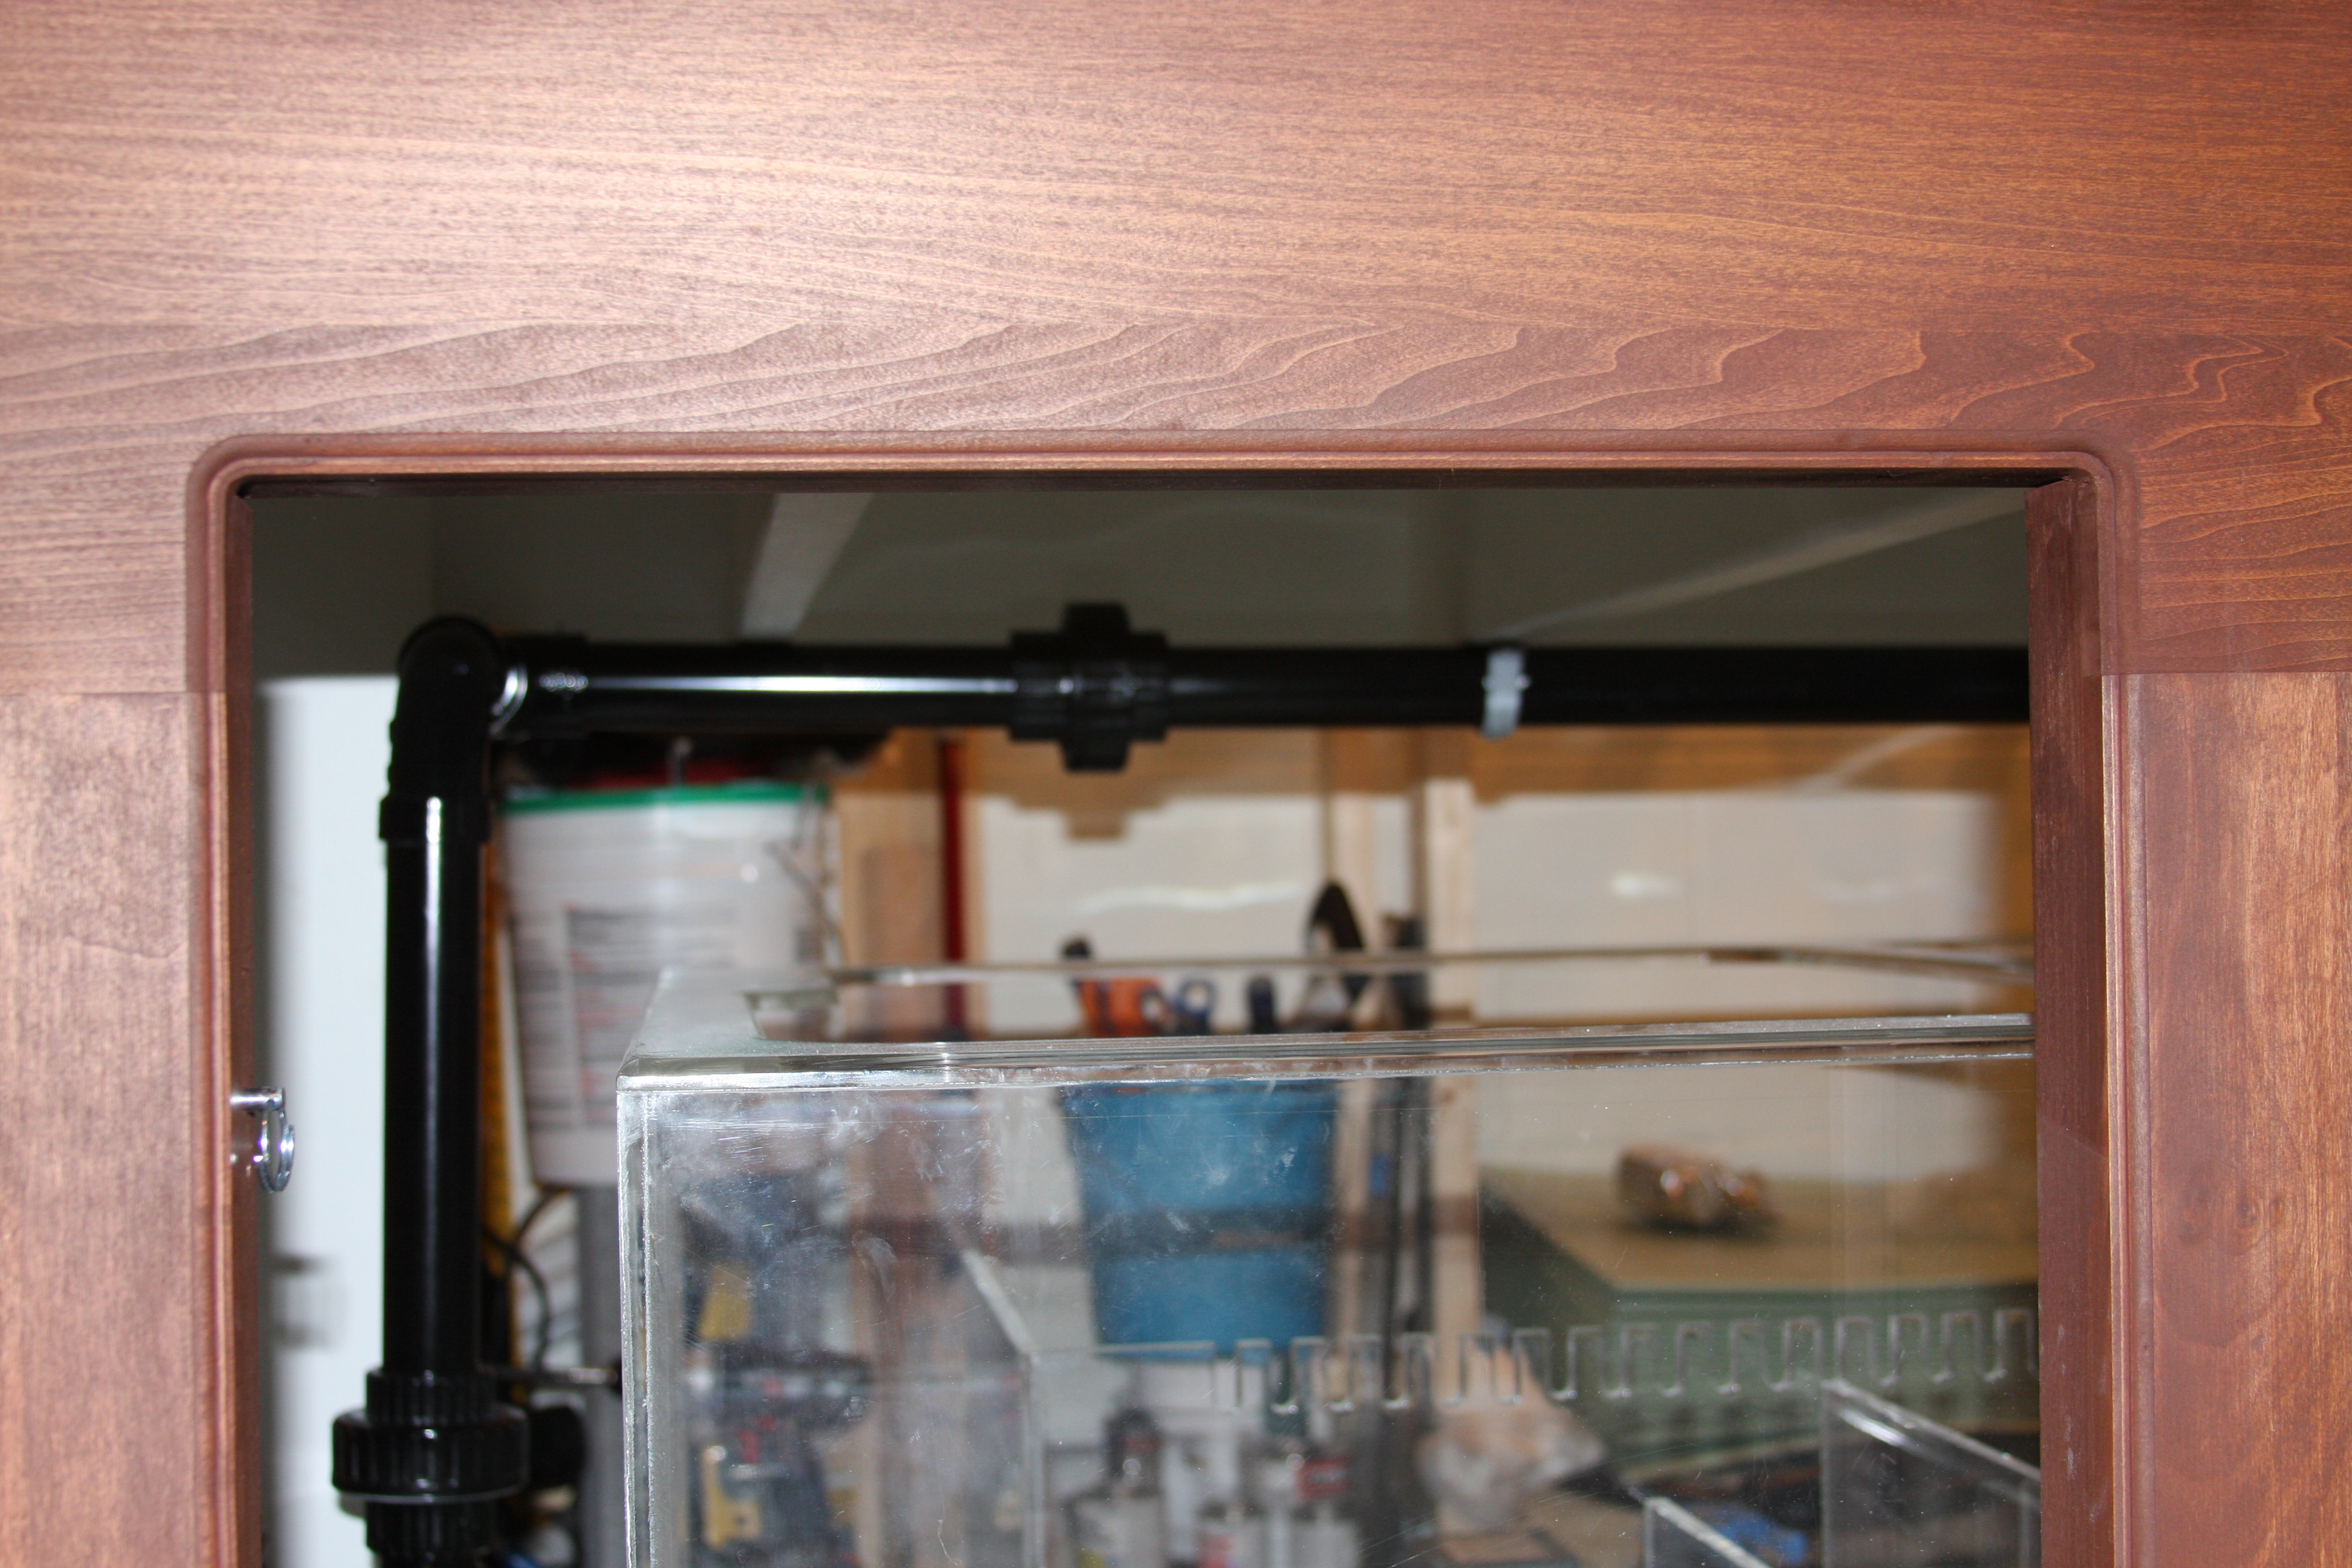
This shot is coming straight off the pump going up to the manifold which is basically a Wye that goes straight out to the back of the stand with 1 of the ports and the other port off the Wye goes right towards the overflow underneath the stand.....
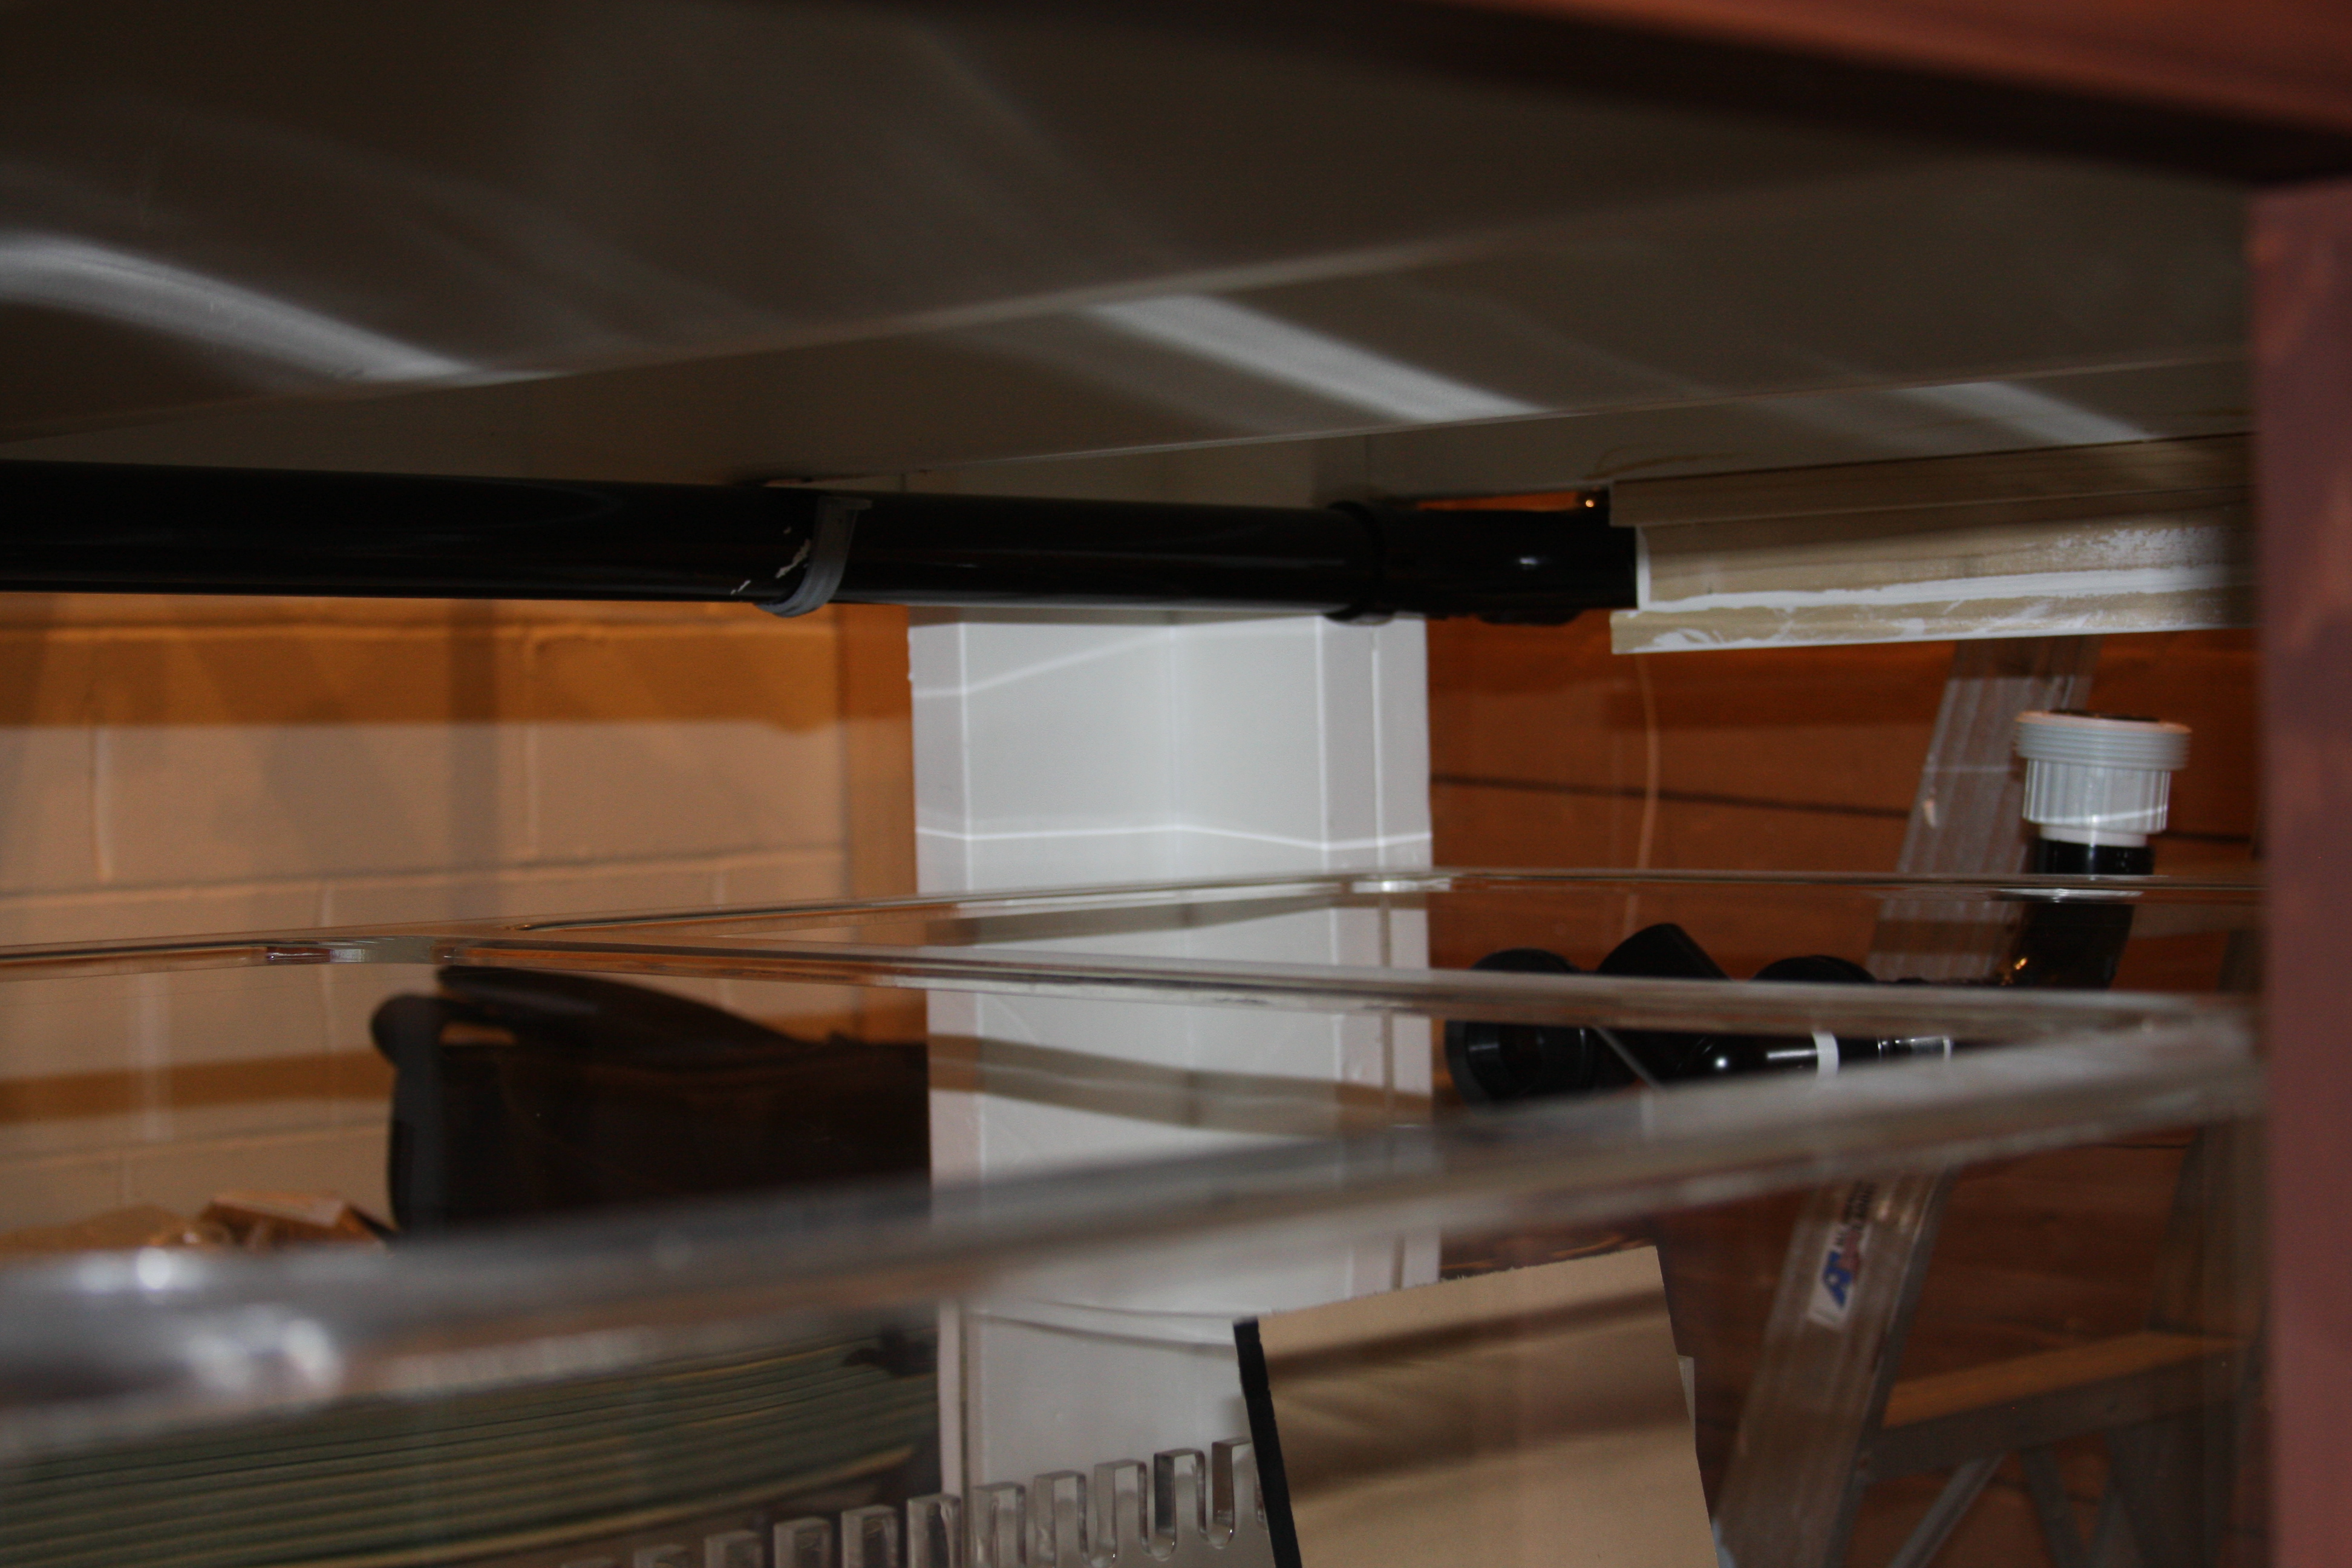
This shot is a continuation of the previous shot showing the run of plumbing to the far end of the stand where again I used a Wye that goes out the end of the stand and the other opening turns right to feed the far bulkhead return on the top of the tank...
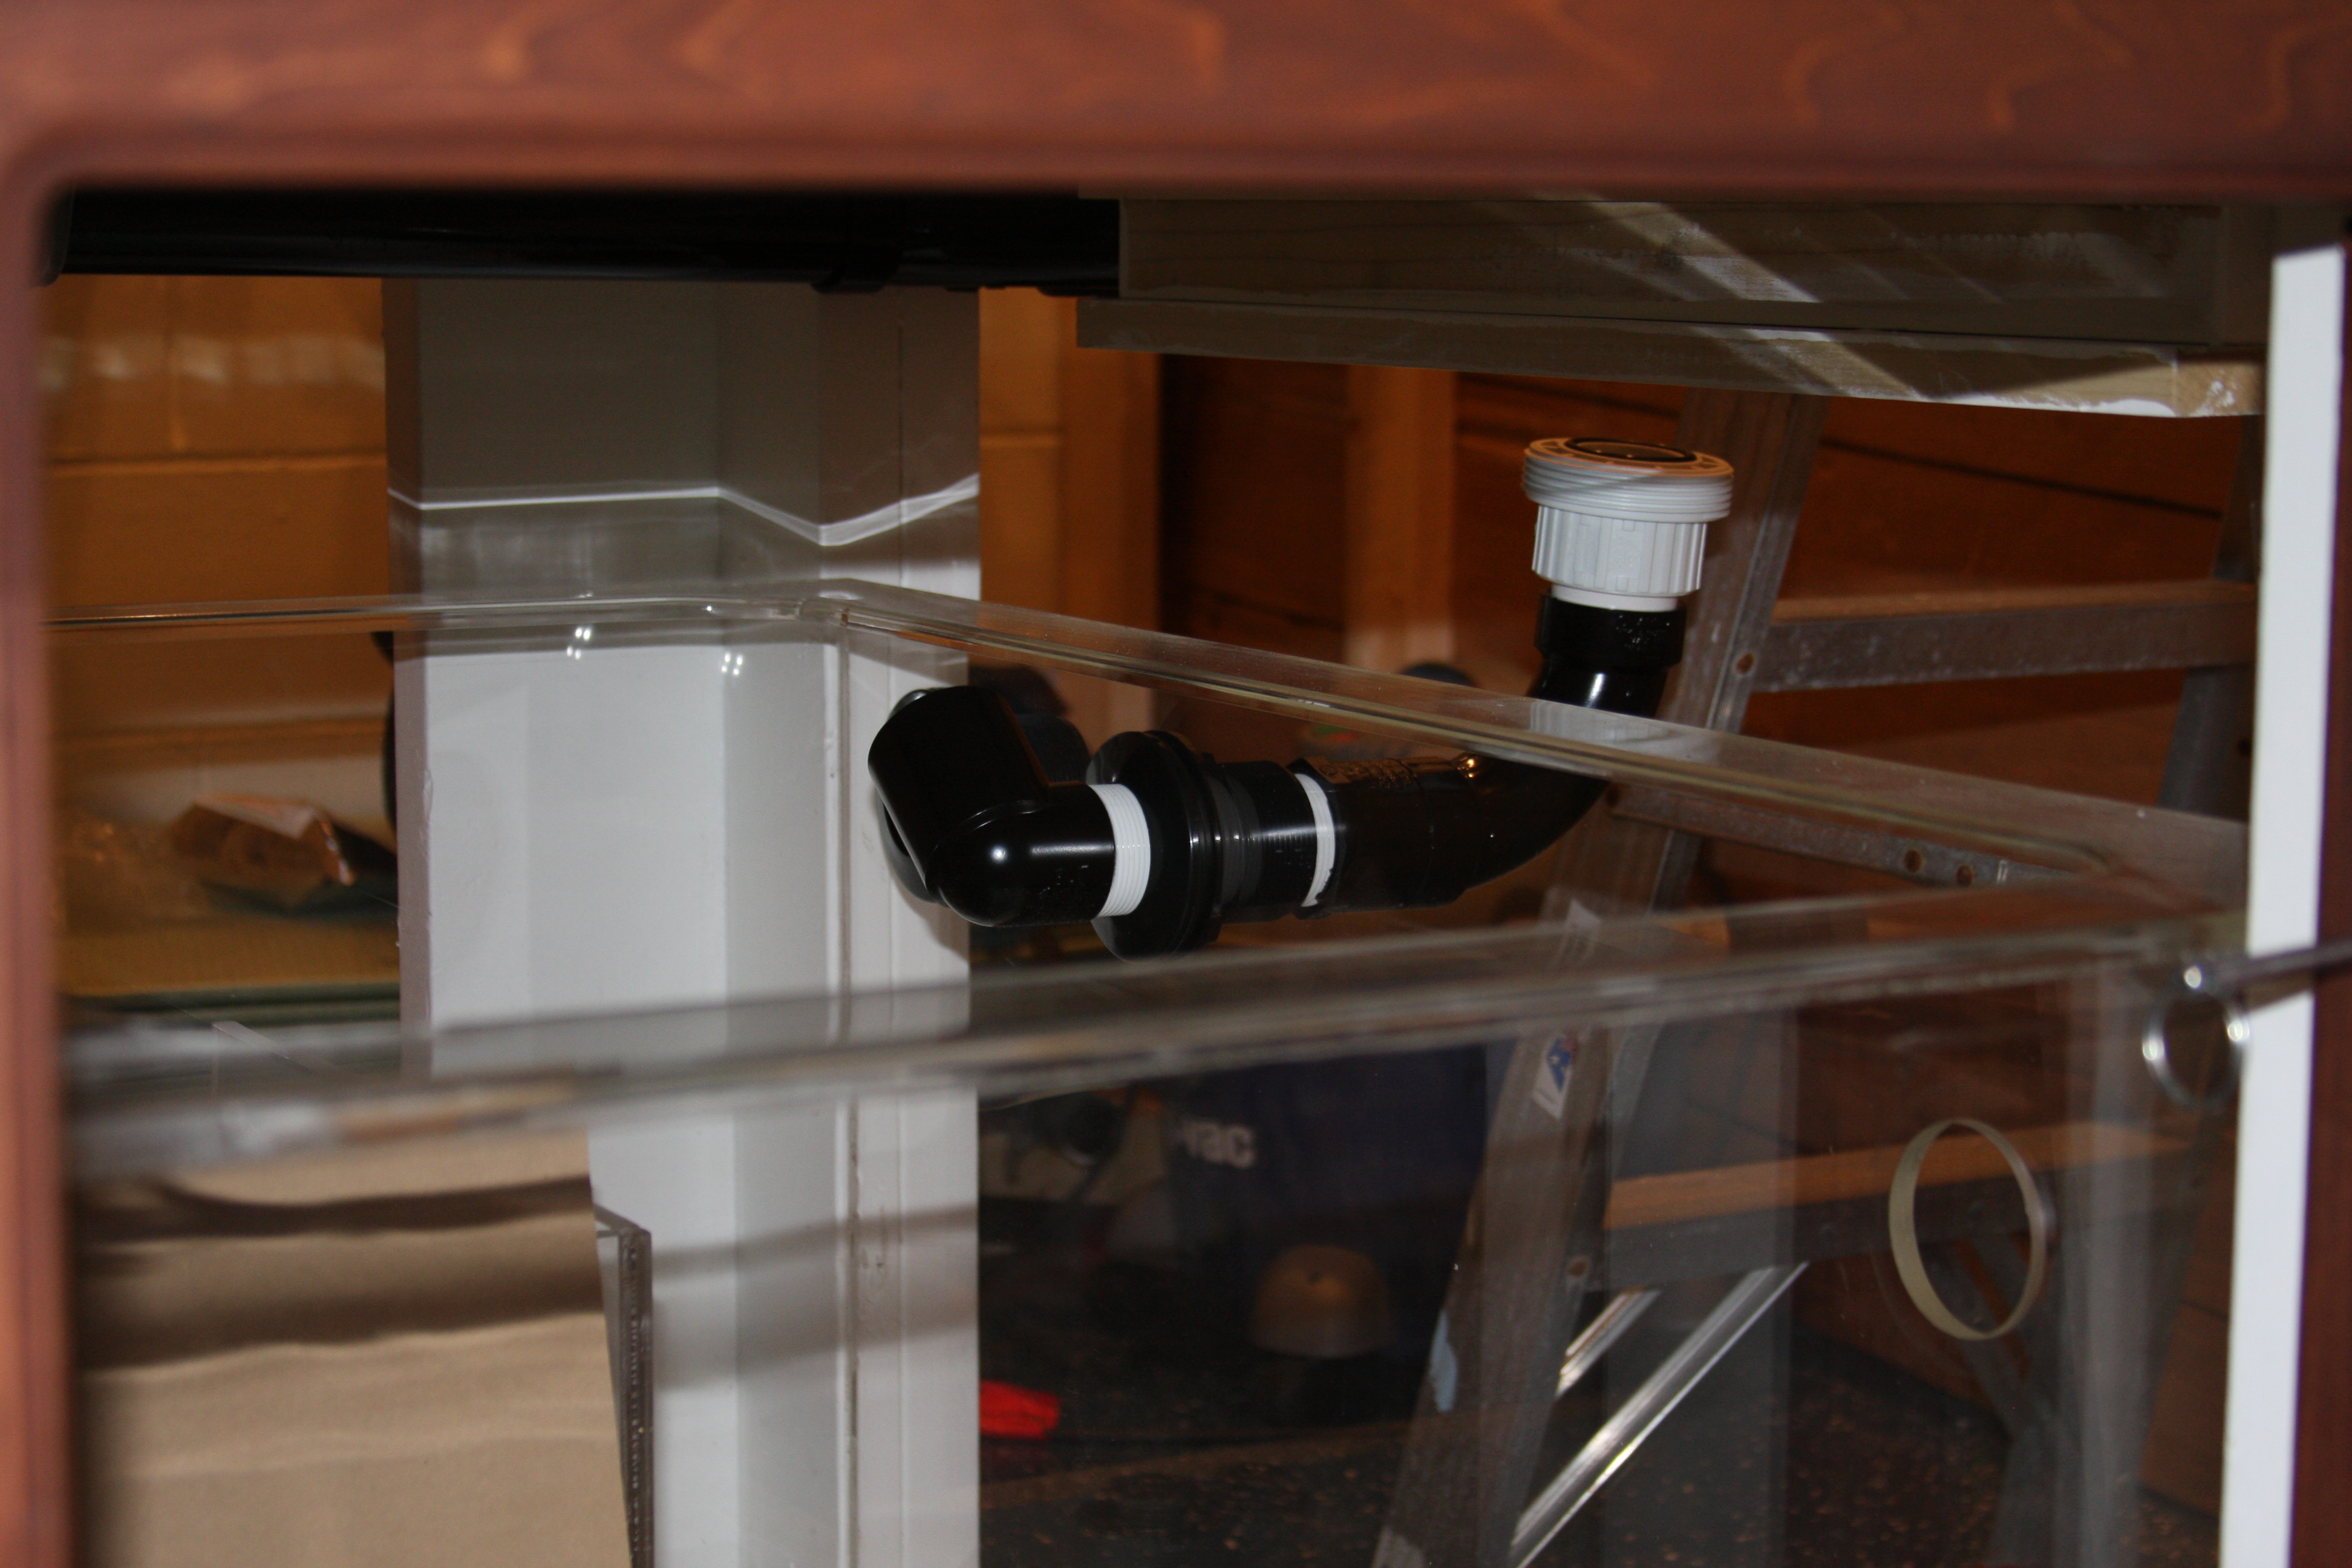
A shot of 1 of the 90 sweep elbows that connects the overflow to the sump. This elbow needs pulled and finished being painted and reinstalled..
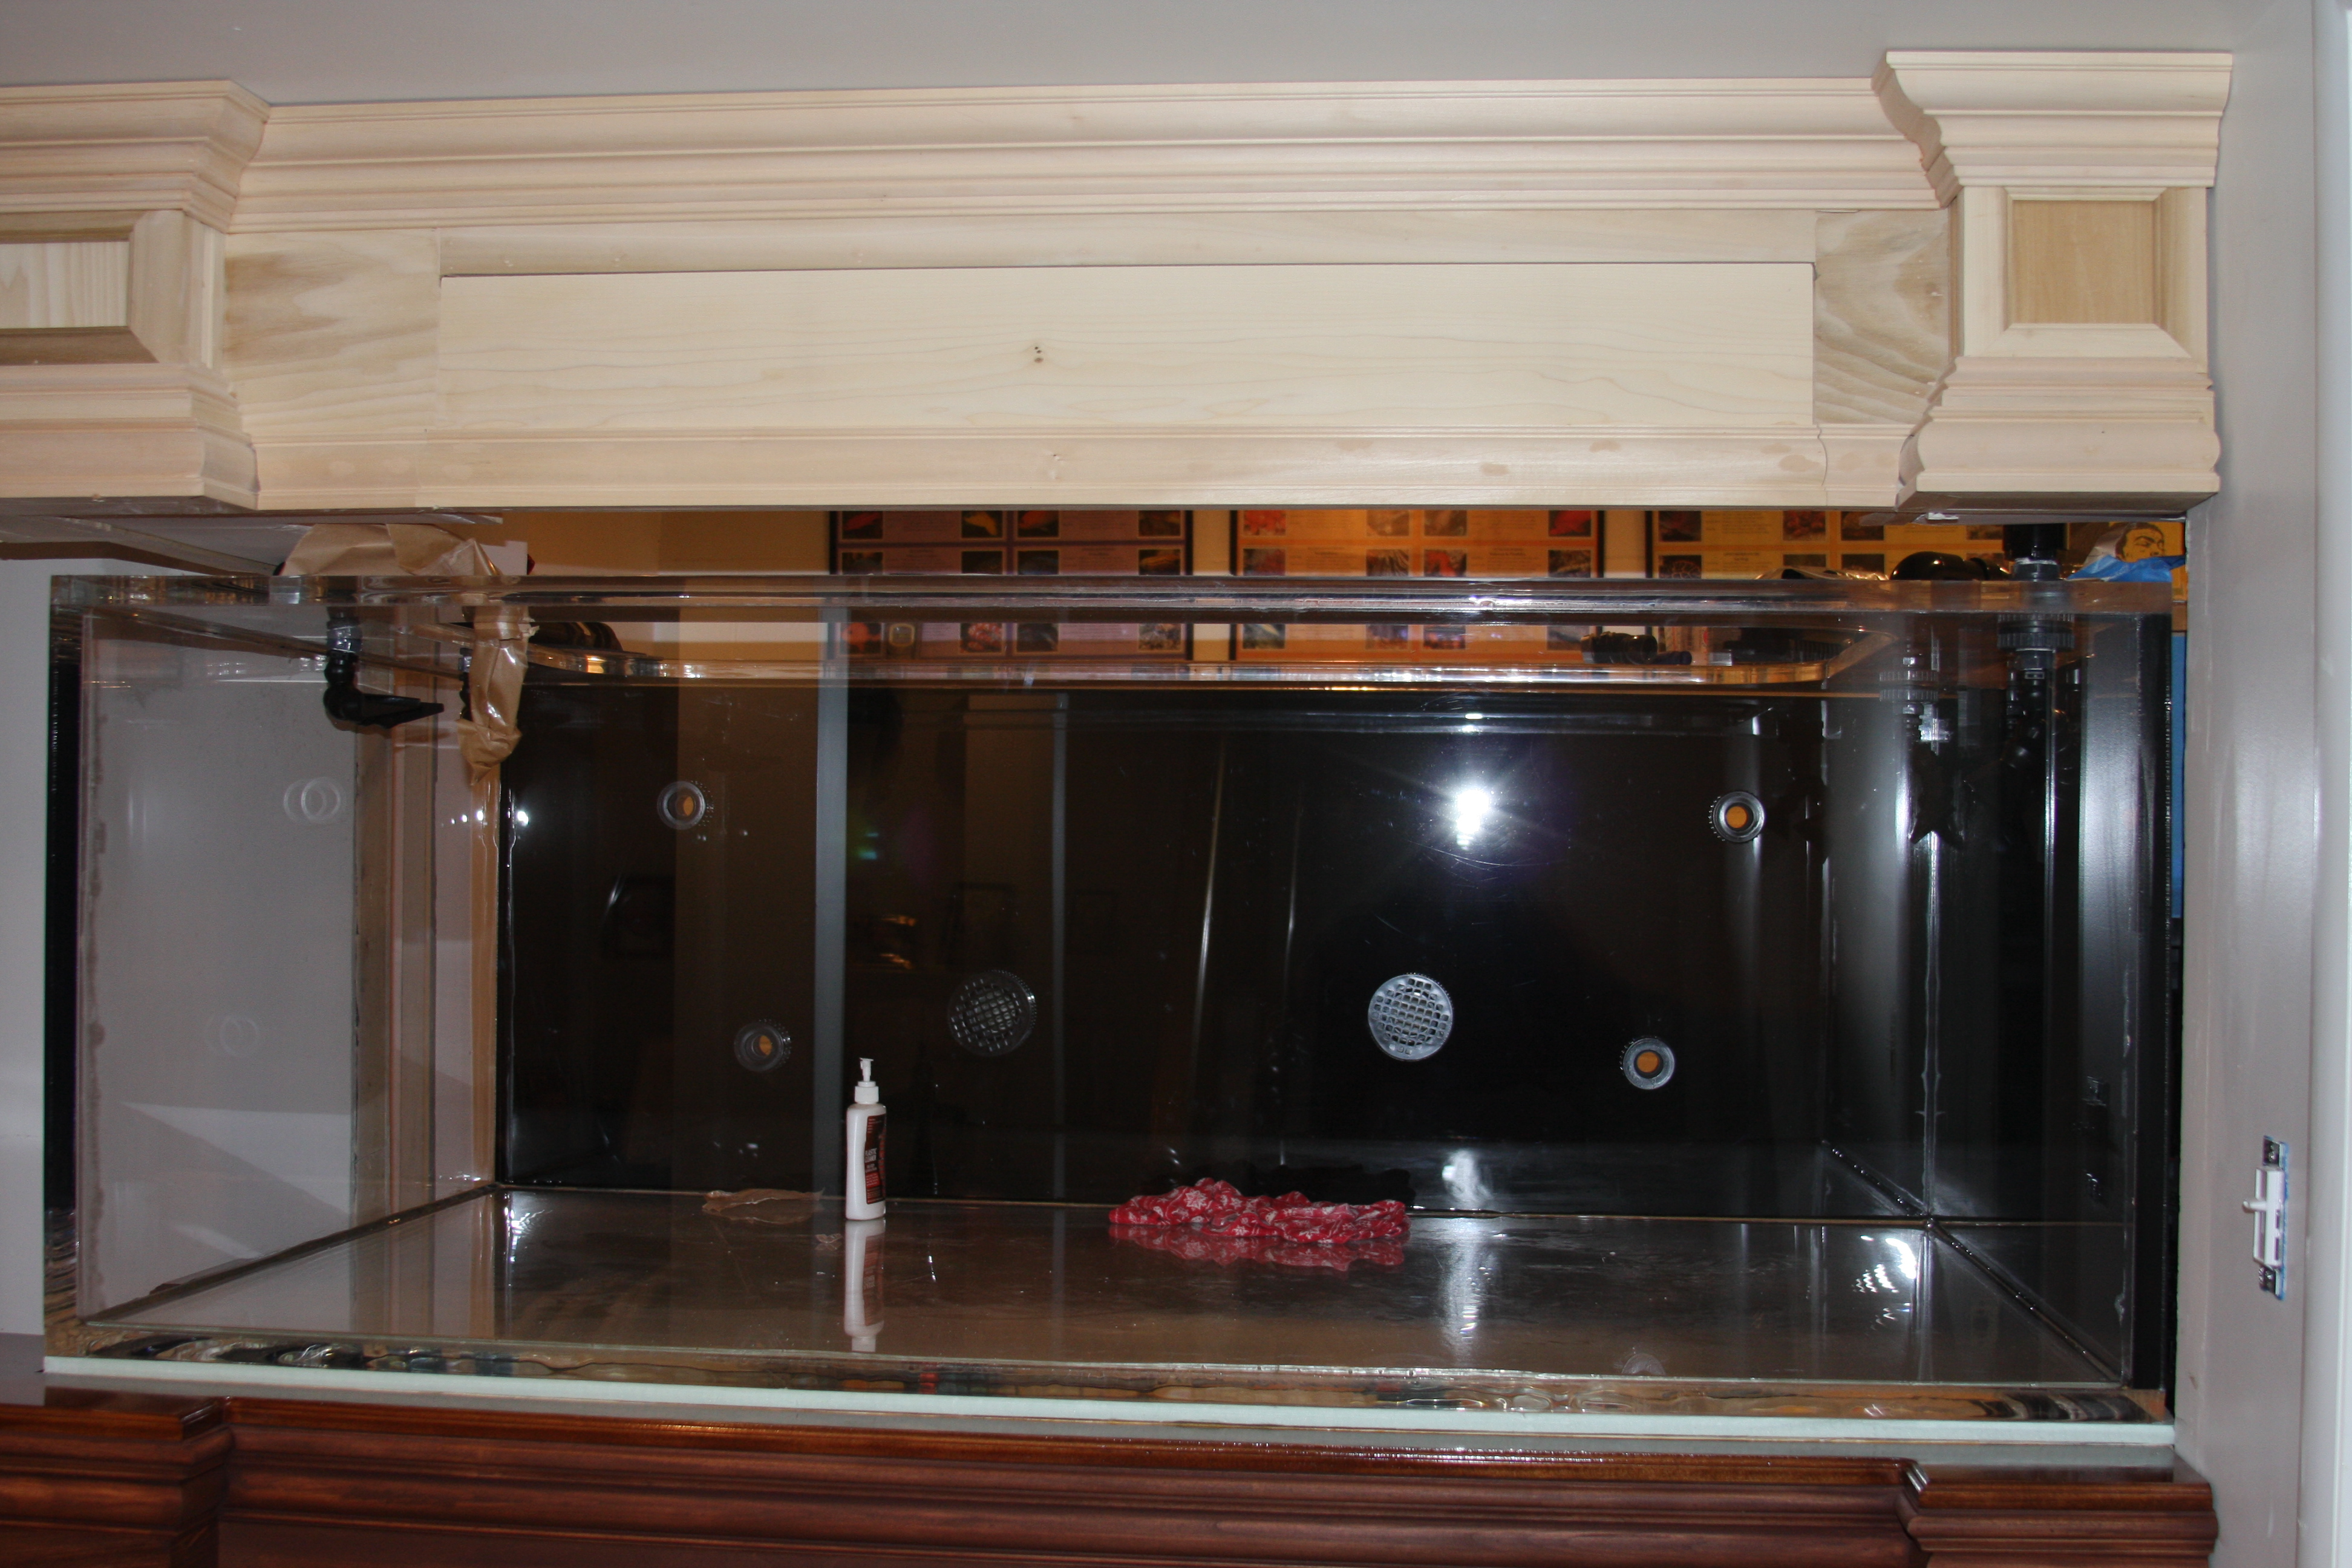
Kind of hard to see, but a FTS with the loc line returns installed.......Nothing final or definite on length and placement until the next water test begins.....
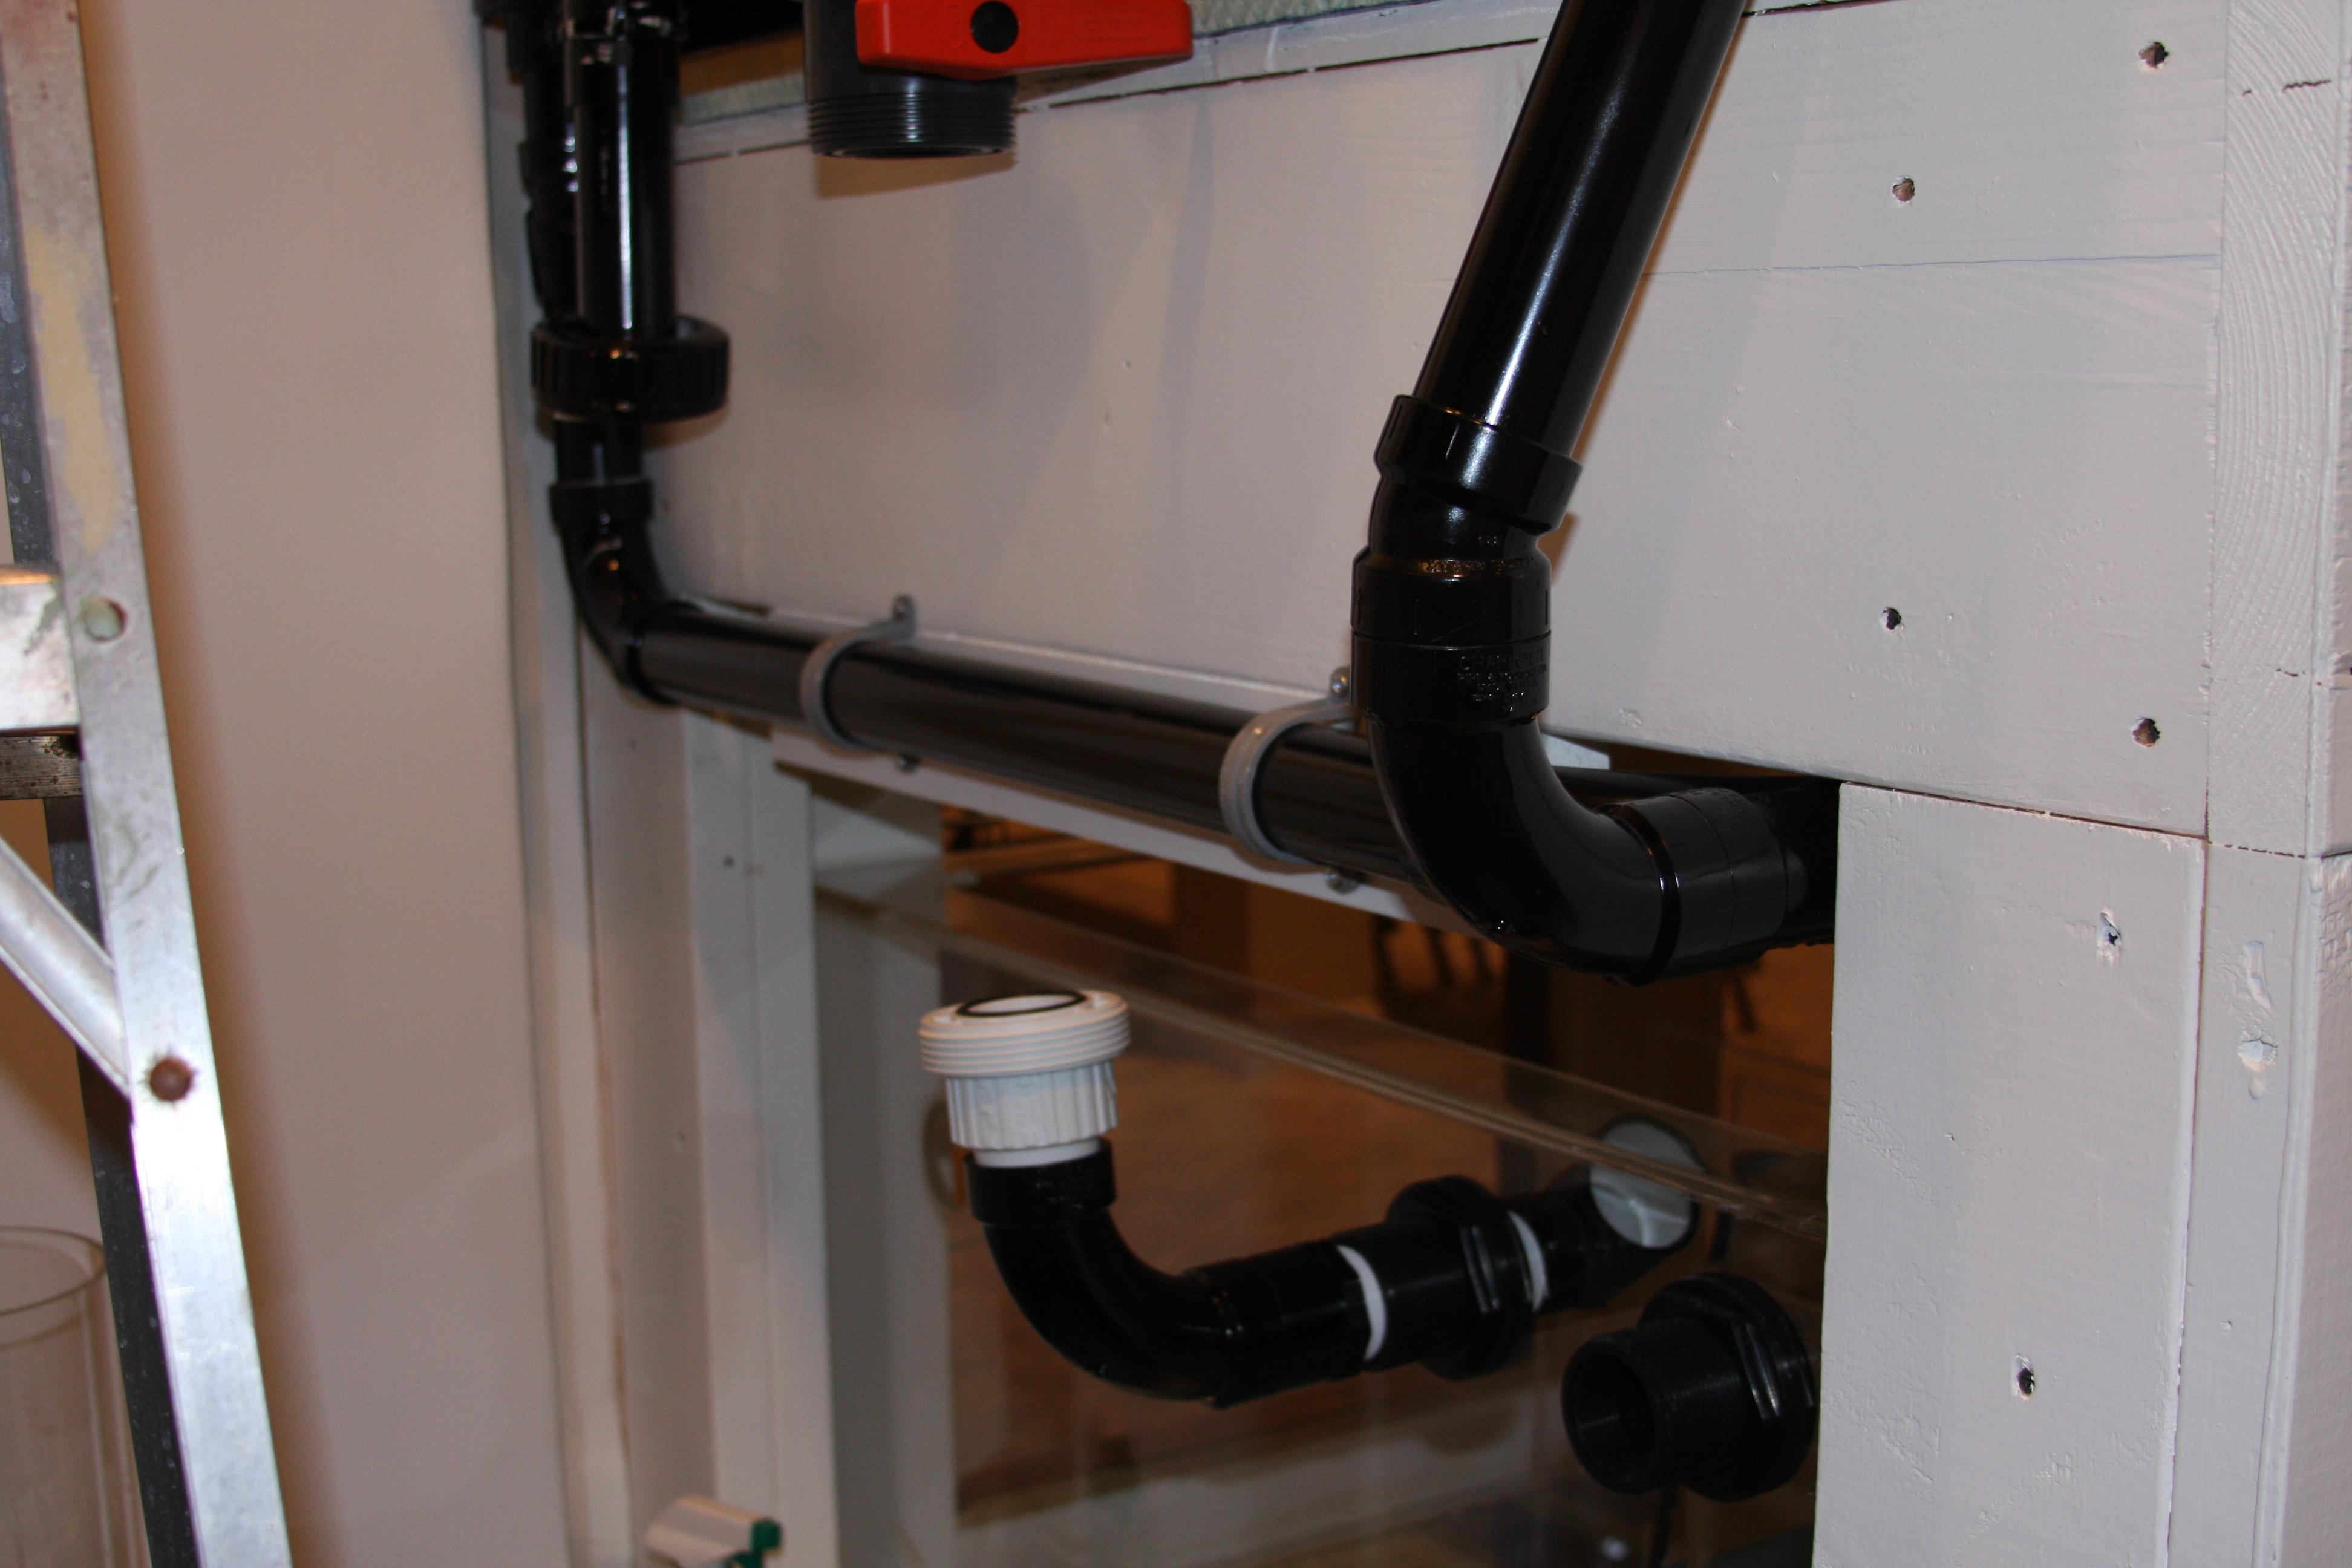
Again this is a continuation pic of the plumbing line showing how it runs the length of the stand, and you can see where I turn it upward to feed the bulkheads on the top of the tank, and you can also see how the line continues to the front of the tank and up to the other bulkhead.
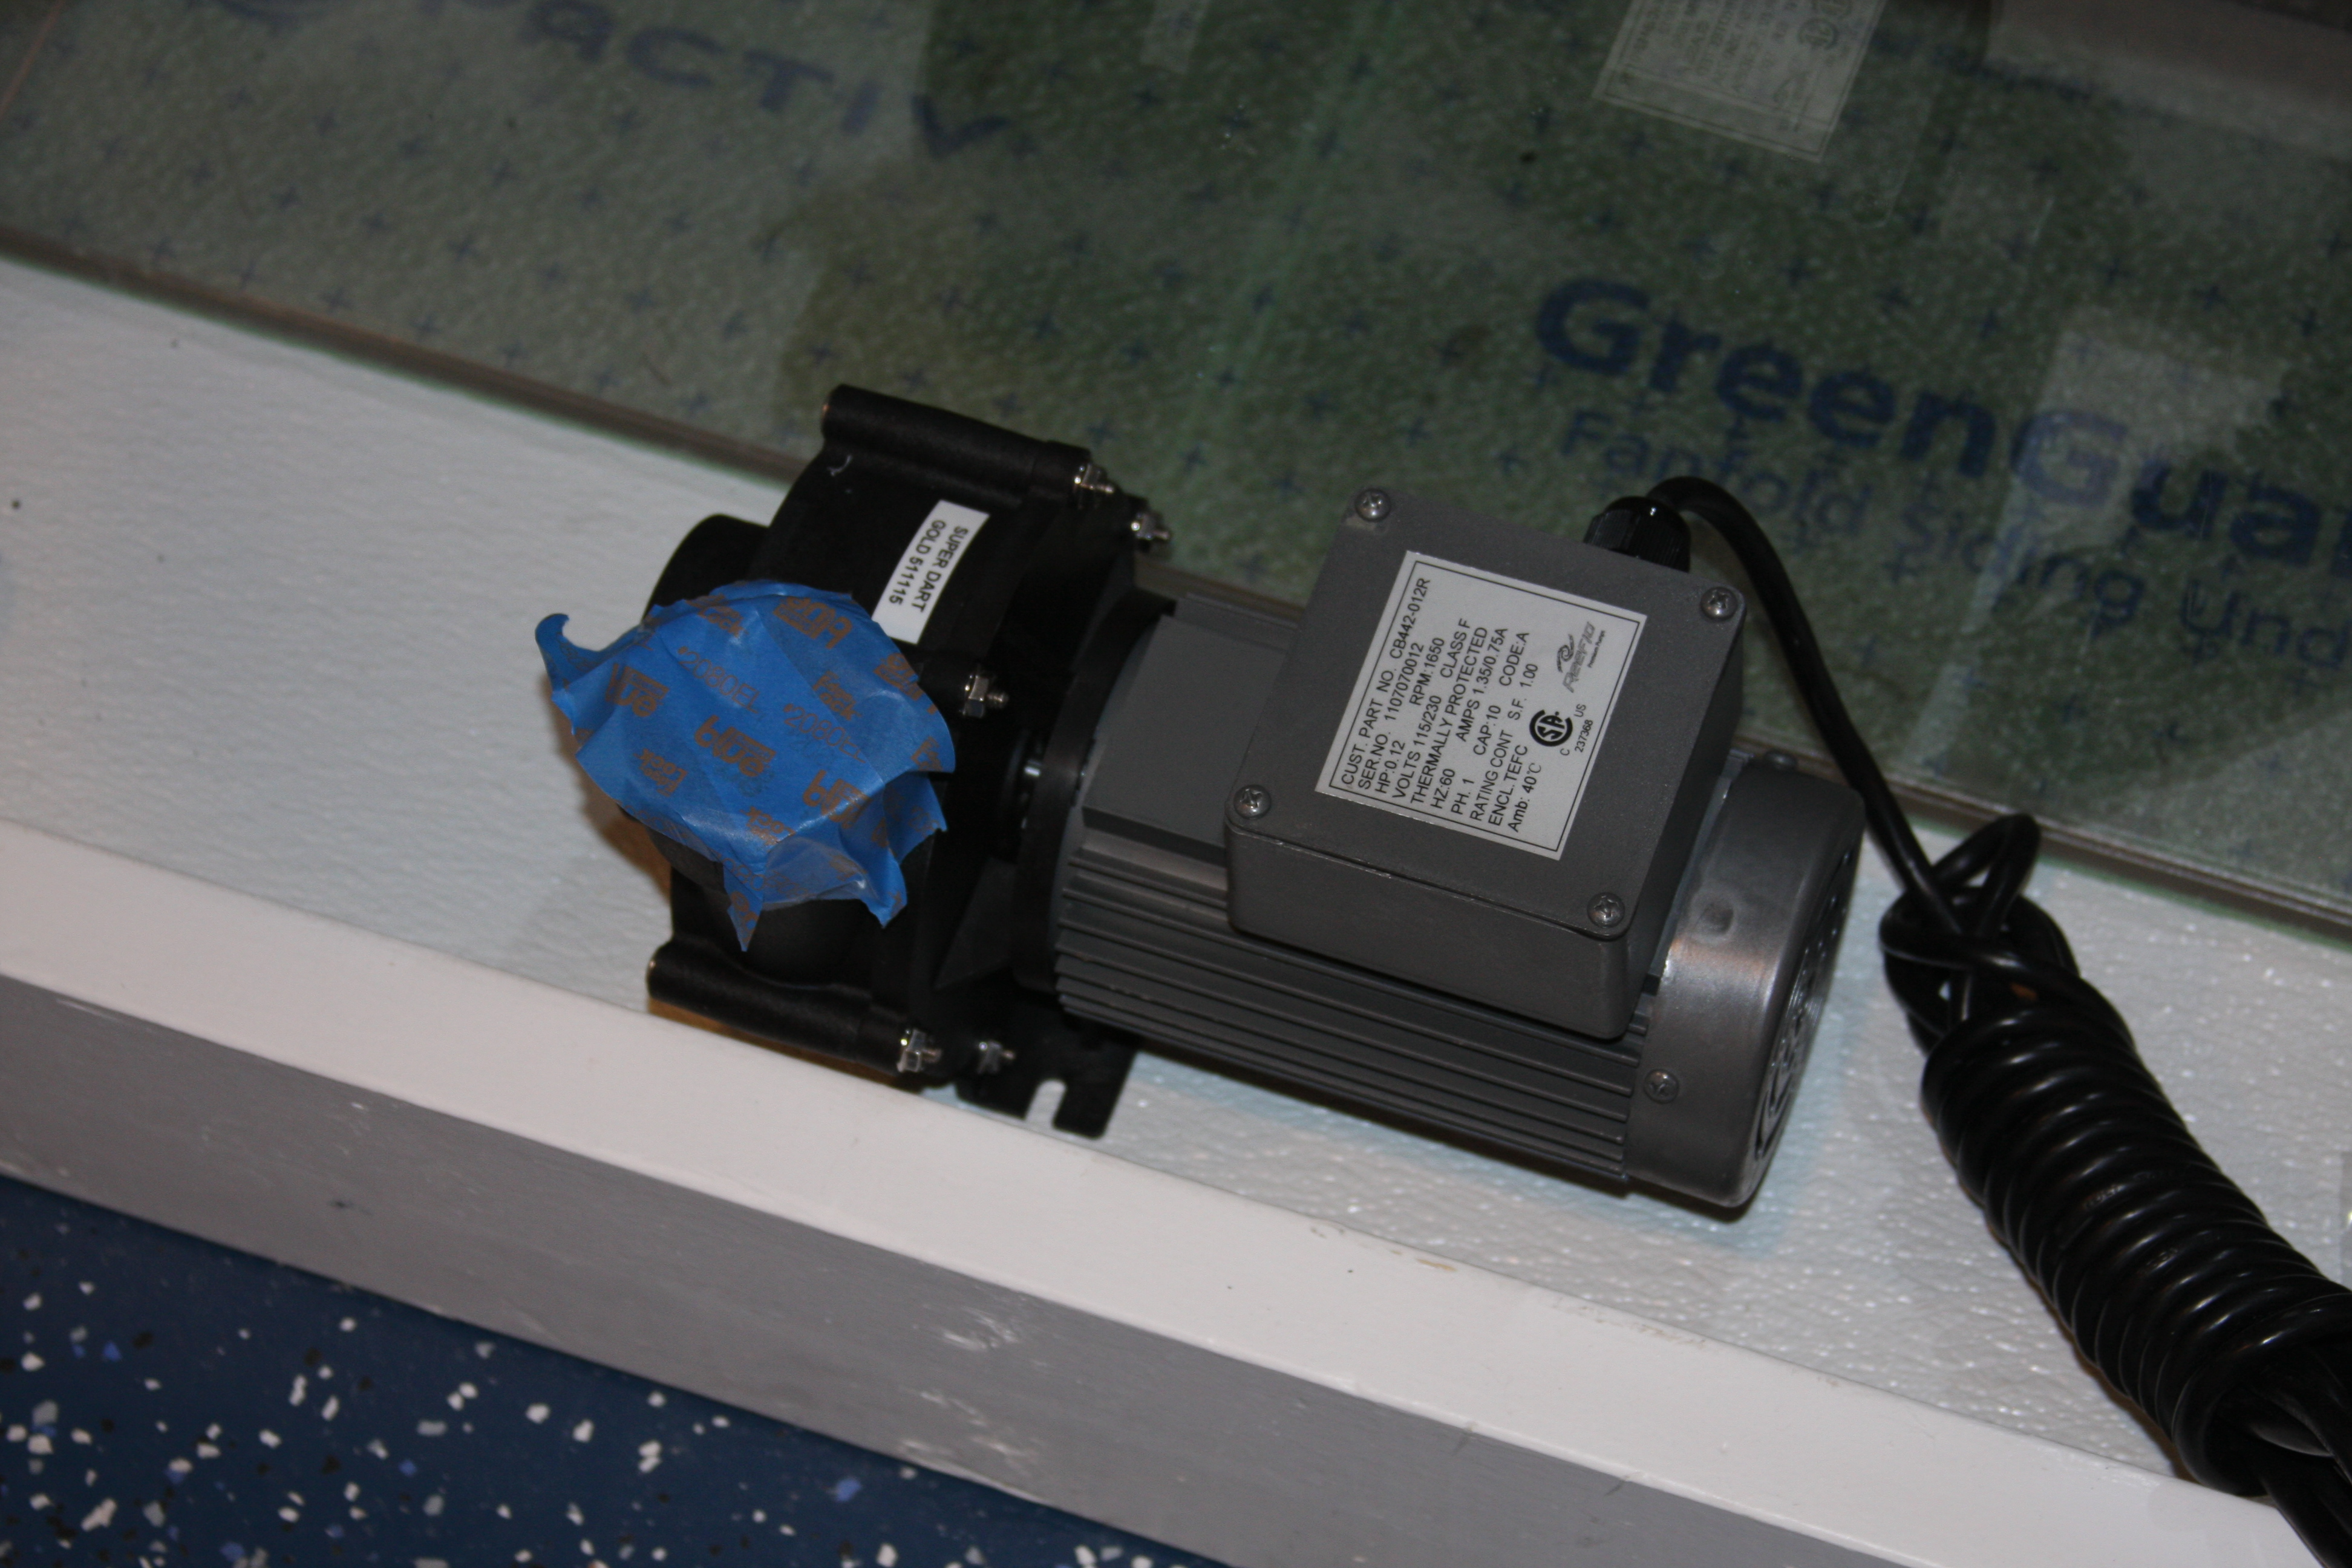
Just a quick shot of the Reeflo Dart Gold pump.....If you put this beside the Snapper pump you honestly couldn't tell the difference between the 2 pumps except for the tags on the volutes......
 

acrylic51

Active Member
A quick walk around video....Excuse the mess inside the fish room....I had to throw everything in the room to tidy up for the holidays....Now it'll only take me weeks to figure out where I stashed everything!!!!!
 

1snapple

Active Member
Im going to have to some frags from you guys, right after i get done moving this 95..... Not looking forward too it.
Looking great shawn. When is it getting wet?
 

acrylic51

Active Member
Hey where you been......It's been ages since I've seen you around.....
I'm planning to put water to it again earliest this coming Saturday.....I have to work 4 days this coming week and then off on vacation for a week. I rather be off for a week and that way I can tweak the system as I go with no time constraints and that way I can adjust or modify anything as it happens. Once I get through the initial run in period, hopefully I'll have my final decision as to whether to add in the final CL drilled through the bottom of the tank, and it will also allow me to see how well the MP60's work, and will give me a good idea on the sand bed issue. As it stands now BB tank, with high flow!!!!!!
 
Top