415 Gallon Plywood Tank Build

al&burke

Active Member
Shawn sweet clowns - do you know any highschools that might do that for you in their metal shop, 510 bucks thats a lot of dough to do that - I would do it myself get a got bit for your router and go slow, you are really only cuting the tops of the ribs down, make a plywood jig and use a bushing guide. Good luck man.
 

acrylic51

Active Member
My thoughts exactly Al......I was thinking a jig and the router bushing would make easy work of the project.......I'm not hesitant at all about cutting them myself, but figured since I'd be sending them out to be anodized why not have everything done in 1 place. Now I'm not even sure after doing a bit of reading if having them anodized would really benefit me as well........
There is a slight advantage over anodized vs regular, but nothing really major.....
Did get some work accomplished this weekend.....I've been putting off tackling the power management/cable managing area of the the build.....Finally decided how I was going to run and route everything.....Trying to eliminate as many visible and hanging cords as possible.....Trying to get everything tied up and out of the way which makes everything else as far as maintenance easier, and less mess overall.....I'll have to post some pics of the electrical work being done. Corey it worked out very well by the way......
Corey curious how warm do your drivers get.....I know there not the big ones for the DT, but curious as to what kind of heat they put off.....Meowzer might be able to answer that question as well if she happens to pass through.......
On a side note, got some equipment ordered this past week, so things are moving along a little quicker.....I ordered the OM 4Way Thursday morning, and I have to tell you; Paul and Cass are on their game.....I received the OM 4Way Friday morning at 10:45 am.....They are based in Canada......Super smooth service as always!!!!!! Contacted ReefSpecialty as well on Thursday and got the XP 5000 external skimmer ordered.....Hoping it hits my door step later this week......Also picked up a new bin for my saltwater mixing......I had originally picked up the 65 gallon container, but happened to be at the place making a delivery the day before and happened to see they had a couple 165 gallon units, so on my "hooky" day went by and picked up a 165 gallon container. I might stuff both down in the laundry room, and then I'll have no excuse as to not having enough water on hand.......
 

al&burke

Active Member
Hey Shawn, Love to see some pictures of those mixing tanks when you get them. Maybe anodized is not necessary but the lights would look cool all black like Corey's. Even if you could get some anodized sheet and cover the sides of the heat sinks with it. But yours is going in a canopy so I guess it doesn't really matter. Can't wait to see this all come together. Oh the anodized wheet could be used to incorporate the plexi splash guards.
 

2quills

Well-Known Member
Ill double check the temp on my power supplies,Shawn. Its probably going to very a little bit depending on the supplies being used and how much current is pushing through them. Mine didnt really seem to get that hot though. But if you plan on encasing them somehow then im sure they will.
 

2quills

Well-Known Member
Quote:
Originally Posted by acrylic51 http:///t/376802/415-gallon-plywood-tank-build/1500#post_3460051
Corey curious how warm do your drivers get.....I know there not the big ones for the DT, but curious as to what kind of heat they put off.....Meowzer might be able to answer that question as well if she happens to pass through.......
They get up to 120 degrees, Shawn. That's running wide open for an hour. But my drivers are also raised up a little bit so that they can dissipate heat from the bottom as well. I would suspect though that as soon as you go to mount them flat on something/anything it's going to drive the heat up quite a bit.
I'll have to test them again when I get my driver fan mounted back on.
Heatsinks without the fans running got up to almost 140 degree (yikes).
 

acrylic51

Active Member
Quote:
Originally Posted by 2Quills http:///t/376802/415-gallon-plywood-tank-build/1520#post_3460317
They get up to 120 degrees, Shawn. That's running wide open for an hour. But my drivers are also raised up a little bit so that they can dissipate heat from the bottom as well. I would suspect though that as soon as you go to mount them flat on something/anything it's going to drive the heat up quite a bit.
I'll have to test them again when I get my driver fan mounted back on.
Heatsinks without the fans running got up to almost 140 degree (yikes).
I guess that's not a bad temp......I am in the design stage of building my "master control panel".......Basically it will house all my controllers for my Vortechs, LEDs, and Apex.......
I was already thinking about using stand offs to raise the drivers up, but was considering would there be any benefit mounting them to a heat sink and cooling the heat sink from behind, as well as the entire cabinet being vented and cooled by fans.....Basically all my equipment will be housed in the "master panel" for easy adjustments. You think there would be any benefit to mounting the drivers to heat sinks and cooling........
 

2quills

Well-Known Member
Quote:
Originally Posted by acrylic51 http:///t/376802/415-gallon-plywood-tank-build/1520#post_3460327
I guess that's not a bad temp......I am in the design stage of building my "master control panel".......Basically it will house all my controllers for my Vortechs, LEDs, and Apex.......
I was already thinking about using stand offs to raise the drivers up, but was considering would there be any benefit mounting them to a heat sink and cooling the heat sink from behind, as well as the entire cabinet being vented and cooled by fans.....Basically all my equipment will be housed in the "master panel" for easy adjustments. You think there would be any benefit to mounting the drivers to heat sinks and cooling........

No that's not an all bad temp, they'll kick themselves off if they get too hot which is just under 200 degrees.
You can always benefit from active cooling as far as electronics is concerned. The question of how much though is hard to say. Personally, I'd probably add some fans and call it a day. The cooling idea sounds more complicated and expensive then it's probably worth in my book. But I don't see how it could do anything but help to some degree or another.
 

acrylic51

Active Member
Nothing major as far as cooling .....Just a cheap heat sink to mount the drivers to and mill the heat sink out as planned for the LEDs.......along with fans for the entire cabinet.....The cabinet will take a little planning and patience.....Everything will be molded and custom fitted for a clean look.....I might have to get my buddy to do some fiberglass work for the project......
 

acrylic51

Active Member
Quote:
Originally Posted by Al&Burke http:///t/376802/415-gallon-plywood-tank-build/1500#post_3460111
Hey Shawn, Love to see some pictures of those mixing tanks when you get them. Maybe anodized is not necessary but the lights would look cool all black like Corey's. Even if you could get some anodized sheet and cover the sides of the heat sinks with it. But yours is going in a canopy so I guess it doesn't really matter. Can't wait to see this all come together. Oh the anodized wheet could be used to incorporate the plexi splash guards.
Hey Al......I will get some pics of the mixing tanks and post them up for you......Shipping is a killer on these tanks.....Luckily the place is only 15 minutes from the house, so I just throw them in the back of the truck.
I agree and Corey had mentioned as well, probably not a real necessity to anodize other than the "cool" "wow" factor.....I just got another quote just for anodizing.....Keep in mind this is just to anodize the heat sink, this isn't involving any milling work......They want $250 per heat sink to anodize them........
Again the very marginal gain I'd see with anodized honestly isn't worth the extra $1000.00......Besides the heat sinks will be enclosed as you mentioned as well......
 

2quills

Well-Known Member
Quote:
Originally Posted by acrylic51 http:///t/376802/415-gallon-plywood-tank-build/1520#post_3460338
Nothing major as far as cooling .....Just a cheap heat sink to mount the drivers to
More I think about it I'm not so sure you'd get the greatest heat transfer from the driver case to the heat sink. Maybe if the driver case was already aluminum and you used thermal grease or adhesive. Could always try it and see I suppose. Otherwise, mounting them flat to anything will probably just increase the heat inside the case. I think lifting them up on the ends to allow air flow all the way around the driver is plenty good enough. Most folks never even go that far.
 

2quills

Well-Known Member
I think the HLG's might be aluminum. Where's Meowzer??? Mine are plastics as would probably be the ELN's.
 

acrylic51

Active Member
Thanks guys!!!! Where is Meowzer when we need her......She might be having a cocktail.......
Just kidding Meowzer.....
Just some updated pics.....Hey Al here is the pic of the latest water vat I picked up last week. Still haven't gotten it into place, but hopefully soon....I had bought a pump for the mixing station itself, but a buddy had a pump go down for his return, and I gave him the pump to use till he gets his main return pump back into service......
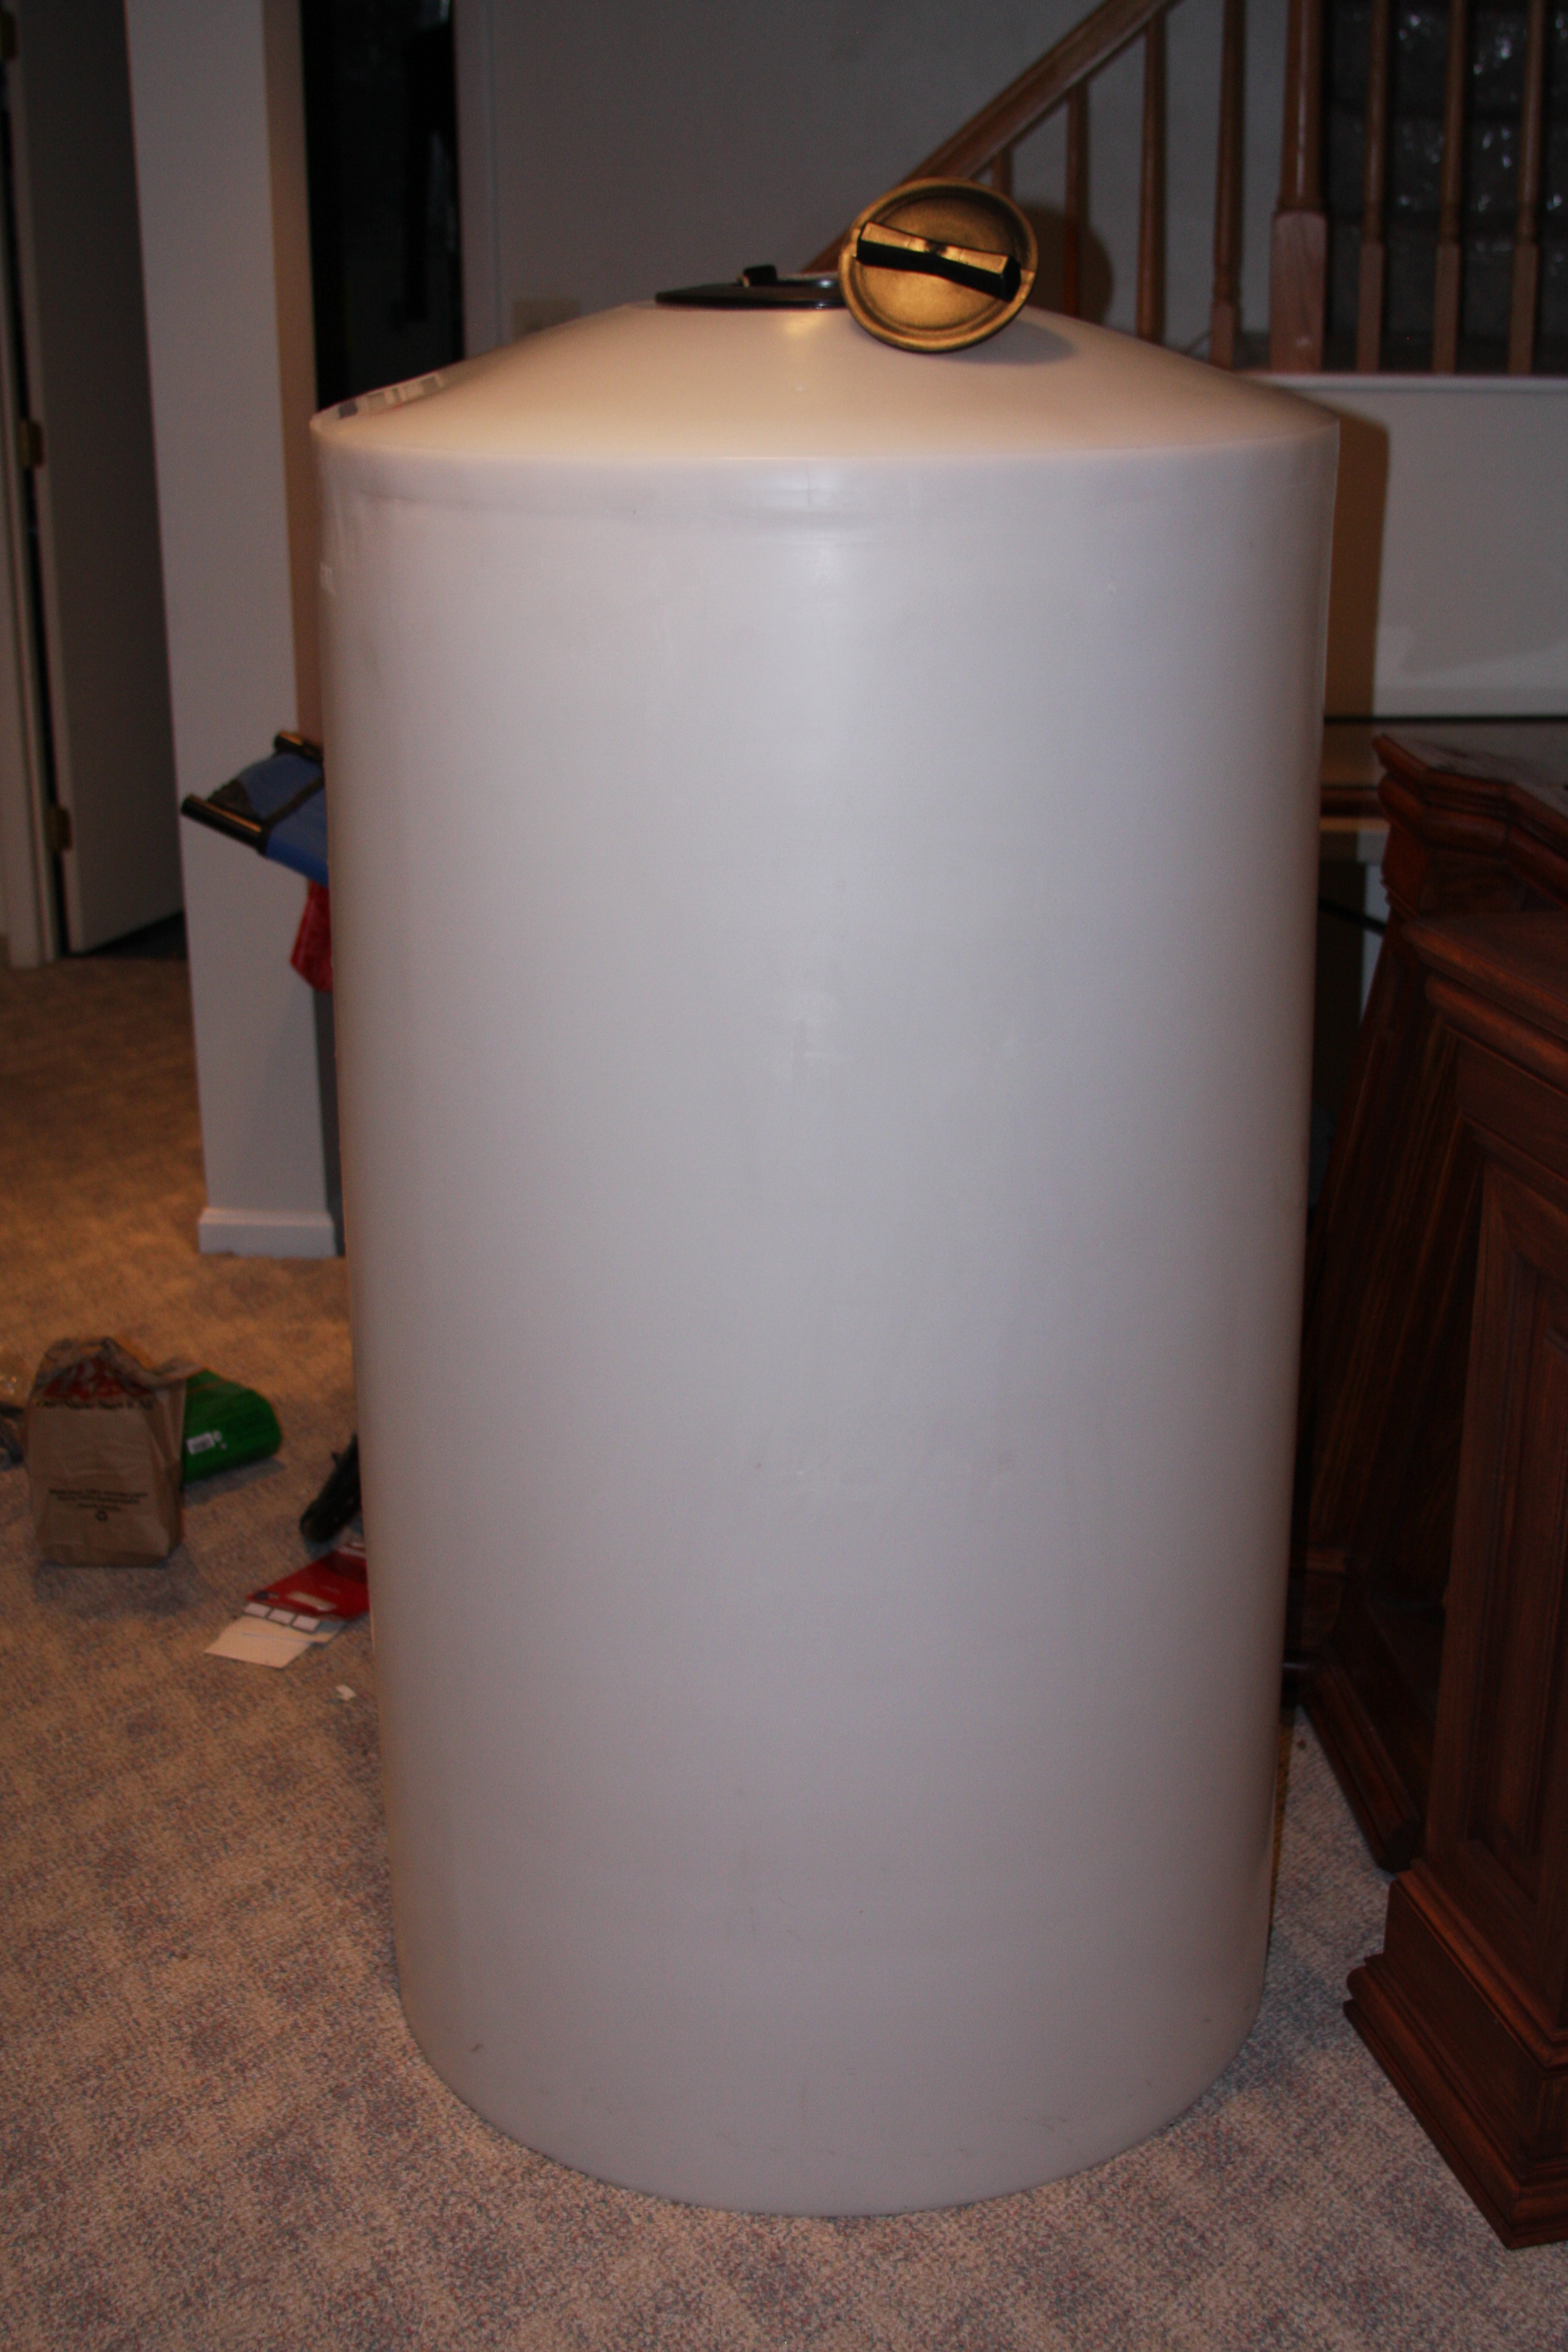
Al it's a 165 gallon holding tank with the man hole on the top.....I'm gonna drill it and use uni seals when I get the pump back and ready to hook up the mixing station....They had 7 when I was there last Thursday, so hopefully they have another reject next time I get by.....You can see the indentation on the upper left top before it goes into the cone section. That is why it was a blemished vat and they can't sell at full price. Check out Chemtainer.com.....Look in their clearance section, but I have to forewarn shipping is a bit expensive on stuff like this.....Not heavy, but the space it takes up.
I was hell bent on tackling some of my cabling/power issues this weekend.....I was dreading it, and kept putting it off. I by no means want any cords laying in the bottom of the stand or draped over things, so I started hunting around for cable managing ideas....I had looked at Graingers and a few other places, but cost was a major issue....It was different if I was going to use tons of it or use it often, but most if not all the places what I was interested in you had to buy by the case, which wasn't cheap......So I started searching other alternatives....I started looking at Lowes for cable.....I wanted to use 12/3 cable....I know I overdue everything, but it keeps me in my comfort zone......Needless to say cable was expensive......
My issue with cable is I wanted to be able to strategically place outlets around and on the stand where I needed for cable management.....With that being said each outlet needed to be wired totally separate from one another, so when the Apex is in place each plug/component could be controlled by a separate plug/channel on the Apex......so your basic surge protector or outlet strip wouldn't fit the bill......So again after agonizing over the price of cable at Lowes, I decided to give Harbor Freight a try and figured I could get some cheap extension cords to fit my purpose.....
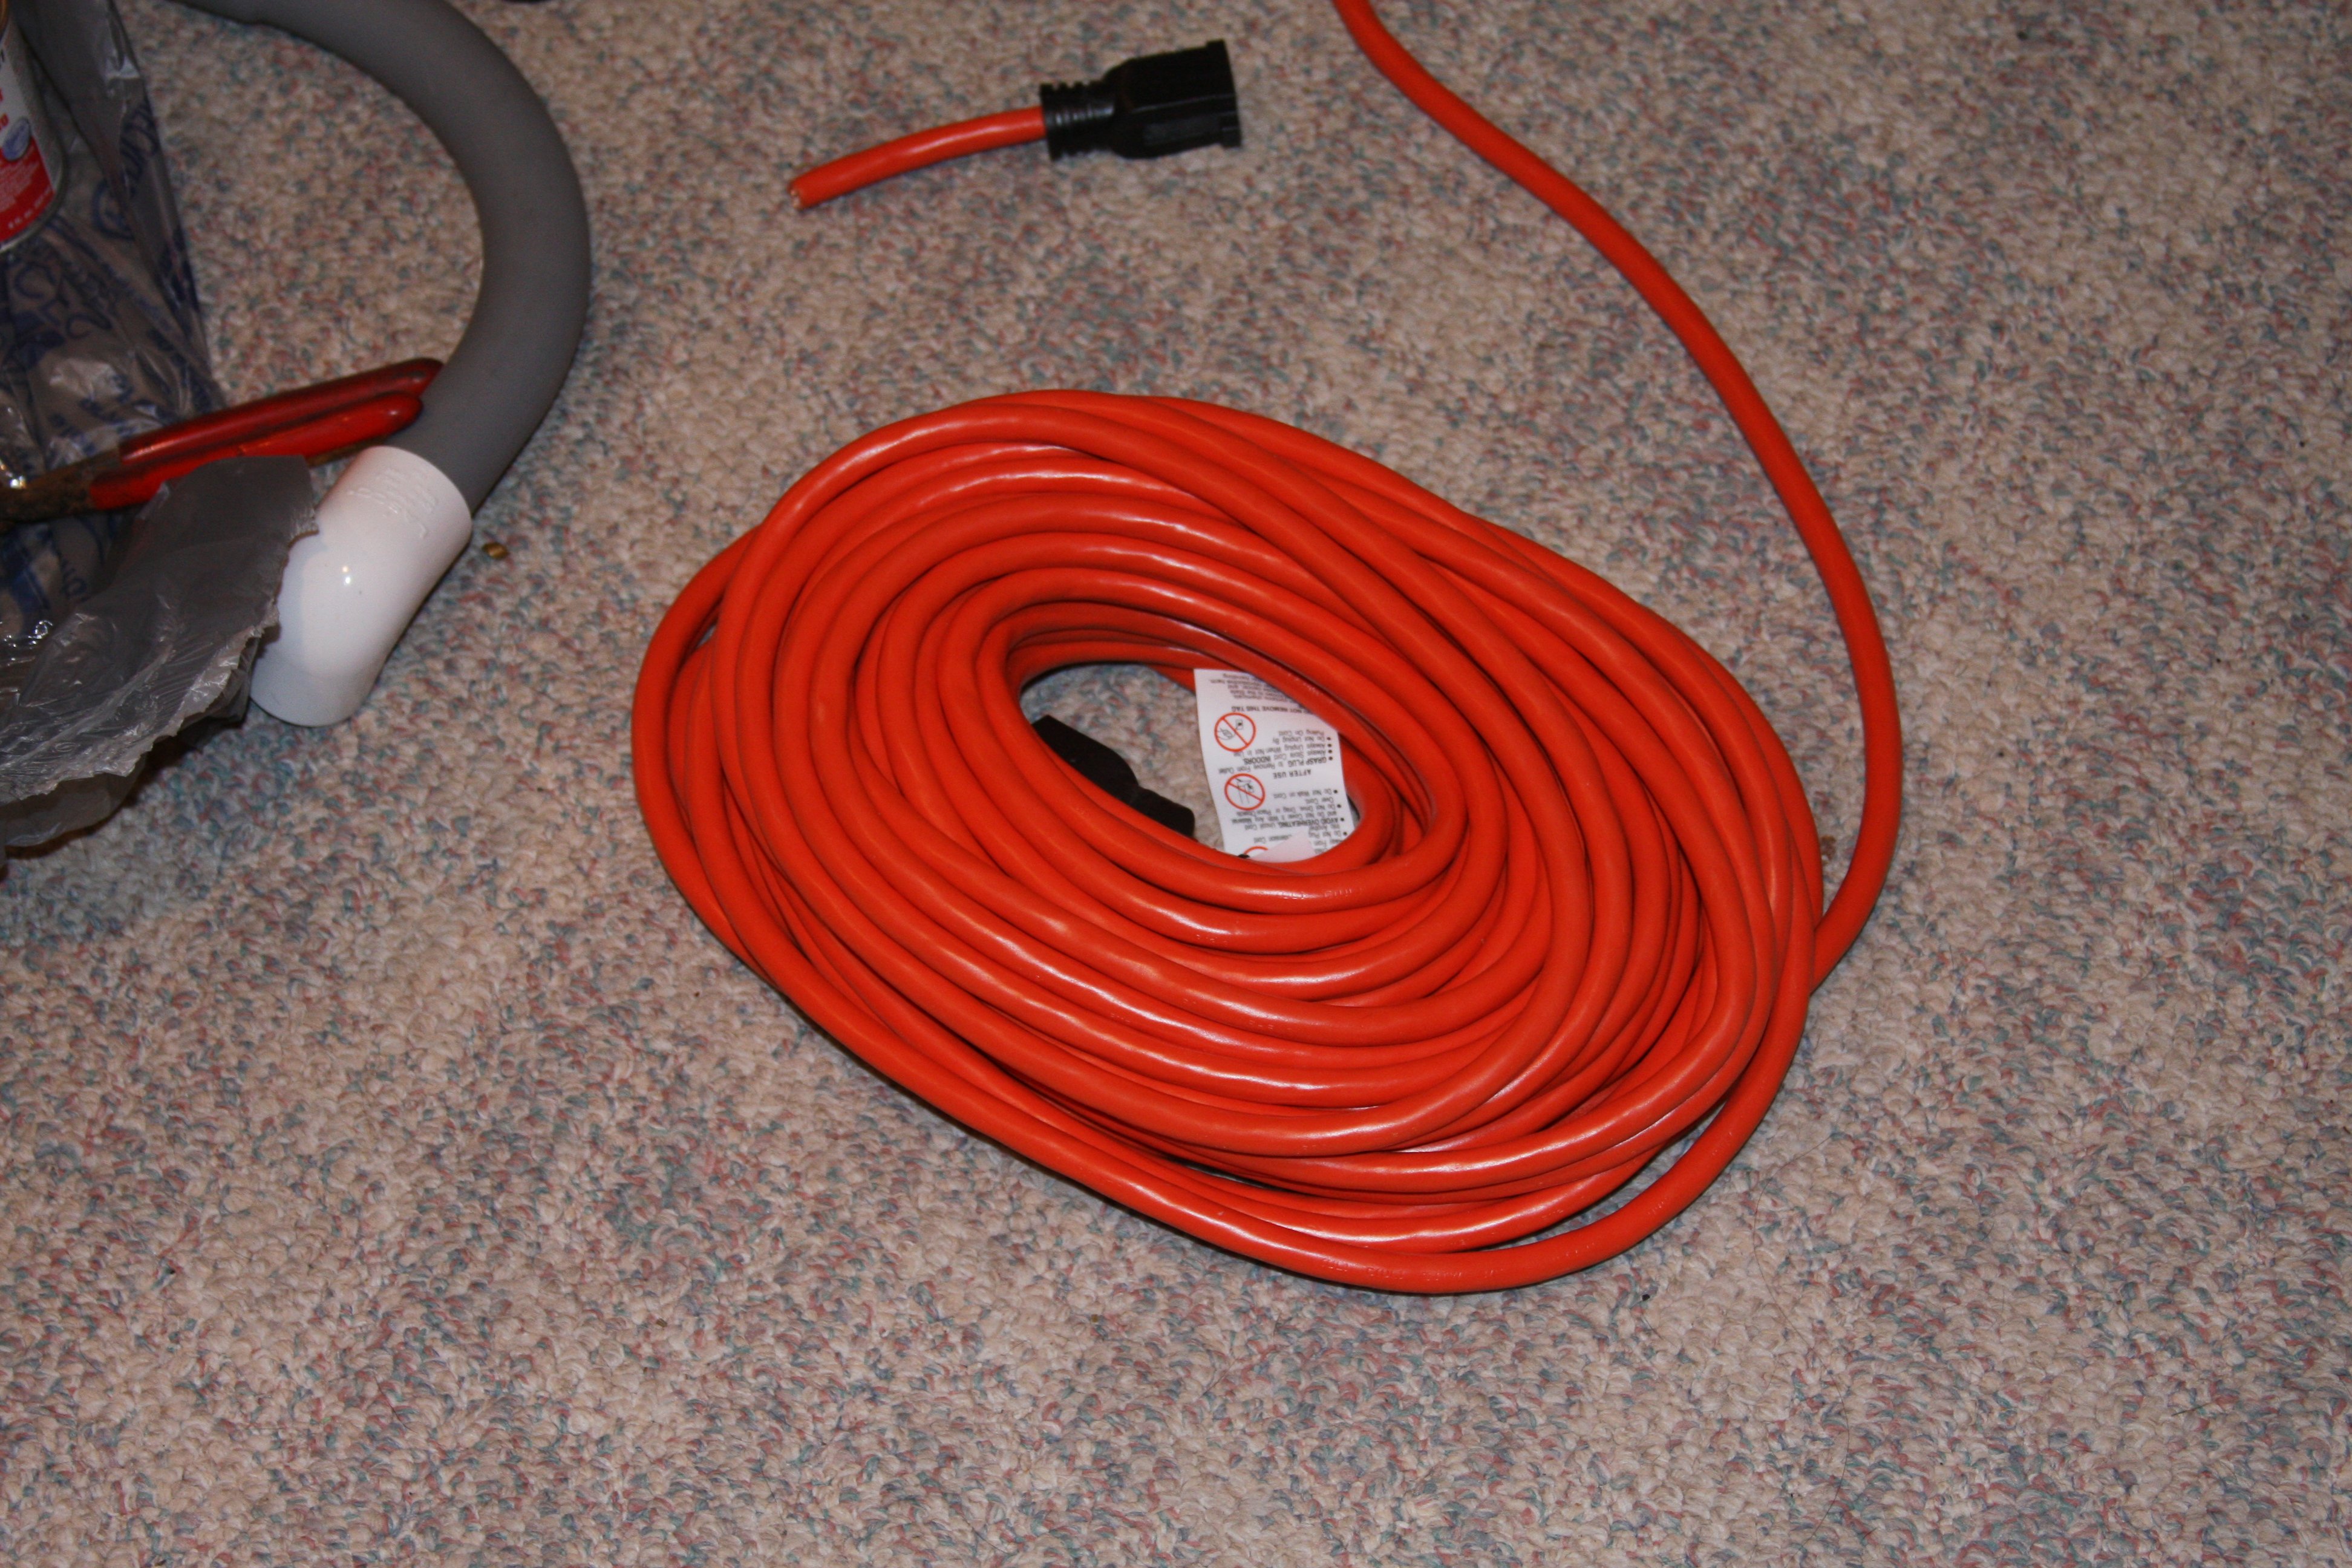
I got a 100' 12/3 extension cord for $50.00......a heck of a lot cheaper than 100' of cable from Lowes for a $1.30 per ft......You can see I have already whacked the end off..........
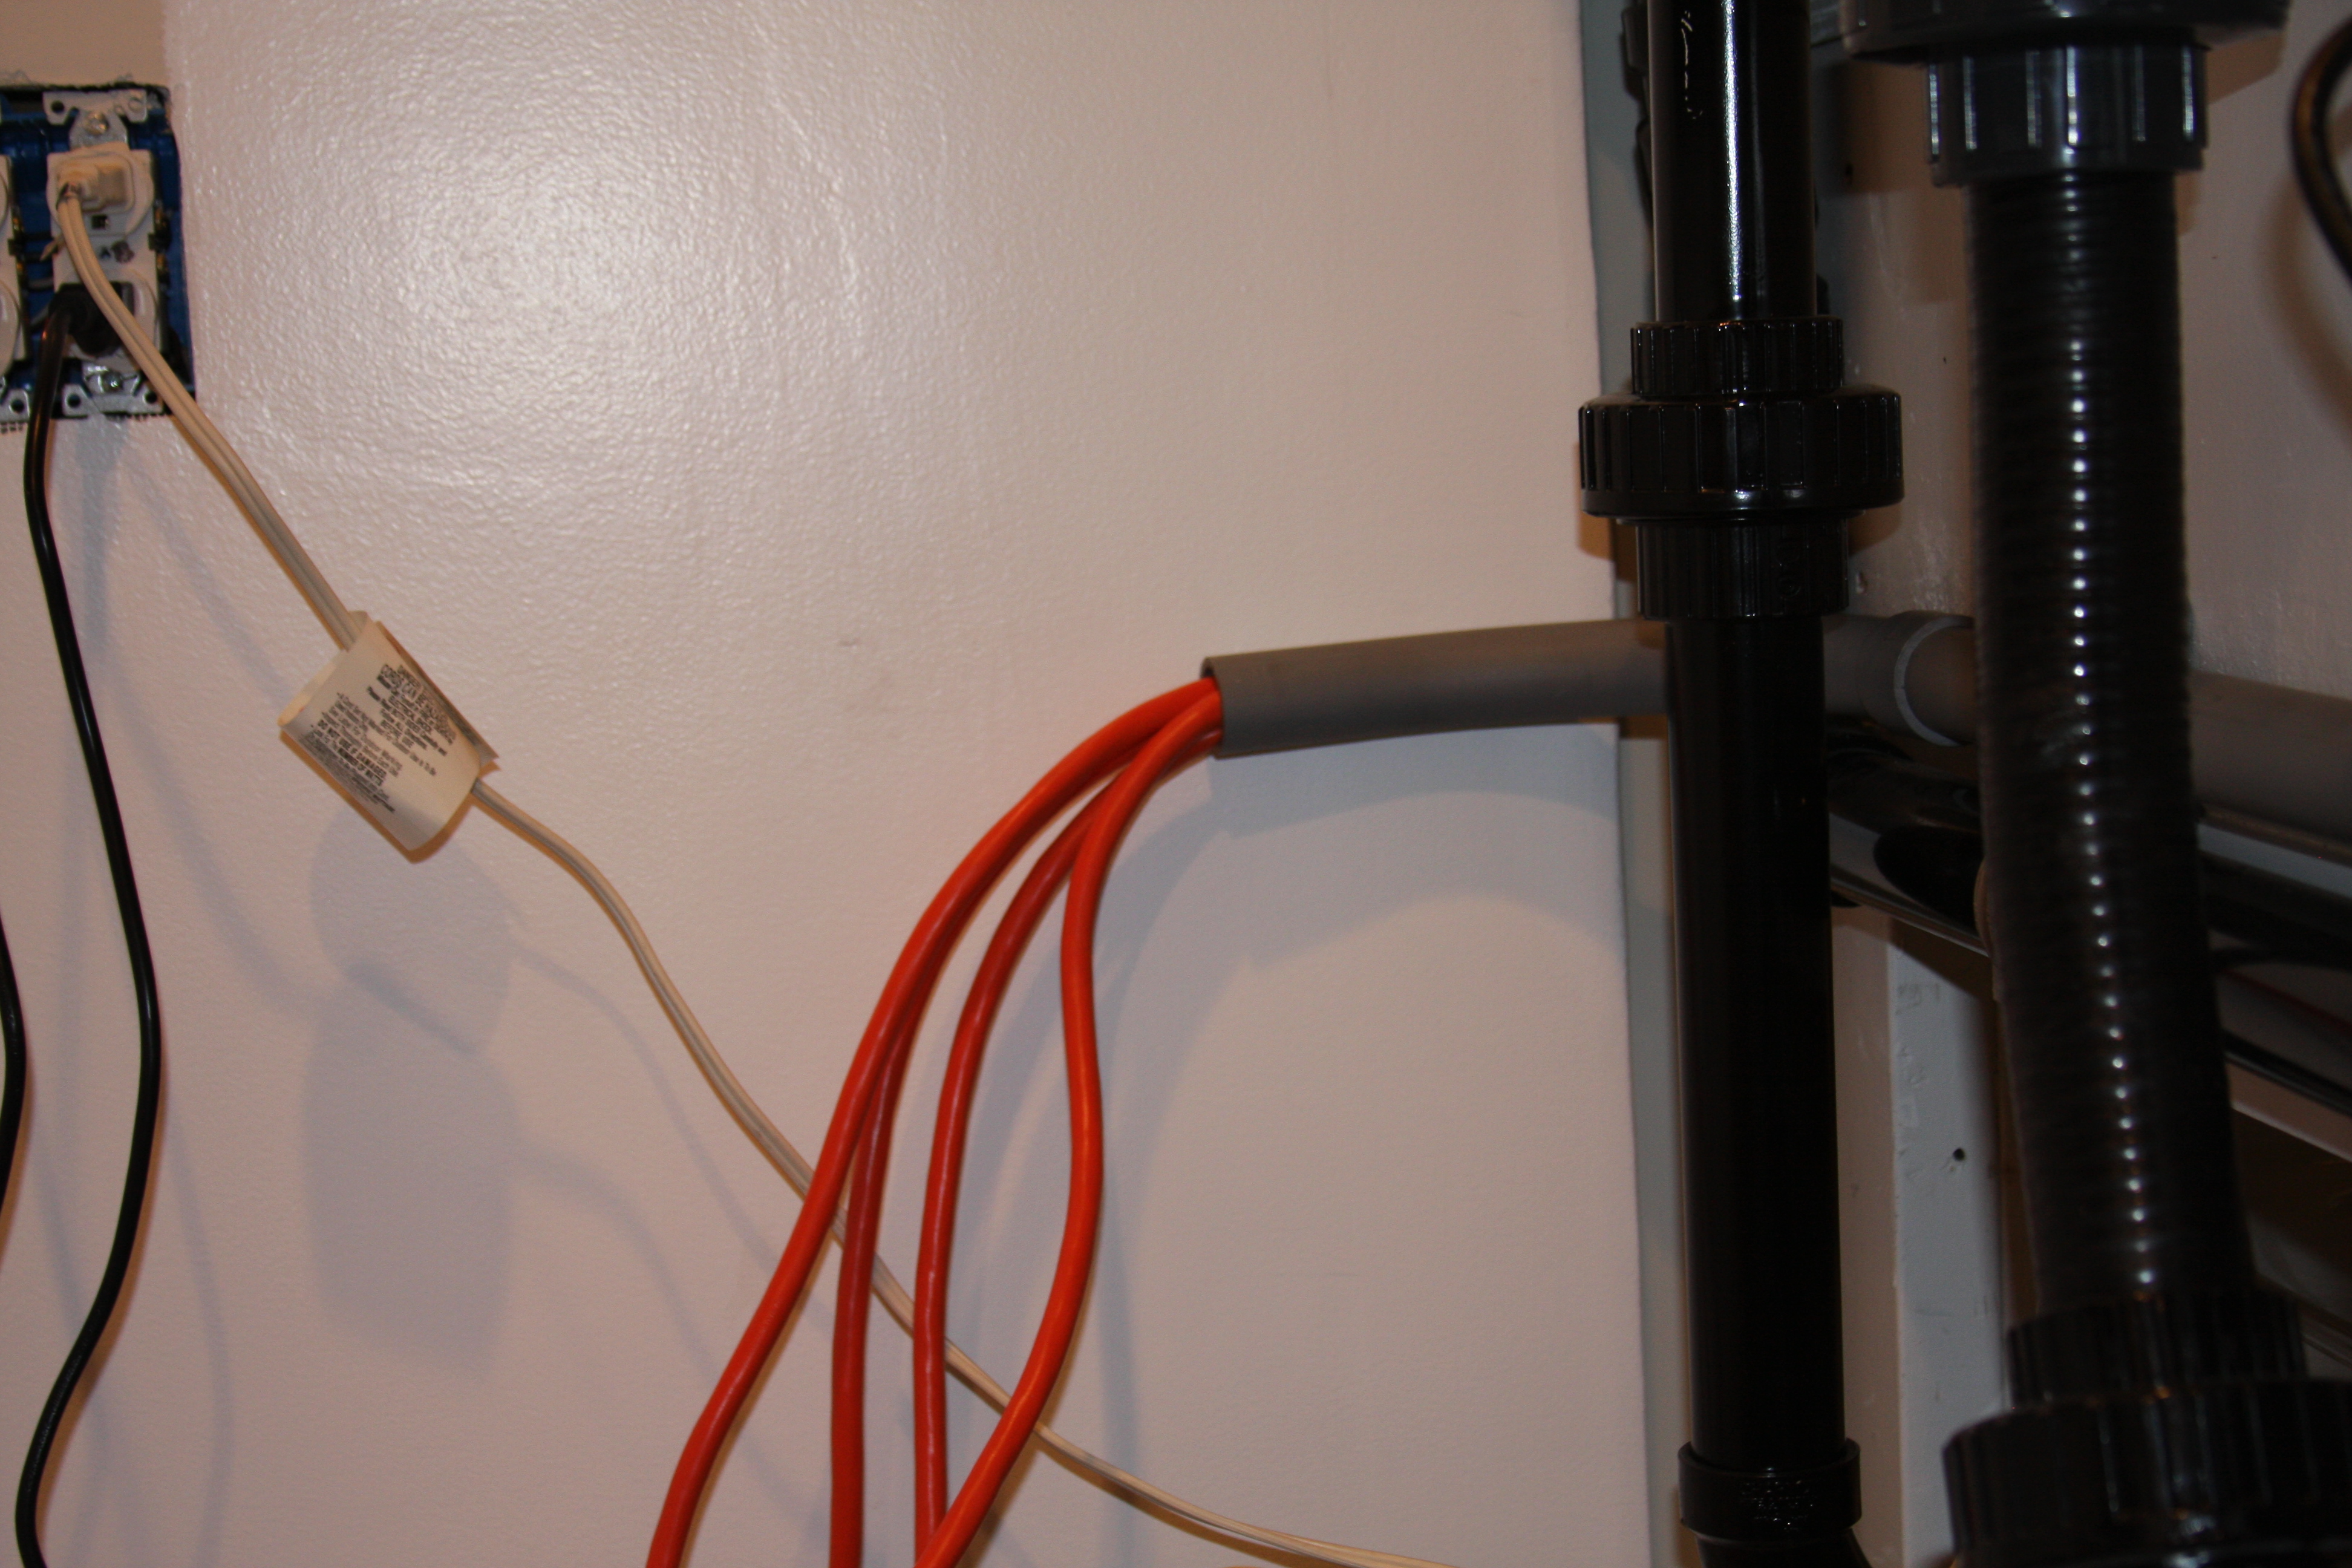
As you can see from this 1st pic, that I hacked the cable up into 4 sections I needed......This was the start of my cabling nightmare.....Trying to fish 4 12/3 cables through 1" conduit is a real PITA......Actually on the 4 cable a little WD40 worked wonders.......
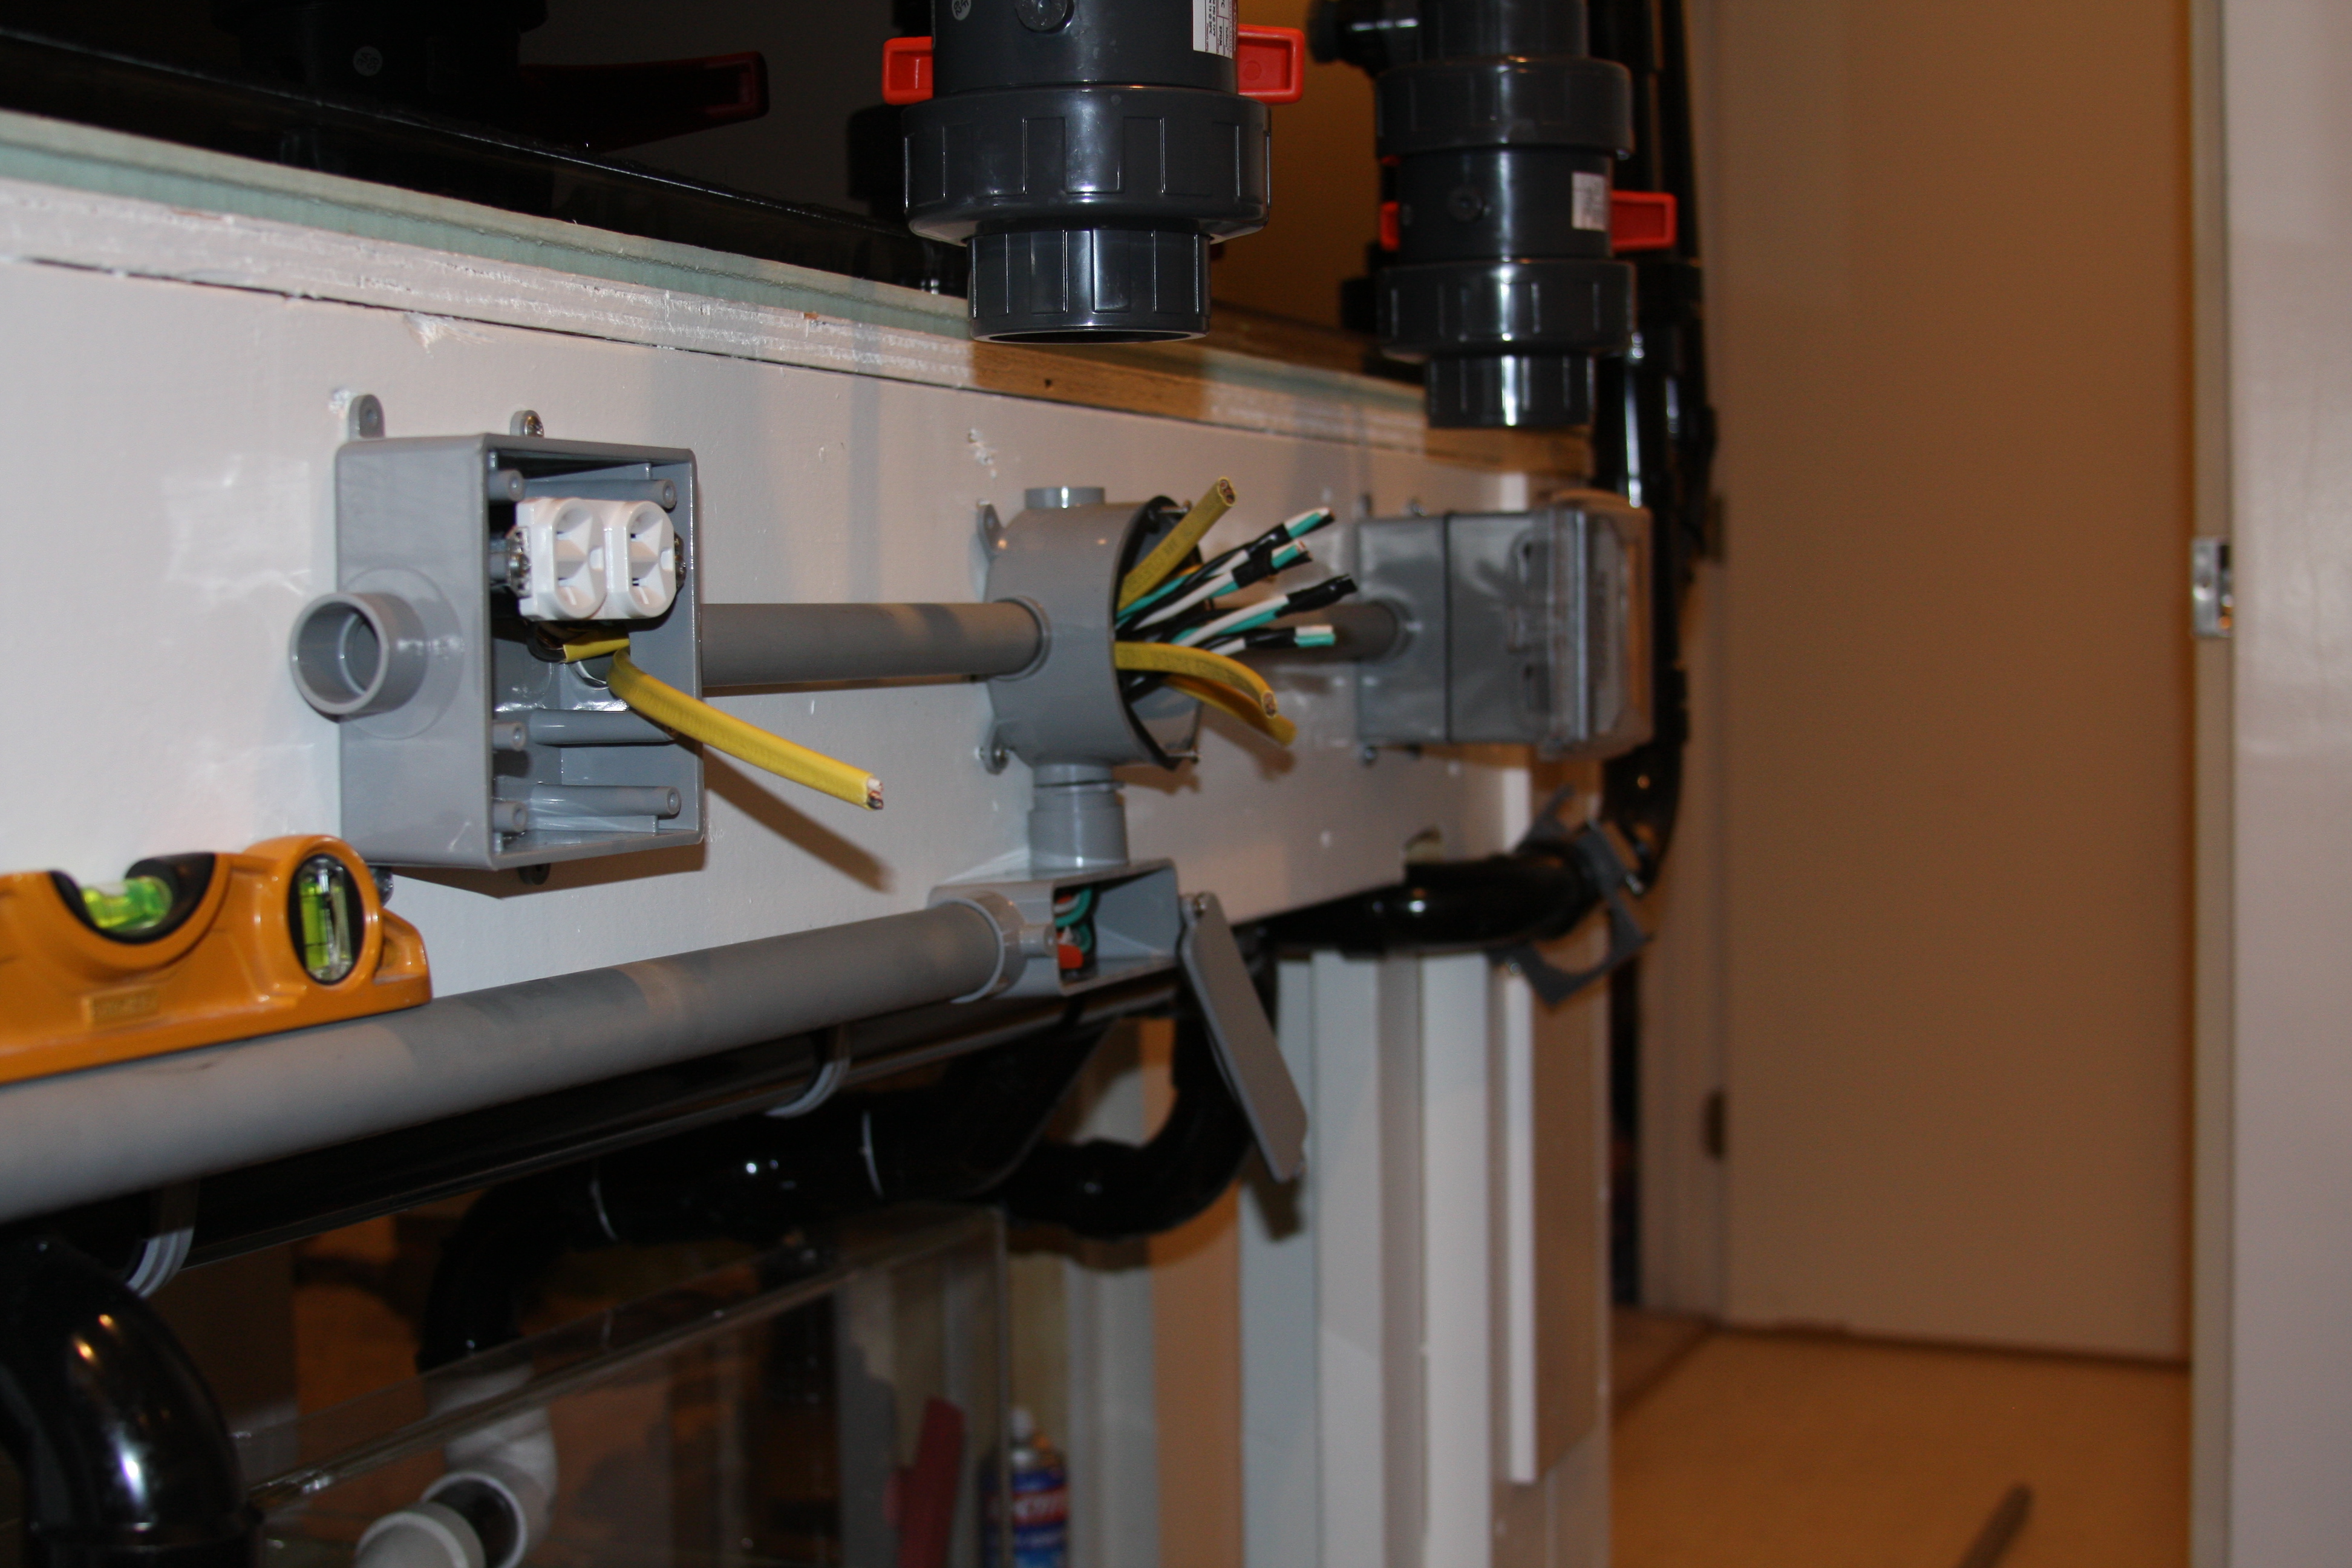
As you can see I got all the cabling through the 1" conduit line beneath the outlet boxes above.....(I have to show where my patiences wore thin and cut a section of conduit out).......Needless to say all the cabling comes into the small rectangular junction box on the bottom ( cover hanging off) and it is then fed into the upper junction box. The power cables in the upper box are the green/black/white wires bound together.....The yellow lines sticking out of the round (upper) junction box are actually the lines running to (4) individual recepticals.....In the (upper) round junction box all the splices and connections were made to feed juice to the individual outlets.....
These are standard 20amp outlets.....I only put (1) GFCI outlet which is inside the far box which is where my heaters will be plugged into.....I'm not to concerned about running GFCI's on all my equipment.....Everything is external except the heaters, so that is my biggest concern. All the outlet boxes are then covered with outdoor (in use) weather protective covers.....
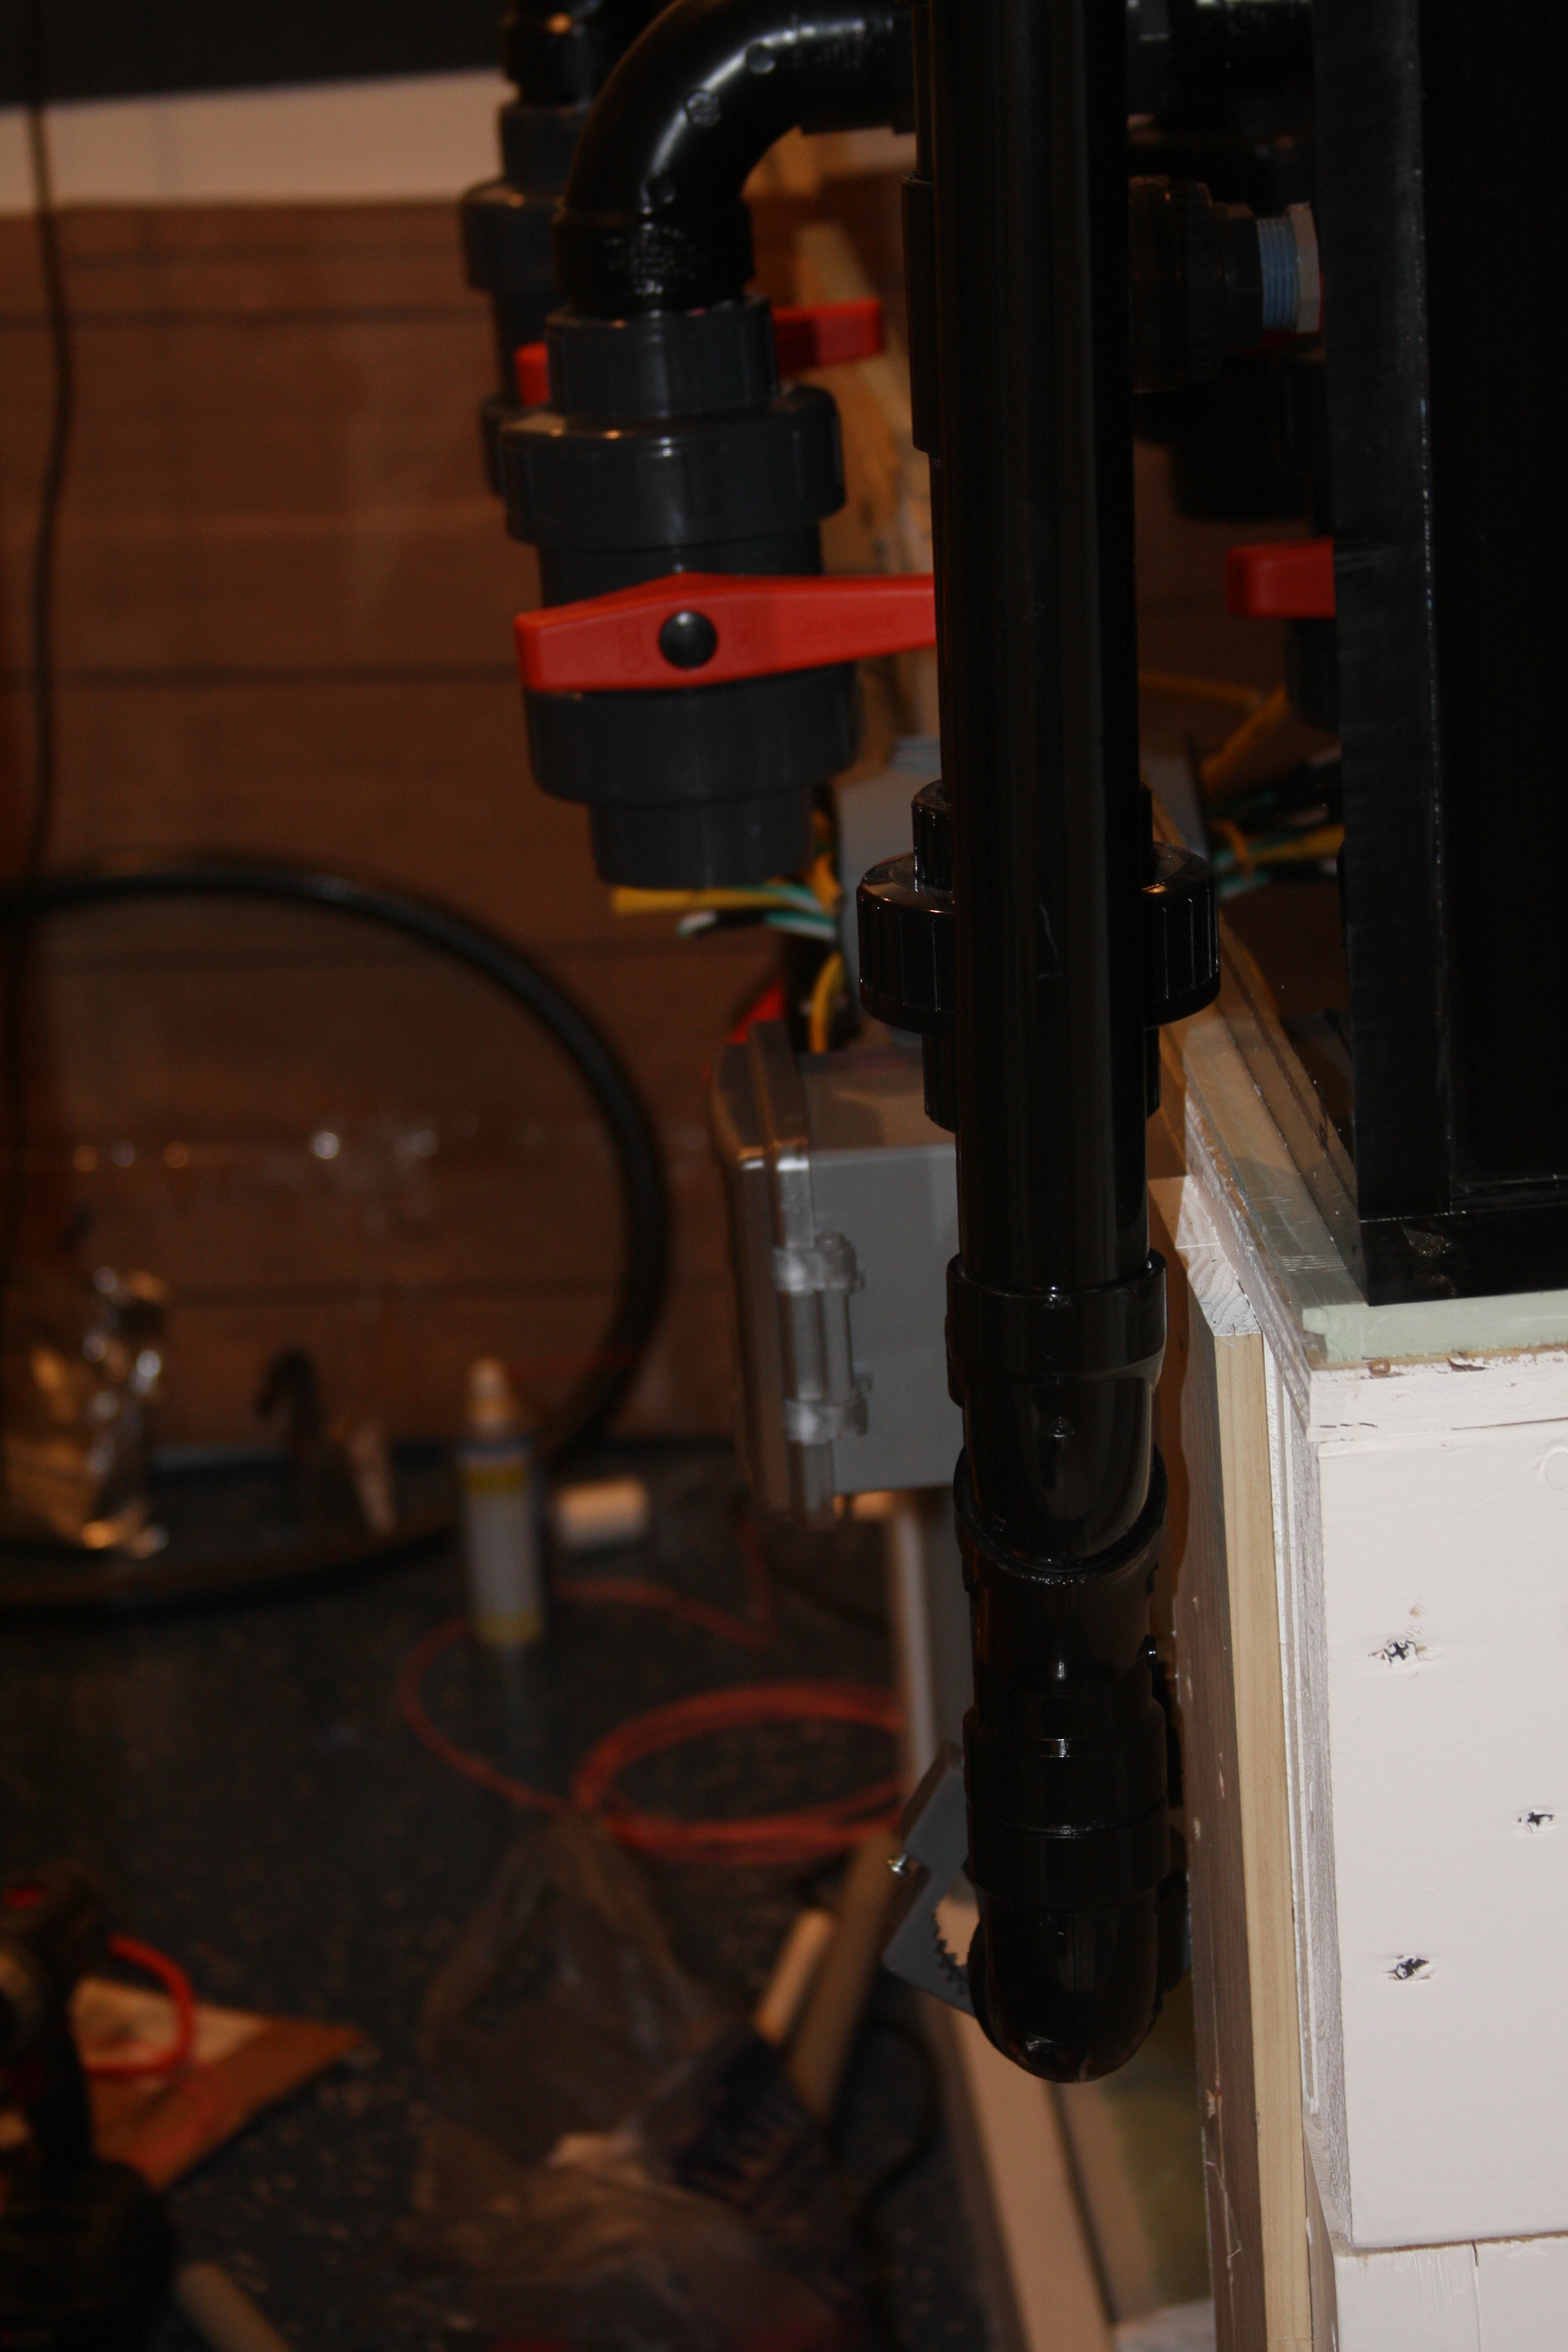
Just a quick shot of the outdoor covers I used on the outlet boxes on the stand......Sorry about the bad pics and the mess.....
 

acrylic51

Active Member
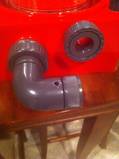
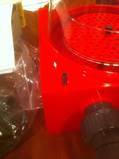
So.....I received my new skimmer yesterday.......As everyone knows getting equipment can sometimes be an issue.......I unpacked the skimmer and everything appeared very good......Box top was open, but all inside packing material appeared in tact and in place as it should. Well upon putting the pieces together I noticed that a piece was broken where the air line connects from the skimmer body to the pump volute.....It was sheared right off....

Where the hole is on the elbow should be a short nipple where the air line would attach.......


To the left on the skimmer body you can see a small gray nipple.....That is the fitting that was sheared off......I immediately sent Mike @ ReefSpecialty and email and pics of the damaged, and he got back with me this afternoon, and CoralVue will be sending out a replacement piece.......
 
Top