415 Gallon Plywood Tank Build
- Thread starter acrylic51
- Start date
acrylic51
Active Member
Quote:
Originally Posted by meowzer http:///t/376802/415-gallon-plywood-tank-build/1520#post_3460974
I hate when stuff like that happens....glad they are gonna send you out what you need so quick though
Quote:
Originally Posted by Gemmy http:///t/376802/415-gallon-plywood-tank-build/1520#post_3460975
Seriously, what is up with people having issues with their new stuff?????? That bites!
Honestly I can't fault Mike at all.....Mike is on top of his game.....Excellent service, and he answered everything I could throw at him, he I think he figured out after the 4th or 5th conversation how anal and detail oriented I am about my equipment. Anytime you shoot him a text be expecting a phone call. He doesn't like to do business through emails.....You will get 1 on 1 phone time about what you want or need.....Excellent Service.....
I can't blame CoralVue as well....Maybe a little skimpy on the tape job, but everything was packed perfectly....I think the damage probably occurred when they were putting the top styrofoam in place and to much pressure was applied and sheared the fitting off.....
acrylic51
Active Member
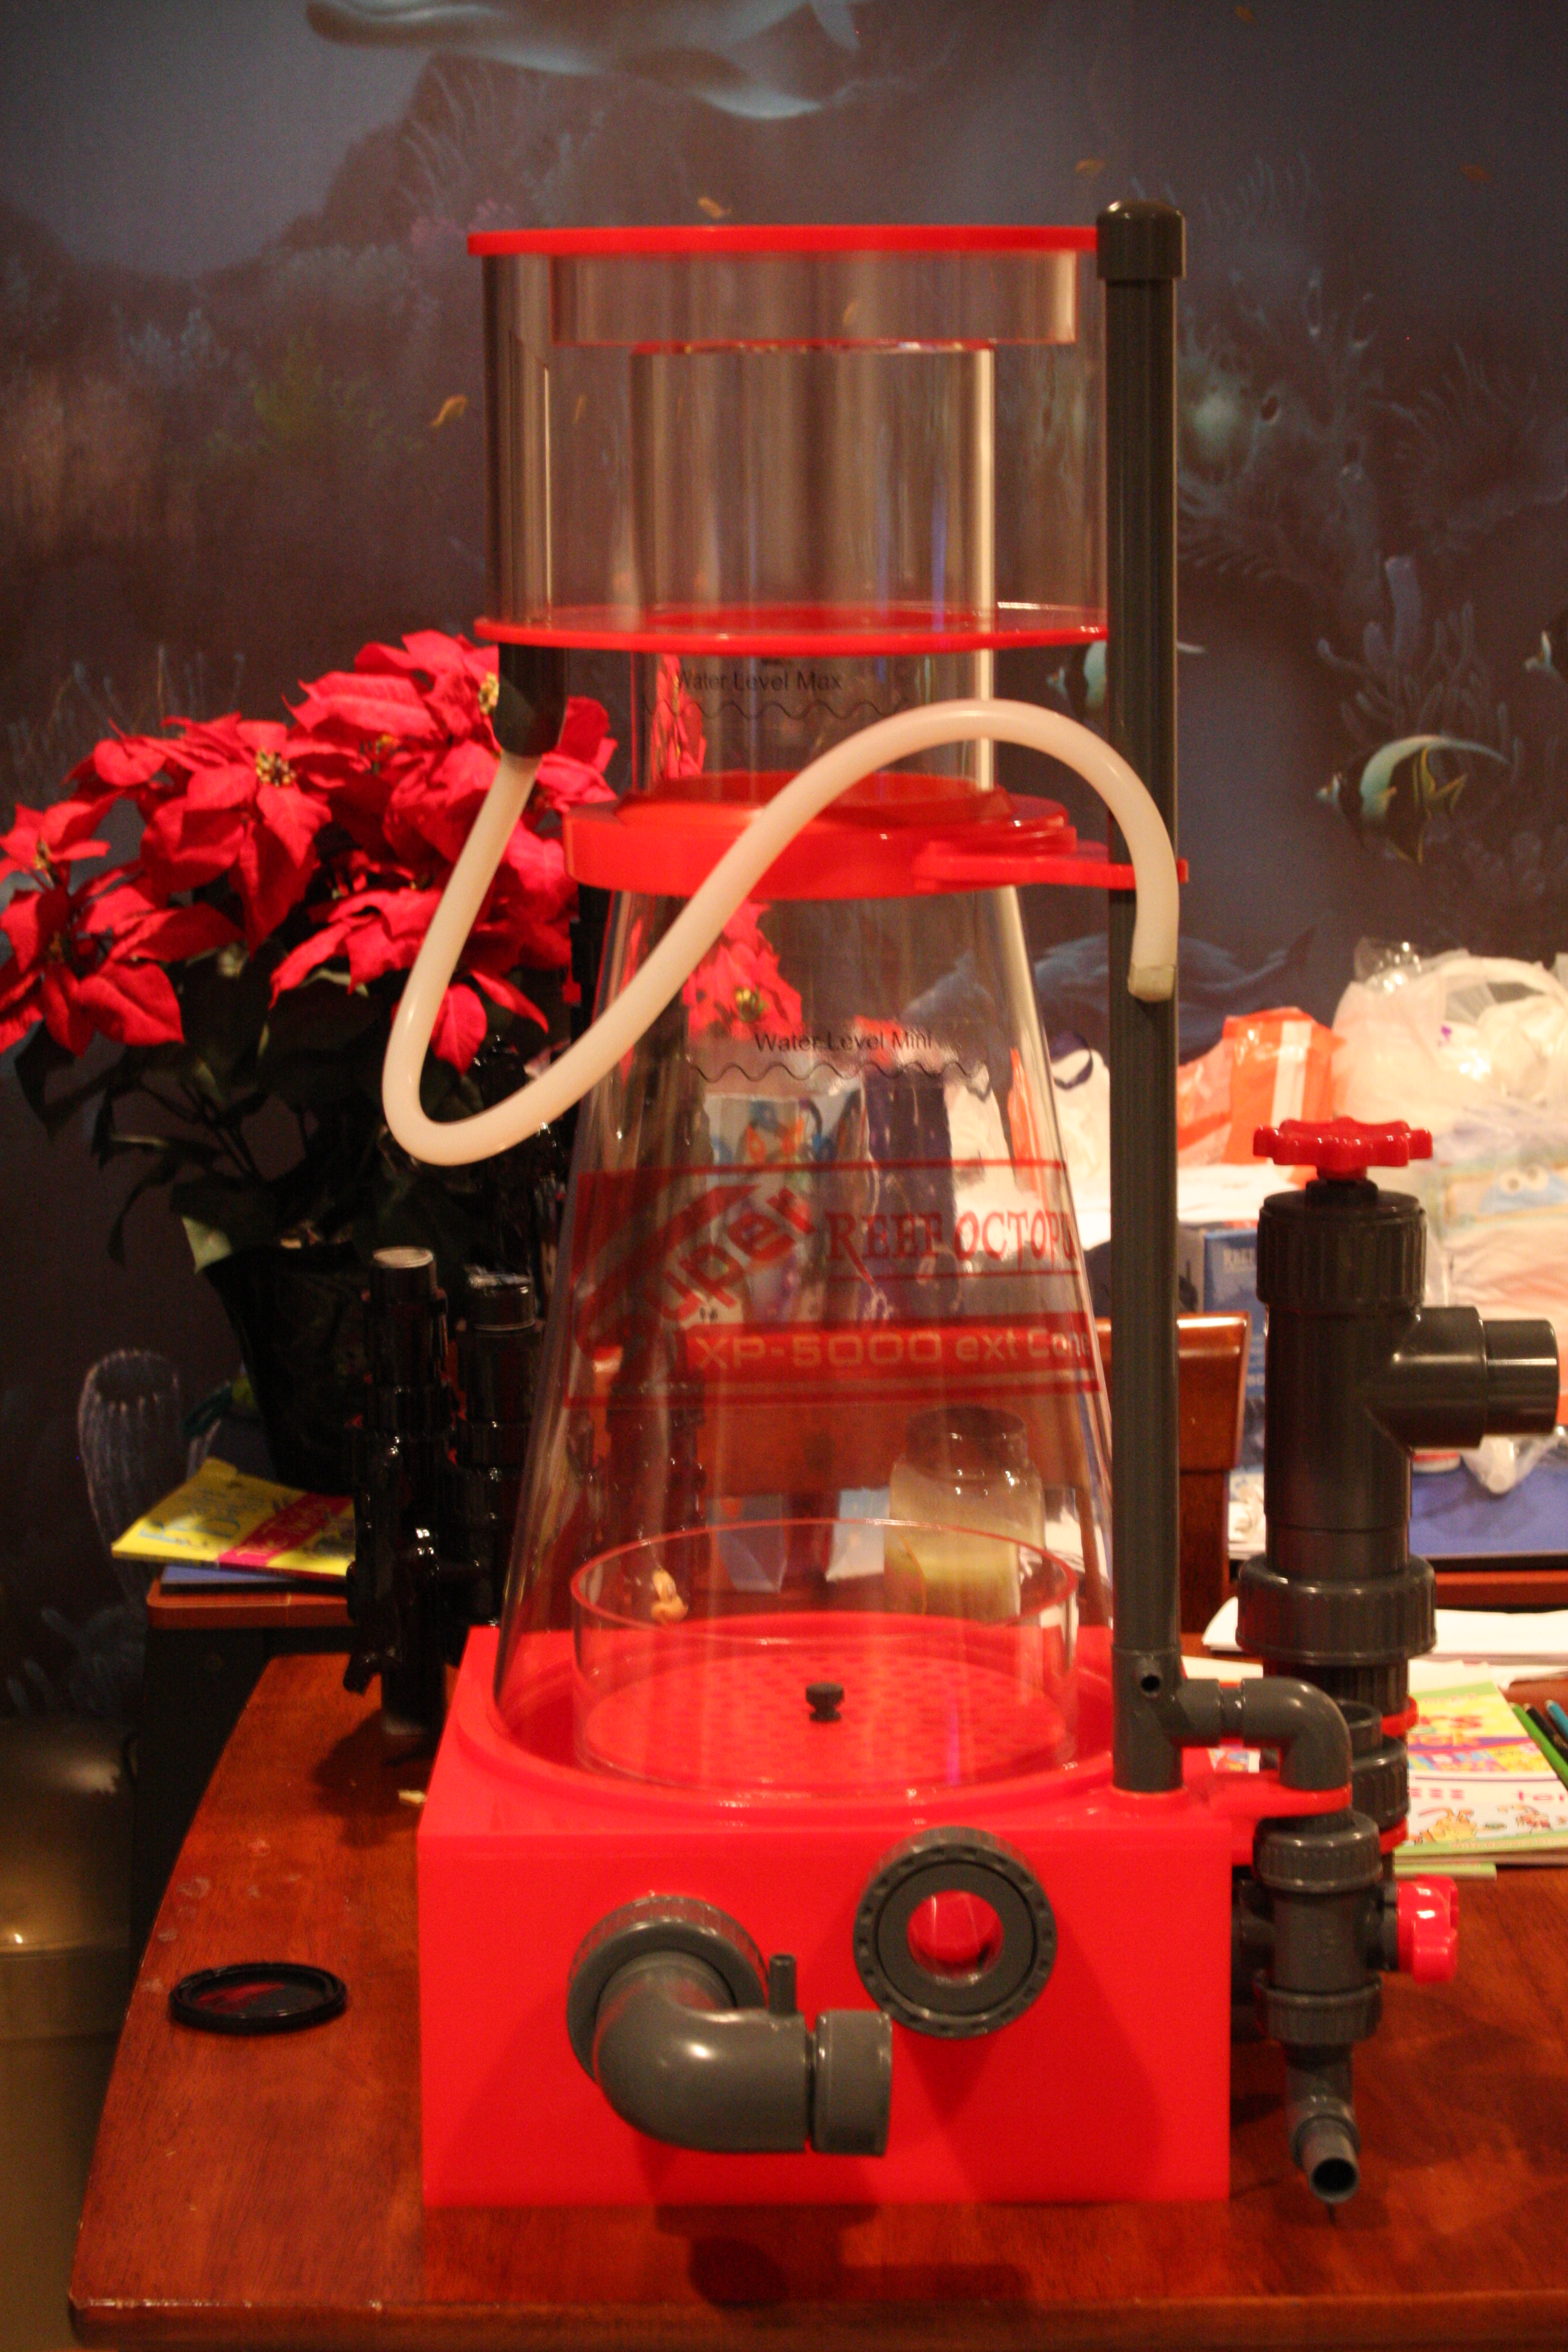
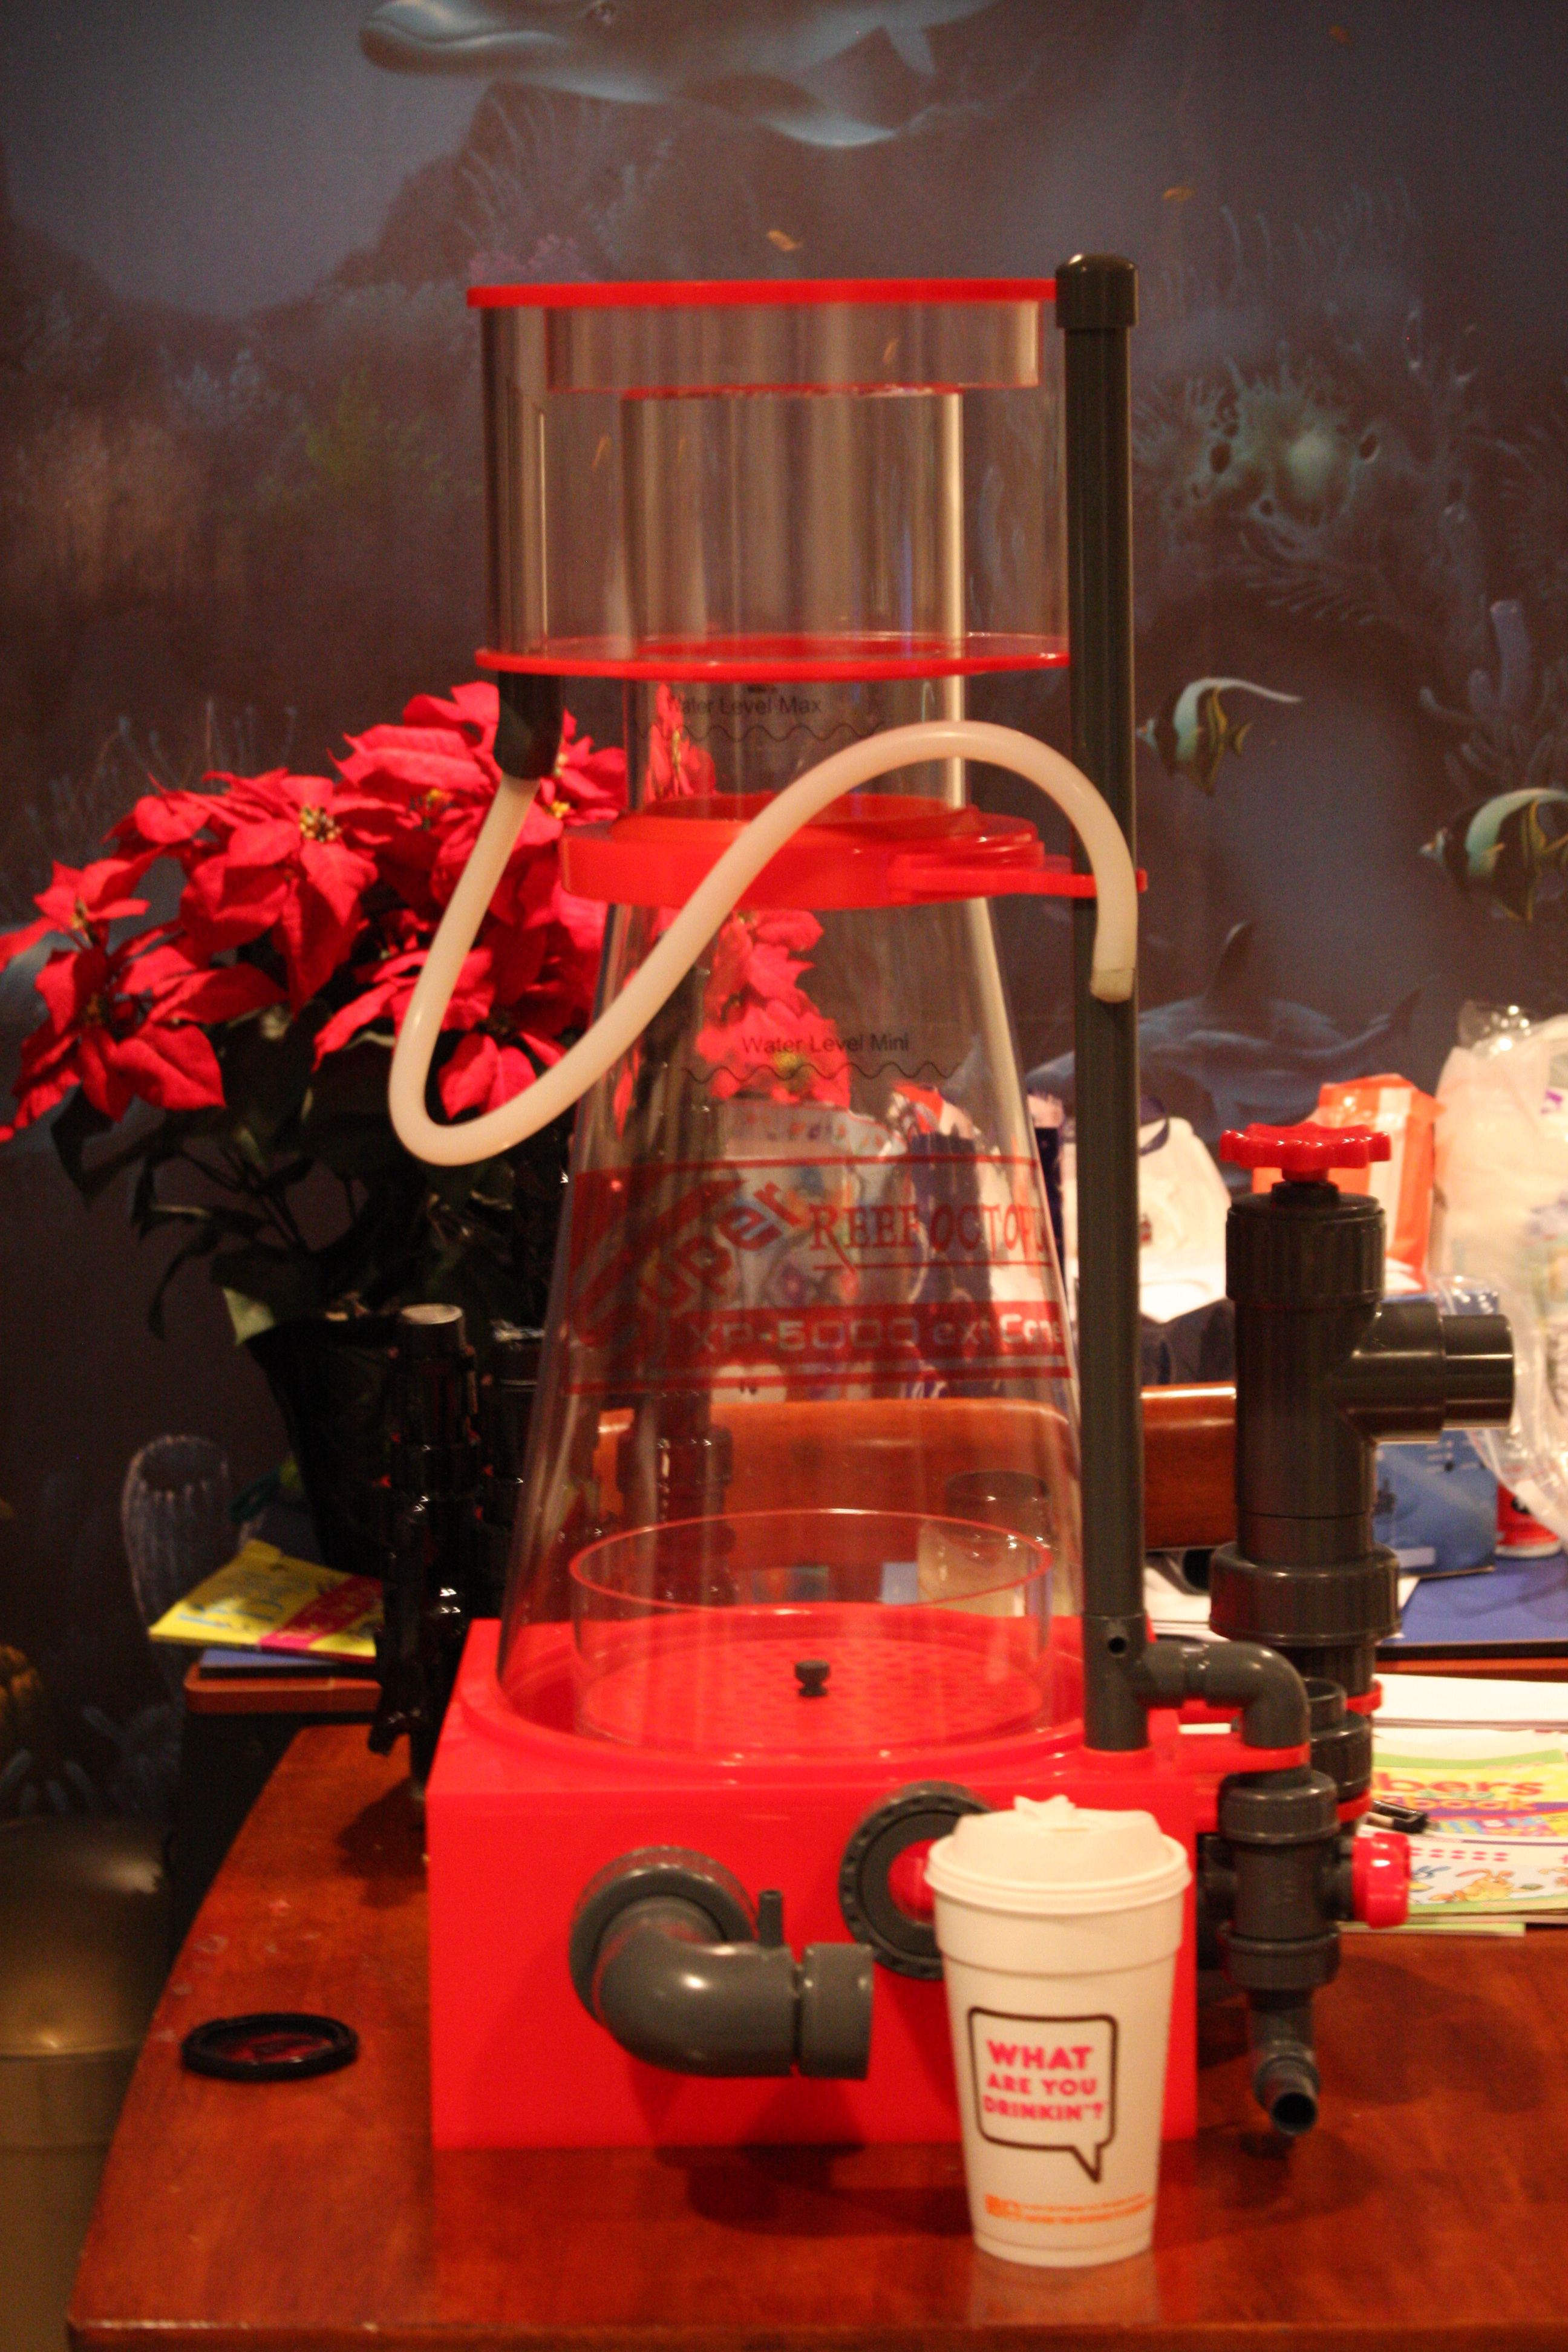
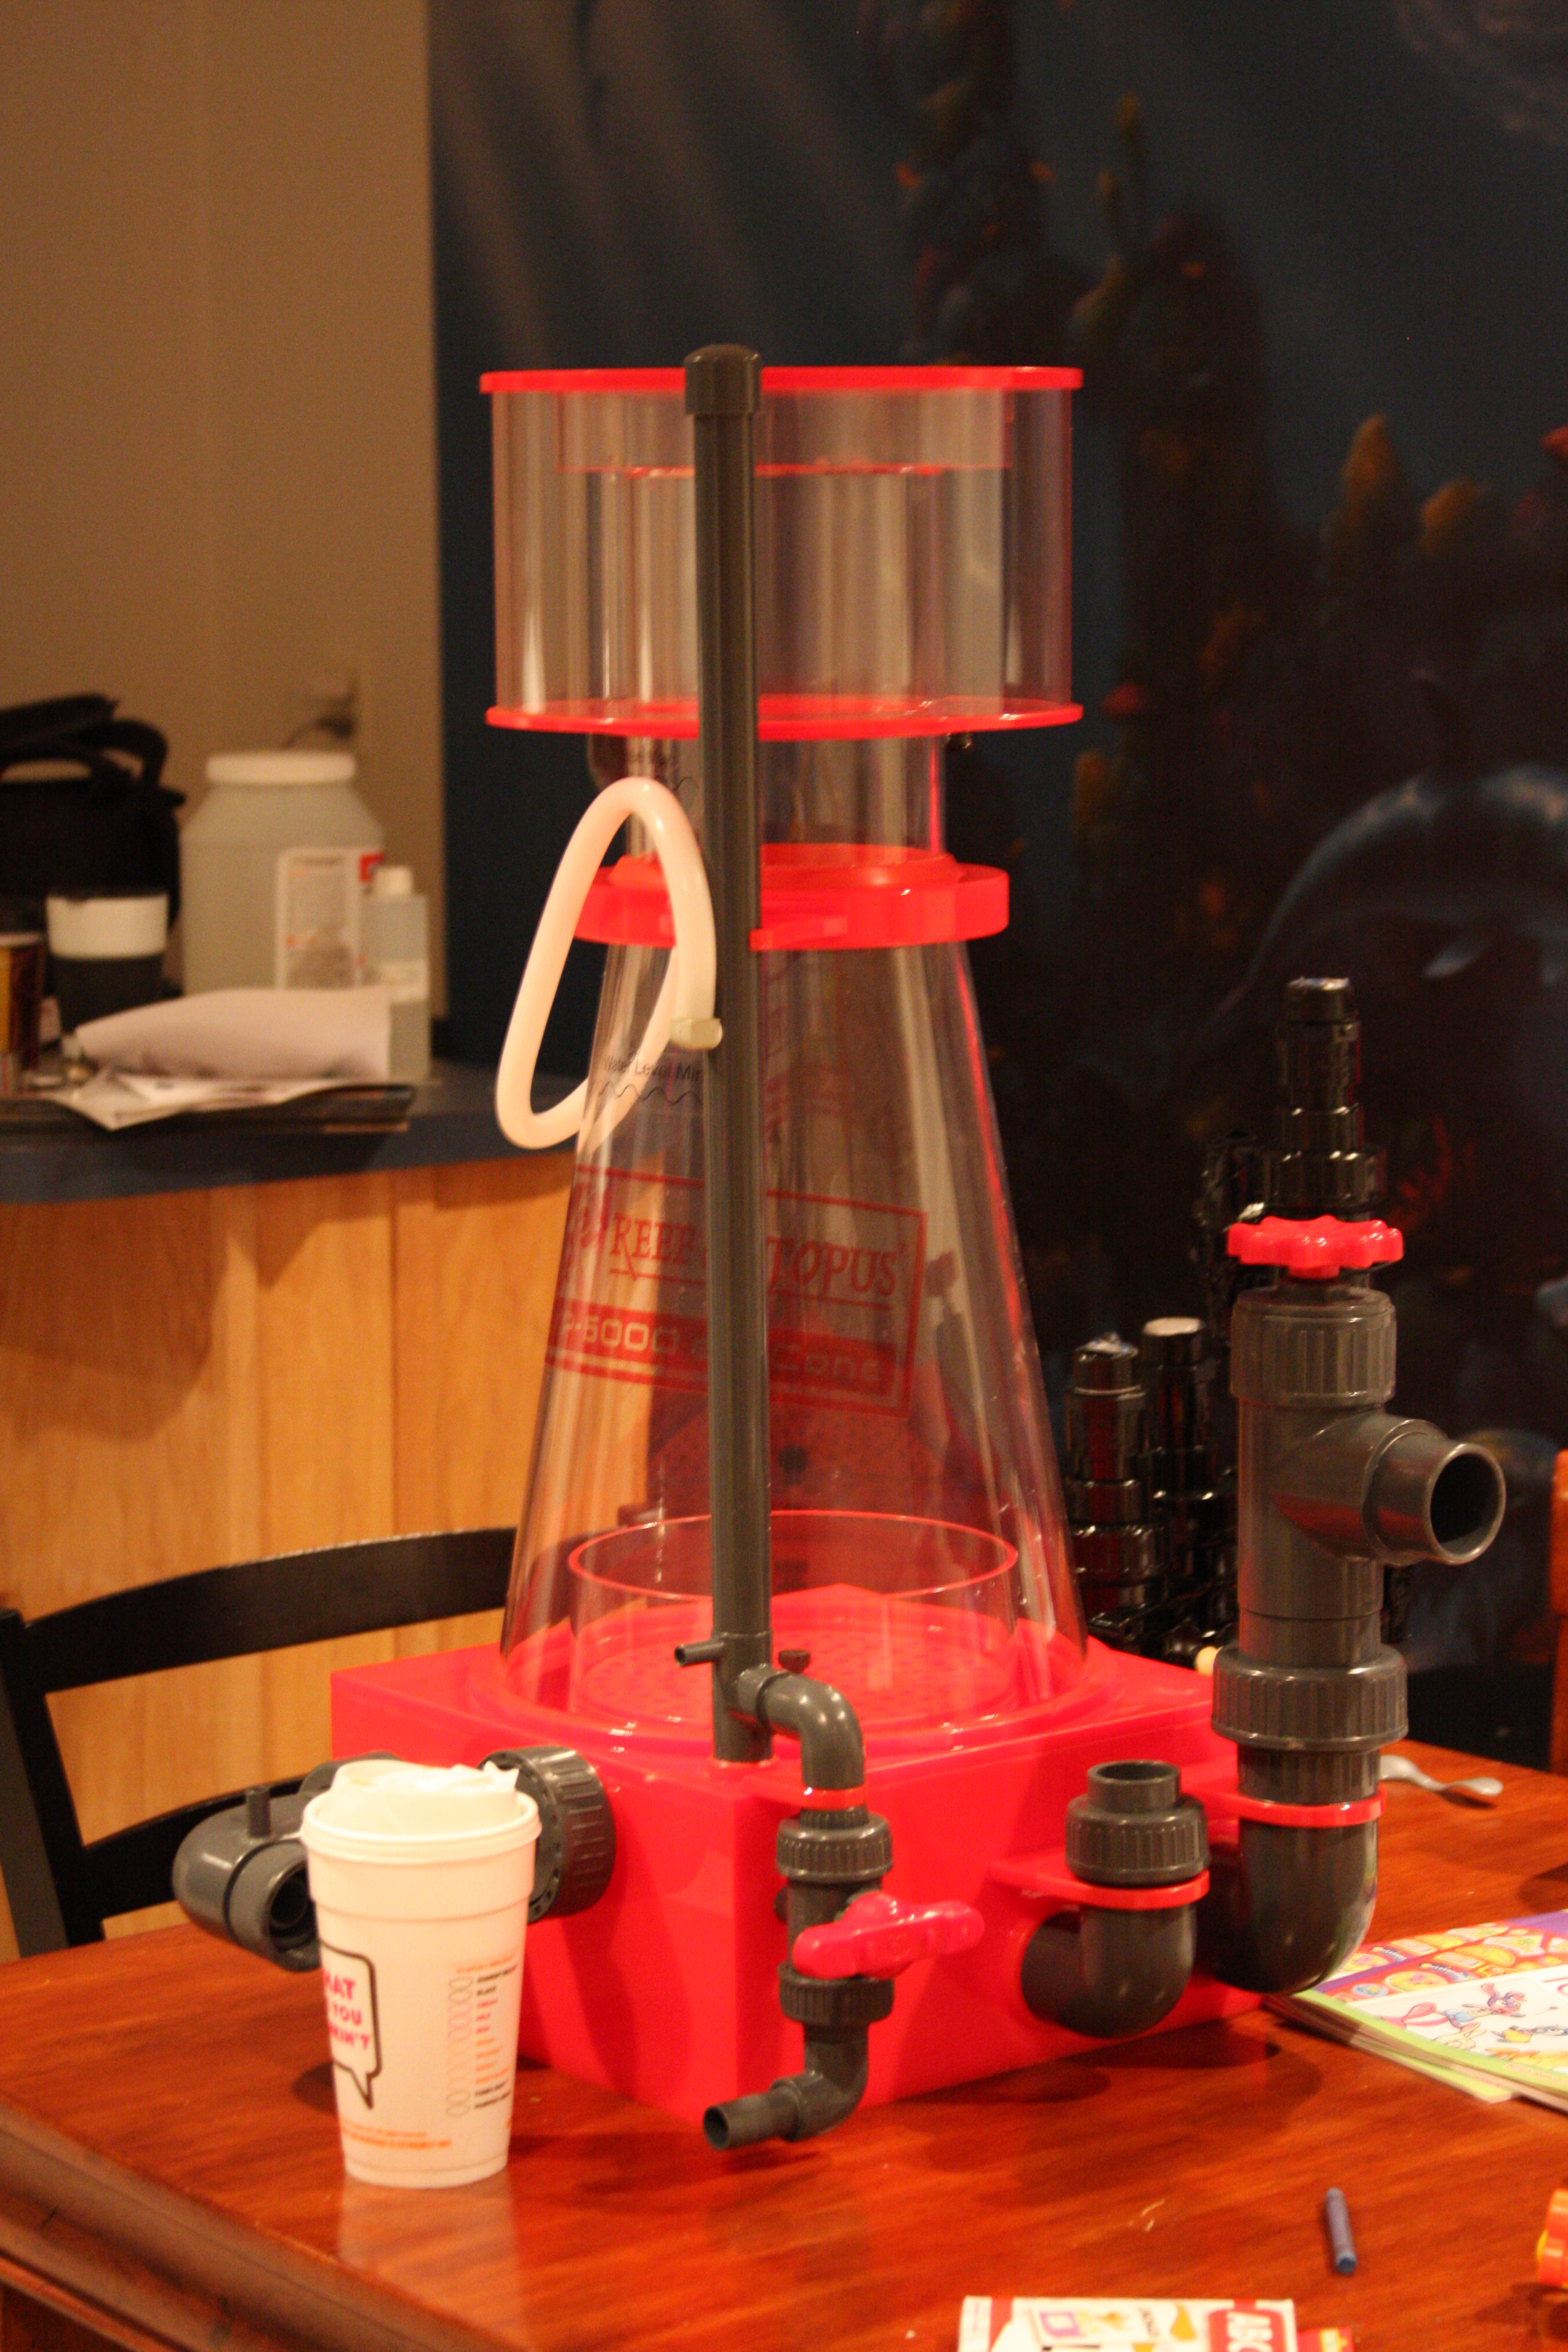
Pics of the new skimmer.......

Shot from the front.....The pump isn't installed yet......I did play around with the broken fitting, and you can see in the pic I did use a little super glue and glue it back into place which appears like that's all they basically used, but for $800, I want it replaced.........

A large Dunkin Donuts coffee for a size comparison........

A side shot showing the output of the skimmer with gate valve.....The union in the center is the water input to the skimmer, and the ball valve far left is a drain for the skimmer......

Shot from the front.....The pump isn't installed yet......I did play around with the broken fitting, and you can see in the pic I did use a little super glue and glue it back into place which appears like that's all they basically used, but for $800, I want it replaced.........

A large Dunkin Donuts coffee for a size comparison........

A side shot showing the output of the skimmer with gate valve.....The union in the center is the water input to the skimmer, and the ball valve far left is a drain for the skimmer......
2quills
Well-Known Member
Awesomeness!!! That should grab a little waste. And I must say that I just love how the pretty flowers seem to accentuate the luscious red color of the skimmers base and other necessary parts.
But I think we need to see a full shot of whatever you got hanging there on the back wall. Is that a poster, wallpaper or something? It looks cool.
But I think we need to see a full shot of whatever you got hanging there on the back wall. Is that a poster, wallpaper or something? It looks cool.
spanko
Active Member
I thought this was interesting.
"With up-to date LLC and synchronize rectify technology, HLG-240(H) posses up to 94% of high efficiency, so it can be cooled by free air convection from -30° to +70° ambient temperature and meets the requirements of outdoor assembly."
"These high efficiency power supplies are very suitable for LED street lighting, outdoor electric display, LED decorative lighting, indoor/outdoor LED lighting...etc. Besides, they are also good solutions for general applications at outdoor environment with high dust and moisture. "
Looks like you are going to have to try to keep the temp of whatever enclosure you put them into below 70 degrees for effective convection cooling.
2quills
Well-Known Member
Quote:
Originally Posted by spanko http:///t/376802/415-gallon-plywood-tank-build/1540#post_3460995
Looks like you are going to have to try to keep the temp of whatever enclosure you put them into below 70 degrees for effective convection cooling.
Fahrenheit or Celsius?
Originally Posted by spanko http:///t/376802/415-gallon-plywood-tank-build/1540#post_3460995
Looks like you are going to have to try to keep the temp of whatever enclosure you put them into below 70 degrees for effective convection cooling.
Fahrenheit or Celsius?
2quills
Well-Known Member
Quote:
Originally Posted by spanko http:///t/376802/415-gallon-plywood-tank-build/1540#post_3461002
This one says
-40~+60°C
So up to 140 F. That's better
http://www.powergatellc.com/mean-well-hlg-240h-24a-power-supply.html
I was seeing temps of up to 120 degrees Fahrenheit on mine when they were pushed full steam. I don't have any intentions of running mine full steam during mid day brightness. Maybe 70% max should be all I need at the most as far as the scrubber build goes. Will definitely get some more readings when I run them at those operating temps with the driver fan going at the same time. I bet I'll see a huge drop.
