415 Gallon Plywood Tank Build

gemmy

Active Member
I'm not sure if this info is useful, but I'll share anyway. My one LED unit that does not have a working fan gets up to 143 when the lights are running at 100%. Now, the unit with a working fan gets to 126. The fans are optional, but I am thinking about about 2 more fans that can cool the units a little better.
Your tank is really coming along. I can't wait to see it all put together.
 

acrylic51

Active Member
Quote:
Originally Posted by Gemmy http:///t/376802/415-gallon-plywood-tank-build/1540#post_3461248
I'm not sure if this info is useful, but I'll share anyway. My one LED unit that does not have a working fan gets up to 143 when the lights are running at 100%. Now, the unit with a working fan gets to 126. The fans are optional, but I am thinking about about 2 more fans that can cool the units a little better.
Your tank is really coming along. I can't wait to see it all put together.
Thanks Krista......So 1 of your units doesn't have fans.....I would have thought they would all have been fan cooled.....Al drew up some fantastic plans for my heat sinks.....Each heat sink will be cooled with (3) fans.....Should be more than adequate to keep the temps down...The big question is keeping the drivers cool, since I want to mount them away from the heat sinks and leds and put them in a control panel......
Quote:
Originally Posted by Al&Burke
http:///t/376802/415-gallon-plywood-tank-build/1540#post_3461133
SOunds good - can't wait to see this puppy running, did you get any live rock yet?
I can't wait as well Al......Planning tomorrow night after work to start the drain down process and at least have the elbows and such in place before bedtime Friday night......Would love to be able to refill the tank Saturday afternoon and fire the OM and see what increases I've gained......I have decided to run a SSB, but might have to do some manipulating of the CL lines to keep from blowing sand around.
LR I kept some pieces from my 240 stored in a Rubbermaid container....Possibly might start digging them out and toying with some rock work and seeing if I might need to add more LR.....Not really planning tons and tons of rock, but looking for an open structure with lots of places for corals and room for them to grow into.....still at the same time plenty of swimming room. Also a main goal is to be able to keep a carpet anemone down the road....
 

gemmy

Active Member
Quote:
Originally Posted by acrylic51 http:///t/376802/415-gallon-plywood-tank-build/1540#post_3461264
Thanks Krista......So 1 of your units doesn't have fans.....I would have thought they would all have been fan cooled.....Al drew up some fantastic plans for my heat sinks.....Each heat sink will be cooled with (3) fans.....Should be more than adequate to keep the temps down...The big question is keeping the drivers cool, since I want to mount them away from the heat sinks and leds and put them in a control panel......
Both of the units came with fans, but my one fan does not work. The unit says the fan is on, but it does not turn on.
 

2quills

Well-Known Member
Quote:
Originally Posted by Gemmy http:///t/376802/415-gallon-plywood-tank-build/1560#post_3461411
Both of the units came with fans, but my one fan does not work. The unit says the fan is on, but it does not turn on.
My money would be on probably a simple loose connection on the fan. If it has plug in's or connectors on the fan wires inside the unit it may just need to be pushed in a little bit. Shouldn't have to do something like that on a new unit but it happens. It's warrantied though so that's a good thing. I don't think I ever heard what you thought about the lights other then that? Did you post about it in a thread somewhere? I probably missed it.
 

gemmy

Active Member
Quote:
Originally Posted by 2Quills http:///t/376802/415-gallon-plywood-tank-build/1560#post_3461416
My money would be on probably a simple loose connection on the fan. If it has plug in's or connectors on the fan wires inside the unit it may just need to be pushed in a little bit. Shouldn't have to do something like that on a new unit but it happens. It's warrantied though so that's a good thing. I don't think I ever heard what you thought about the lights other then that? Did you post about it in a thread somewhere? I probably missed it.
https://forums.saltwaterfish.com/t/390282/tank-reincarnation There is the link to the thread I started about the upgrades and pretty much the cleaning up of my tank. I have mixed feelings on the fixture. My corals however are looking fantastic. I have 2 frags that were dying now making a full comeback. The blues make the colors pop. I'm going to play with the angles of the fixtures tomorrow. I'll post more pics.
The fans are just 2 small computer fans. I had to "mount" them to each module and connect them. I am going to try swapping out the fans to see if it is the fan or the wiring.
 

acrylic51

Active Member
Quote:
Originally Posted by 1Snapple http:///t/376802/415-gallon-plywood-tank-build/1560#post_3461409
Could just be me, but don't you need a running aquarium to have corals to frag? to need a frag tank? planning WAY ahead now shawn :)
Thats a LOT of water.
Yes Josh planning for the future......Most people fail, because the fail to plan......I don't want anything to look as a total add on when it's done....It's not actually far off. I'm trying to finalize the last details of pump choice to supply the skimmer, and I'm leaning towards a pump that I can feed the skimmer and at the same time feed the frag/growout tank......
 

acrylic51

Active Member
Quote:
Originally Posted by 1Snapple http:///t/376802/415-gallon-plywood-tank-build/1560#post_3461523
I thought eheim was your prefered pump?
Probably for a return pump with their proven track record yes; but the new (really not so new anymore) Water Blaster pumps have gotten excellent reviews, very good warranty and economical and do push a lot more water than the Eheim's. You are correct though Eheim still a good choice, but there's a new kid on the block standing it's own IMHO.......
 

acrylic51

Active Member
Quick comparison specs of the Water Blaster pumps......
Specifications:
Water Blaster 2000 – Dimensions: 7? x 3½” x 7? {¾” inlet / ½” outlet}
22watts | 92% efficiency | Max Flow=500gph | Max Head= 5½ft - $137.00
Water Blaster 3000 – Dimensions: 8? x 4¼” x 7? {1? inlet / ¾” outlet}
37watts | 96% efficiency | Max Flow=750gph | Max Head= 7½ft - $180.00
Water Blaster 5000 – Dimensions: 9? x 4½” x 7¾” {1¼” inlet / 1? outlet}
60watts | 97% efficiency | Max Flow=1300gph | Max Head= 11ft - $210.00
Water Blaster 7000 – Dimensions: 9? x 4½” x 7¾” {1¼” inlet / 1? outlet}
88watts | 97% efficiency | Max Flow=1800gph | Max Head=12 ft - $230.00
Water Blaster
10000
– Dimensions: 9½” x 5¼” x 8½” {1½” inlet /1¼” outlet}
130watts | 97% efficiency | Max Flow=2600gph | Max Head=15½ft - $260.00
Water Blaster
12500W
– Dimensions: 9.3?x5.1?x9.1? {1¼” inlet / 1? outlet}
/>175watts | 95% efficiency | Max Flow=3250gph | Max Head=18½ft - $325.00
Water Blaster 16000 – Dimensions: 9.3?x5.1?x9.1? {1¼” inlet /1¼” outlet}
250watts | 93% efficiency | Max Flow=4100gph | Max Head=22ft - $360.00
Eheim 1260 and 1262 used as a comparison....

Eheim 1262 Pump Information

Product Manuals & Documentation

Eheim pumps have superior quality ; ceramic shaft, ceramic and carbon bearing. Suitable for use in or out of fresh or salt water. These pumps are nearly silent in operation and are low energy consumption. Centrifugal pump suitable for permanent use, both above and below water. Not Self-priming. Integrated pre-filter. Suction intake nozzle for hose connections. Can be unscrewed and sealed if suction is effected via pre-filter.
Variable attachment base for optimum assembly. Eheim 1262 Universal Pump:

  • Pump Output: 900 gph

  • Delivery Head: 11`6"

  • Power Consumption: 80 W (120V/60Hz)

  • Hose Connection (Suction Side): 1"
    Hose Connection (Pressure Side): 3/4"
    Dimensions: 8.6" x 4.6" x 6.3"
    Weight: 5.7 lbs


Models 1260, 1262 Performance Curve


1260: Max Pump Output: 635gph, Max Delivery Head: 12`1``, Max Power: 65W
1262: Max Pump Output: 900gph, Max Delivery Head: 11`6``, Max Power: 80W


http://www.***********.com/images/w7.jpg


http://www.***********.com/IMD/eheim_univ_pump_1260_1262.jpg


acrylic51

Active Member
The Water Blaster's volute can be clocked to whatever position you might want to put it at, and if you look at the numbers and try to compare similarly close pumps using the 1262 and the HY7000 again Water Blaster better across the board IMHO......
 

acrylic51

Active Member
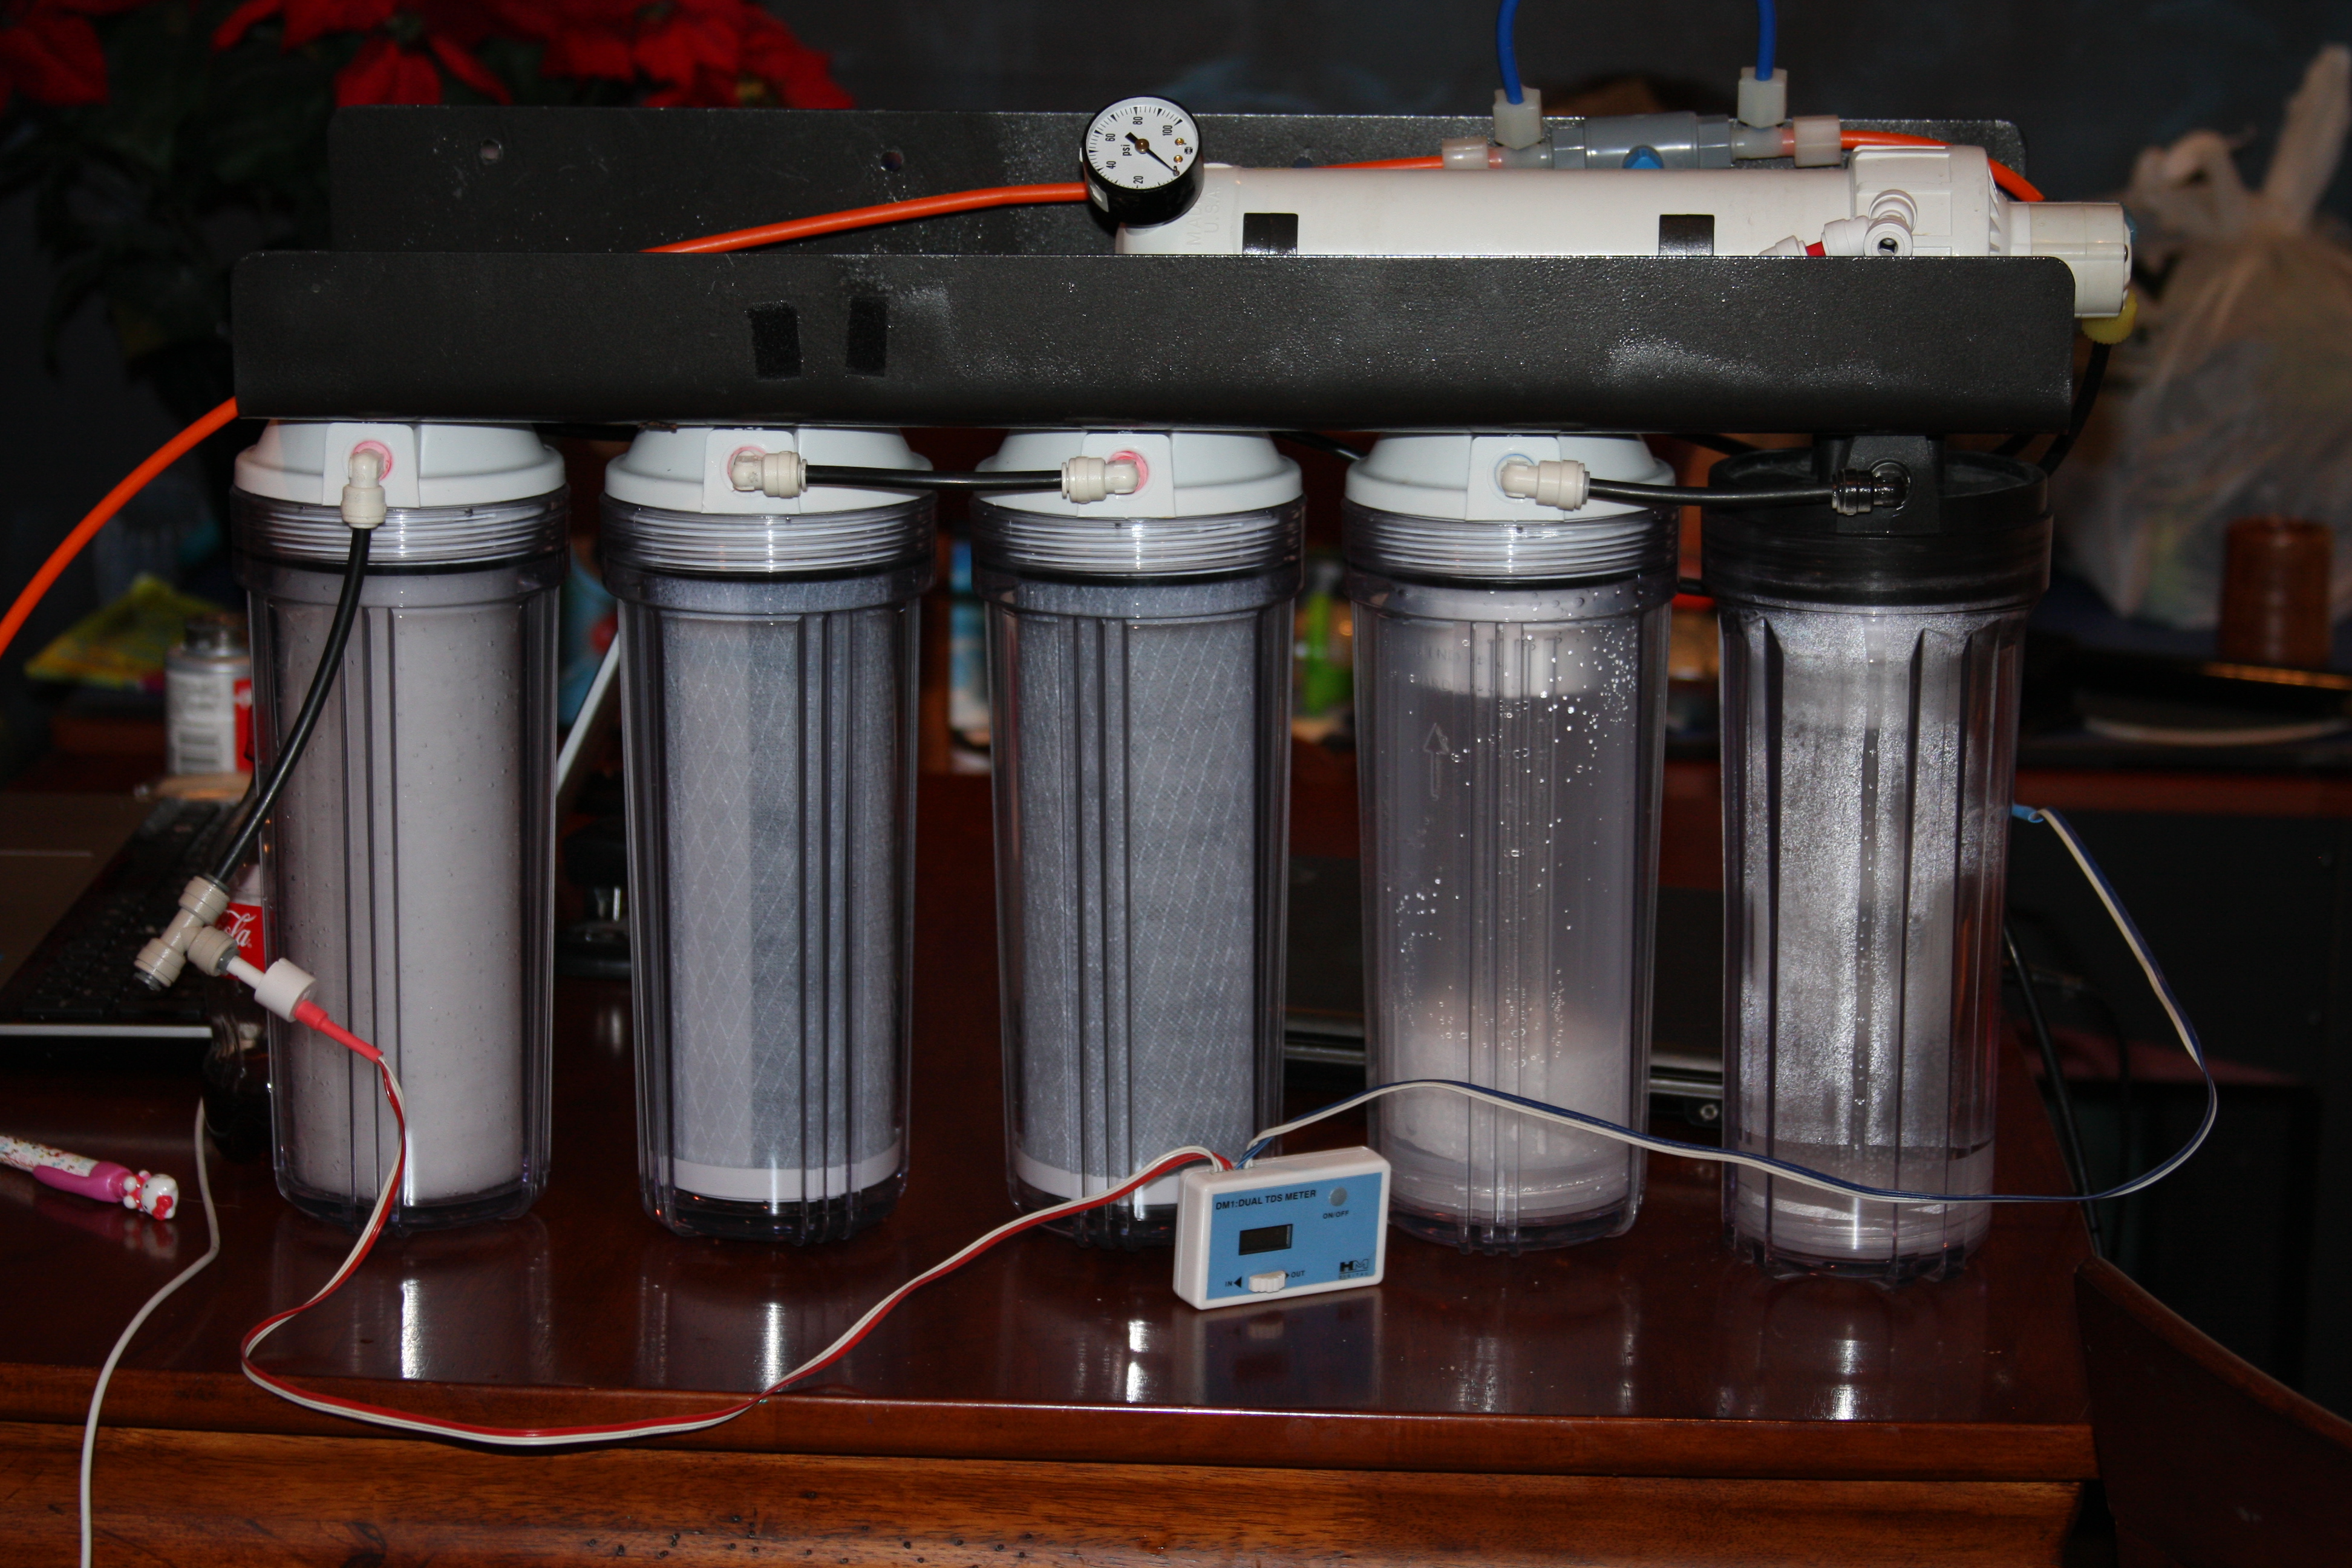
Trying to get motivated and dig into working on the tank today, so I started reworking the RO/DI unit......I had originally replaced the canisters I had broken awhile back. I took the unit down from the fish room wall to re plumb my booster pump only to find it was streaming water out of the front cover for some unknown reason, so needless to say that had to be replaced.

This is how the unit looked after pulling it from it's mounting location on the fish room wall.

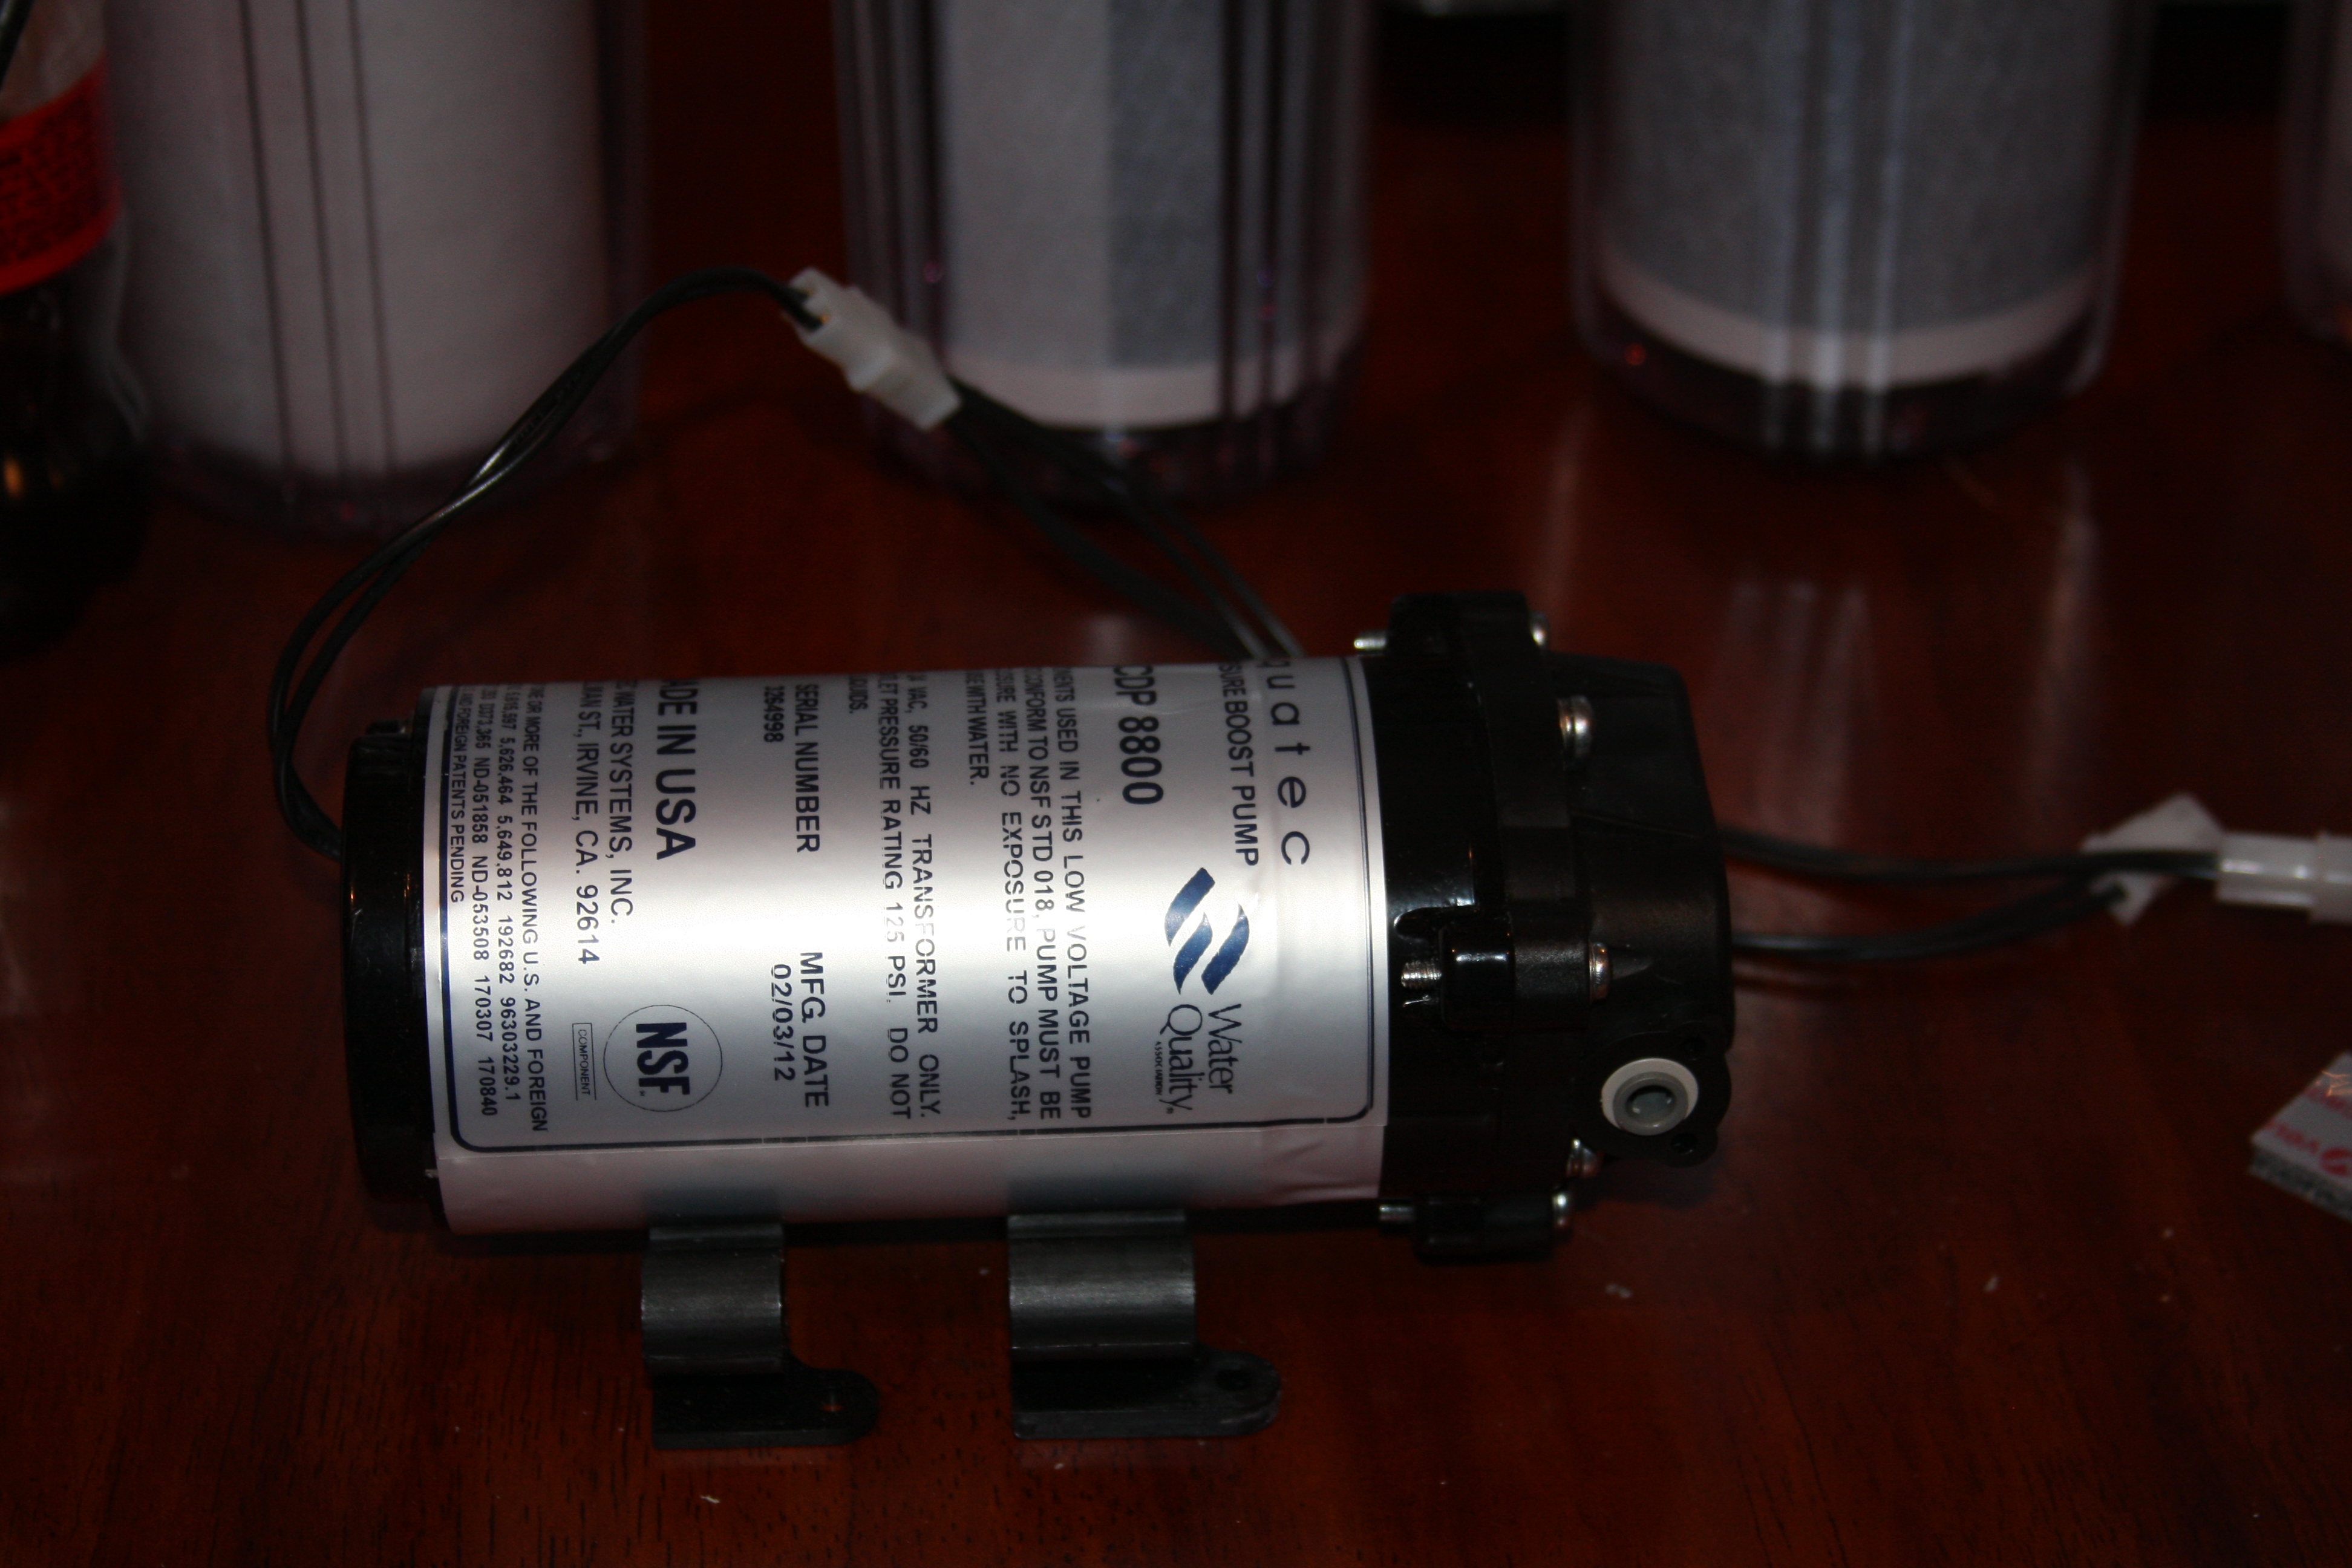
New booster pump waiting to be installed.....

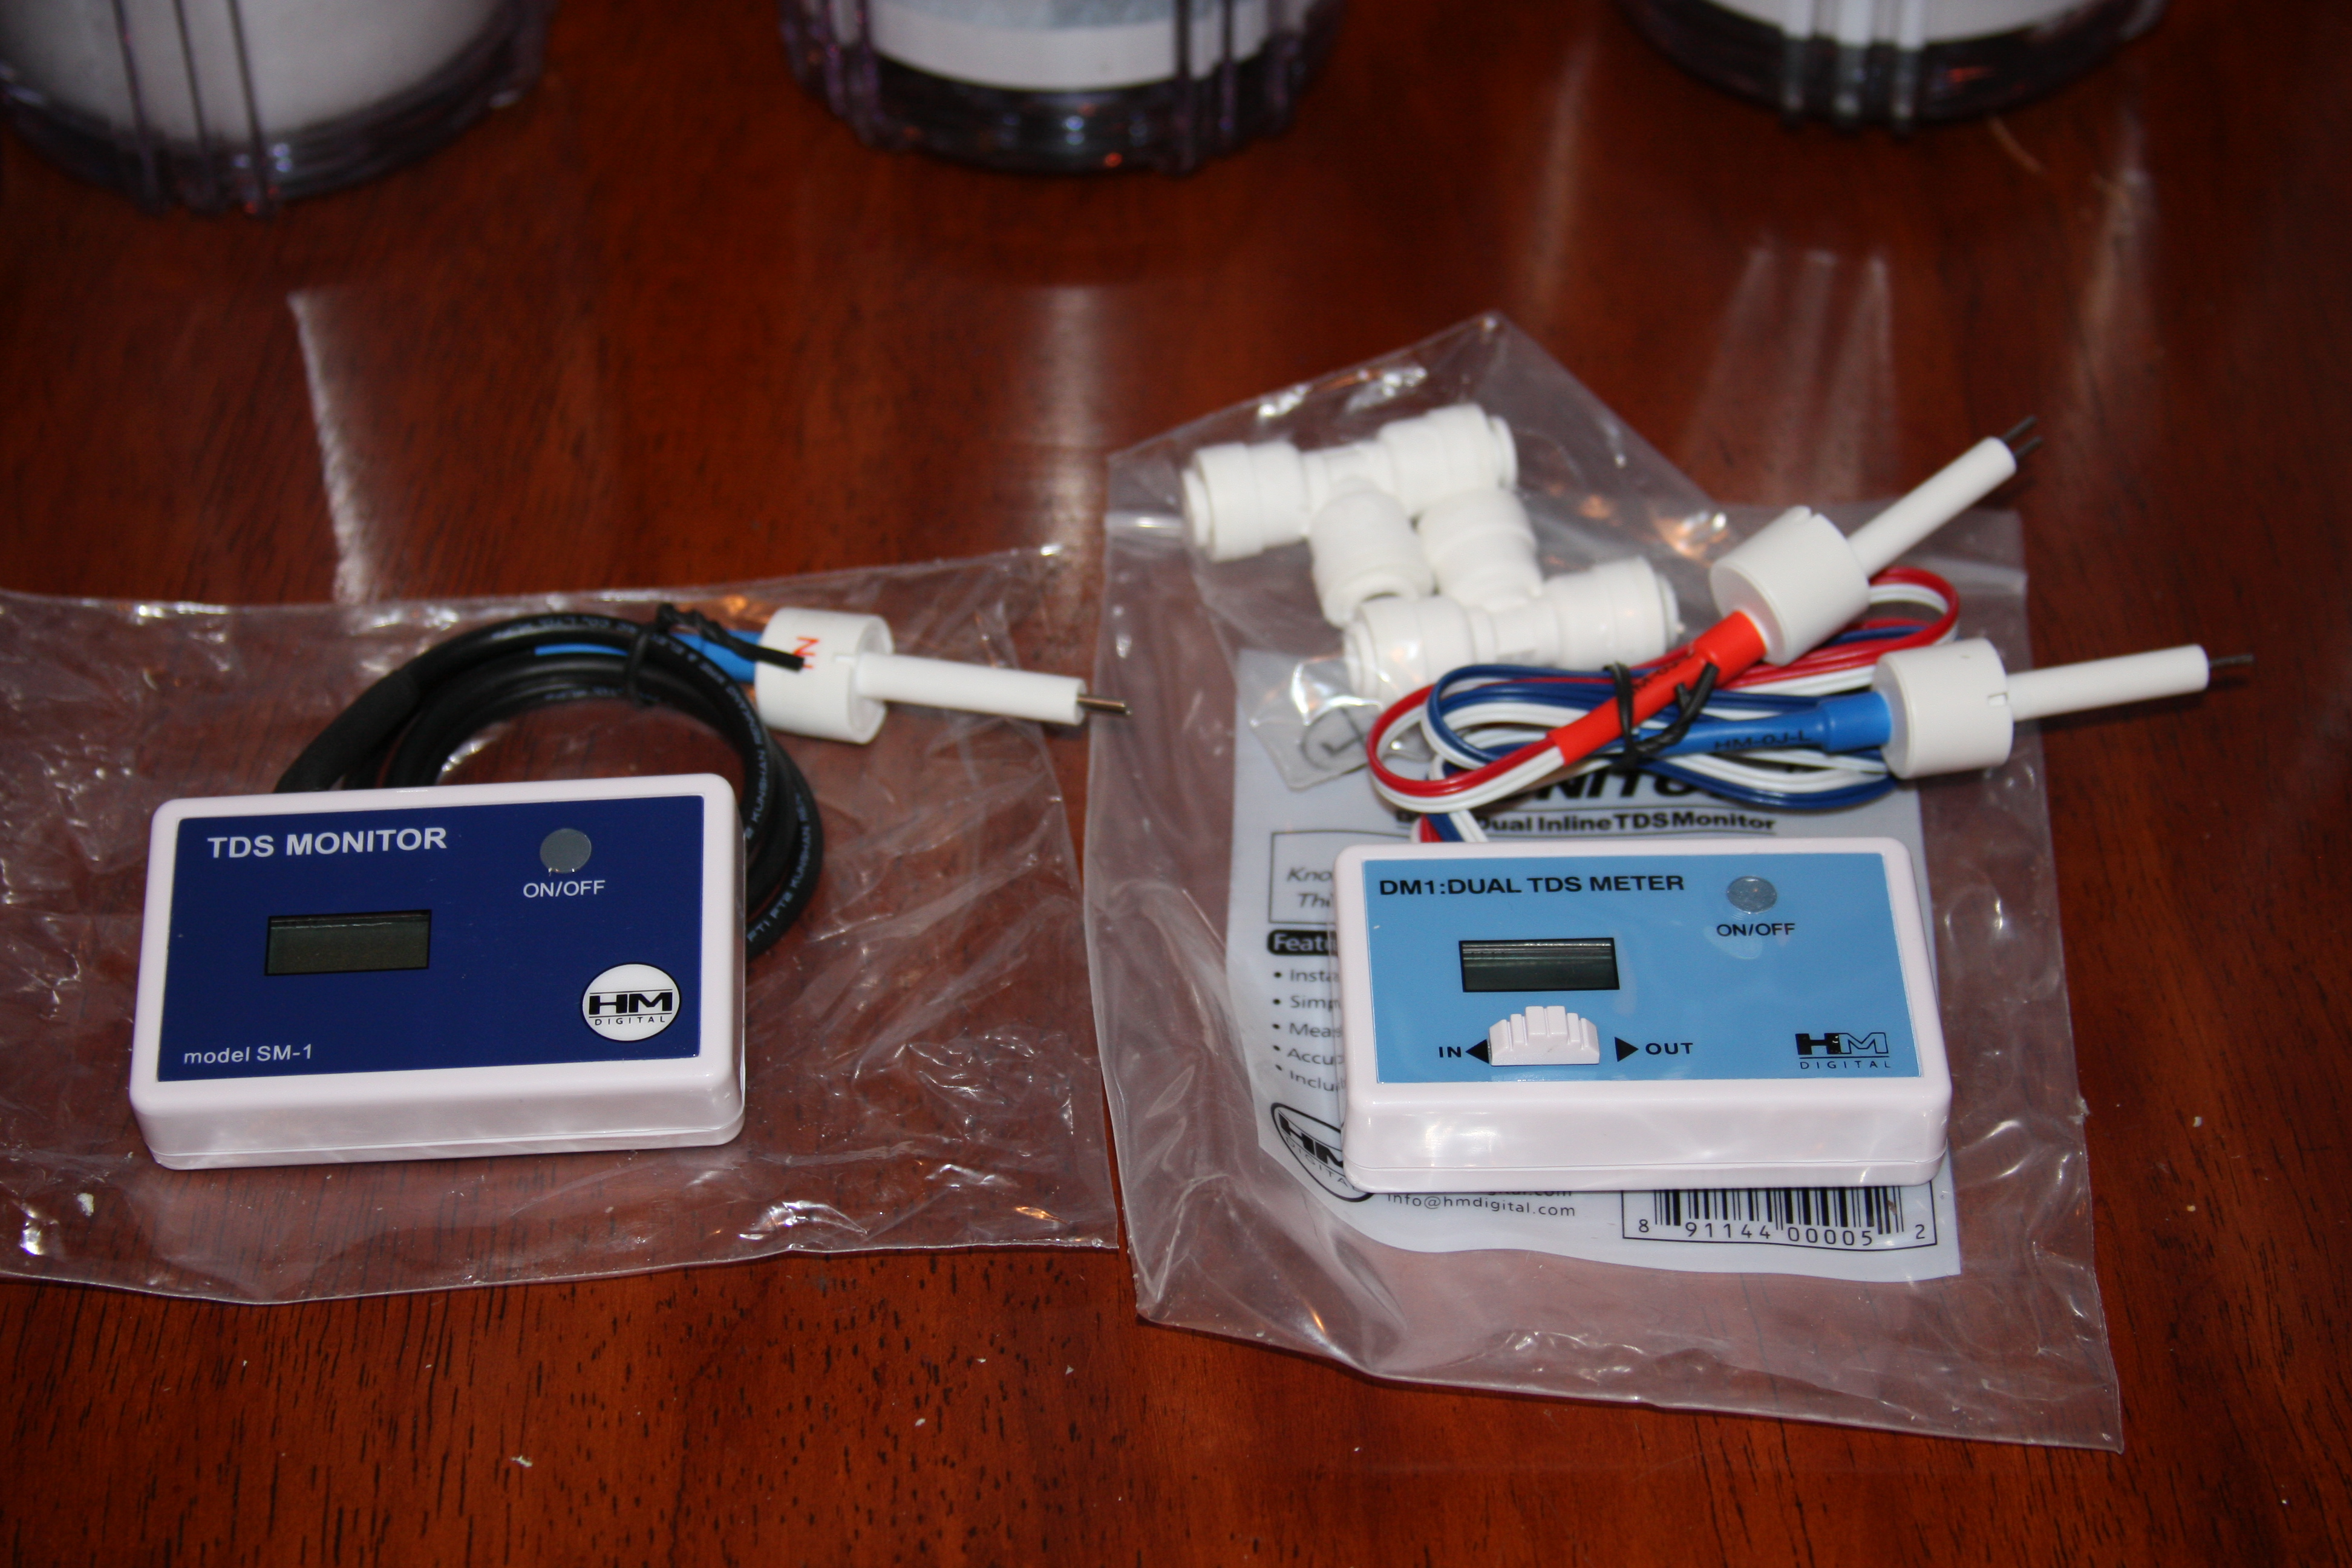
You could see in the first pic that I was running just 1 TDS, when the mods are completed the single TDS meter on the left (dark blue) will monitor water quality coming into the unit.......The dual TDS monitor on the left (light blue) will also be installed and will monitor the water quality entering into the membrane and the other lead monitoring the output water....That way I can monitor the system entirely.....

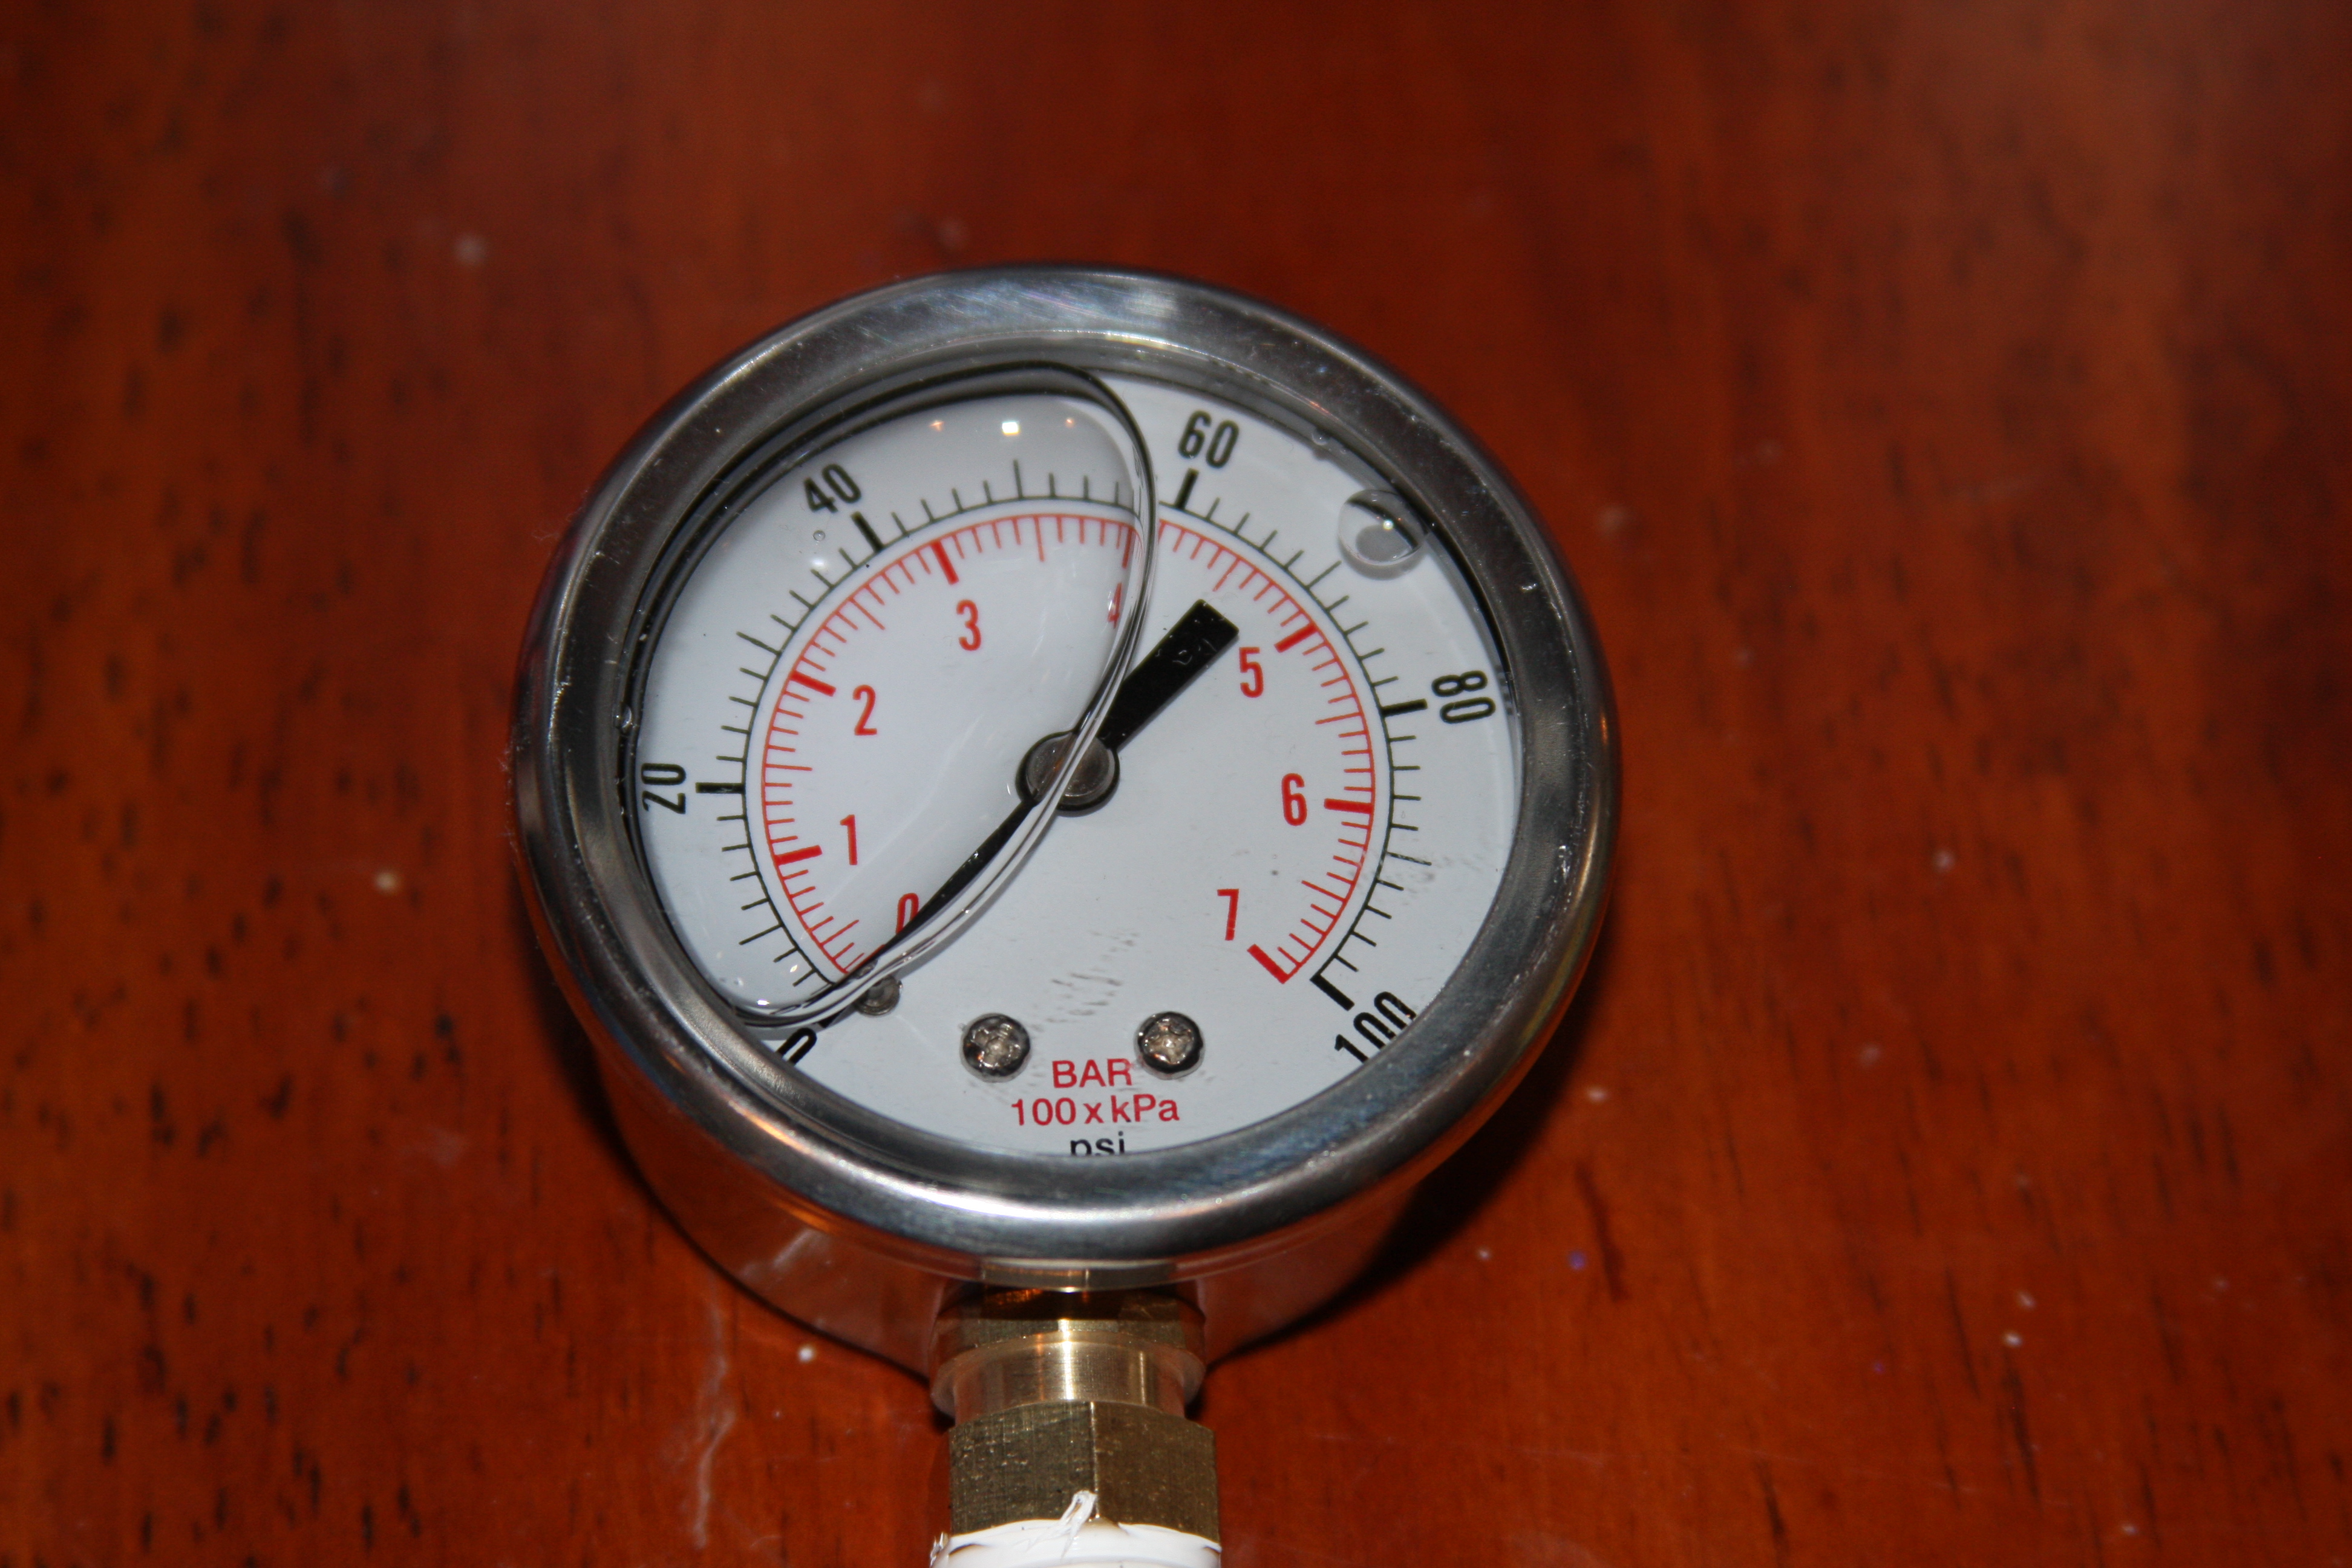
This is the new glycerin filled pressure gauge I'll be installing on the unit......

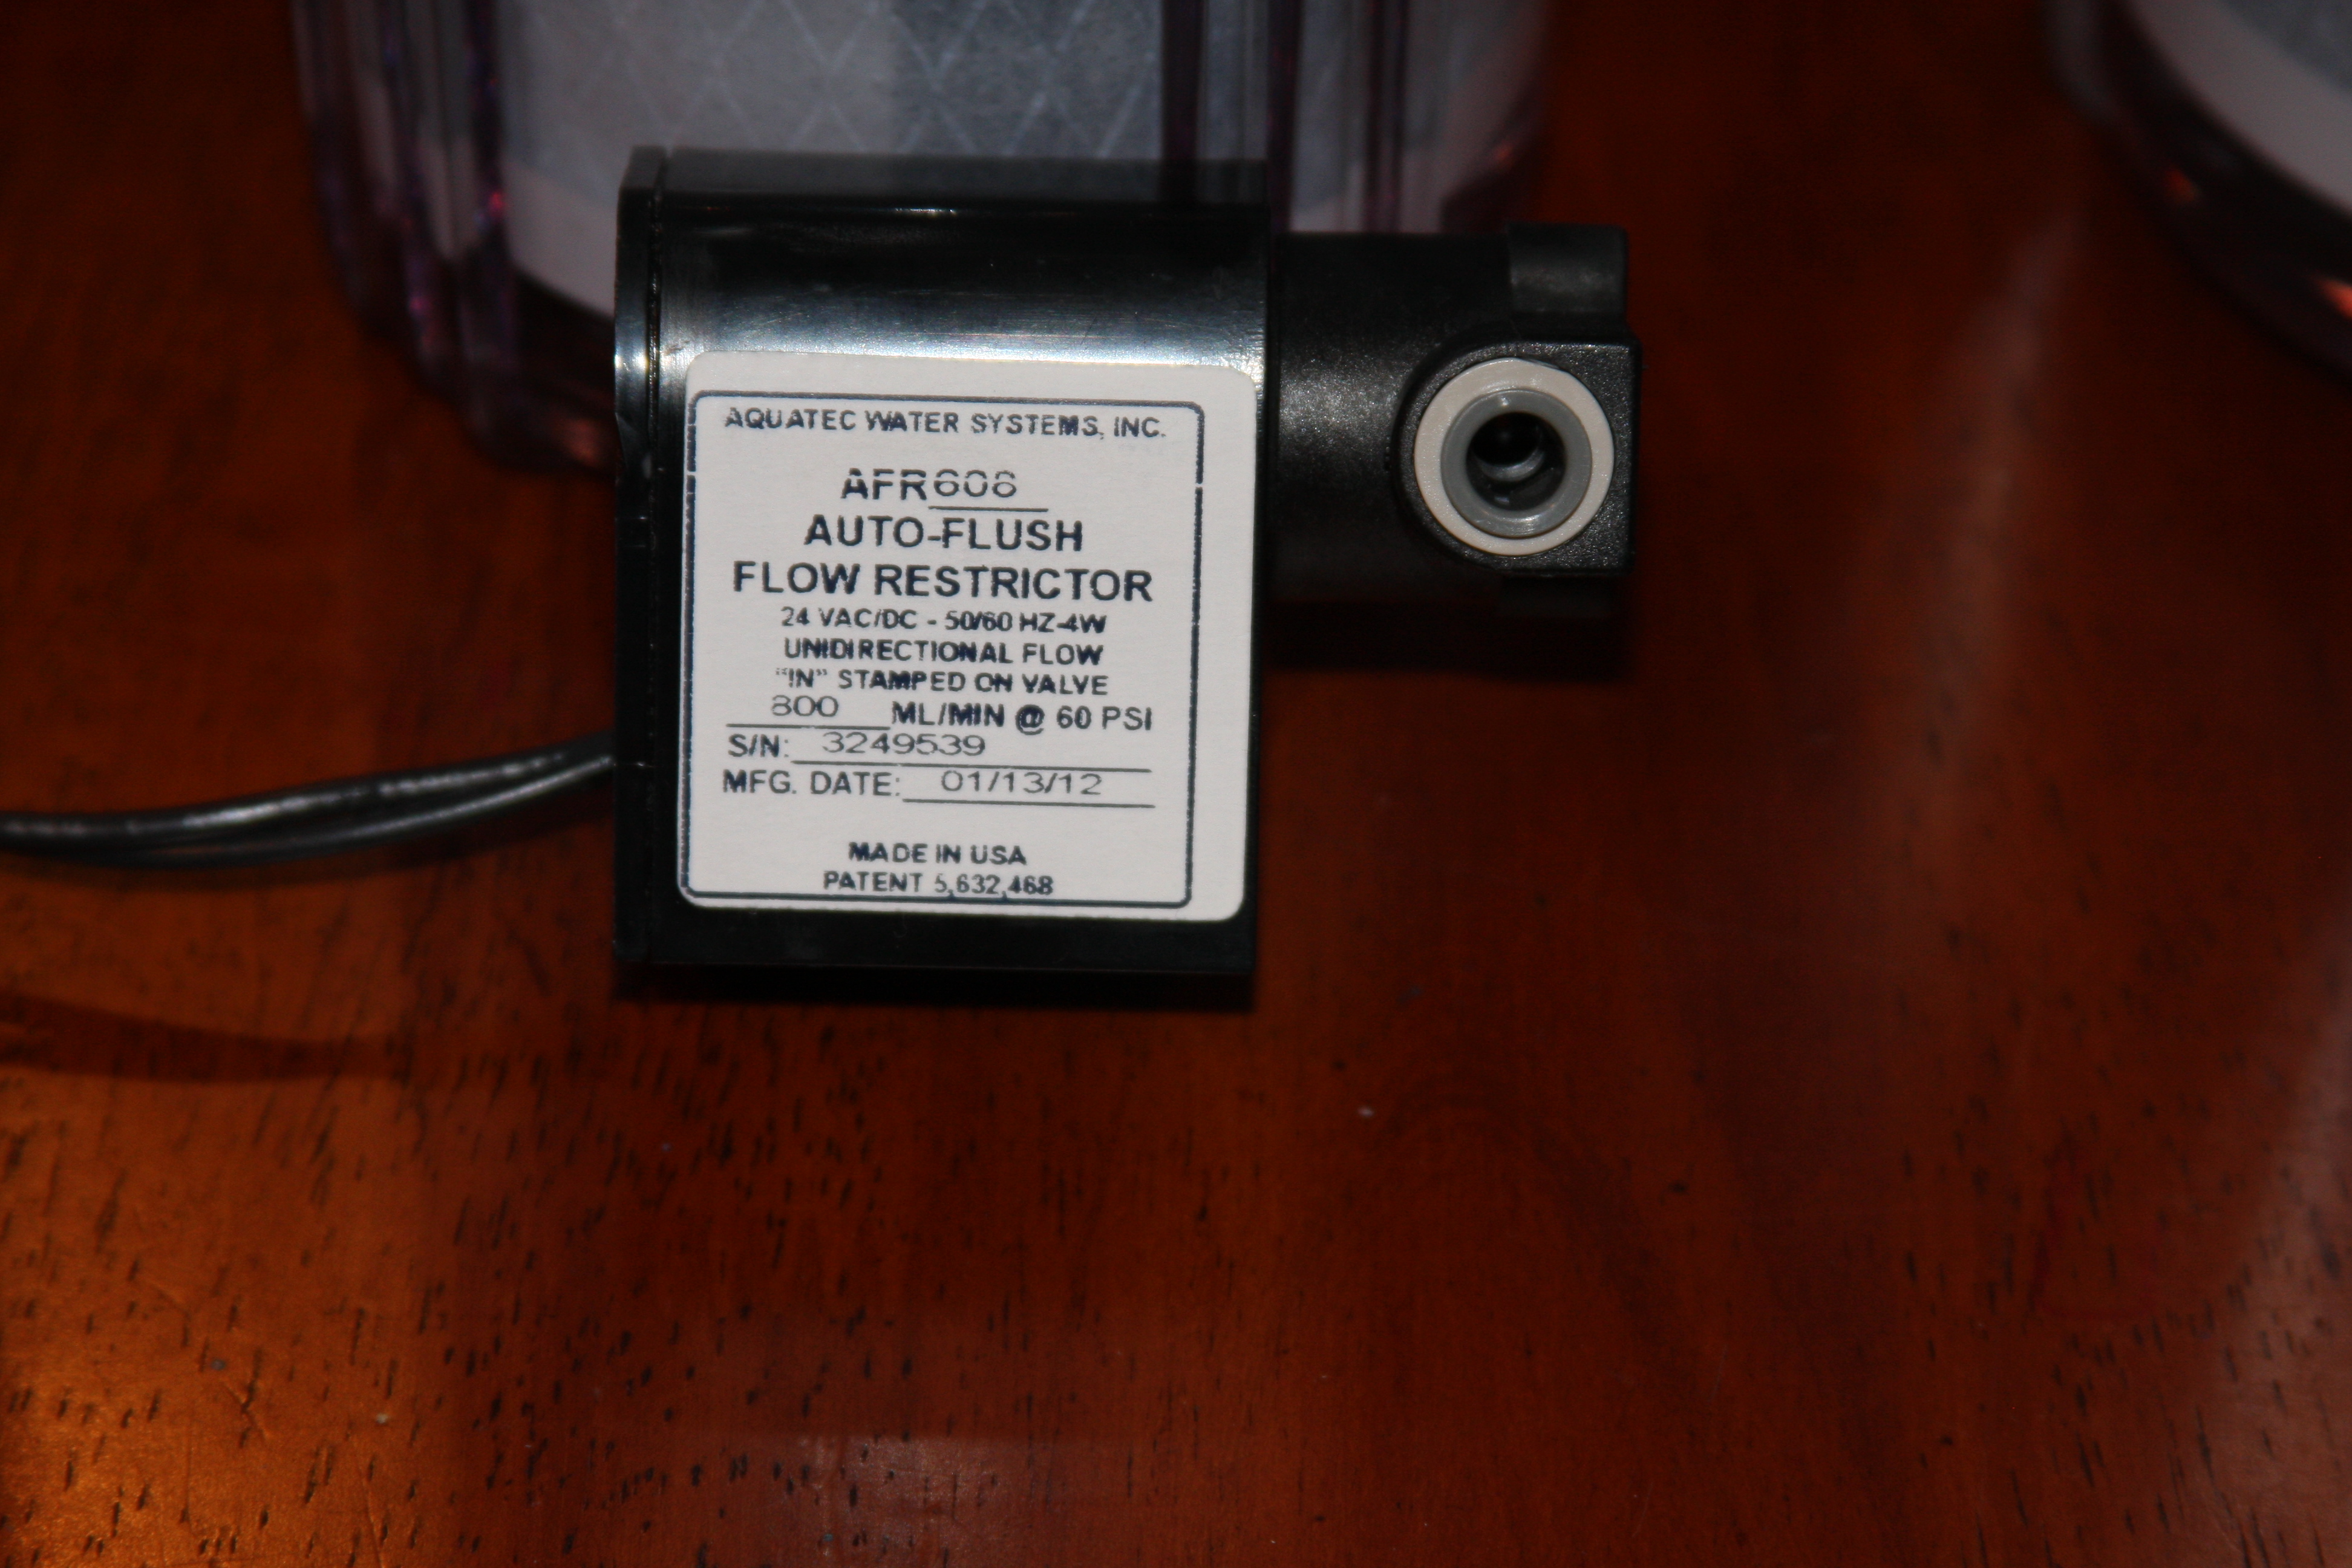
Probably my most favorite upgrade to the unit is the automatic RO/DI flush which incorporates the flow restrictor.....This hooks into my booster pump and I don't manually have to remember to flush the membrane.
 

acrylic51

Active Member
Thanks Josh.....Definitely the tank will stay with the house.....It actually only took 4 of us to get the tank up into place though.....I thought the individual panels were heavier moving than when the tank was completed.....
 

acrylic51

Active Member
Corey here's a little info on the auto flush valve/flow restrictor........
An Auto-Flush Timer Valve will assist the RO membrane to perform with maximum efficiency for longer time periods. At BRS, we recommend that an RO system be flushed on a regular basis. The use of this auto flush valve can reduce the “brine to product” ratio, especially in low “TDS” applications, while maintaining or improving system “TDS” rejection rate and extending membrane sediment and carbon filter life. Upon system start-up and every hour thereafter, the 24VAC normally closed solenoid valve automatically “powerflushes”
the membrane at full pump flow, or full line pressure in unboosted systems, for 18 seconds every hour. Turbulent water action scrubs organic and inorganic contaminant’s from the membrane surface, extending membrane life and efficiency. The “power flush” system only occurs only while the system is in the water making mode. The flush cycle is reset automatically when the RO system repeats the “water making” mode after the “full tank shut-down” mode. Water which has been standing idle in the membrane module for extended period is plurged to the drain. The PFR requires its own transformer or can be powered by the pump transformer.
The valve has a built in, self cleaning, flow restrictor which allows controlled flow to drain when the valve is in the de-activated (closed) state.
 

2quills

Well-Known Member
Nice, that's exactly what I was looking for. To be able to boost and flush the unit. That's a good gauge you picked up. Did you get all your stuff from BRS?
 

acrylic51

Active Member
Yeah everything came from BRS......Not super happy with the gauge though, but nothing BRS had anything to do with.....All the gauges it seems these days come with all that plastic garbage plastic fittings, and are designed to be plumbed inline it seems with 1/4" quick fittings......My old gauge had the fitting back mounted, but the glycerin filled gauge didn't, but was still able to make it work with my pressure vessel housing......I'll have to post some pics of everything in place later.
As far as the booster pump, I just bought the entire kit again, even though my power supply and pressure cut off switch was perfectly fine, I replaced everything......As I had mentioned the auto flush valve comes with a piggy back harness, that you plug into the booster pump and the pressure cut off switch that gets plumbed inline before your float valve.....The float valve closes providing the back pressure on the system and in turns applies pressure to the pressure shut off valve for the booster pump, which sends a signal to the booster pump and power supply to shut electrical power down......
The auto flush valve/flow restrictor is a nice add on feature, but what I really liked about the deal is that it does it automatically for you and even during water production times it will kick over to the flush mode and back flush the system while your making RO water periodically.......I did swap out the main TDS meter, but also added in the single meter so I can see what my input TDS to the unit is.....I've been monitoring it anyways, but usually its around 100 - 113 depends on time of day......Even with the old membrane and not running any DI resin, on my output I am only seeing a TDS of 1, which is insane being the membrane is 4yrs old and no DI installed.....I should see 0 with running a new membrane and dual DI canisters.......
 
Top