415 Gallon Plywood Tank Build
- Thread starter acrylic51
- Start date
2quills
Well-Known Member
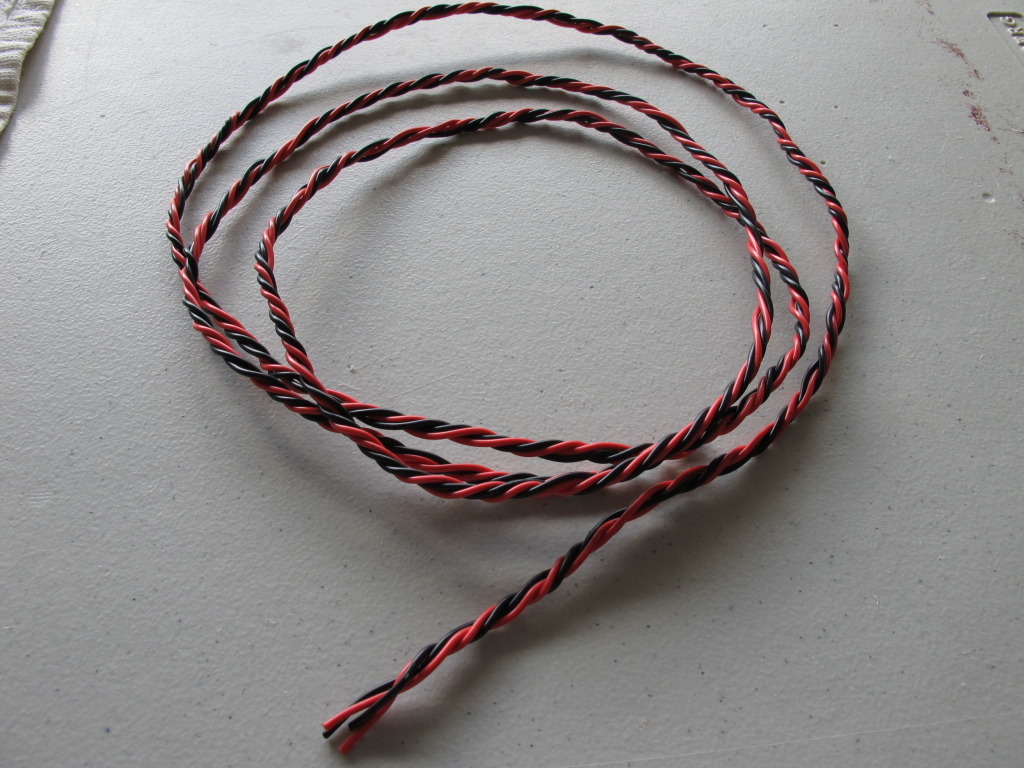
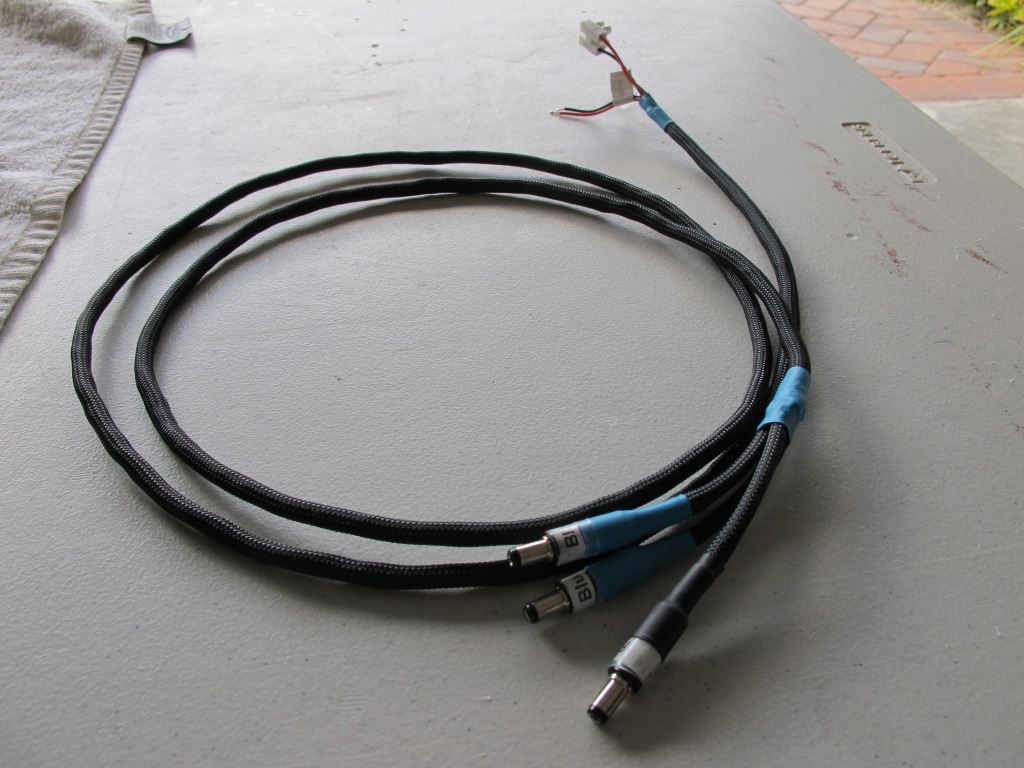
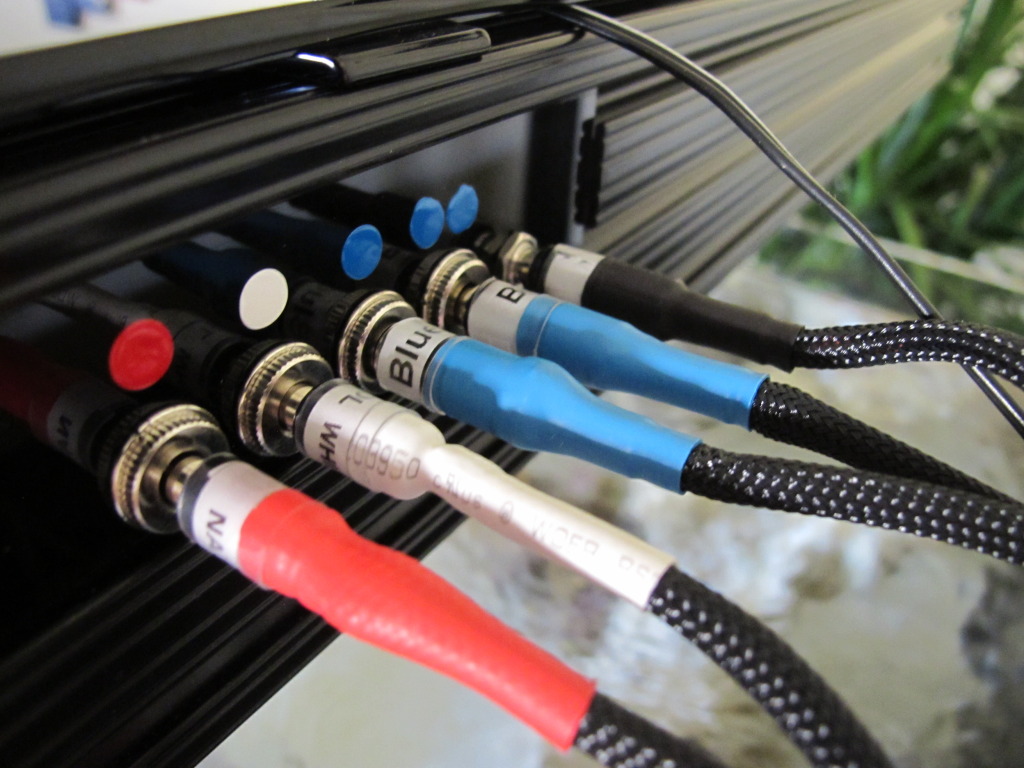
Nope I hadn't seen that particular one but seen a few that are similar if your talking about the connections. I had thought about incorporating those as well but I really didn't leave myself enough room inside the case to incorporate those jacks. I think I will on for the display though. Actually I'm still looking at using just 1 cable and 1 connection ideas. Depending on the amount of circuits I go with (probably 6 including fans) I'm looking for some nice 14 pin connectors. Some of them can get pretty pricey for moisture proof ones though. I said screw it for the scrubber lights and just started using stuff I had laying around the house already to save cost.
acrylic51
Active Member
Will shoot it to you Josh, I can't post the link here.....
Another side note, not sure if anyone's read this latest article on LEDs.......
http://www.advancedaquarist.com/2012/3/aafeature
Another side note, not sure if anyone's read this latest article on LEDs.......
http://www.advancedaquarist.com/2012/3/aafeature
2quills
Well-Known Member
Quote:
Originally Posted by acrylic51 http:///t/376802/415-gallon-plywood-tank-build/1600#post_3464090
Will shoot it to you Josh, I can't post the link here.....
Another side note, not sure if anyone's read this latest article on LEDs.......
http://www.advancedaquarist.com/2012/3/aafeature
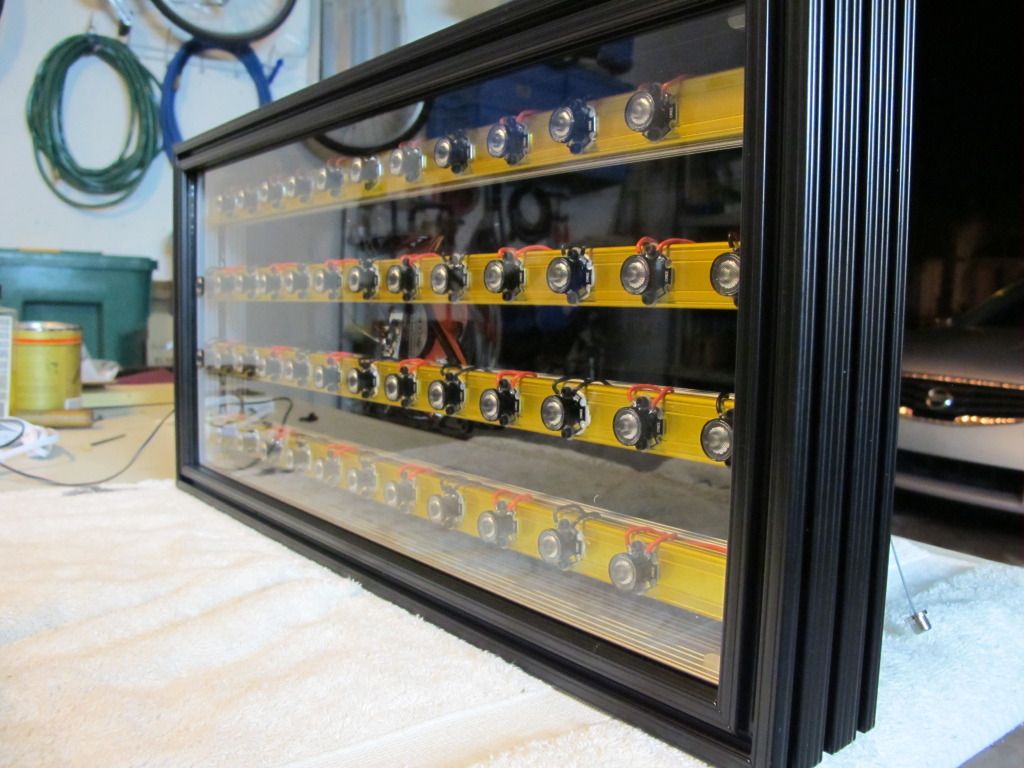
Nice find, Shawn. Makes me pretty confident about my plans for the display tank.

acrylic51
Active Member
I found that article this morning before work and figured you guys might find it rather interesting, and coming from a pretty reliable source....(Very reliable) IMHO.......
On a side note....Been talking about the Profilux products as of lately, and today the Profilux II showed up as planned.....Very excited, and I've been gathering quite a bit of information from the dealers......I'm going to putting the Profilux II up for sale and going to offer it at a good price, but the Profilux II will limit me as far as the Vortech control I'm after, but someone looking for a top of the line controller would be quite happy with the setup.....The Profilux does offer a module to control Koralia's as well.....Anyone interested in the controller here's a couple pics of what's included....if your interested shoot me a PM....
Profilux Plus II with LAN card upgrade and all cables
GHL temperature probe
PH probe and calibration fluid (used but stored in storage fluid)
GHL 4 way power bar
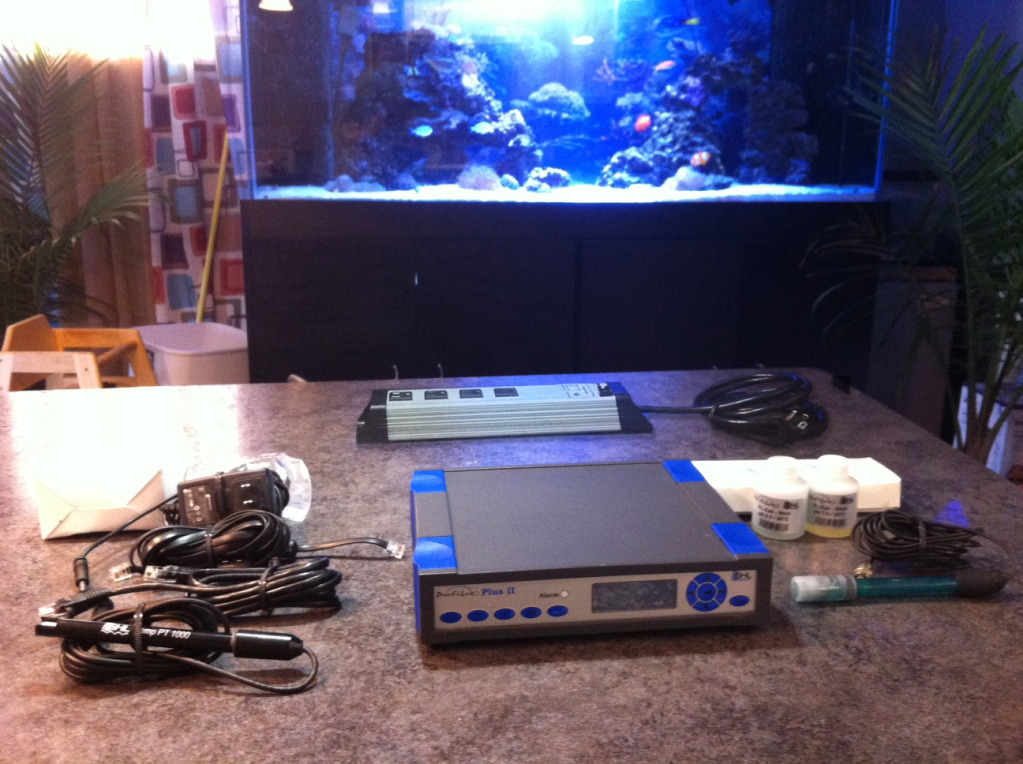
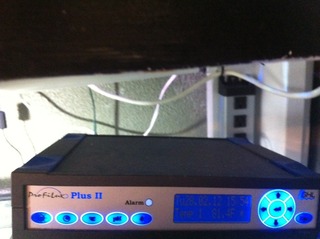


1snapple
Active Member
Looks like a good controller, but if it won't do exactly what you want it too, no point in keeping it.
That article was very interesting, i am WAY more confident in my nano now. Even though i have enough light over my 18g cube to fry fish.
Its somewhere a little under 60w of LEDs over an 18g cube.
That article was very interesting, i am WAY more confident in my nano now. Even though i have enough light over my 18g cube to fry fish.
Its somewhere a little under 60w of LEDs over an 18g cube.
T
tazz2001
Guest
hi, read your build took me 9 days,lol did you stop posting as did not see all, beautiful tank can't wait to see it finished, getting back in to sw after 25 years boy things have changed:hi:
acrylic51
Active Member
Sorry guys!!!!! Been really dragging my feet as of lately......
Been working on a few things when I get a chance or break from work. Trying to tie up any loose ends on the tank.....Actually I can start to see the light at the end of the tunnel so to speak. Finally did finish up plumbing the water mixing station/vats in the laundry room. For whatever reason I had been putting it off a bit. Didn't help I loaned out my mixing pump to a "friend" and the friend never returned it as to this date, so I had to purchase a new mixing pump. The only thing left is to finish running the electrical box to the mixing station, so I can turn the pump on and off from the fish room while doing water changes and such.
Probably one of my major goals with this system and build was to try to minimize or hide all or most of the wiring and hoses if possible....In some of the last pictures I posted you can see I hid the wiring on the back of the stand for certain items inside conduit.....Nothing anyone hates more than seeing a mess of wires strewn everywhere.....At this point all that wiring has been run to a main junction box on an adjacent wall where it will eventually be tied into my "main control panel". The main control panel will house the controller, drivers for LEDs, Vortech controllers, and battery backups as well......
Keeping in line with hiding all wiring, I also did the same thing with as much of the plumbing as well.....Most of you have seen the pics of the fish room and the RO/DI unit, and a good deal of time was spent running water lines to the laundry room to the water mixing station, and also lines to feed water water top off tank in the fish room itself. This tubing was also hidden; concealed in conduit as well, but I put in junction boxes, where if the time comes I need to reroute things I can easily access a portion of the lines.....
Another major update was the frag/quarantine table; work area.....I had originally started the framing of the stand, but half way through it just didn't sit well in my mind and honestly didn't like the location and wasn't working for me.....I had originally wanted it on the opposite wall, and finally tore it apart and rebuilt the stand where I originally wanted it......So your thinking I was finally making progress!!!!!!
 Not really after talking with Xcali, and getting some dimensions, I realized I needed to rework the stand I had started framing......So needless to say I had to cut away a bit of the stand and rework it to accommodate the skimmer neck cleaner to give me extra clearance underneath the stand where the skimmer will be placed. Counter tops are installed as well at this point, but need to work out the details as far as skinning and finish for the front of the stand.......The stand itself is 8' long, so it'll probably be a bit before I get serious about the woodwork on this stand front.....
I spoke a bit about the skimmer......I'm running the skimmer externally and didn't like the original placement of the skimmer....Again keep in mind I want everything if possible out of sight, but need easy access to all equipment if needed.....Since the new rack stand takes up the 8' wall, that was the perfect place to slide the skimmer into the stand where it will be hidden from sight, but easy to get too......With that being said the skimmer is in place and plumbing work has started on the skimmer......Not to concerned on the feed line to the skimmer from the sump, but working a few ideas and toying with bending 1 1/2" PVC with the heat gun to get me a good slope for the water leaving the skimmer headed back to the sump.....So far the results are pretty good, but still not totally sure if I'm going to hard plumb it or use up the remainder of my 1 1/2" flex PVC.......Still straddling the fence as well on the feed pump for the skimmer.....Have it narrowed down to 3......Water Blaster 7000, BlueLine, or Mag.......I like the Water Blaster electrical efficiency, but not the price......I like the BlueLine price, but not as efficient or as compact as the WaterBlaster.....The Mag....Well.....just the Mag!!!!!!
Other little odds and ends I've been working on.......I'm pretty anal about heaters just resting or floating or possibly dislodging themselves inside the sump.....I had a bad experience 12 years ago with a heater in that nature, and I've fabbed up a nifty holder to hold my (2) titanium heaters......Another area that will be getting reworked is the light rails over the DT.....From my early morning excursions to Lowes on Saturday and Sunday morning, I stumbled upon the perfect track systems.....The tracks aren't expensive, but the wheel assemblies are, but the are sweet and smooth......
At this moment I've got the RO/DI fired up making water.......Getting the QT tank ready to go.....Will be picking up the tanks first couple additions......The new additions will be a small 2" Yellow, and a small 2 1/2" Power Blue Tang......Plenty of time for them to sit in QT till the main tank is ready........
Hopefully I'll find a bit of time to snap a couple update pics to get everyone back up to speed!!!!!!
Been working on a few things when I get a chance or break from work. Trying to tie up any loose ends on the tank.....Actually I can start to see the light at the end of the tunnel so to speak. Finally did finish up plumbing the water mixing station/vats in the laundry room. For whatever reason I had been putting it off a bit. Didn't help I loaned out my mixing pump to a "friend" and the friend never returned it as to this date, so I had to purchase a new mixing pump. The only thing left is to finish running the electrical box to the mixing station, so I can turn the pump on and off from the fish room while doing water changes and such.
Probably one of my major goals with this system and build was to try to minimize or hide all or most of the wiring and hoses if possible....In some of the last pictures I posted you can see I hid the wiring on the back of the stand for certain items inside conduit.....Nothing anyone hates more than seeing a mess of wires strewn everywhere.....At this point all that wiring has been run to a main junction box on an adjacent wall where it will eventually be tied into my "main control panel". The main control panel will house the controller, drivers for LEDs, Vortech controllers, and battery backups as well......
Keeping in line with hiding all wiring, I also did the same thing with as much of the plumbing as well.....Most of you have seen the pics of the fish room and the RO/DI unit, and a good deal of time was spent running water lines to the laundry room to the water mixing station, and also lines to feed water water top off tank in the fish room itself. This tubing was also hidden; concealed in conduit as well, but I put in junction boxes, where if the time comes I need to reroute things I can easily access a portion of the lines.....
Another major update was the frag/quarantine table; work area.....I had originally started the framing of the stand, but half way through it just didn't sit well in my mind and honestly didn't like the location and wasn't working for me.....I had originally wanted it on the opposite wall, and finally tore it apart and rebuilt the stand where I originally wanted it......So your thinking I was finally making progress!!!!!!

I spoke a bit about the skimmer......I'm running the skimmer externally and didn't like the original placement of the skimmer....Again keep in mind I want everything if possible out of sight, but need easy access to all equipment if needed.....Since the new rack stand takes up the 8' wall, that was the perfect place to slide the skimmer into the stand where it will be hidden from sight, but easy to get too......With that being said the skimmer is in place and plumbing work has started on the skimmer......Not to concerned on the feed line to the skimmer from the sump, but working a few ideas and toying with bending 1 1/2" PVC with the heat gun to get me a good slope for the water leaving the skimmer headed back to the sump.....So far the results are pretty good, but still not totally sure if I'm going to hard plumb it or use up the remainder of my 1 1/2" flex PVC.......Still straddling the fence as well on the feed pump for the skimmer.....Have it narrowed down to 3......Water Blaster 7000, BlueLine, or Mag.......I like the Water Blaster electrical efficiency, but not the price......I like the BlueLine price, but not as efficient or as compact as the WaterBlaster.....The Mag....Well.....just the Mag!!!!!!
Other little odds and ends I've been working on.......I'm pretty anal about heaters just resting or floating or possibly dislodging themselves inside the sump.....I had a bad experience 12 years ago with a heater in that nature, and I've fabbed up a nifty holder to hold my (2) titanium heaters......Another area that will be getting reworked is the light rails over the DT.....From my early morning excursions to Lowes on Saturday and Sunday morning, I stumbled upon the perfect track systems.....The tracks aren't expensive, but the wheel assemblies are, but the are sweet and smooth......
At this moment I've got the RO/DI fired up making water.......Getting the QT tank ready to go.....Will be picking up the tanks first couple additions......The new additions will be a small 2" Yellow, and a small 2 1/2" Power Blue Tang......Plenty of time for them to sit in QT till the main tank is ready........
Hopefully I'll find a bit of time to snap a couple update pics to get everyone back up to speed!!!!!!
acrylic51
Active Member
Forgot to mention when firing up the RO/DI after all the upgrades....The thing was pushing 80psi out of the gate......
 I cut her back to 65 and see how she runs.....I must admit I love the automatic flush system......Every hour it's running it will switch over for 2-3 minutes and back flush the membrane and then switch back over....A bit noisy, but I love it......

snakeblitz33
Well-Known Member
What brand RO/DI? I might be interested in something similar.
rickross23
Active Member
What exactly is a "plywood tank"?
snakeblitz33
Well-Known Member
Yeah, I could probably do it pretty easily. Where did you get all your parts from? I like to deal with Steve over at AirWaterIce... is that who you got the parts from?
Rick, A plywood tank is just that - a tank built out of plywood and reinforced with 2x4s. They usually have an open glass or acrylic port on the side for a viewing area. The inside of the tank is fiberglassed and/or epoxied to waterproof it. Many plywood tanks leak over time, and that is why Shawn decided to build his tank out of acrylic instead.
Rick, A plywood tank is just that - a tank built out of plywood and reinforced with 2x4s. They usually have an open glass or acrylic port on the side for a viewing area. The inside of the tank is fiberglassed and/or epoxied to waterproof it. Many plywood tanks leak over time, and that is why Shawn decided to build his tank out of acrylic instead.

