acrylic51
Active Member
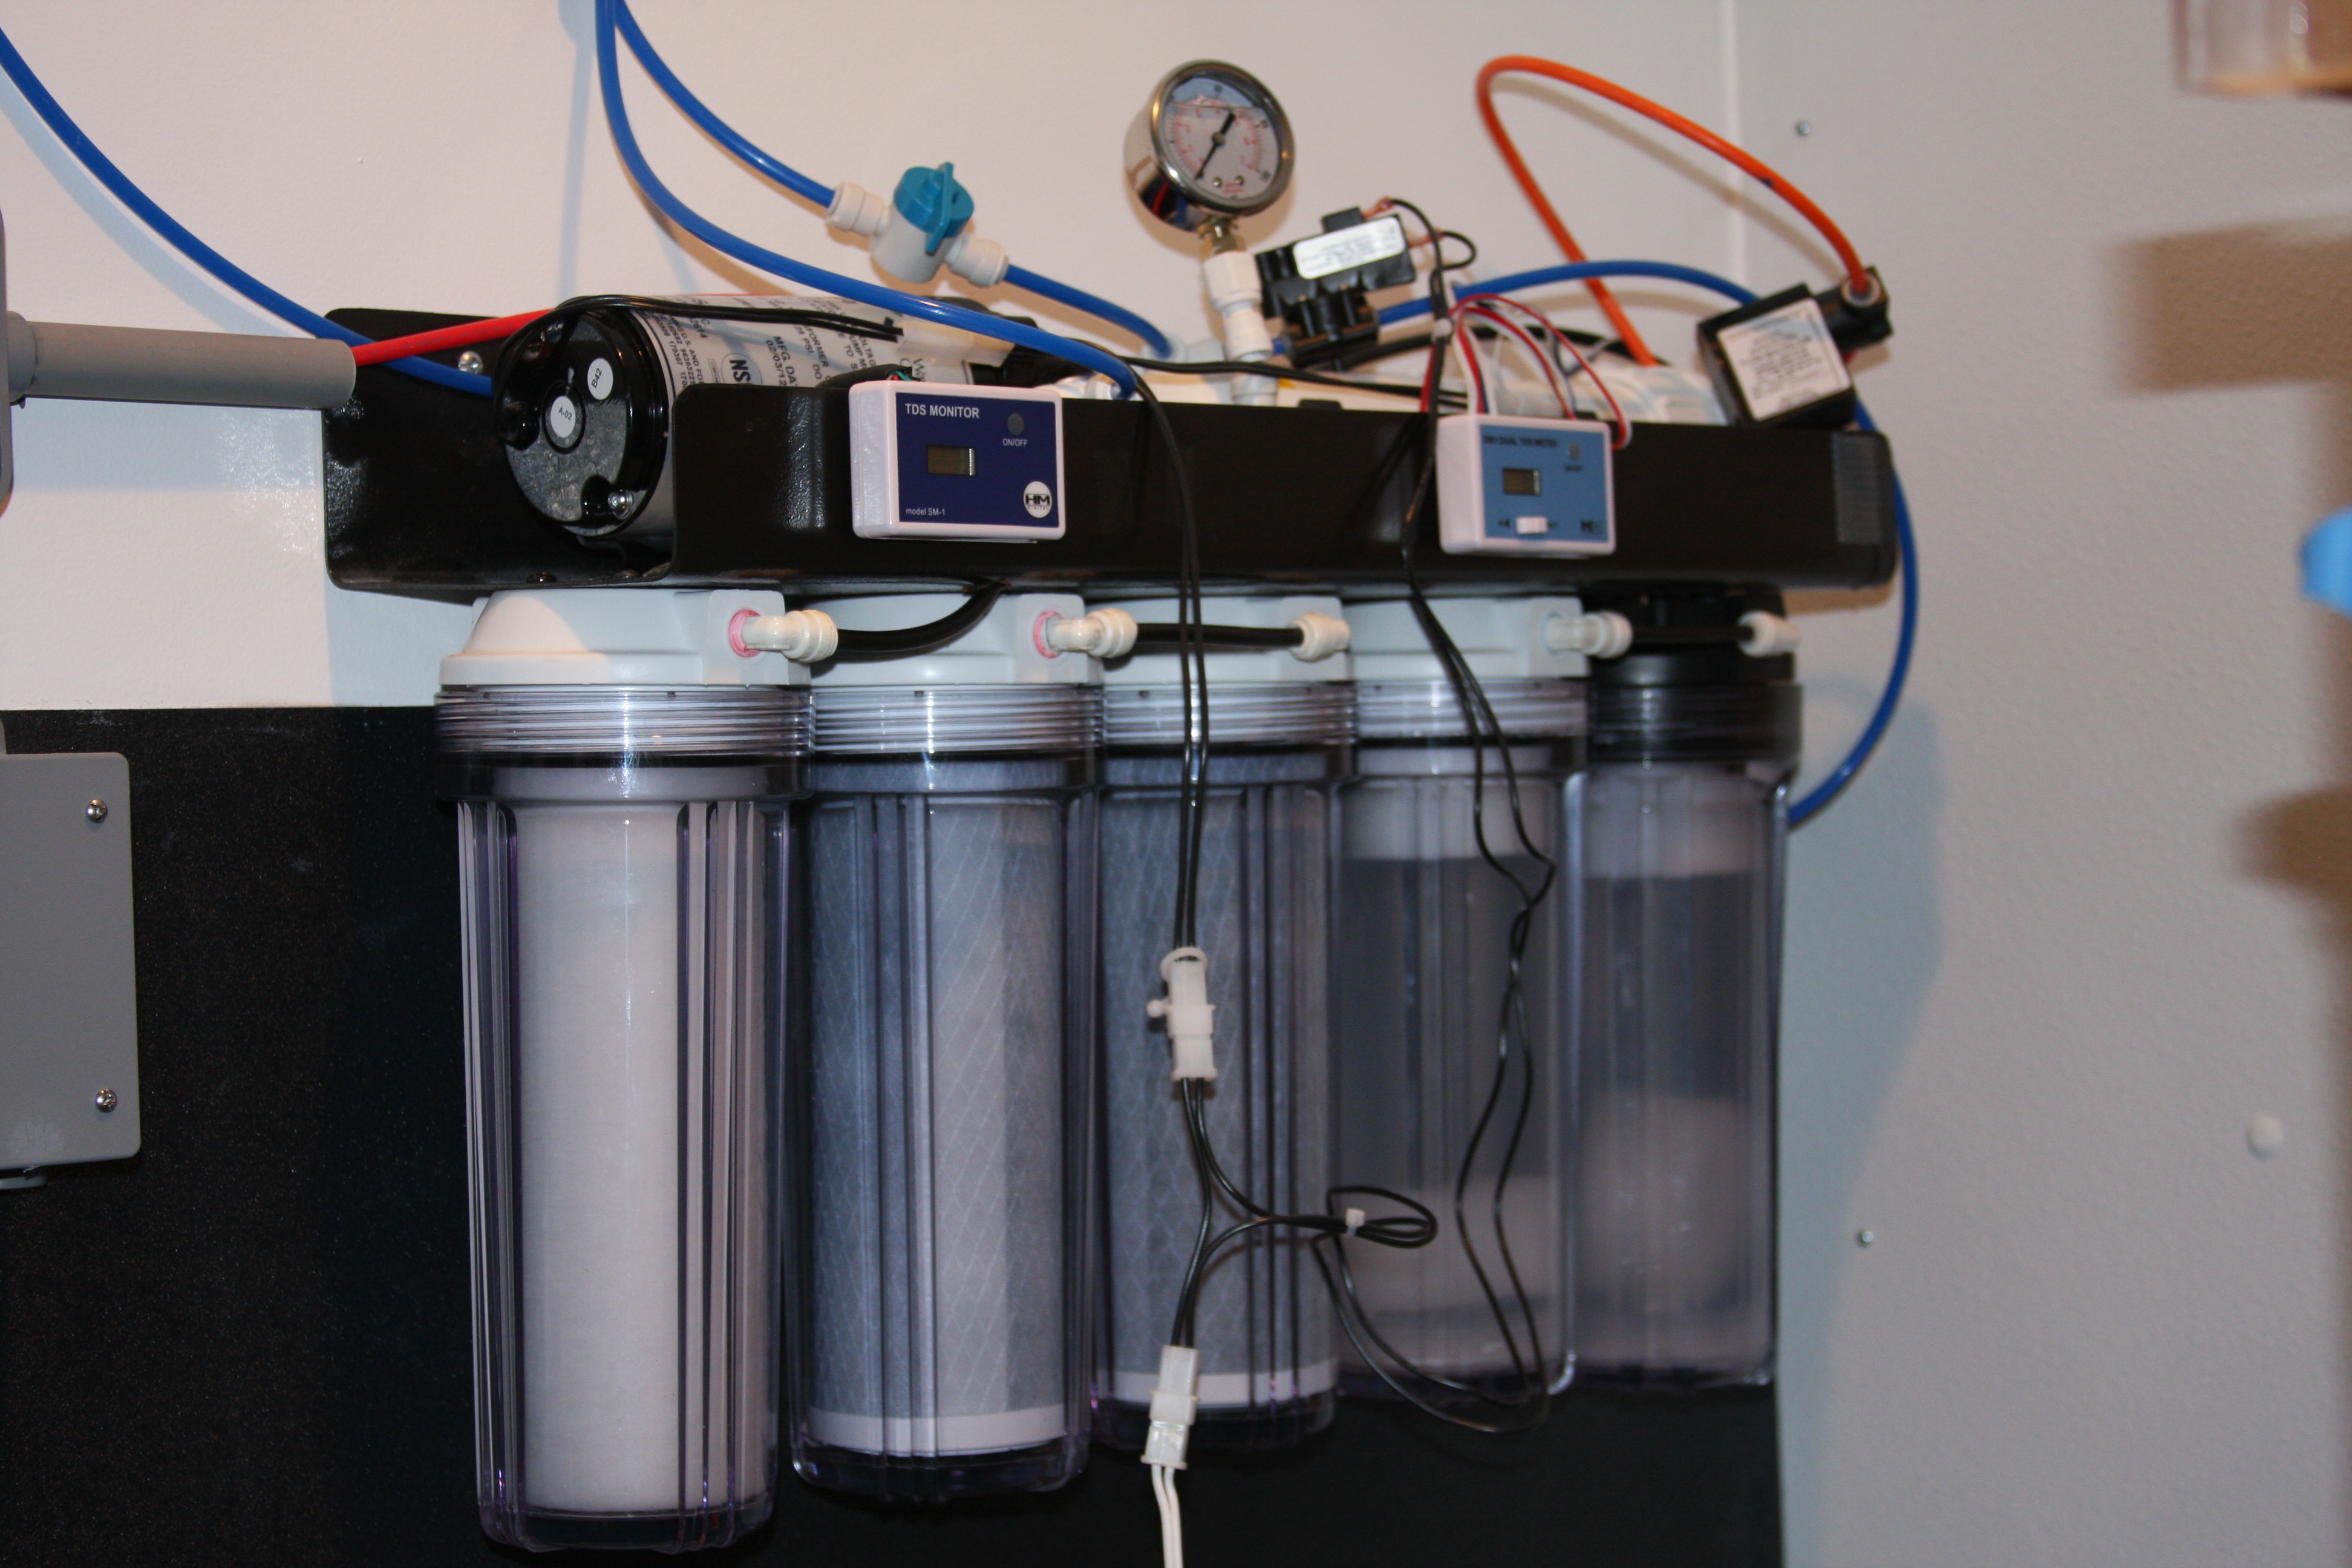
No Seth don't use AWI anymore.....I can shoot you a PM on the parts for the RO/DI......
RickRoss you didn't read the construction details of the plywood tank.........

 Shame, Shame.........Actually a plywood tank doesn't have to be reinforced with 2x4's at all......I think some of that might come down to construction practice or maybe a lack of confidence in building skills.....Not really sure, but Kent's big tank didn't use reinforced 2x4's and his tank is a lot bigger than mine.
Taking the plywood tank apart wasn't an easy decision and Corey will attest to that.......There are tons of good plywood builds and there are a few that I would call really skeptical. I did and always do over build. My biggest concern with the plywood build is that a pin hole isn't evident right away and could take weeks to develop, but when it does the options to fix are slim, and its a rather tedious job of repairing it. I did go the extra steps that some do and don't.....I reinforced all the corners with 45's cut to fill all the seams.....This was sealed with waterproof glue and nailed into place and then I took the extra step into doing nothing but pouring the 45's and seams with epoxy to totally seal them.......At that point I laid not just regular fiberglass, but bi axial fiberglass, and if I recall correctly it was either 34oz or 37oz bi axial fiberglass cloth.....This is quite a bit heavier than standard stranded fiberglass cloth, plus a bit more tedious to work with......The entire inside of the tank was fiber glassed with the bi axial cloth, and even the inside of the external overflow box......I even went to the extreme of flipping the tank over on it's top and epoxying the bottom outside of the tank 1/4" thick with epoxy, so basically I knew it wouldn't leak....A big key is small think layers of epoxy instead of trying to pour it in a thick shot.......I didn't want any cross bracing on this tank as well, so thinking again safety and over engineering I used angle iron; which was embedded in epoxy all around the perimeter of the tank......The angle iron was welded at the corners as well, so basically it wasn't coming apart.
When I finally cut the tank apart just before Christmas I had always questioned how thick I had actually poured the epoxy......The thinnest spot or area I could find poured was 1/4".....That was way more than needed, but I've seen some really well built "woodys" sub cum to crazy pinholes in areas you wouldn't have thought crucial......Basically I didn't want to find out the hard way.....I've never been afraid to put money into materials and over build for peace of mind........
RickRoss skim through the pages for the pics outlining the build process........

RickRoss you didn't read the construction details of the plywood tank.........


Taking the plywood tank apart wasn't an easy decision and Corey will attest to that.......There are tons of good plywood builds and there are a few that I would call really skeptical. I did and always do over build. My biggest concern with the plywood build is that a pin hole isn't evident right away and could take weeks to develop, but when it does the options to fix are slim, and its a rather tedious job of repairing it. I did go the extra steps that some do and don't.....I reinforced all the corners with 45's cut to fill all the seams.....This was sealed with waterproof glue and nailed into place and then I took the extra step into doing nothing but pouring the 45's and seams with epoxy to totally seal them.......At that point I laid not just regular fiberglass, but bi axial fiberglass, and if I recall correctly it was either 34oz or 37oz bi axial fiberglass cloth.....This is quite a bit heavier than standard stranded fiberglass cloth, plus a bit more tedious to work with......The entire inside of the tank was fiber glassed with the bi axial cloth, and even the inside of the external overflow box......I even went to the extreme of flipping the tank over on it's top and epoxying the bottom outside of the tank 1/4" thick with epoxy, so basically I knew it wouldn't leak....A big key is small think layers of epoxy instead of trying to pour it in a thick shot.......I didn't want any cross bracing on this tank as well, so thinking again safety and over engineering I used angle iron; which was embedded in epoxy all around the perimeter of the tank......The angle iron was welded at the corners as well, so basically it wasn't coming apart.
When I finally cut the tank apart just before Christmas I had always questioned how thick I had actually poured the epoxy......The thinnest spot or area I could find poured was 1/4".....That was way more than needed, but I've seen some really well built "woodys" sub cum to crazy pinholes in areas you wouldn't have thought crucial......Basically I didn't want to find out the hard way.....I've never been afraid to put money into materials and over build for peace of mind........
RickRoss skim through the pages for the pics outlining the build process........


