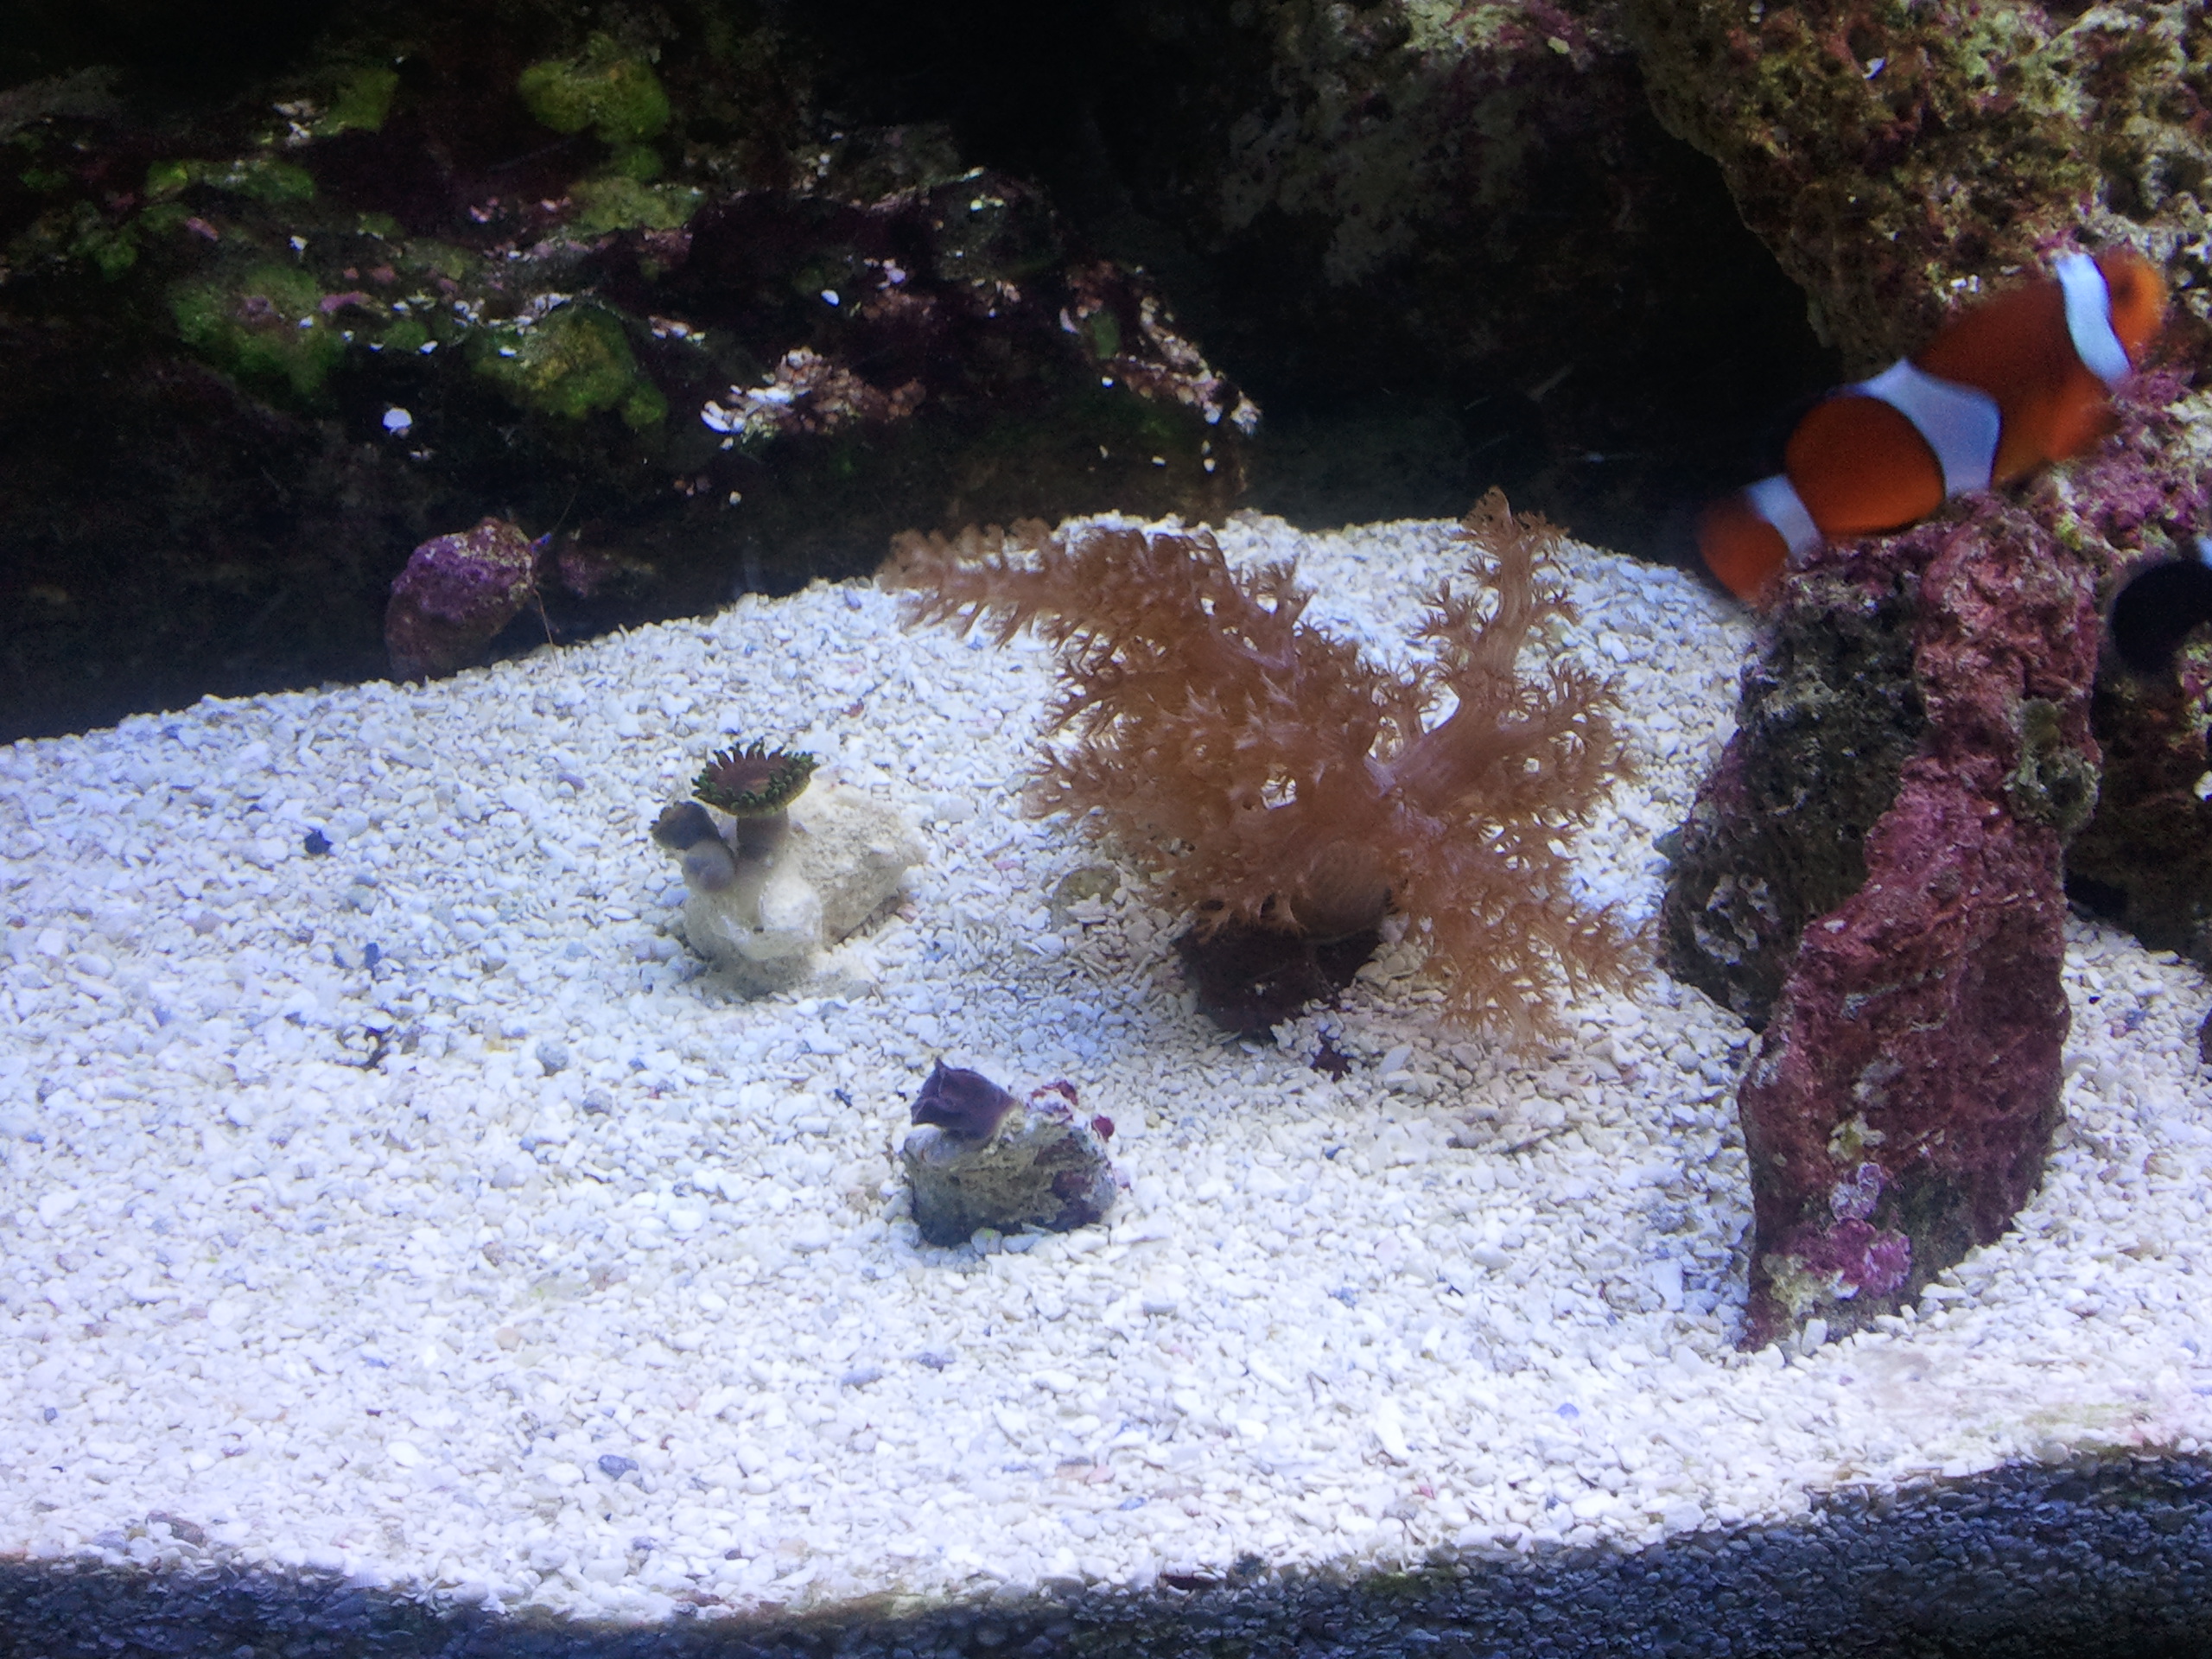
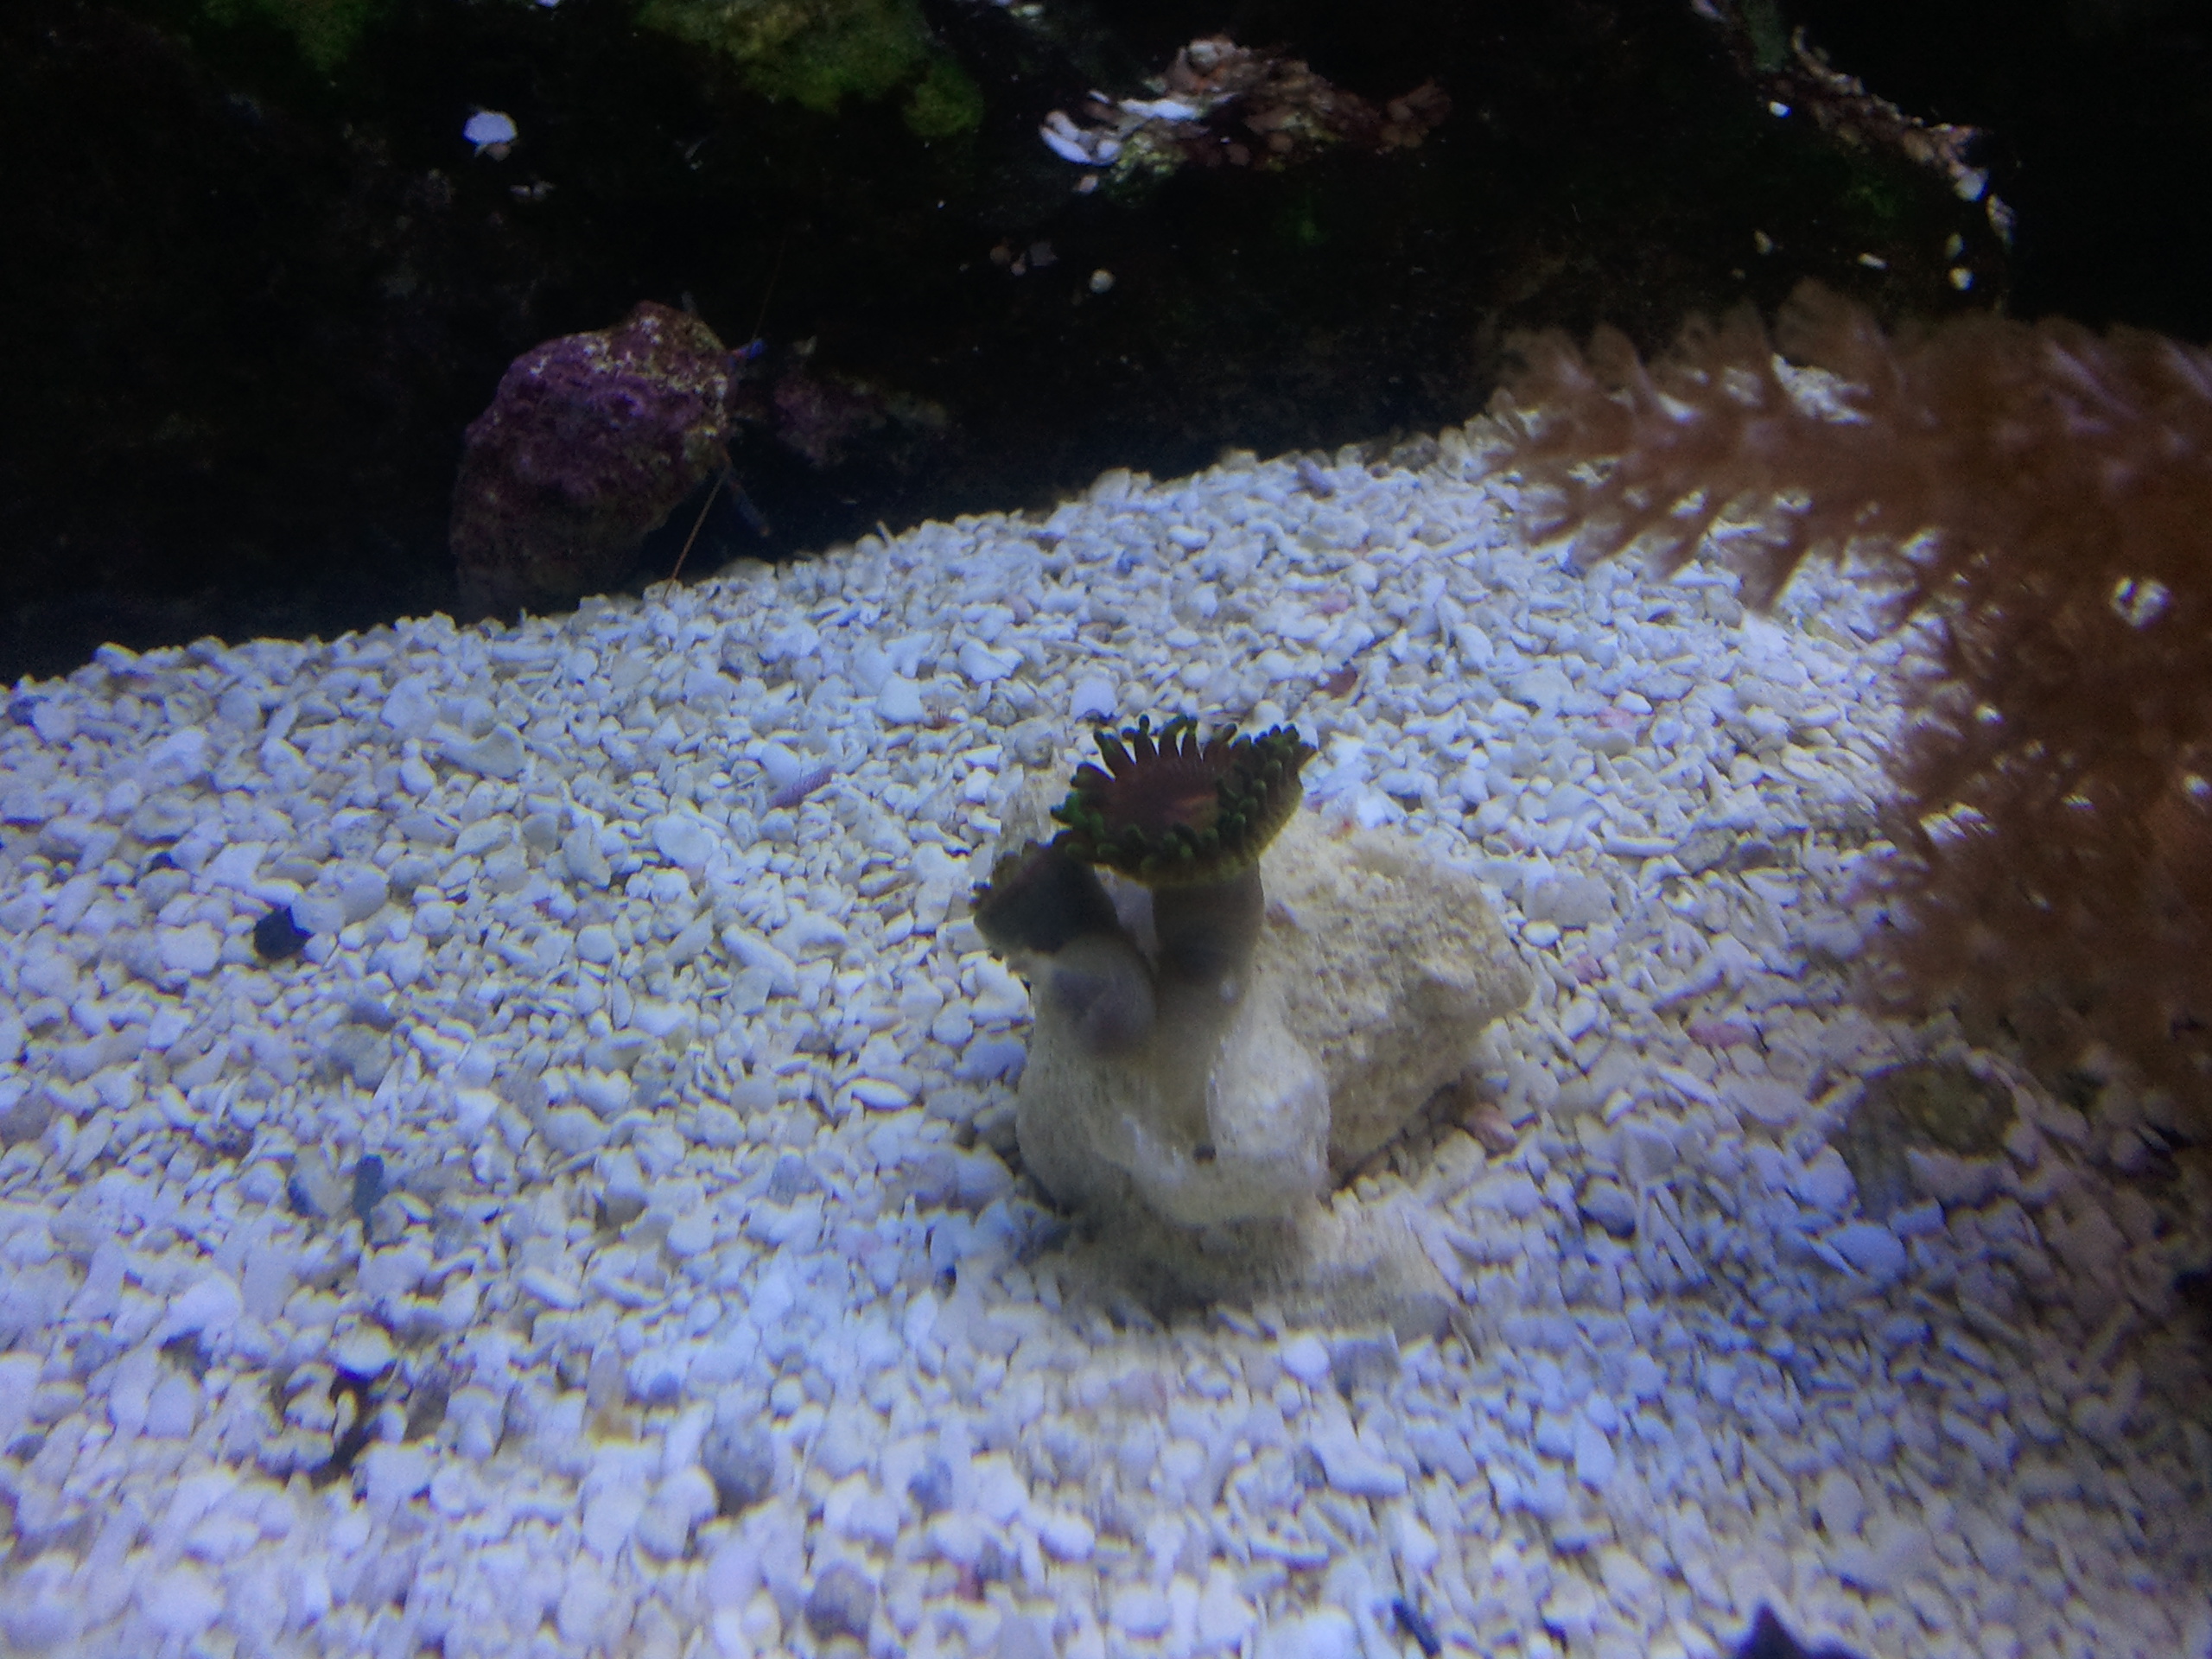
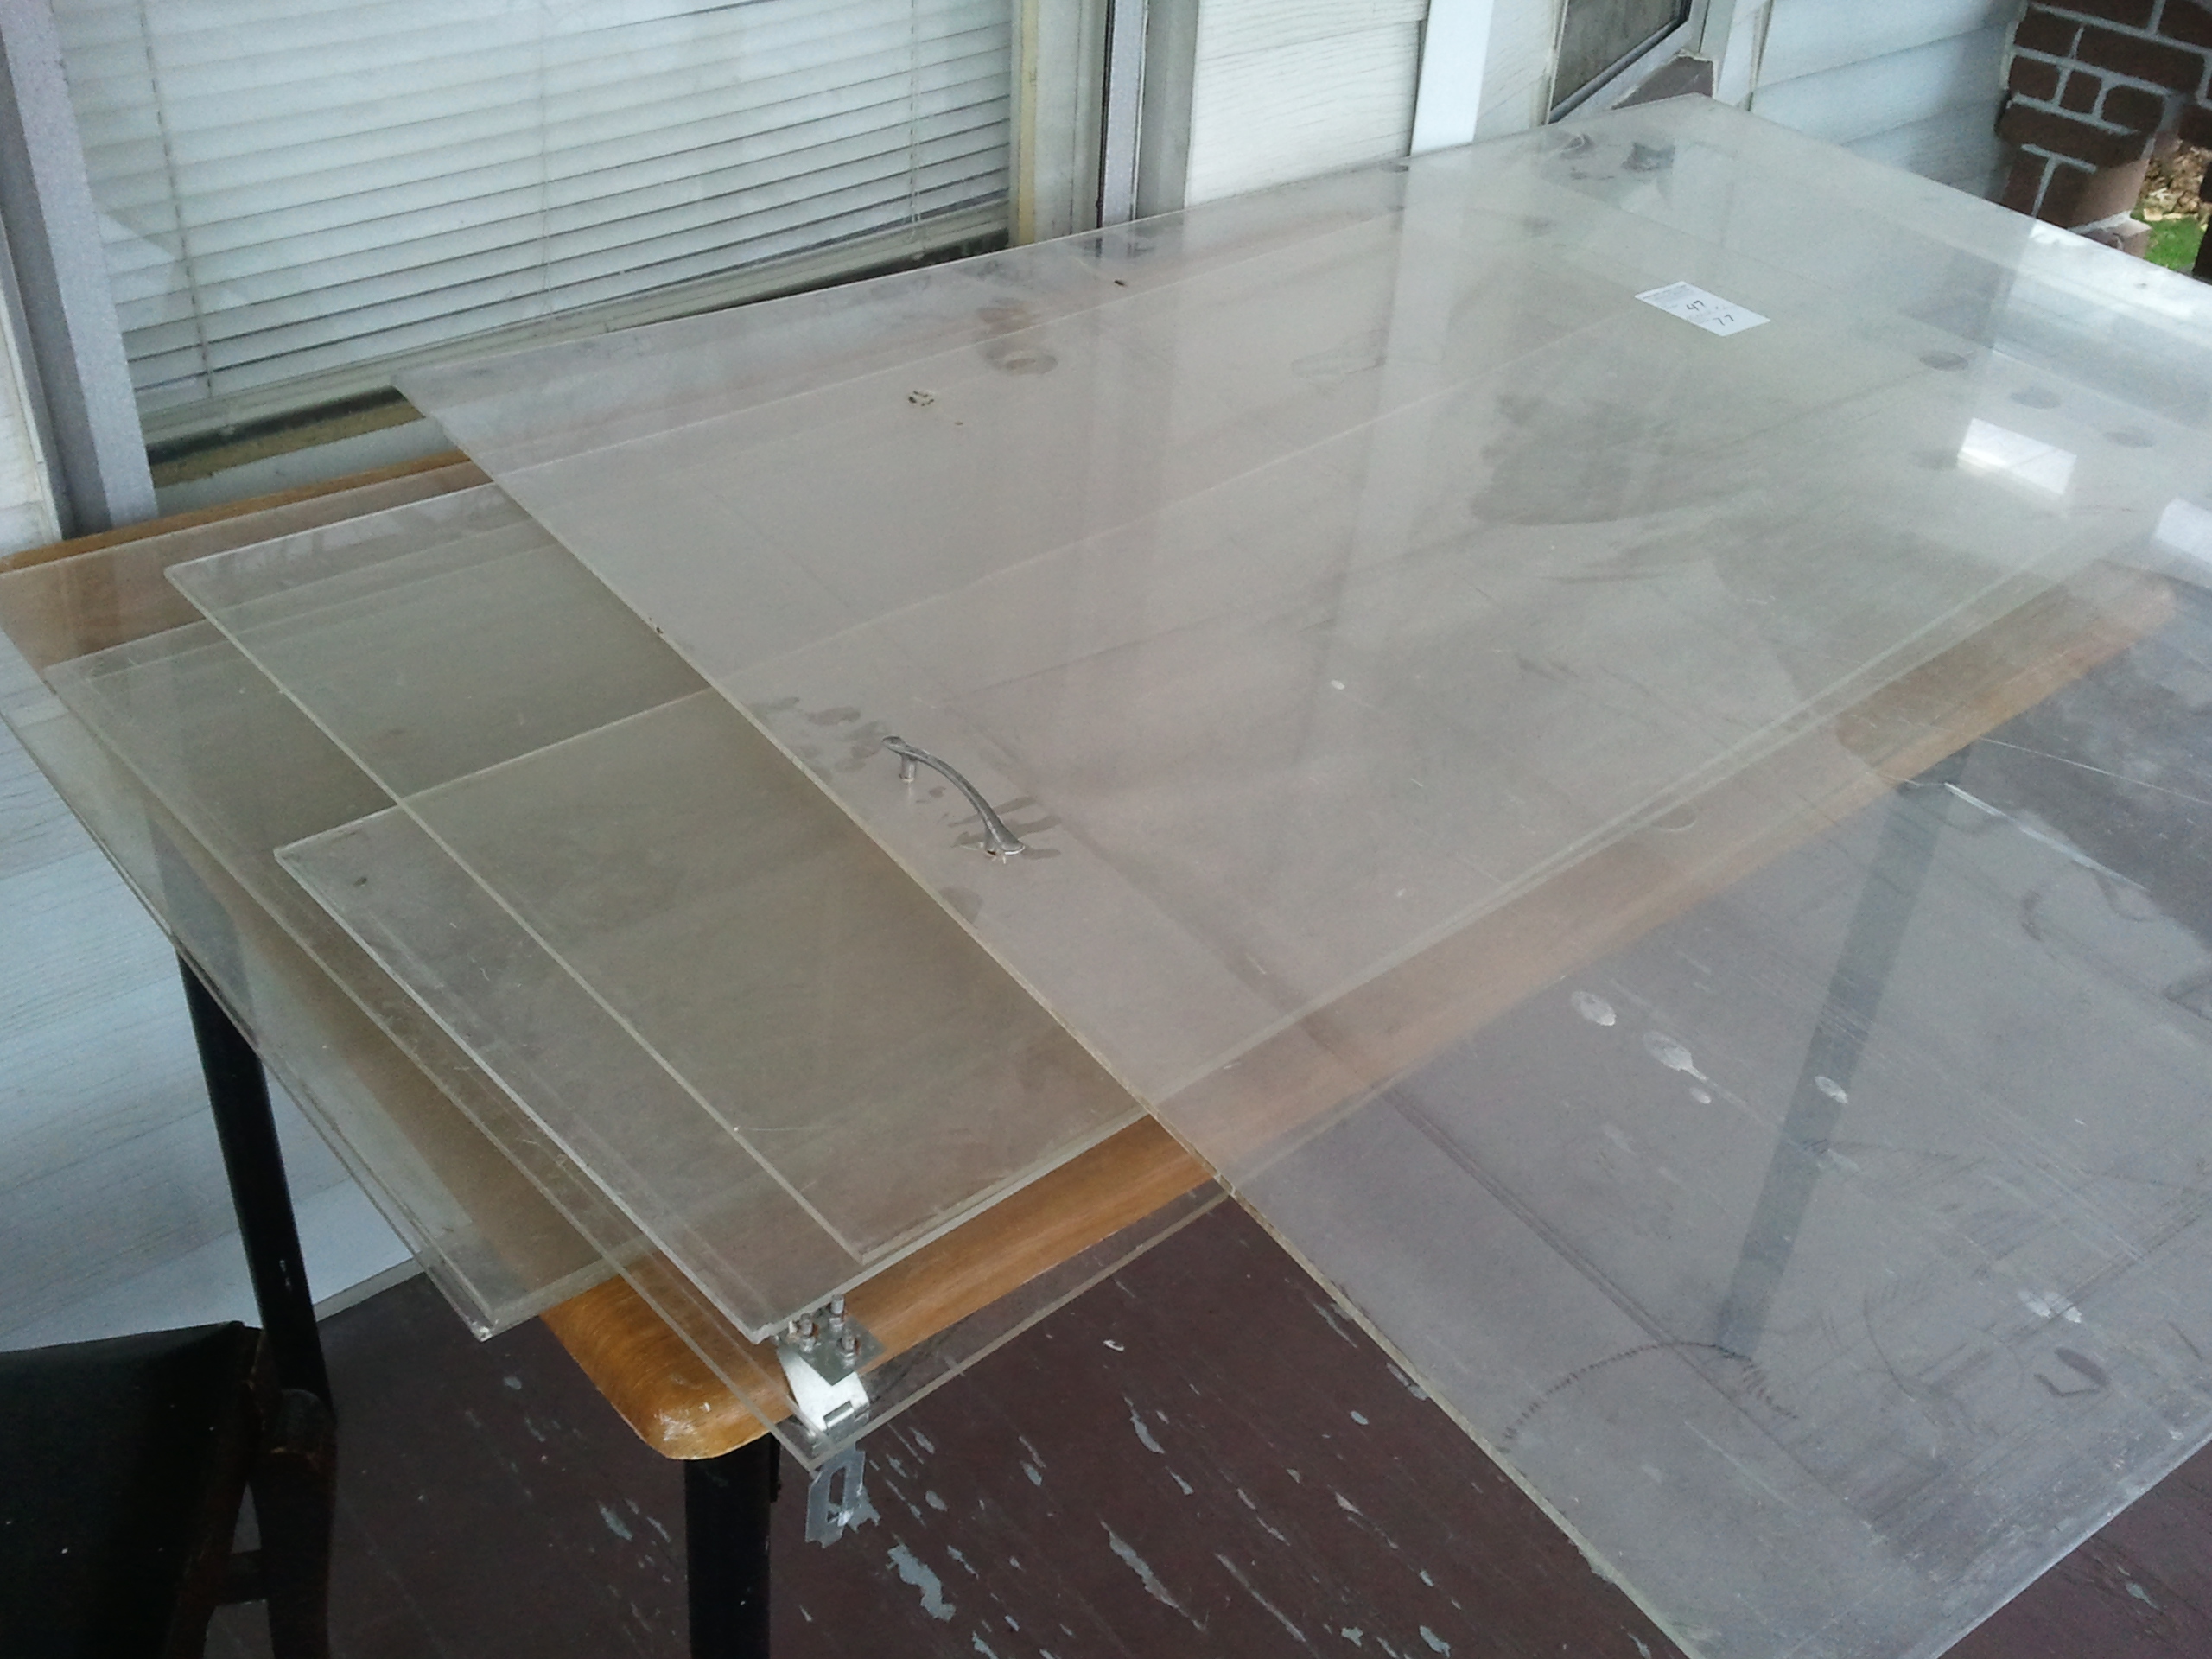
Alright now if you guys like this idea for the tops of your tanks, I will post a little walk through on how I did this and what you are going to need. I will start off with a list of materials.
I went to my local
home depot and found all the supplies you will need.
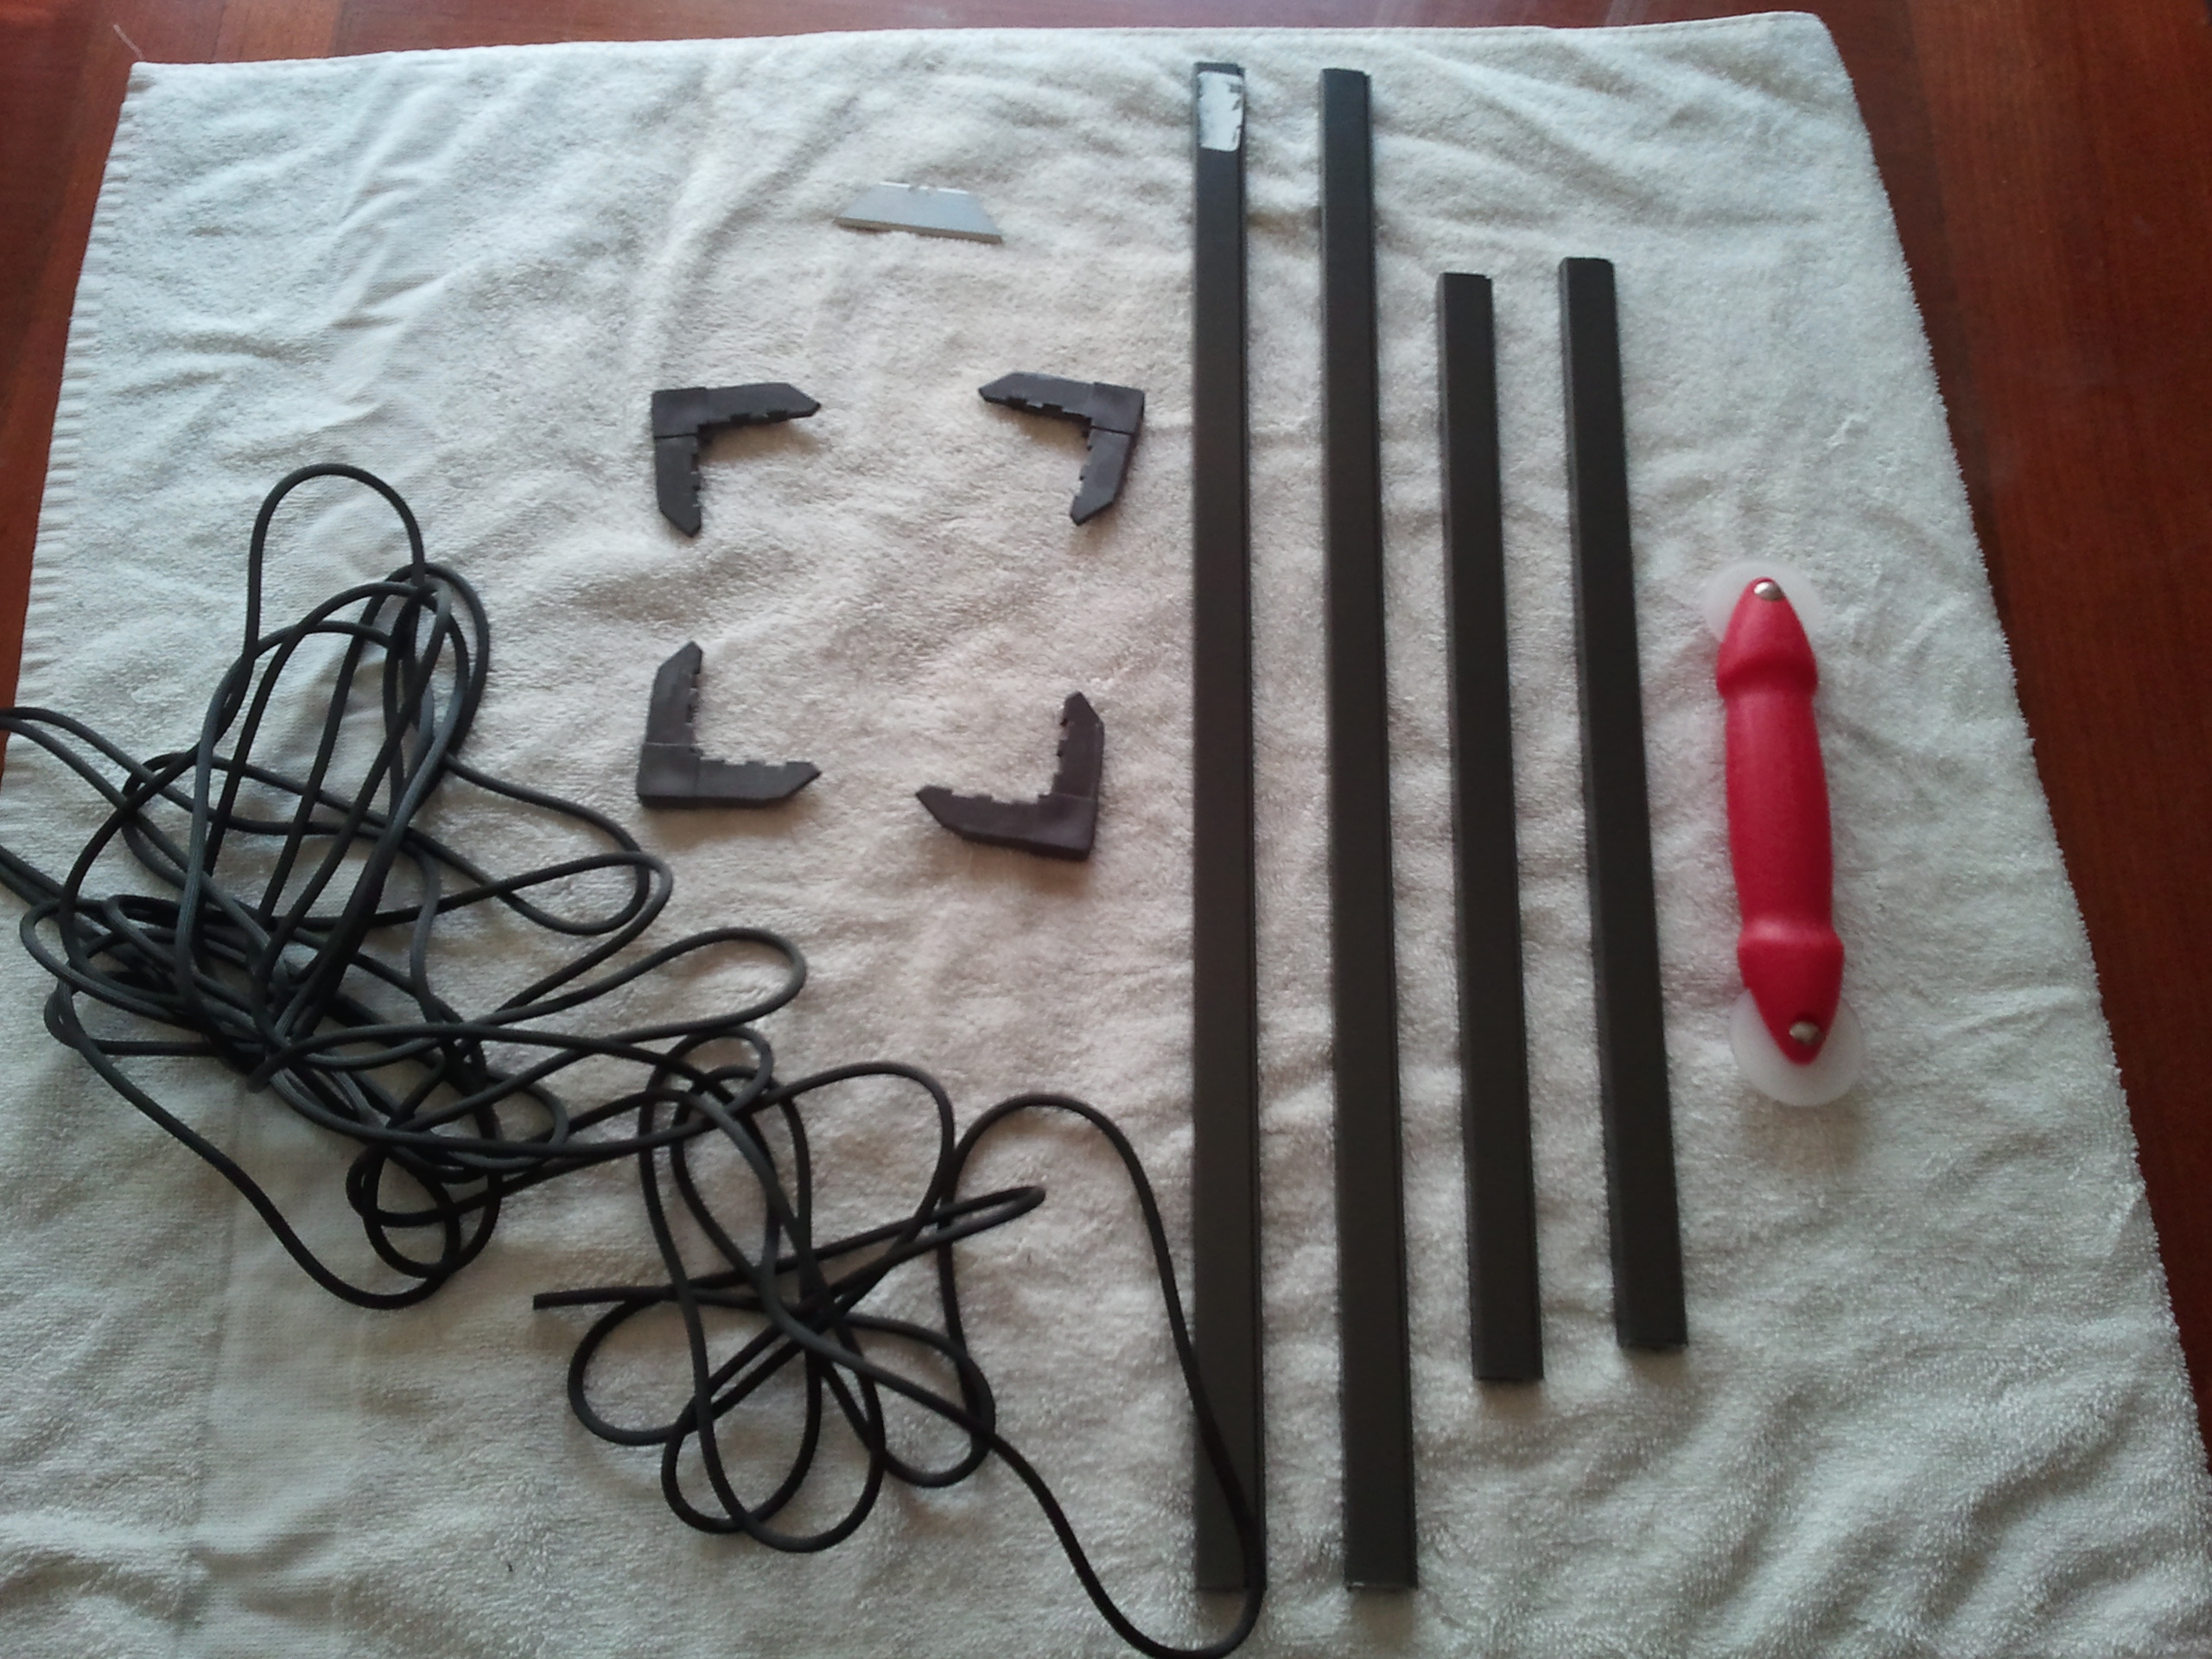
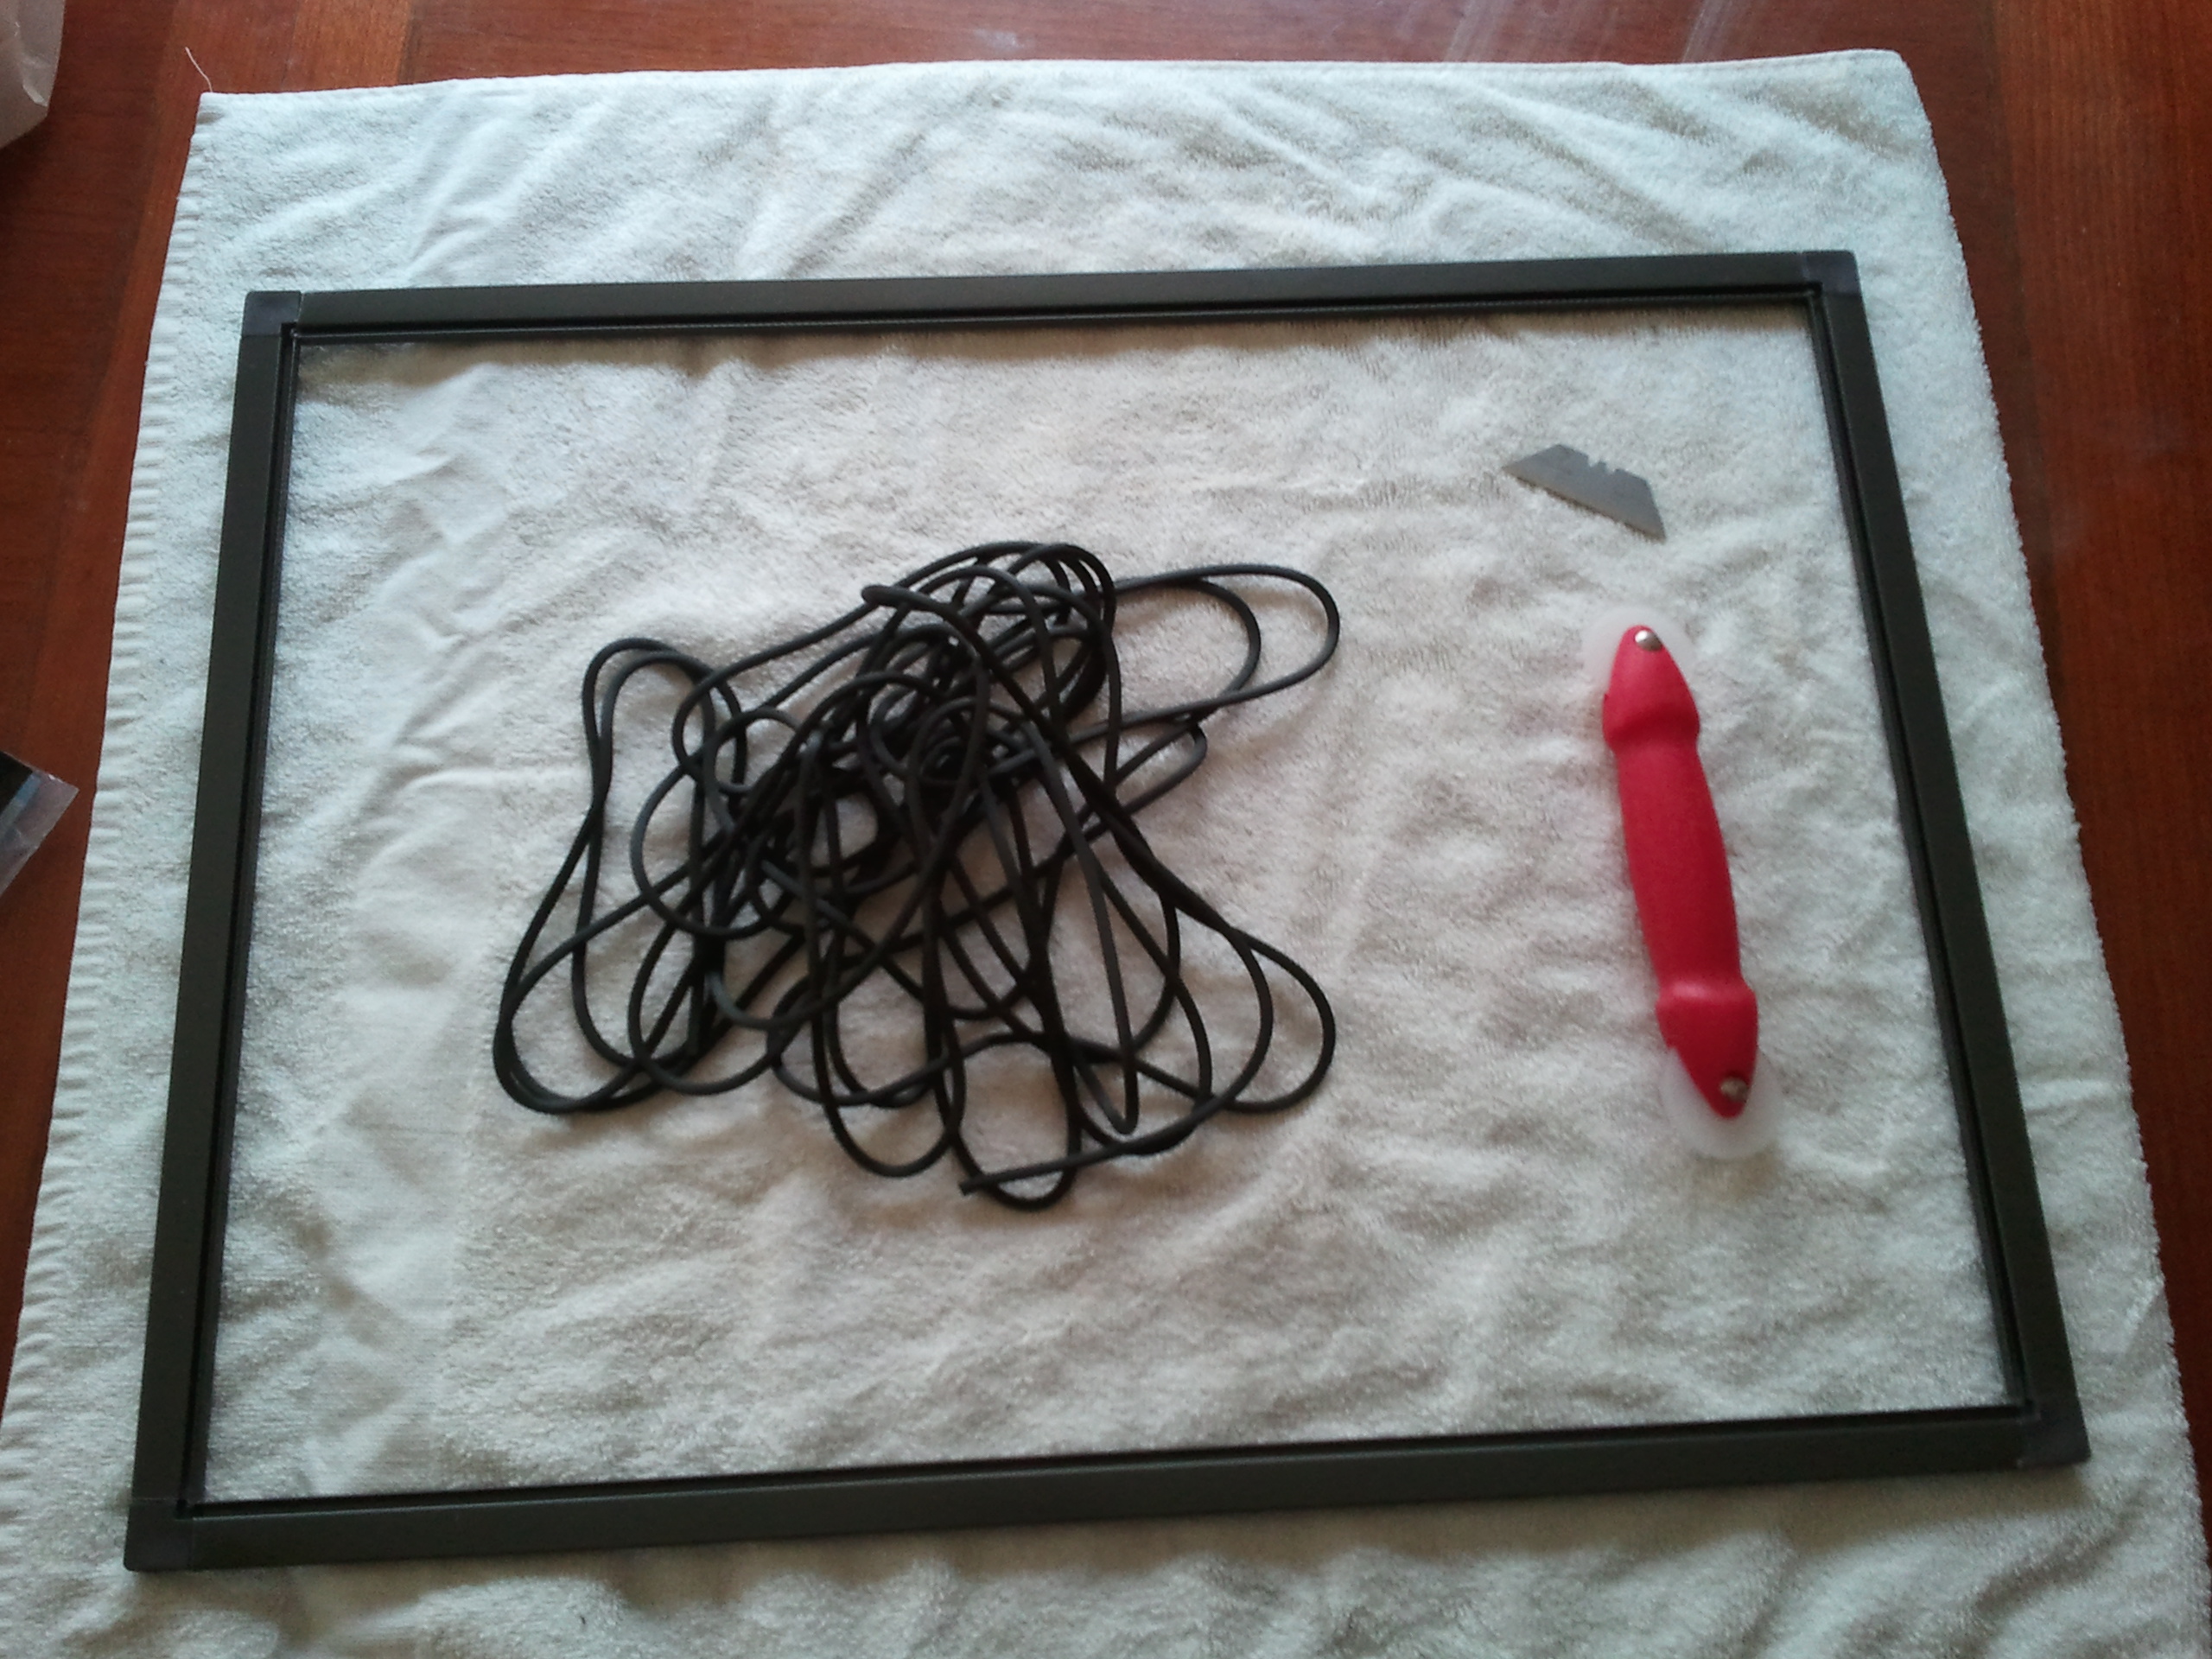
There is a "Re-Screening kit" In the window and door isle that came with the screen installation tool, screen retainer spline and 36" x 84" fiberglass screen mesh I got that kit for about $10.00 which was more than I needed but I have some left over for another tank.
Next you are going to need the brown metal screen ( The outsides of the screen) I got that in a 10' section for $3.50 you will probably need 2 or 3 sticks Its always nicer to buy a little extra and return what you do not need.
Now you need some corners to put your screen sticks together with, they sell those in the window and door isle with the screen kit for about $2.00 for the 4 corner kit. The exact corners I got are the "Brown screen frame corners"
You are also going to need a razor blade to cut the screen with later.
Here is a photo of the materials.
After you have all of your materials you need to cut the brown screen sticks into the sizes that you want to cover your tank. Usually there are grooves on the inside of your tank at the top, you want the screen to fit inside those grooves. So lets take mine for example and the size was 16 1/2" x 22 1/4" On the back of the box of corners it tells you that when cutting for the framing to fit inside whatever your doing that you need to take off 1 1/2" off the total distance. The corners will fill that void. So for the 22 1/4" on my tank I cut that side to 20 5/8" so I have a snug fit. Once you have the pieces cut, put the corners and all pieces together and dry fit that into the grooves on your tank, if it is a little to big the simply trim off some until you have a snug fit. If it is too small you measured wrong and need to cut another piece.
Now lets start putting this puzzle together shall we?
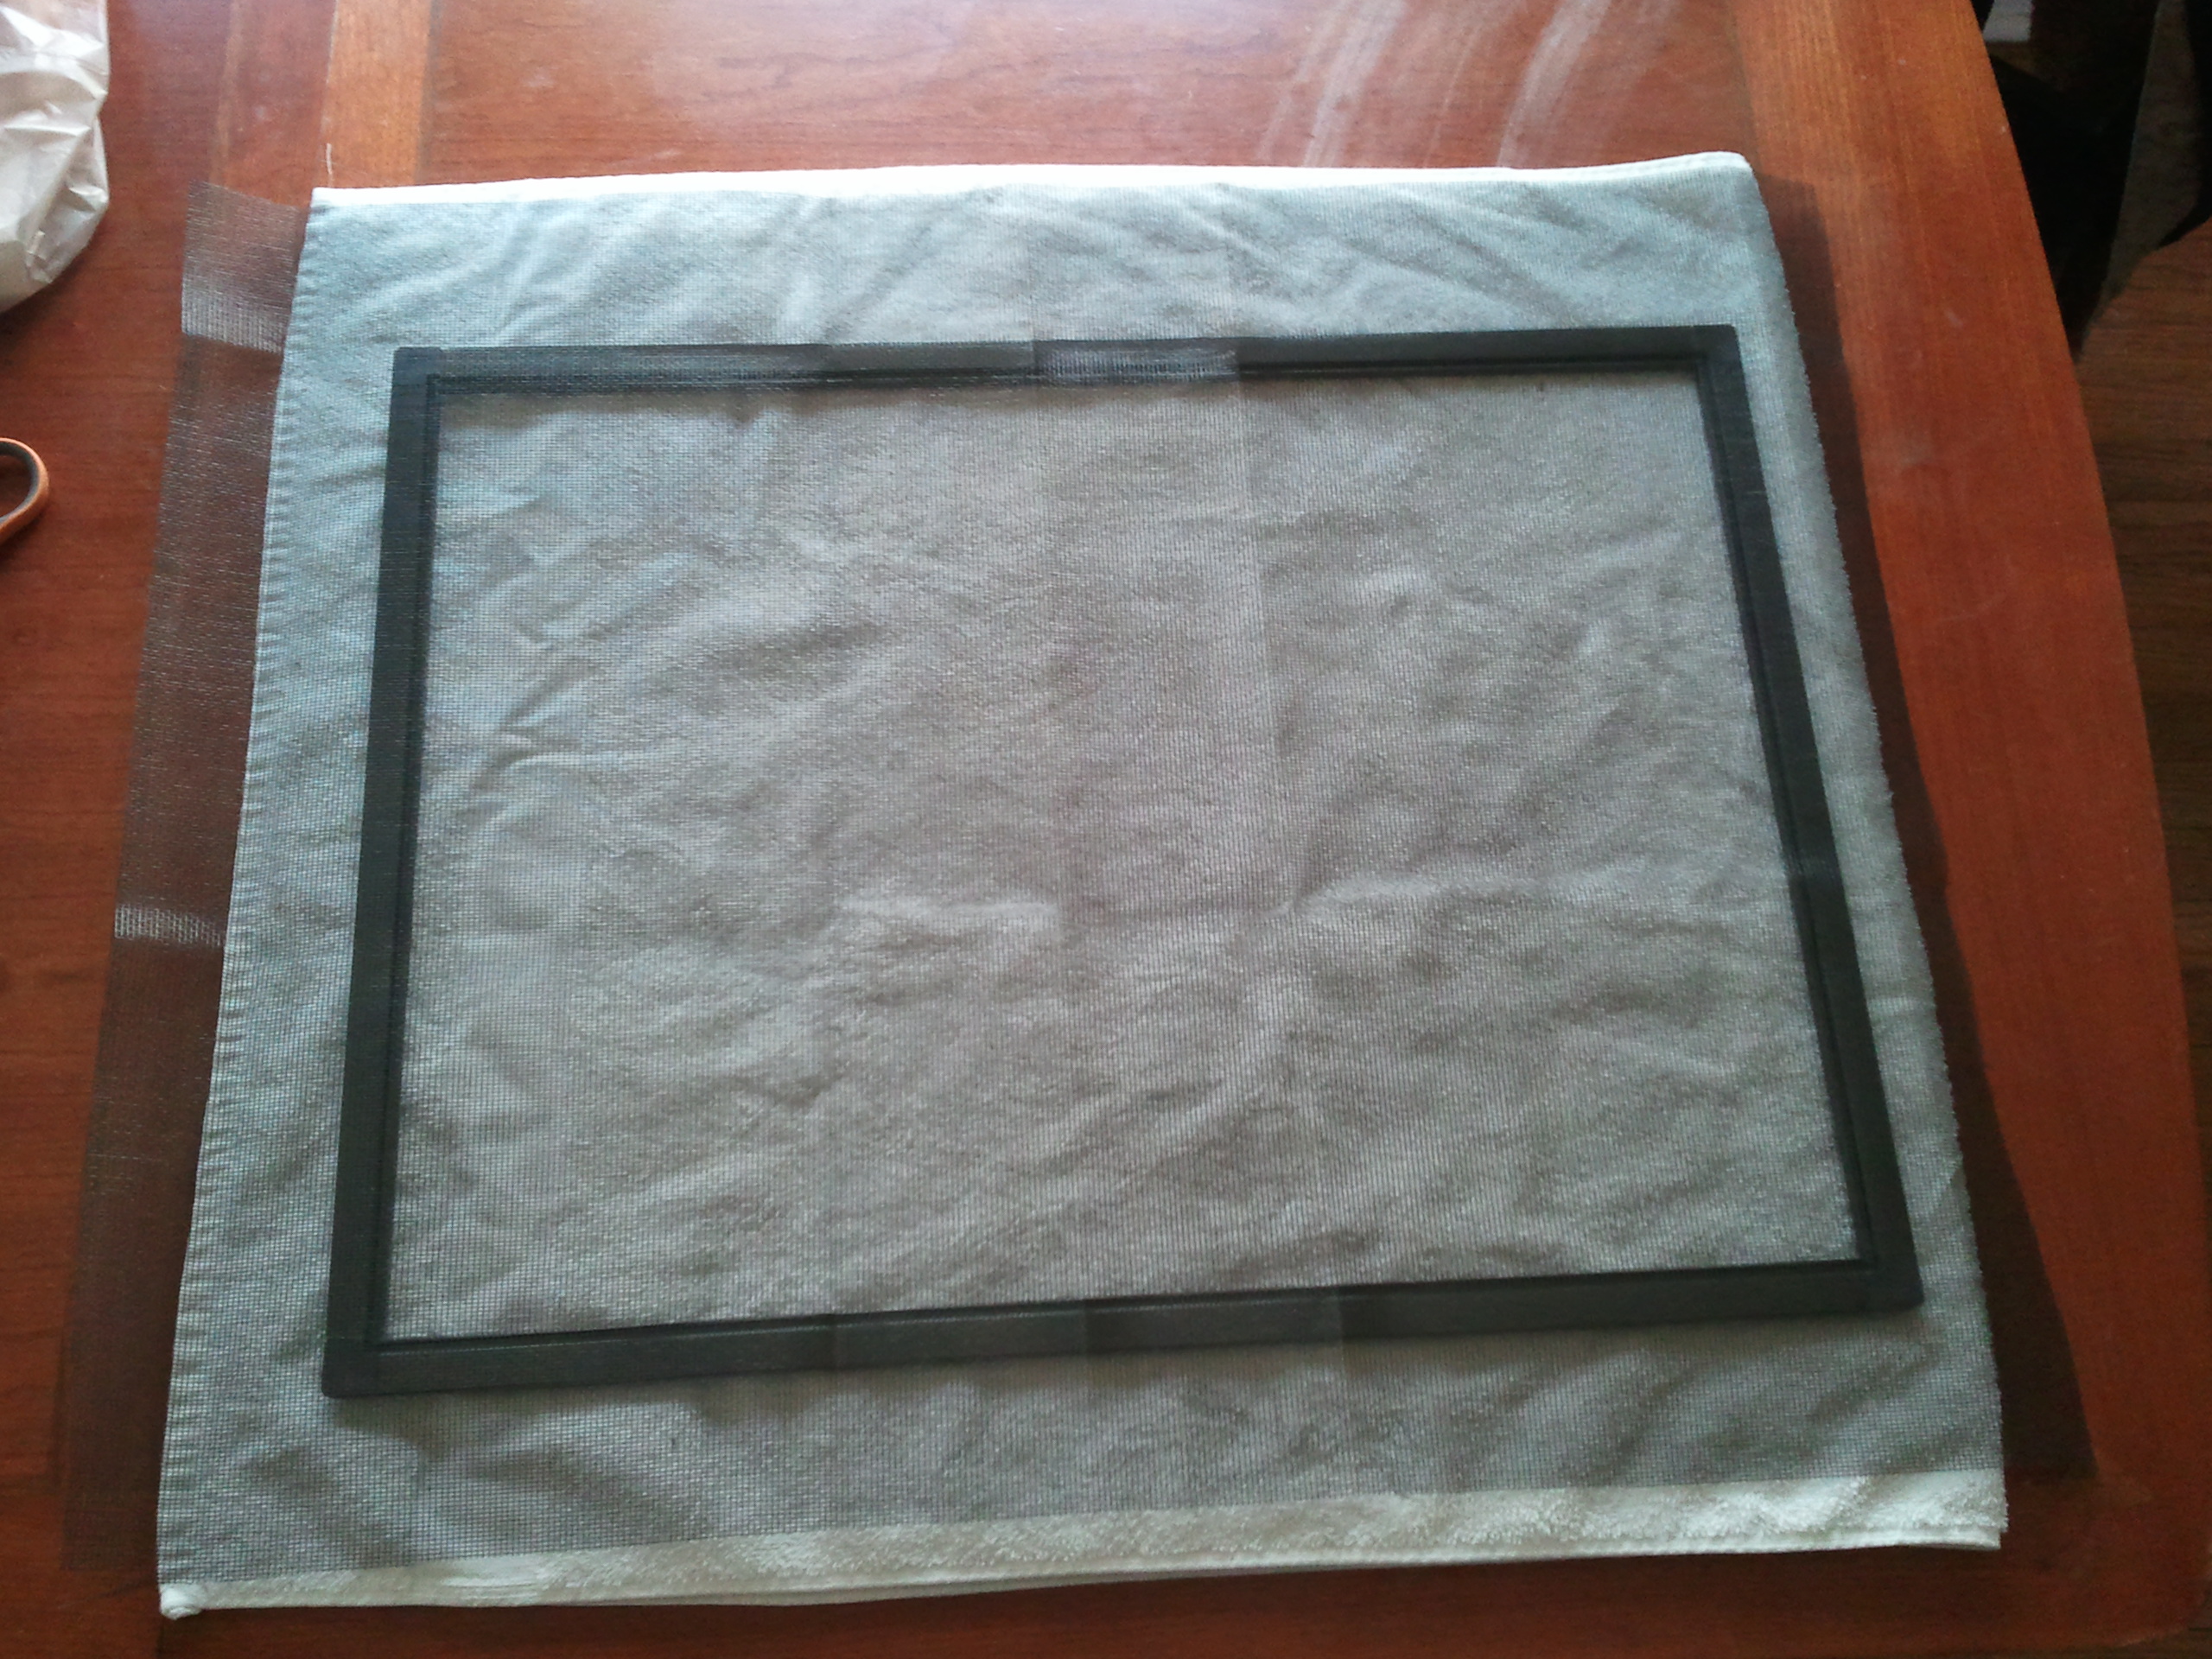
Alright now that we have all the corners in and its all in one piece we need to get our screen and lay it over the outside of the box, making sure that the groove on the one side of the screen is facing towards you.
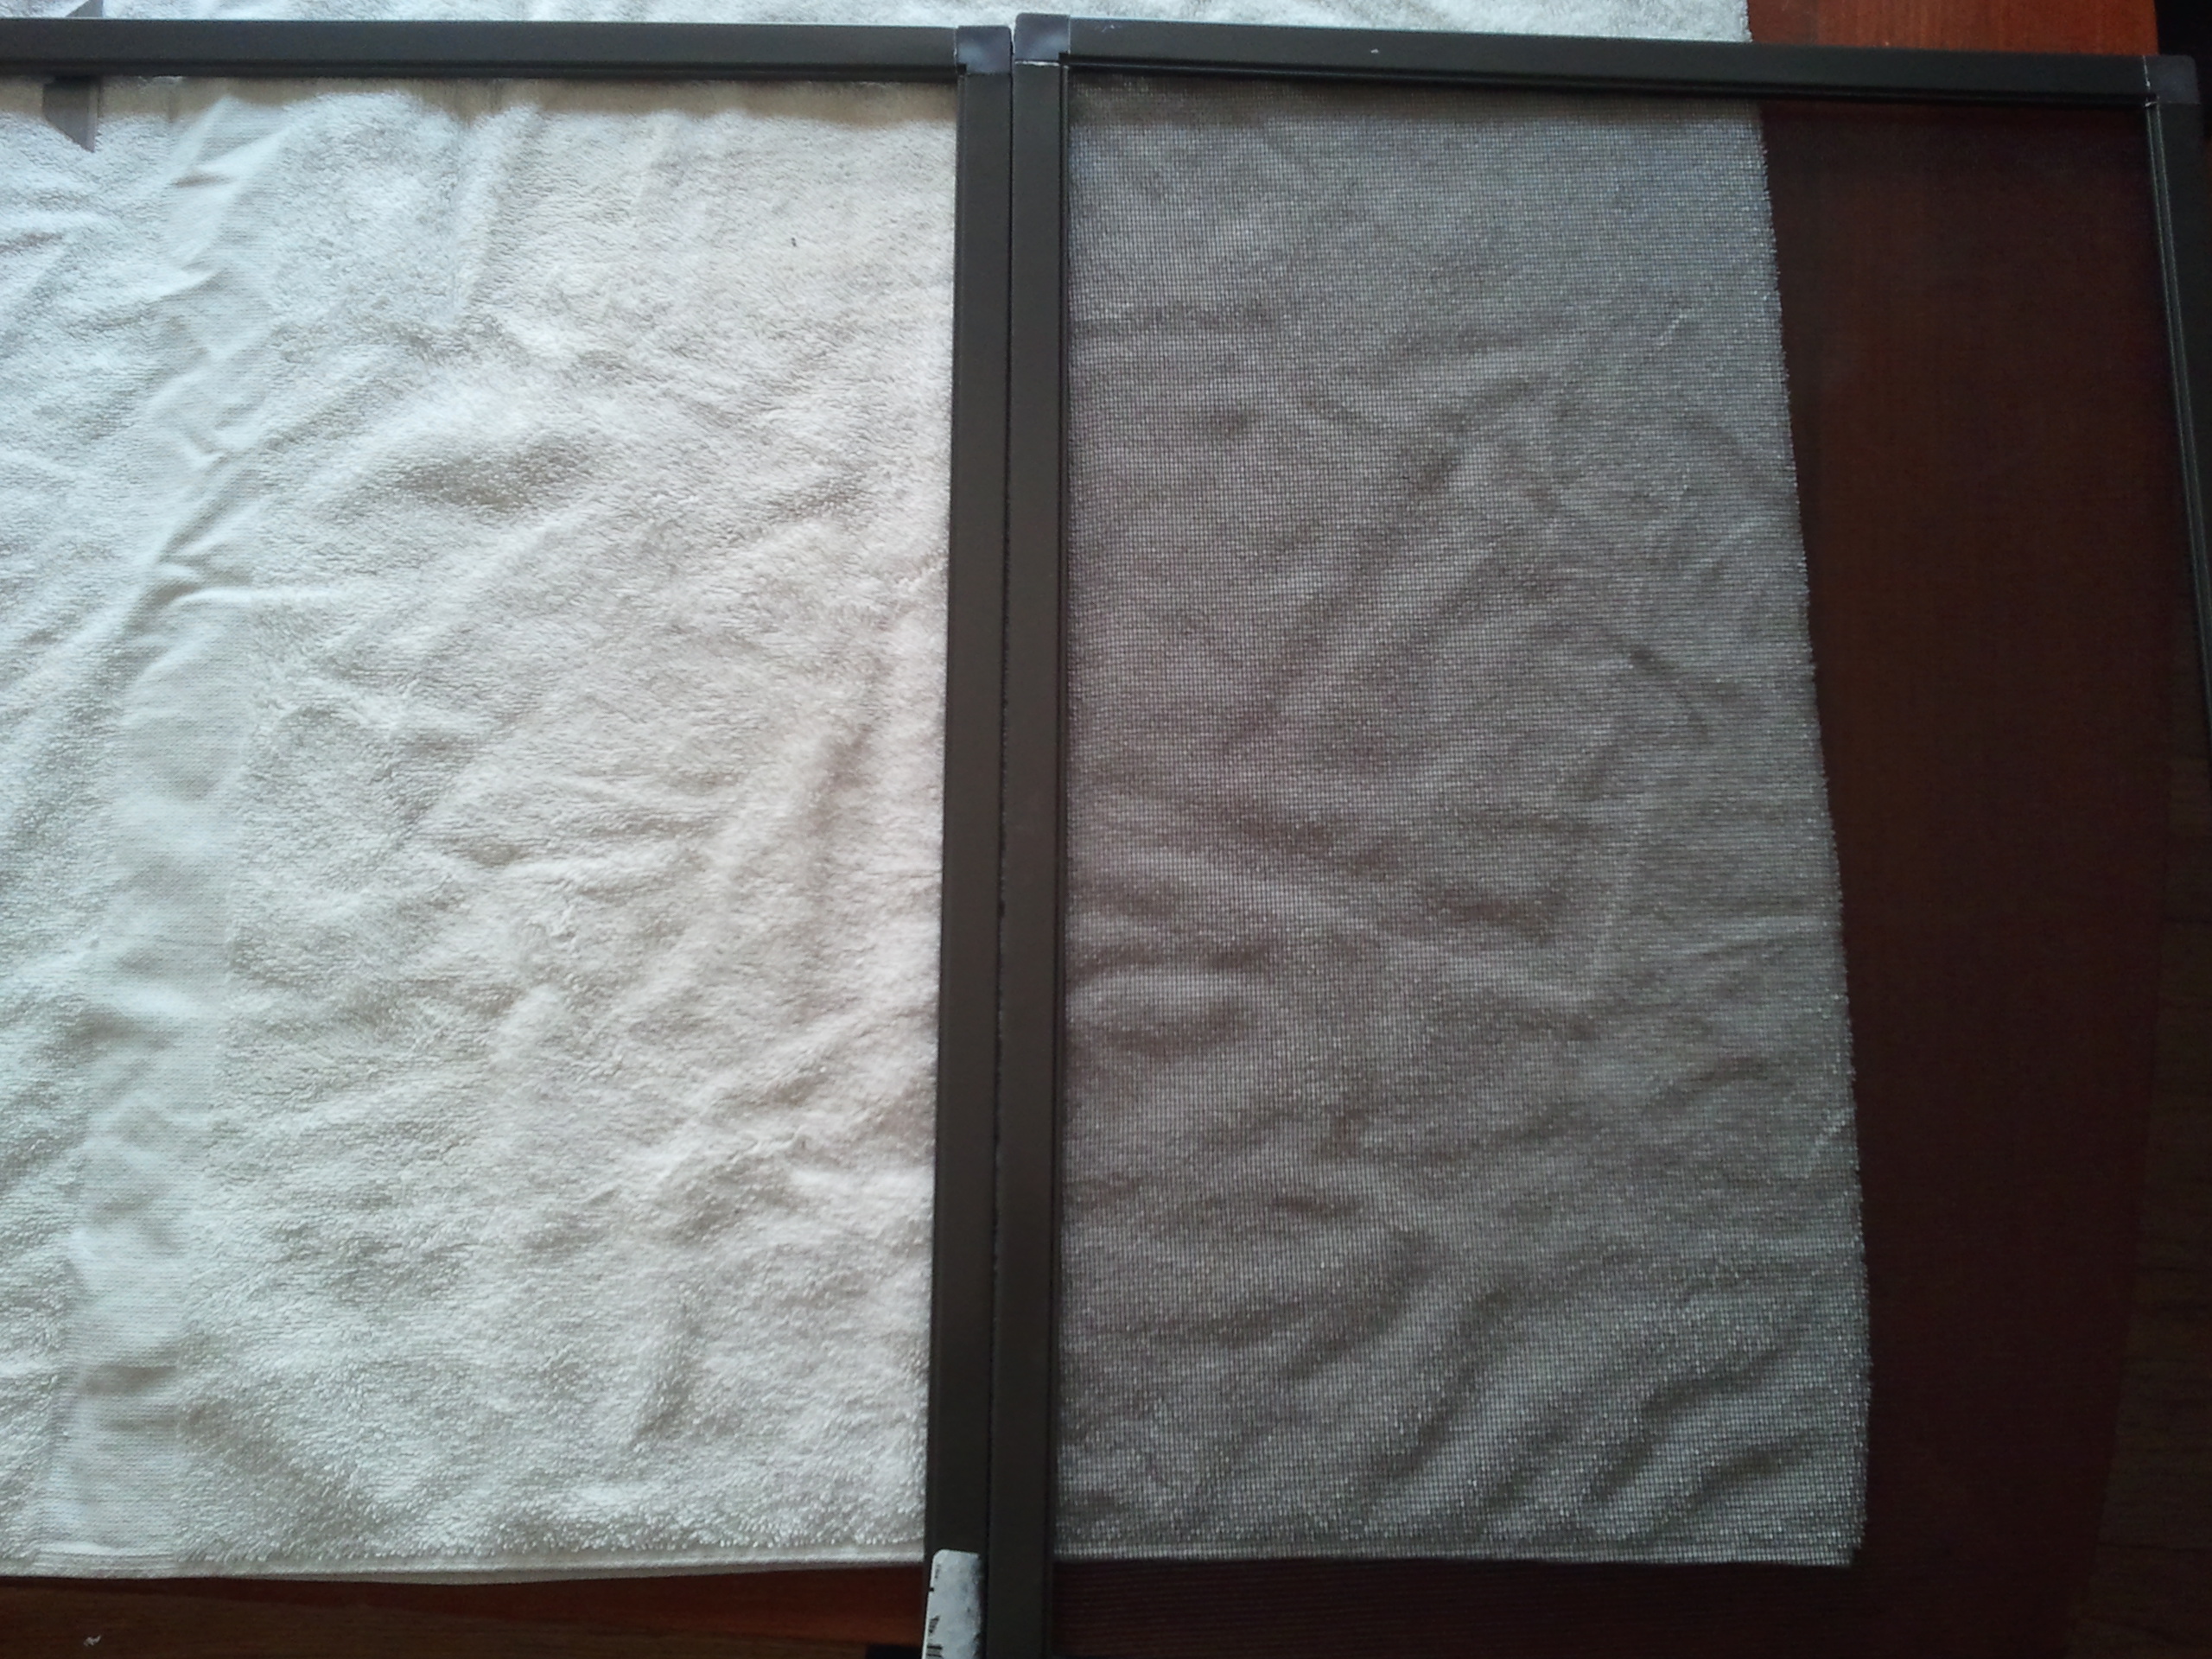
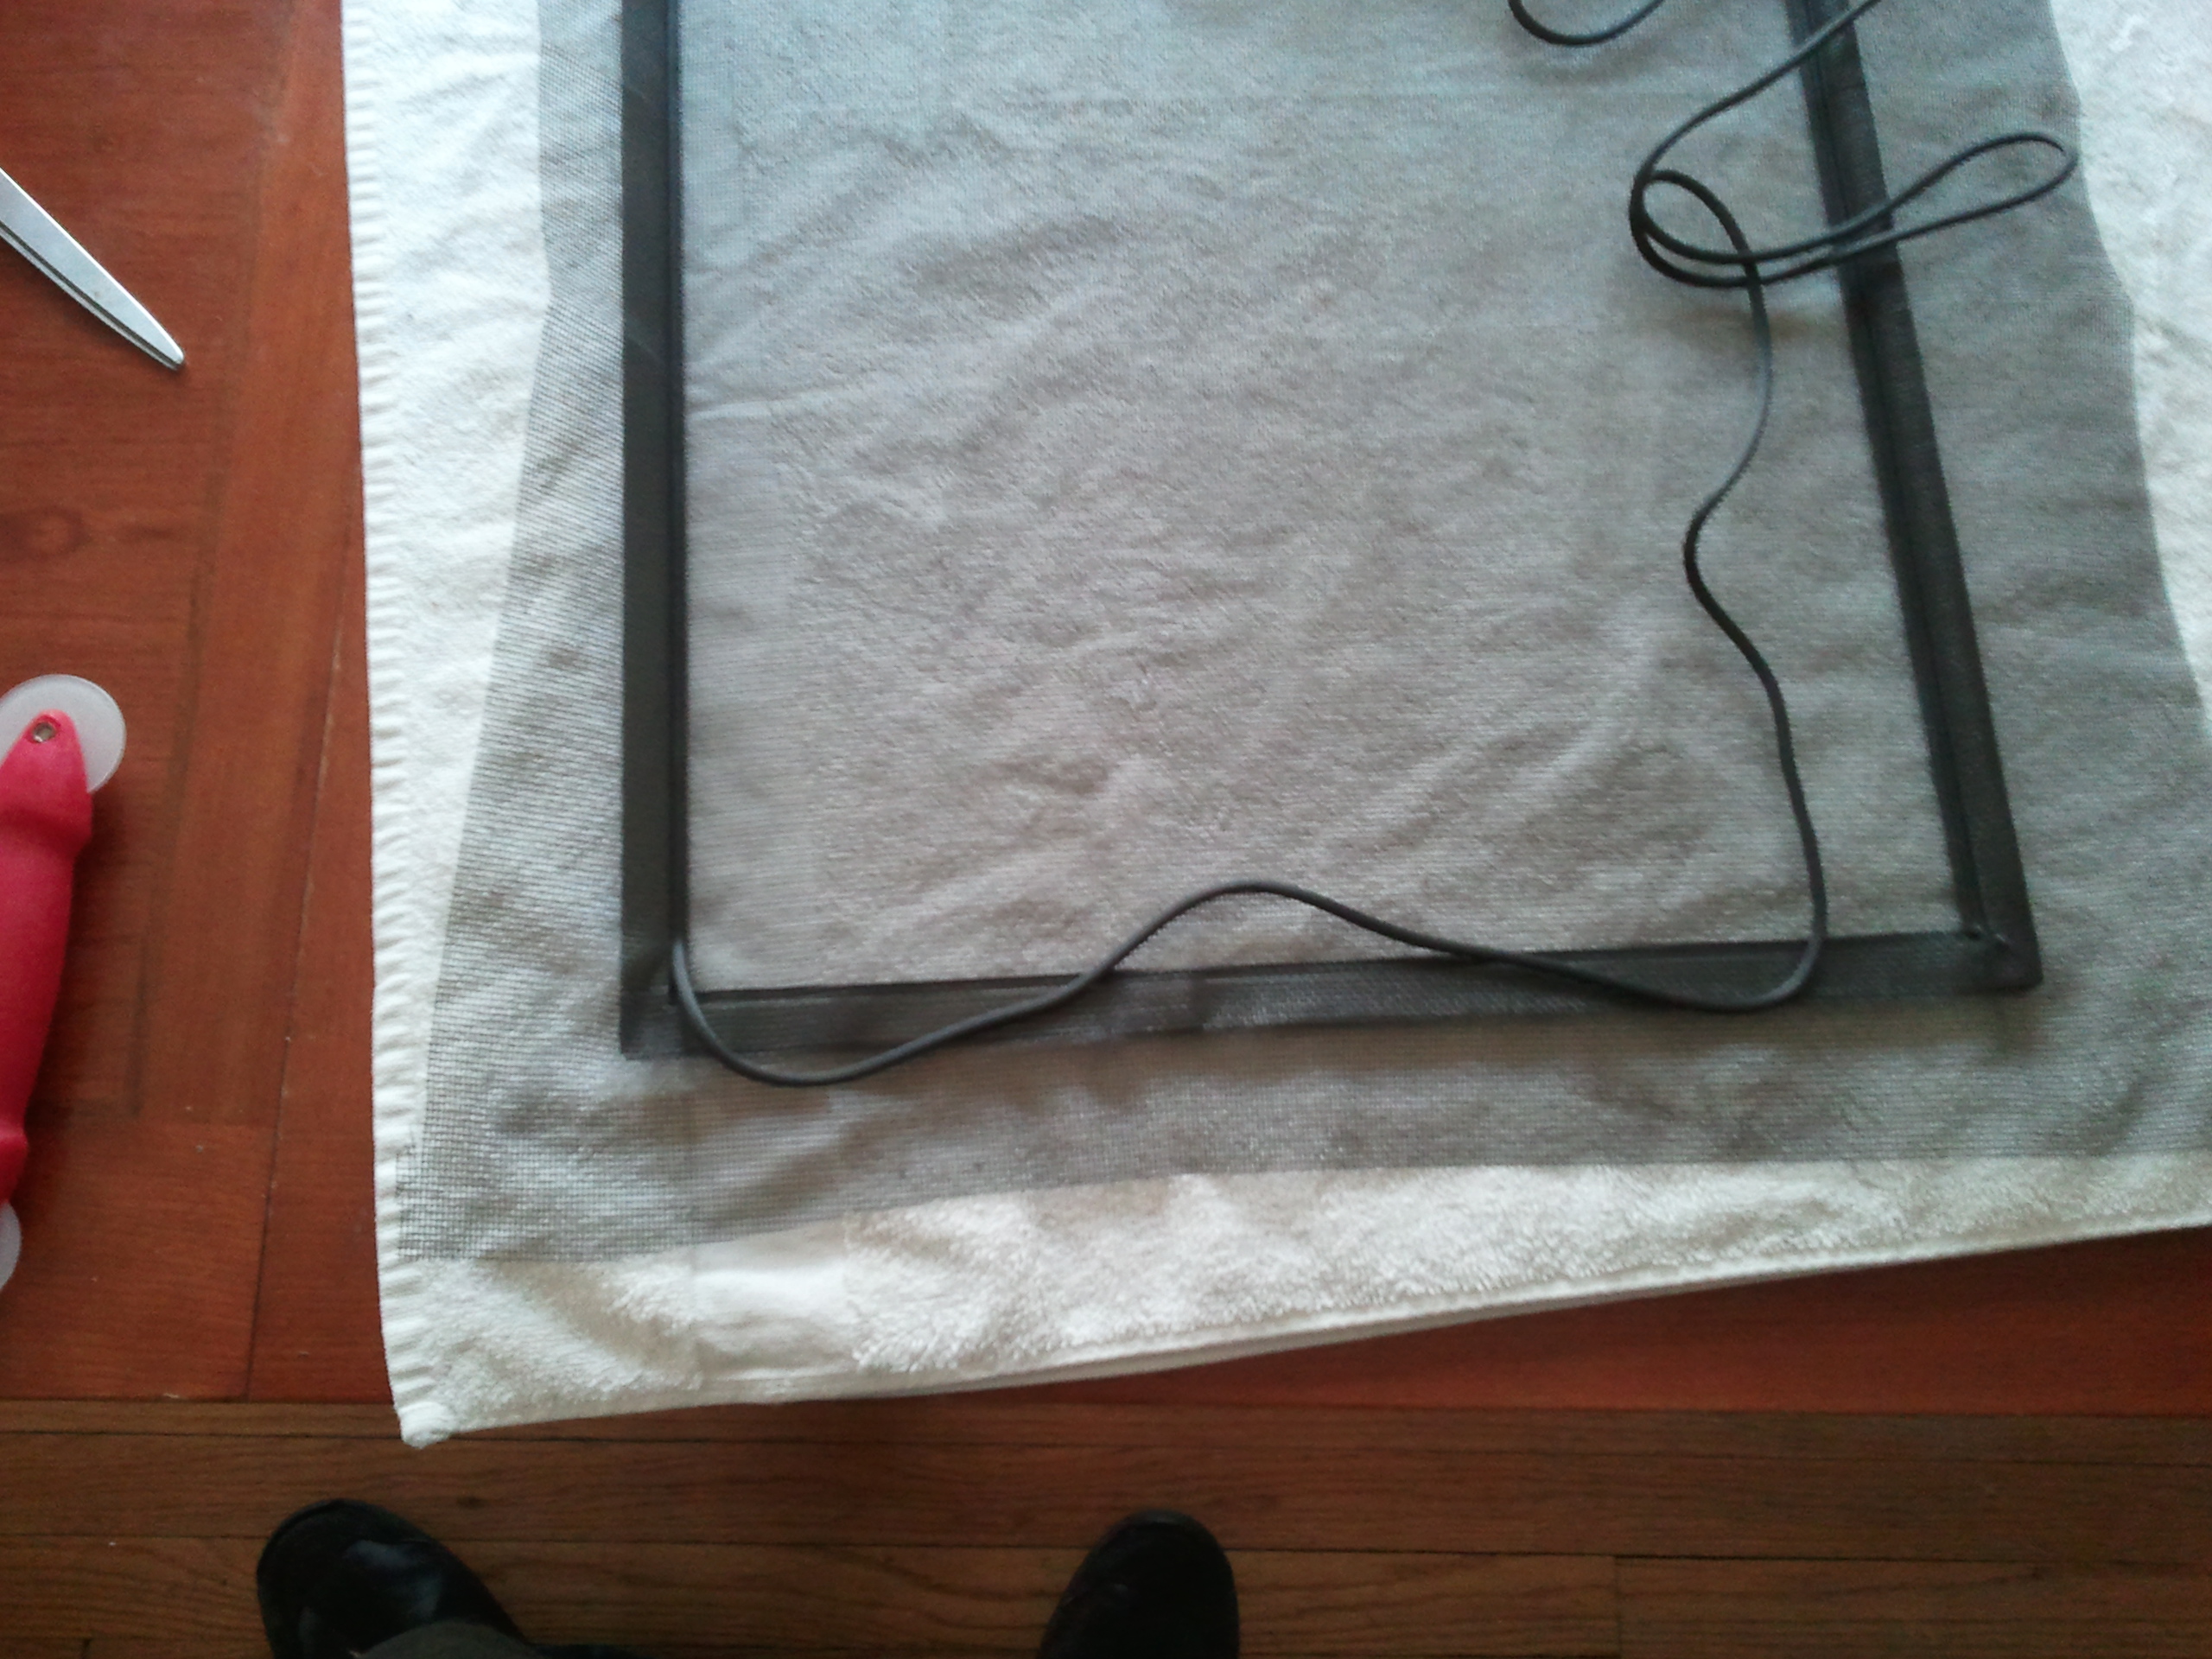
Alright now that you laid it over, we need to trim the rest of the screening off so we have about 1 to 2 inches hanging off each side just to make sure we have enough material to work with. Now its time to start putting in the retainer spline so square up your screening and start putting the spline into the groove over the screening material with your fingers, once you get it started you can grab the screen tool and start rolling the spline into the groove, slowly now.. and as you are rolling the spline in make sure to pull the screen taught so when your done it does not sag and droop down. like this...
Take your time on the corners and make sure you get them into the corner nice and snug you do not want that popping out and sagging on you now do ya? Once you have all 4 sides done cut the spline material and roll the last bit into the last corner and double check to make sure your screen is nice and tight. Once you have it like this...
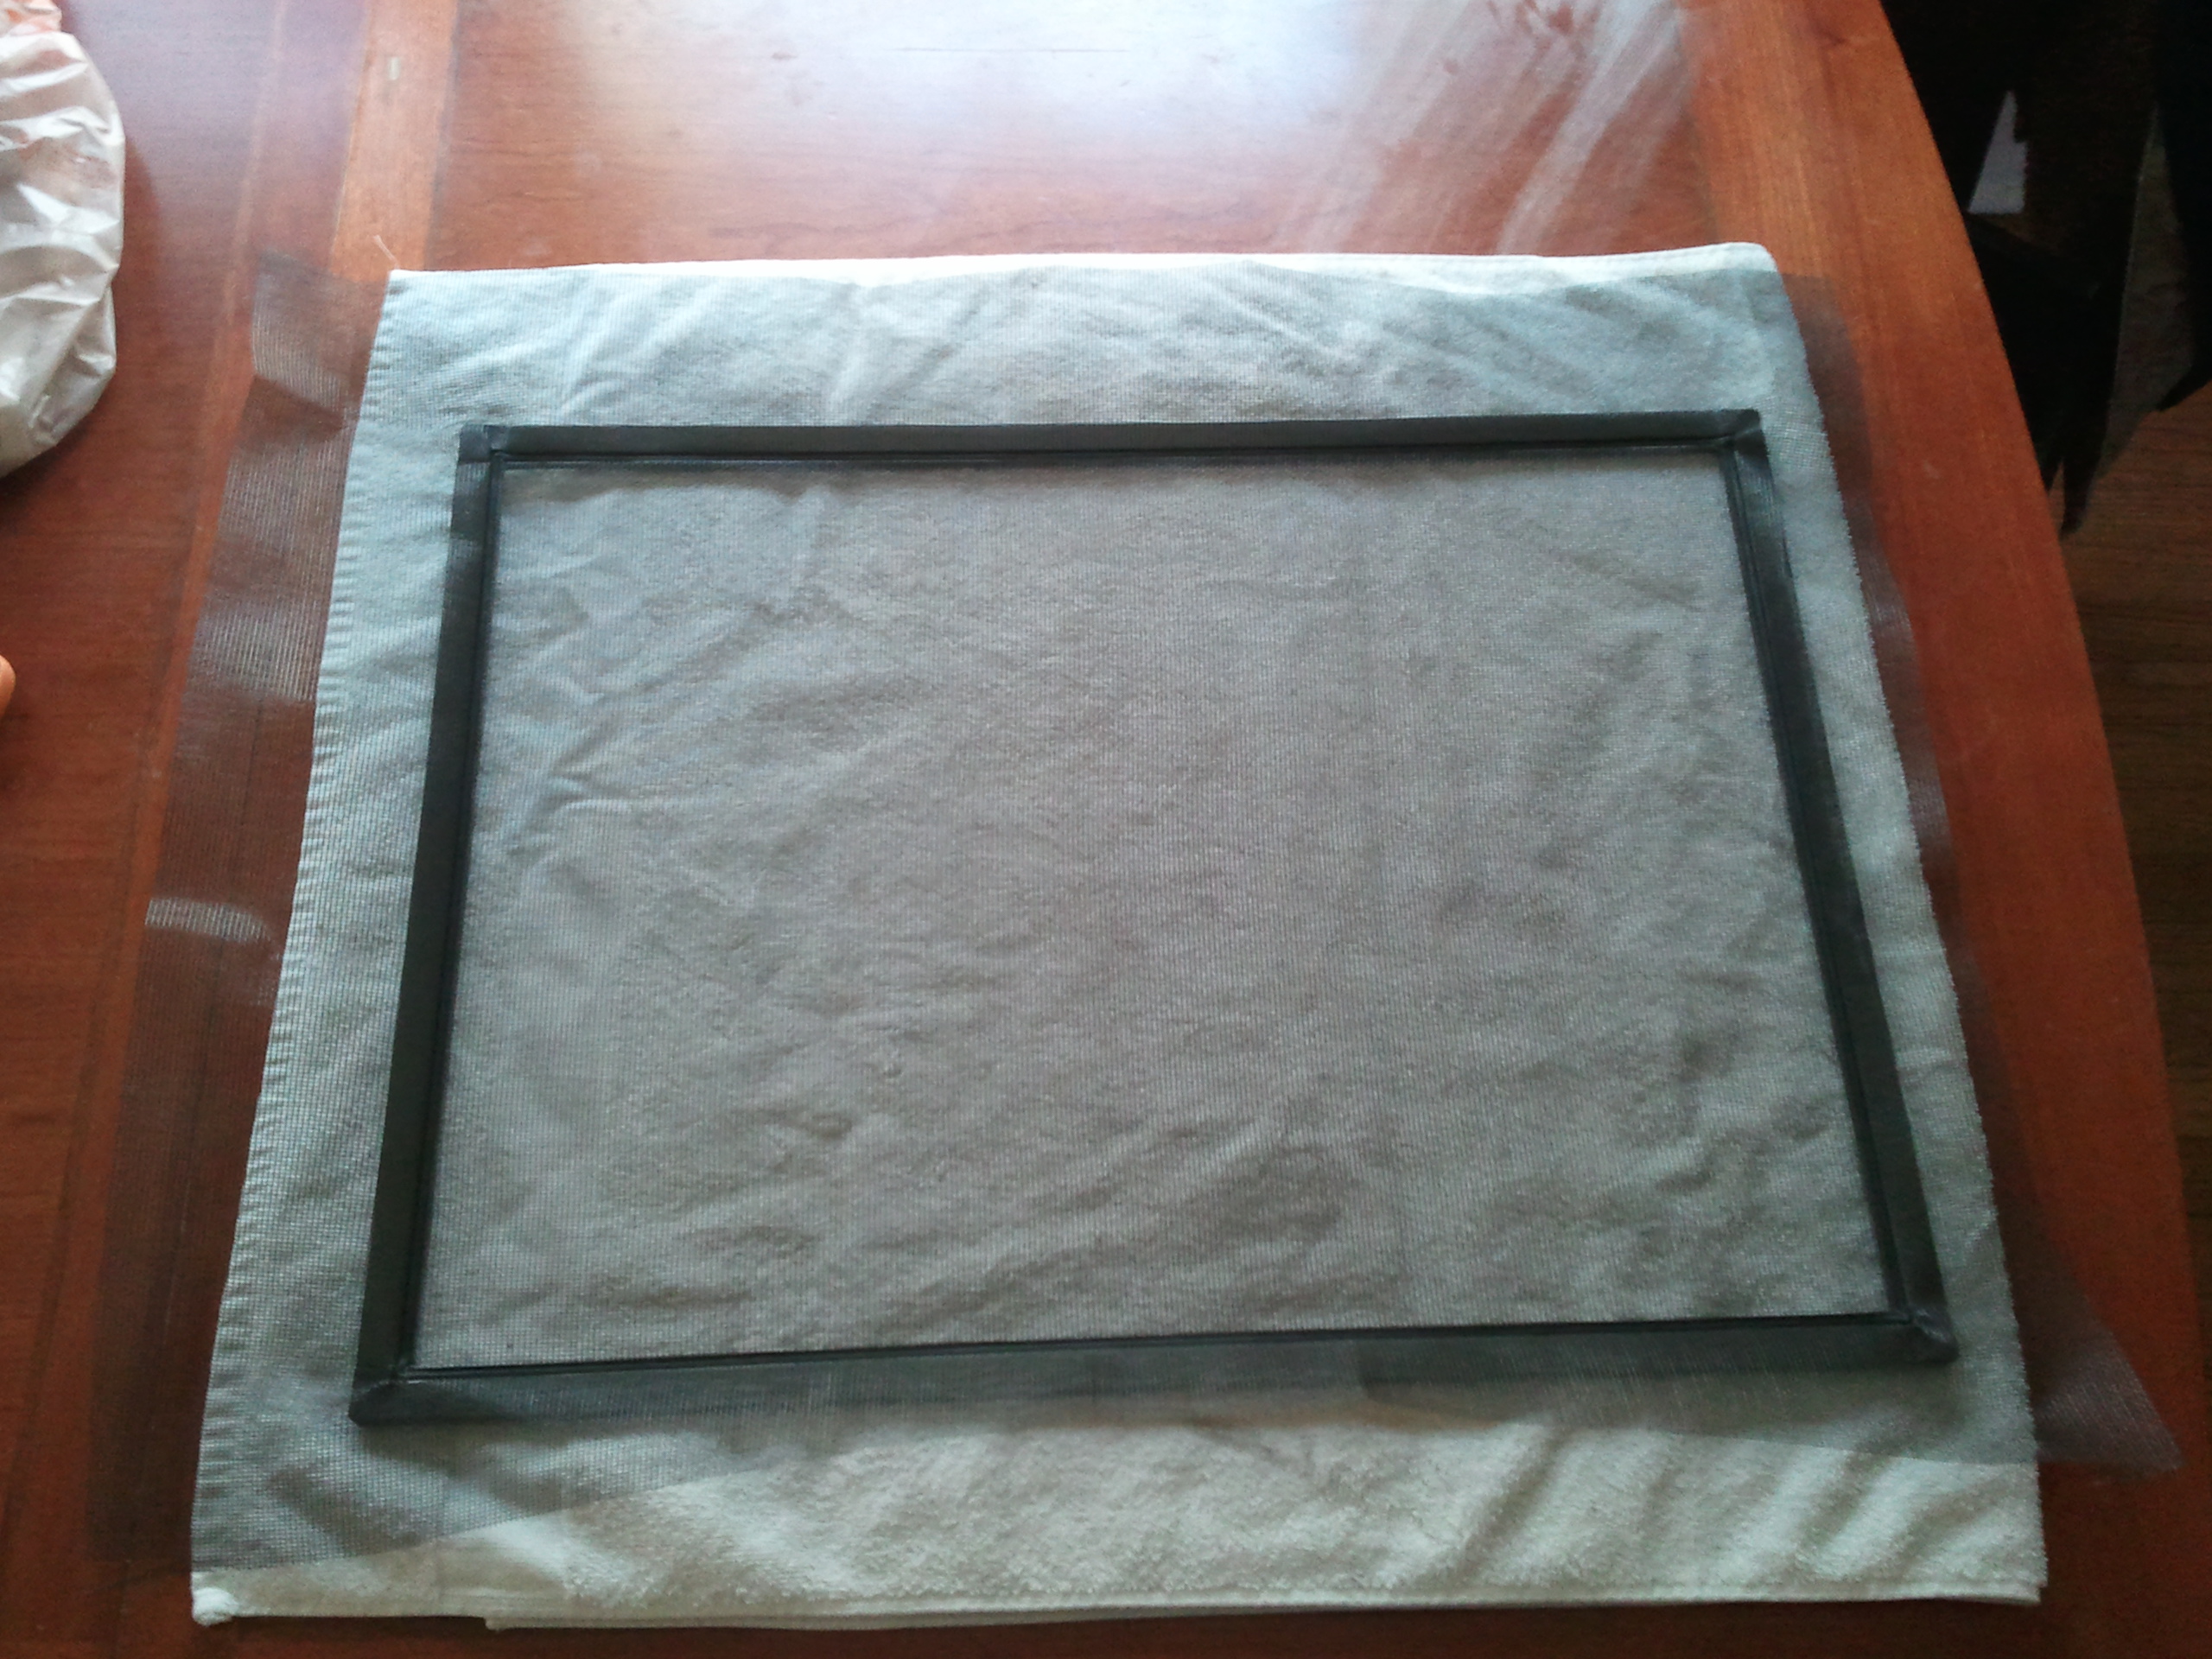
Grab your razor blade and start trimming the extra material off the screen now..
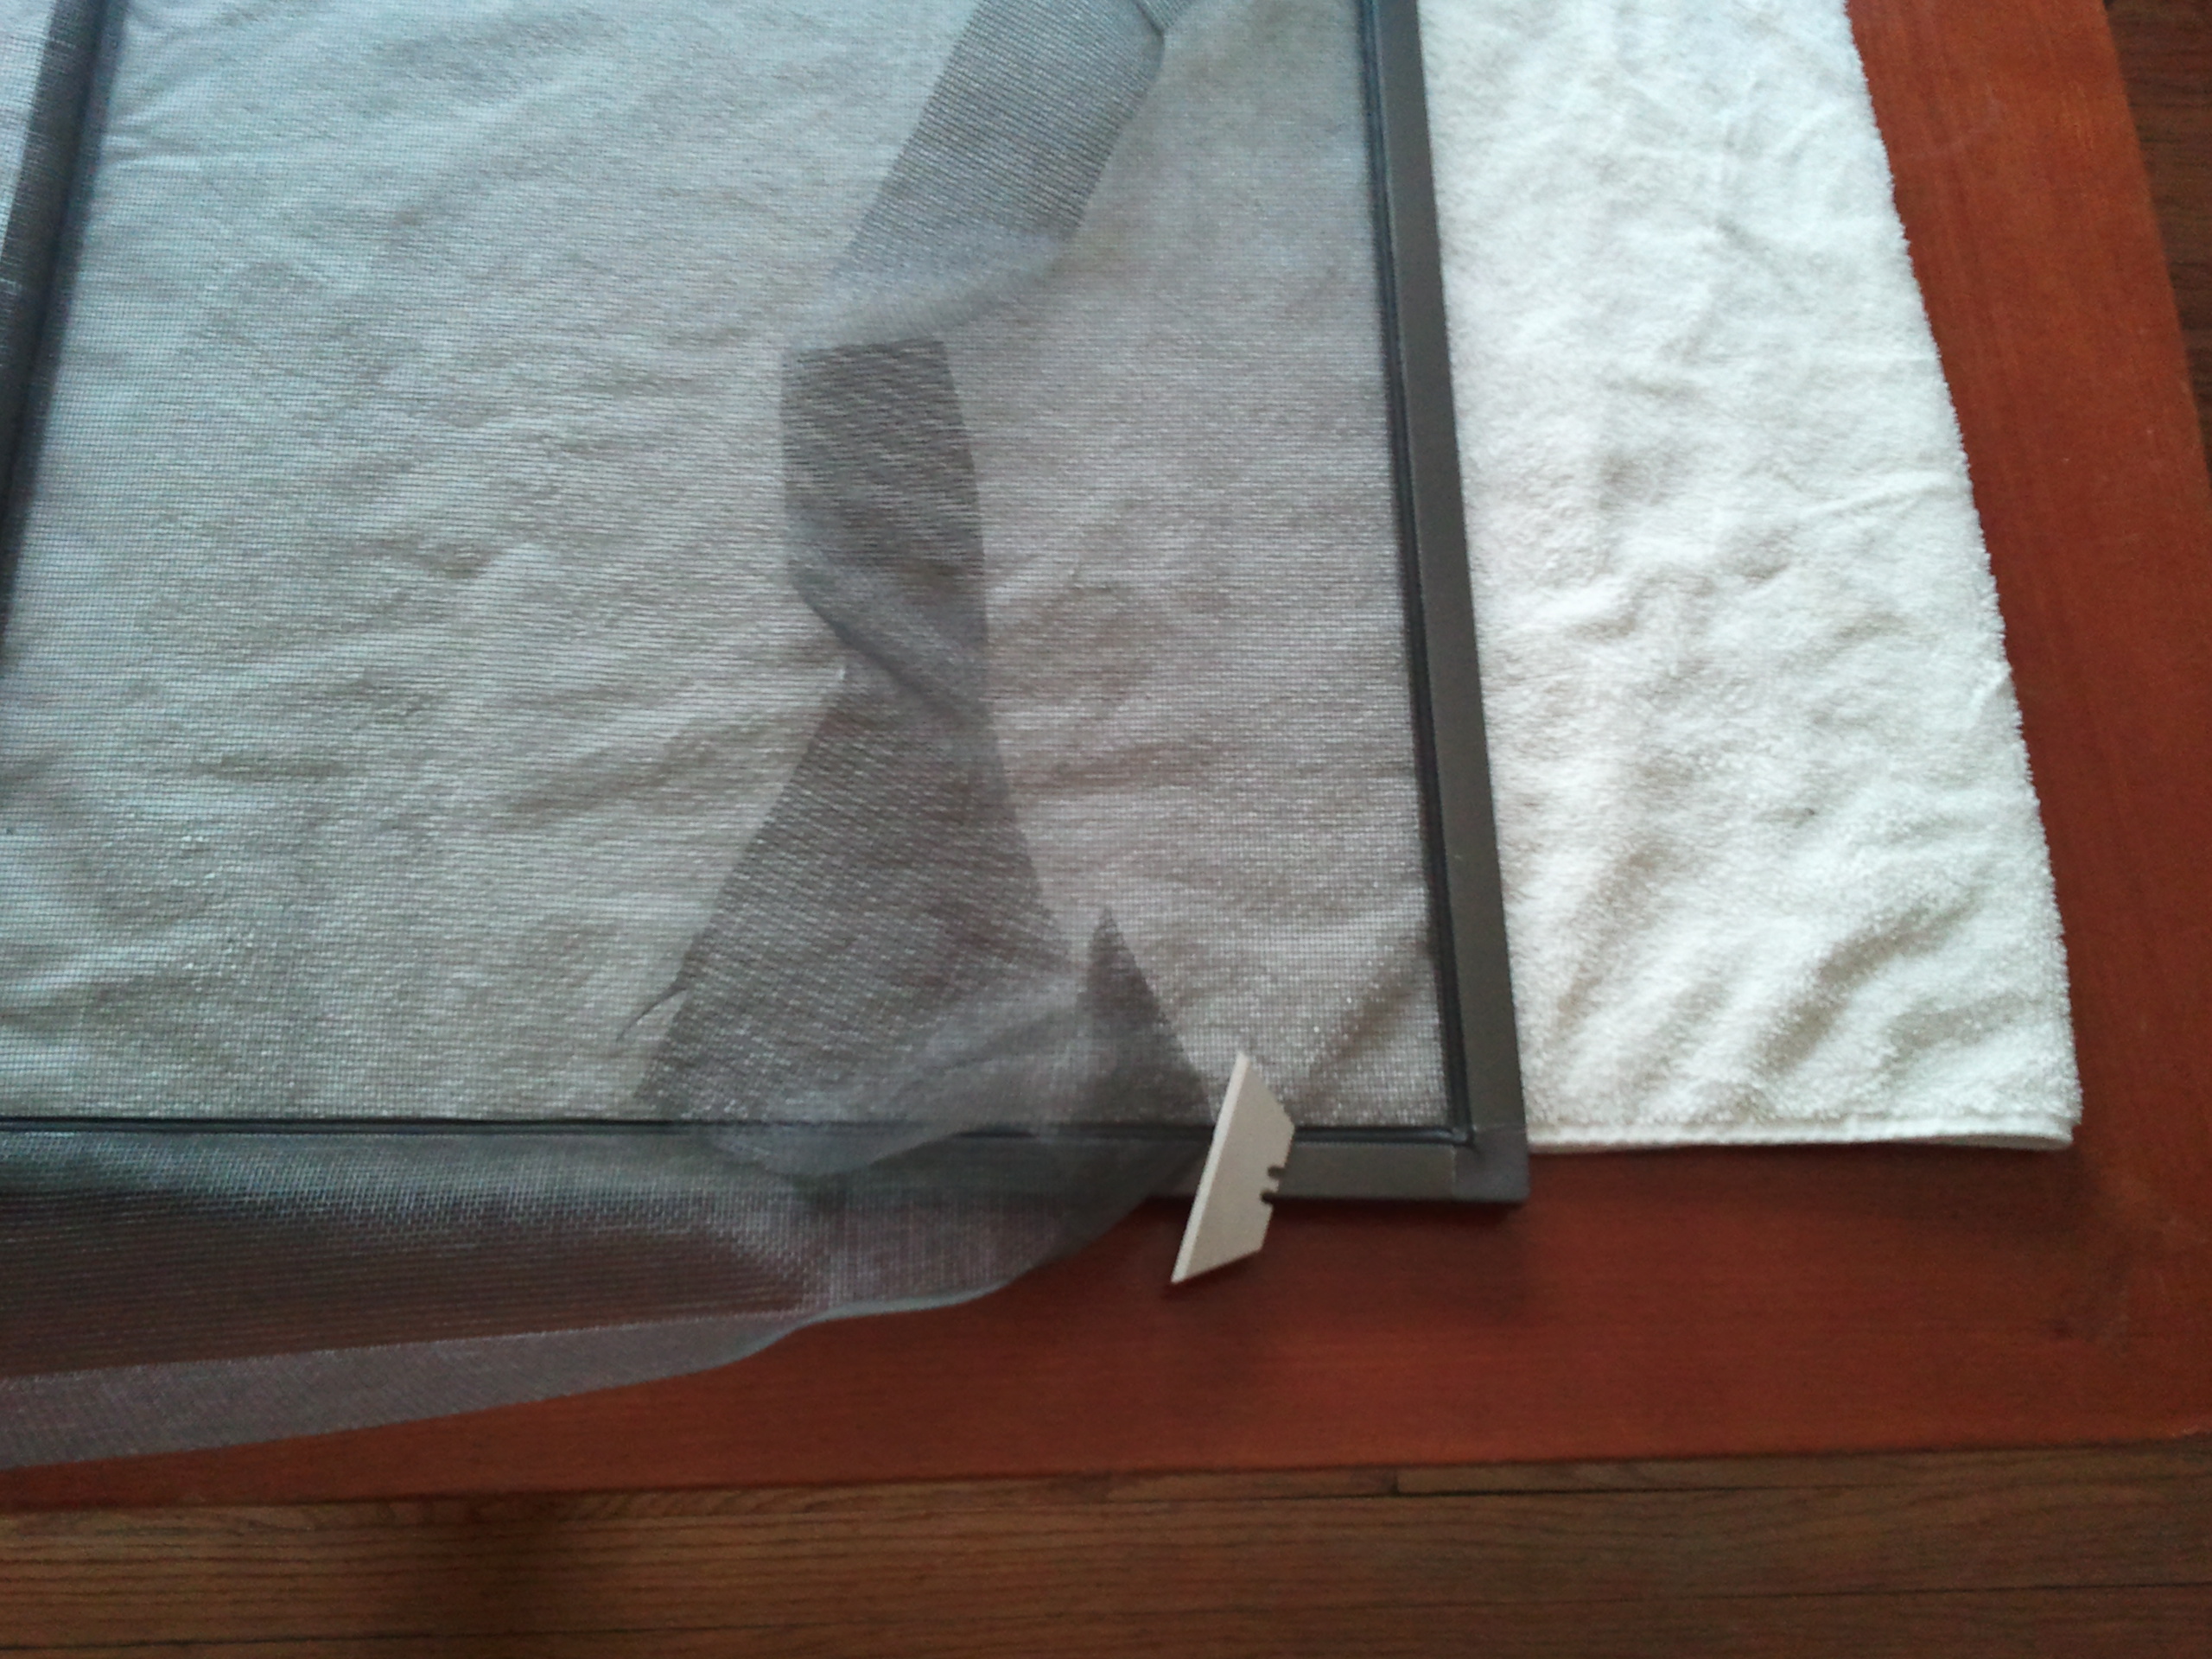
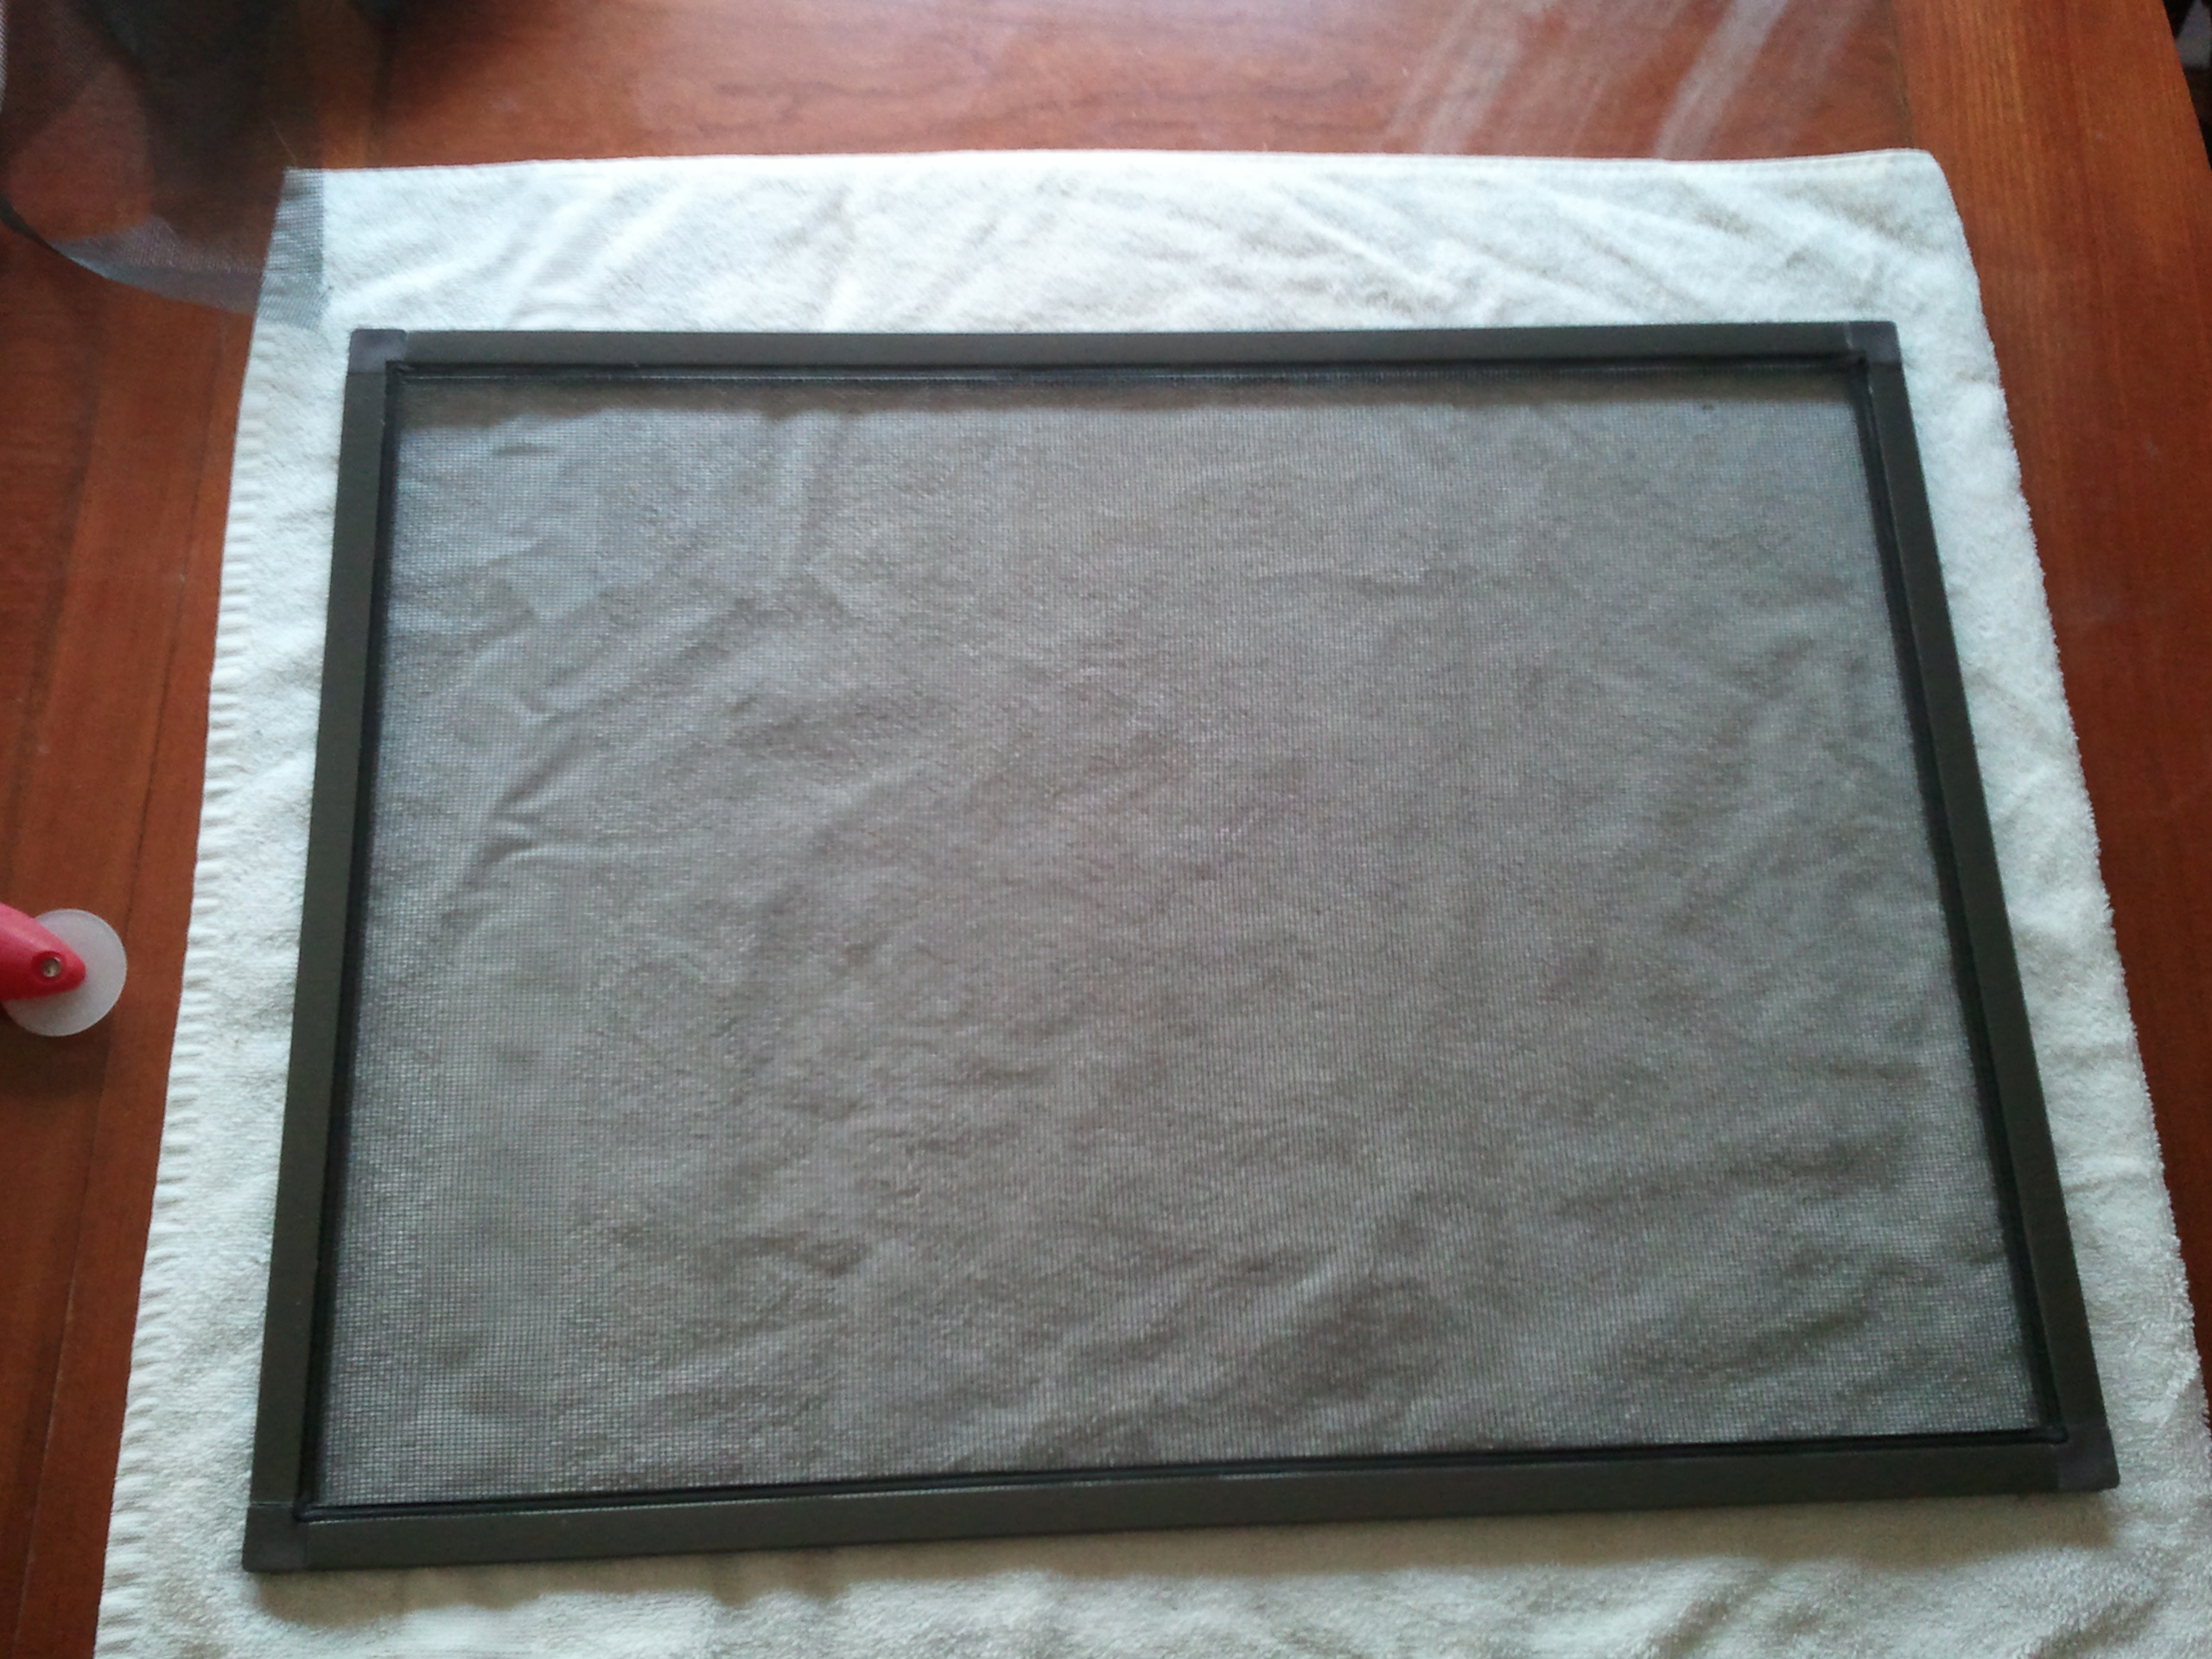
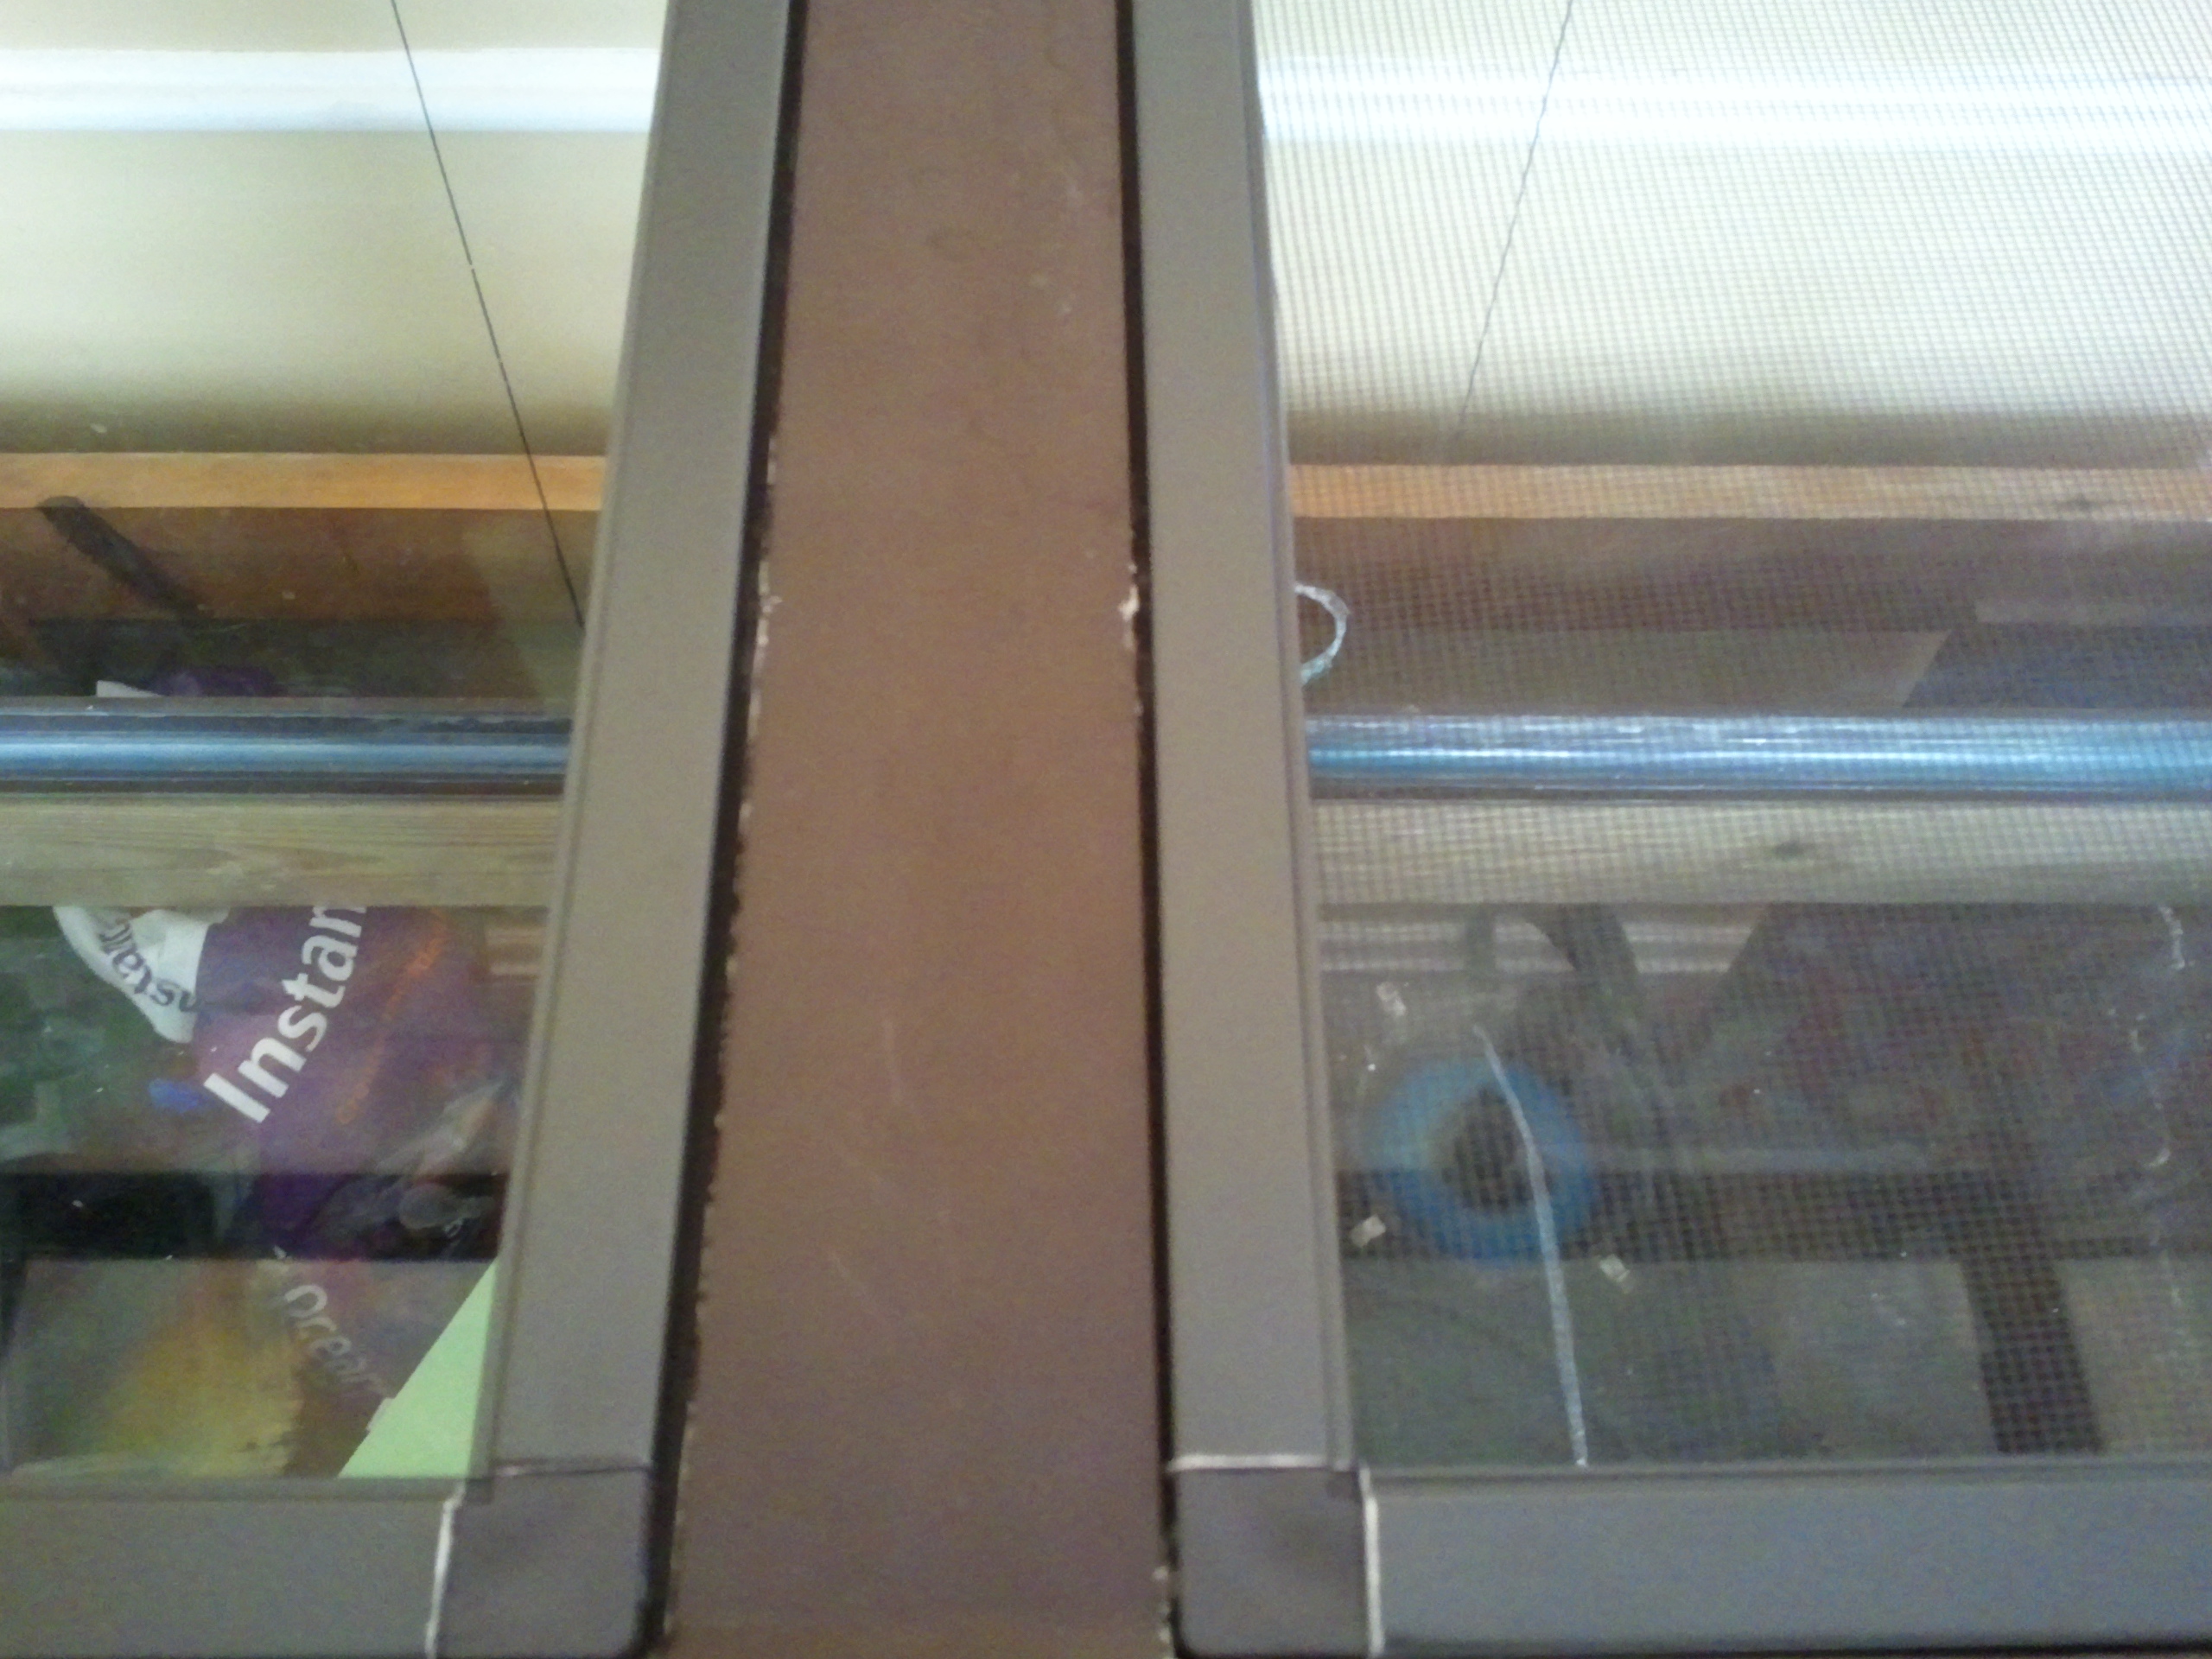
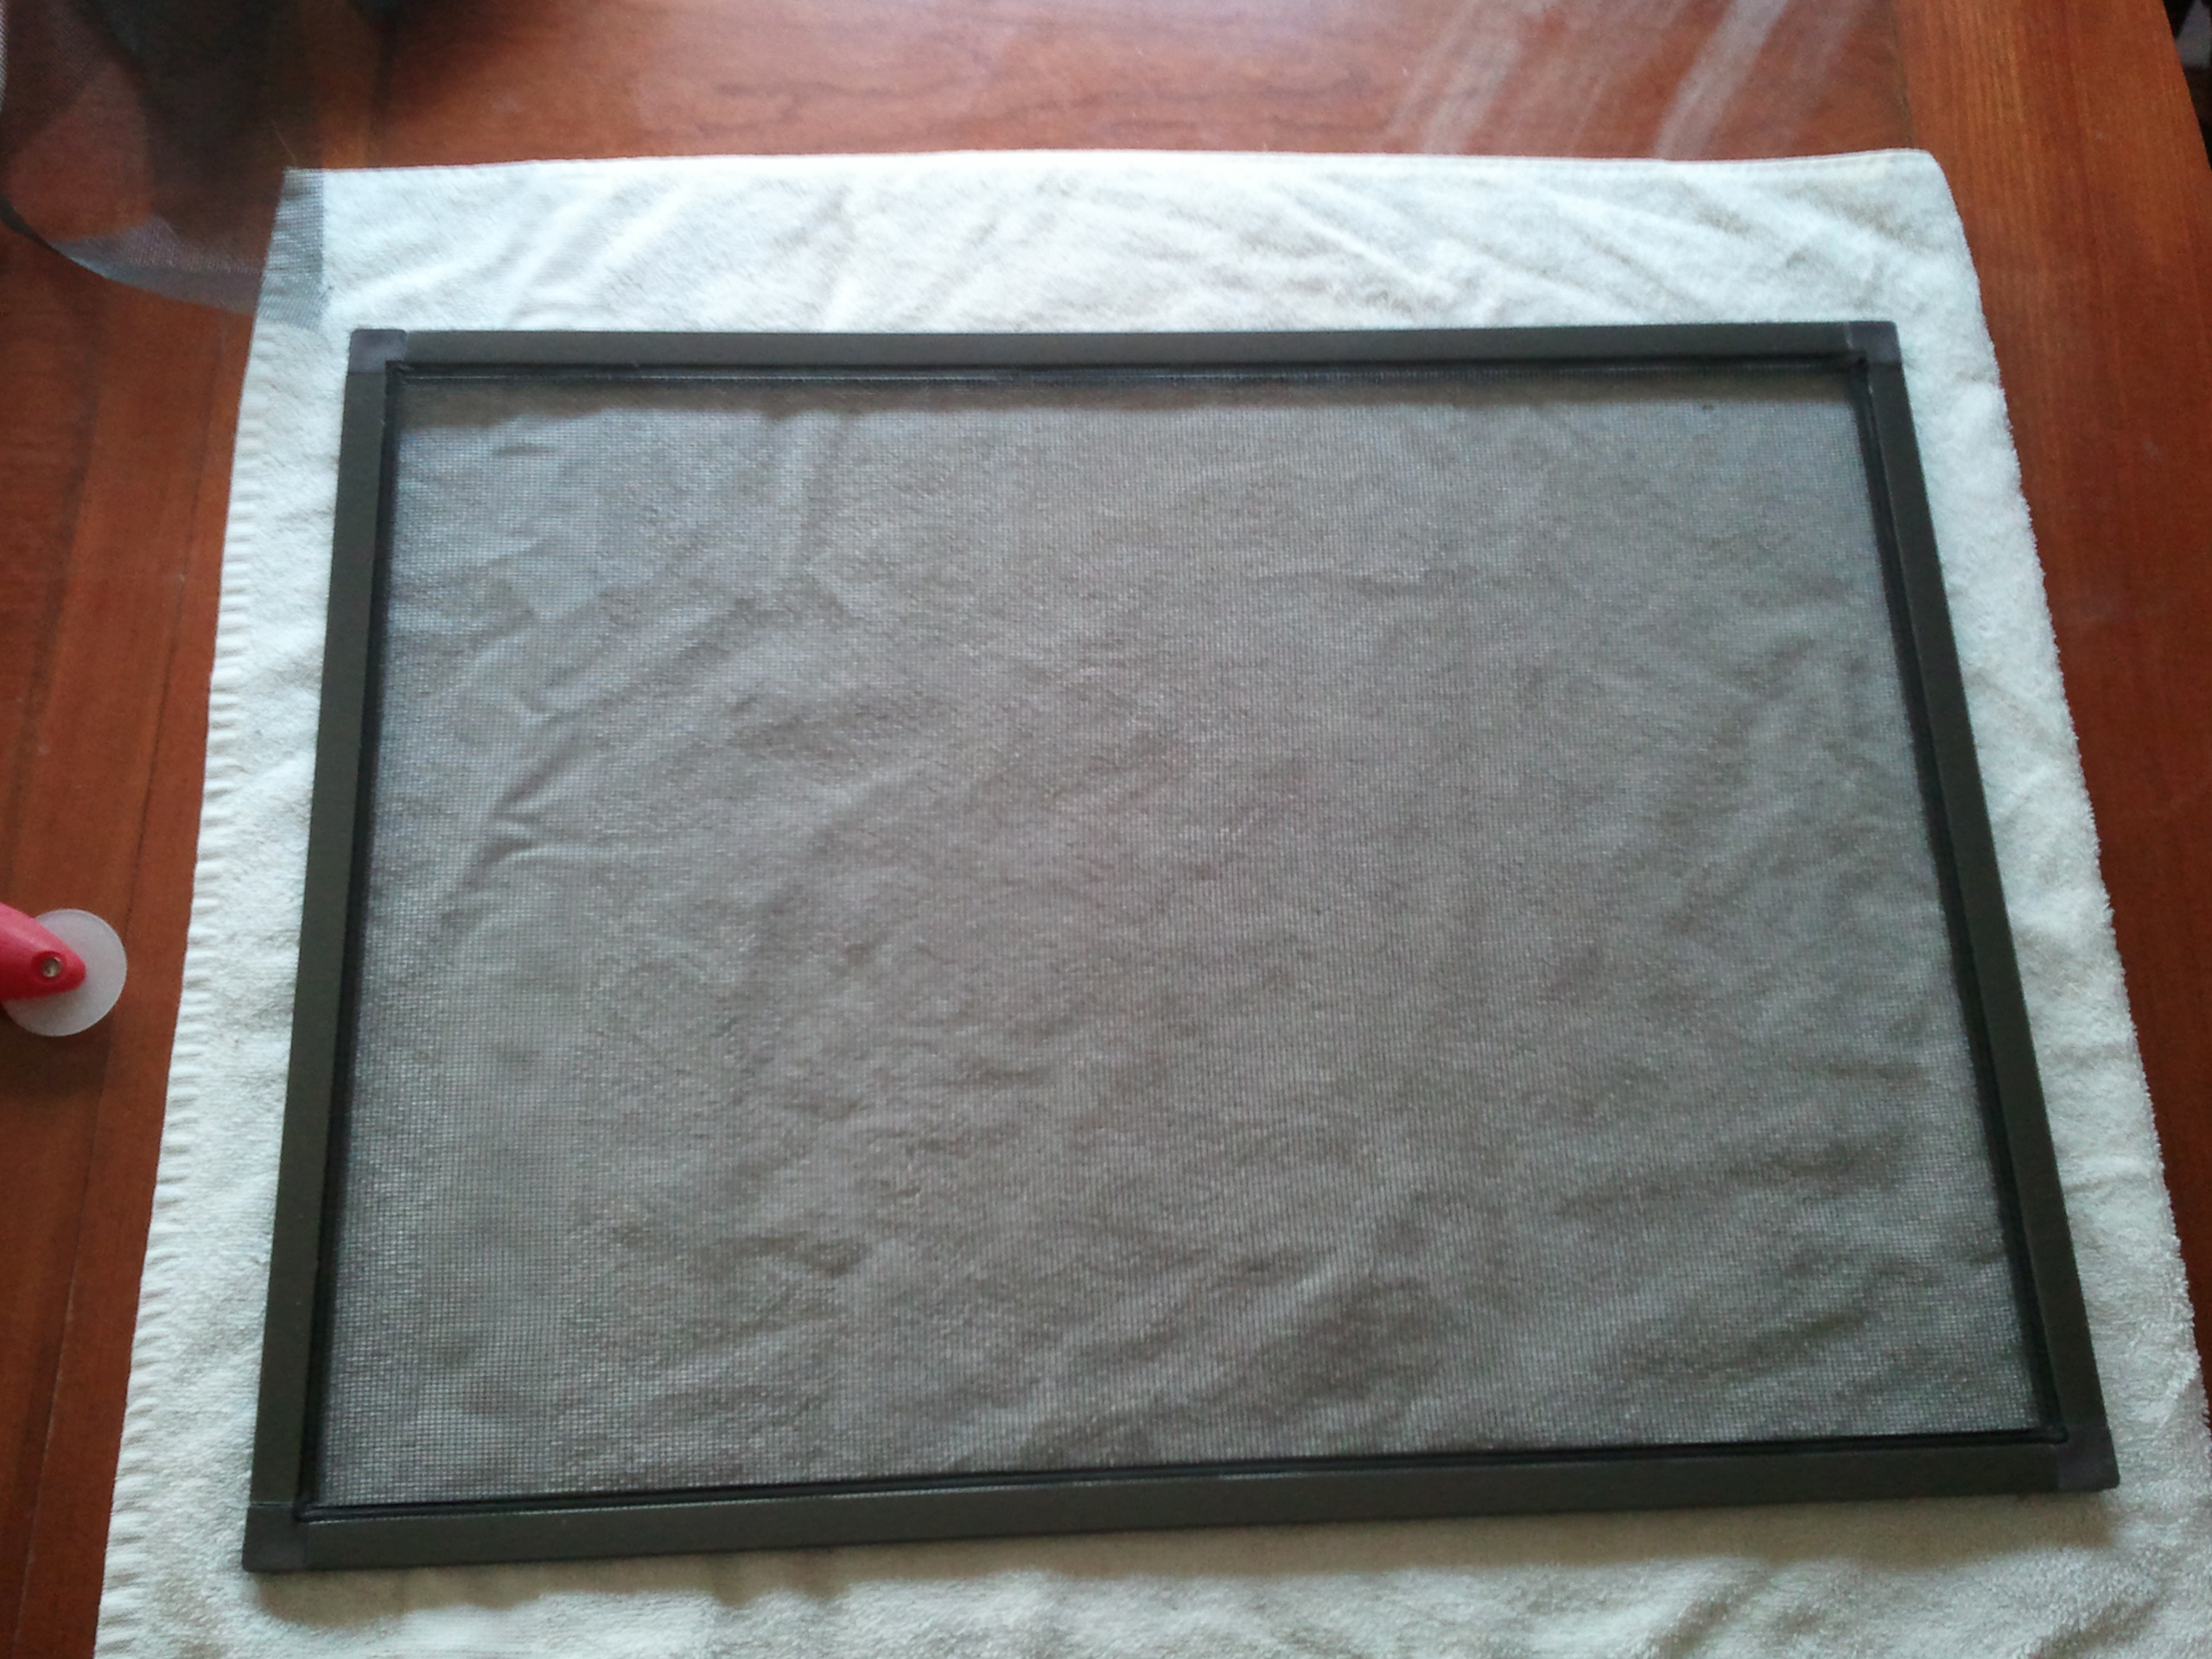
Once all the material is trimmed away you are done. Place over your tank and enjoy the piece of mind that your gobys and jumpers will be safe inside their home.
This should be how it looks once your done! Congrats on your DIY project now pat yourself on the back, spin in circles, or simply do the happy dance knowing that you did a good job.
