Ok.....Things are starting to move along. Again want to thank all you guys and gals for all your support....You know who you are!!!!!
I was getting a little impatient, as most of you know patients isn't one of my best traits, and especially when I'm still a little hot under the collar, but hey things happen for a reason I guess????
I paid a visit to my buddies shop today, and he asked me if I forgot what day it was, and I just laughed. I said I was playing hooky today from work, and needed to do something fun and exciting...He got that look on his face and he knew what I was after....I have to give a big "shout out" to both Matt and Tom of Grim's Plastic. They were right in the middle of a big production run and stopped everything they were doing, to get me moving....I guess I'm going to have to do something nice for these guys during the holidays??? They both live down the street from my in-laws, so they wouldn't think much about seeing me in the neighborhood. Actually they might run when they see me figuring I need something in a rush.
As I had told Flower, but not in so many words, that we were going to get things rolling along, and the pace would be fast and furious. I honestly love working under pressure, and damn does it feel good.....I had Matt & Tom prep all the pieces by running them over the jointer. You do get a nice finished edge on your pieces that way, but when I got home old habits are hard to break. Each panel recieved a wet/dry sanding by hand before the building would begin.
Here's a couple pics of the Flowers Sump 2 being rebuilt.....There will be a little change, but I won't say what is we'll see if anyone notices any difference between the 2 finished pics.....And here we go!!!!!!!
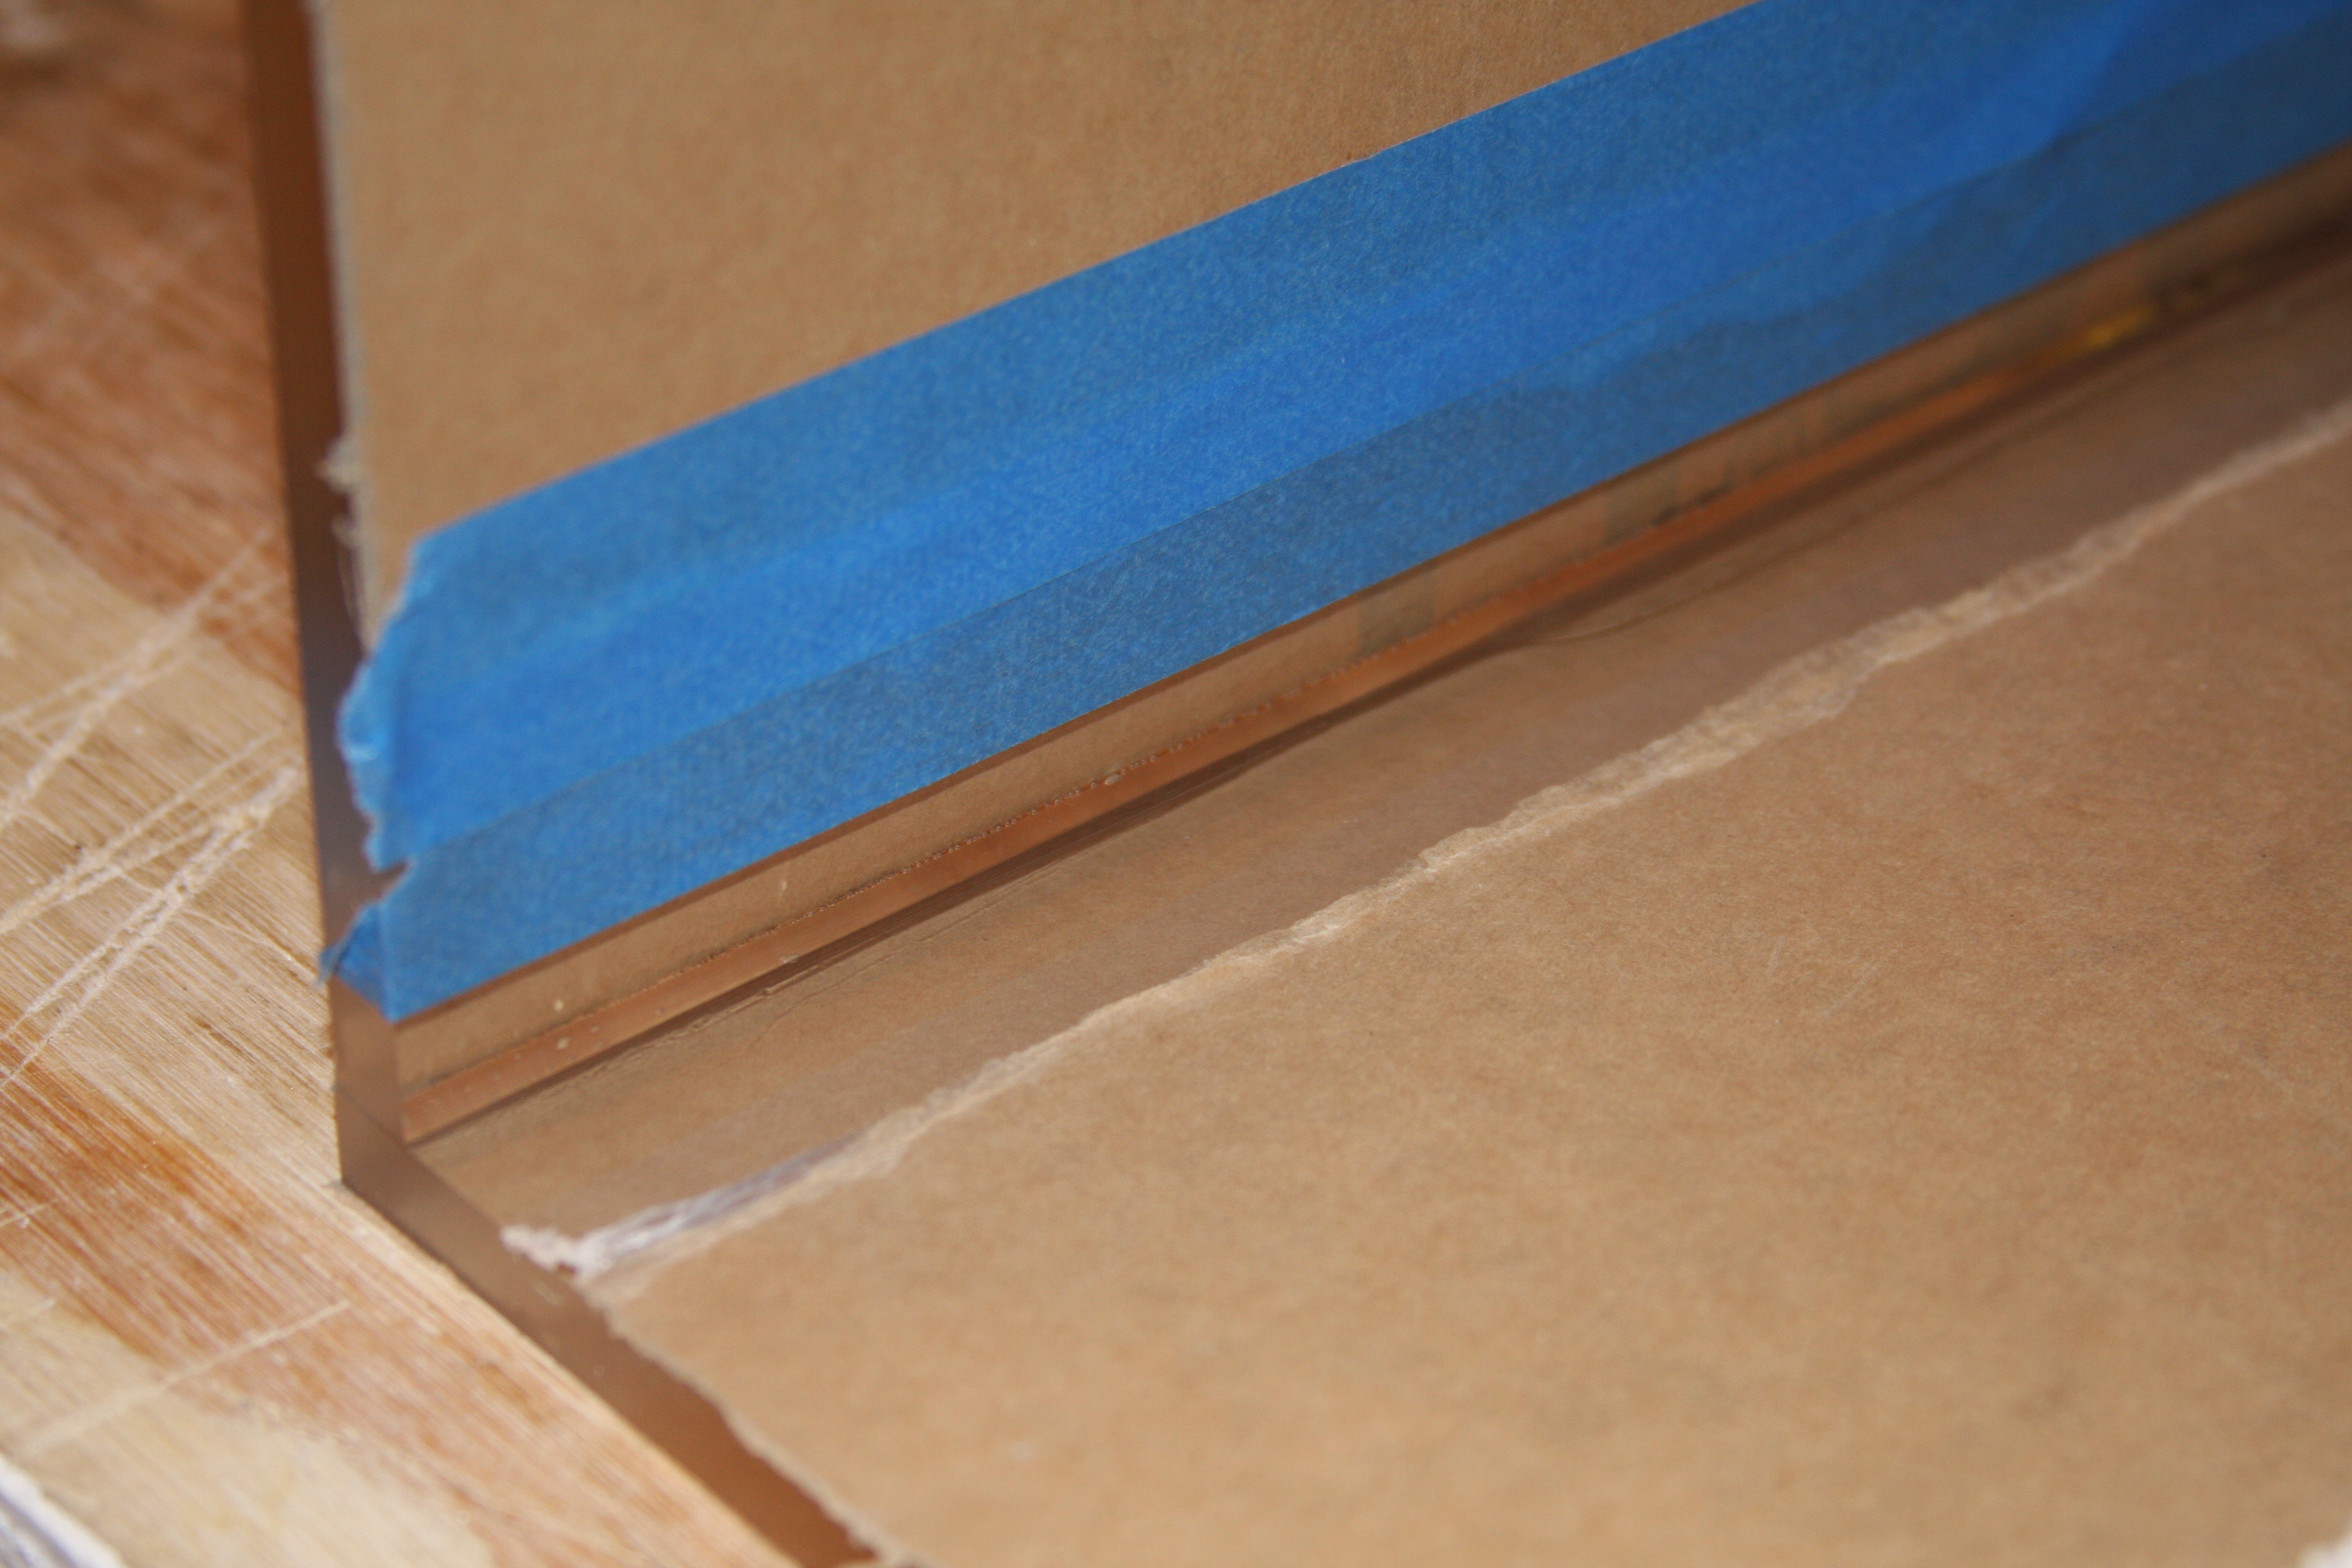
Start of the first side panel being glued into place.....
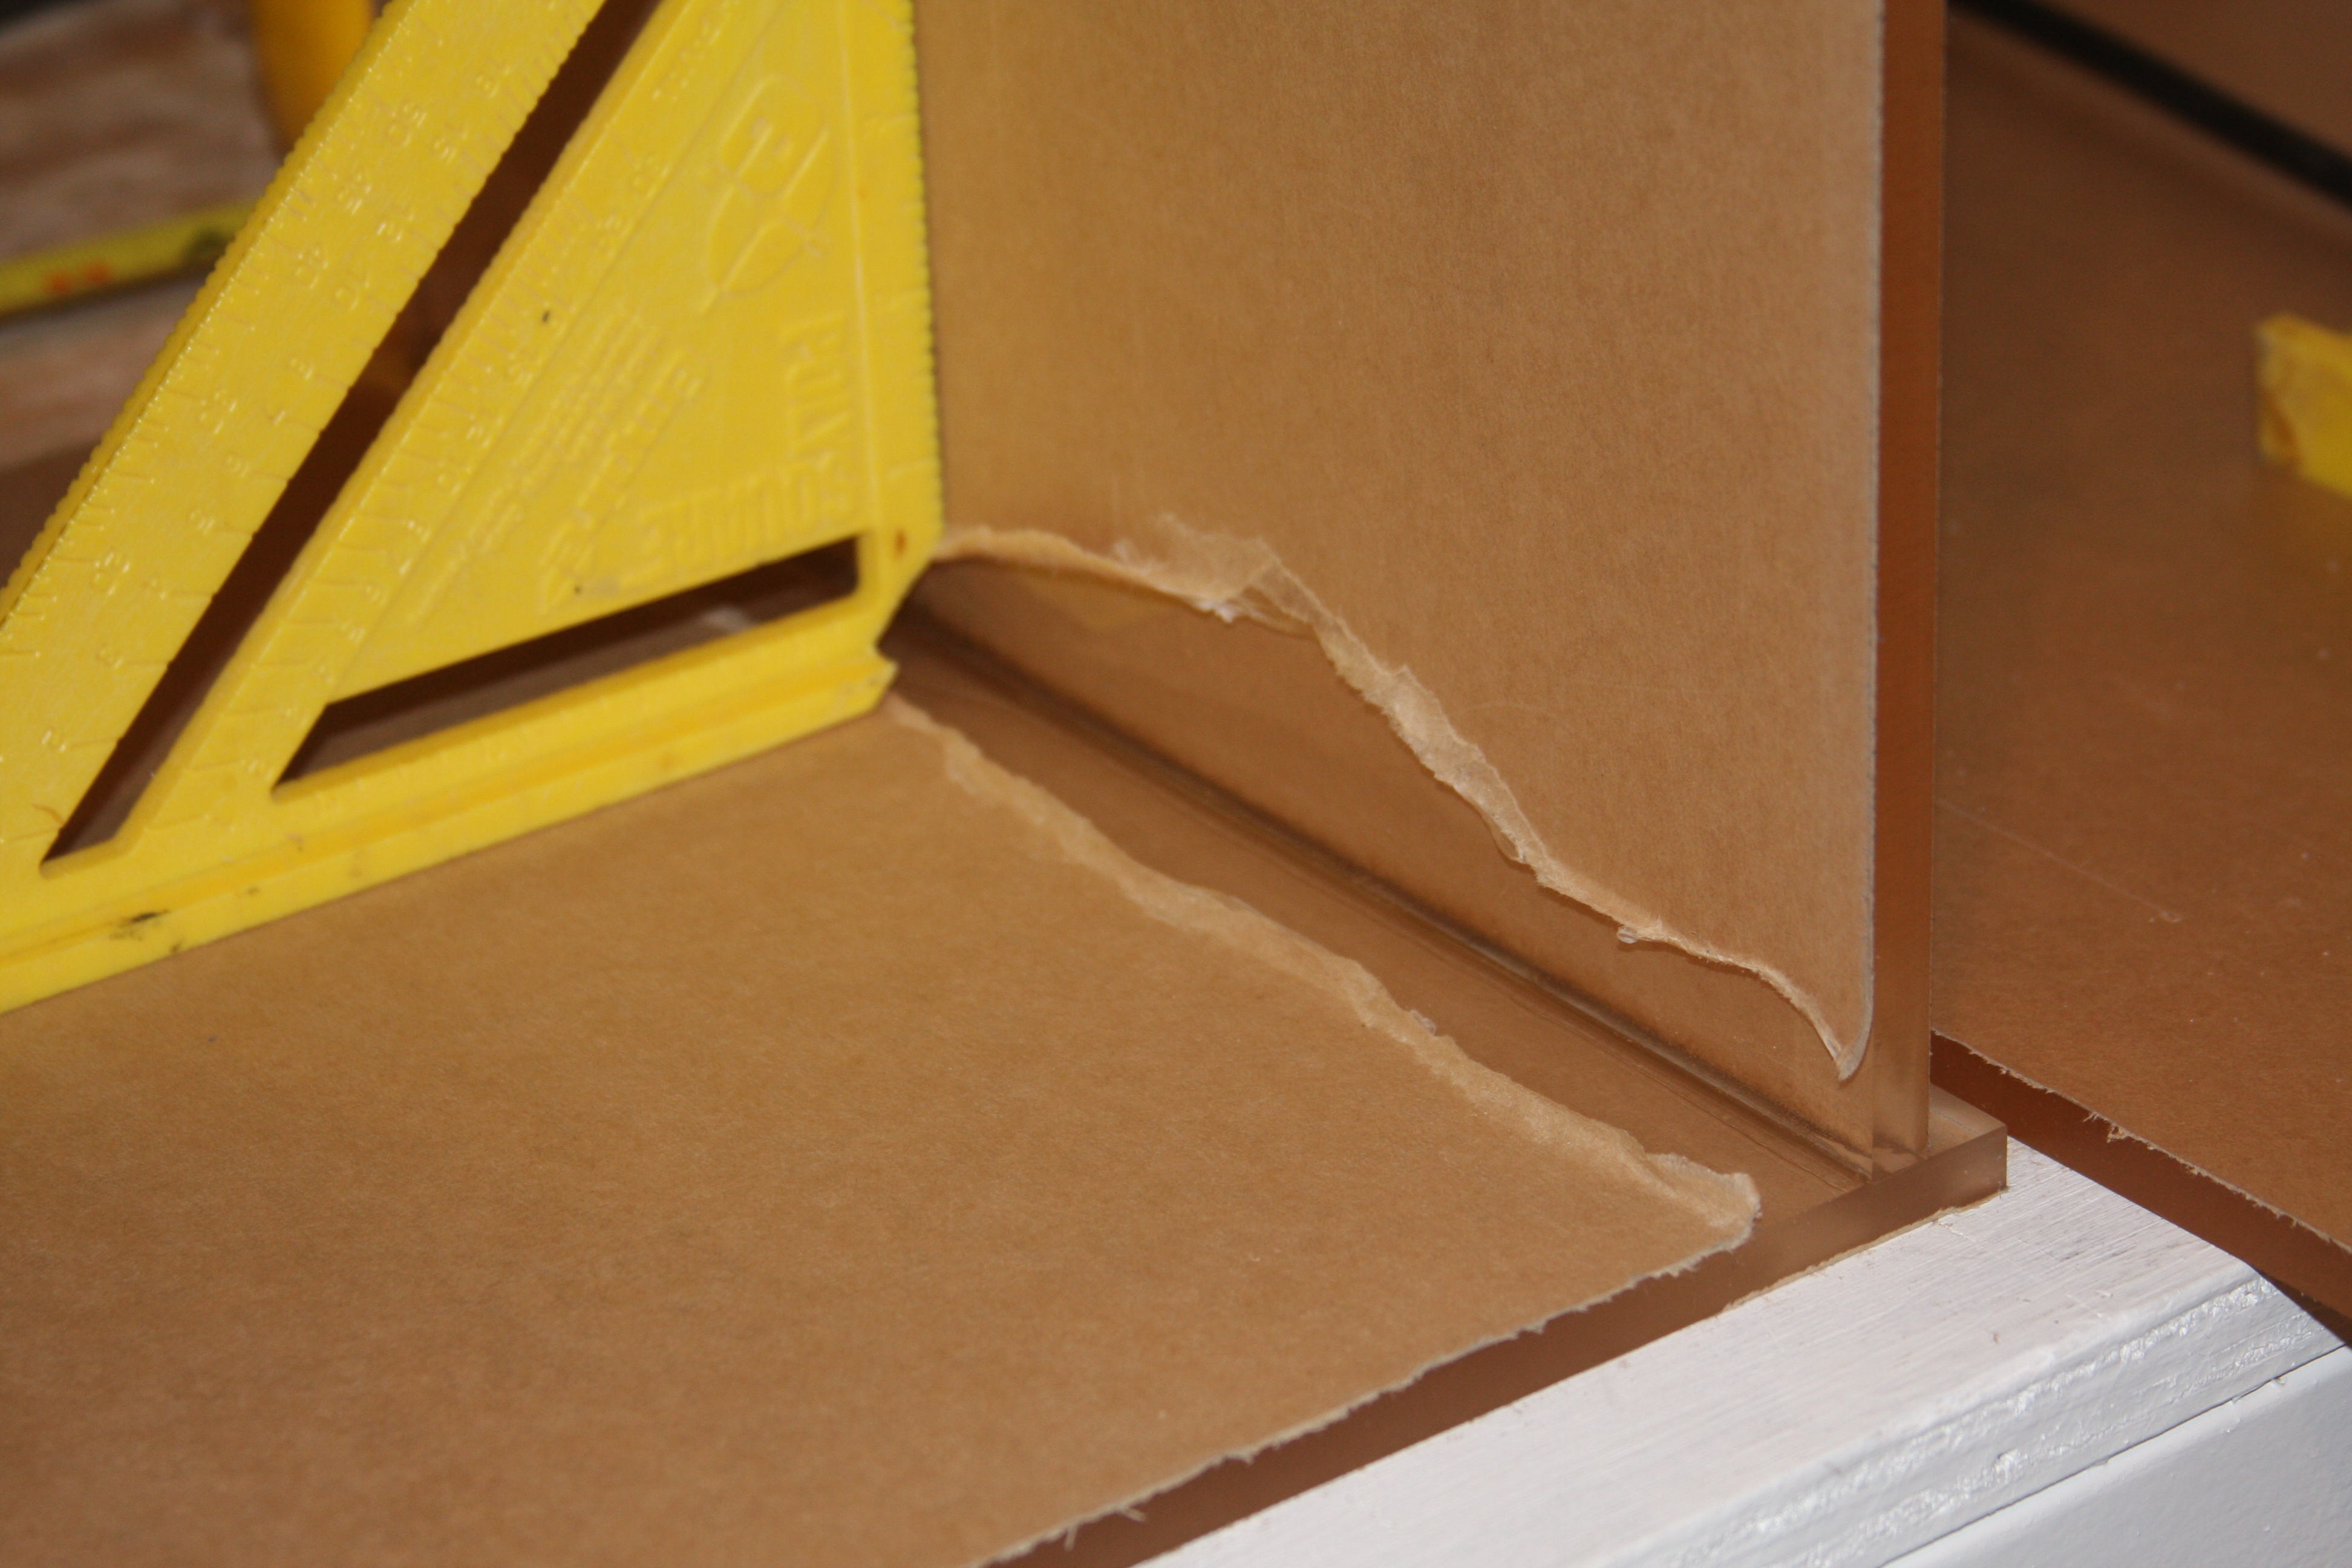
2nd side panel going into place....I was a little poor on my measurements to Matt, and the front and back panels where a little long, but rather have them longer than needed instead of to short. The side panel was glued at 24" to stay within the original drawings by Al.....Again thanks Al for those drawings, saved my butt....had to go back to page 8 and dig them up.......
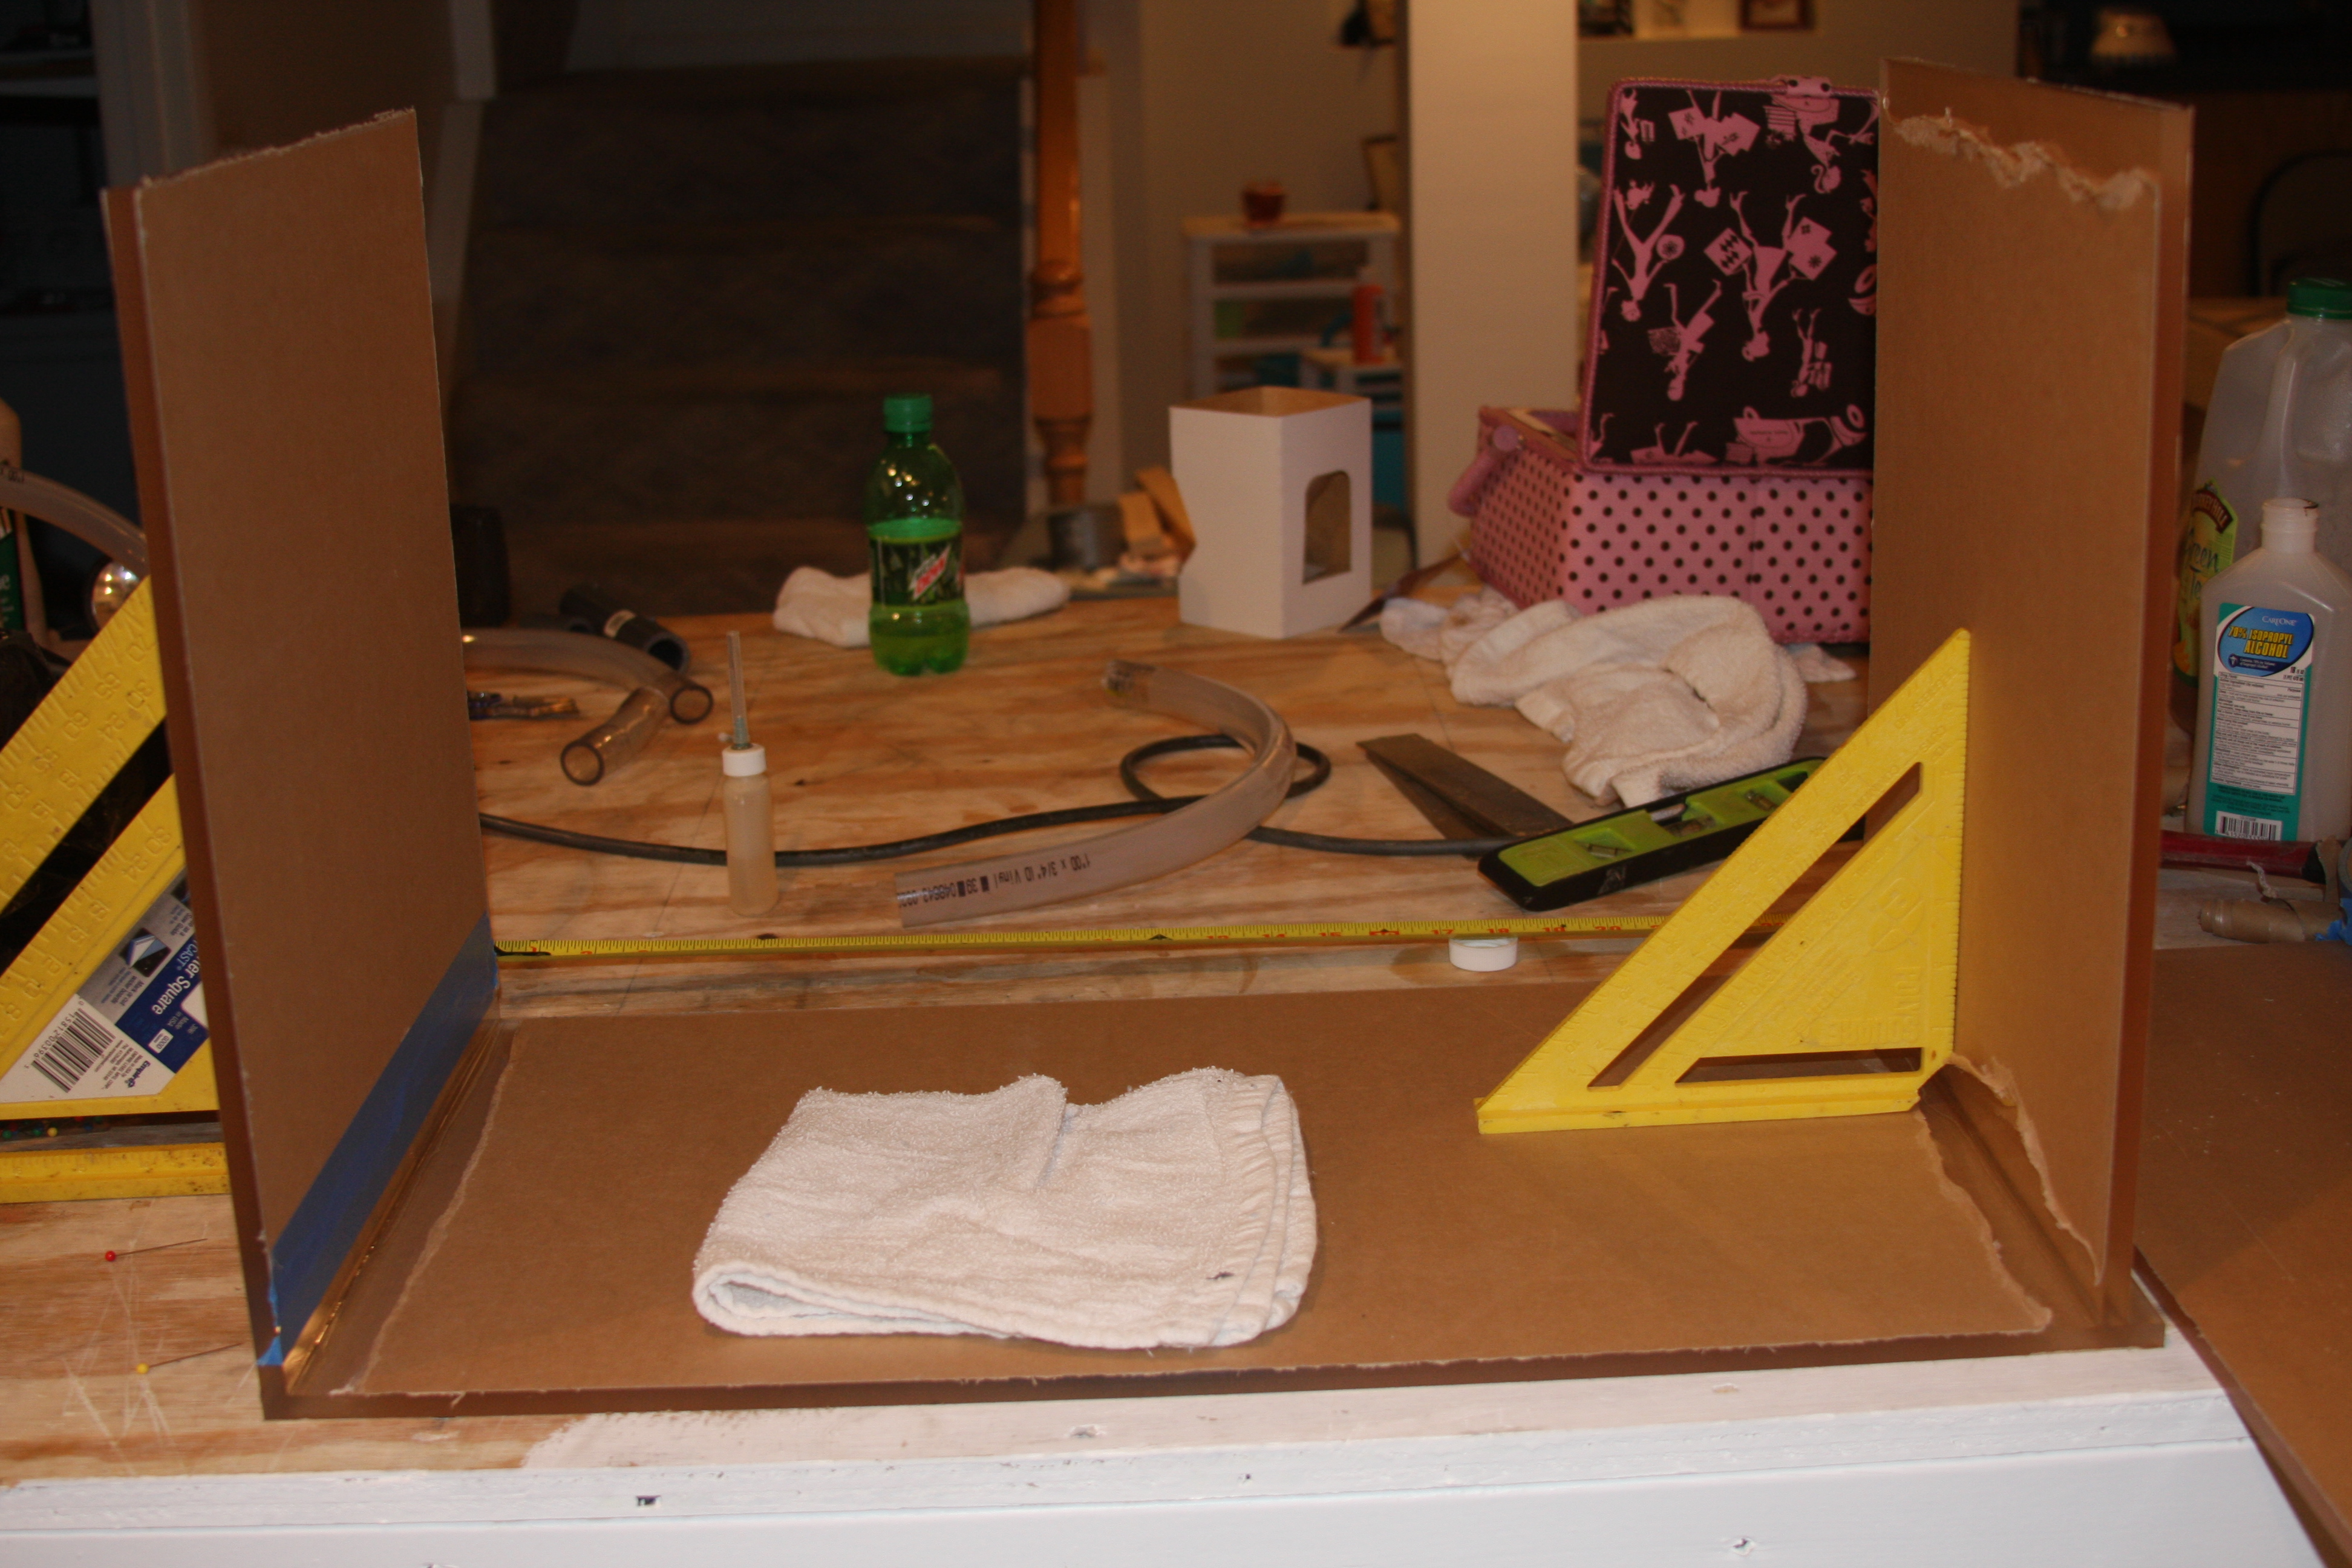
Sorry about all the junk in the pic...I work best with clutter....And no Meowzer!!!!! Before you ask the little pink sewing basket in the background isn't mine....It's my daughters, had to still some pins for the gluing of the panels. Yes this time I did use the pin method....Pissed me off, when I spun it around, I realized I hadn't pulled 1 of the pins completely out, but I managed to get it out with damaging or destroying the glue joint......
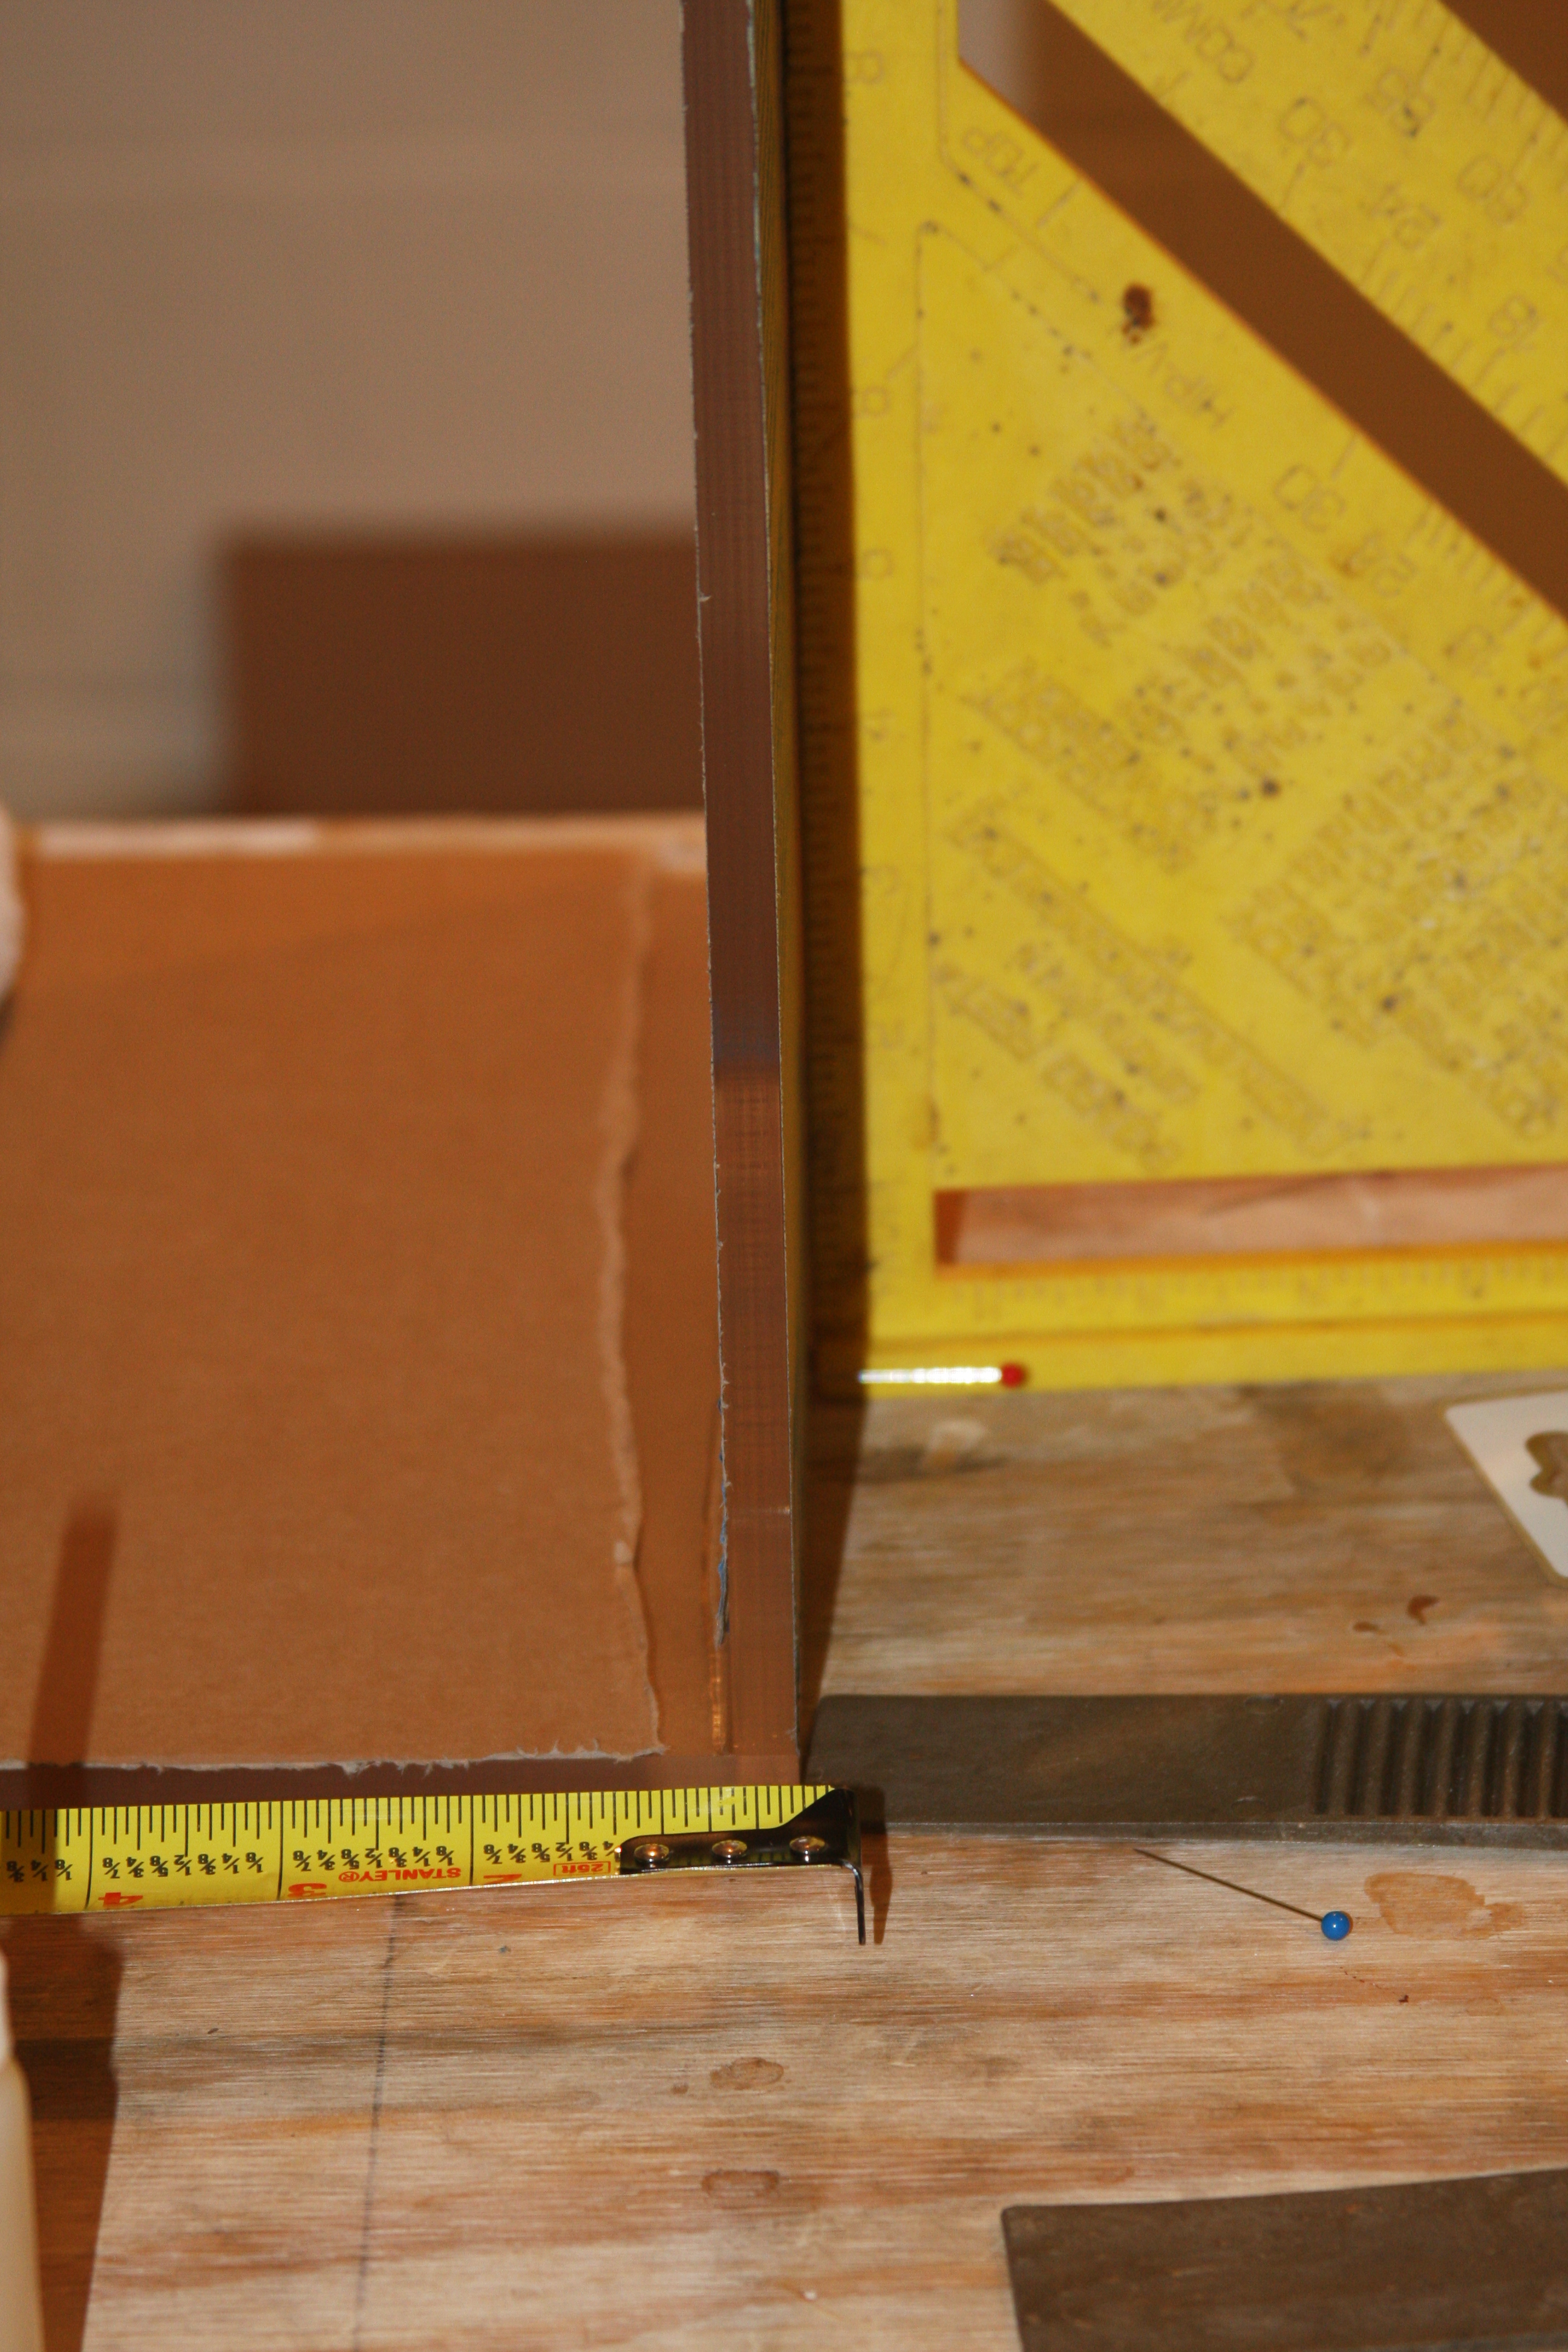
In this pic you can kind of see why I like to wet/dry sand the edges before I glue up....It almost gives the edge a mirror finish even without polishing......Takes time, but it's sexy when finished!!!!
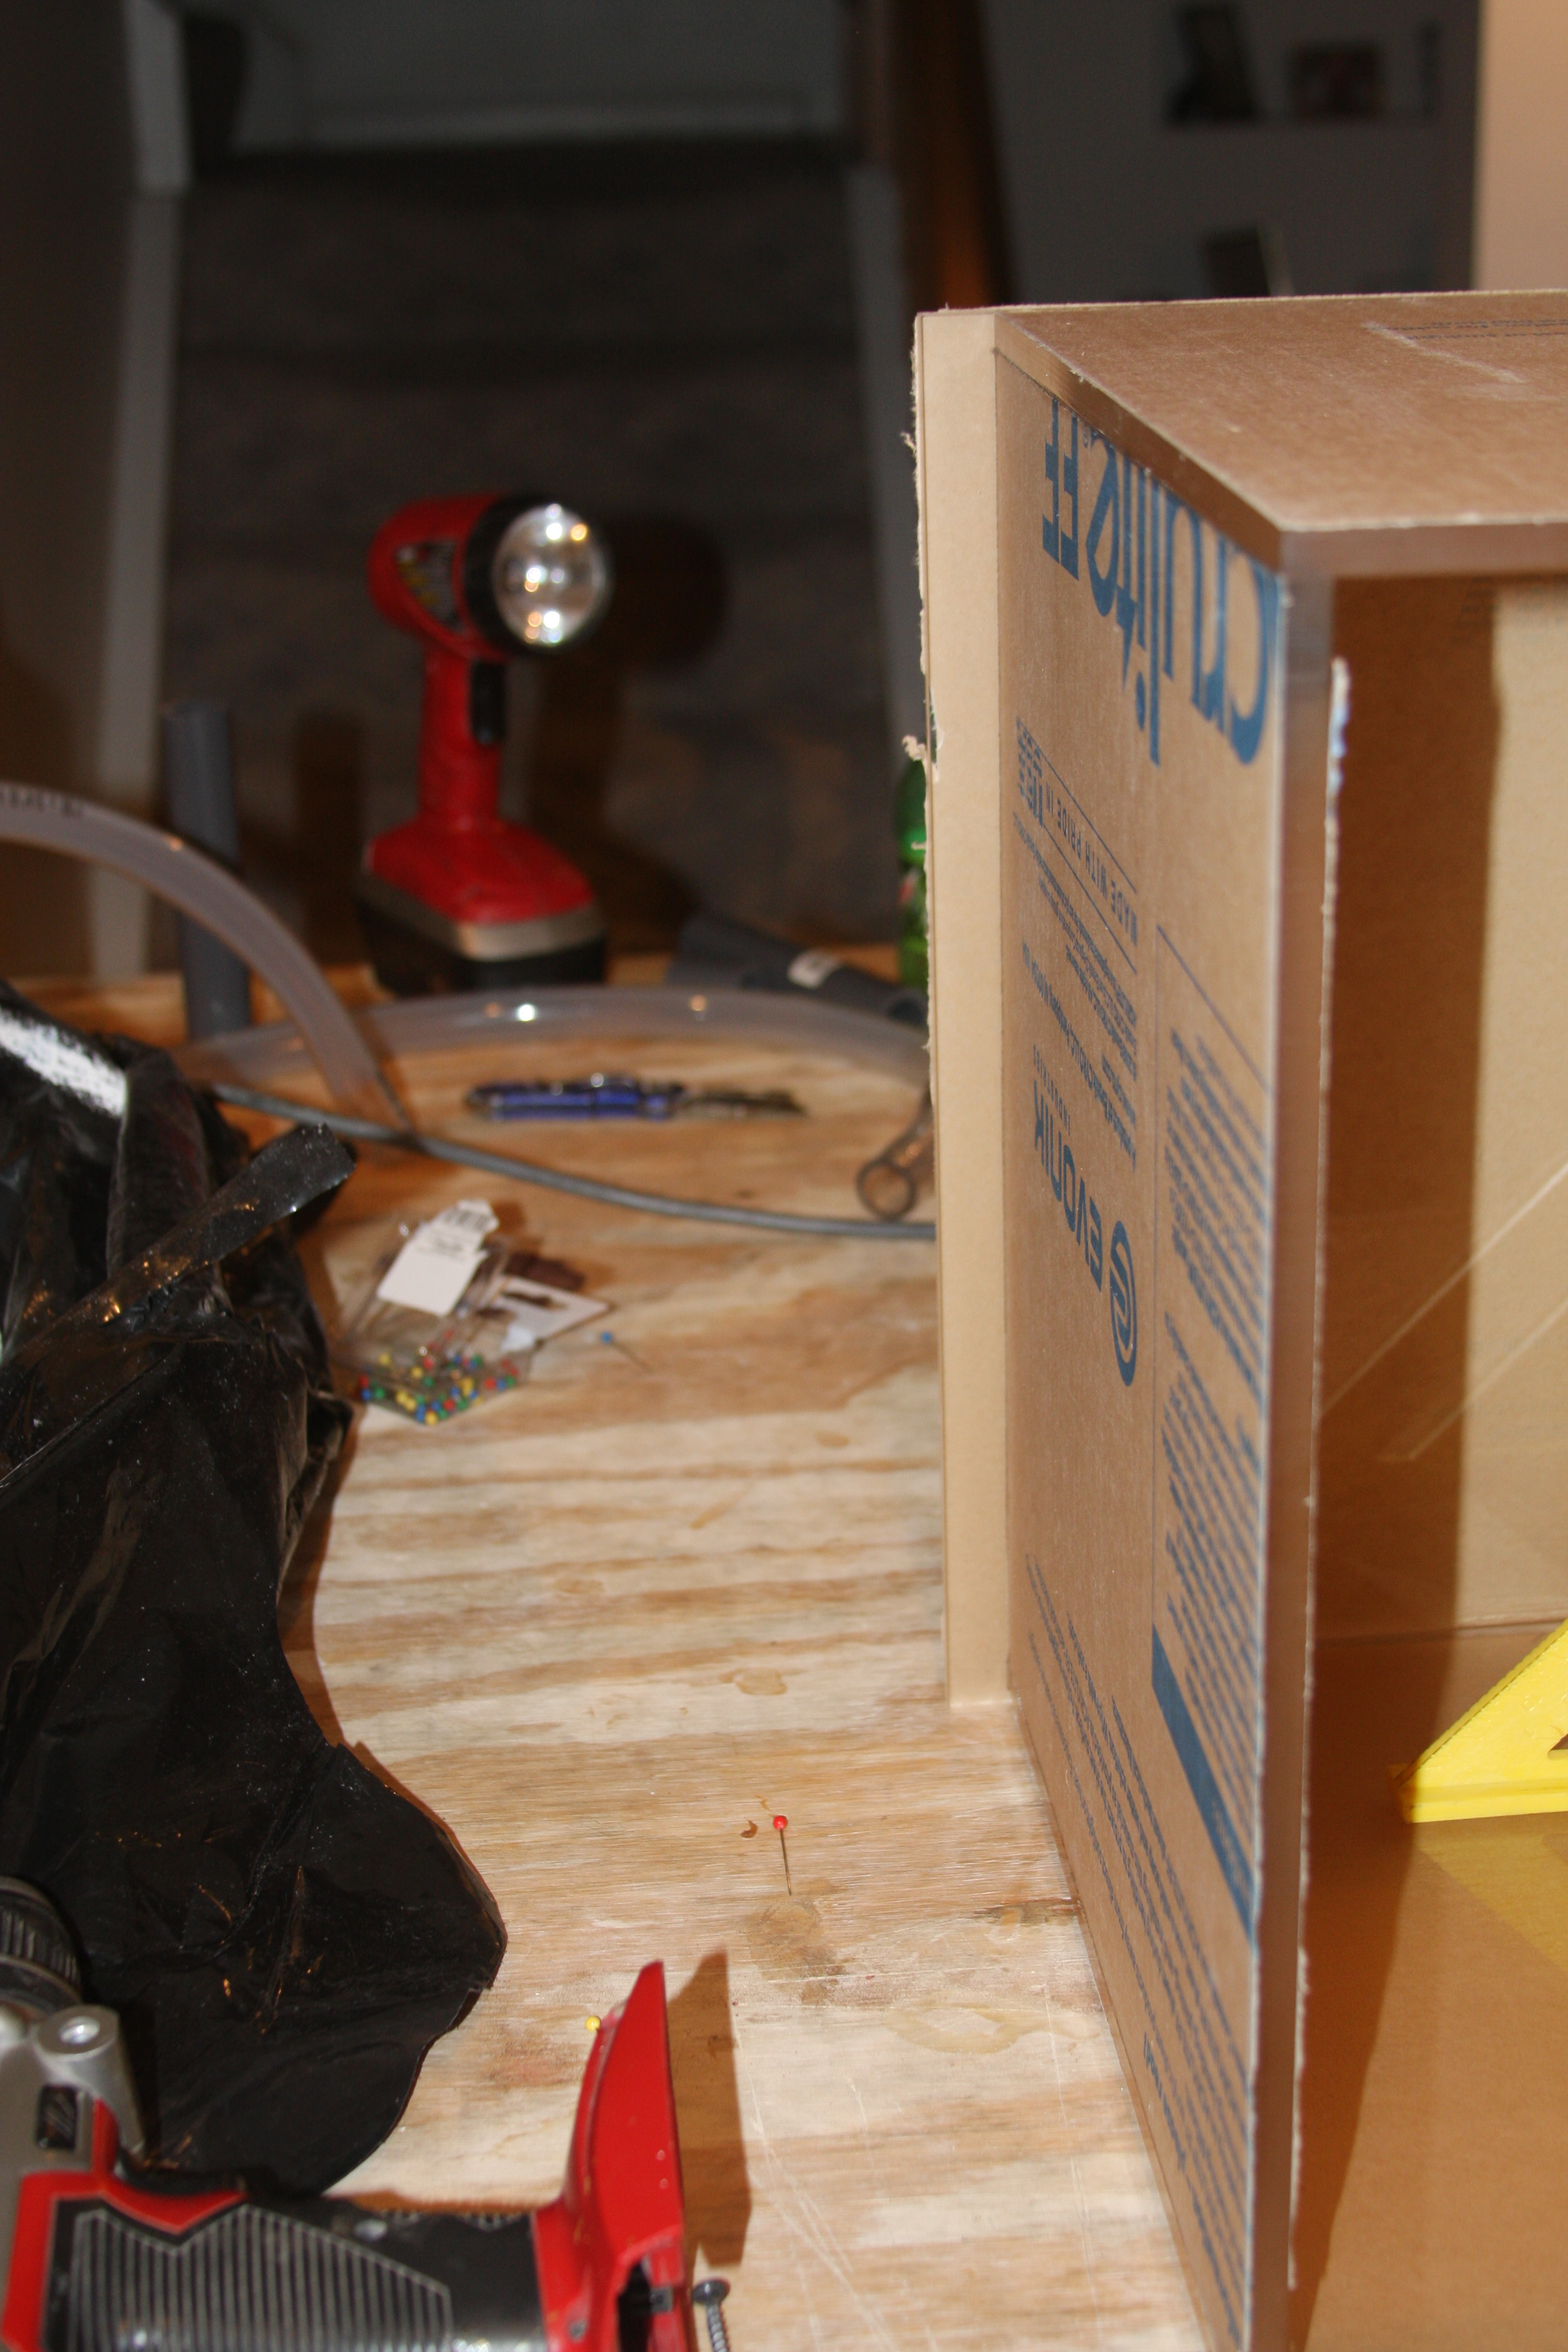
This pic is just showing the overhang of the acrylic that has to be trimmed off once where complete. I usually do cut the bottom oversize.
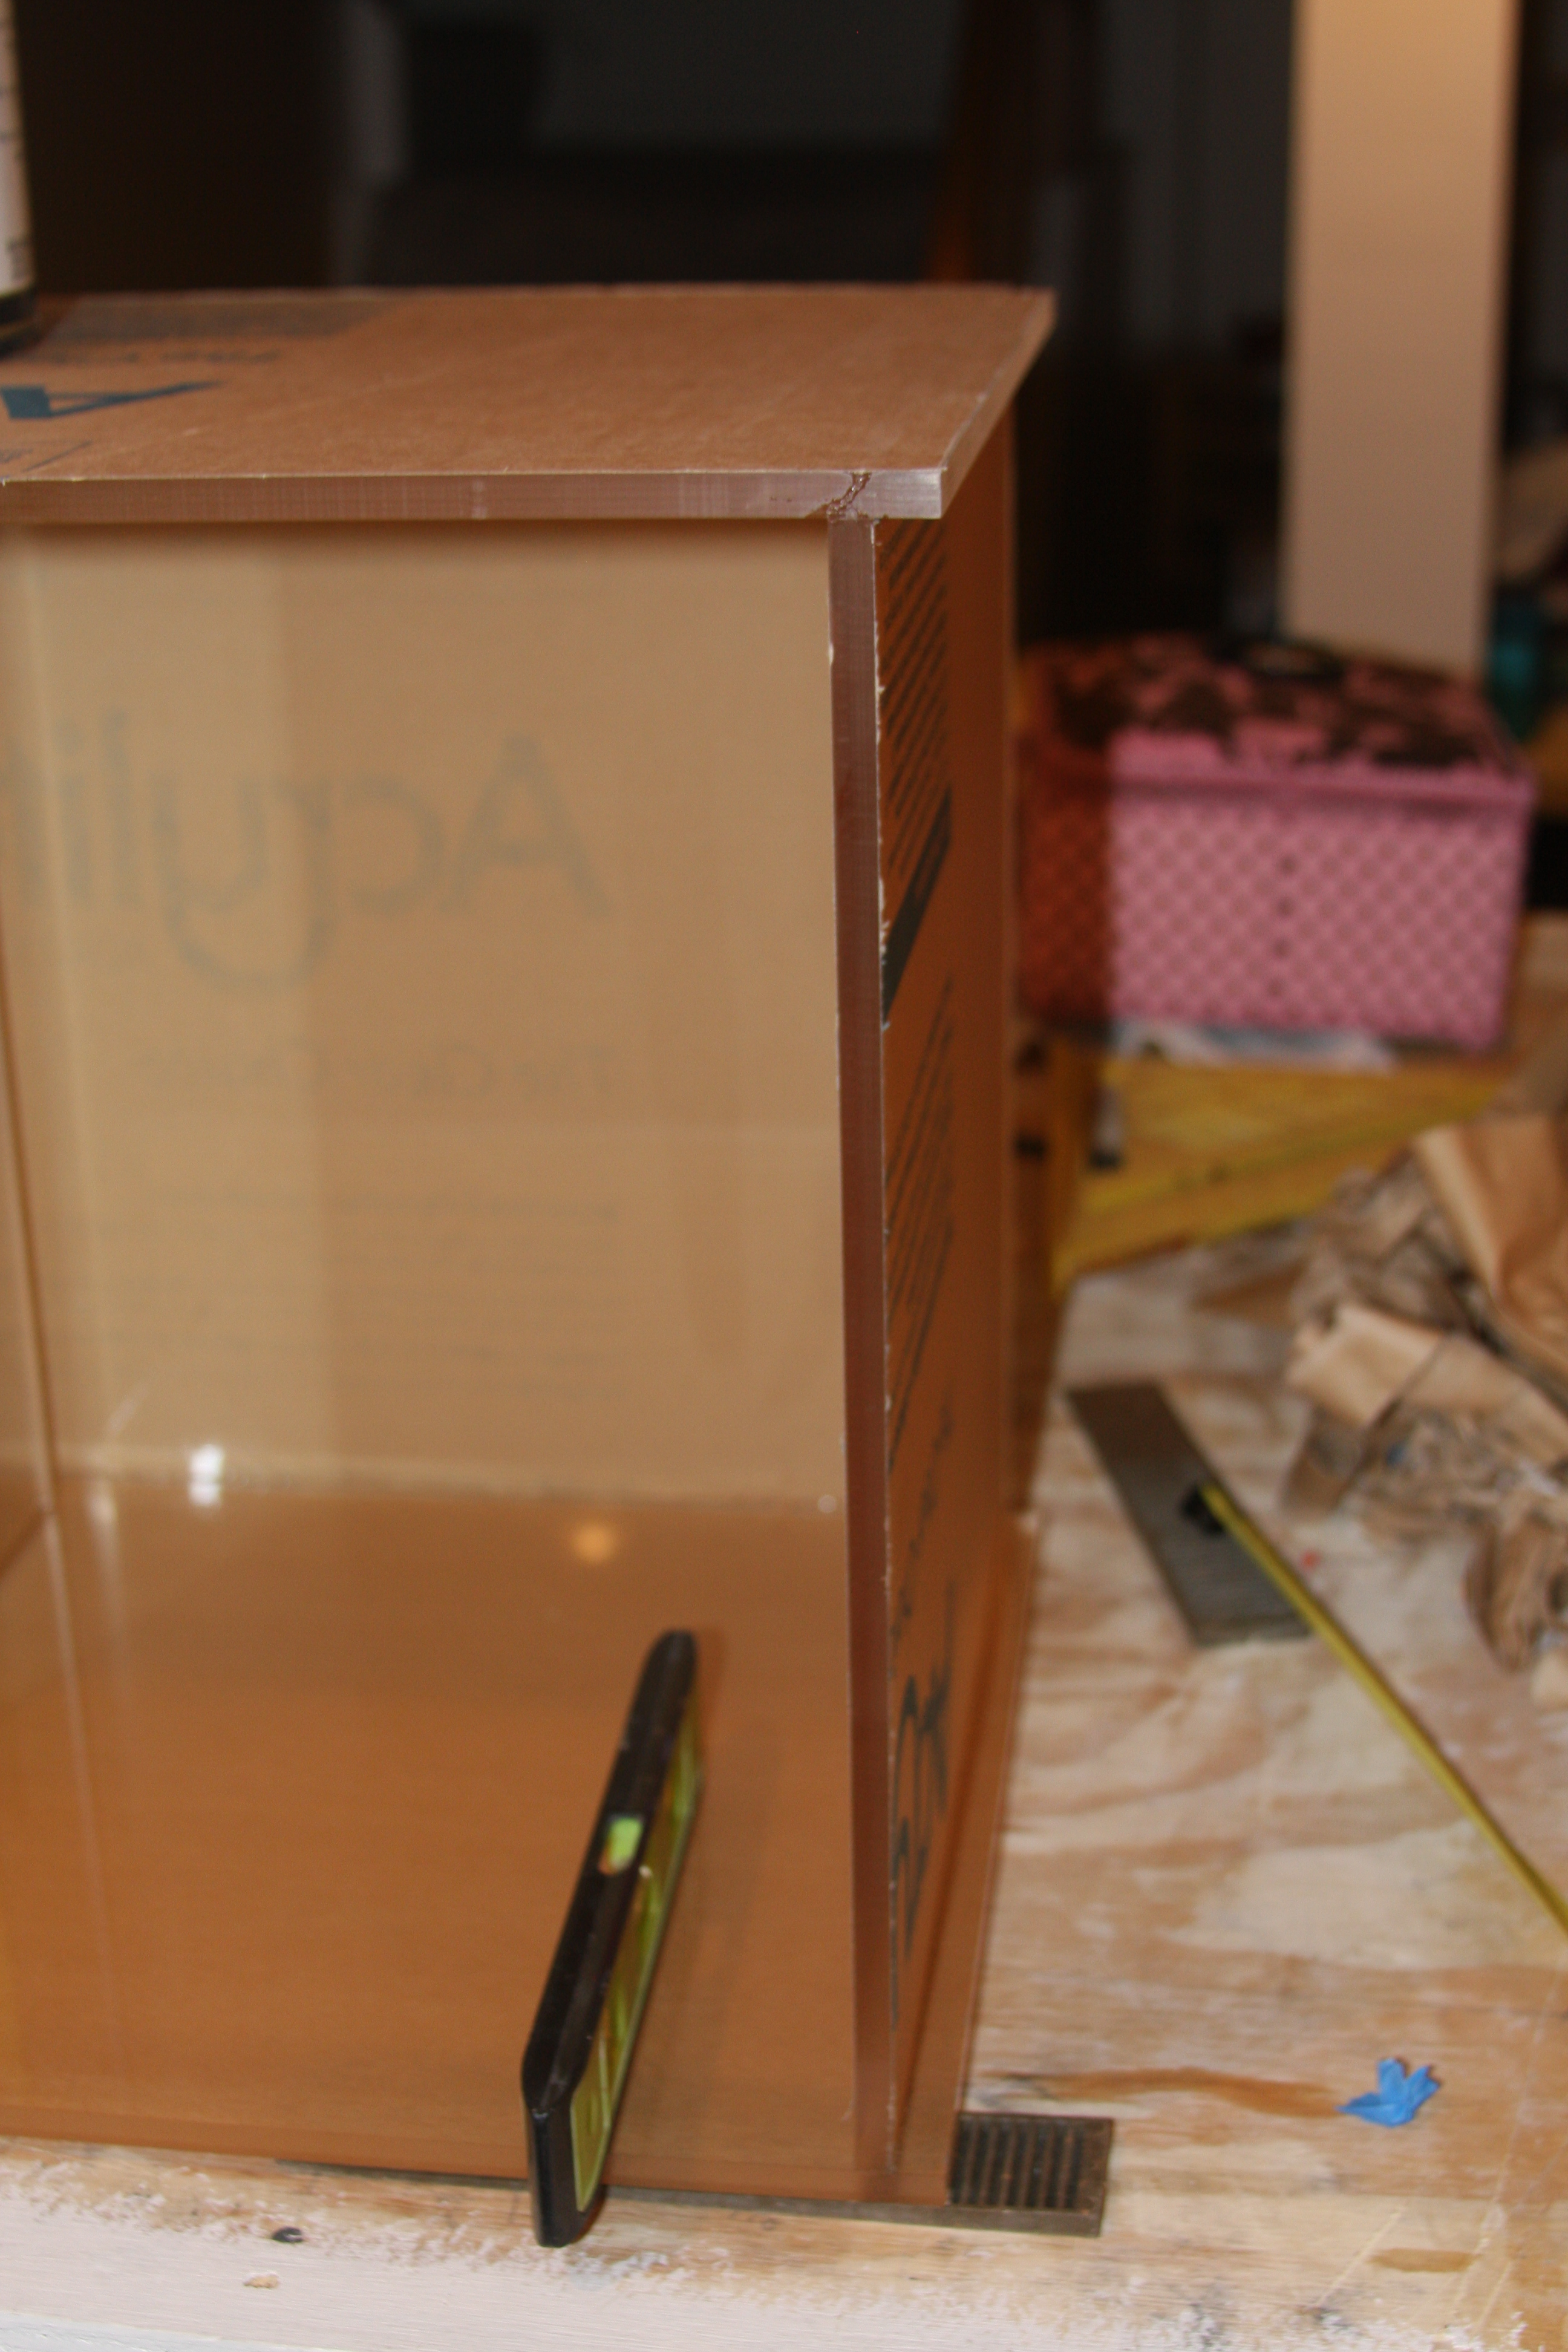
The overhang on the front and back panels....If I was accurate with my measurements, there wouldn't have been any hangover.


