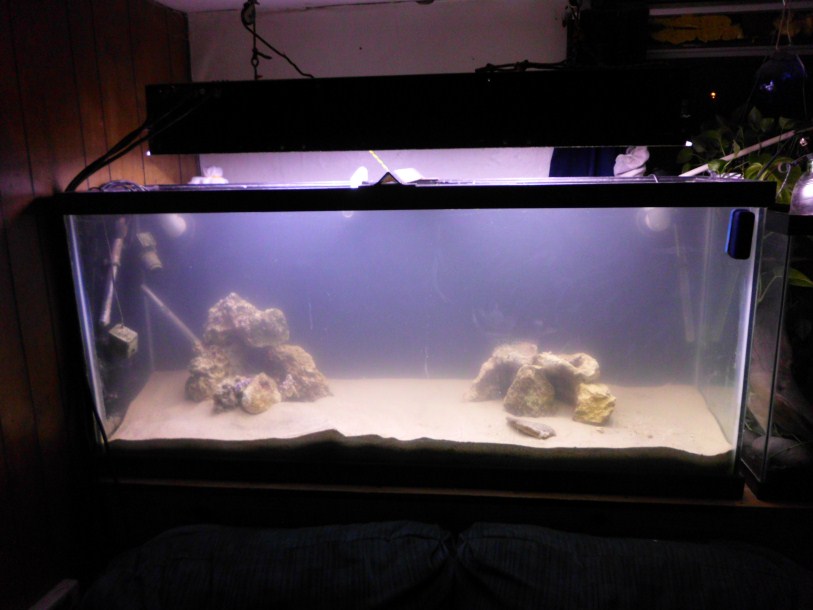
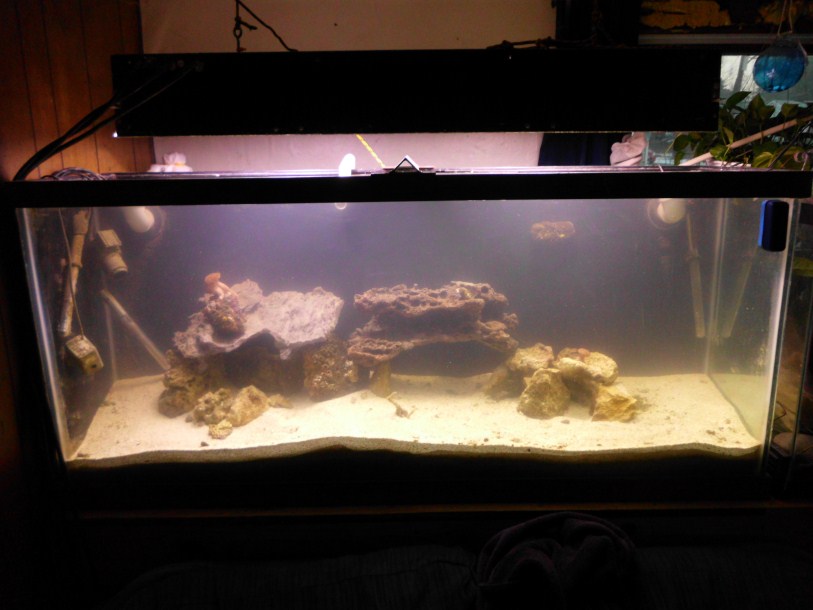
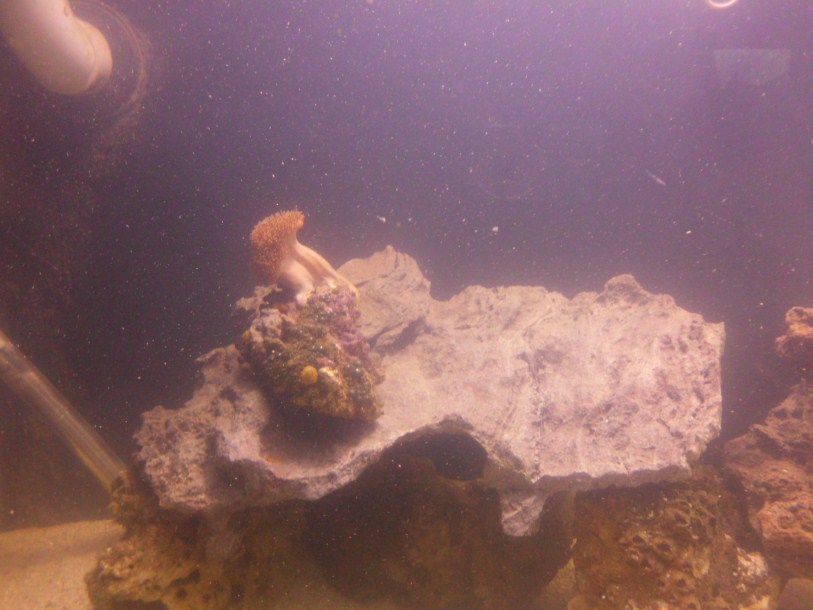
Gearing up to rebuild: 125g
- Thread starter reefkprz
- Start date
reefkprz
Active Member
I started washing my old sand and adding it to the tank this morning as a cap for the play sand. that should keep the play sand from blowing all over the place.. hopefully. since the aragonite if larger grain and heavier than the play sand it should also stay on top.
wow page 5 already.
wow page 5 already.
reefkprz
Active Member
Quote:
Originally Posted by spanko http:///t/390234/gearing-up-to-rebuild-125g/80#post_3463845
Hmmmmmmm. .........minimalist aquascape, could be interesting...
Just sayin.
gotta get a lot more rock in the long run but $$$$$$$ makes me buy it slowly.LOLZ
Originally Posted by spanko http:///t/390234/gearing-up-to-rebuild-125g/80#post_3463845
Hmmmmmmm. .........minimalist aquascape, could be interesting...
Just sayin.
gotta get a lot more rock in the long run but $$$$$$$ makes me buy it slowly.LOLZ
reefkprz
Active Member
found this sponge (or whats left of it) in my bucket of old sand. has been kept wet but not heated at al;l with zero circulation. who wants to take bets on whether this thing can come back. I know ots hard to see but the tank is relly cloudy from adding the rest of my old sand.
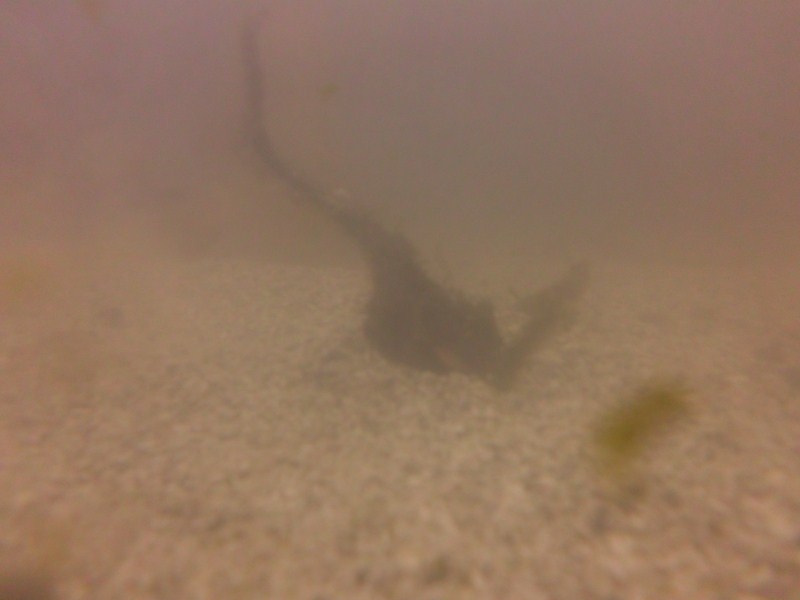
I think it can, for a few reasons. most sponges create gemmules that are soley intended for surviving in a dormant state through adverse conditions, to come to life once conditions return to normal.

I think it can, for a few reasons. most sponges create gemmules that are soley intended for surviving in a dormant state through adverse conditions, to come to life once conditions return to normal.
reefkprz
Active Member
went tonight and picked up some more live rock from a friend 2 really nice show pieces ONe giant ledge and a large double ledge. when the tank is clearer I will take some pictures. they were rocks I originally gave to him a while ago because I didn't have room for them, now the reverse was true and he didn't have room for them in his tank so they came back to me. YAY


reefkprz
Active Member
Quote:
Originally Posted by reefkprZ http:///t/390234/gearing-up-to-rebuild-125g/80#post_3463891
found this sponge (or whats left of it) in my bucket of old sand. has been kept wet but not heated at al;l with zero circulation. who wants to take bets on whether this thing can come back. I know ots hard to see but the tank is relly cloudy from adding the rest of my old sand.

I think it can, for a few reasons. most sponges create gemmules that are soley intended for surviving in a dormant state through adverse conditions, to come to life once conditions return to normal.
no takers on betting whether it lives?
Originally Posted by reefkprZ http:///t/390234/gearing-up-to-rebuild-125g/80#post_3463891
found this sponge (or whats left of it) in my bucket of old sand. has been kept wet but not heated at al;l with zero circulation. who wants to take bets on whether this thing can come back. I know ots hard to see but the tank is relly cloudy from adding the rest of my old sand.

I think it can, for a few reasons. most sponges create gemmules that are soley intended for surviving in a dormant state through adverse conditions, to come to life once conditions return to normal.
no takers on betting whether it lives?
flower
Well-Known Member
Quote:
Originally Posted by reefkprZ http:///t/390234/gearing-up-to-rebuild-125g/80#post_3463992
no takers on betting whether it lives?
If it was exposed to air...no
Originally Posted by reefkprZ http:///t/390234/gearing-up-to-rebuild-125g/80#post_3463992
no takers on betting whether it lives?
If it was exposed to air...no
reefkprz
Active Member
Quote:
Originally Posted by Flower http:///t/390234/gearing-up-to-rebuild-125g/80#post_3463994
If it was exposed to air...no
it was exposed to air only momentarily when I moved it from the bucket to the tank. but I gave it a quick squeeze under water to push out any air, ( I wouldn't recommend trying that with a show sponge for sure) but this is a more common hitch hiker sponge that tends to survive shipping and curing on LR so I am thinking its a bit hardier than most. it also was one of the few survivors of the massive tank crash I had. but we shall see...
sweatervest13
Active Member
Where was the sponge? And for how long?
I say it lives!! This was not going to be my first choice but you did a good job convincing us of why it should live. LOL
I like the new (your old) rock. Looking good!!
I say it lives!! This was not going to be my first choice but you did a good job convincing us of why it should live. LOL
I like the new (your old) rock. Looking good!!
reefkprz
Active Member
Quote:
Originally Posted by sweatervest13 http:///t/390234/gearing-up-to-rebuild-125g/80#post_3464101
Where was the sponge? And for how long?
I say it lives!! This was not going to be my first choice but you did a good job convincing us of why it should live. LOL
I like the new (your old) rock. Looking good!!
the sponge was in a a bucket of sand and water for almost a year sealed.
reefkprz
Active Member
tested again today
Ammonia 0
nitrite 0
trate 5.0 ish ( I hate my nitate test )
calcium same
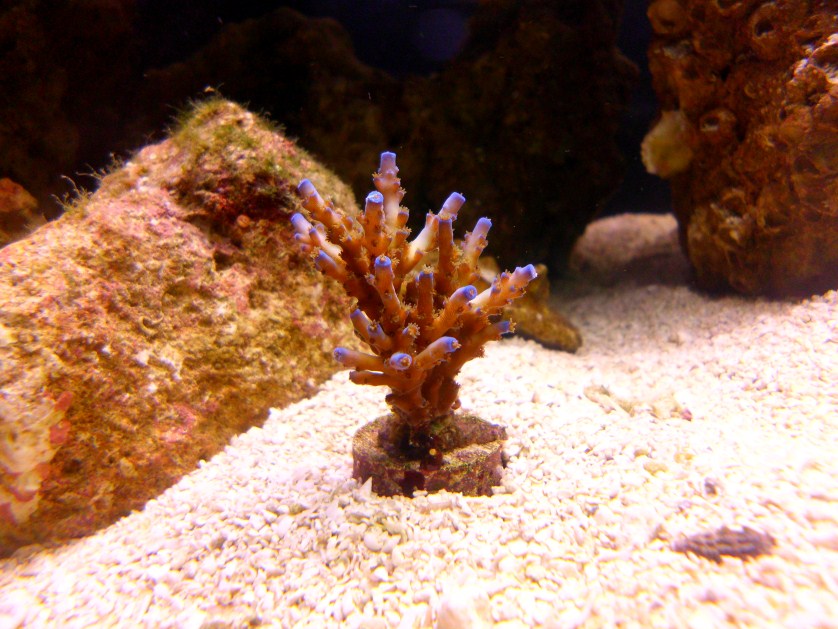
Sooooooooo I went and bought 2 corals....
A blue tip acropora and an green zoanthid frag
once the zoas acclimate to the tank I will be knockinng them off that ugly plug and attaching them to a piece of rock. same with the acropora. I have decided I dont want ANY plugs in my tank it ruins the natural look that I am striving to achieve in the long run with this tank.


reefkprz
Active Member
OK today's focus is on the sump. here is a picture then the explanation

the sump holds rougly 20 - 25 gallons of water, leaving ample room for tank drainage should the return pump fail.
notice the lack of baffles, there are none. the sump is long enough that any bubbles driven into the water column have more than enough time to rise to the surface before getting to the return pump of the furthest left. both the tank drain and the skimmer outlet are on the far right.
to the far left is also an algae screen, hard to see but there is a power head under it that pumps water up into the pvc frame which is squirted through an outlet on top of the screen.
the stack of egg crate and pvc pipe, in the center, will eventually be totally covered by rubble on all sides and the top, I just dont have enough rubble yet, this is done to create my benthic zone, with lots of surface area for such lovely natural filters such as sponges, tunicates, spirorbid worms micro dusters etc to grow and attach as well as to begin to accumulate sludge.
the skimmer is the only one of the old skimmers I have that still functions. its a coralife SS125, not my first choice but it runs and skims and has lasted me for years so it shall run untill it buys the farm.
and that my friends is an overview of my sump. exciting isn't it. well maybe not, but I realized I kind of glossed over the sump in the build and never really explained my plans well.
reefkprz
Active Member
the tank is now going through its "ugly phase" with red algae (probably due to using old dead sand) and the begginnings of green hair. we';ll see how long it takes to clear up.
the algae is a good sign in a way it means I am ready to start adding my cleanup crew of more than just a couple hermits. right now I have like 5 tiny hermit crabs in there. now there is anough algae to support some turbos, in another couplke weeks I will also go for the nassarius vibex for my sand bed maintinence.
the algae is a good sign in a way it means I am ready to start adding my cleanup crew of more than just a couple hermits. right now I have like 5 tiny hermit crabs in there. now there is anough algae to support some turbos, in another couplke weeks I will also go for the nassarius vibex for my sand bed maintinence.
reefkprz
Active Member
I changed the design of my algae screen alitlle instead of one outlet that was only putting water in the center of the screen I replaced the rear bar with a spray bar (lots of little holes drilled now the screen is getting more even water coverage, I also tipiied it at a 45 degree angle so the water is running down it instead of accross it.

