Saltn00b's Multi-Phase Upgrade Diary!
- Thread starter saltn00b
- Start date
azaintcold
Member
Sorry about your angel. Bummer.
azfishgal
Active Member
Originally Posted by saltn00b
try telling that to my wallet!
I know what you mean. Losing my freshwater fish is really no big deal (except when I get attached to them) as they cost next to nothing. Now that I just spent $50 on my Hippo Tang I'm always checking on her, making sure she's eating, acting normal, etc. Losing her would be painful as she's my most expensive fish so far. Granted she's one of the least expensive saltwater fish out there, but when you are used to paying $2-$5 for a fish $50 bucks is huge.
saltn00b
Active Member
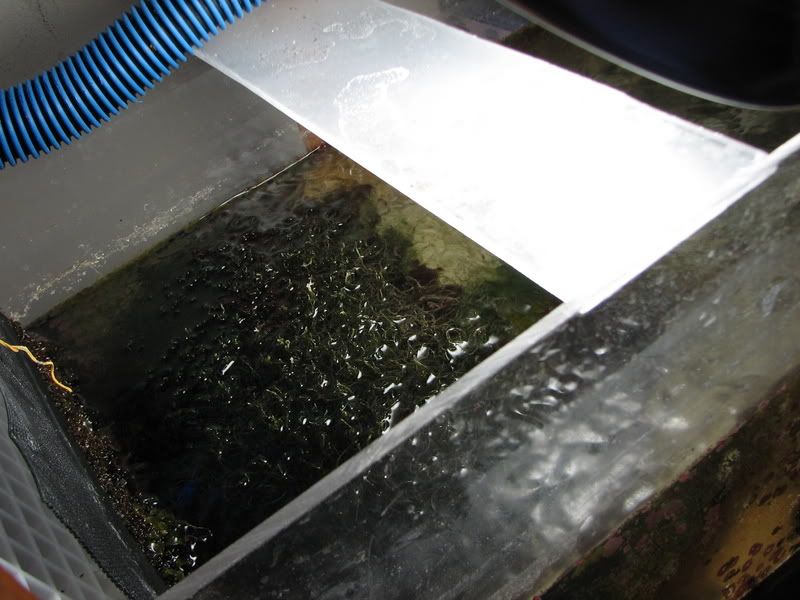
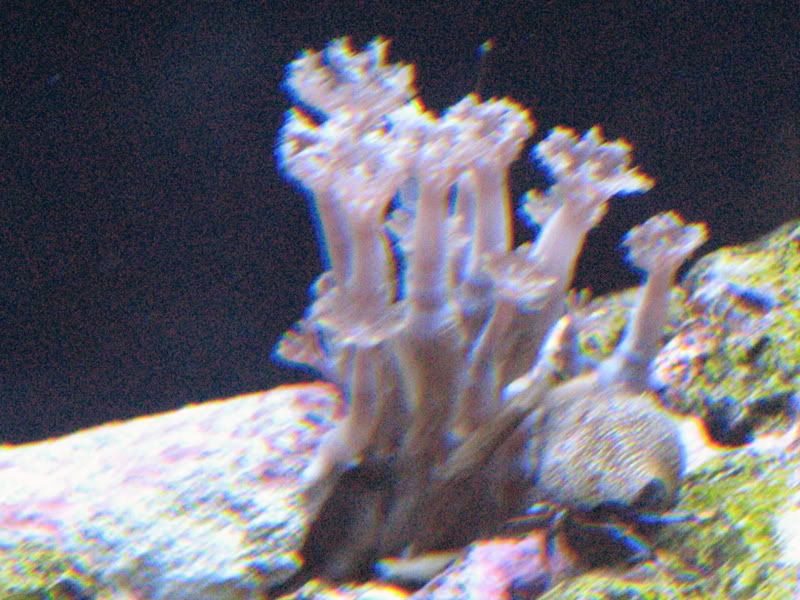
so far so good with the swirly in the fuge.
i cornered the blackcap twice but he escaped through the wholes in the egg crate i am 99% sure! i had to put the fiberglass screen around the pieces of egg crate i was using to catch the black cap.
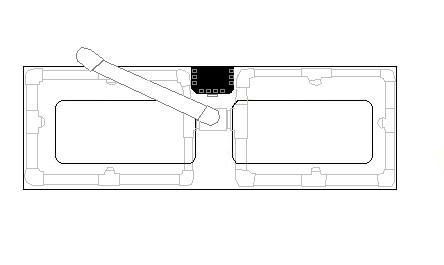
updates for the CLS plans going in saturday:
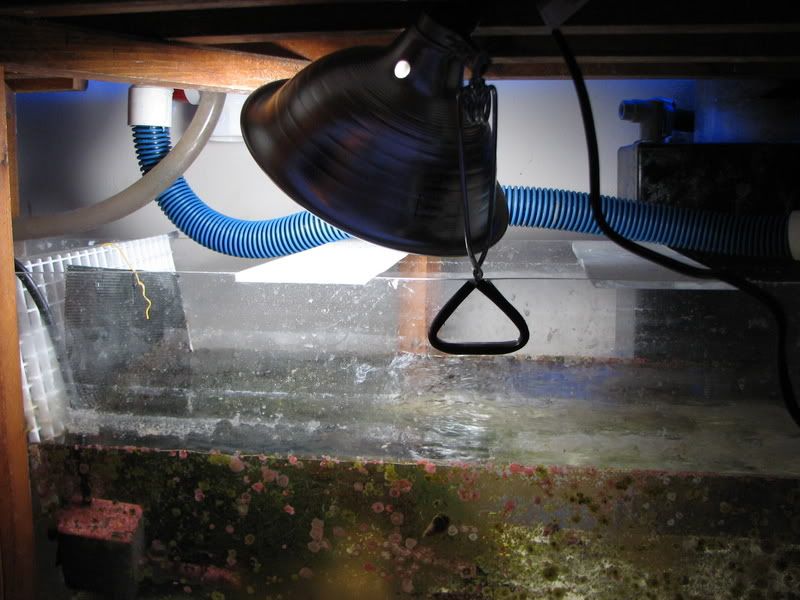
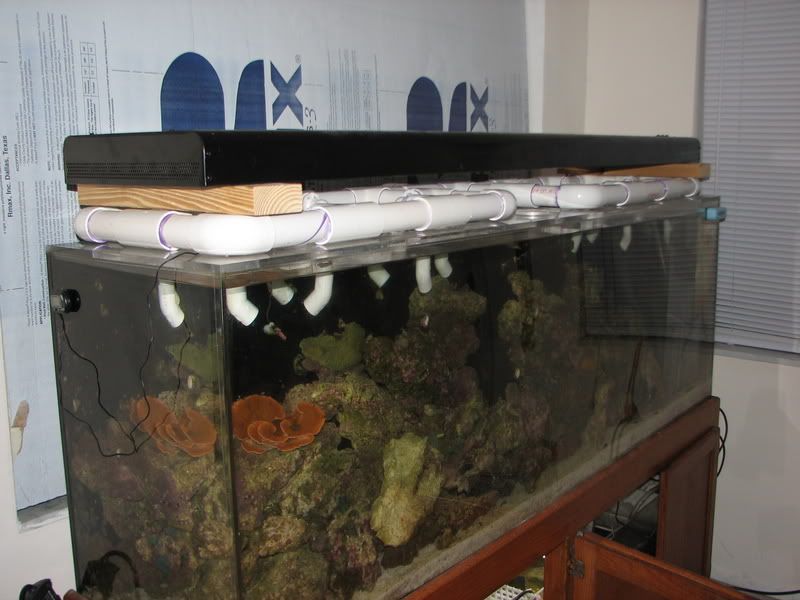
here is a more realistic view of the current tank, showing the Sump return locline come from out of the overflow column.
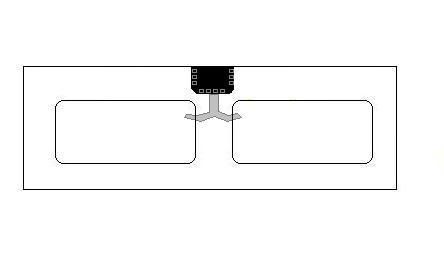
this slides out easily and so i am thinking of drilling the acrylic above where the loc line was and put the UNGLUED structure under it, secured by zipties through small holes.
i cornered the blackcap twice but he escaped through the wholes in the egg crate i am 99% sure! i had to put the fiberglass screen around the pieces of egg crate i was using to catch the black cap.
updates for the CLS plans going in saturday:
here is a more realistic view of the current tank, showing the Sump return locline come from out of the overflow column.
this slides out easily and so i am thinking of drilling the acrylic above where the loc line was and put the UNGLUED structure under it, secured by zipties through small holes.
saltn00b
Active Member
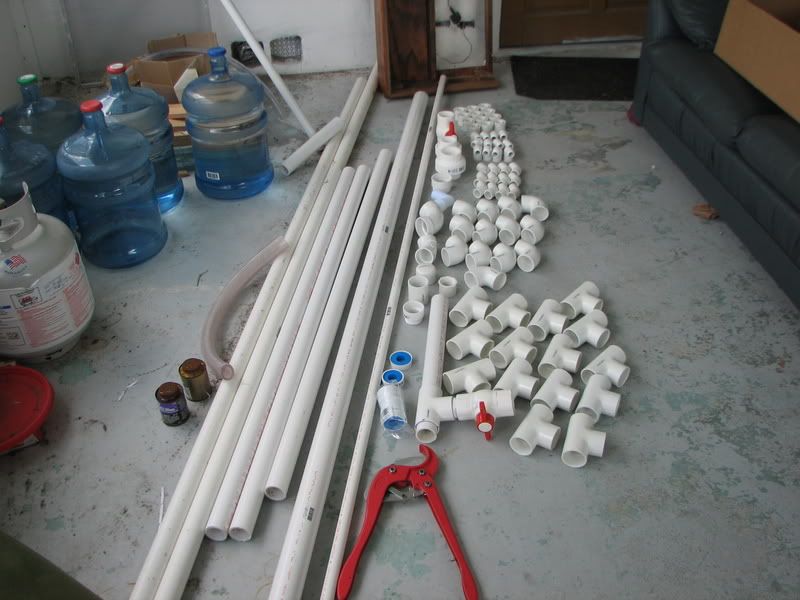
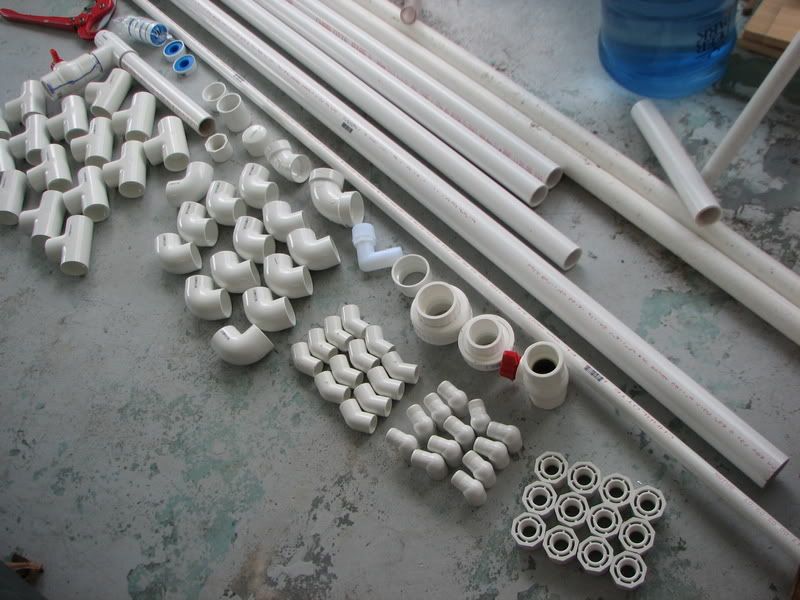
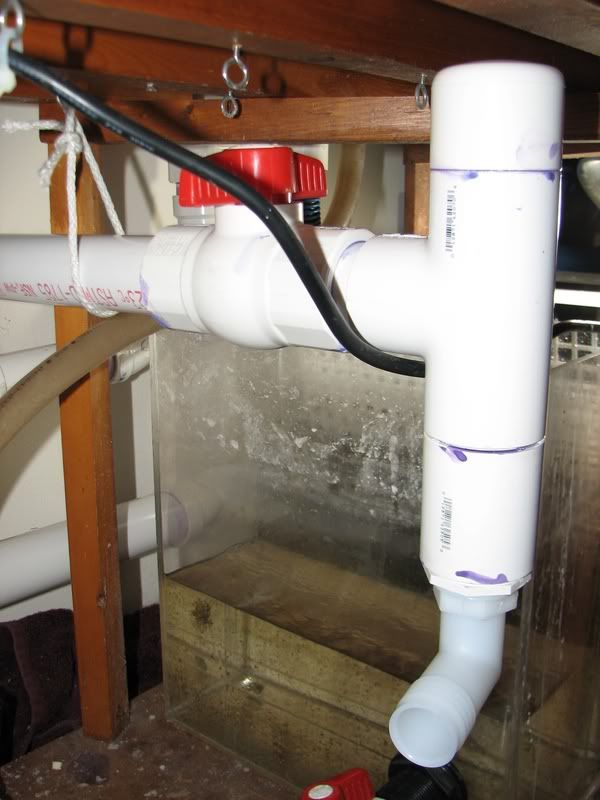
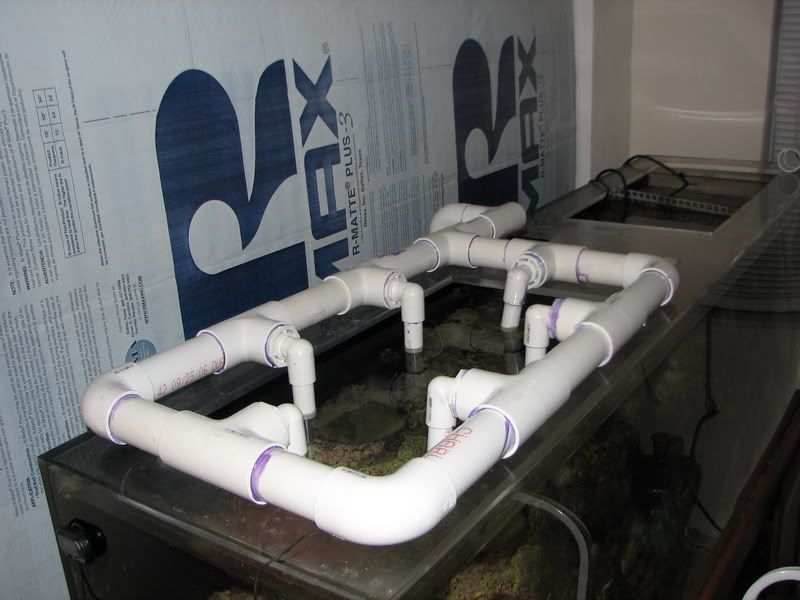
Well after many hours and another $120 in PVC the closed loop system is installed! some changes to the plans were made, take a look
pvc getting set up for the build:
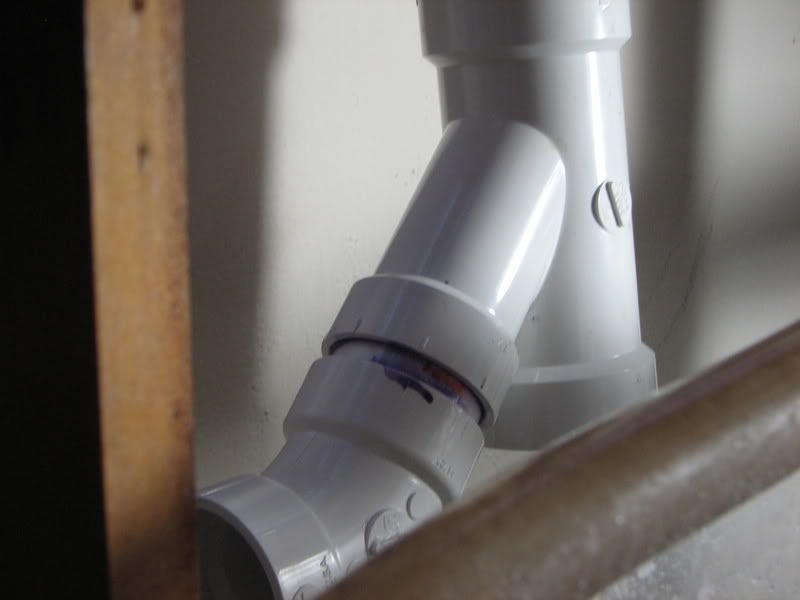
where the (new) drain system lay in wait
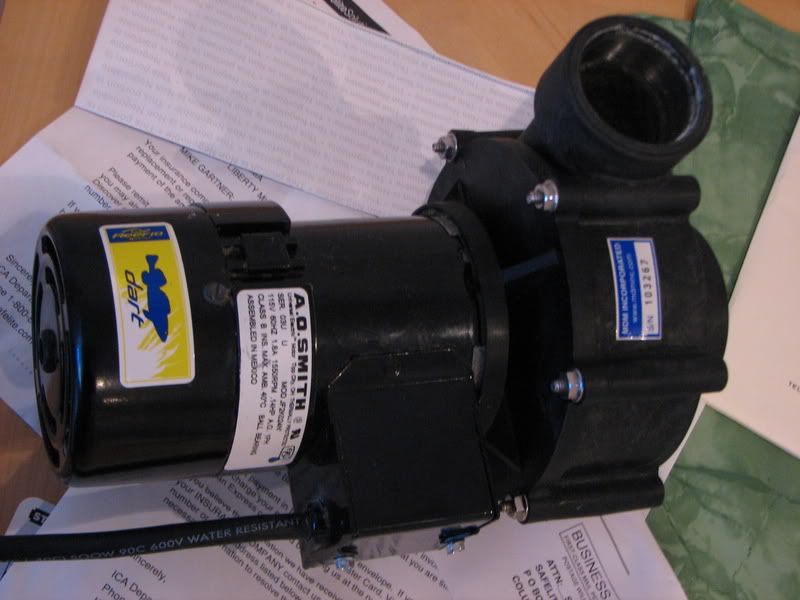
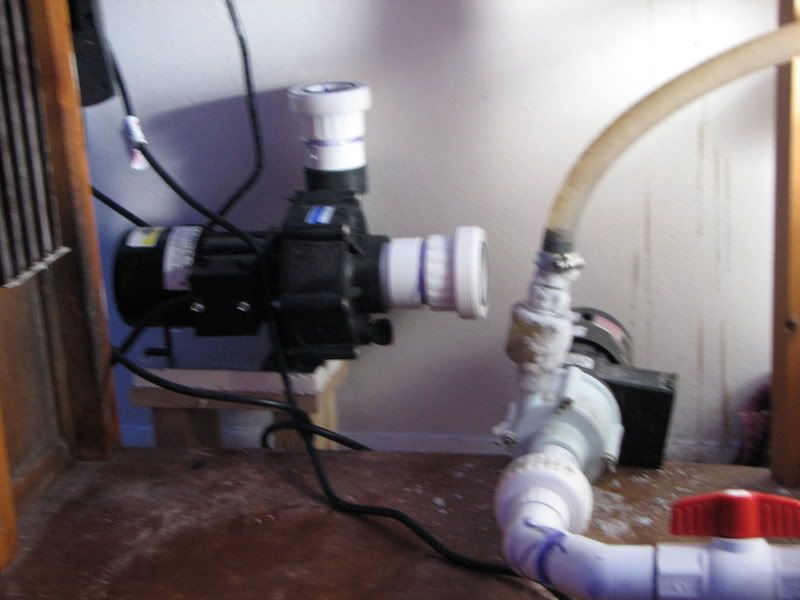
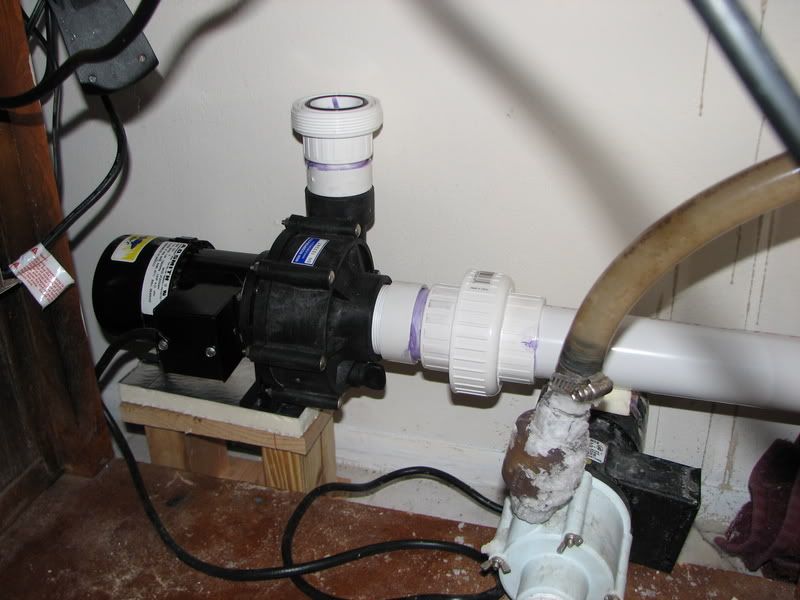
the Dart
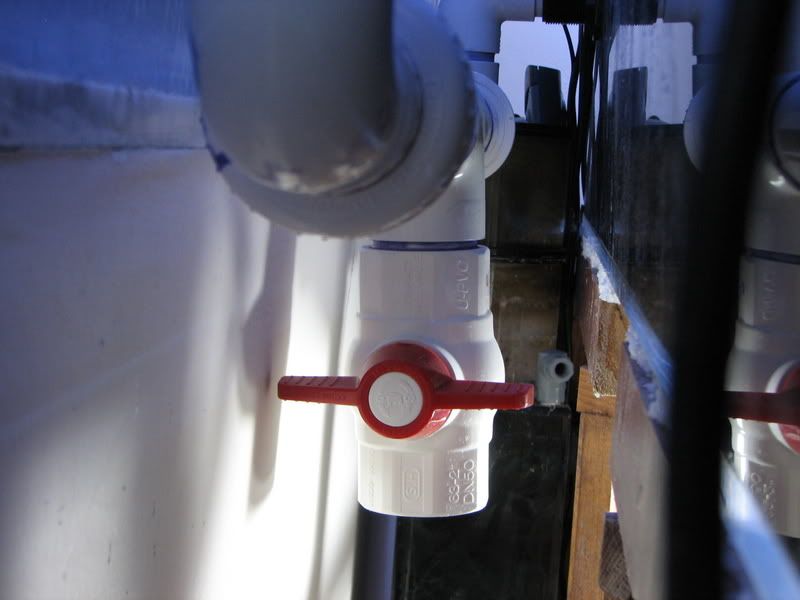
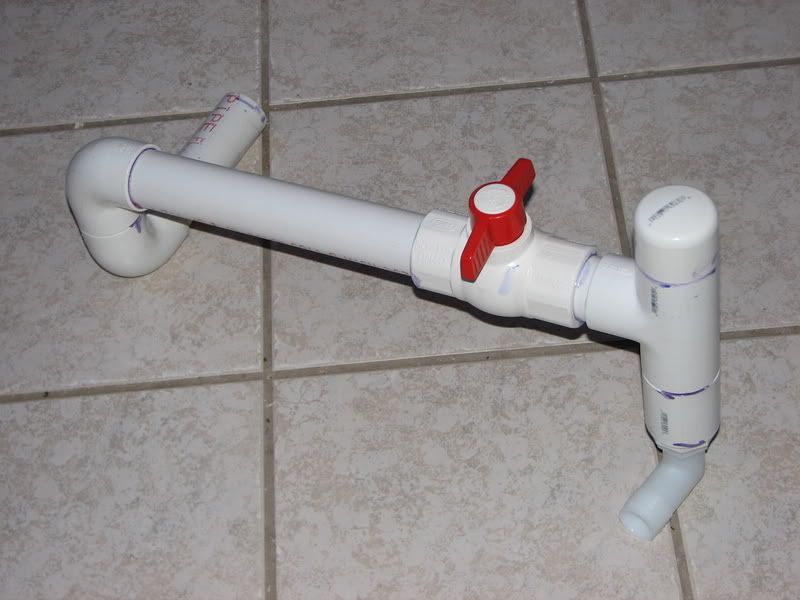
adding the Wye for a drain faucet / spigot to be used for water changes
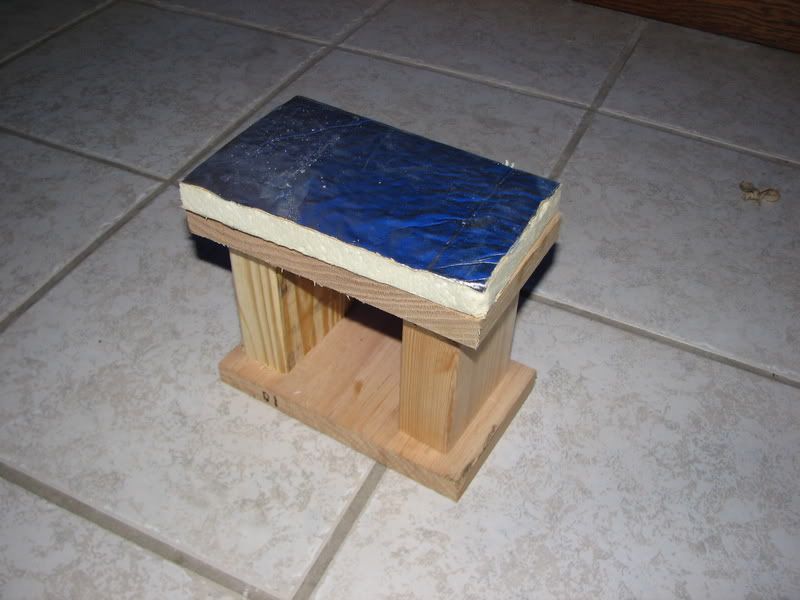
homemade pump stand with insulating foam
pvc getting set up for the build:
where the (new) drain system lay in wait
the Dart
adding the Wye for a drain faucet / spigot to be used for water changes
homemade pump stand with insulating foam
saltn00b
Active Member
attaching the pump:
building up:
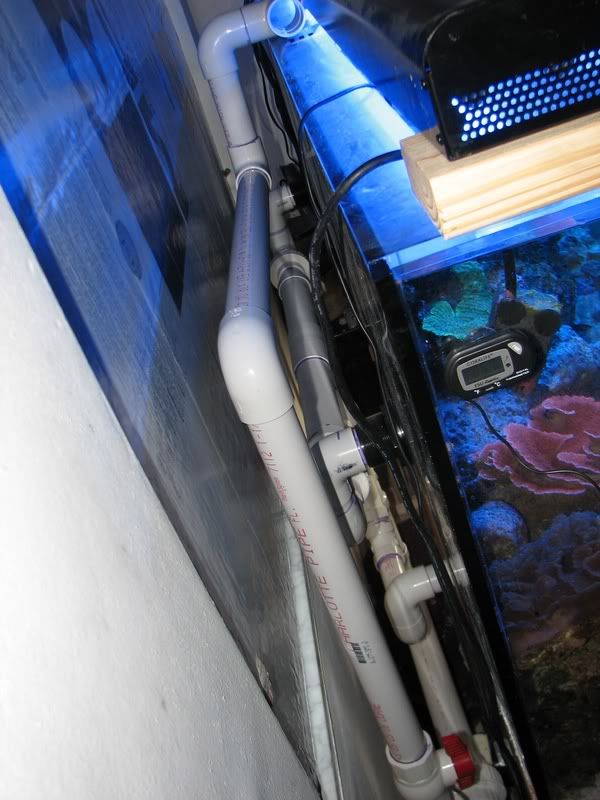
left side:
both sides!
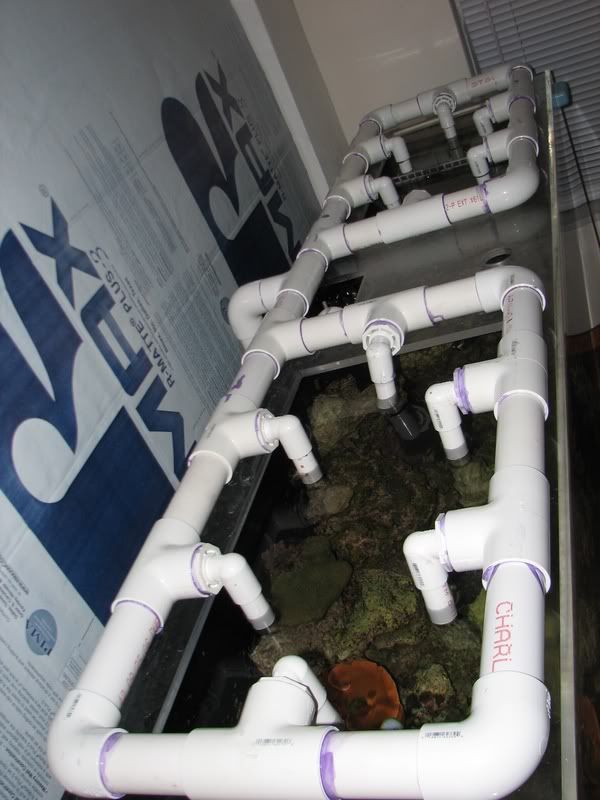
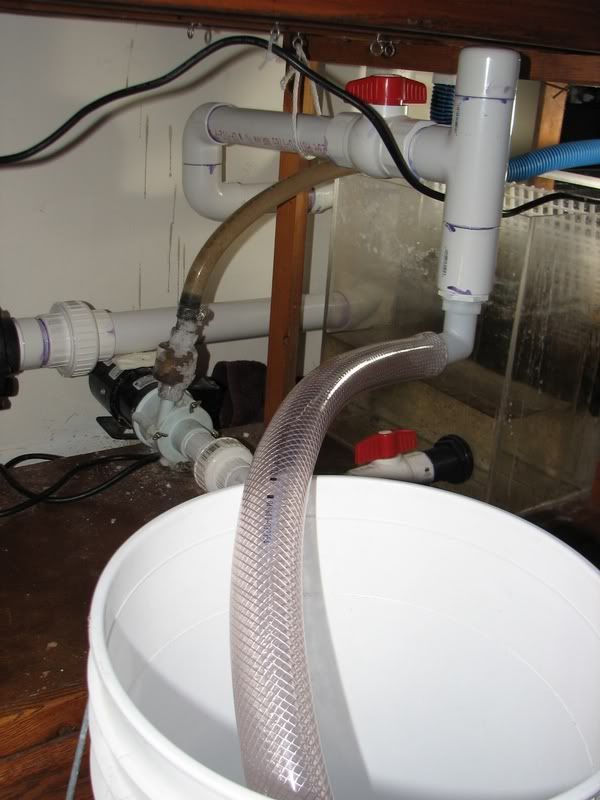
draining out the months of build up from the drain (it works!)
VOILA!
the only problem is that i believe i went over board with the 12 outlets because there is a gentle breeze of flow coming from them and it is just not as powerful as i thought they would be. you can see they are reduced to 3/4" PVC with 45 degree elbows that are not glued on for directional customization. i may end up capping off half of them. i also have 2 very small drips at the pump, one i believe is from the male threaded 2" input not being screwed in tight enough. the other is yet to be located!
building up:
left side:
both sides!
draining out the months of build up from the drain (it works!)
VOILA!
the only problem is that i believe i went over board with the 12 outlets because there is a gentle breeze of flow coming from them and it is just not as powerful as i thought they would be. you can see they are reduced to 3/4" PVC with 45 degree elbows that are not glued on for directional customization. i may end up capping off half of them. i also have 2 very small drips at the pump, one i believe is from the male threaded 2" input not being screwed in tight enough. the other is yet to be located!

saltn00b
Active Member
a closed loop takes in water , gravity fed from the tank directly into a pump that simply pushes it back in. alot of people have their tanks drilled for drain and return, but we only drilled mine for drain, so my return is a manifold ring on the top. this replaces the bulky powerheads in the tank. powerheads that have life spans, that generate heat, that can break down and burn up, that are not very powerful. i freed up 5 outlets and will be saving on evergy costs as well.
azaintcold
Member
Looks great, I'm sure that wasn't a 1 hour project.