silverado61
Well-Known Member
I'm not really sure if anyone will even read this. I just wanted to keep a log on my progress of my 72g stand and tank build.
I have been planning this build for quite some time now. Reading, researching, asking a lot of questions here, a lot doodling on paper, drawing up rough graph blue prints and doing the final drawings of what I wanted it to look like when it's finished.
I started building the frame for the base about two months ago but then the cold snap hit and since I'm doing this in a unheated garage, all work came to a grinding halt.
I have been working on cleaning all the equipment I have on hand that I can use for this build ( sump/fuge, power heads, etc ) and cleaning all the equipment that I used on my 36g tank which mysteriously crashed for reasons I still haven't figured out, I do know it's was nothing I did or neglected to do, and putting it all away for future use.
Mother nature recently gave me a break in the weather for a few days so I had a chance to do some more work on the stand and make some modifications on the design.
Now it's getting colder again so the build is back on hold for a couple more weeks. I checked the Farmers Almanac and it looks like in two weeks or so the temps should stay in the 40's and up so I should be able to work steady on this build. Until then I'll just keep planning and preparing.
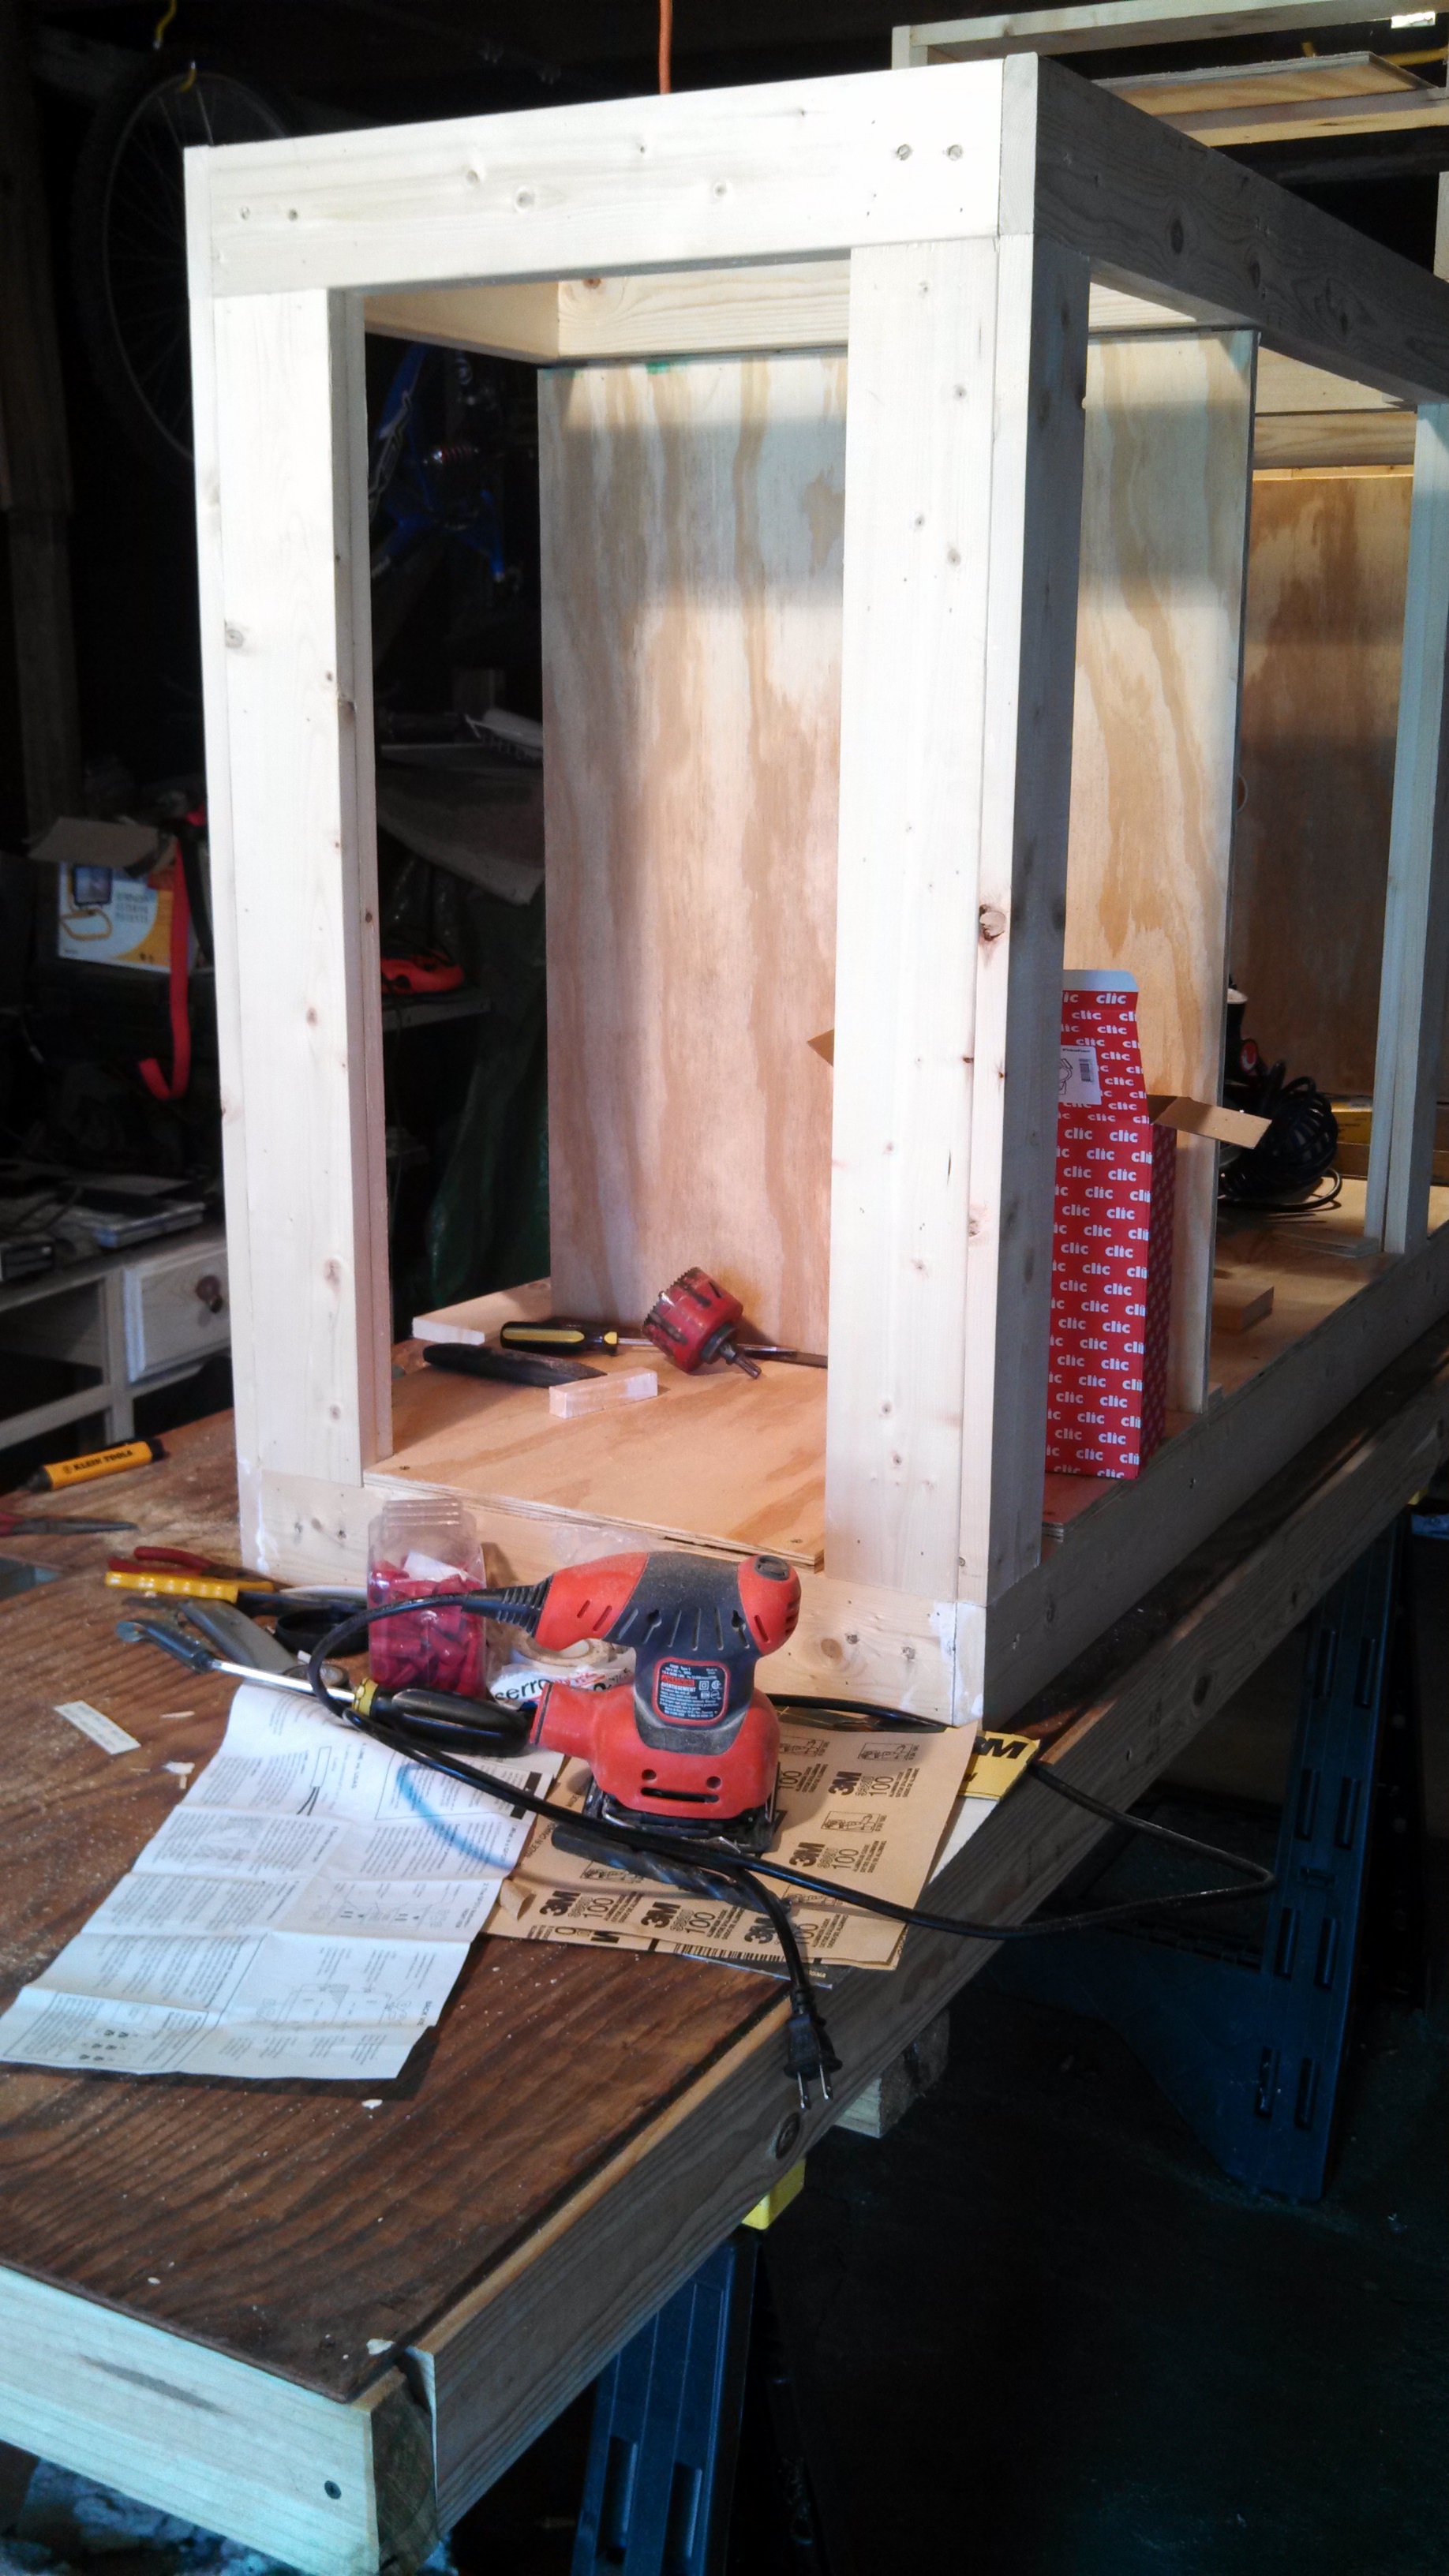
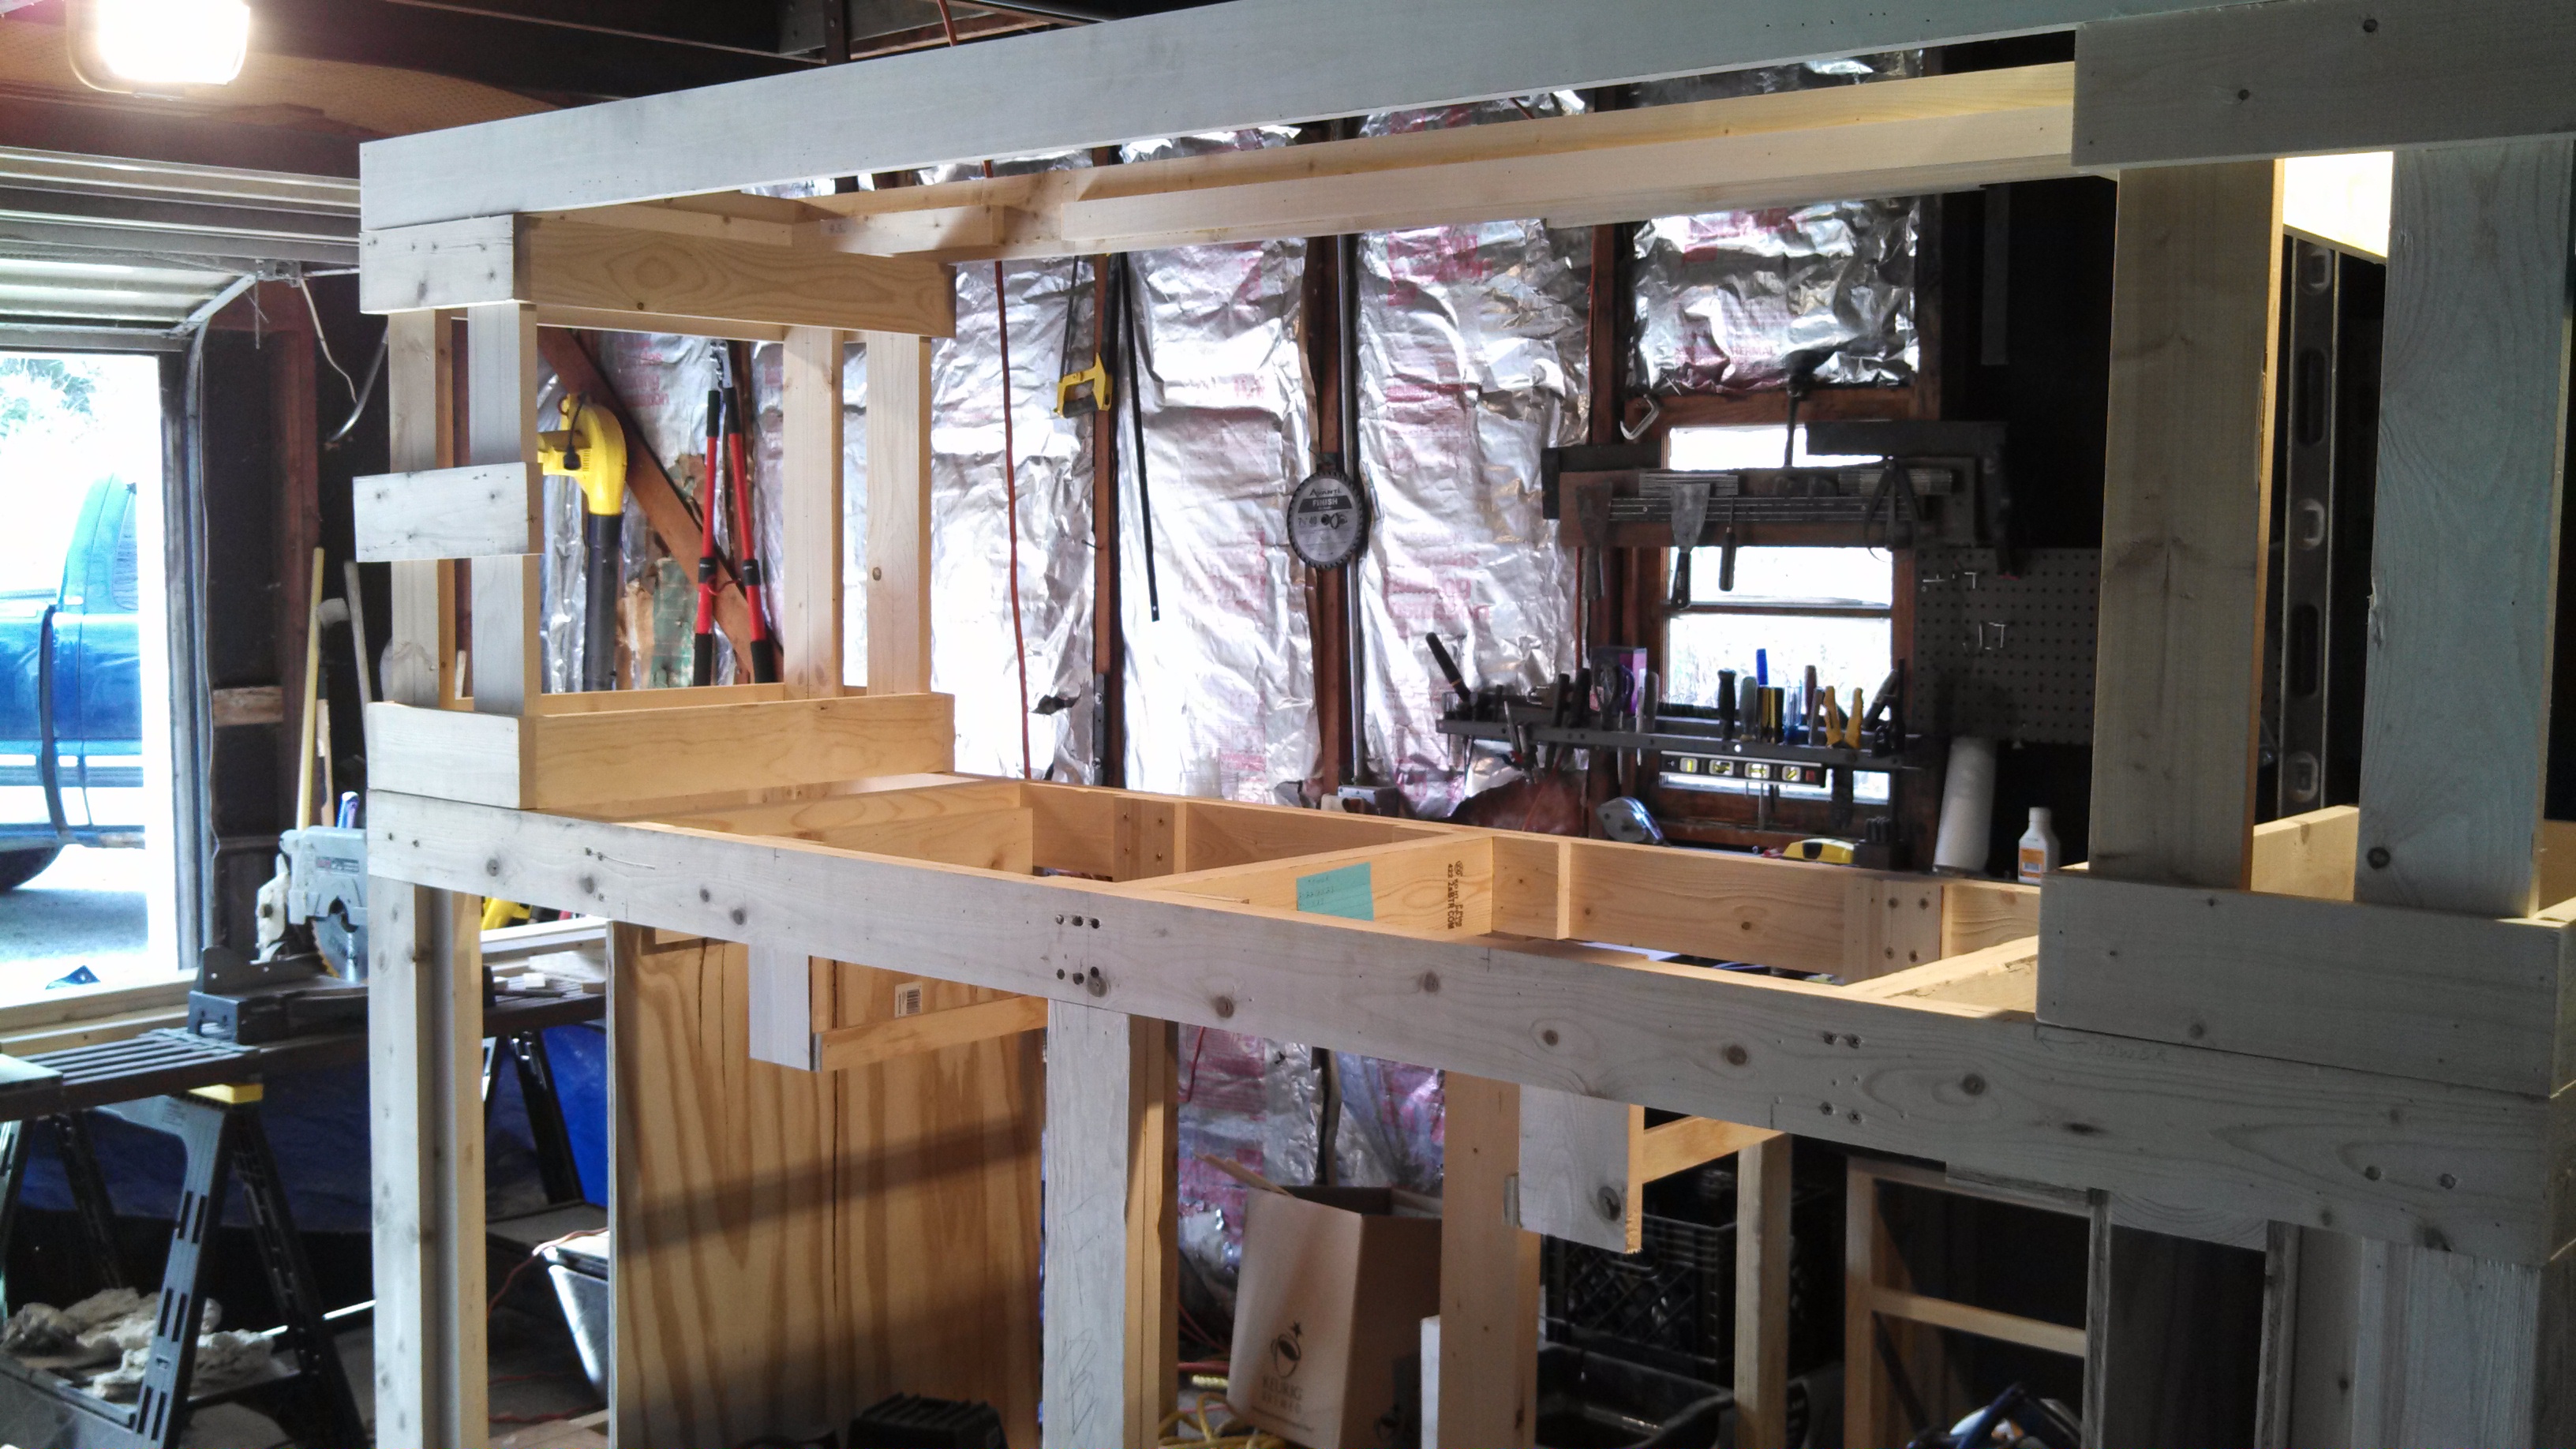
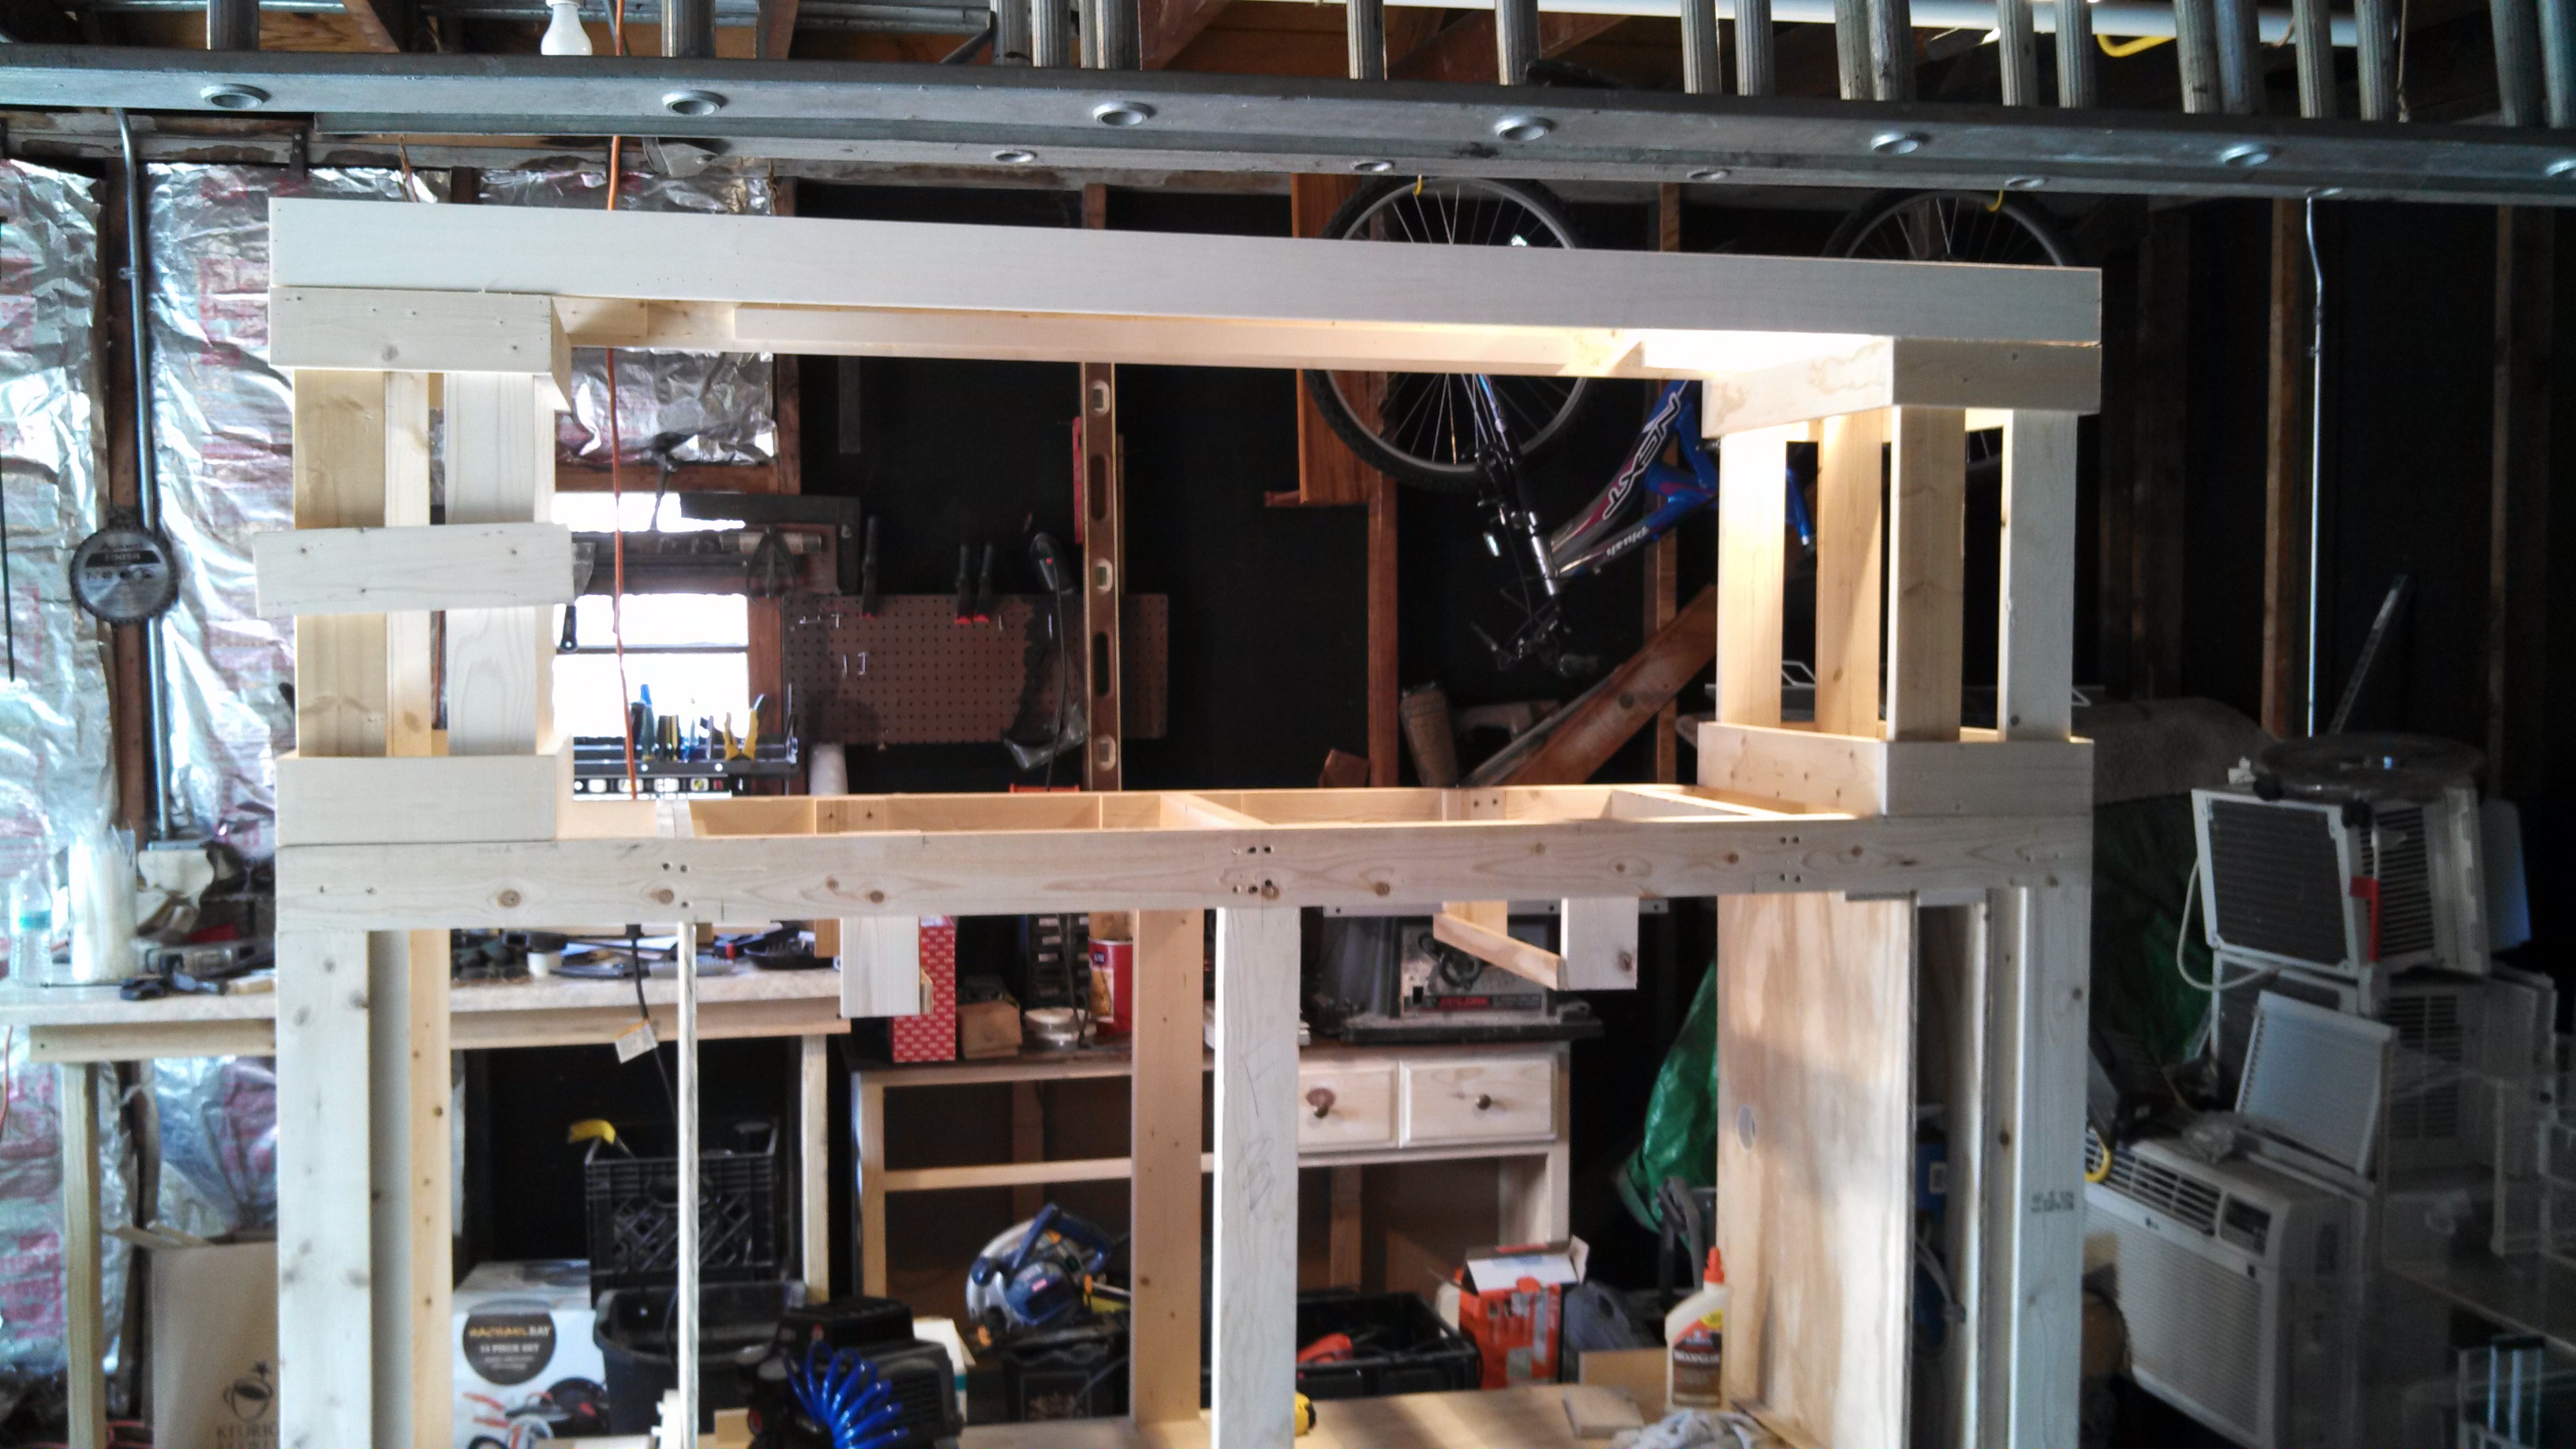
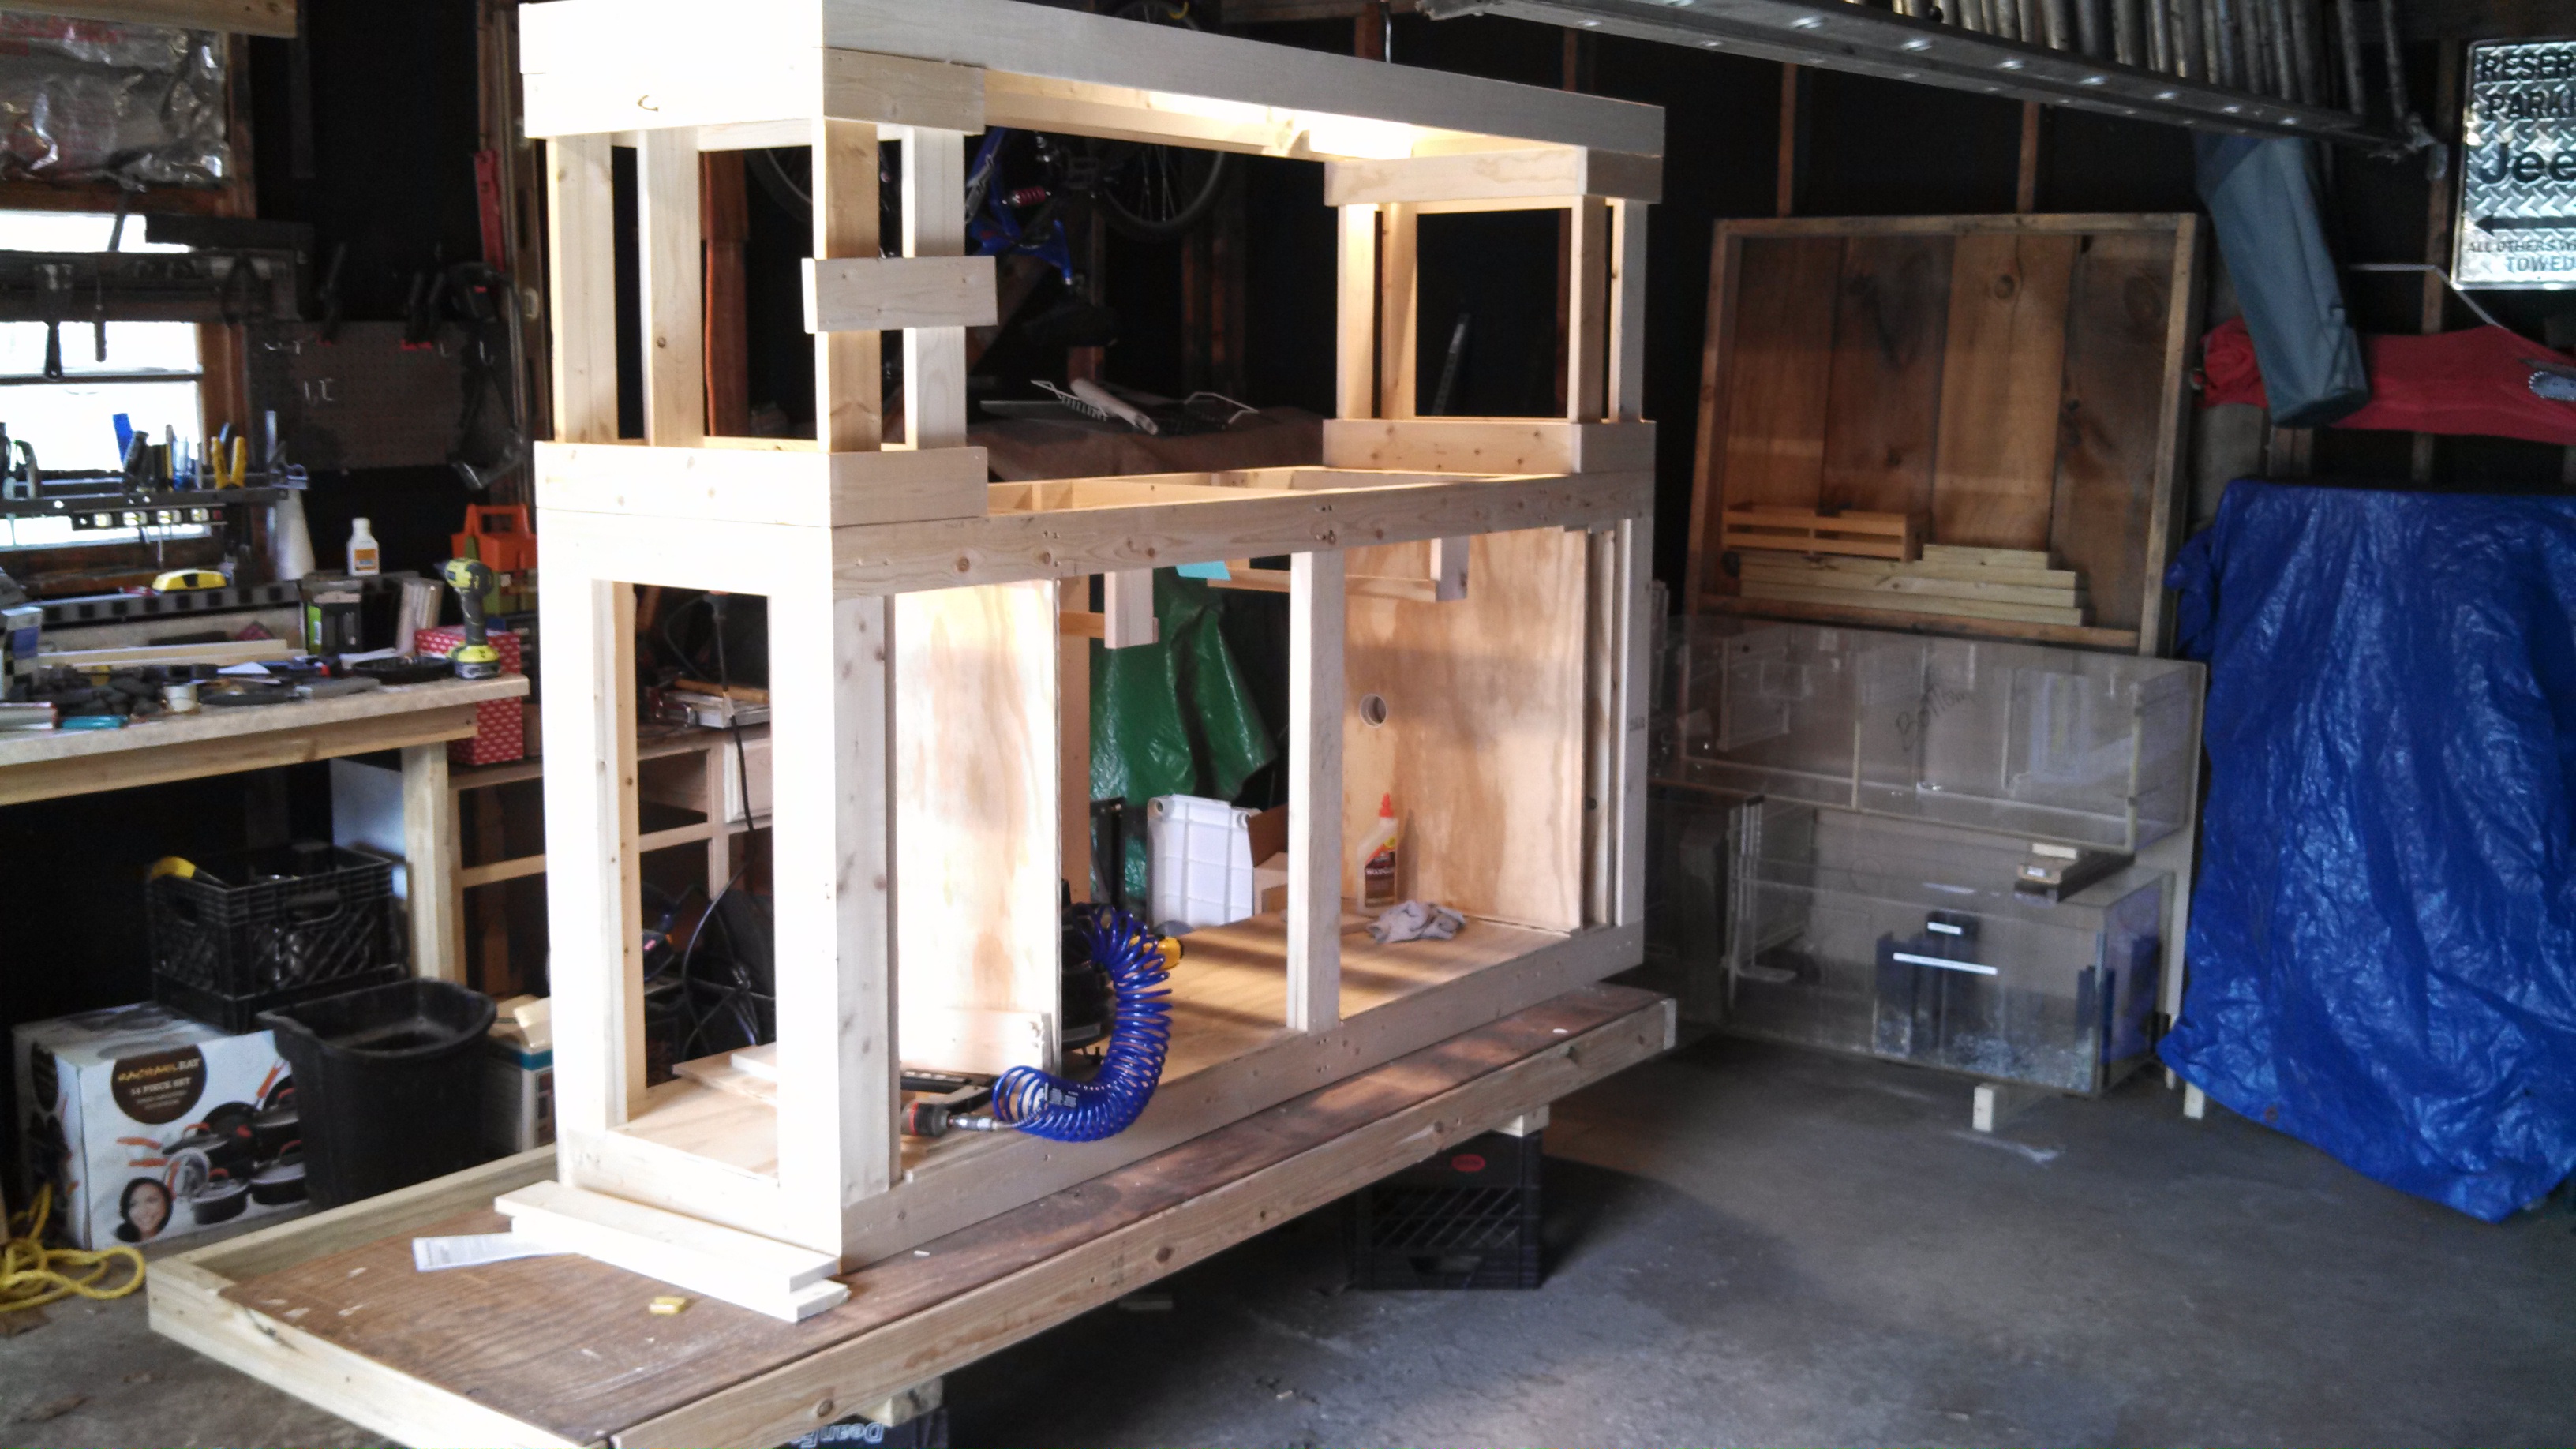
Here's a few photo's of what I've done so far:

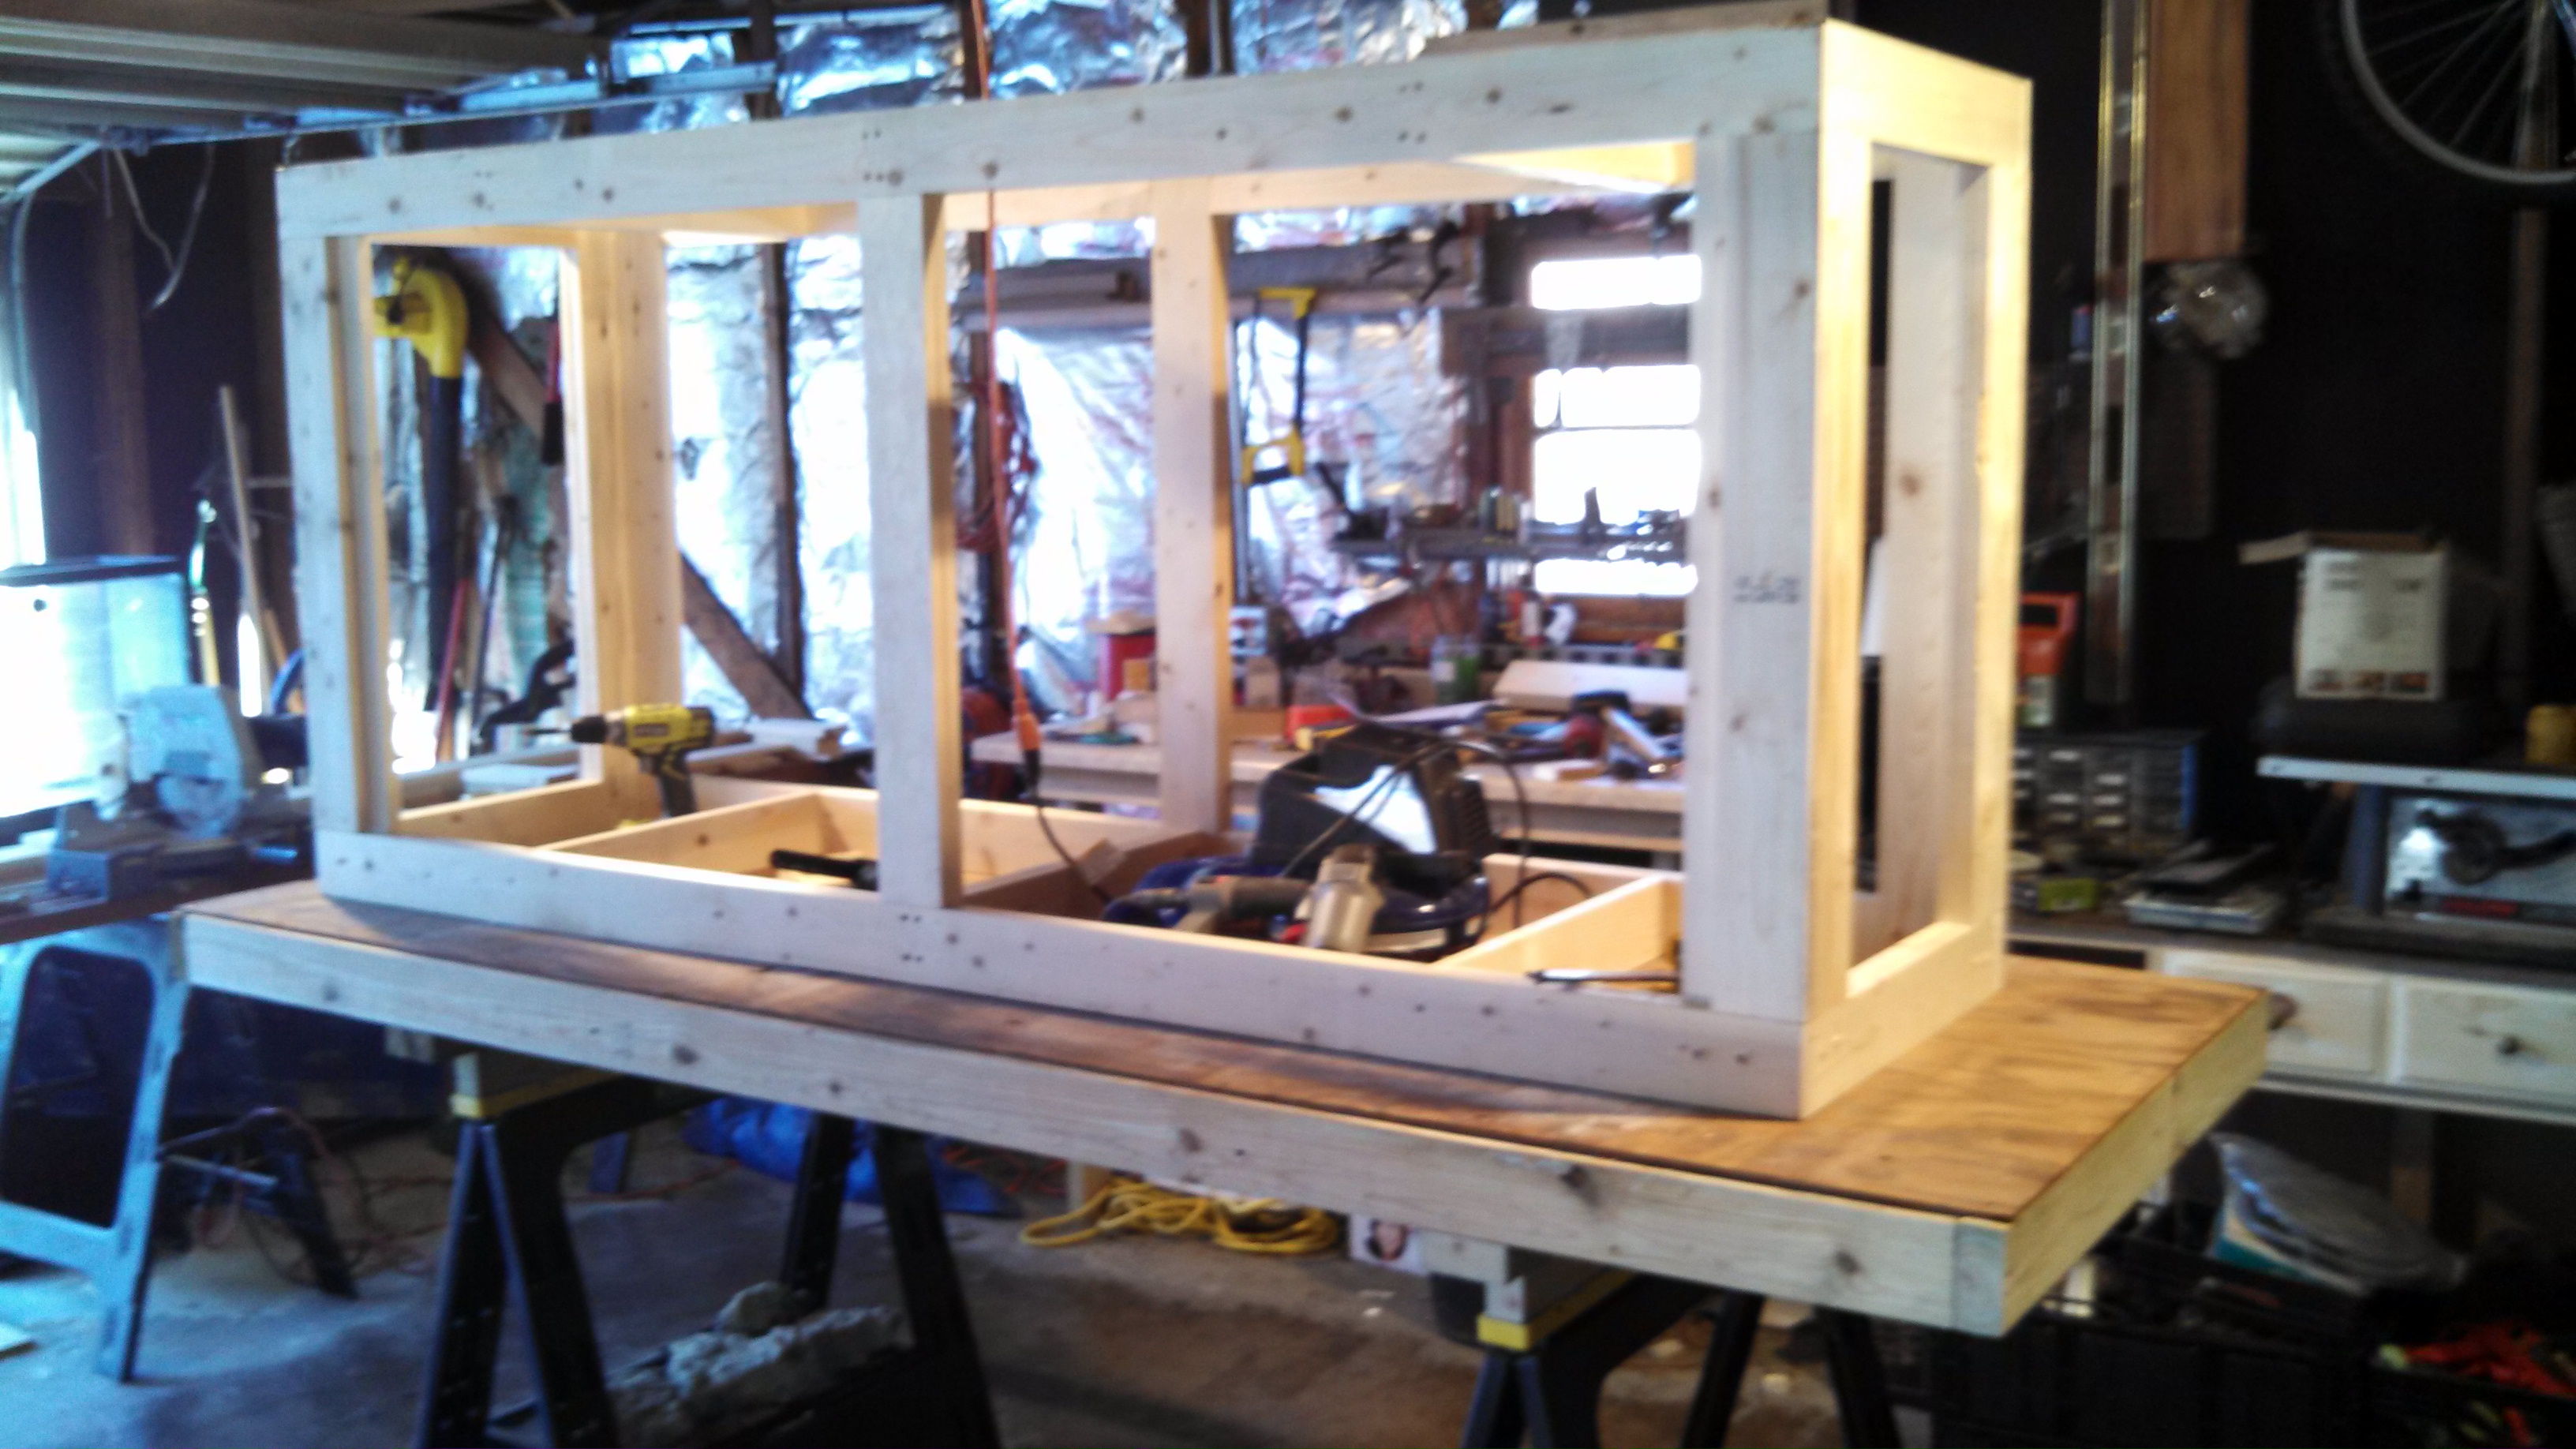

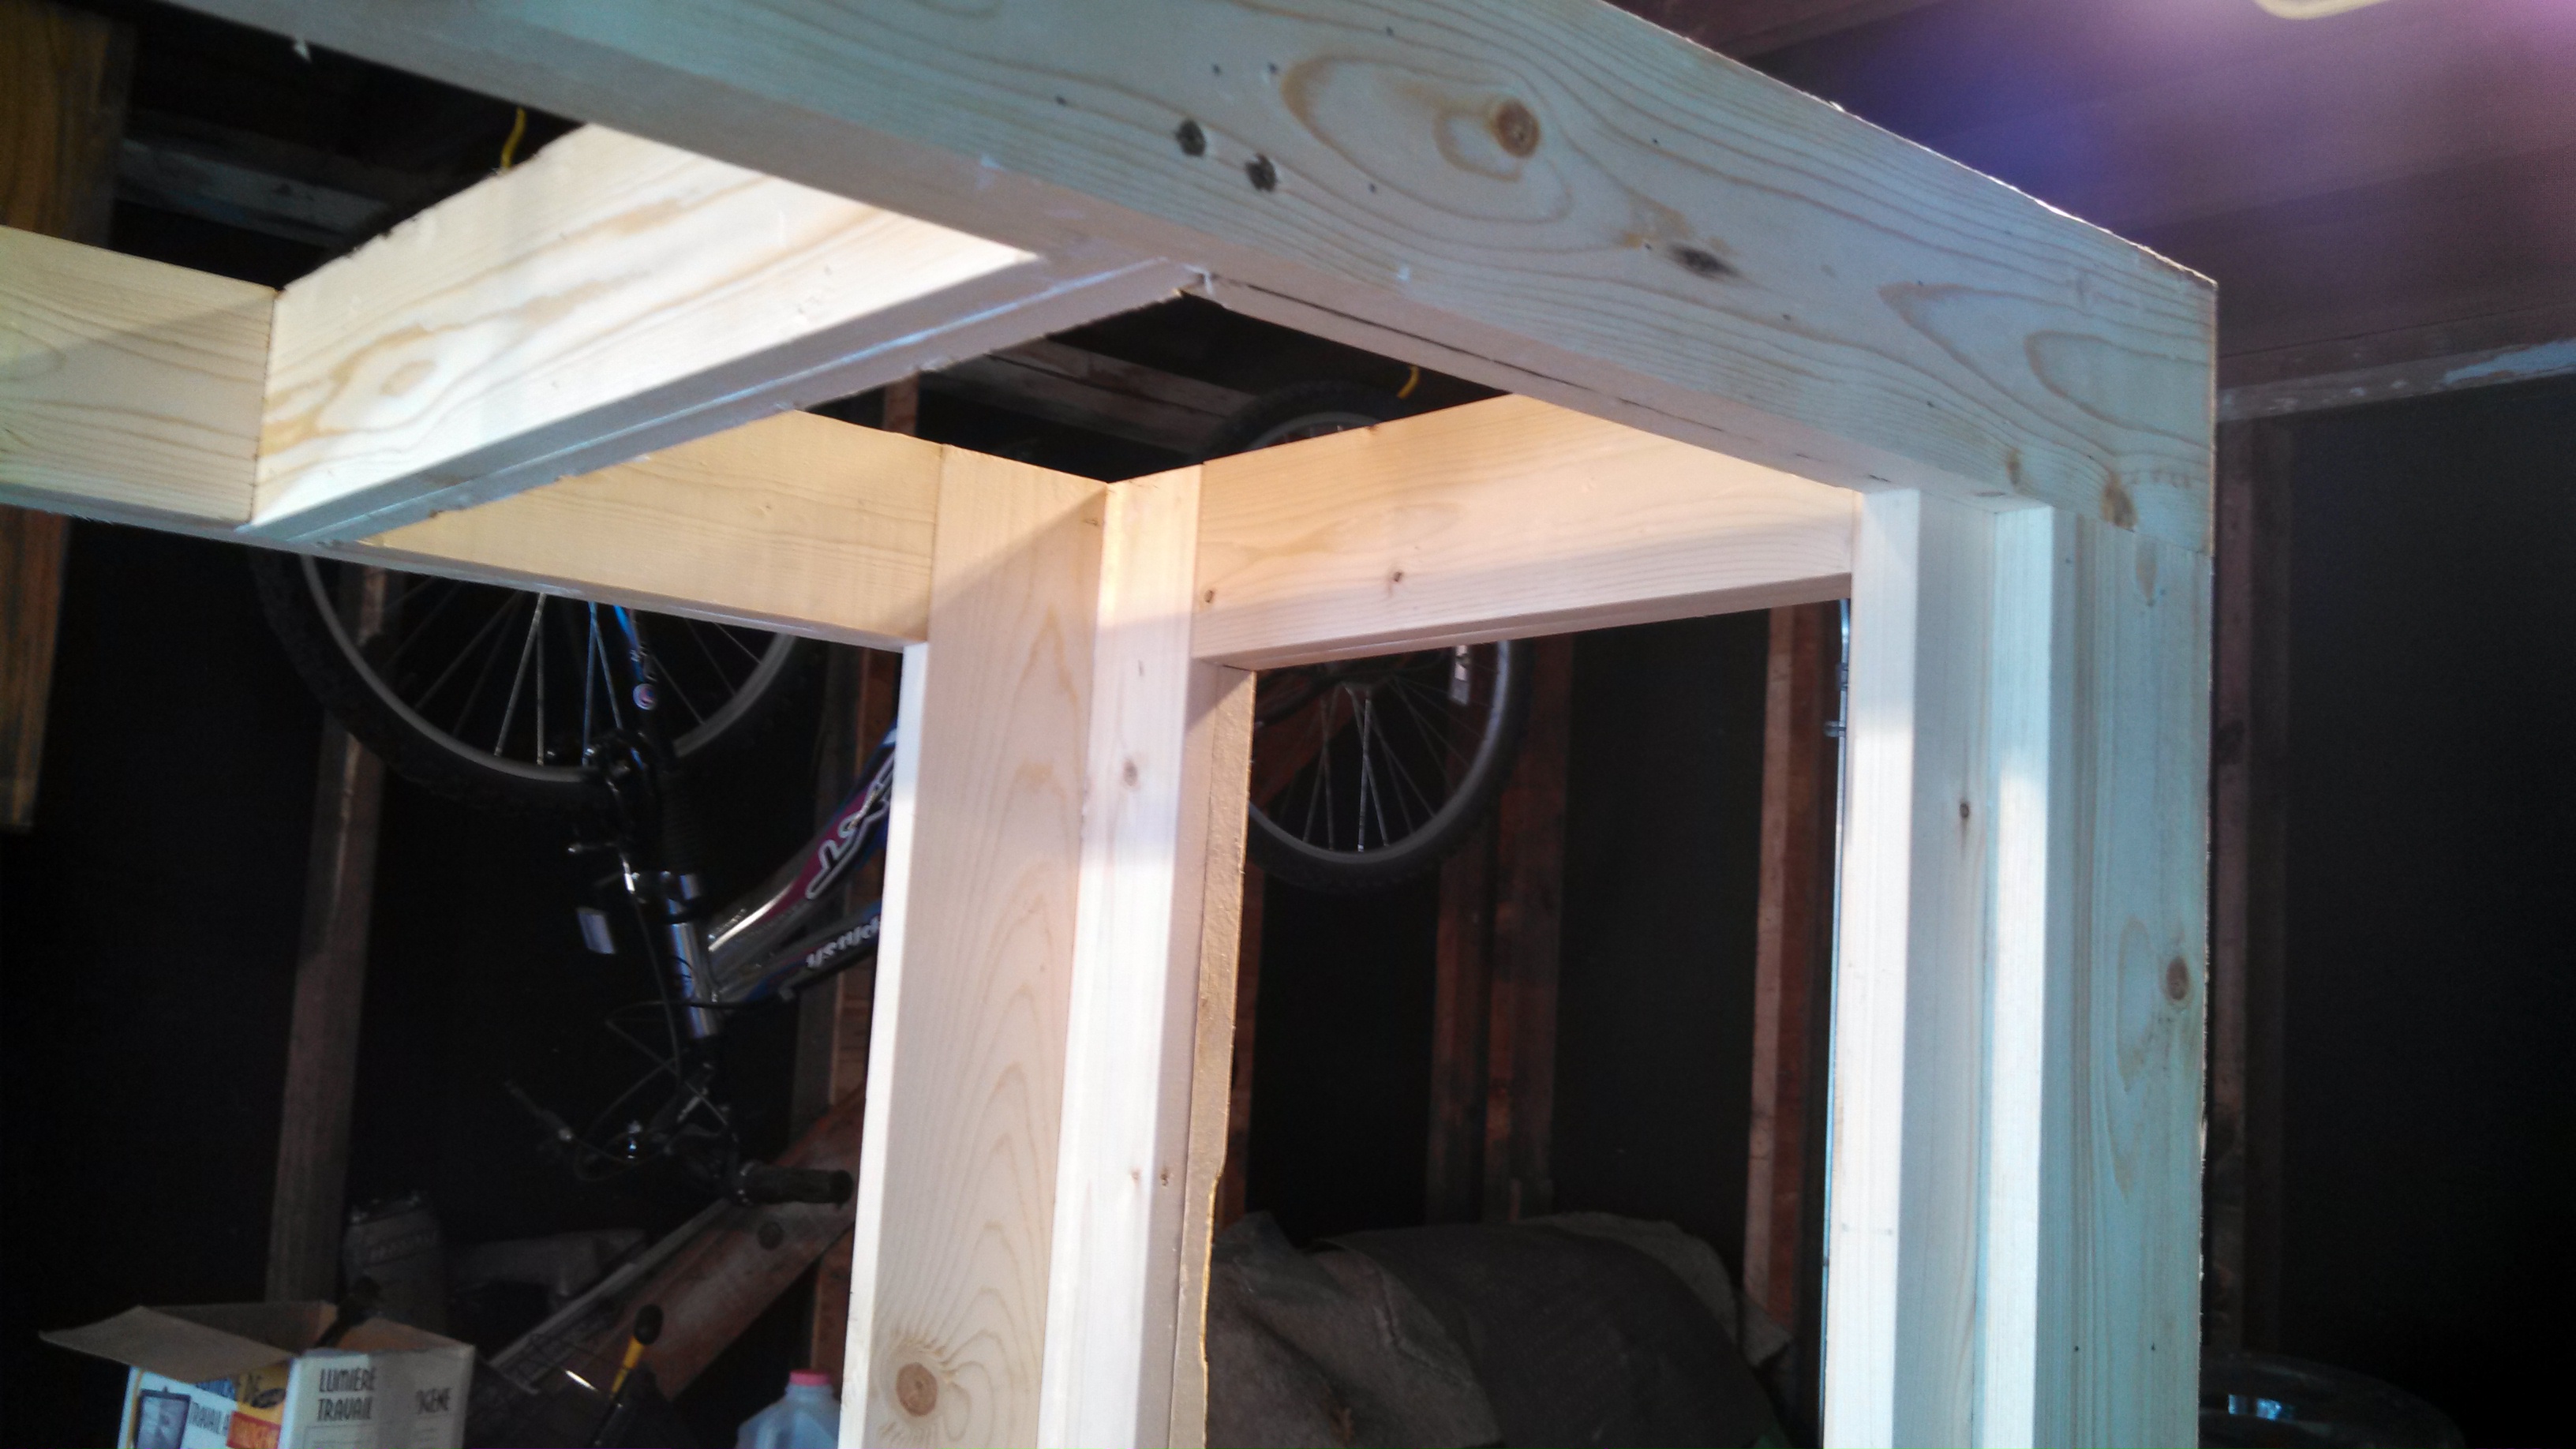
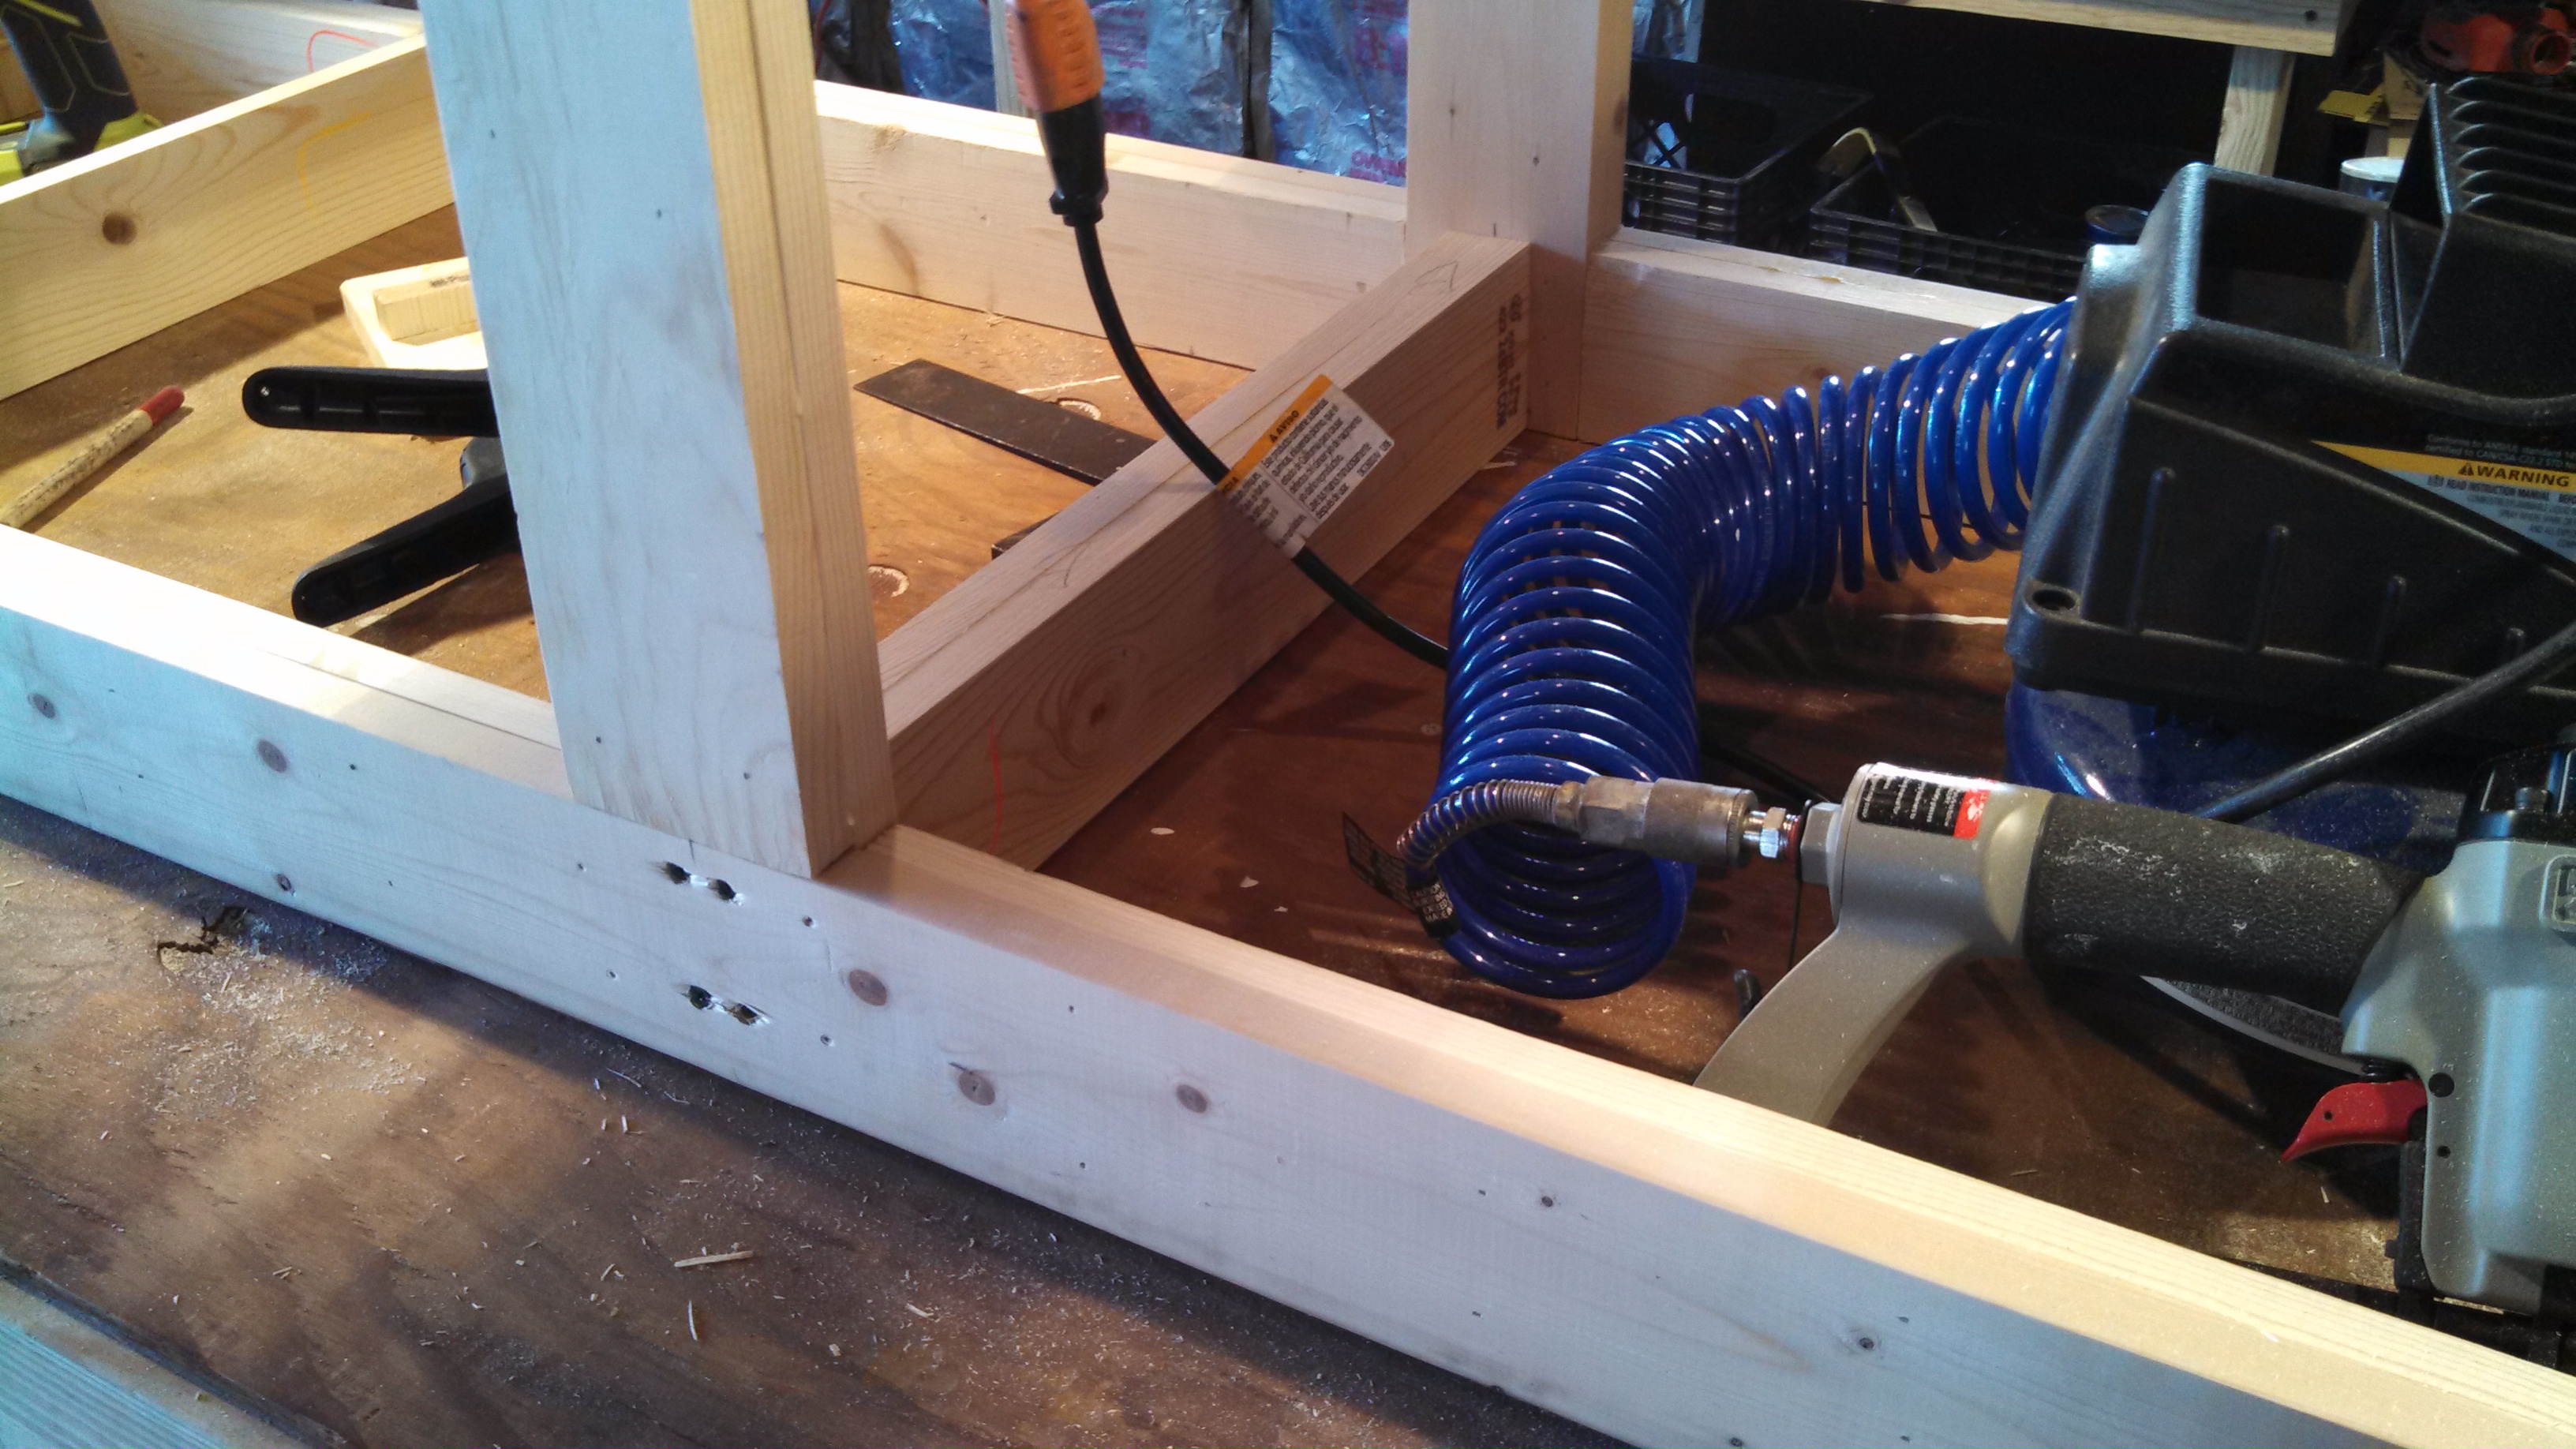
I'm using 1x4 kiln dried pine boards for all the framing. I got a lot of inspiration from 2quills build including towers on each end of the tank and the light bridge across the top of the tank and towers. but since I don't have the tools or woodworking knowledge that he does, I'm doing the best I can with what I have to work with along with some design changes.
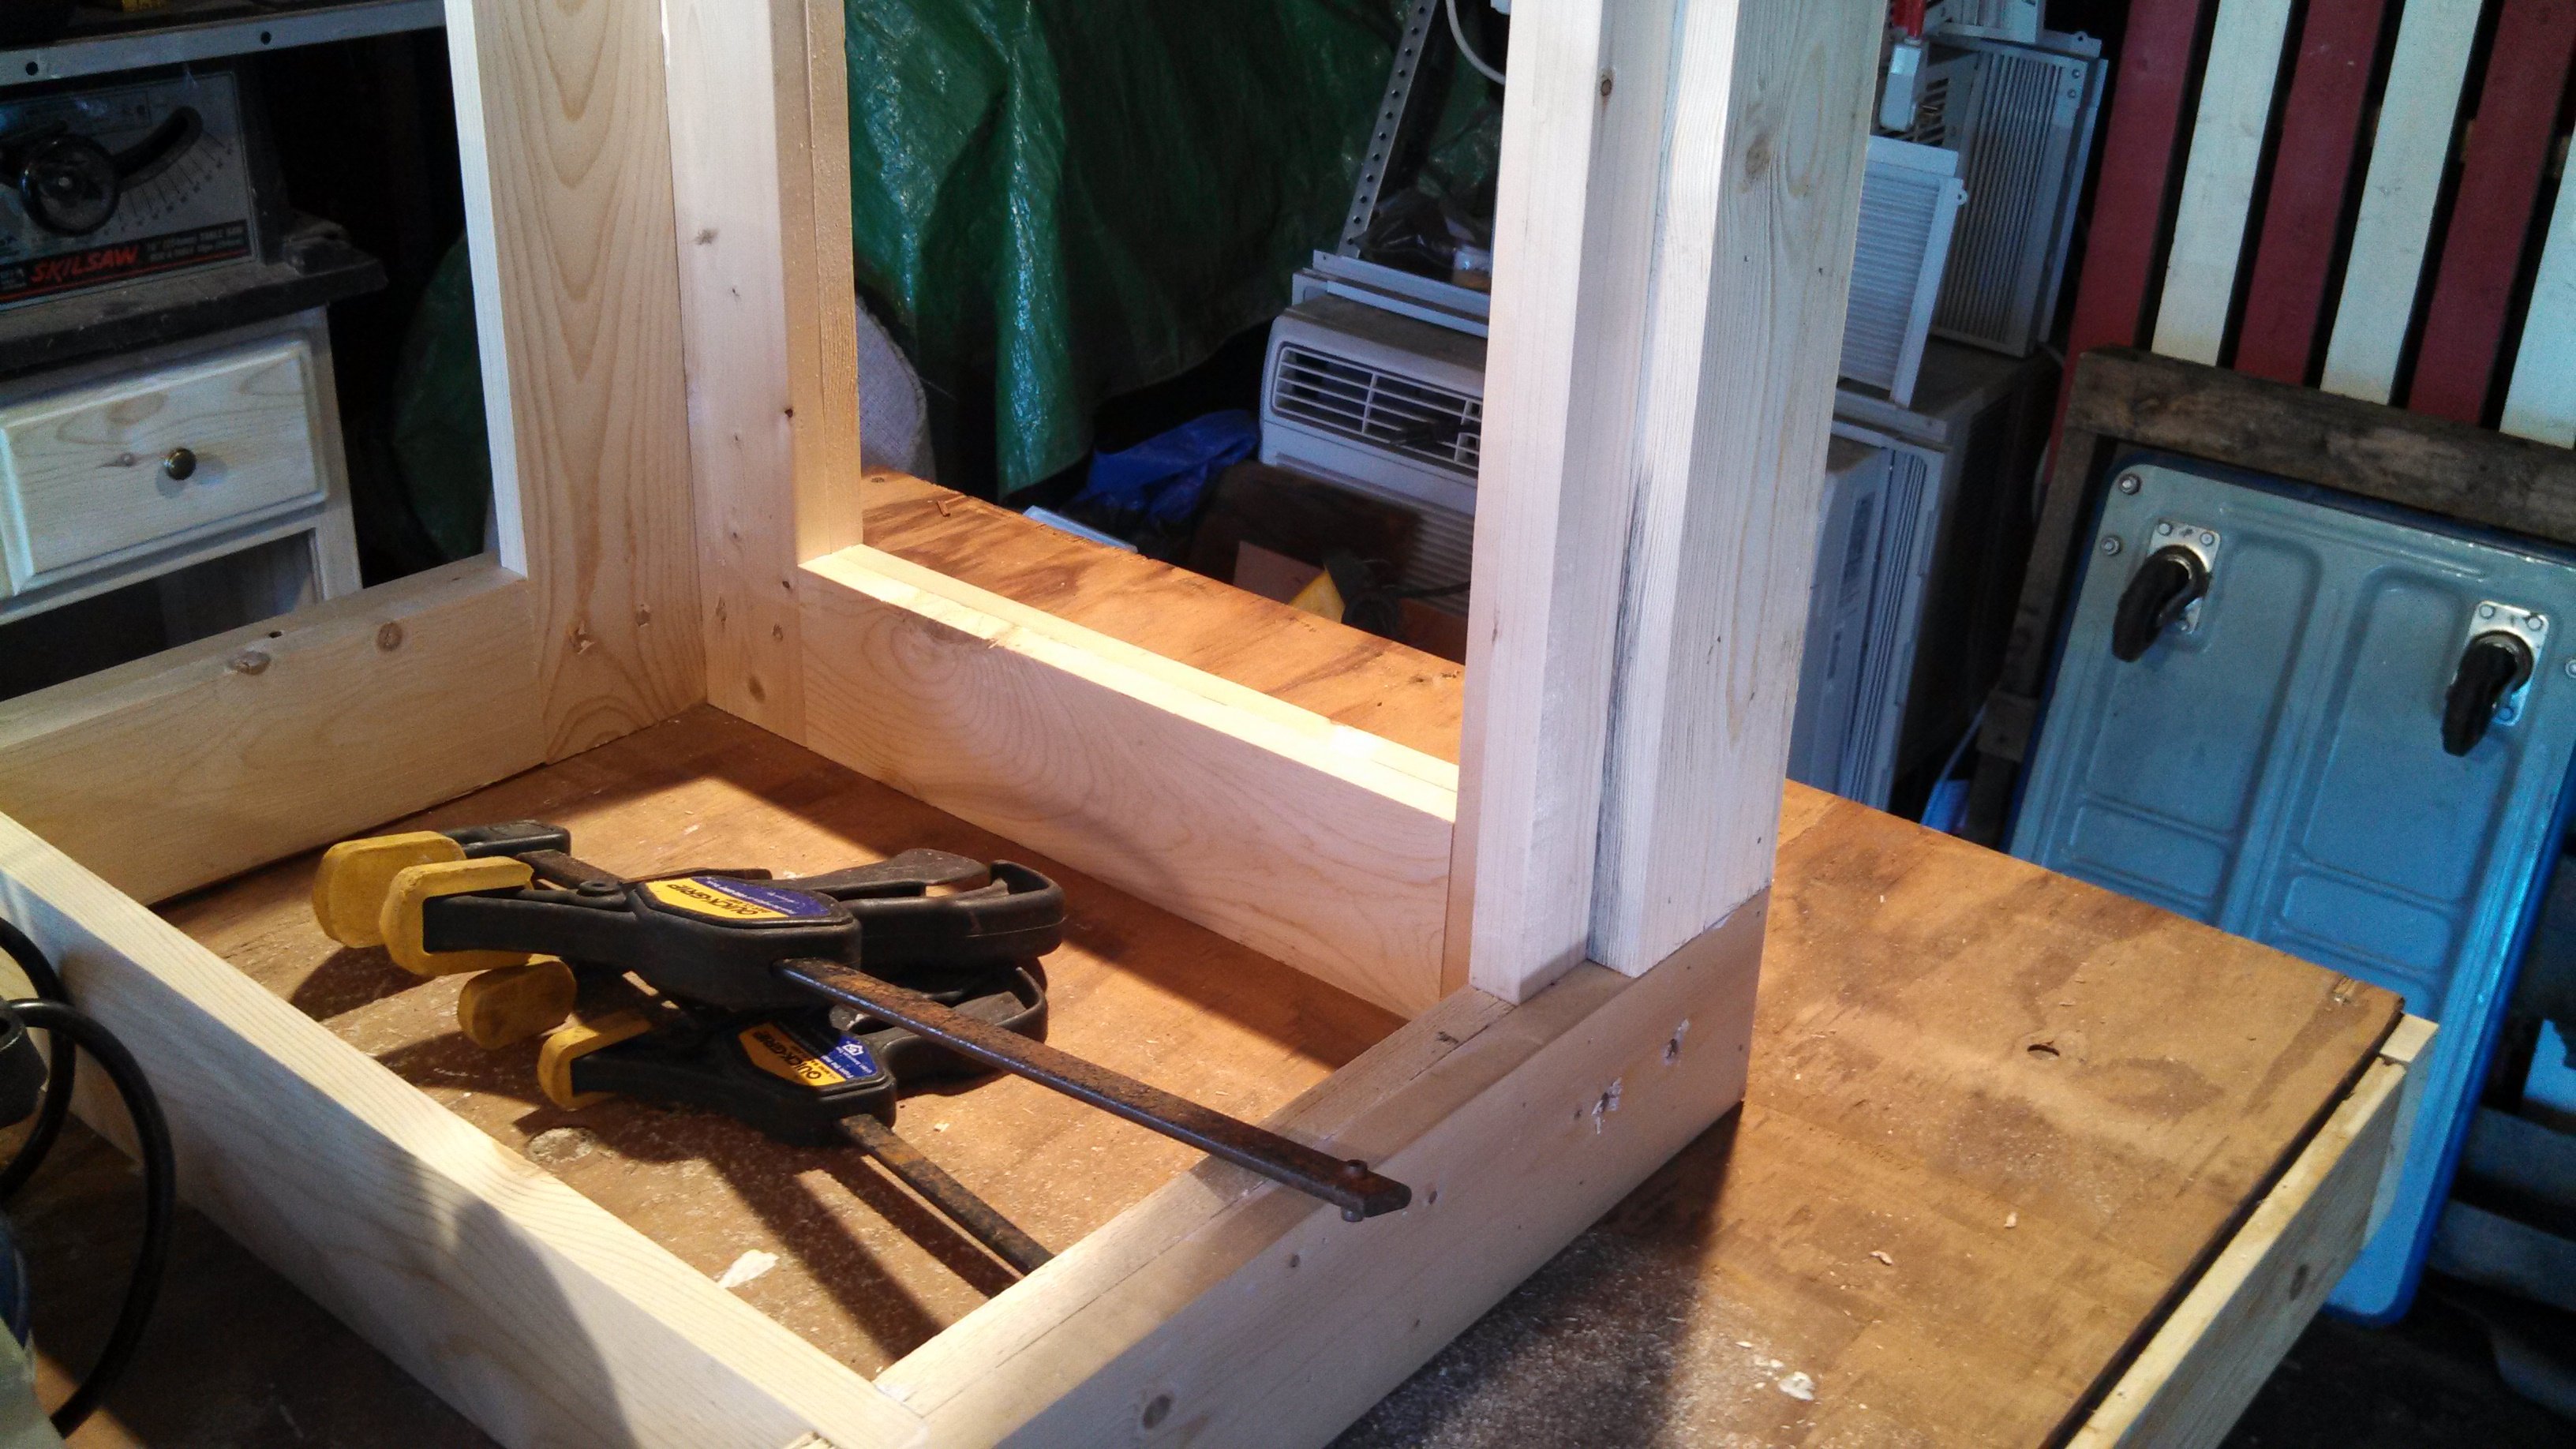
All the boards for the framing have been doubled up and overlapped at each joint using Guerrilla Glue on all contact surfaces. All the boards that are sandwiched (Doubled Up.) are glued, clamped and pneumatically nailed together. Each buttressing joint has been glued, clamped and screwed in place. Each corner joint surface has been reinforced using dowel pins and glue. Once the plywood has been cut to fit the inside of the base I'll do the framing inside the base for the end cabinets. All the screws I'm using are stainless steel and the pneumatic nails are galvanized to prevent rust.
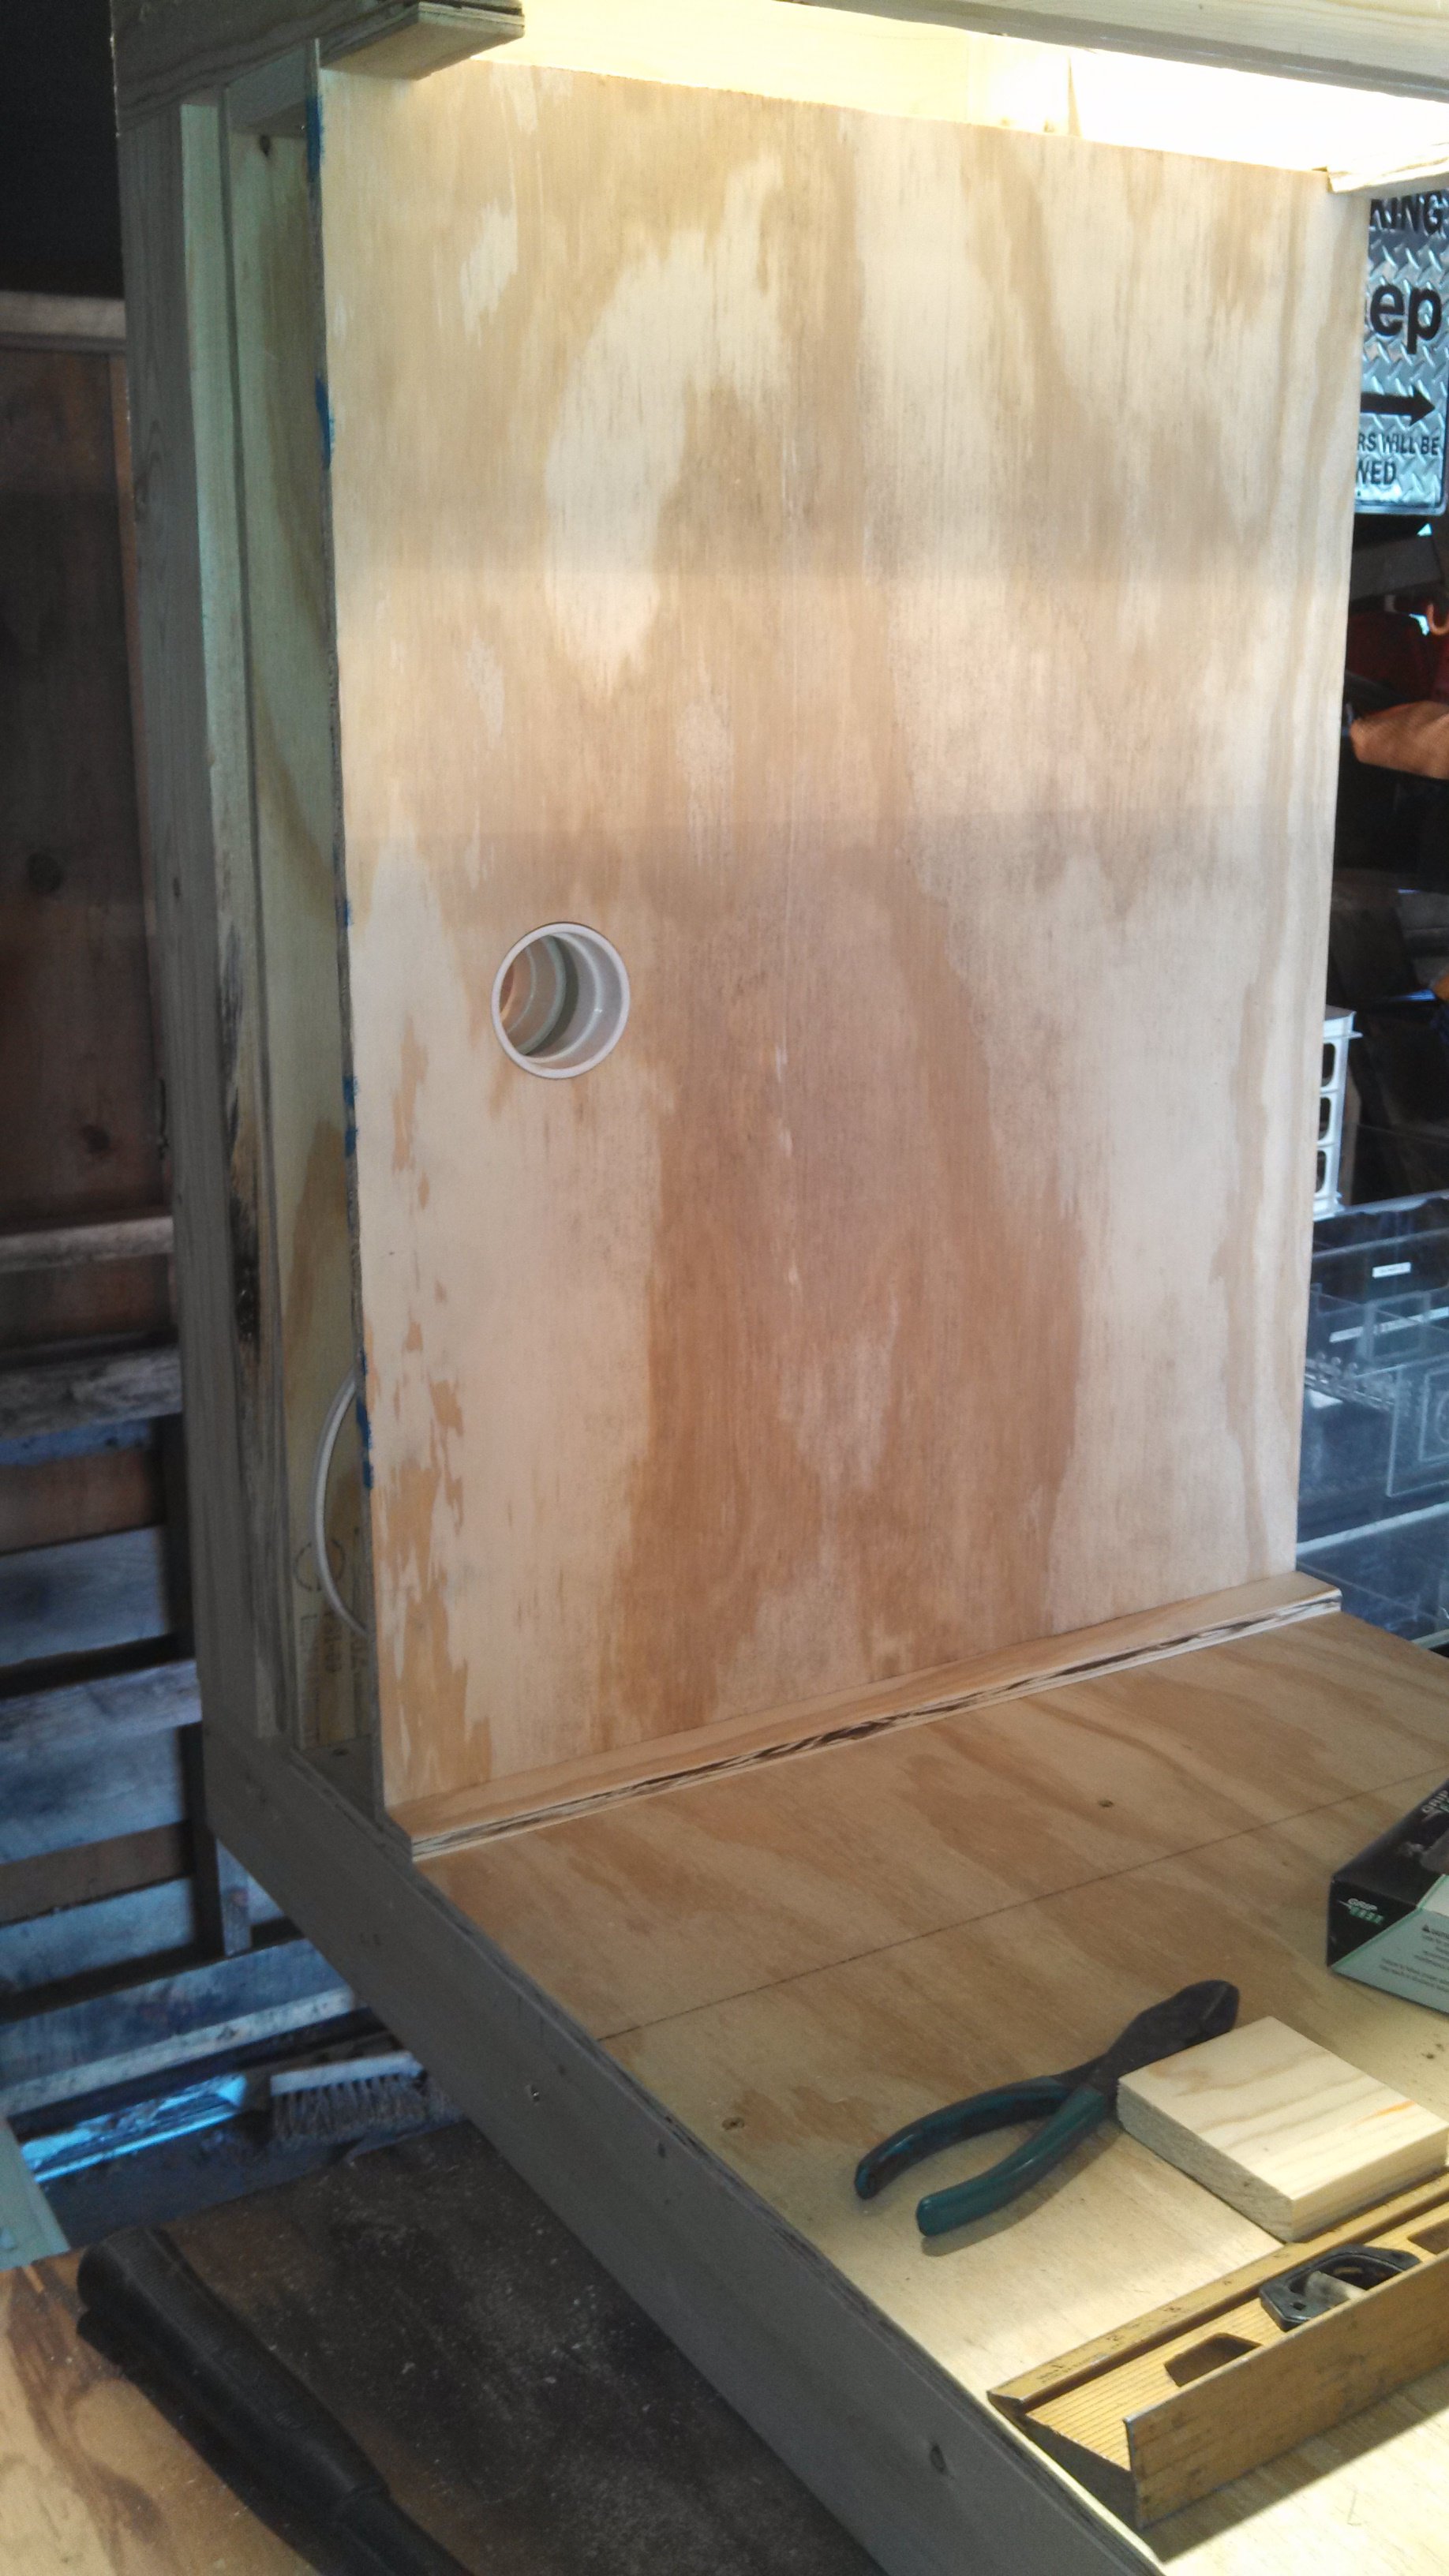
I've done just about as much as I can on the frame for the base. The next step will be installing the plywood inside the cabinet. Since I'm using 3/4" oak on the deck of the stand and I'll have half a sheet left over, I'll be using the other half inside the base.
Here's my plan for the placement of everything in the stand:
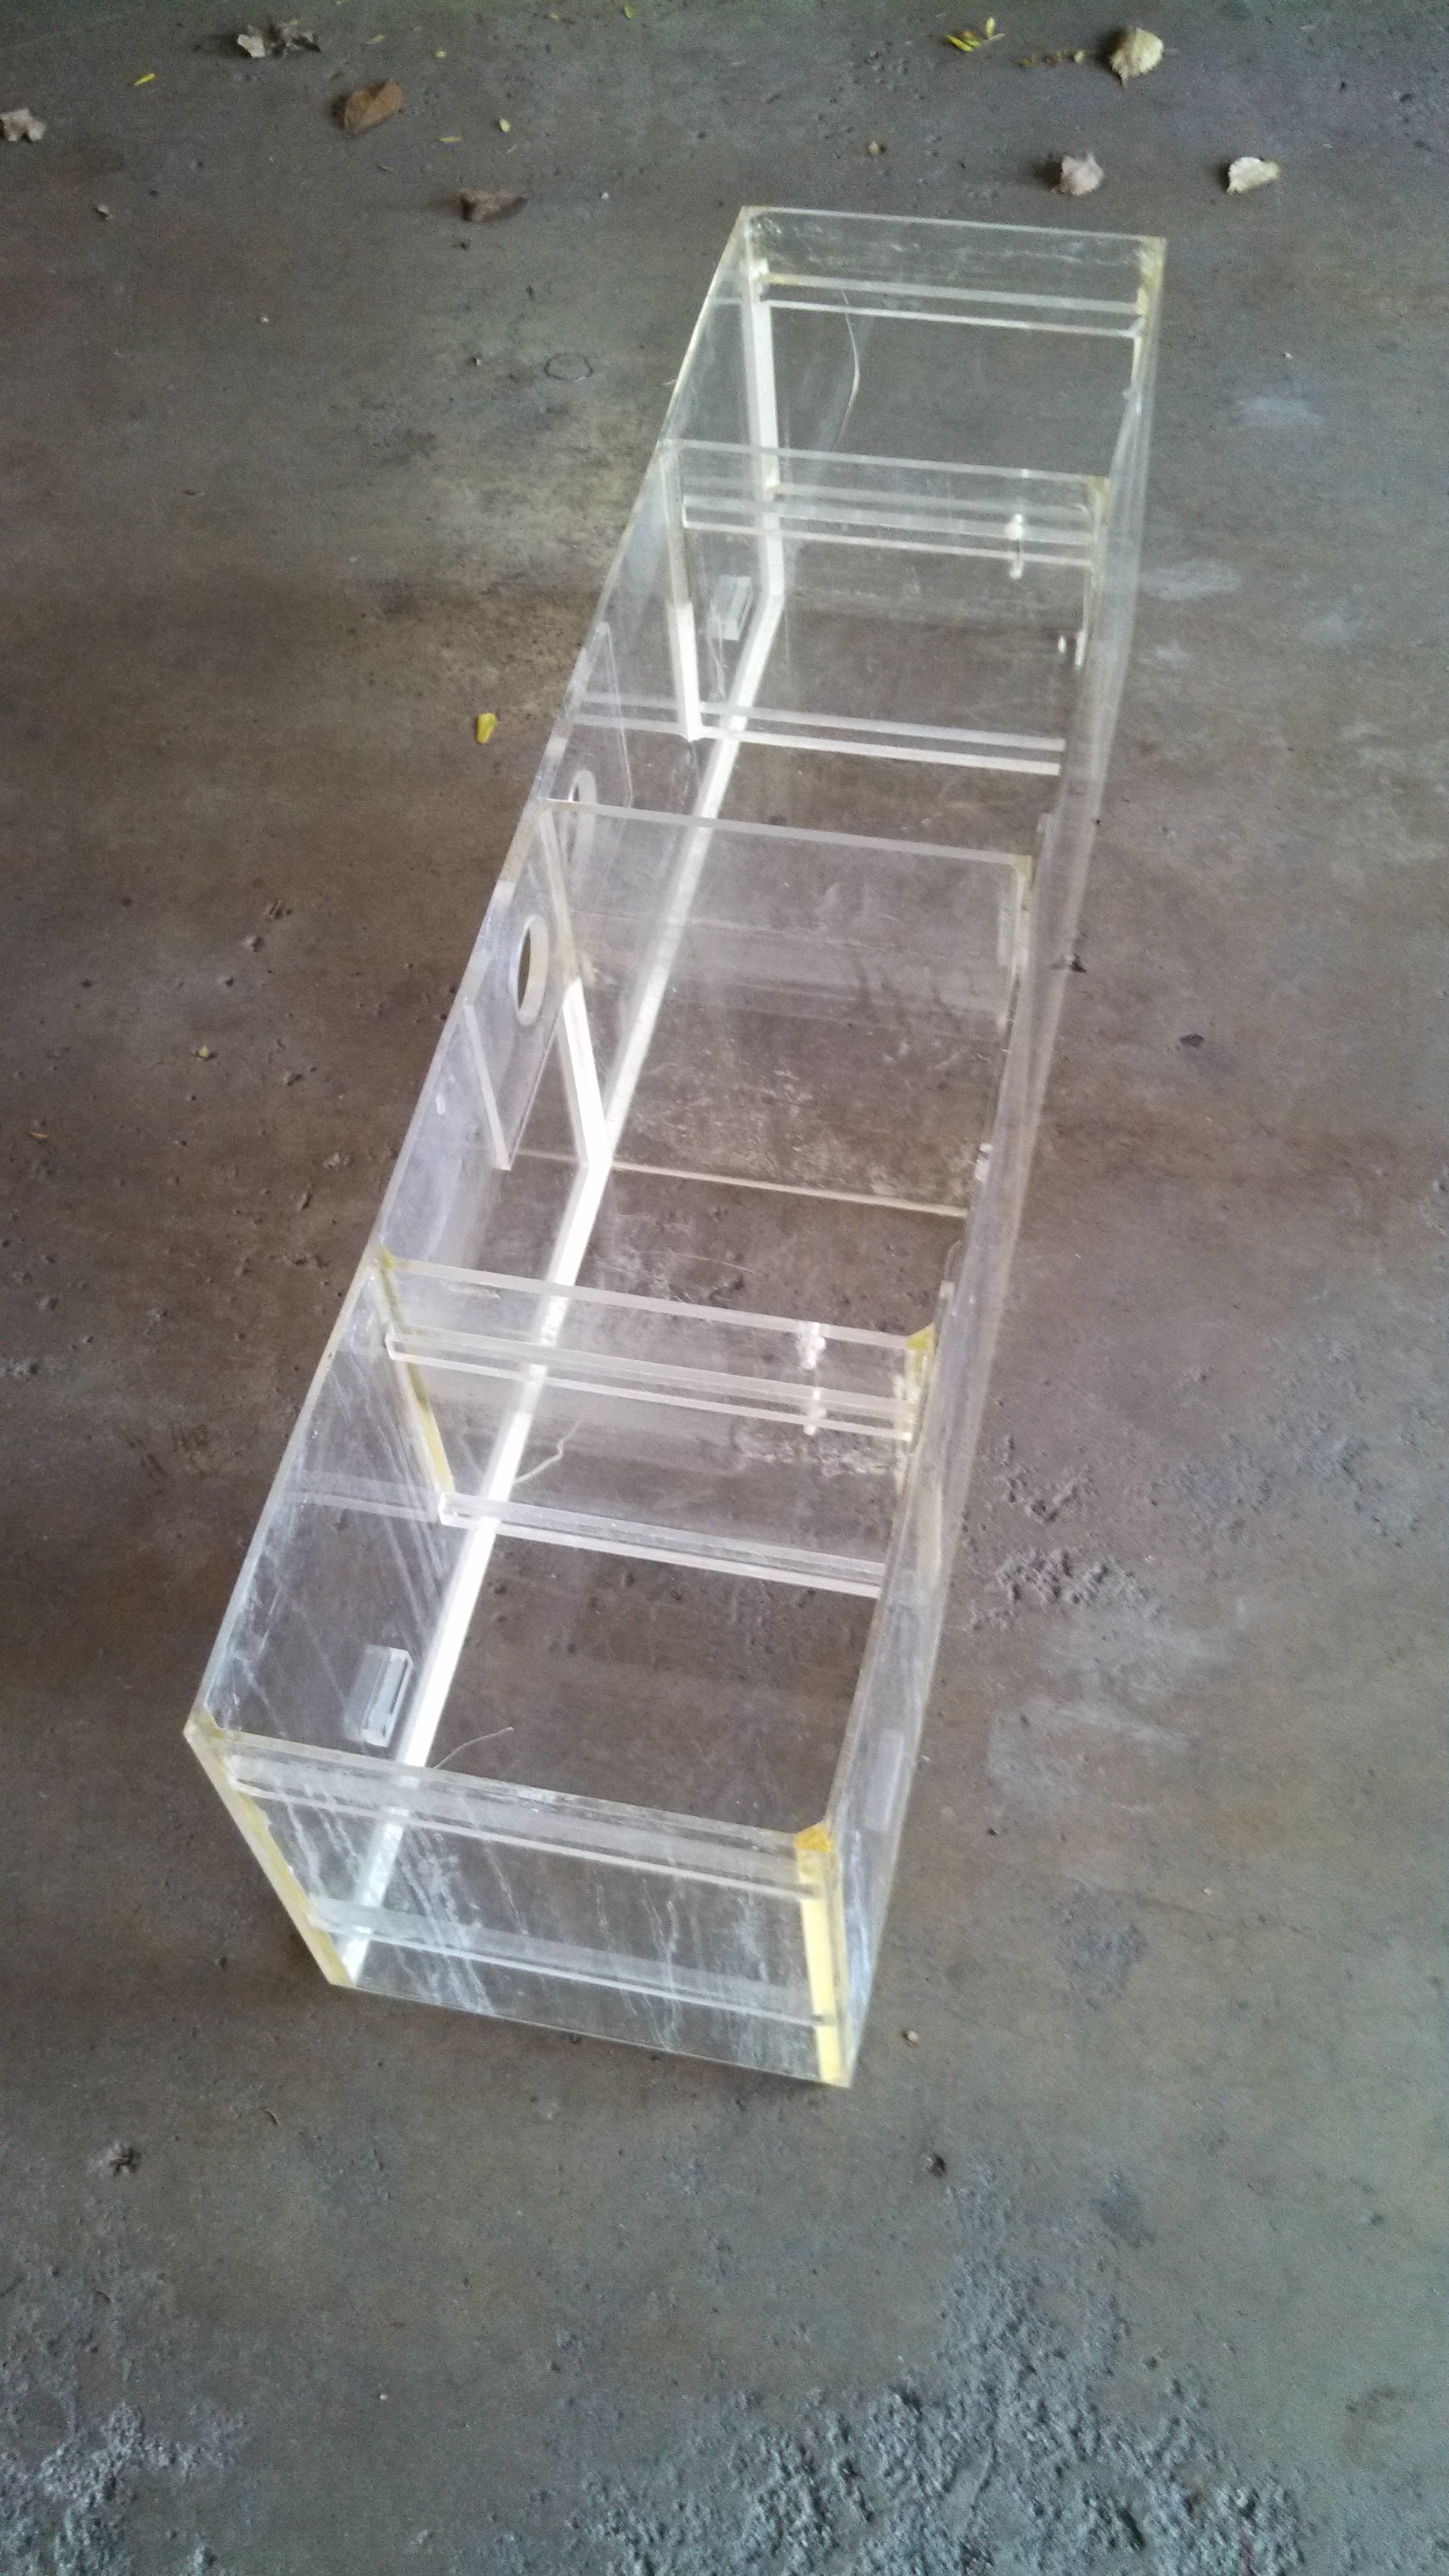
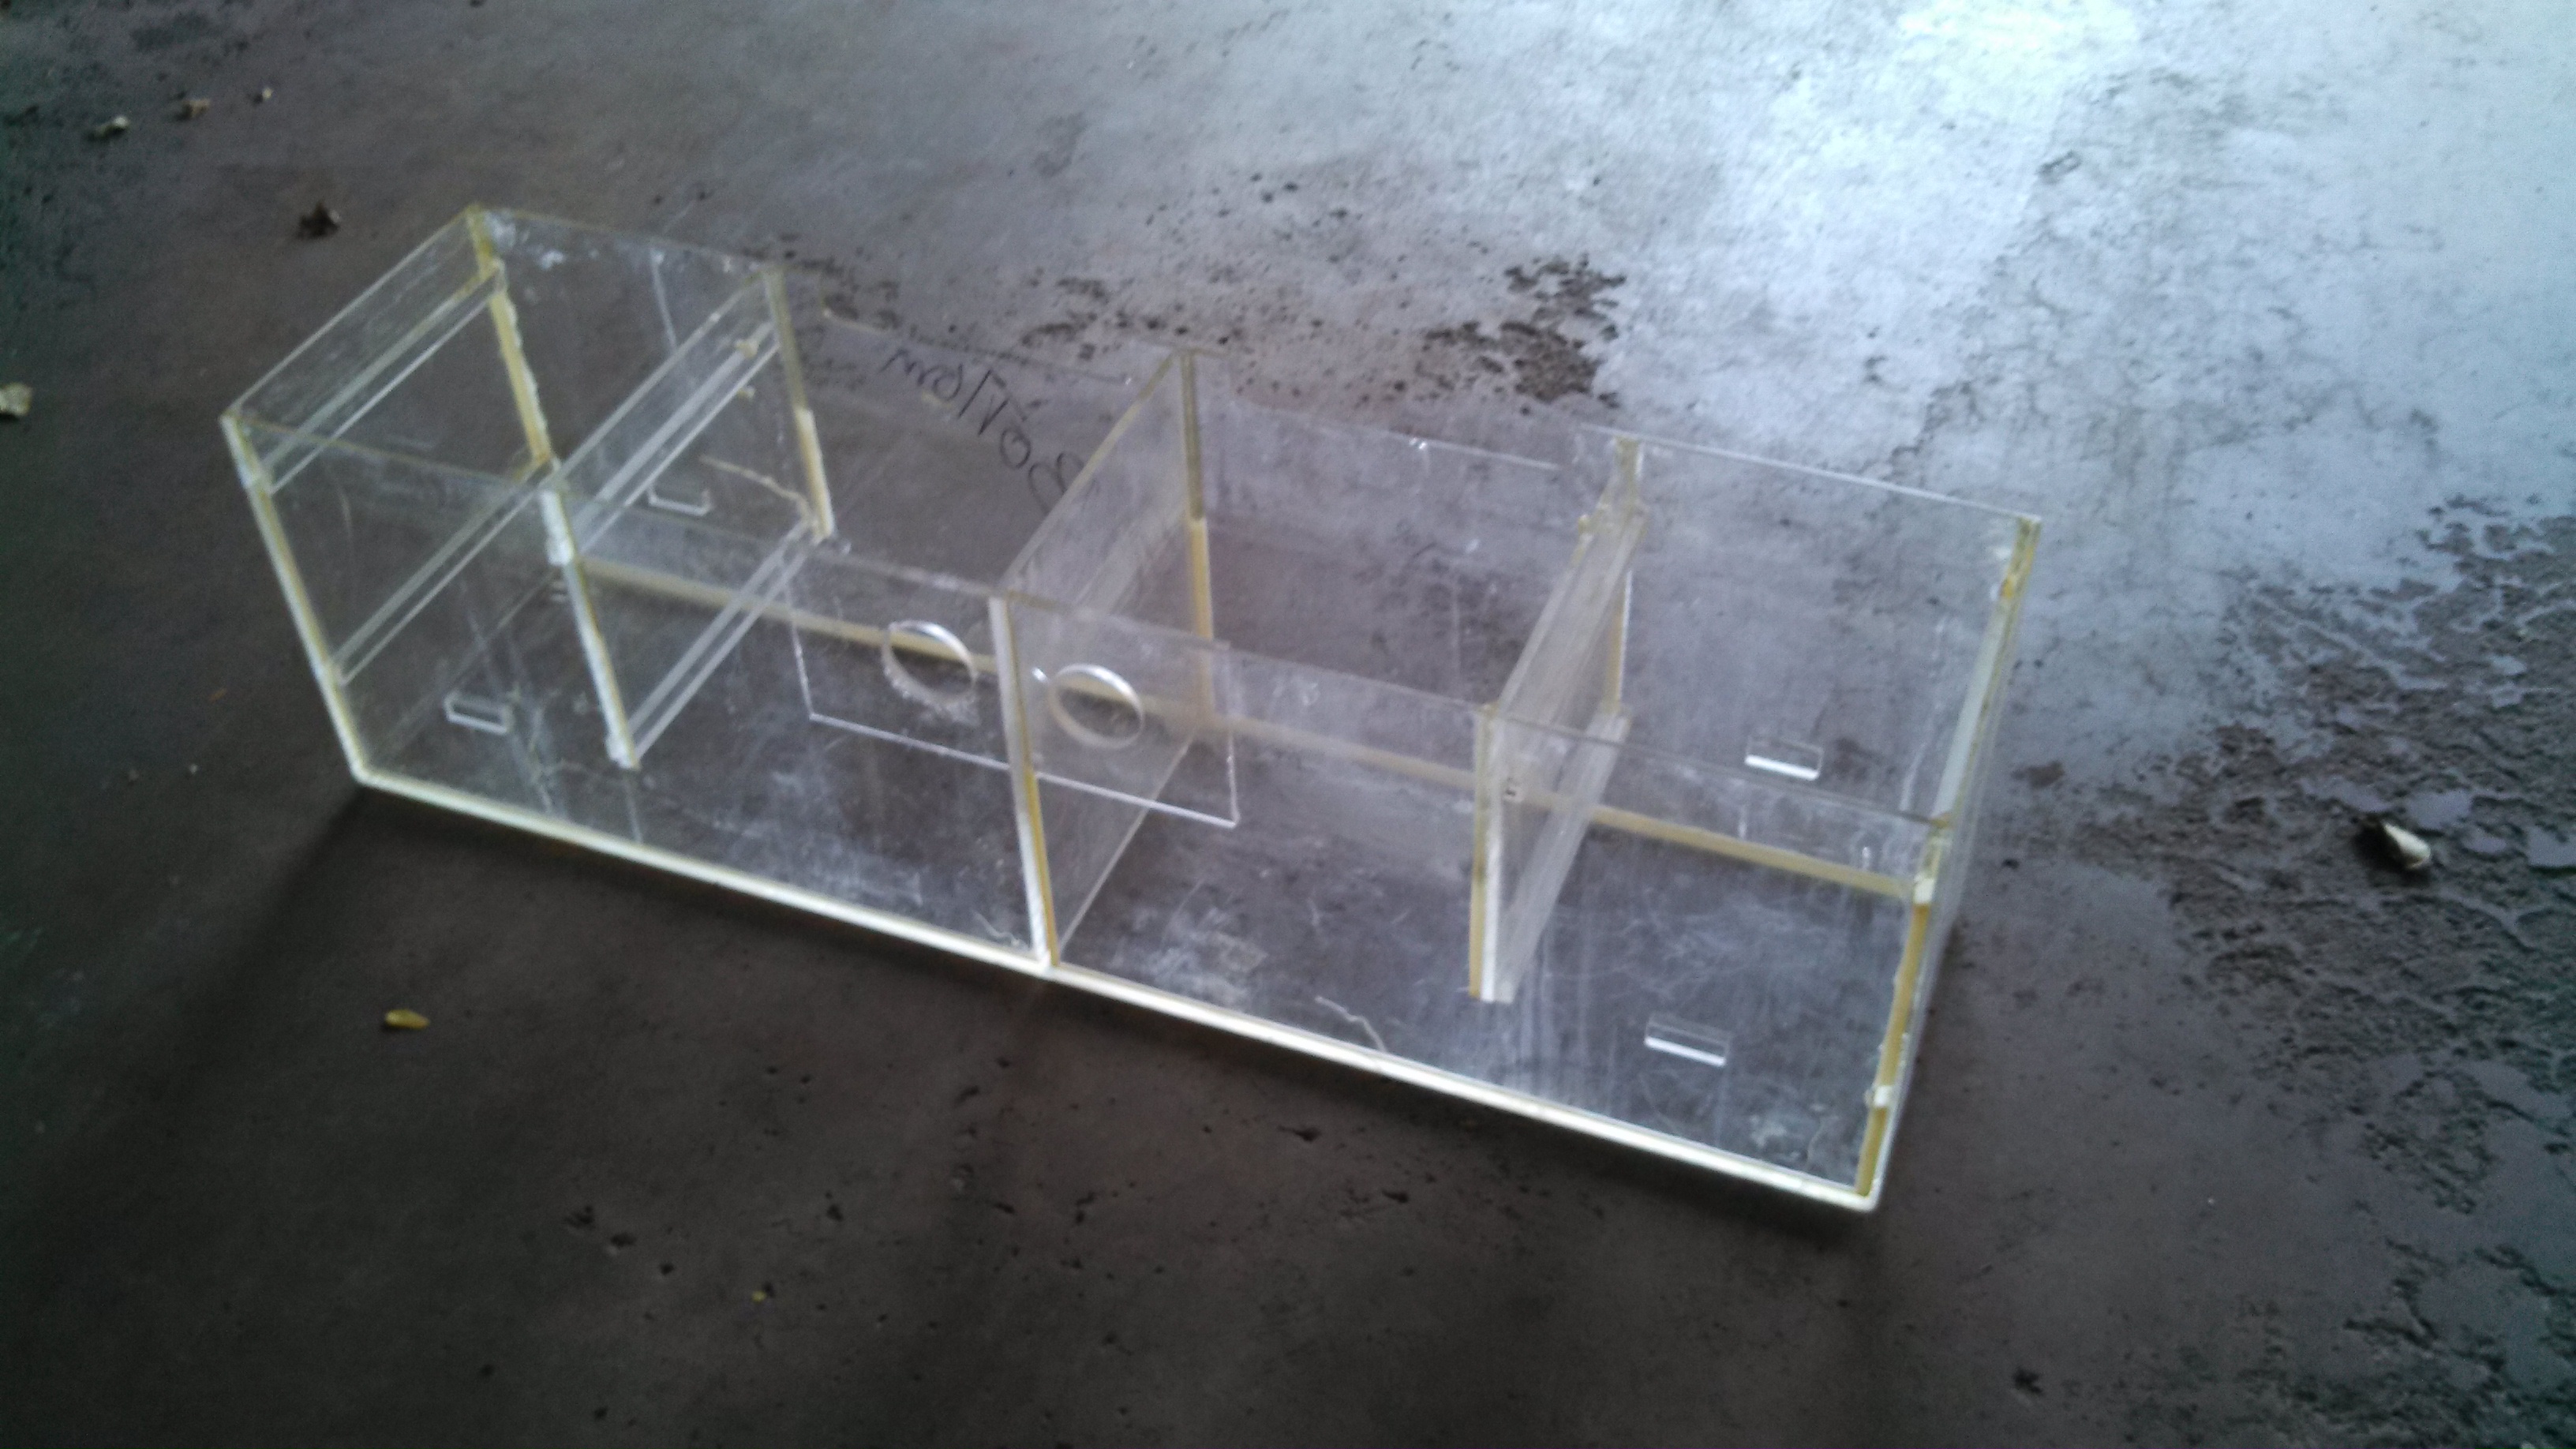
In the base, the left cabinet will hold the container of R/O water for top off and it will also house the siphon hoses for water changes. The right cabinet will have the breaker box and GFCI outlets to plug in all the equipment. The inside will be double walled so the outlet boxes won't be exposed to any splash from the sump/fuge. The main section will house the 35g sump/fuge with enough room to remove it through the front if needed without taking the whole stand down.
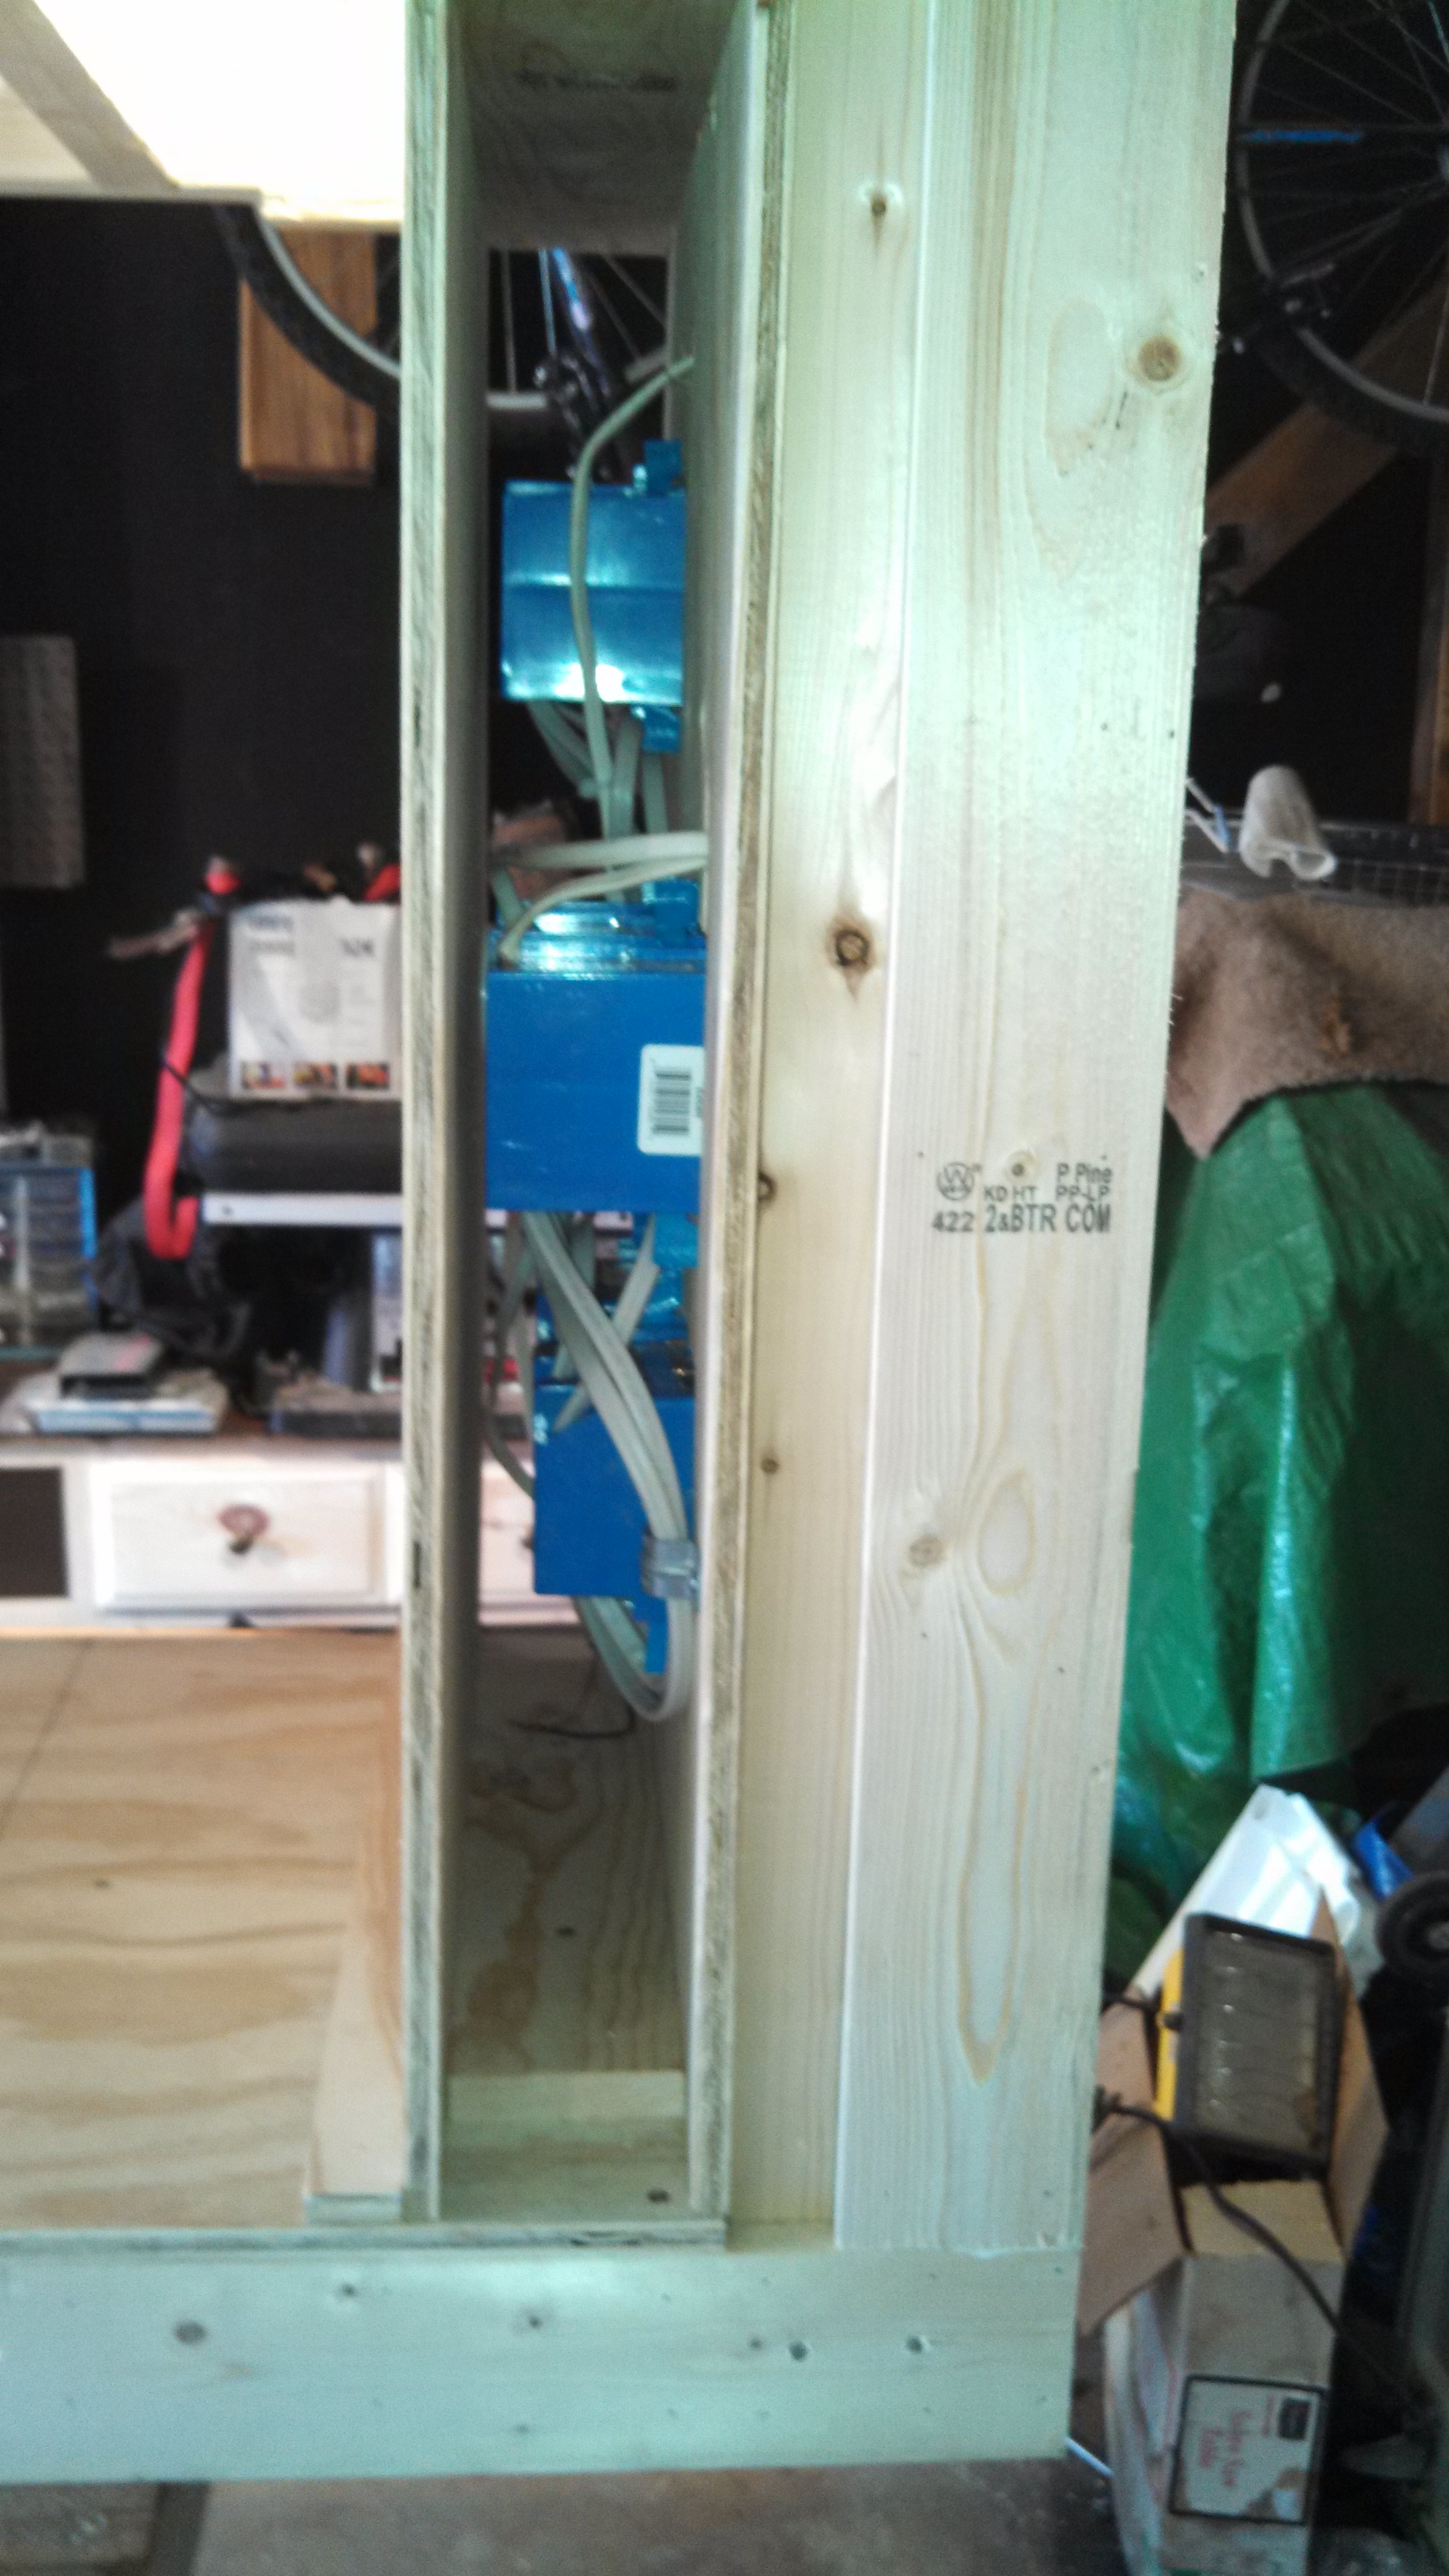
Because I'm too lazy to get on my knees to reach the switches to control equipment, I'll be installing them in the right side tower. It will also hold the light controller for the LED's and the speed control for the return pump since it will also have the feed delay switch. The left tower will be for misc. storage. Meds, dosing, food, testing supplies, etc.
The light bridge will of course hold the coral LED lights which will be on drawer glides so that I can pull them out for cleaning and maintenance on the tank.
If I planed the stand build right, it should all be able to be taken apart in four pieces (not including the tank) at a moments notice for repairs, upgrades and improvements.
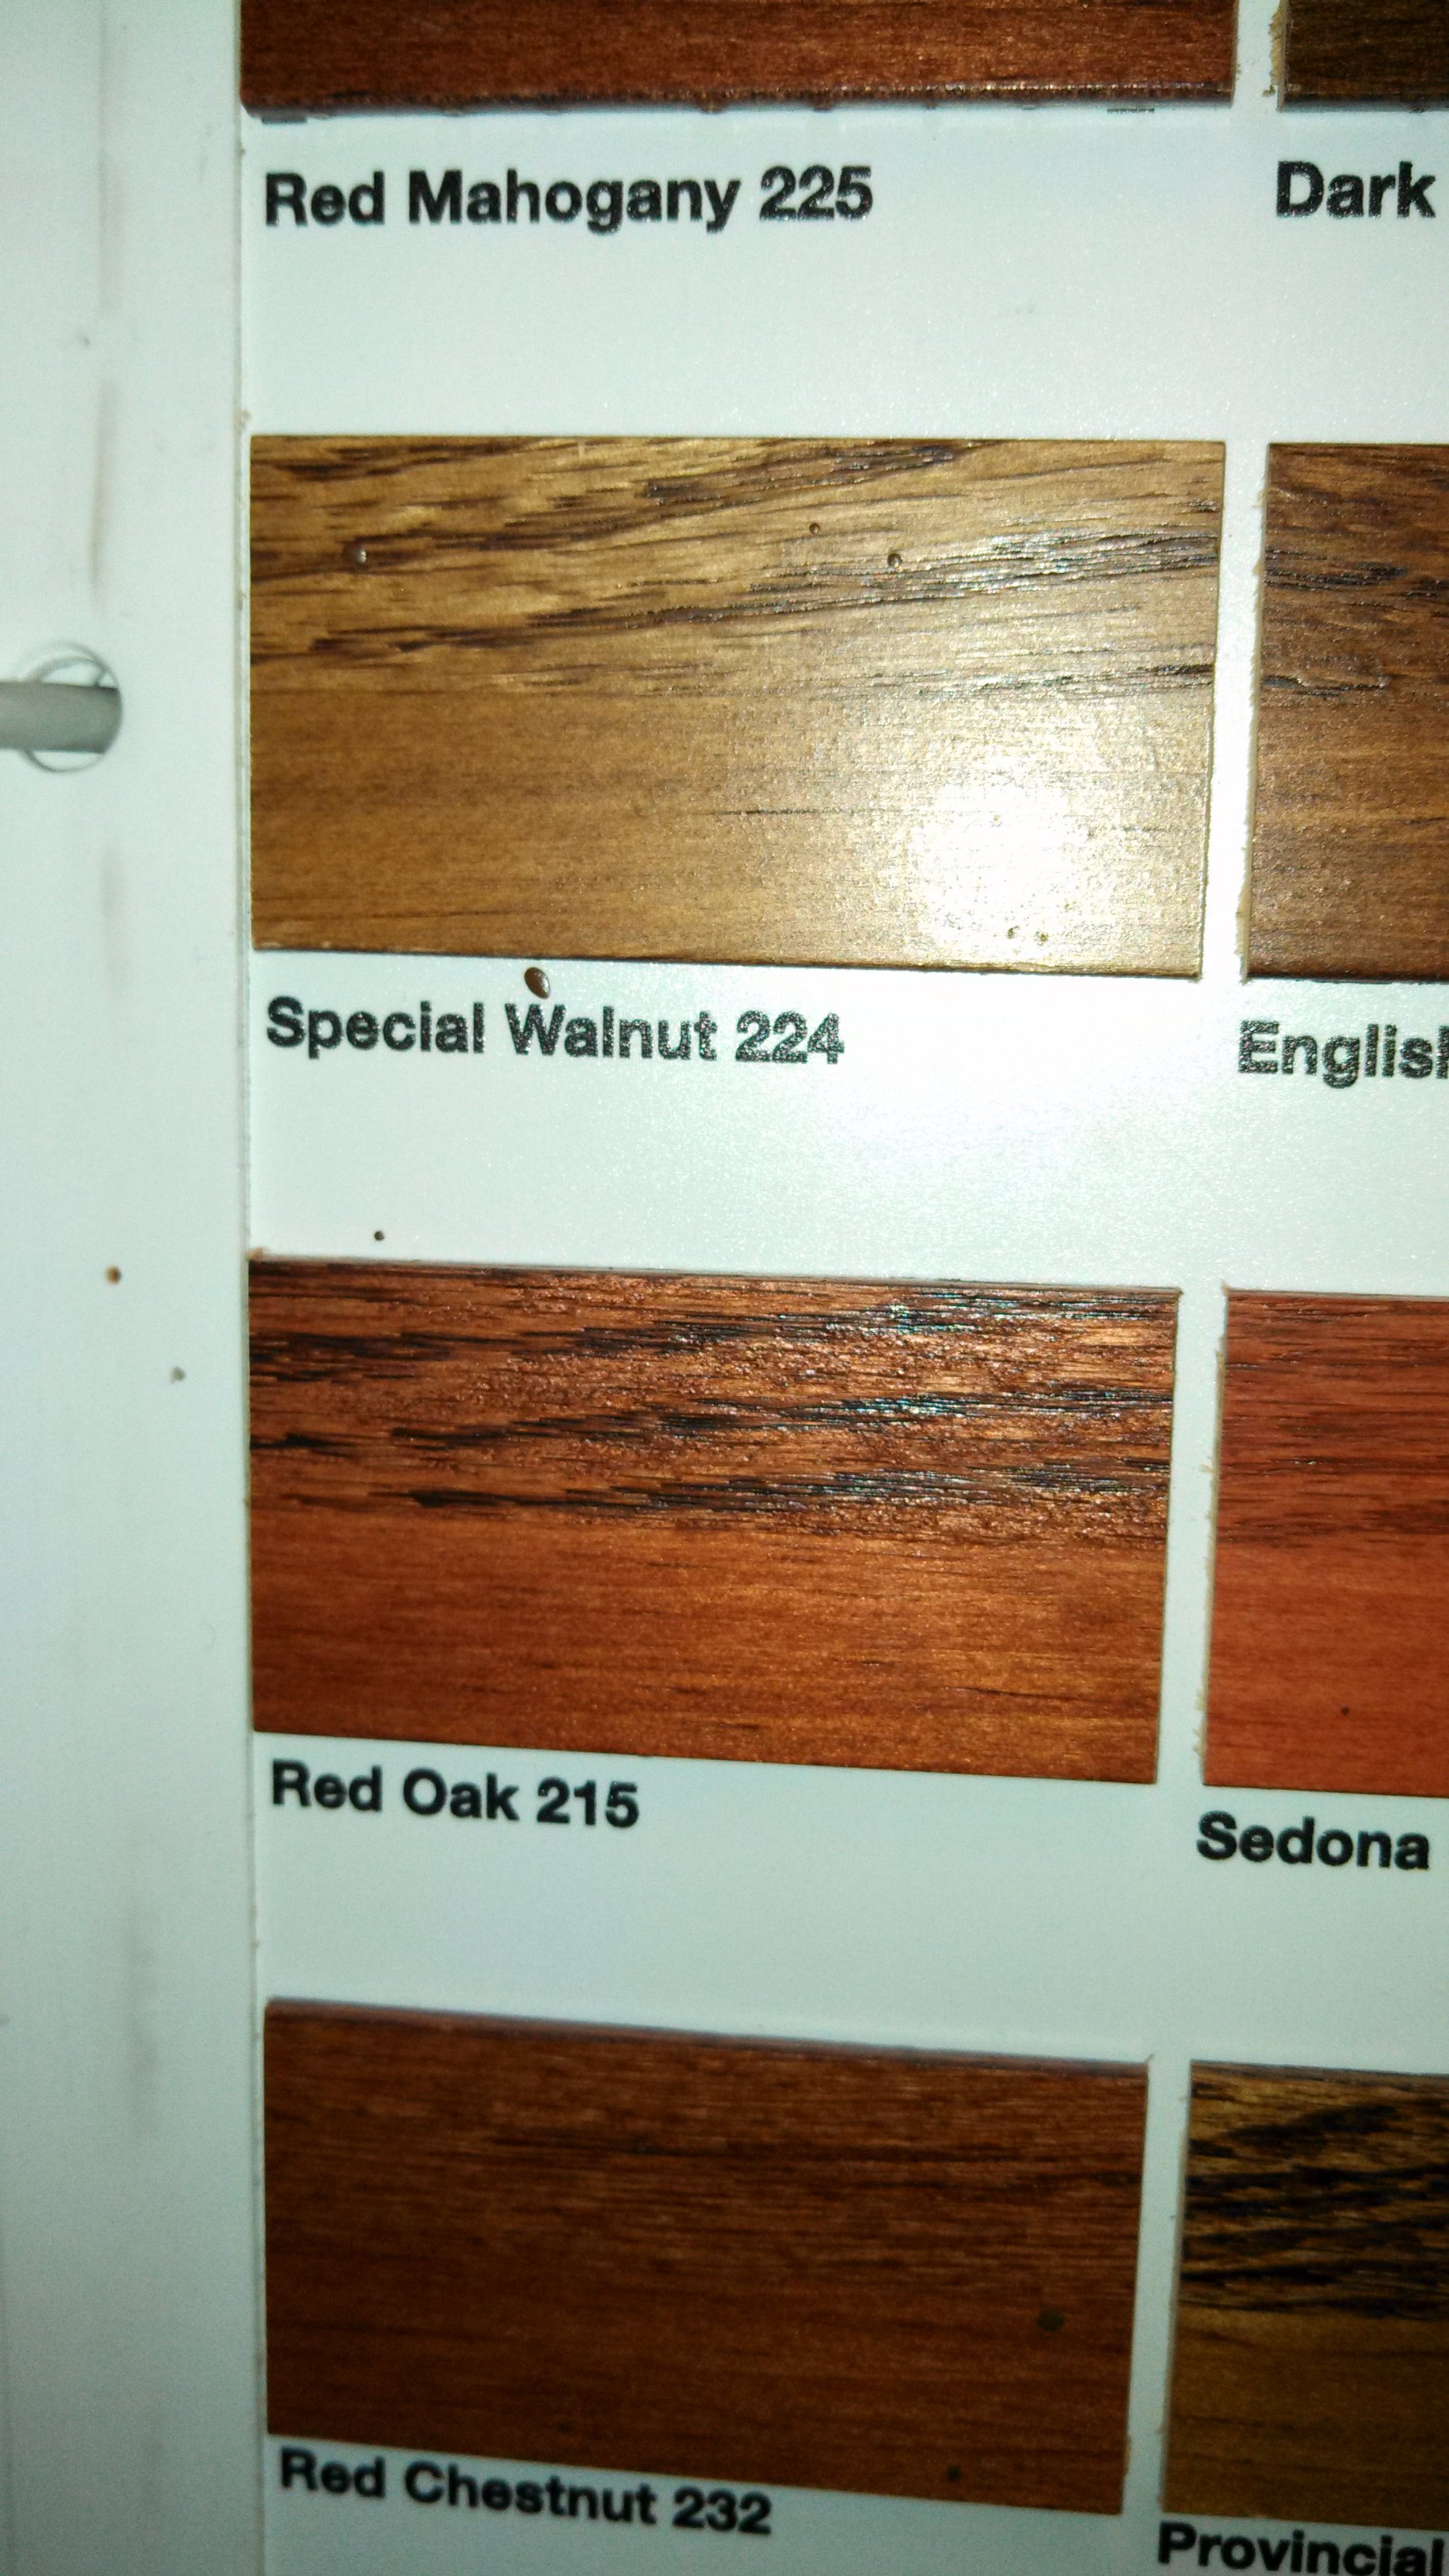
Once all the framing and electrical are finished, I'll paint the inside with white marine paint so the lighting for the sump/fuge will be amplified. Then I'll close everything up using either birch or poplar wood. Finishing with stain and polyurethane.
Well, That's it for now. I'll update this in a couple of weeks once the weather allows me to continue my work.
As always, any input or ideas will be greatly appreciated.
Till then: Always learning.
I have been planning this build for quite some time now. Reading, researching, asking a lot of questions here, a lot doodling on paper, drawing up rough graph blue prints and doing the final drawings of what I wanted it to look like when it's finished.
I started building the frame for the base about two months ago but then the cold snap hit and since I'm doing this in a unheated garage, all work came to a grinding halt.
I have been working on cleaning all the equipment I have on hand that I can use for this build ( sump/fuge, power heads, etc ) and cleaning all the equipment that I used on my 36g tank which mysteriously crashed for reasons I still haven't figured out, I do know it's was nothing I did or neglected to do, and putting it all away for future use.
Mother nature recently gave me a break in the weather for a few days so I had a chance to do some more work on the stand and make some modifications on the design.
Now it's getting colder again so the build is back on hold for a couple more weeks. I checked the Farmers Almanac and it looks like in two weeks or so the temps should stay in the 40's and up so I should be able to work steady on this build. Until then I'll just keep planning and preparing.
Here's a few photo's of what I've done so far:
I'm using 1x4 kiln dried pine boards for all the framing. I got a lot of inspiration from 2quills build including towers on each end of the tank and the light bridge across the top of the tank and towers. but since I don't have the tools or woodworking knowledge that he does, I'm doing the best I can with what I have to work with along with some design changes.
All the boards for the framing have been doubled up and overlapped at each joint using Guerrilla Glue on all contact surfaces. All the boards that are sandwiched (Doubled Up.) are glued, clamped and pneumatically nailed together. Each buttressing joint has been glued, clamped and screwed in place. Each corner joint surface has been reinforced using dowel pins and glue. Once the plywood has been cut to fit the inside of the base I'll do the framing inside the base for the end cabinets. All the screws I'm using are stainless steel and the pneumatic nails are galvanized to prevent rust.
I've done just about as much as I can on the frame for the base. The next step will be installing the plywood inside the cabinet. Since I'm using 3/4" oak on the deck of the stand and I'll have half a sheet left over, I'll be using the other half inside the base.
Here's my plan for the placement of everything in the stand:
In the base, the left cabinet will hold the container of R/O water for top off and it will also house the siphon hoses for water changes. The right cabinet will have the breaker box and GFCI outlets to plug in all the equipment. The inside will be double walled so the outlet boxes won't be exposed to any splash from the sump/fuge. The main section will house the 35g sump/fuge with enough room to remove it through the front if needed without taking the whole stand down.
Because I'm too lazy to get on my knees to reach the switches to control equipment, I'll be installing them in the right side tower. It will also hold the light controller for the LED's and the speed control for the return pump since it will also have the feed delay switch. The left tower will be for misc. storage. Meds, dosing, food, testing supplies, etc.
The light bridge will of course hold the coral LED lights which will be on drawer glides so that I can pull them out for cleaning and maintenance on the tank.
If I planed the stand build right, it should all be able to be taken apart in four pieces (not including the tank) at a moments notice for repairs, upgrades and improvements.
Once all the framing and electrical are finished, I'll paint the inside with white marine paint so the lighting for the sump/fuge will be amplified. Then I'll close everything up using either birch or poplar wood. Finishing with stain and polyurethane.
Well, That's it for now. I'll update this in a couple of weeks once the weather allows me to continue my work.
As always, any input or ideas will be greatly appreciated.
Till then: Always learning.
Last edited:


")