Silverado61's Stand and Tank build.

2quills

Well-Known Member
Dude that rock turned out nice. Good idea reinforcing the door. When you go to paint and seal everything up make sure the wood is relatively dry and in low humidity. I haven't had much issue in that regard with the second door I made once everything was finished. It was a tough call to find something decent to prop up the door with. Basically I just reinforced the crown molding and that supports the door when I prop it strait up.
Everything is looking good. Sorry about the finger nail. With DIY they come and go. :)
 

silverado61

Well-Known Member
Quote:
Originally Posted by 2Quills http:///t/397211/silverado61s-stand-and-tank-build/60#post_3547107
Dude that rock turned out nice. Good idea reinforcing the door. When you go to paint and seal everything up make sure the wood is relatively dry and in low humidity. I haven't had much issue in that regard with the second door I made once everything was finished. It was a tough call to find something decent to prop up the door with. Basically I just reinforced the crown molding and that supports the door when I prop it strait up.
Everything is looking good. Sorry about the finger nail. With DIY they come and go. :)
I'm looking for a metal support for the door so that when I open it, it locks into place holding the door open. Then when I lift the door again, the hinge unlocks and I can lower the door and close it. It's hard to describe what I'm looking for but I've seen them before, I just don't know the name of it which makes it hard to google.

I have to wait on staining and sealing till I get the doors ordered so I'm going to work on the opening of the canopy for the tank and get the plumbing figured out and installed.
 

silverado61

Well-Known Member
Quote:
Originally Posted by SnakeBlitz33 http:///t/397211/silverado61s-stand-and-tank-build/20#post_3543812
https://forums.saltwaterfish.com/t/388488/progress-shots-of-110g-show-tank
I've been reading back on my thread and realized I didn't thank you for the link Seth. "Thanks"

I will read it when I get closer to building the scrubber. I've decided on an up-flow. I've got plenty of room for a waterfall scrubber but I like the up-flow design better.
 

2quills

Well-Known Member

I'm looking for a metal support for the door so that when I open it, it locks into place holding the door open. Then when I lift the door again, the hinge unlocks and I can lower the door and close it. It's hard to describe what I'm looking for but I've seen them before, I just don't know the name of it which makes it hard to google.
I have to wait on staining and sealing till I get the doors ordered so I'm going to work on the opening of the canopy for the tank and get the plumbing figured out and installed.
Take a look into locking pivot hinges.
 

silverado61

Well-Known Member
I found it. It's called a "telescopic door prop". I just knew I wasn't going crazy and imagining it. Lol
I'll try to post a photo when I get home.
 

silverado61

Well-Known Member
I figured out how to do it from my android. This what I've been trying to find to prop the door open on the canopy. This should work. You open the door all the way till the prop locks. When you want to close the door, you left it again and the prop unlucks and you shut the door.
 

silverado61

Well-Known Member
I looked at lid supports. All the ones that I found use tension or friction to keep the door open. Which means you have to use force to close it. That didn't appeal to me.
 

2quills

Well-Known Member
What you've found looks like it will work. Would they let you open the door more than 90 degrees?
My canopy isnt as tall so I need something that opens at least 120 degrees.
 

silverado61

Well-Known Member
What you've found looks like it will work. Would they let you open the door more than 90 degrees?
My canopy isnt as tall so I need something that opens at least 120 degrees.I've found different lengths for different applications. It just depends on what you need and how you mount it.
 

silverado61

Well-Known Member
Update:

I took the diy rock out and scrubbed everything down. Mainly to get rid of the thin pockets where the surface salt dissolved and left a thin layer of Portland behind and to get rid of a layer of grit that covered everything including the pvc spacers. That's probably caused by the PH. Then I rinsed all the pieces and put them back into the tub to continue curing.


I also repositioned the powerhead to change the current of water through the pieces. I haven't retested the water yet but I'm sure I still have high PH. Tick tock. Tick tock.
 

silverado61

Well-Known Member
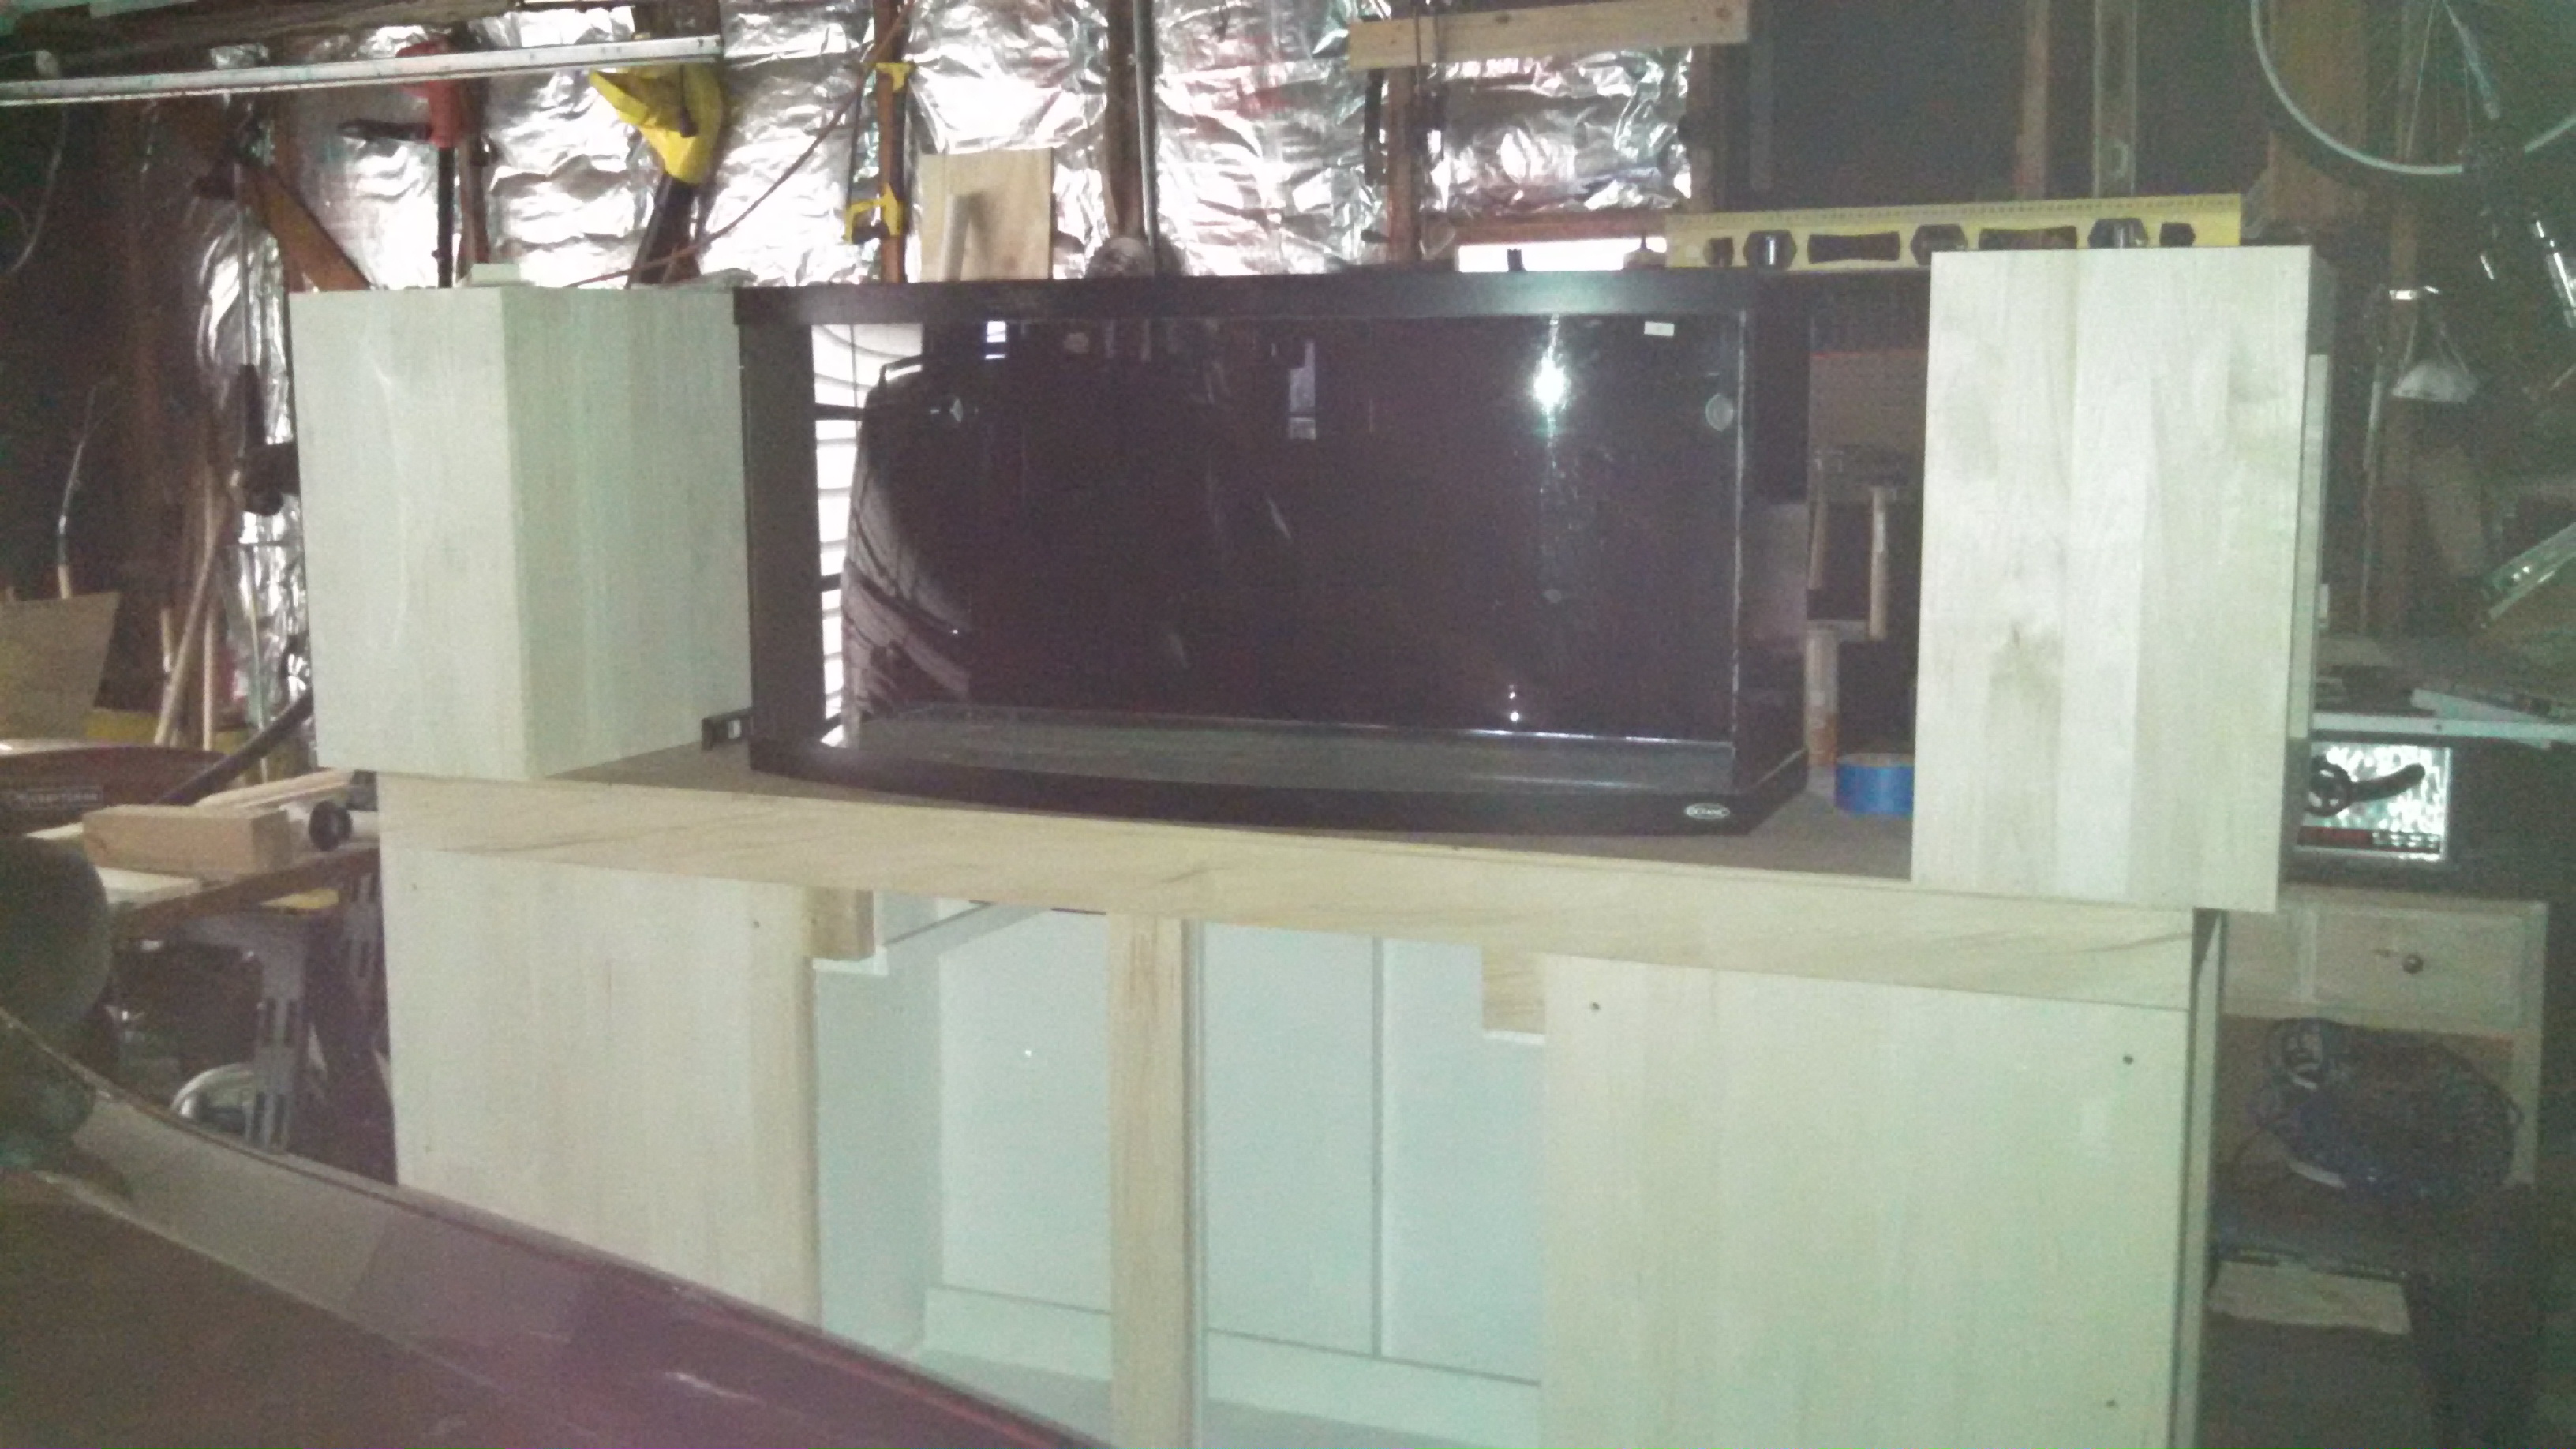
I Placed the tank on the stand yesterday and started fitting the plumbing for the overflow to the sump. I figured I would do this before I started sanding, staining and poly.


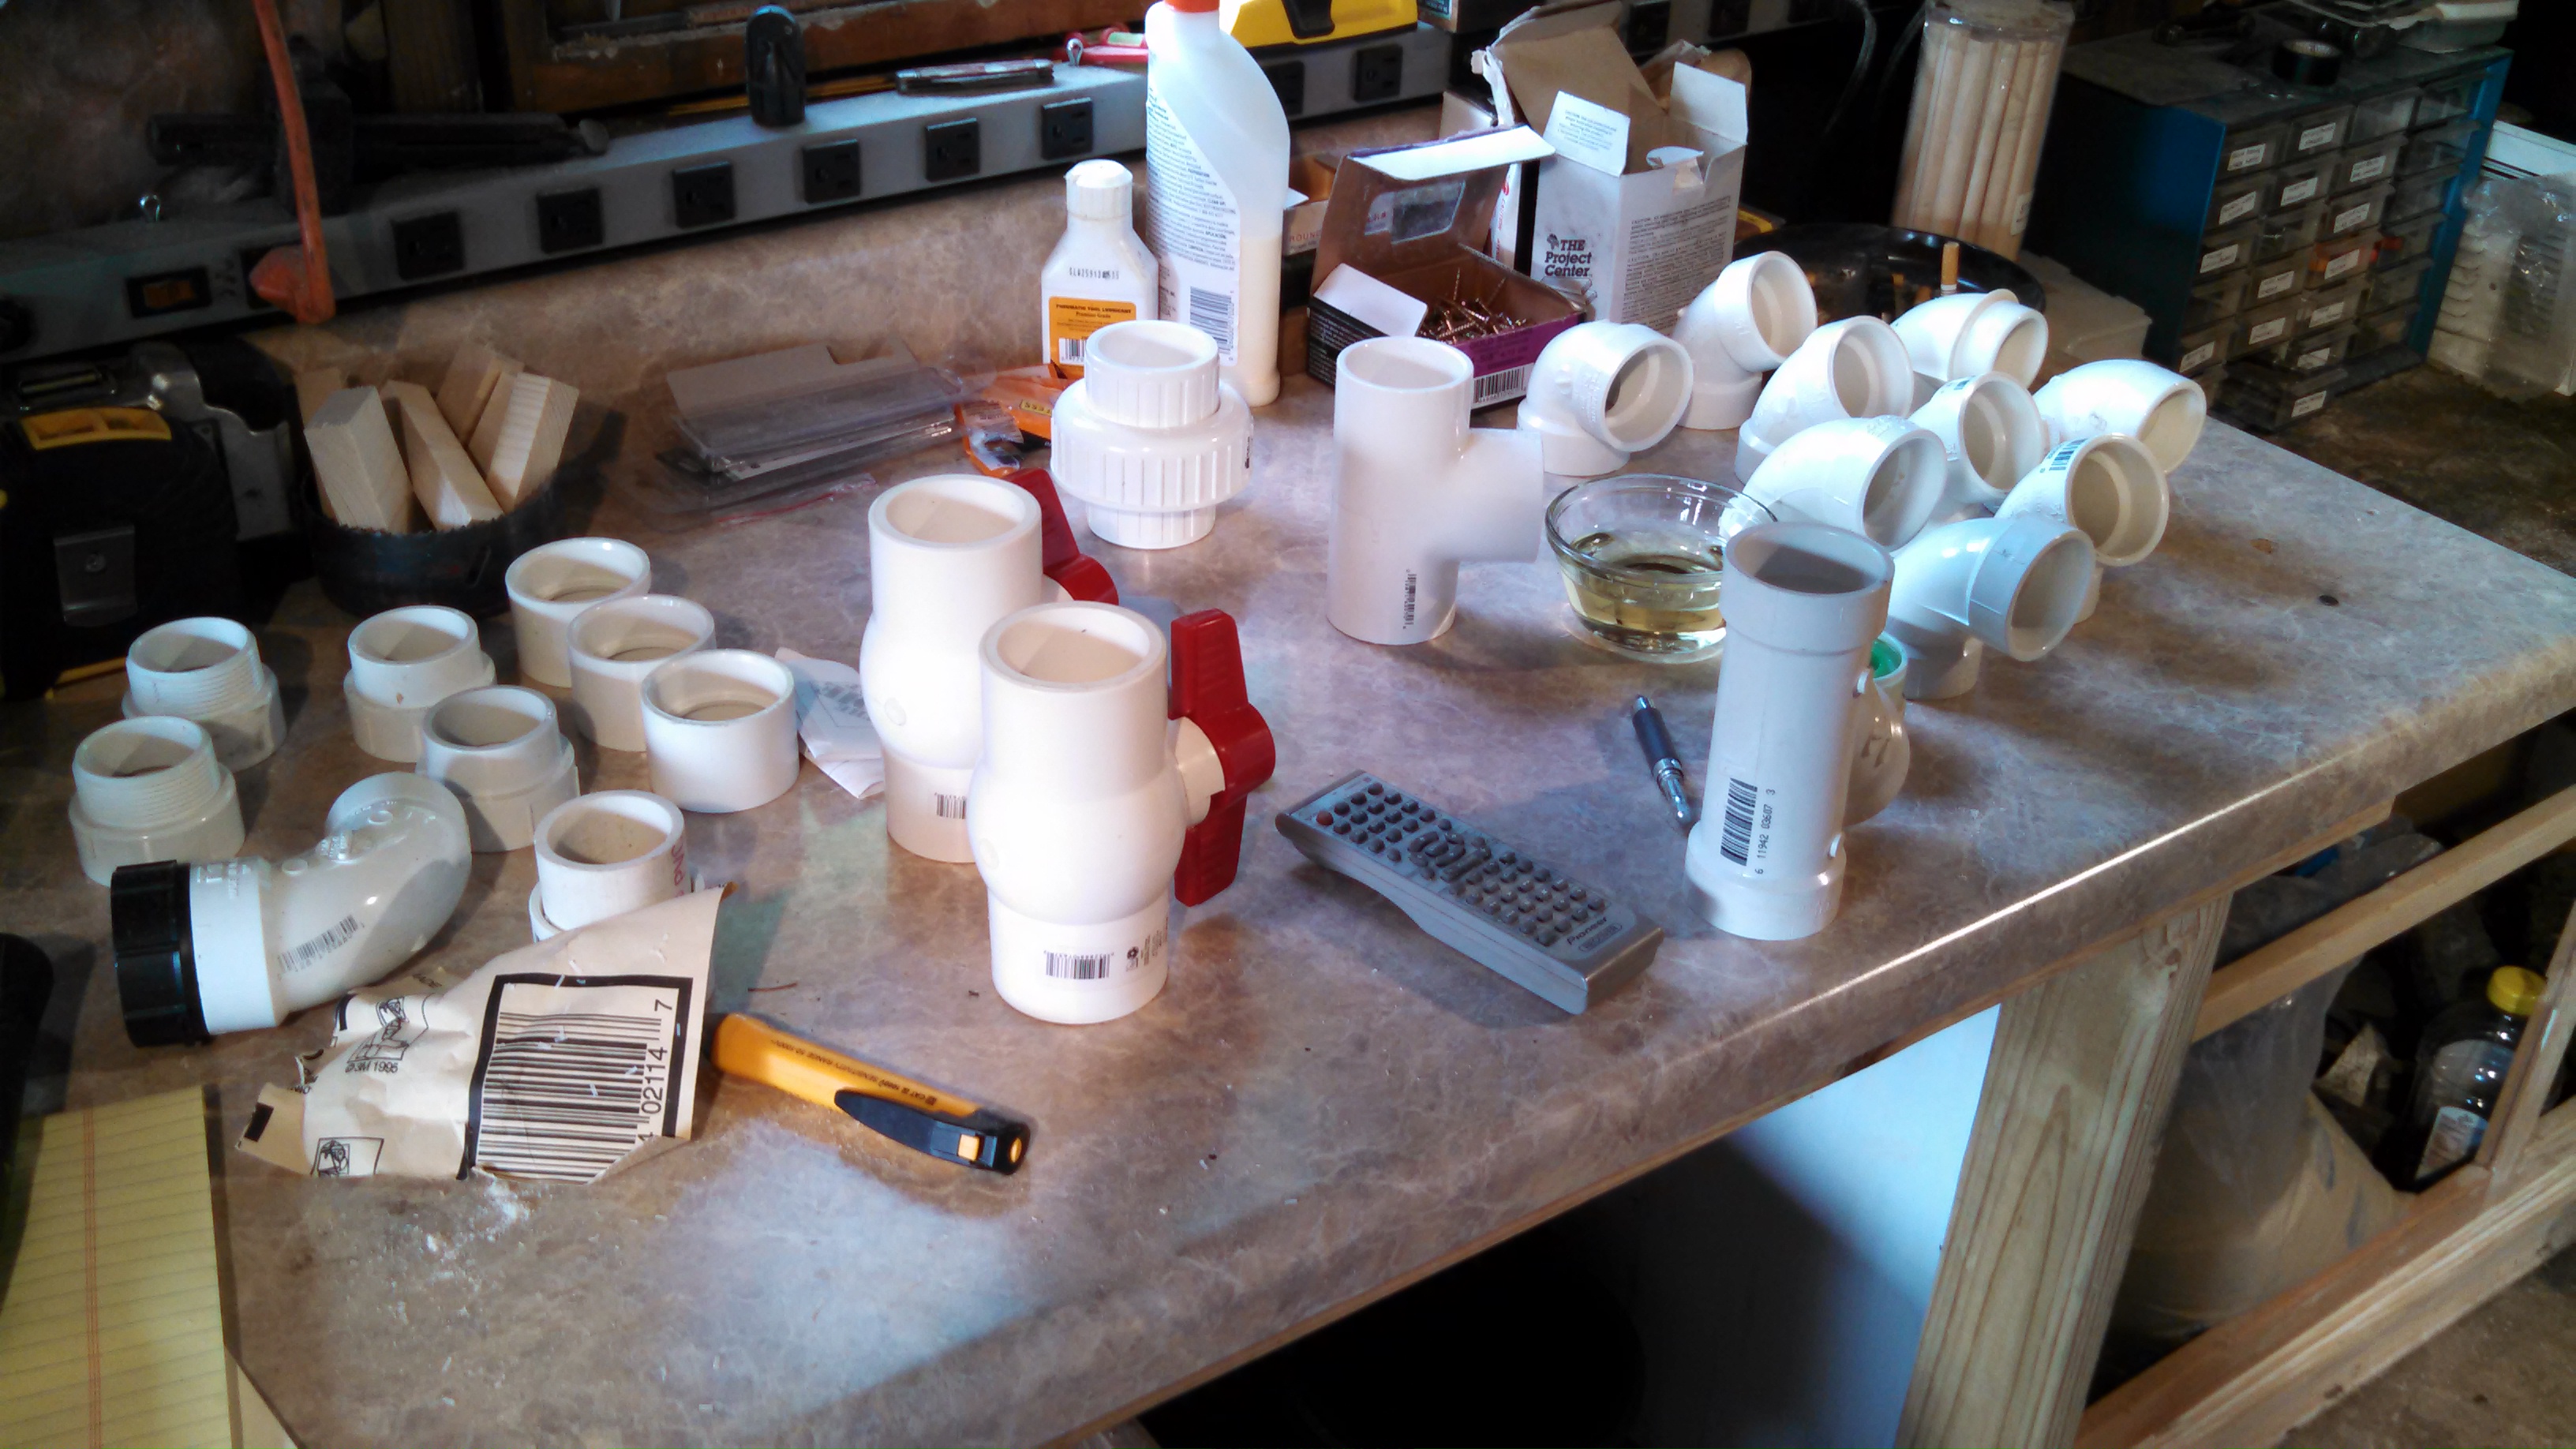
Here's the variety of pieces I'm using. There's more than what's shown here because I had already started to do the assembly for the plumbing. I started with a wide variety of pieces. I figured I'd rather have too many pieces than not enough or the wrong pieces or pieces I needed and didn't have and had to run to Home Depot to get one. A lot of this is going to end up going back but I figured better safe than sorry.


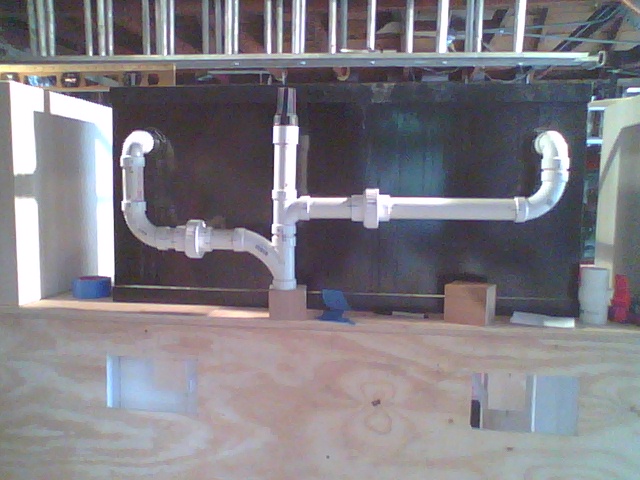
Here's what it looks like so far. I brought each overflow in at different levels so I wouldn't have them crashing into each other at the same point.


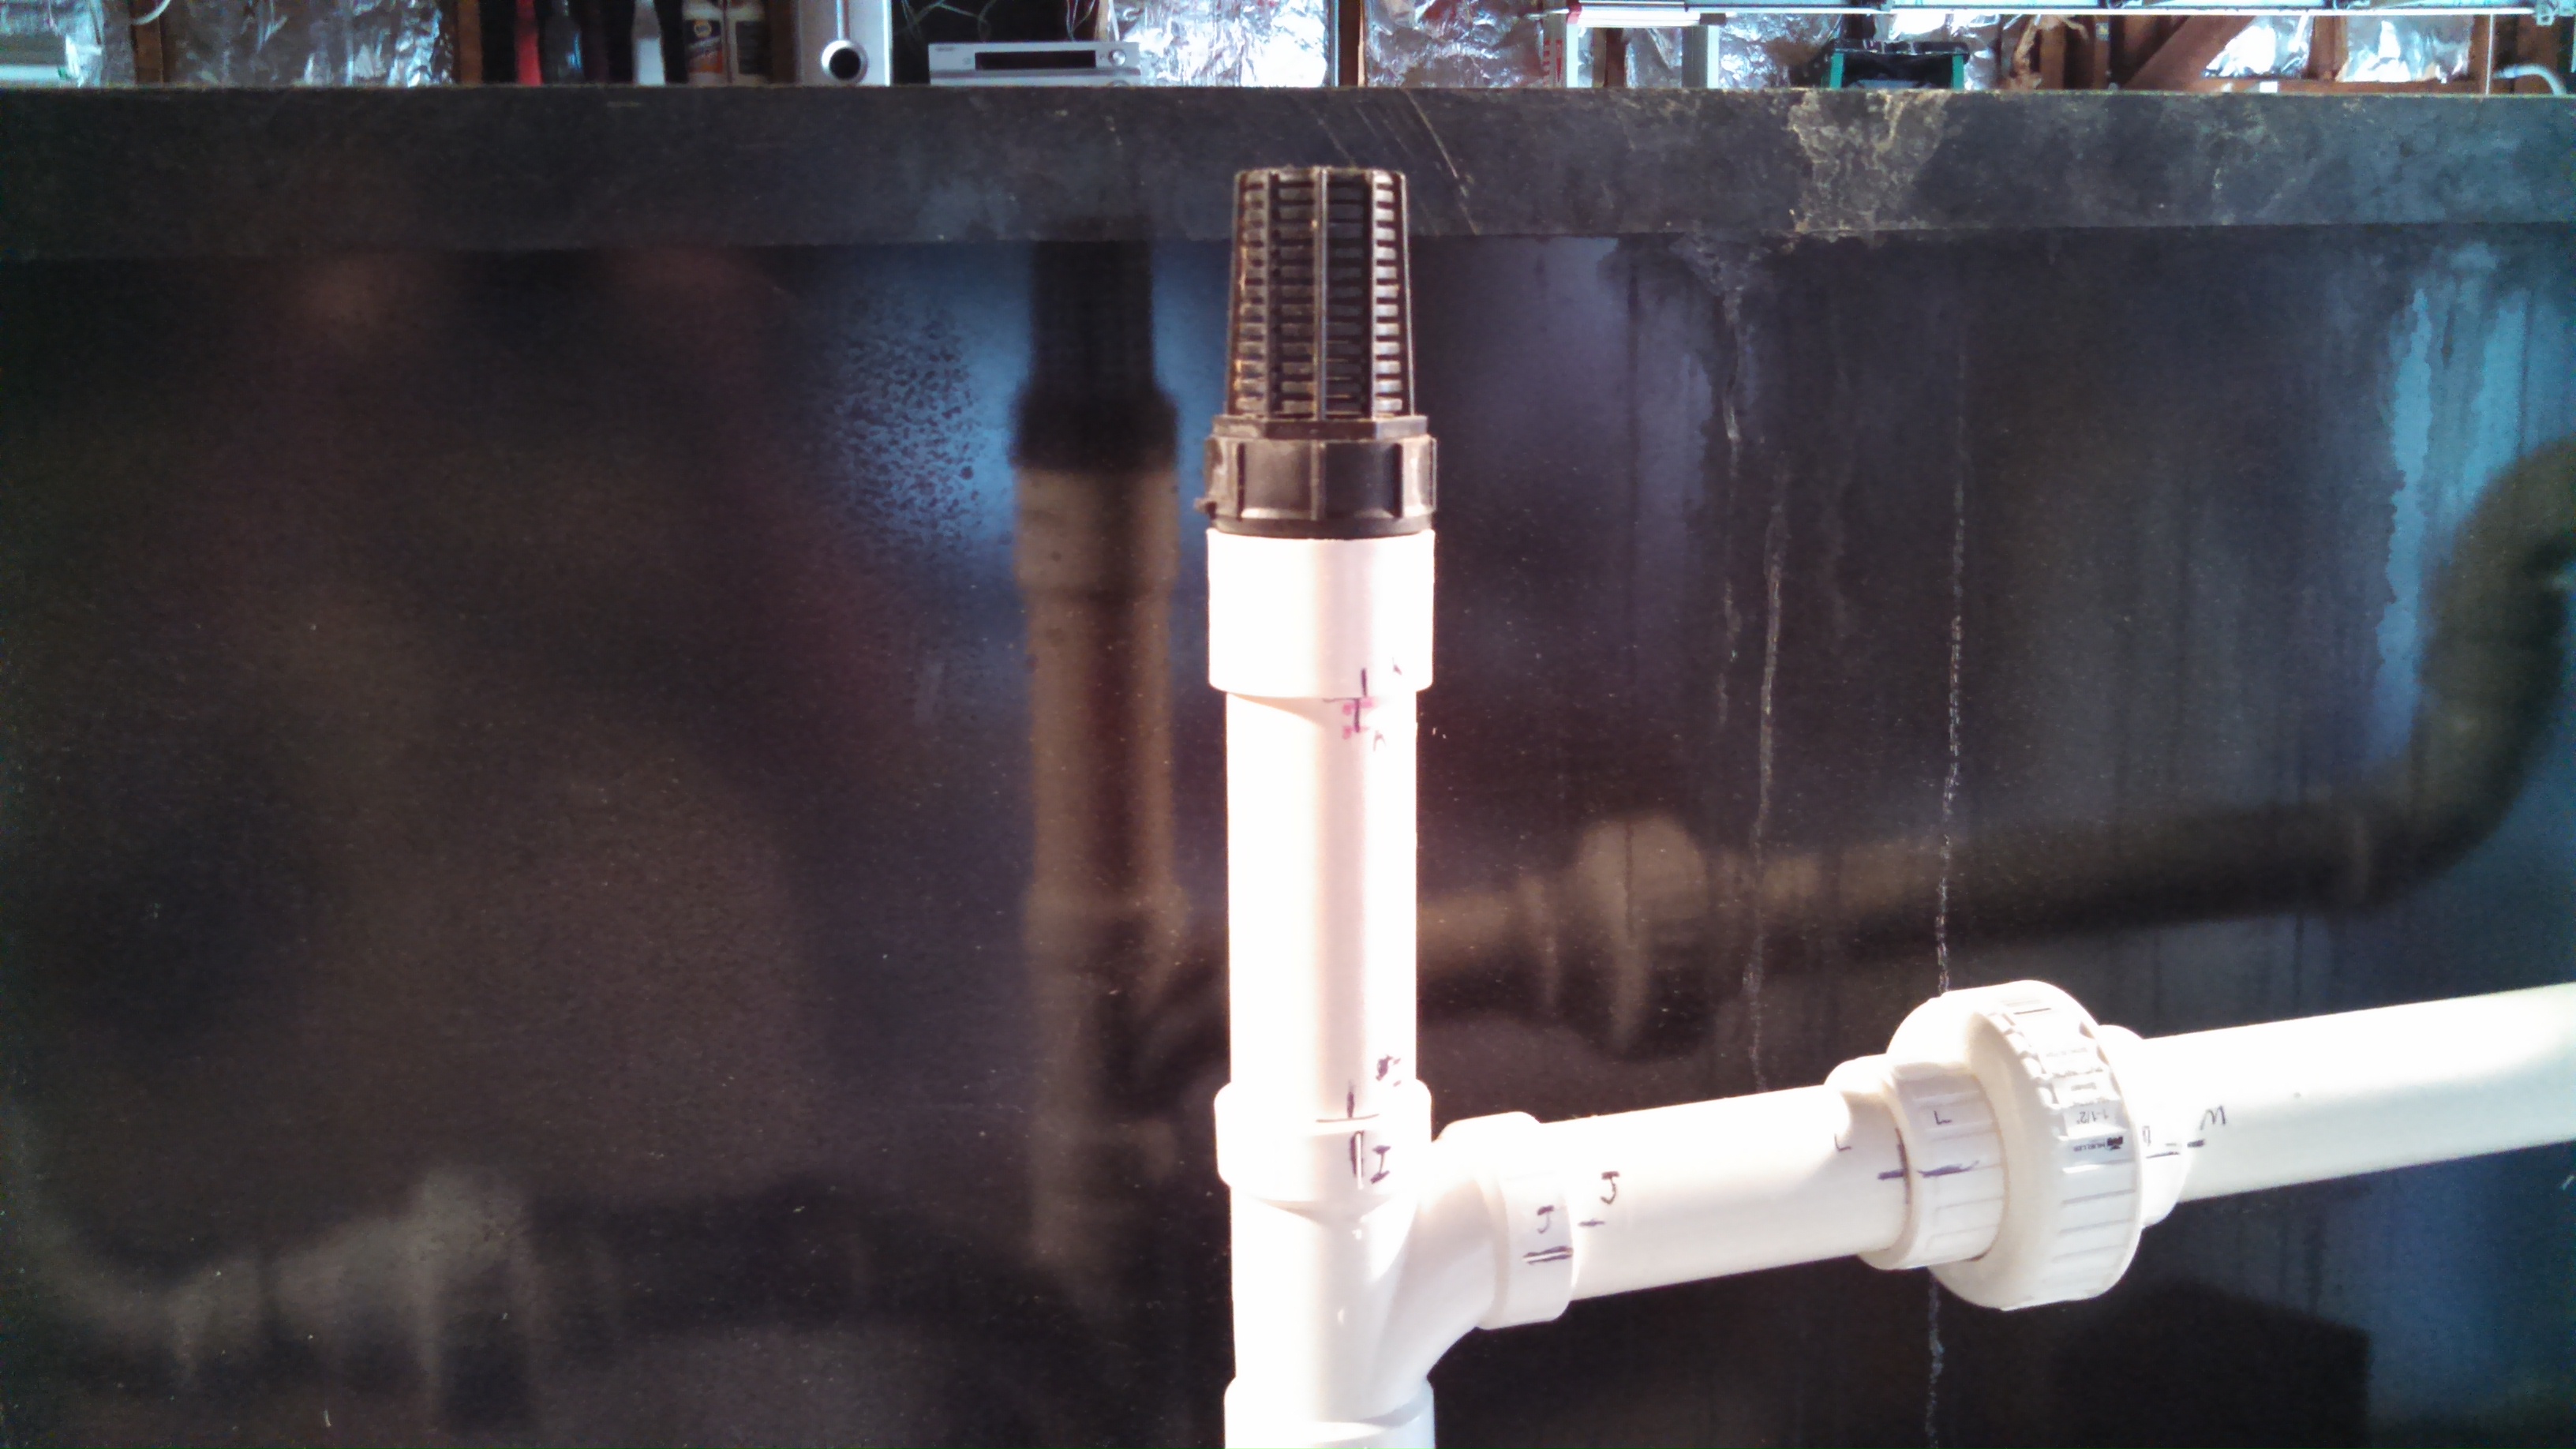
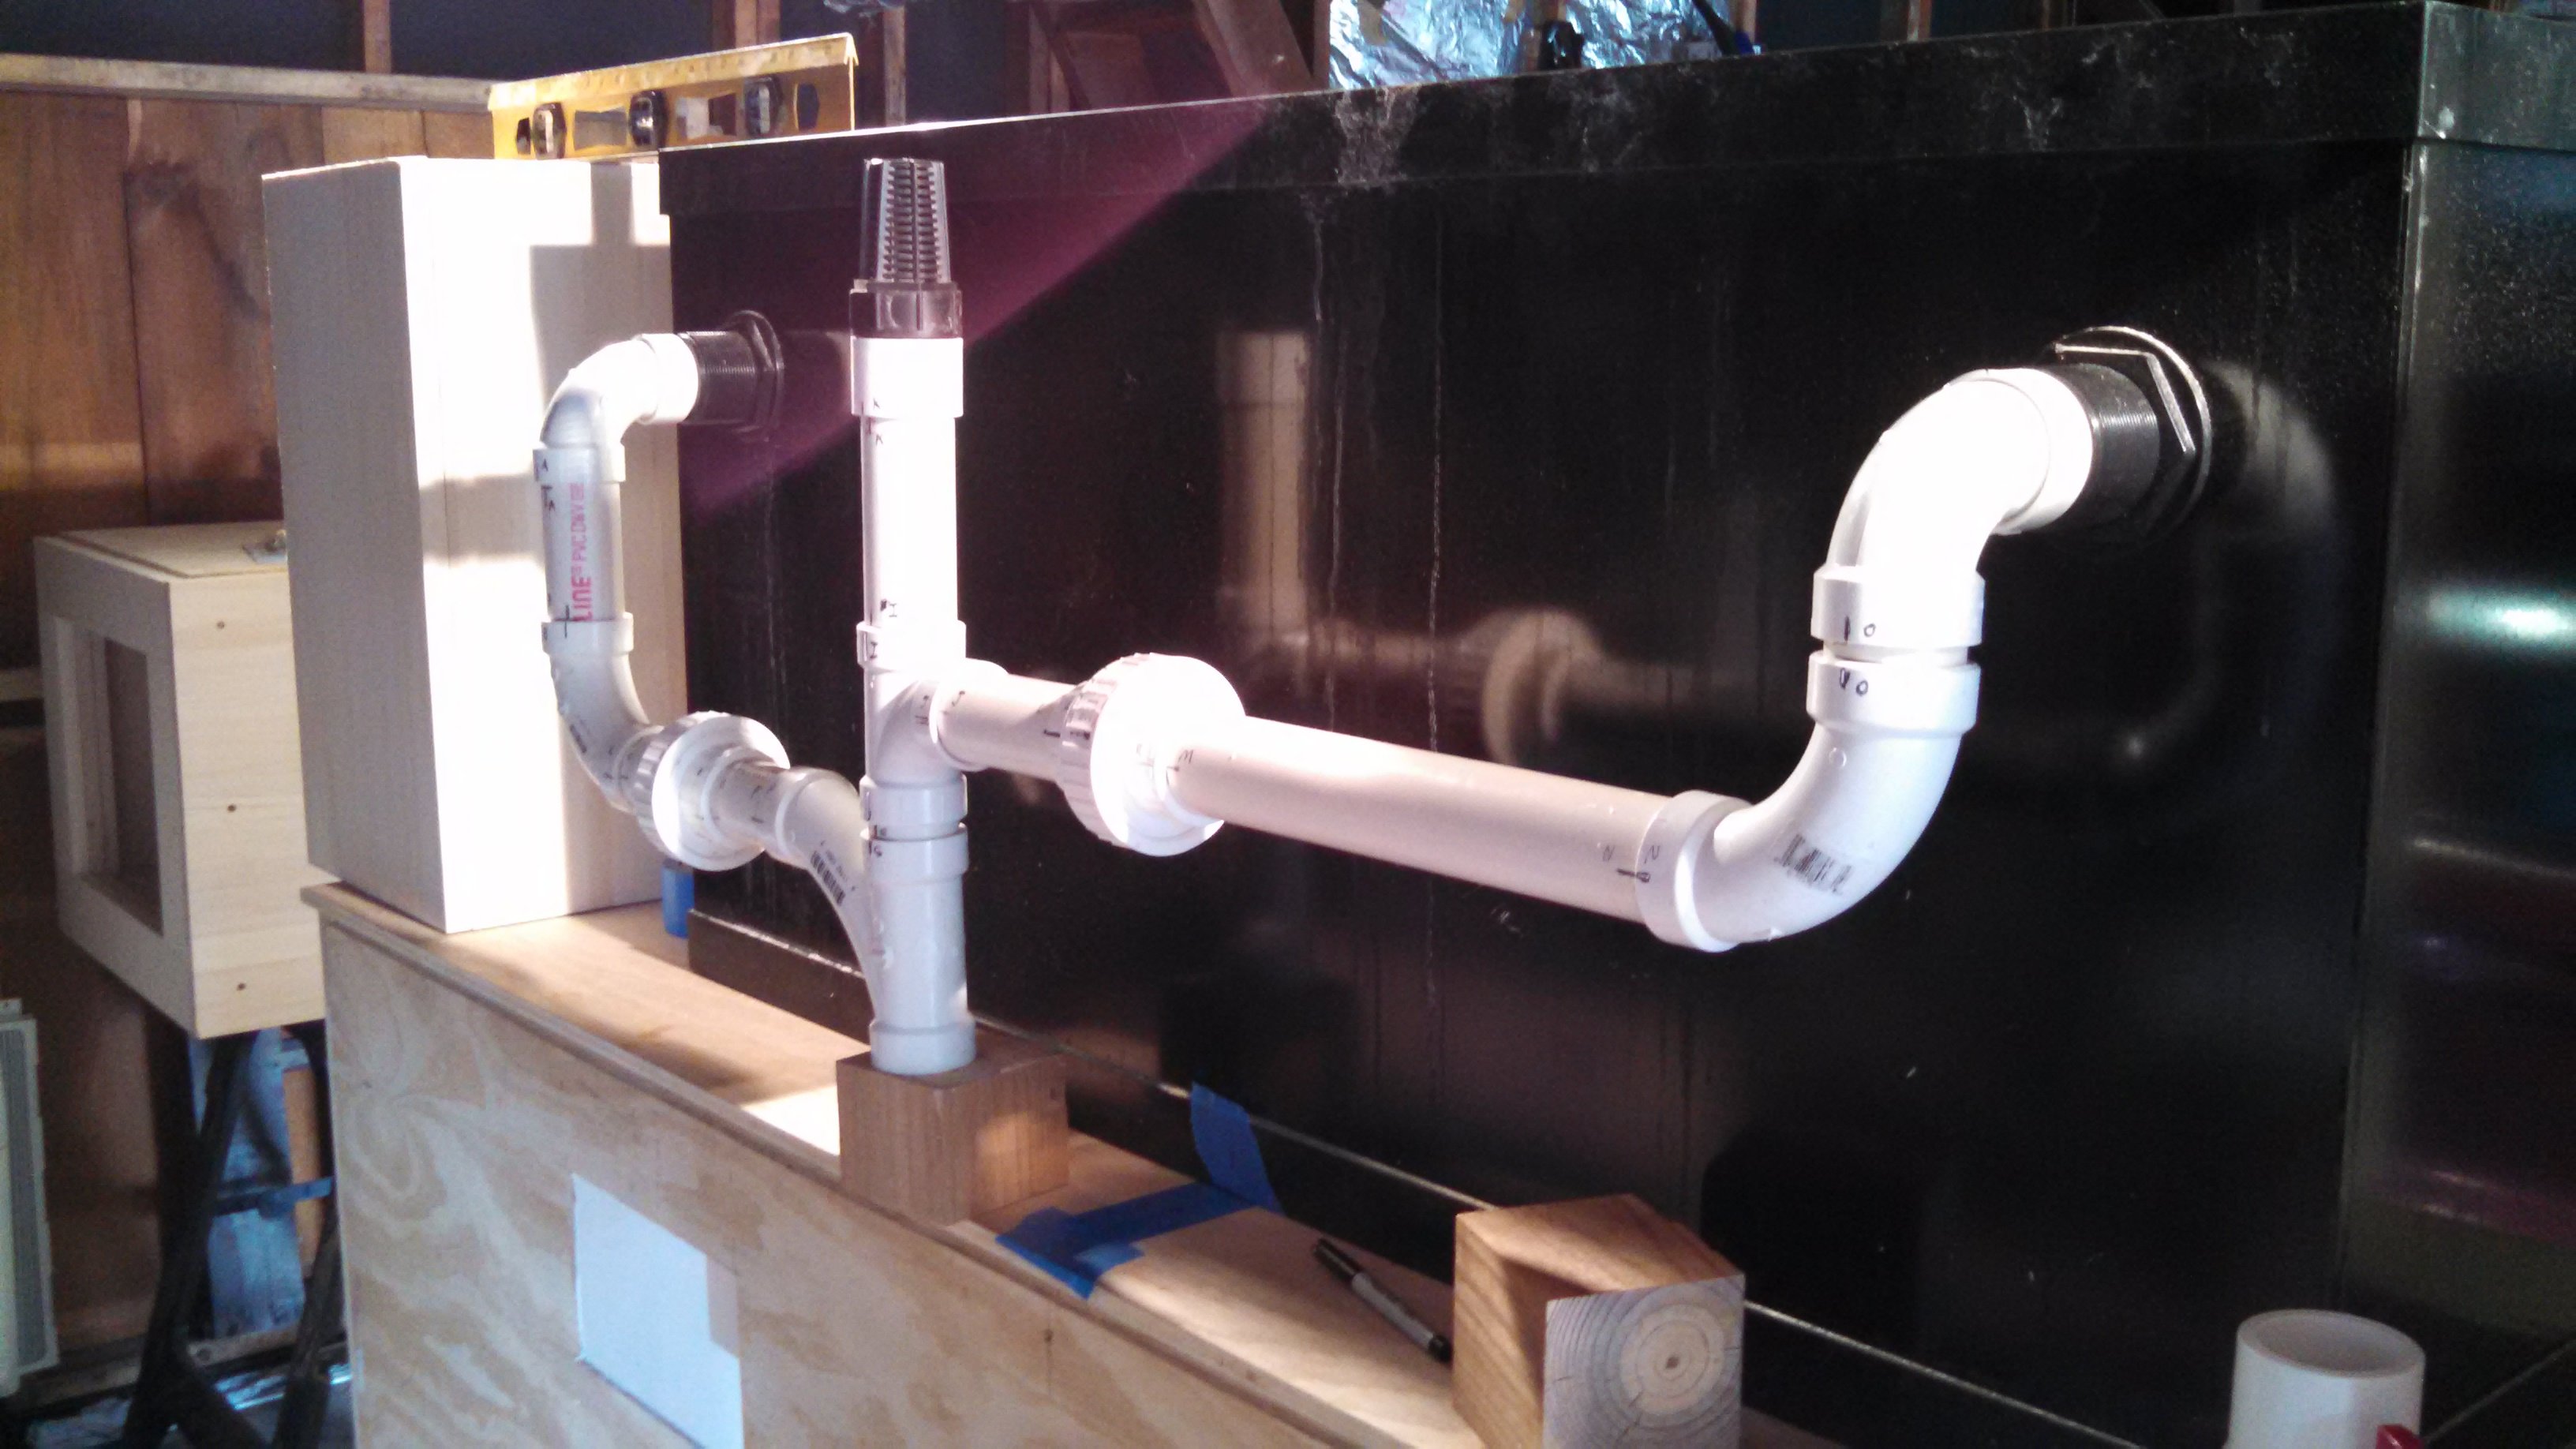
Here's my version of an anti-siphon vent. Crude, but it should work to ease the flow. I just need to lower it a little. If I ever have to remove it for any reason, the canopy would get in the way.


Here's different views of what I've done so far. Any tips, ideas or suggestions, please let me know before I glue it all together.

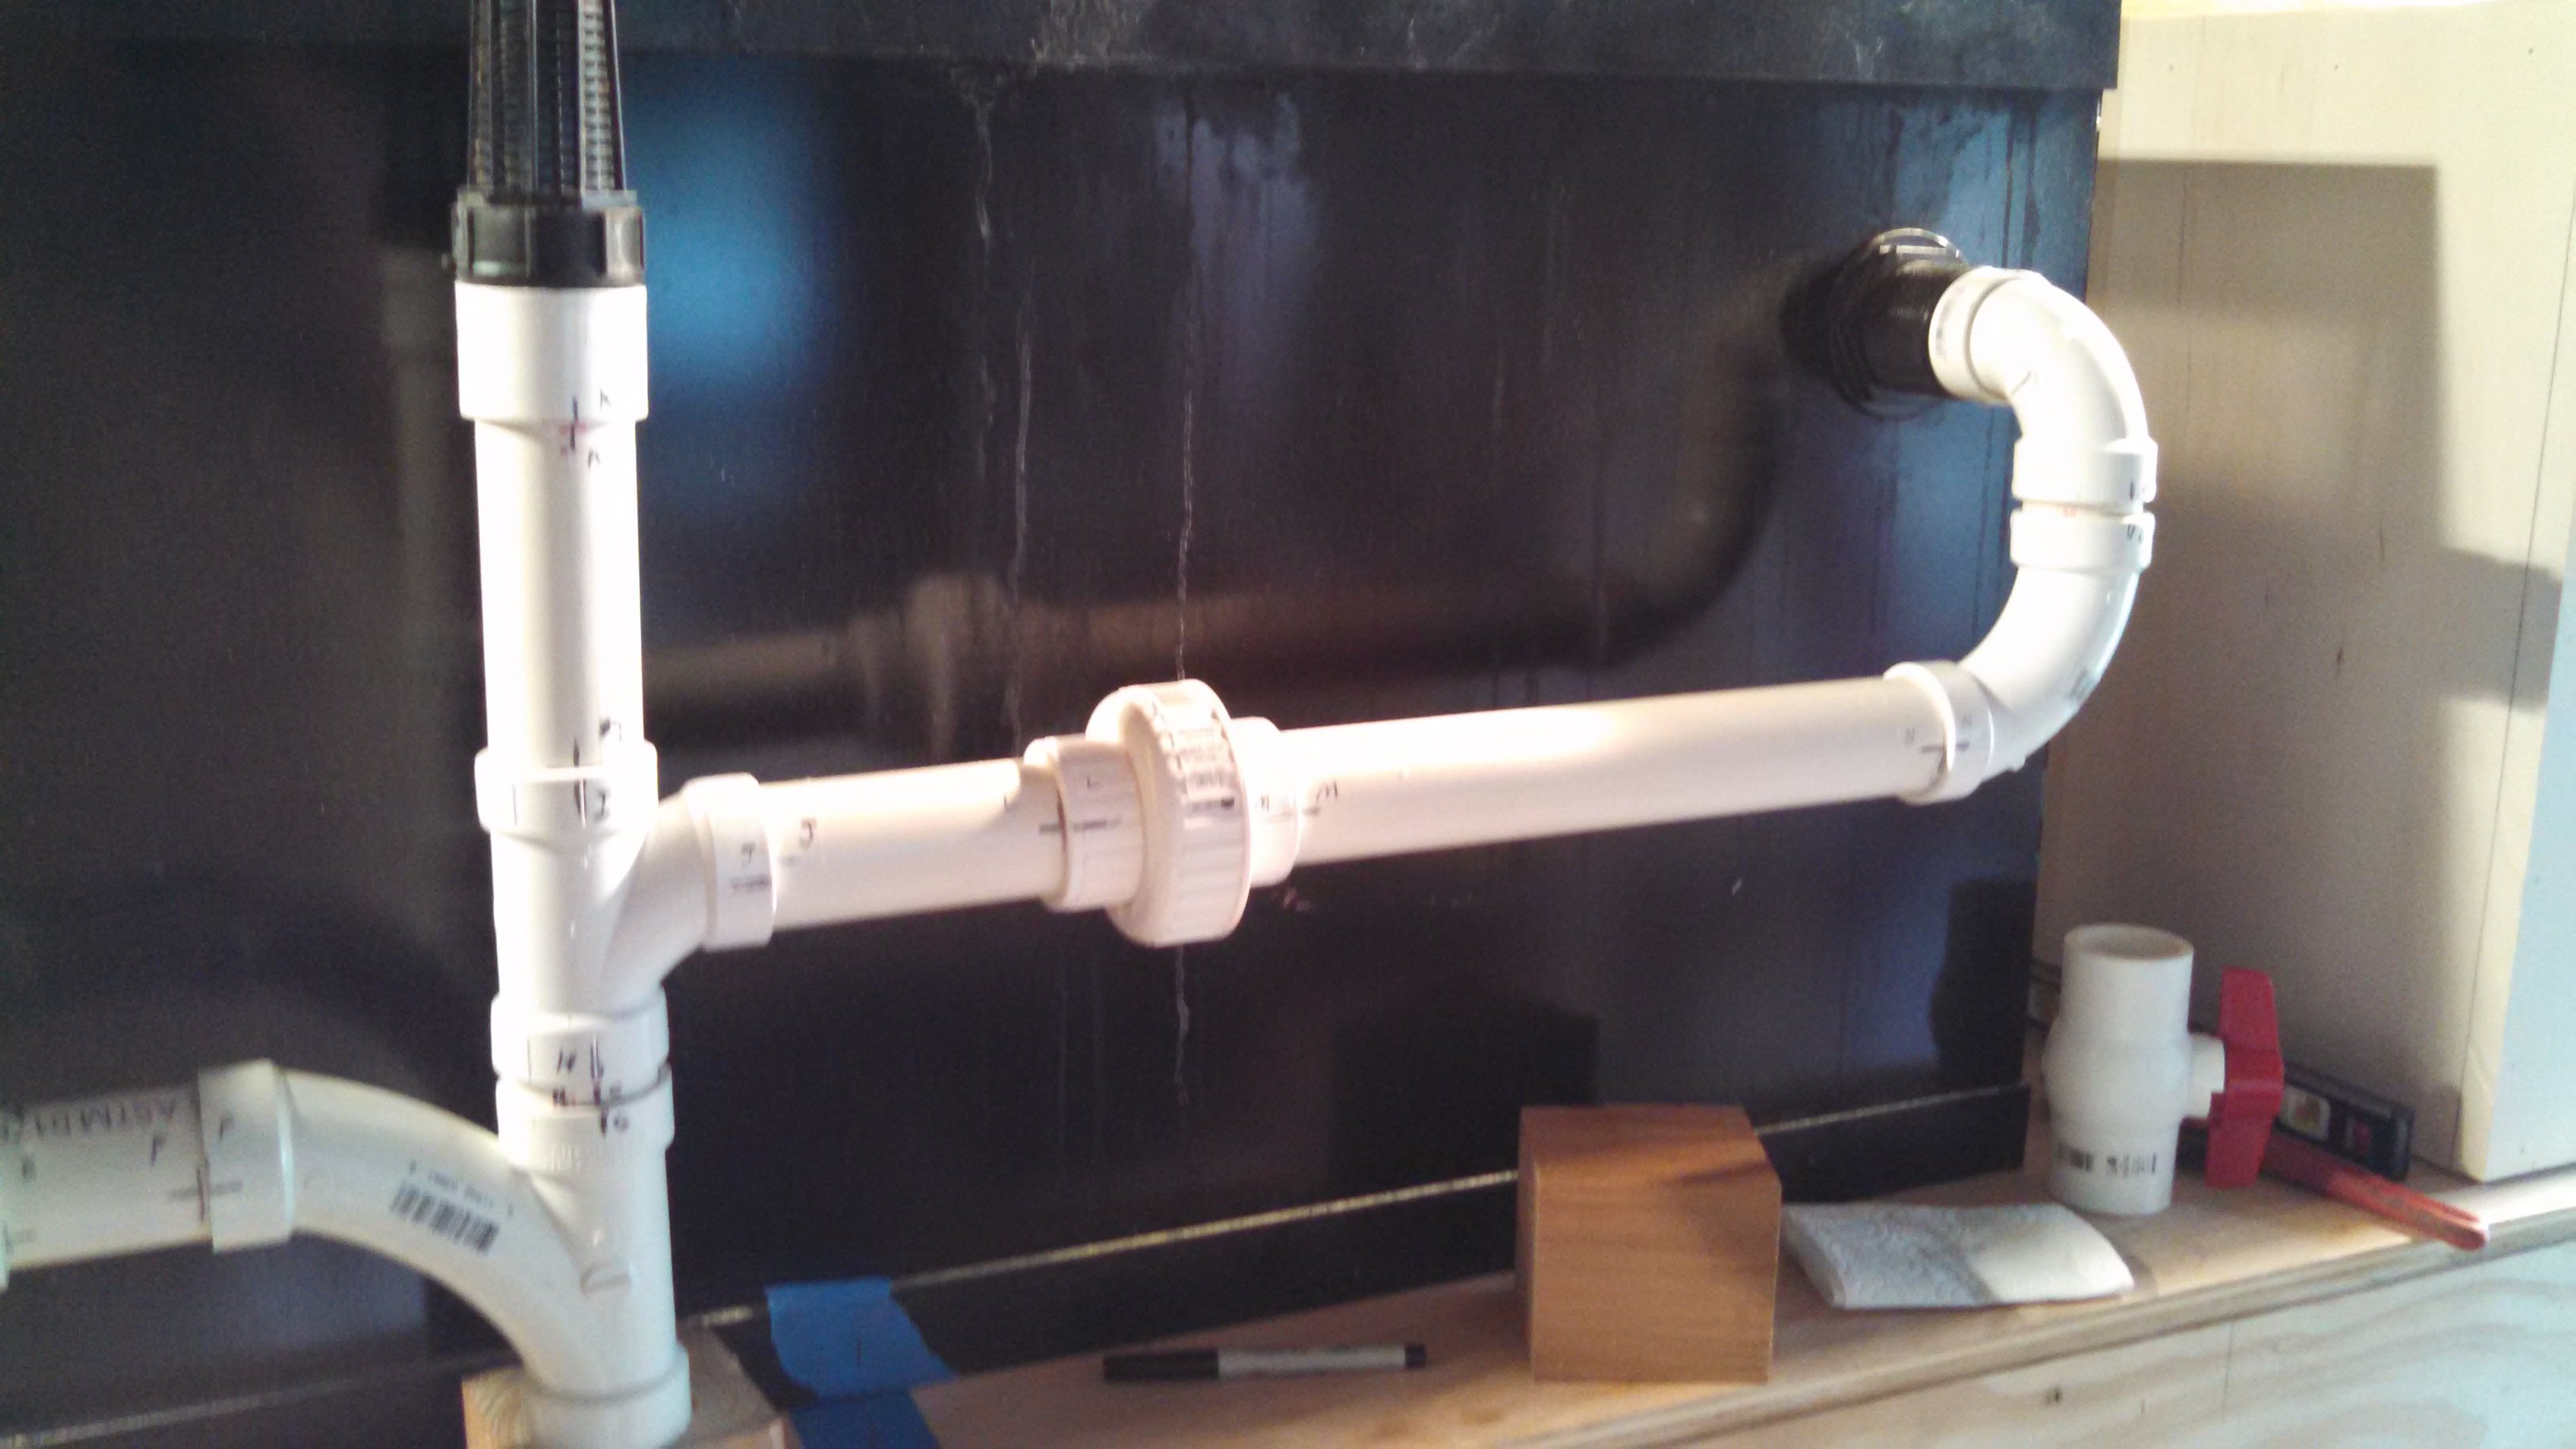
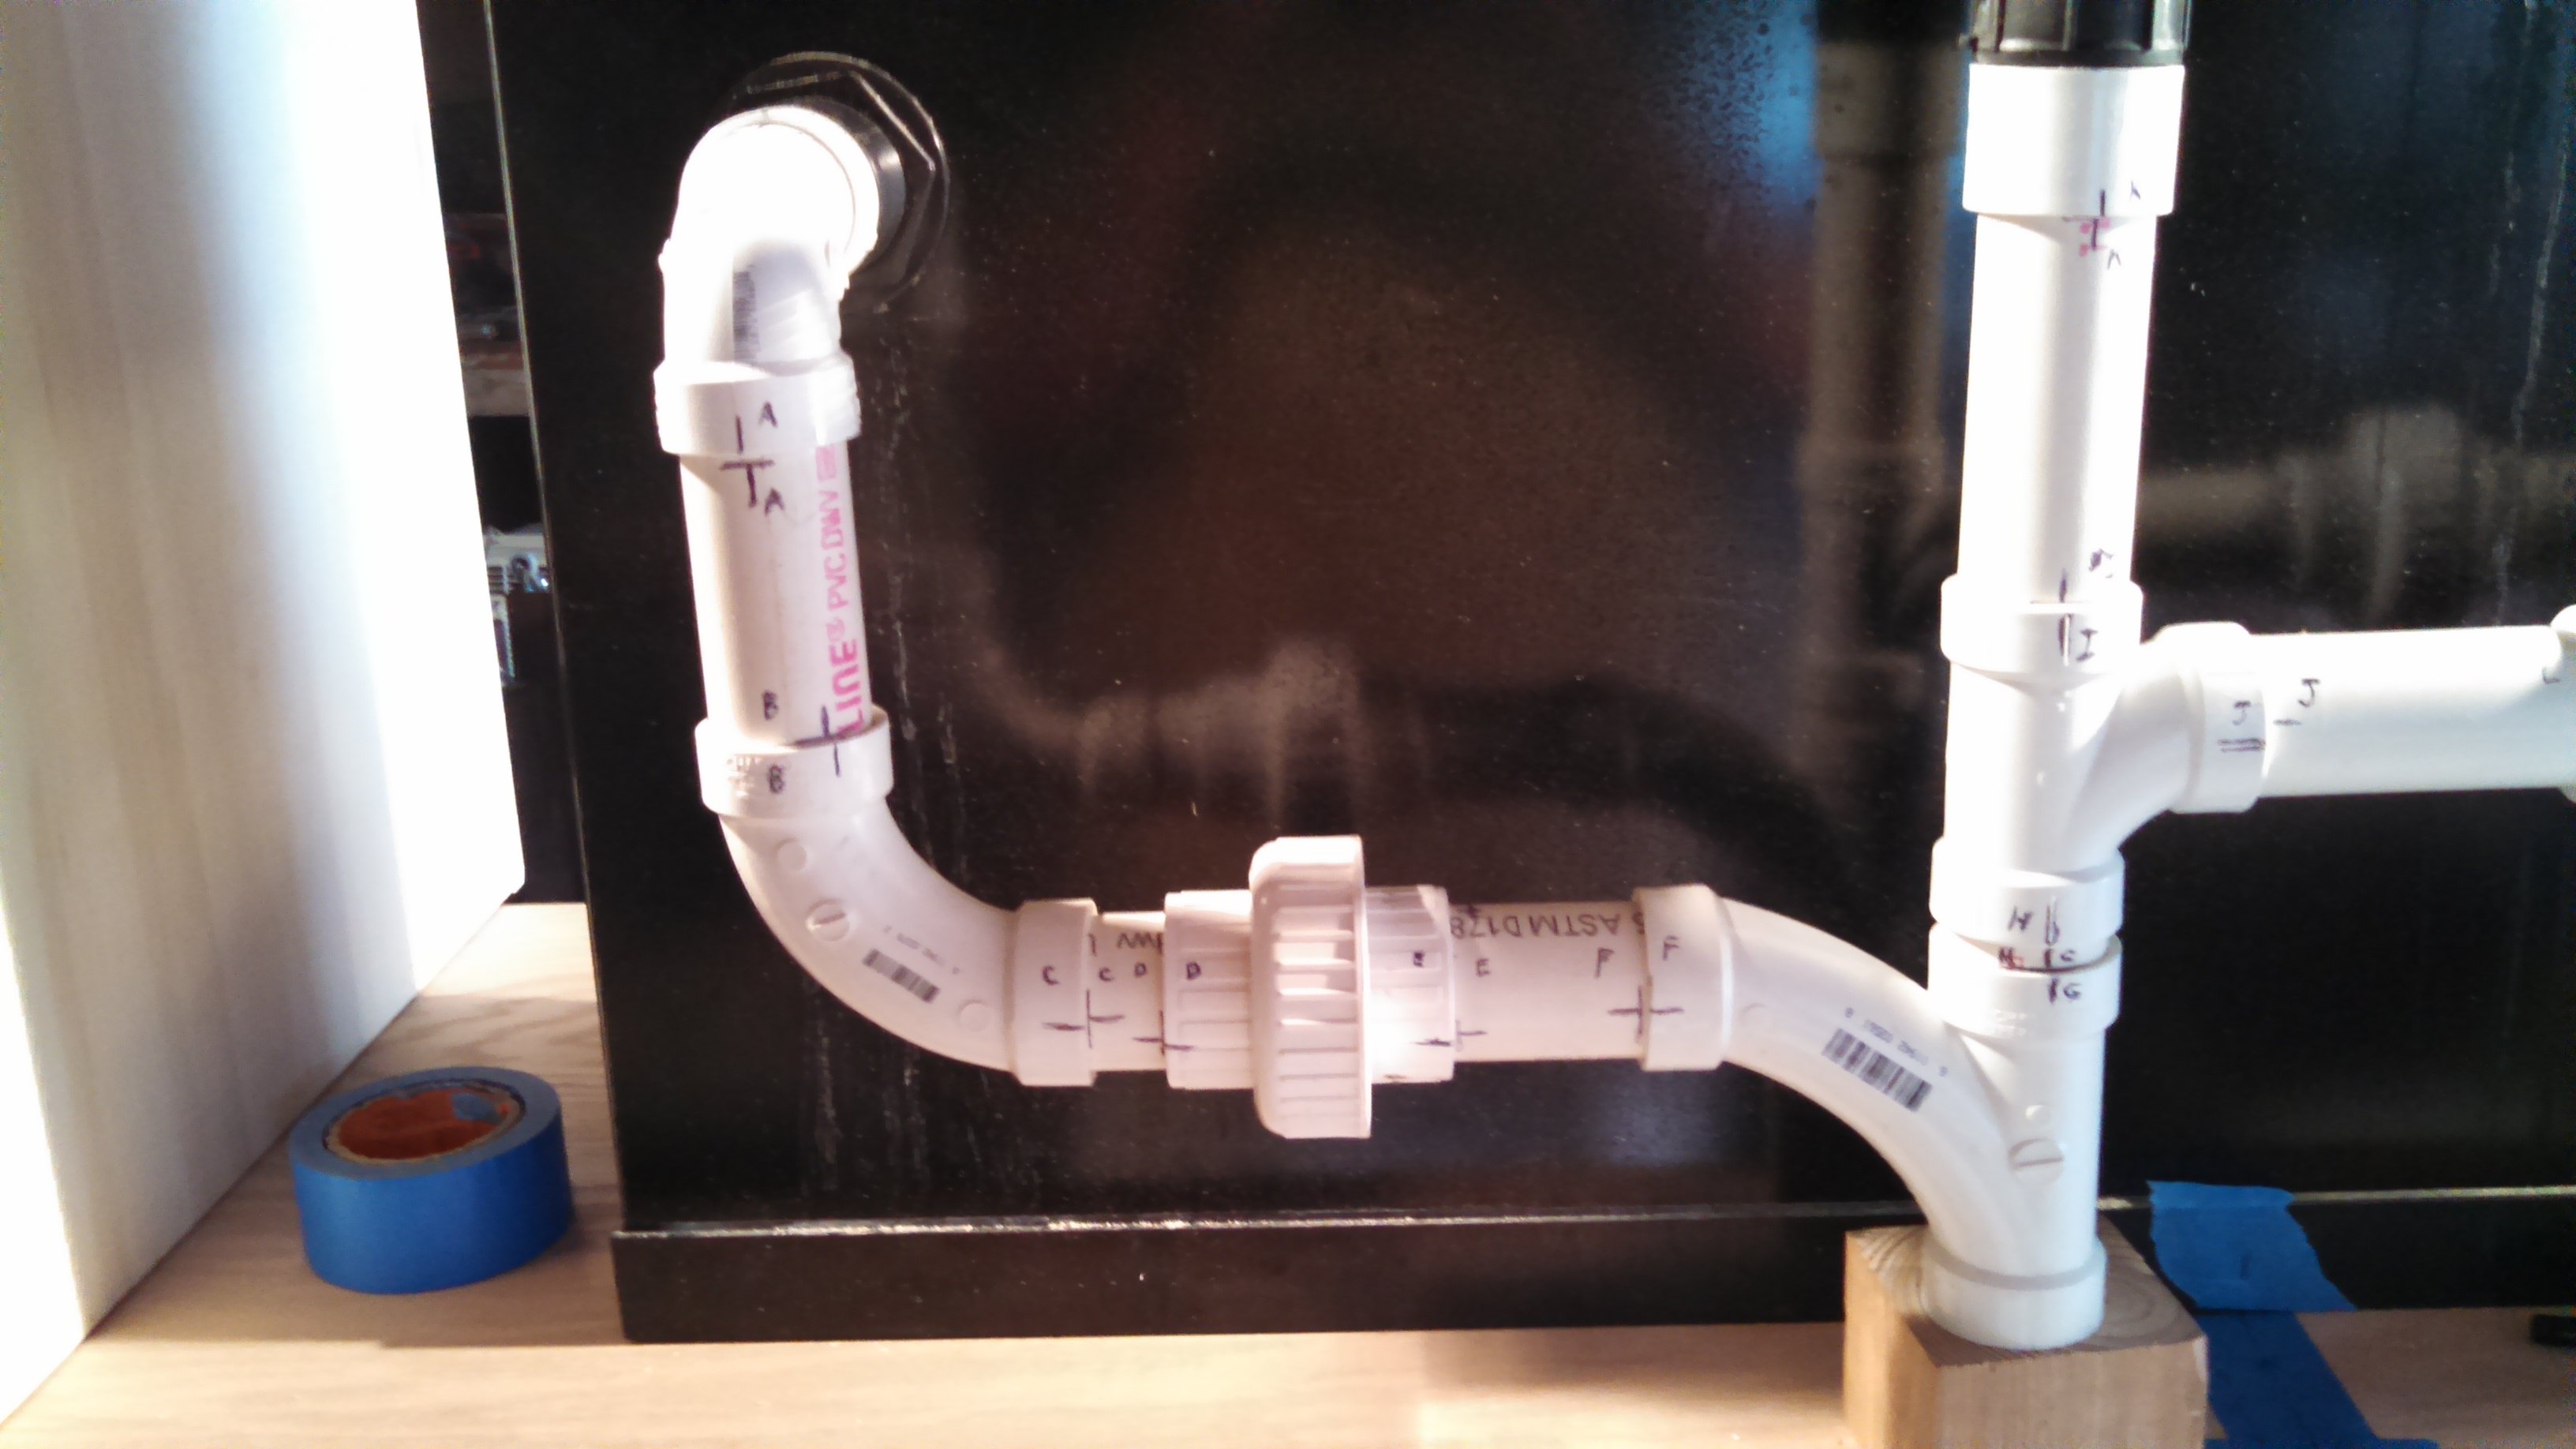
Each connection is marked for alignment, position and location ( Tab A into slot B ) so I can take it all apart, glue and reassemble it the exact same way it's shown here.

The block of wood between the PVC and the table top is just to keep the pieces lined up and level.

I was going to use three gang valves, one at each overflow and one inside the stand before the drain but they were extremely hard to open and close and I didn't want to take the chance of ever braking a seal trying to turn them off so I opted to just put one inside the stand.


Well, that's it. Let me have your ideas before I glue it all up and move on to the next stage of plumbing, which I'm going to do soon.
 

flower

Well-Known Member
Looks awesome...I would put some shut off valves in, that way you can control the flow easier.
 

2quills

Well-Known Member
Looks pretty efficient to me. If anything you could throw a valve under the stand unless you're feeding the skimmer and fuge separately ofcorse you may want two. I would perhaps consider moving moving the unions to directly under the opposing elbows coming out of the overflows. And then throw in another between the Y´s. I think this would be more practical for assembling or disassembling the plumbing down the line. We can discuss the plumbing down below when we see more pics. :)
 

silverado61

Well-Known Member
Quote:
Originally Posted by 2Quills http:///t/397211/silverado61s-stand-and-tank-build/60#post_3547479
Looks pretty efficient to me. If anything you could throw a valve under the stand unless you're feeding the skimmer and fuge separately ofcorse you may want two. I would perhaps consider moving moving the unions to directly under the opposing elbows coming out of the overflows. And then throw in another between the Y´s. I think this would be more practical for assembling or disassembling the plumbing down the line. We can discuss the plumbing down below when we see more pics. :)
That's where I had planned on putting at least one valve. I was disappointed that the valves I bought were so hard to open and shut but then I realized that I can control the over flows by adjusting the return pump pressure.

And I am putting another union below the Y's.

Side note: I actually moved the Y's closer to the right side overflow. After looking at it for a while, I noticed that the tubing that would be going from the Y's to the sump would be too sever of an angle. By moving it farther to the right, it's a more gentle decline to the sump decreasing the turbulence from the downgrade.

Did that make ANY sense? It did to me till I wrote it.
 
Top