2quills
Well-Known Member
Quote:
Originally Posted by Cipher43 http:///forum/thread/378912/2quills-120g-re-build-thread/400#post_3382746
I think its a sign that your stand didnt like the door either..... if your stand is alive that is.........
I would go with option B also cause this is something that should last longer than your tank if taken care of. You just as well have it the way you like instead of having problems with it for a long time.
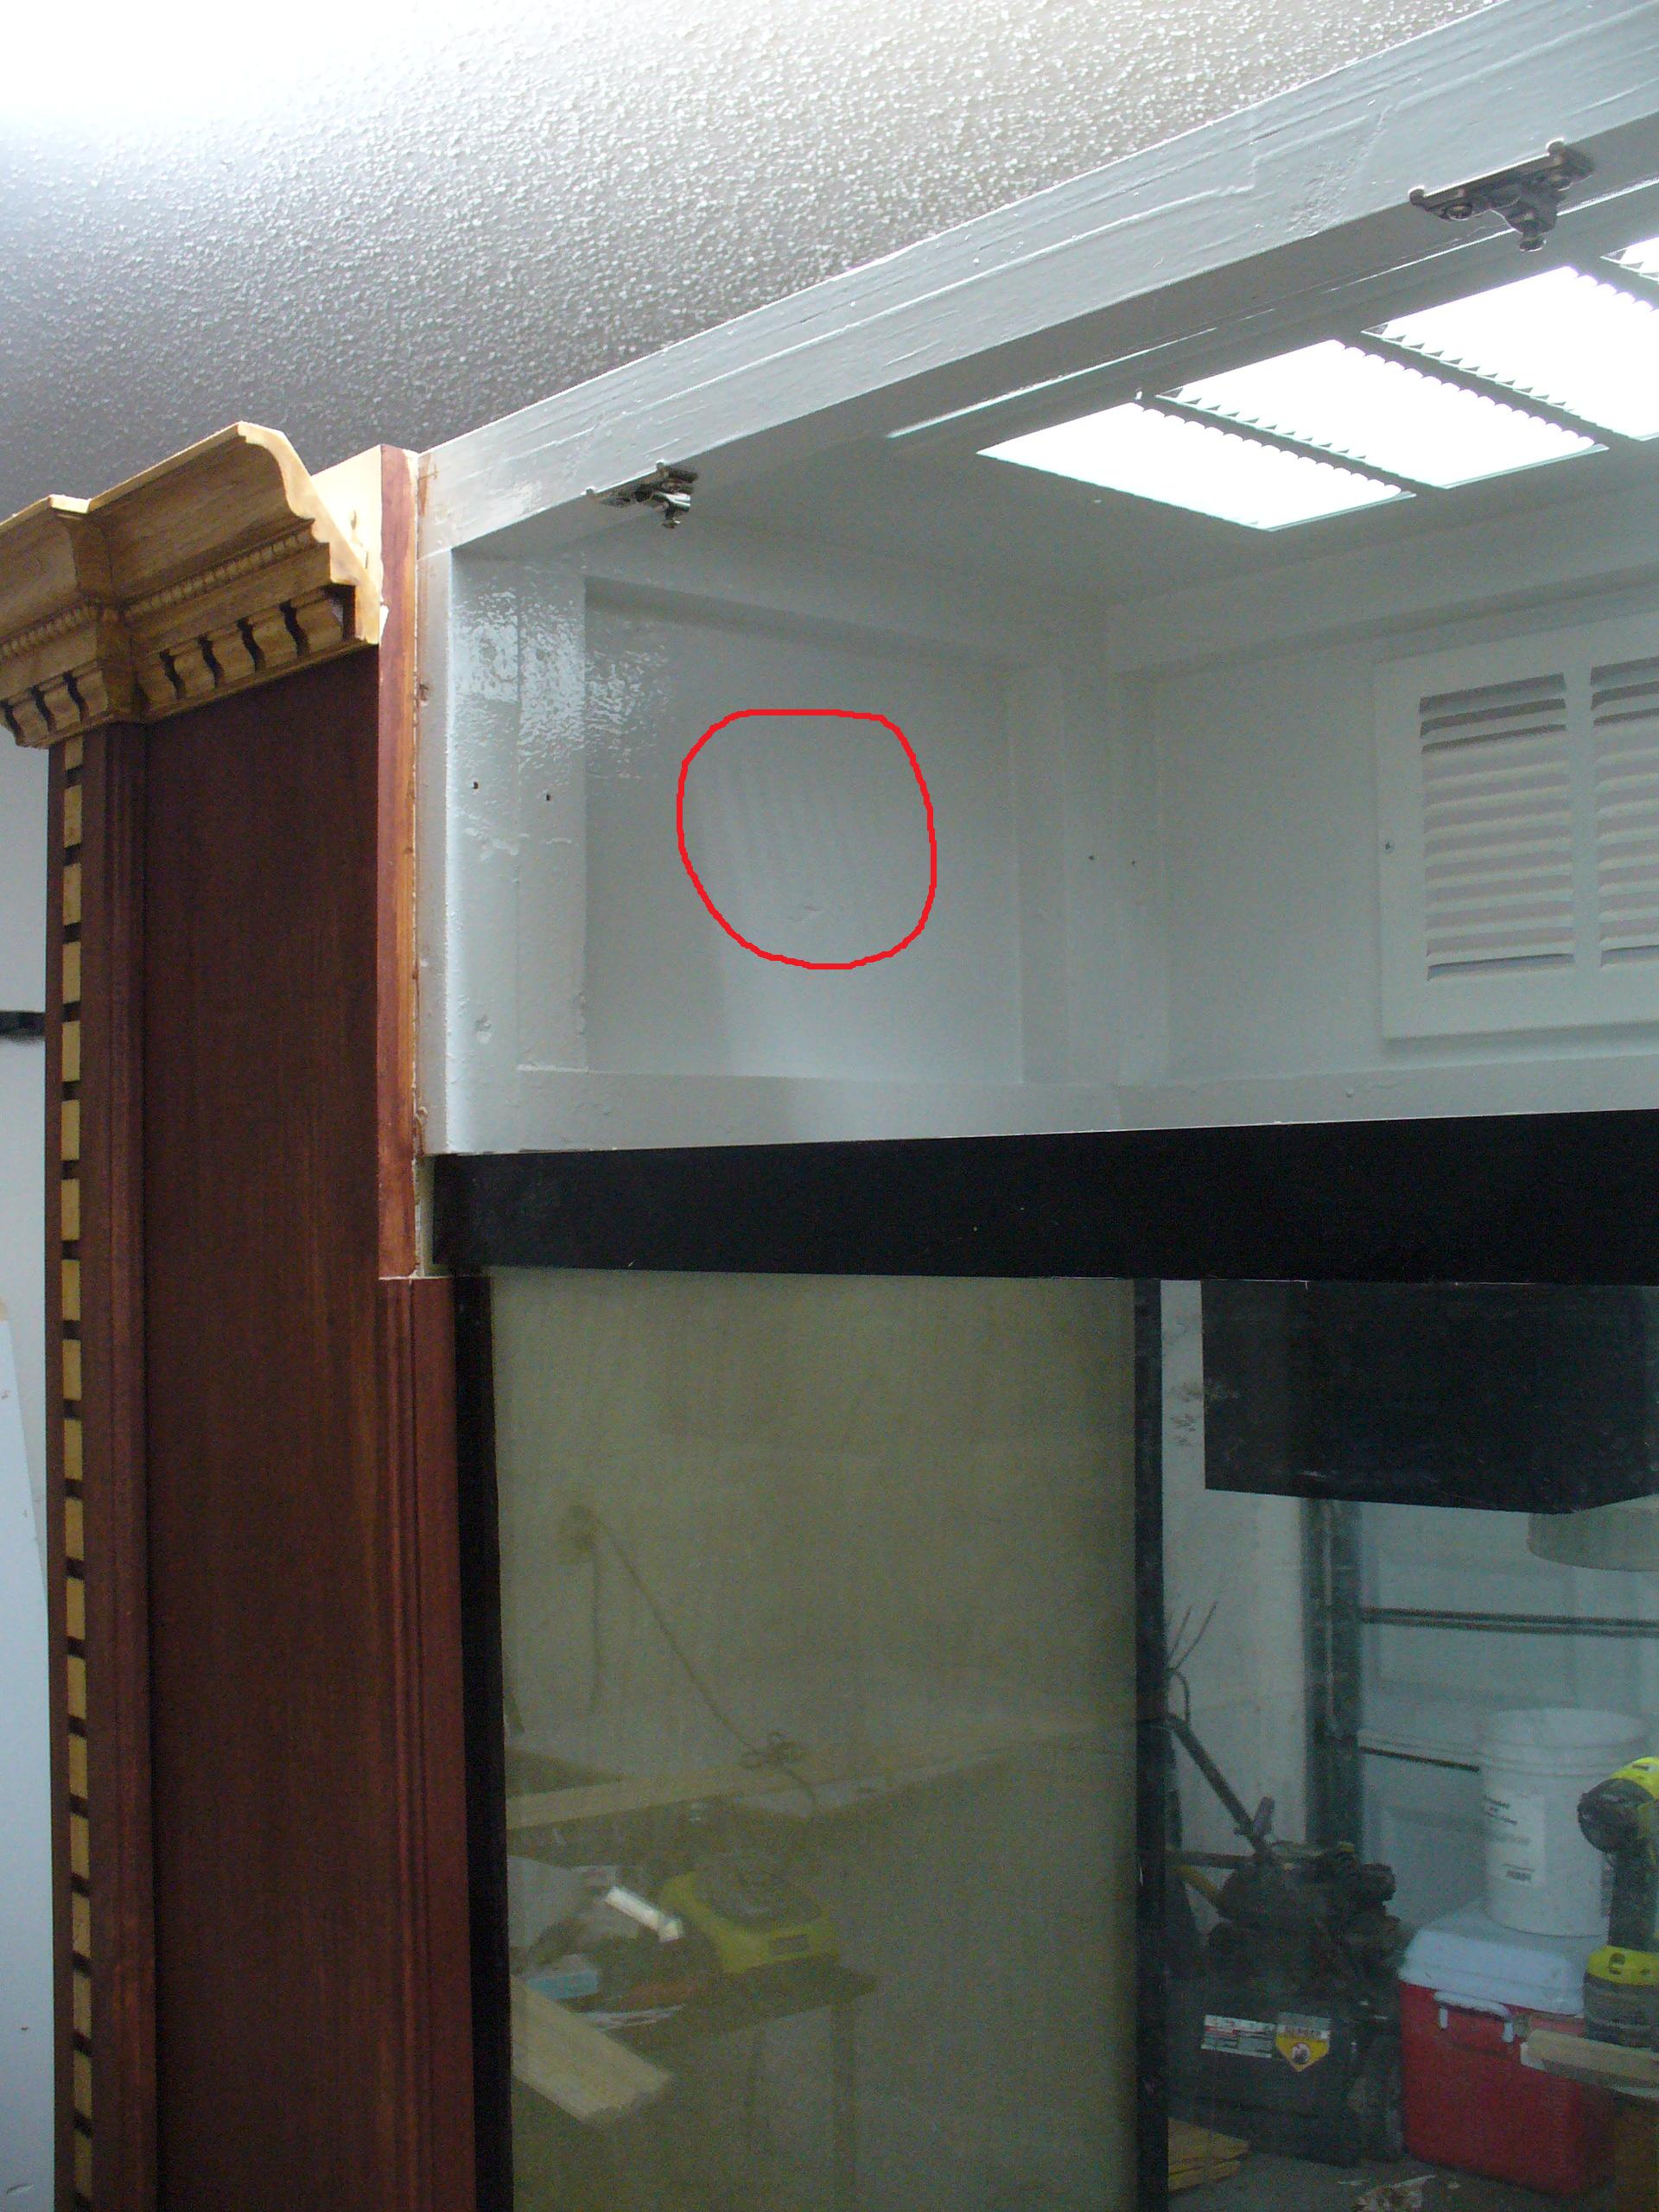
Sometimes I think it is alive and that it likes to taunt me.
Quote:
Originally Posted by Kiefers http:///forum/thread/378912/2quills-120g-re-build-thread/400#post_3382743
i liiiiiiiike looooowesss. that place is just dangerous.
Me too, very dangerous. Even worse if I go in there on a pay day weekend.
Quote:
Originally Posted by sweatervest13 http:///forum/thread/378912/2quills-120g-re-build-thread/400#post_3382754
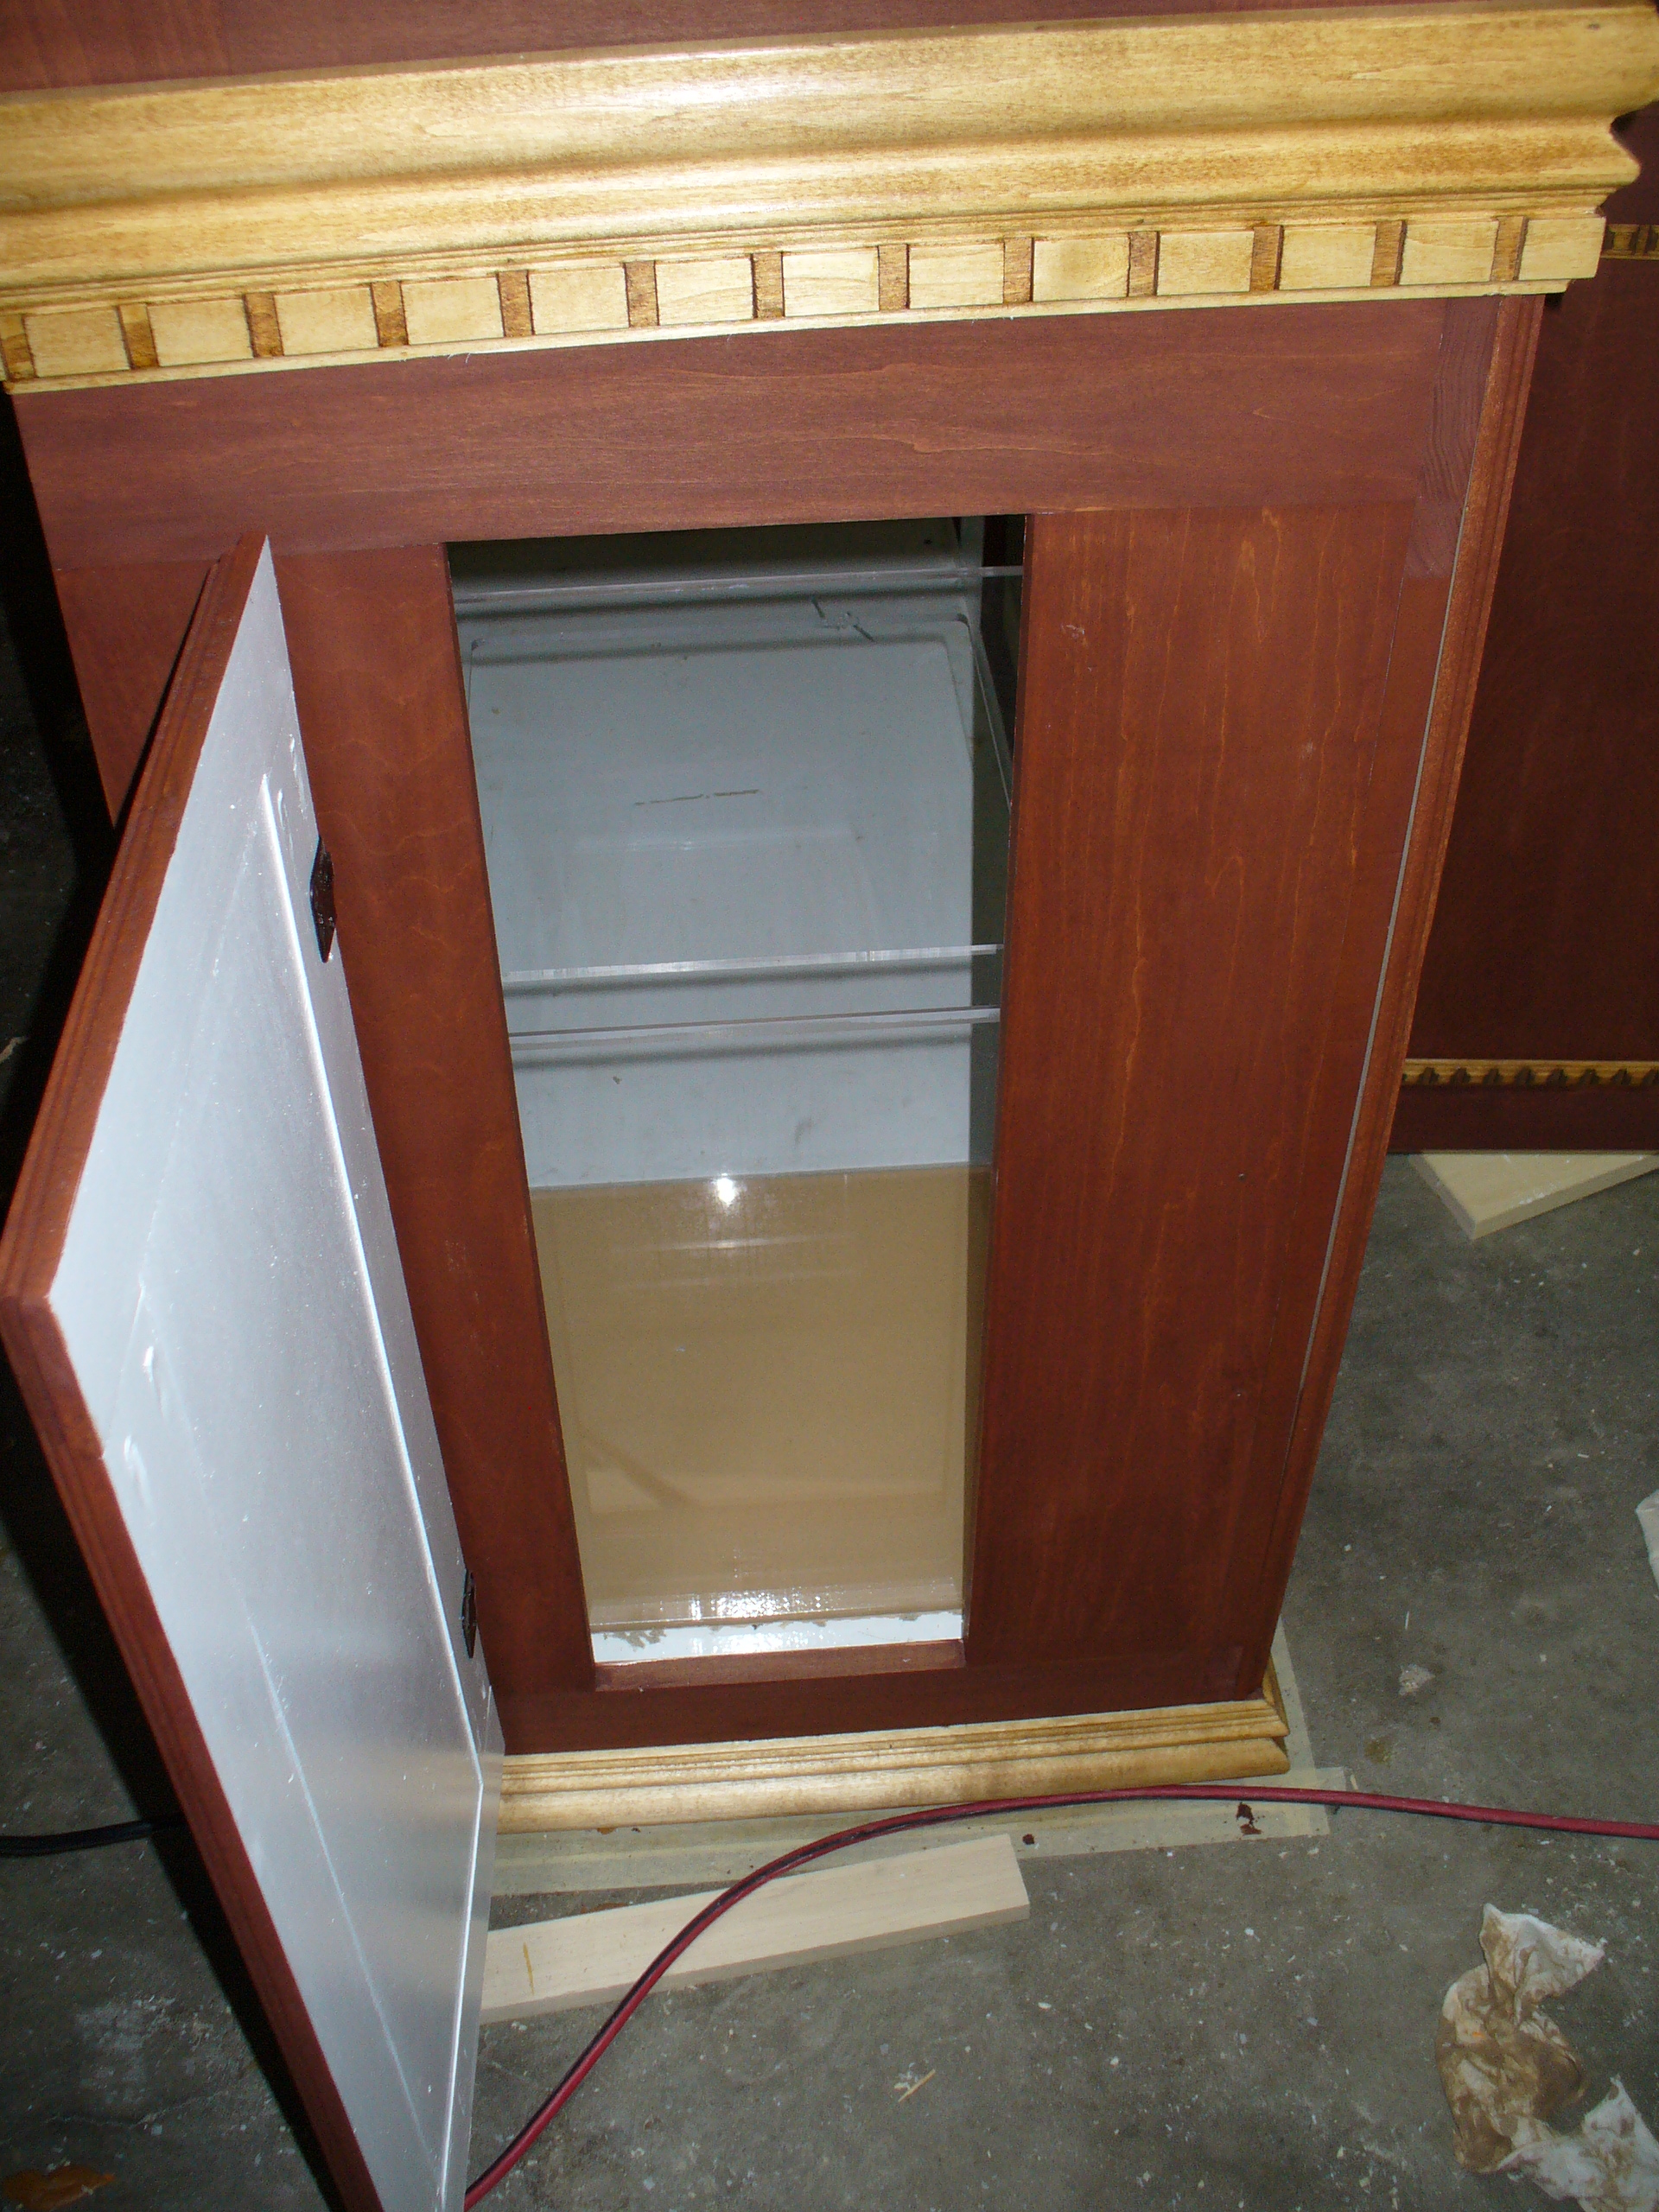
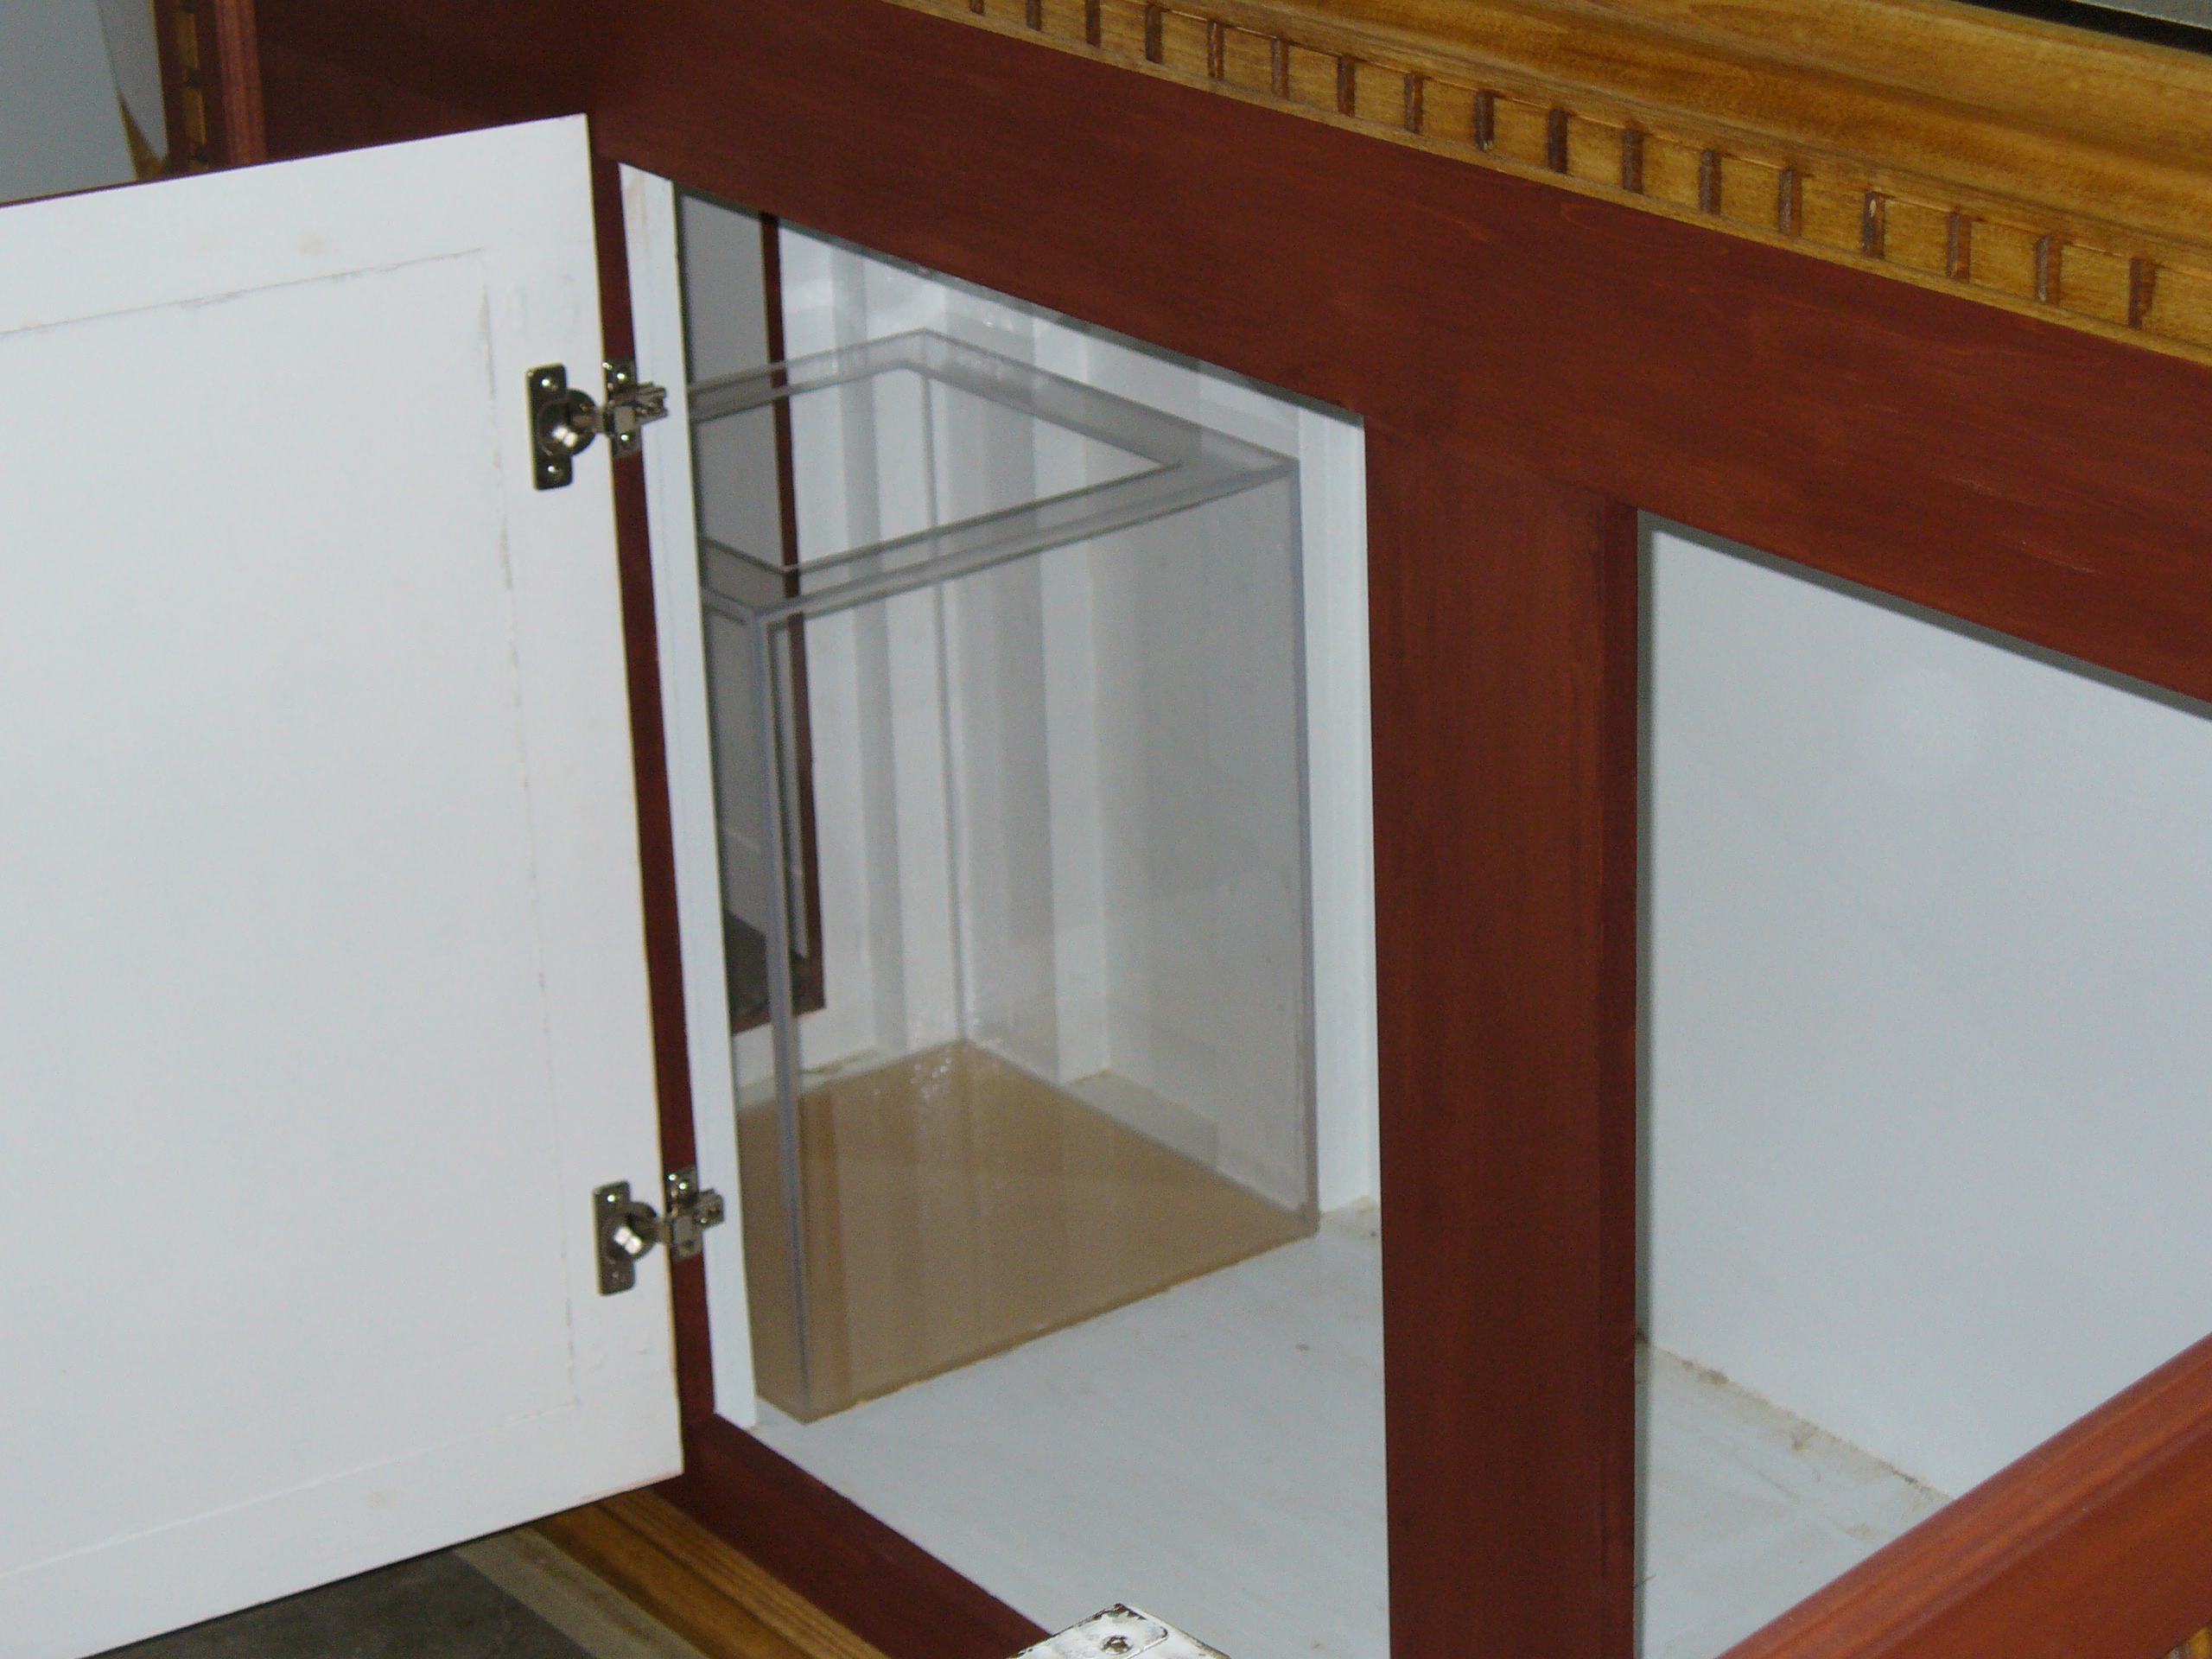
That made me cringe when i saw the broken door. Crappy.
I would go with option B as well. Might as well have it the way you want it. I know that would get annoying to have to do maintenance on the tank that way. Plus you might end up having the same thing happen and have the door fall again.
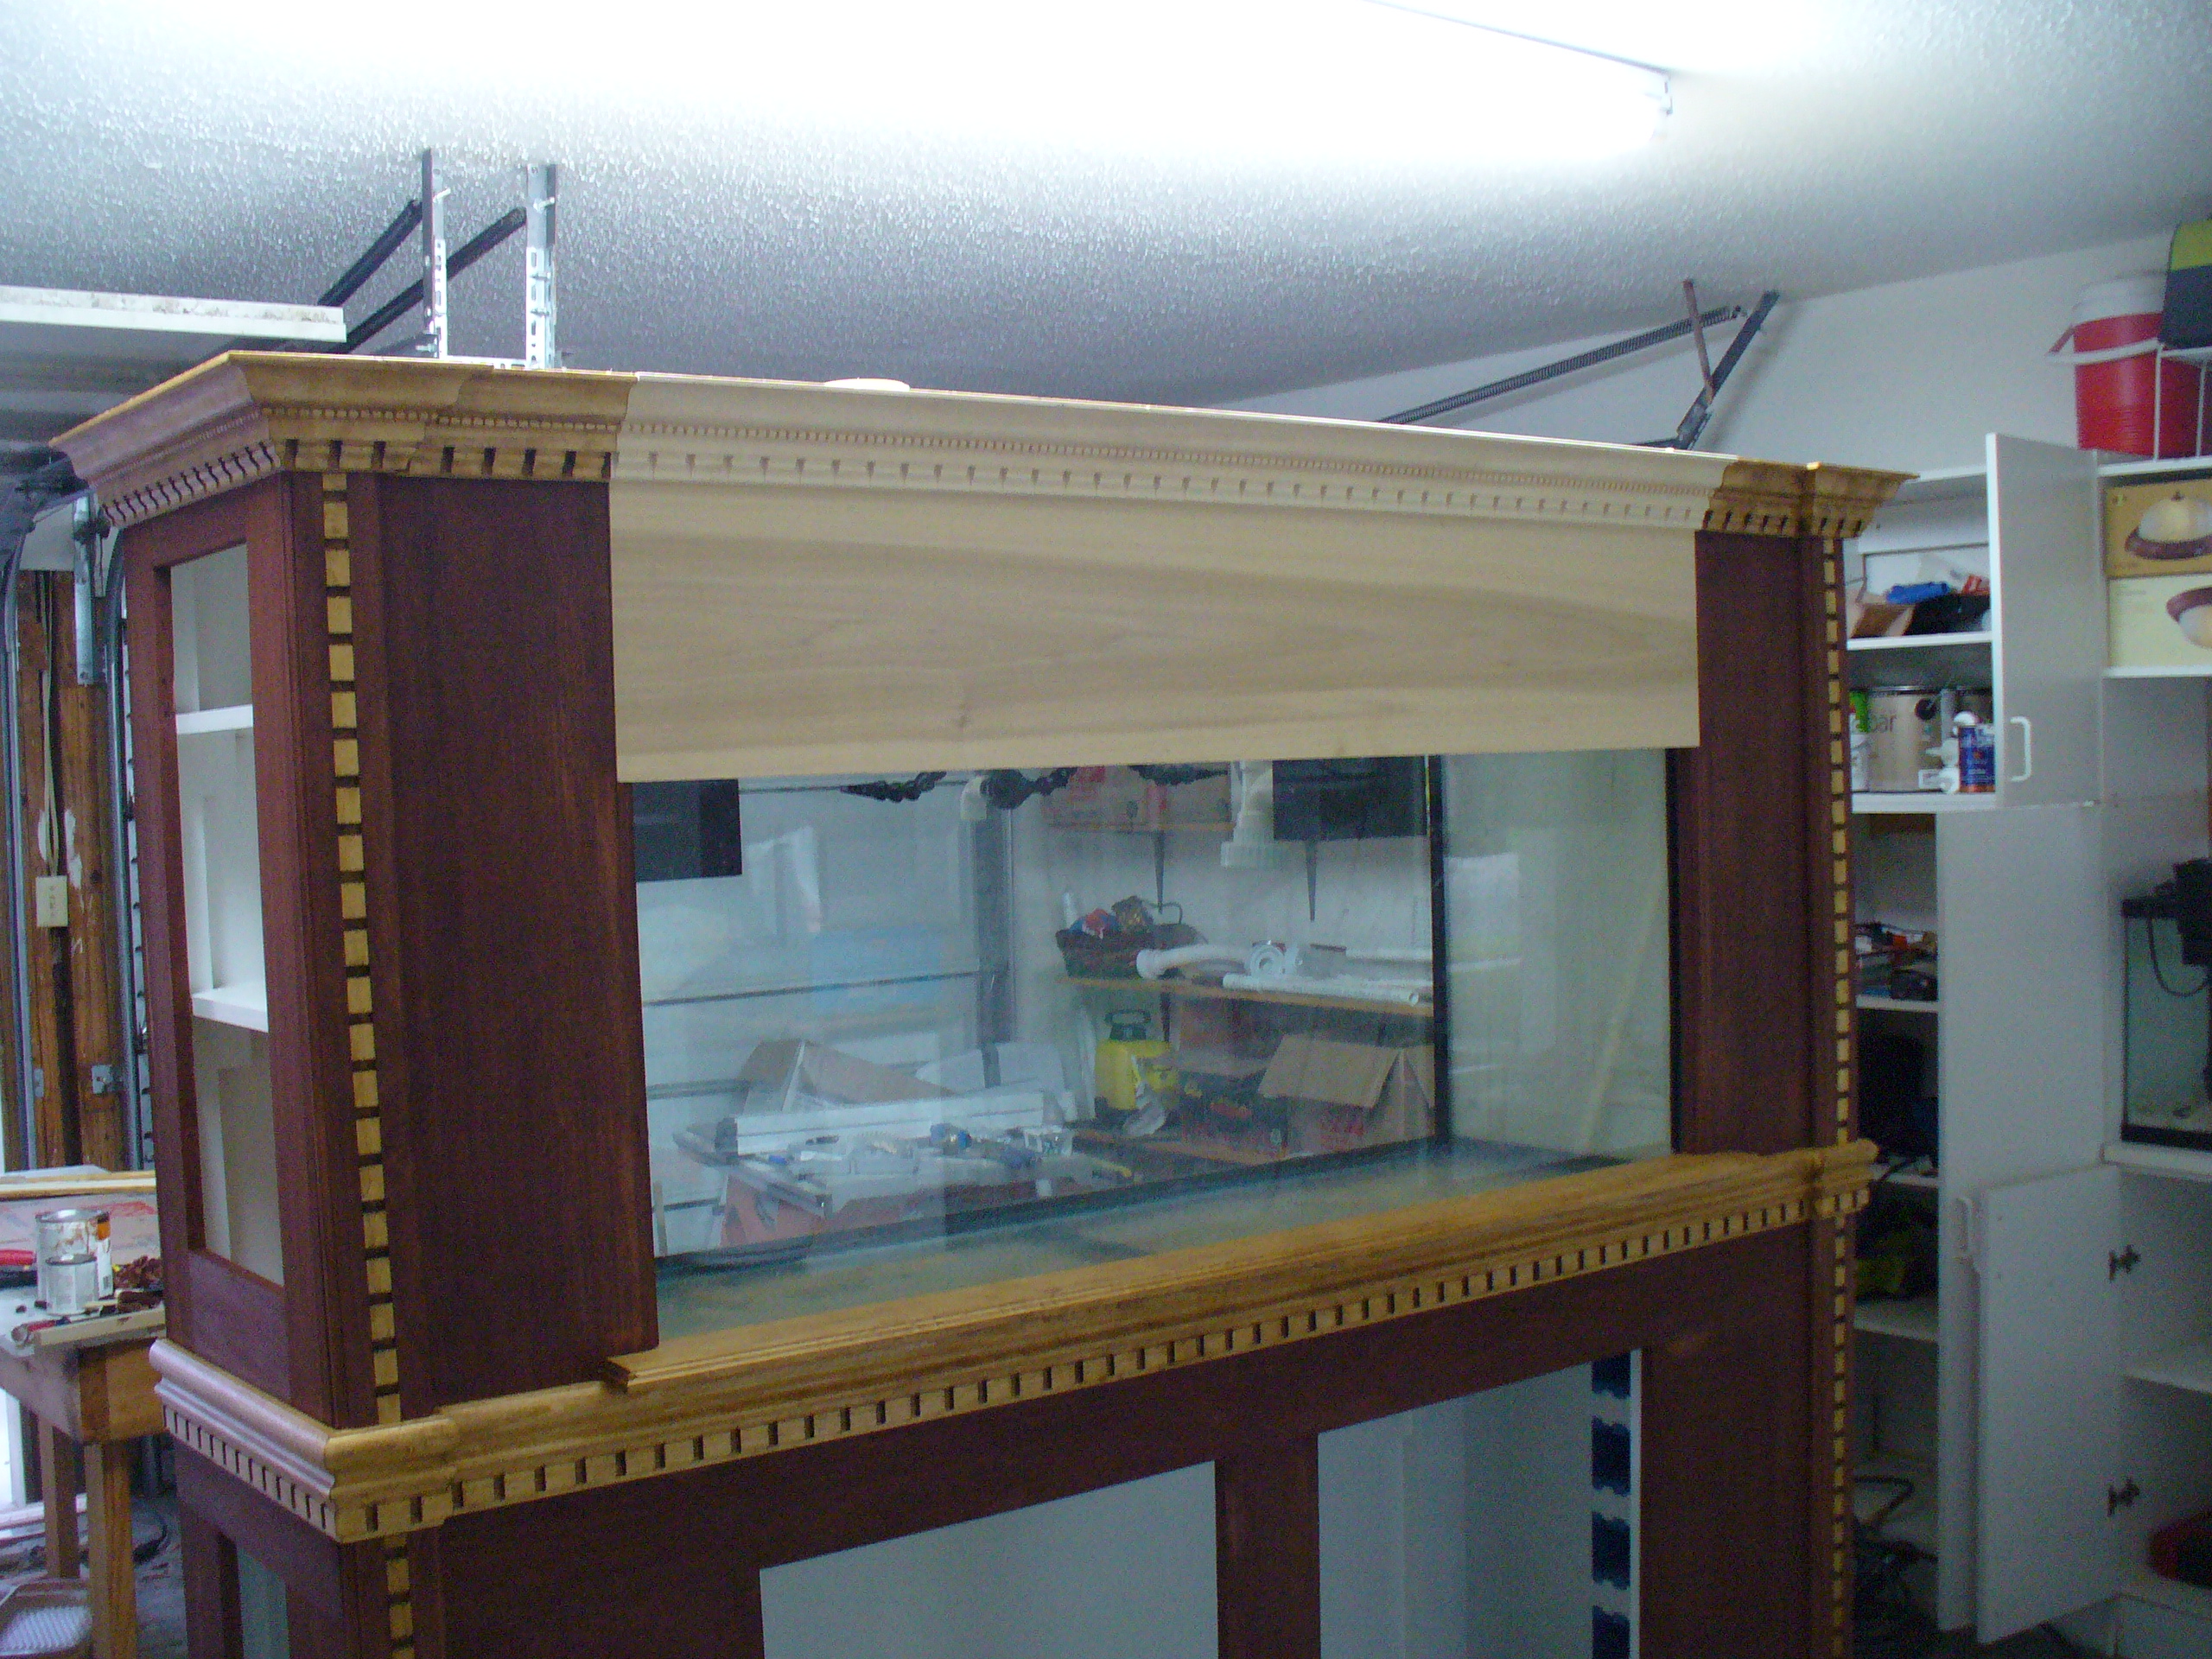
That stand looks amazing BTW. I can't wait to see it in the house.
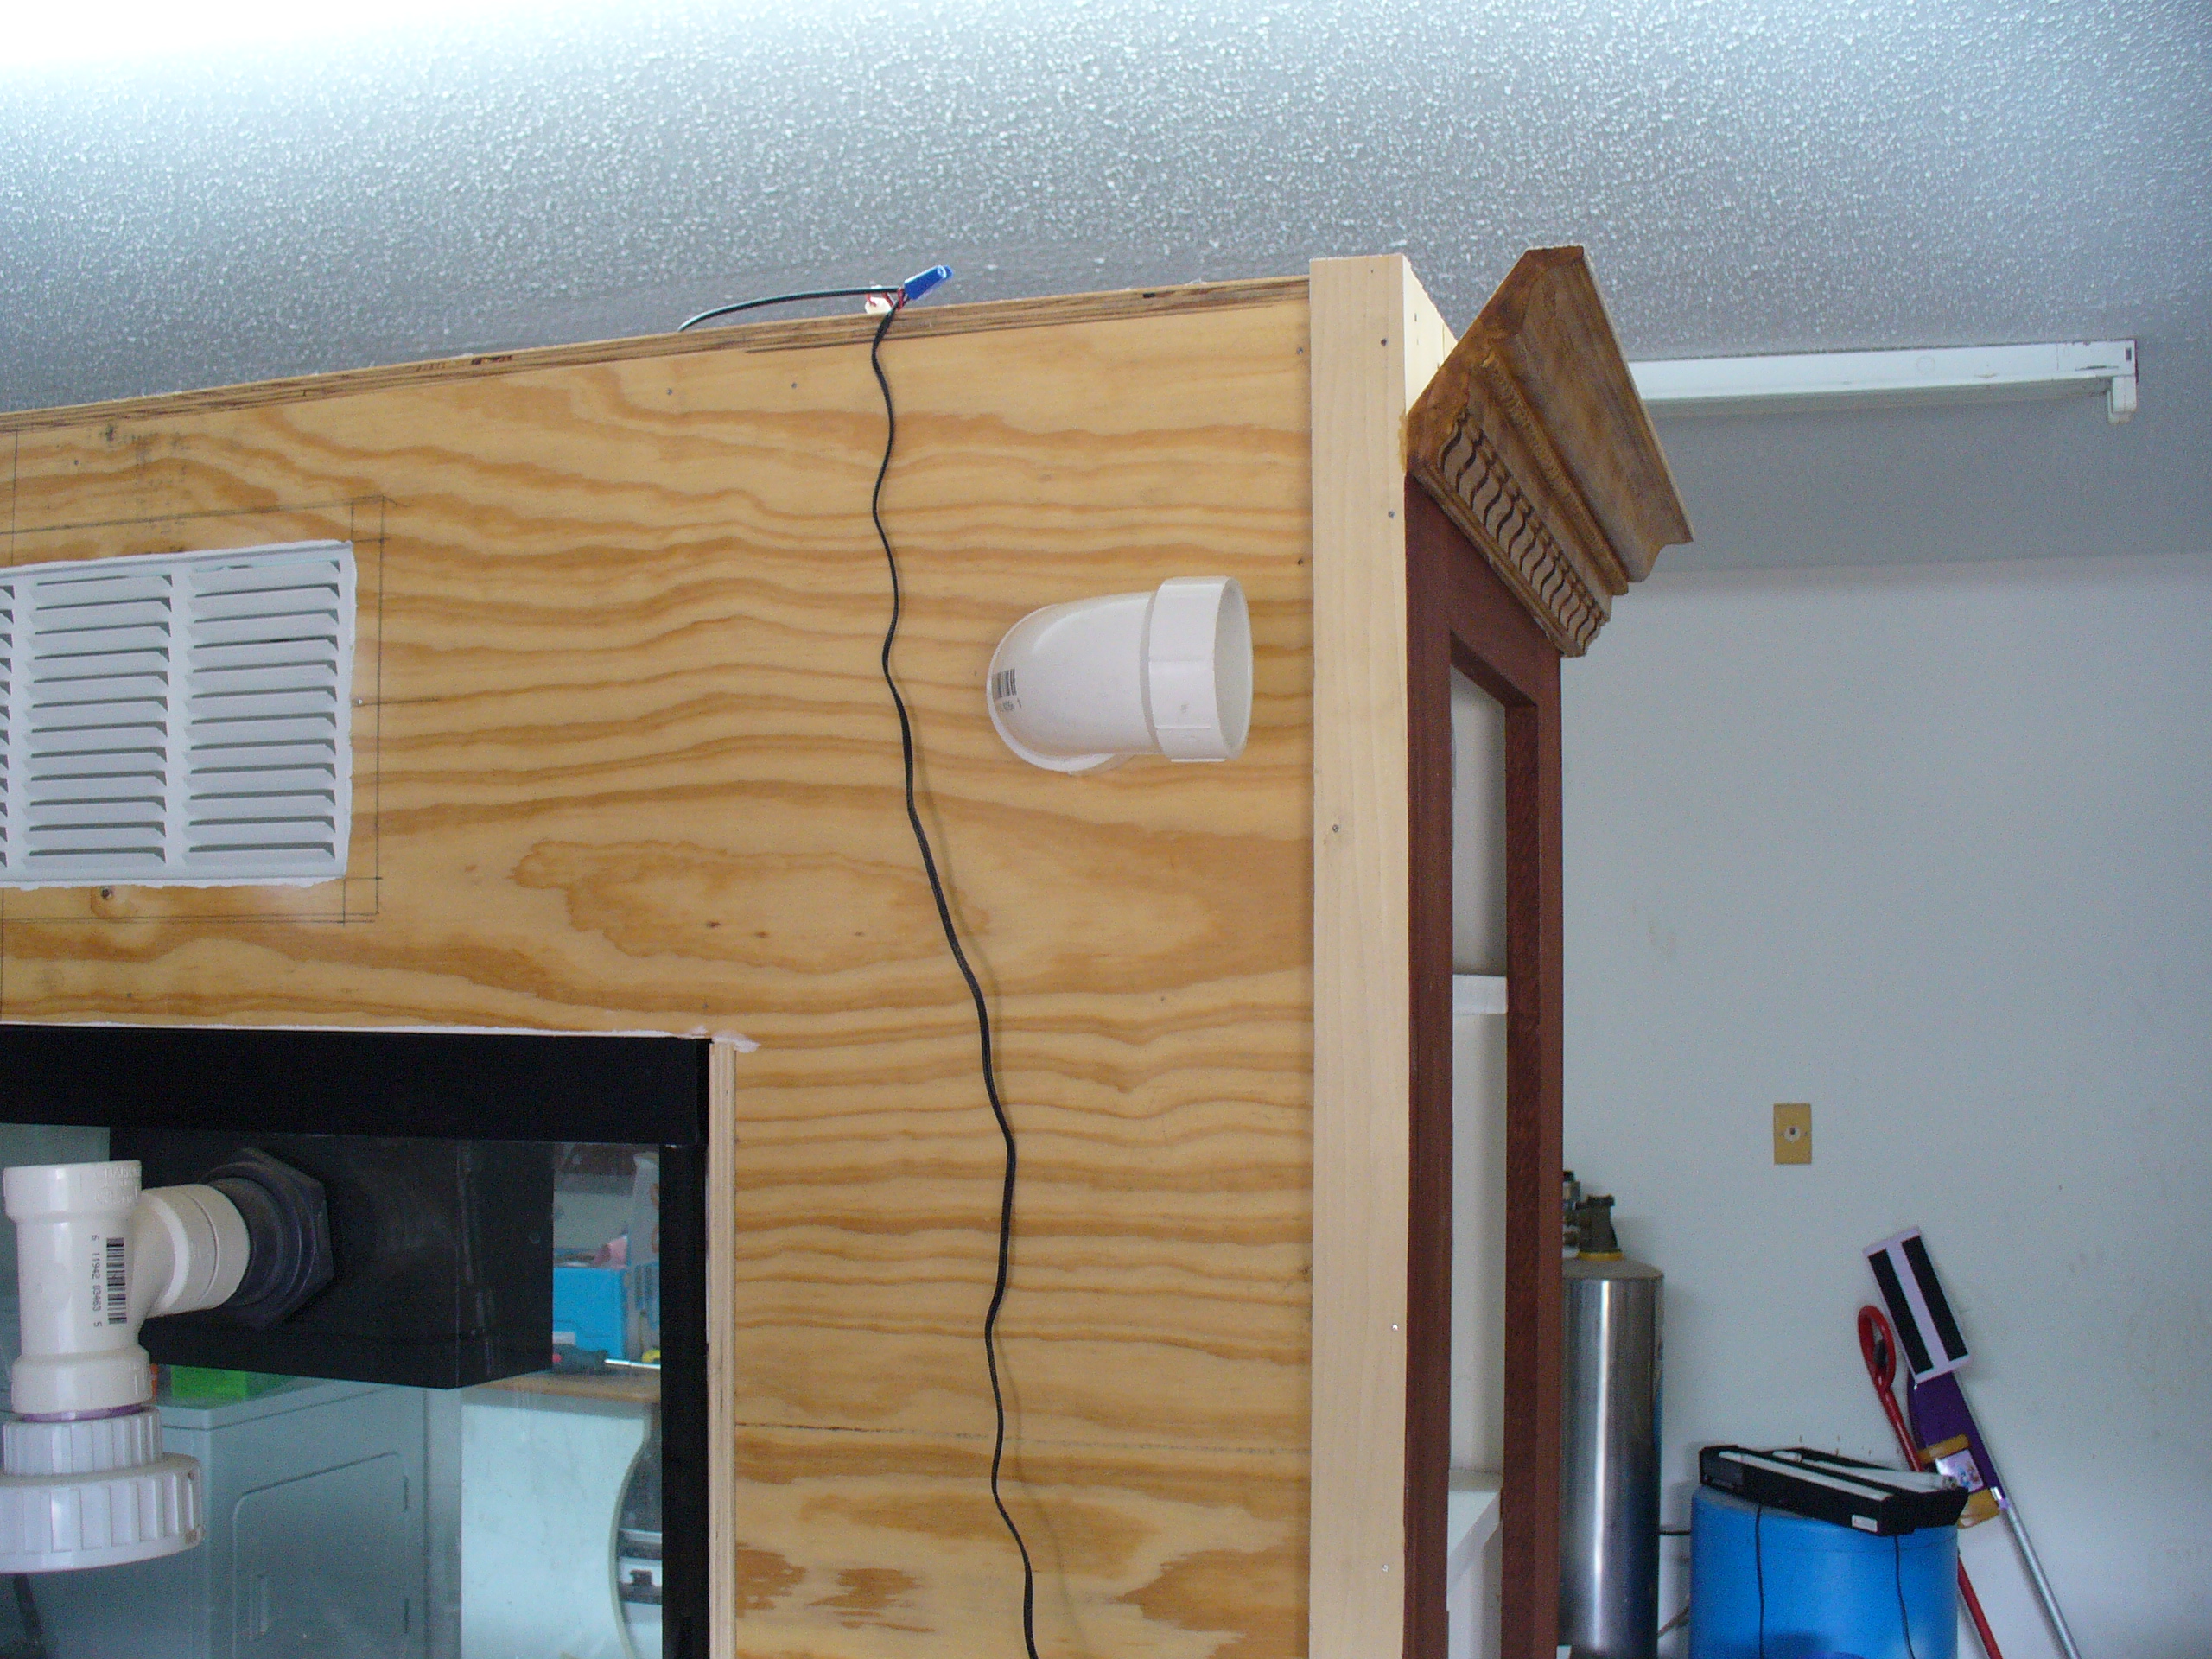
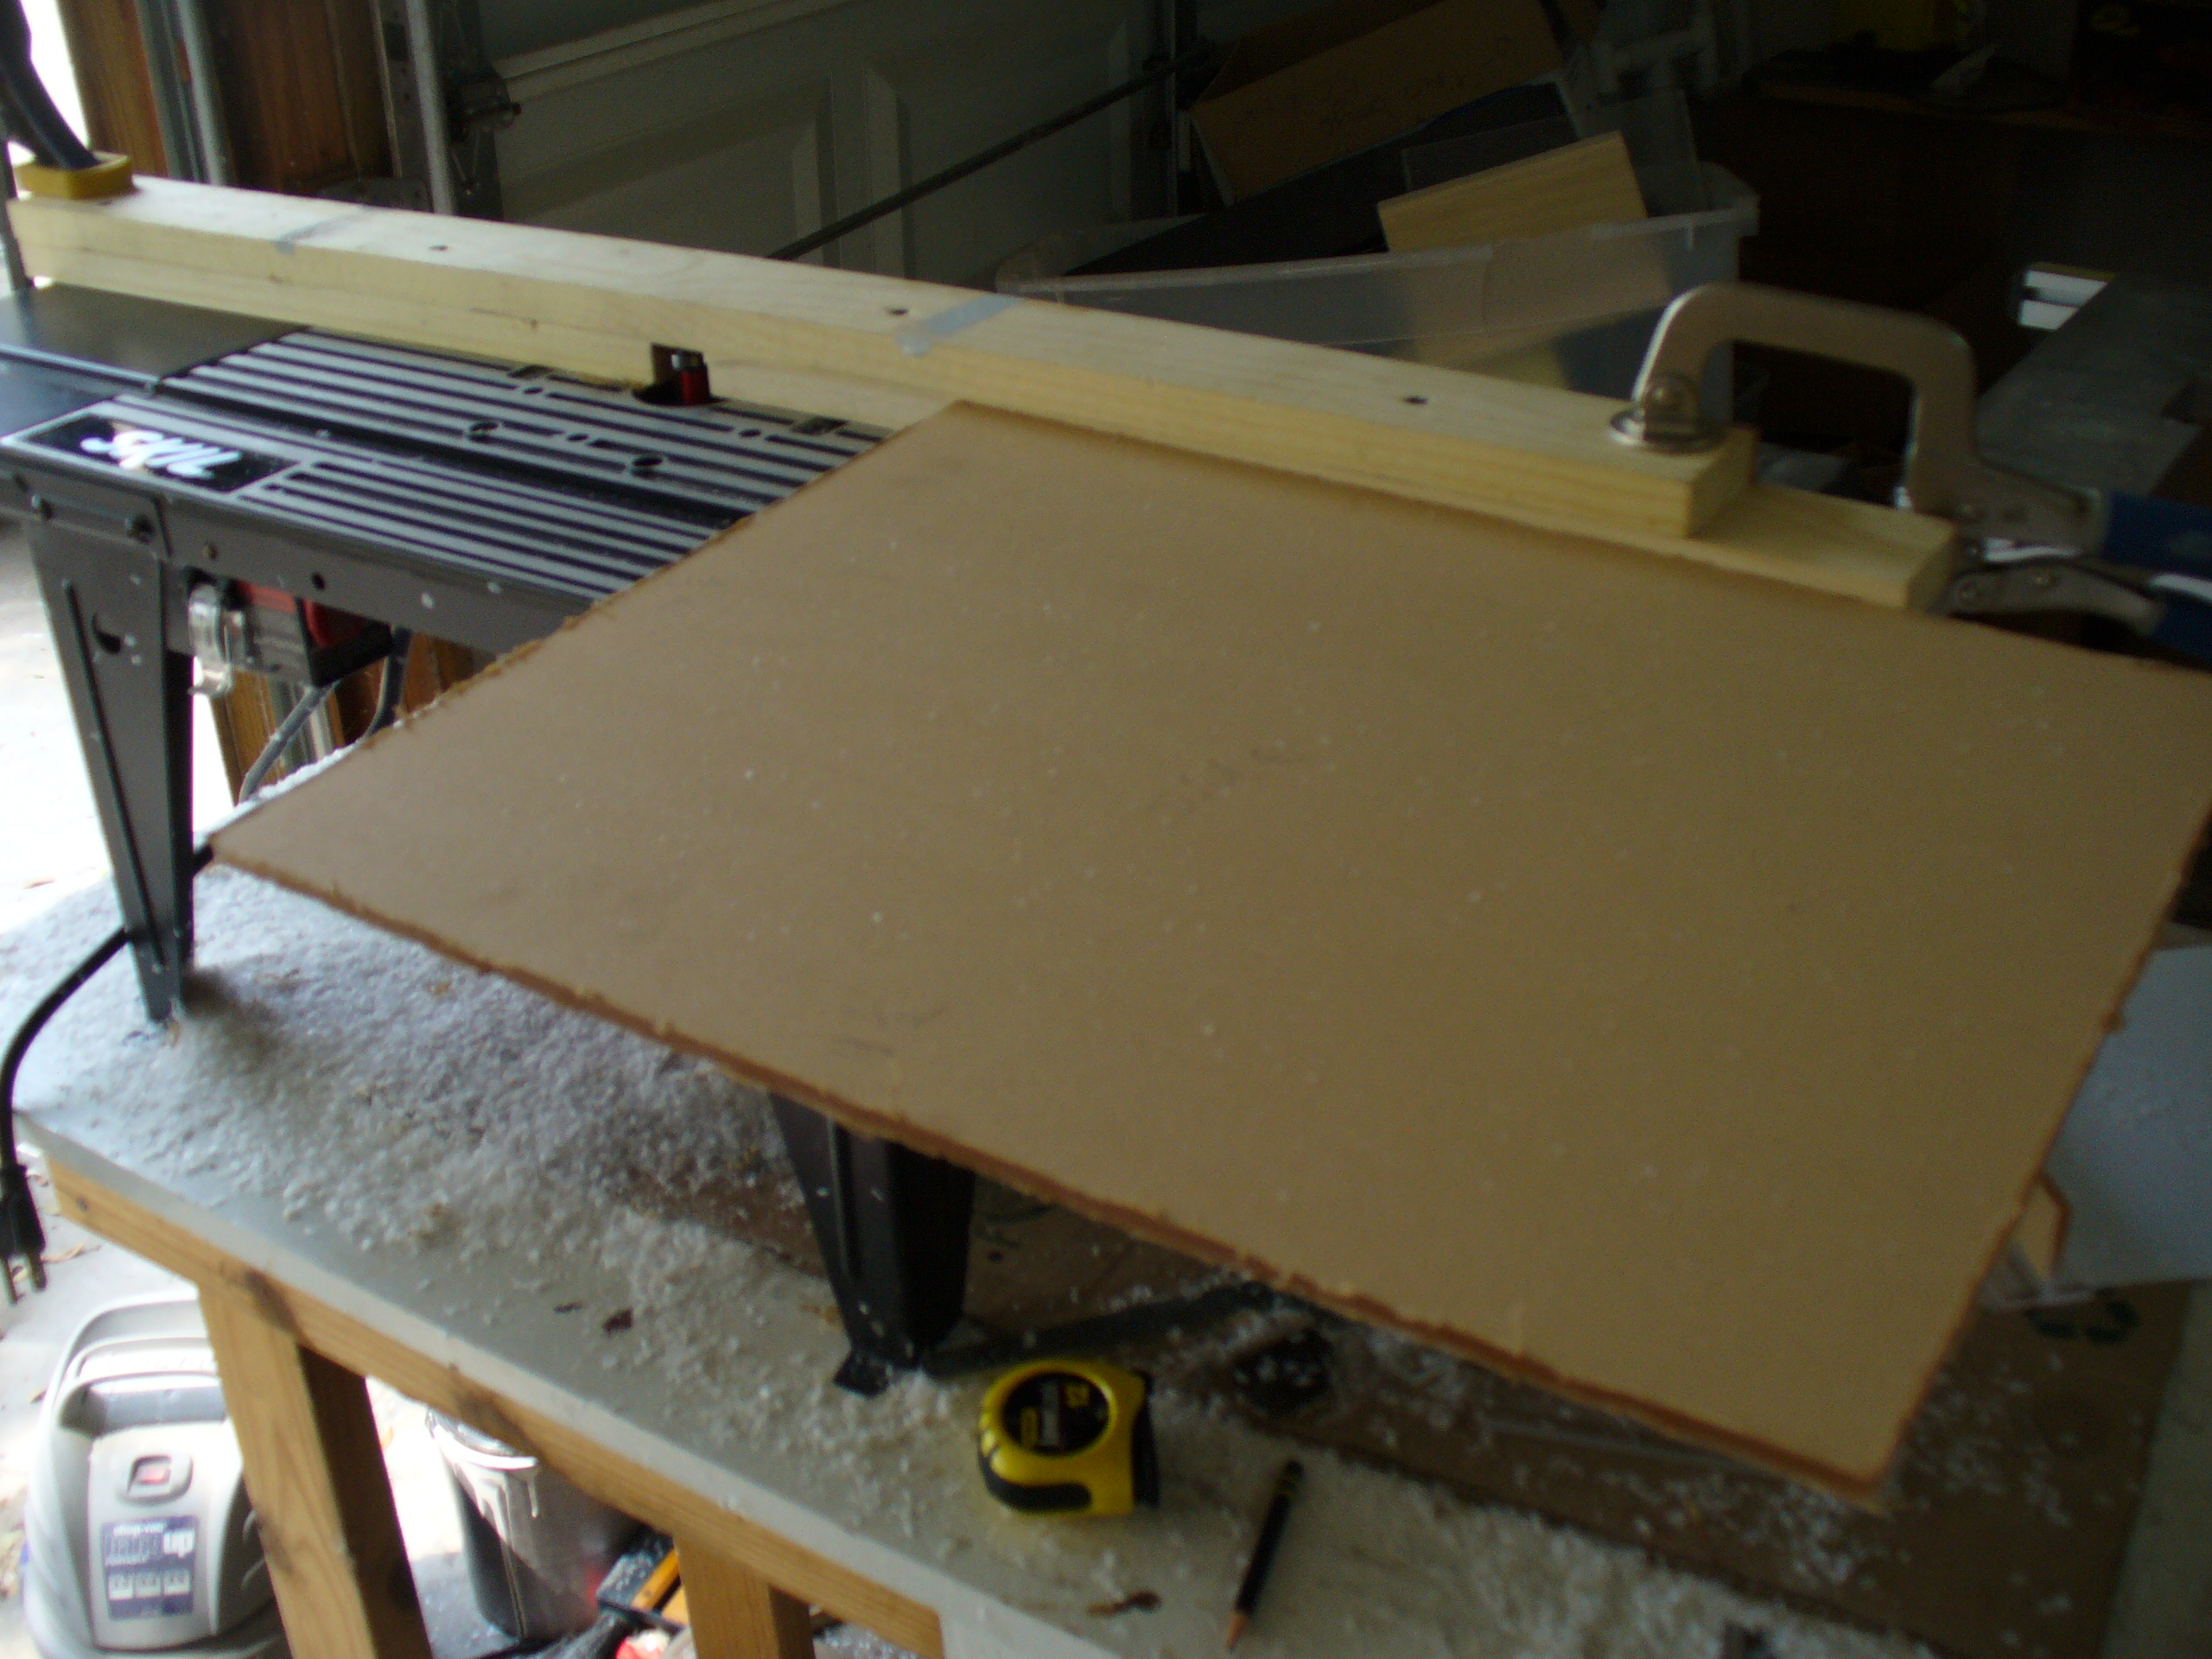
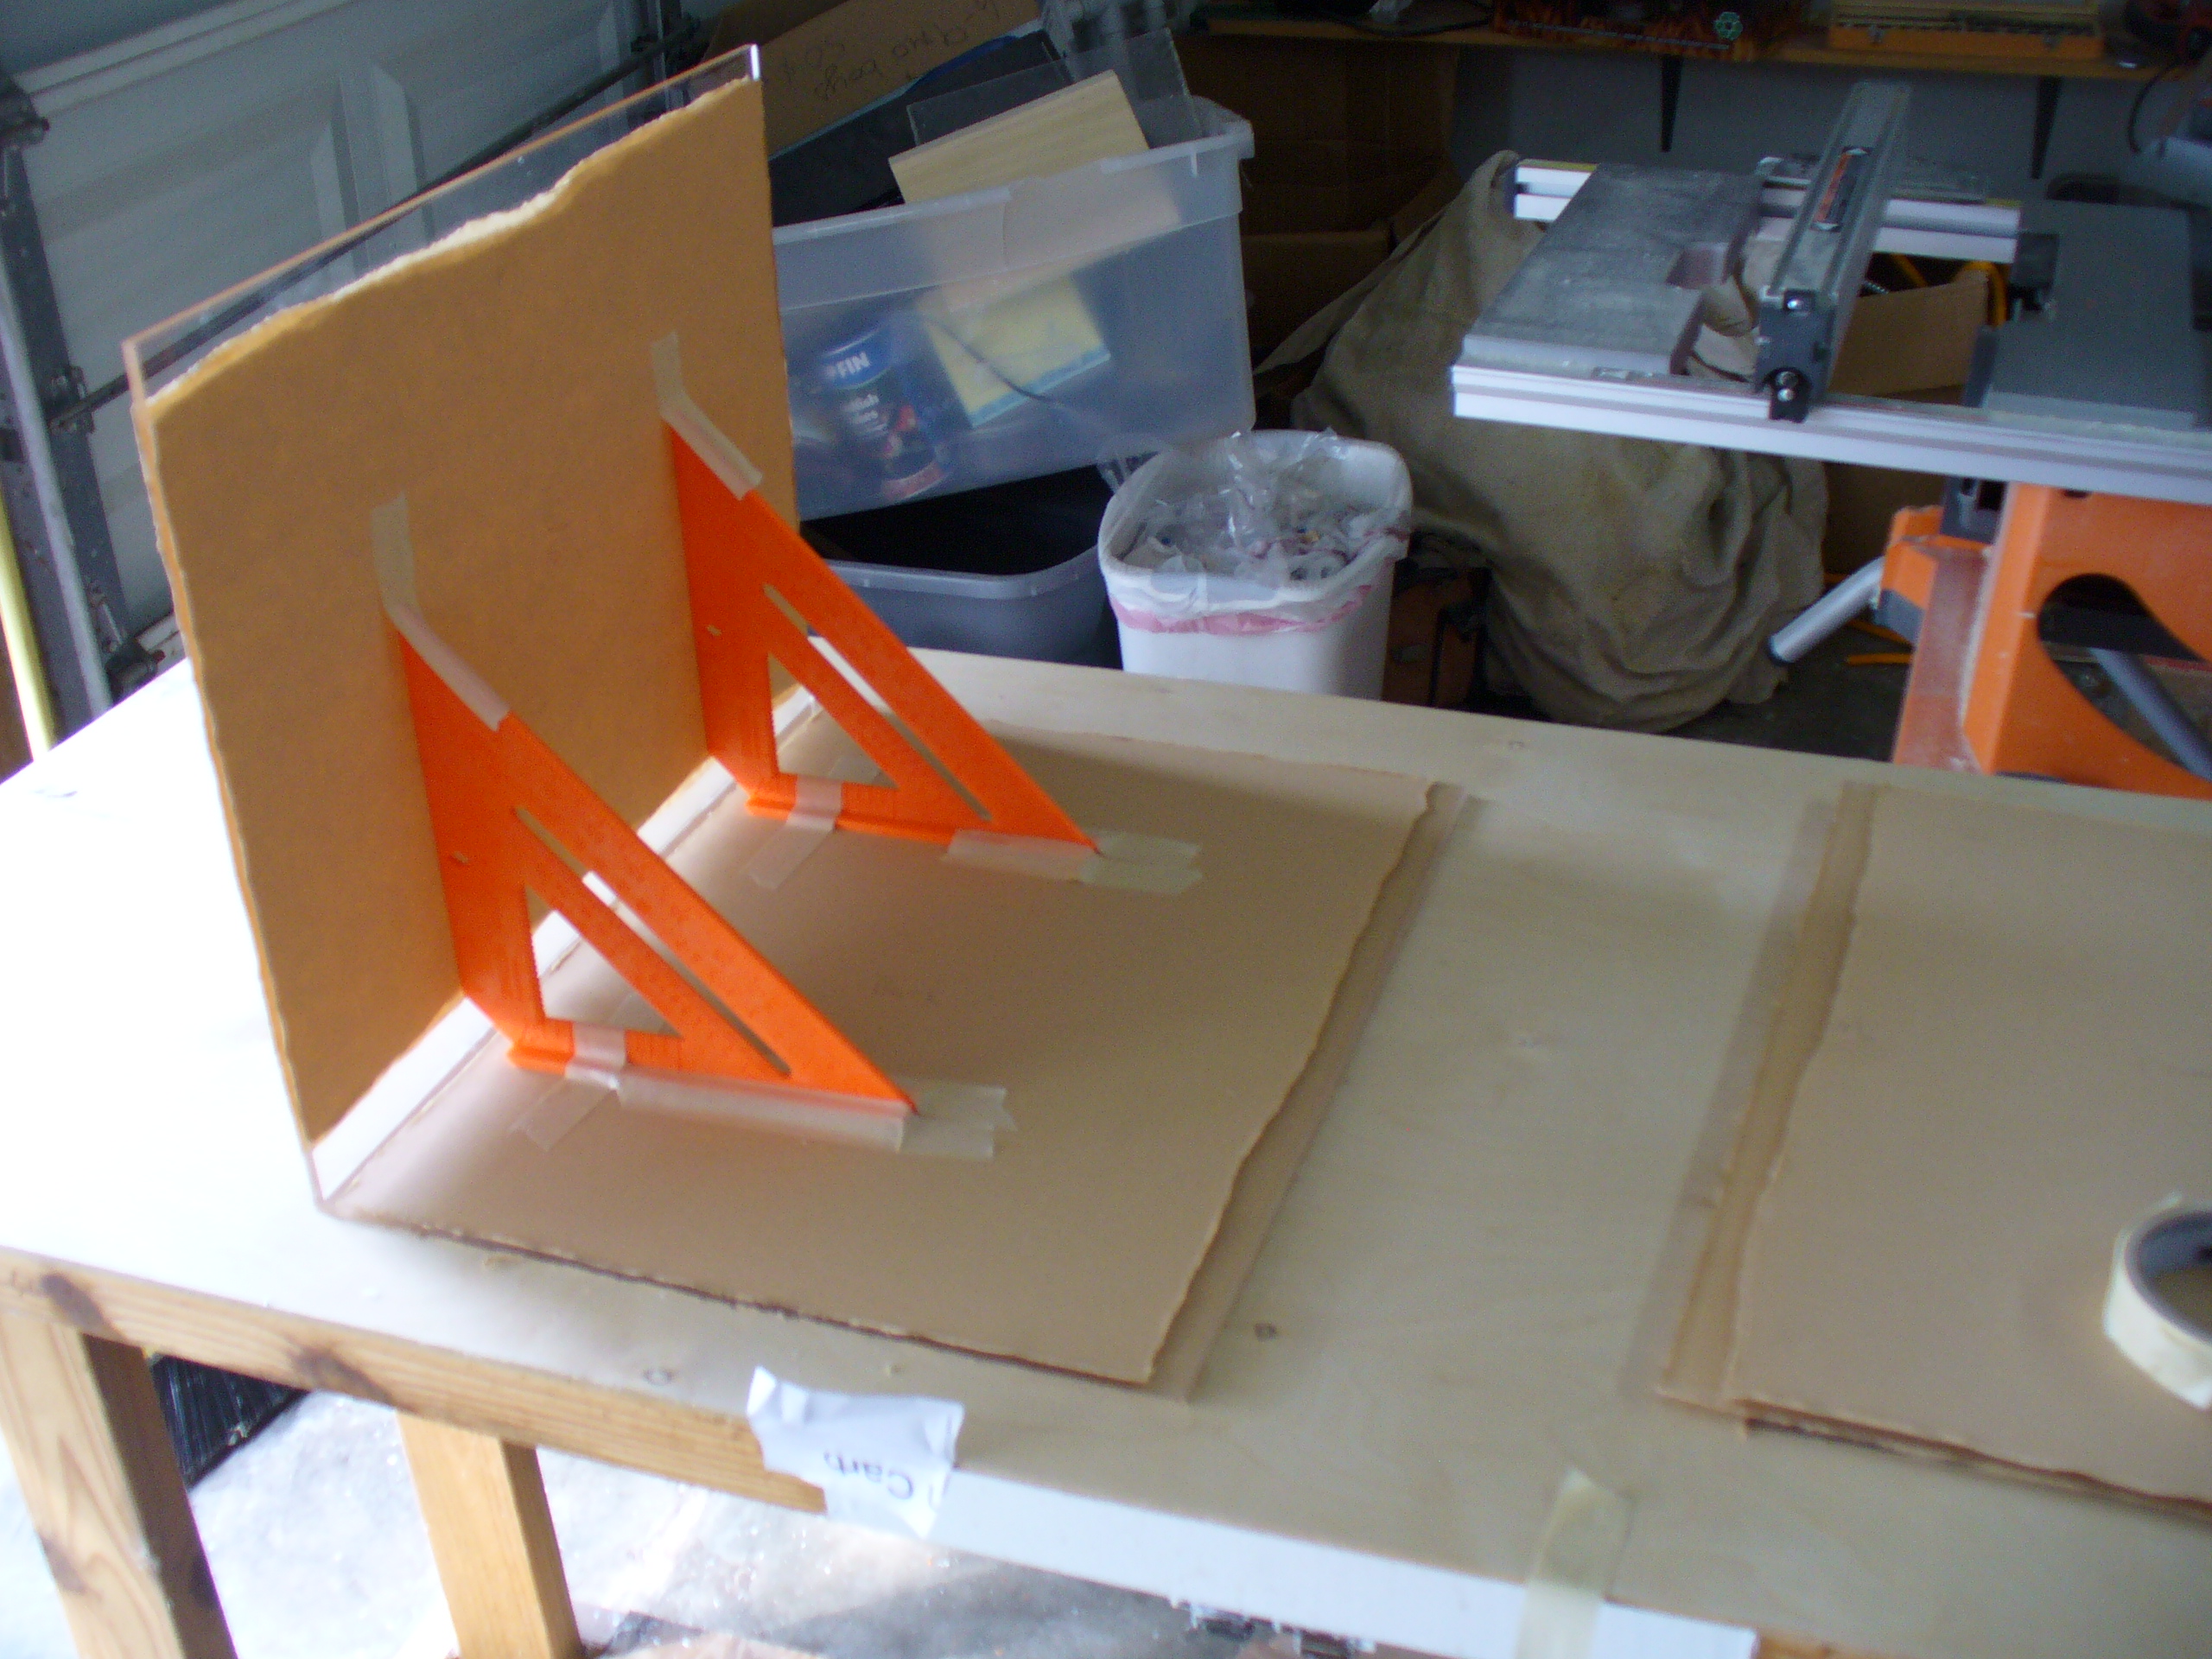
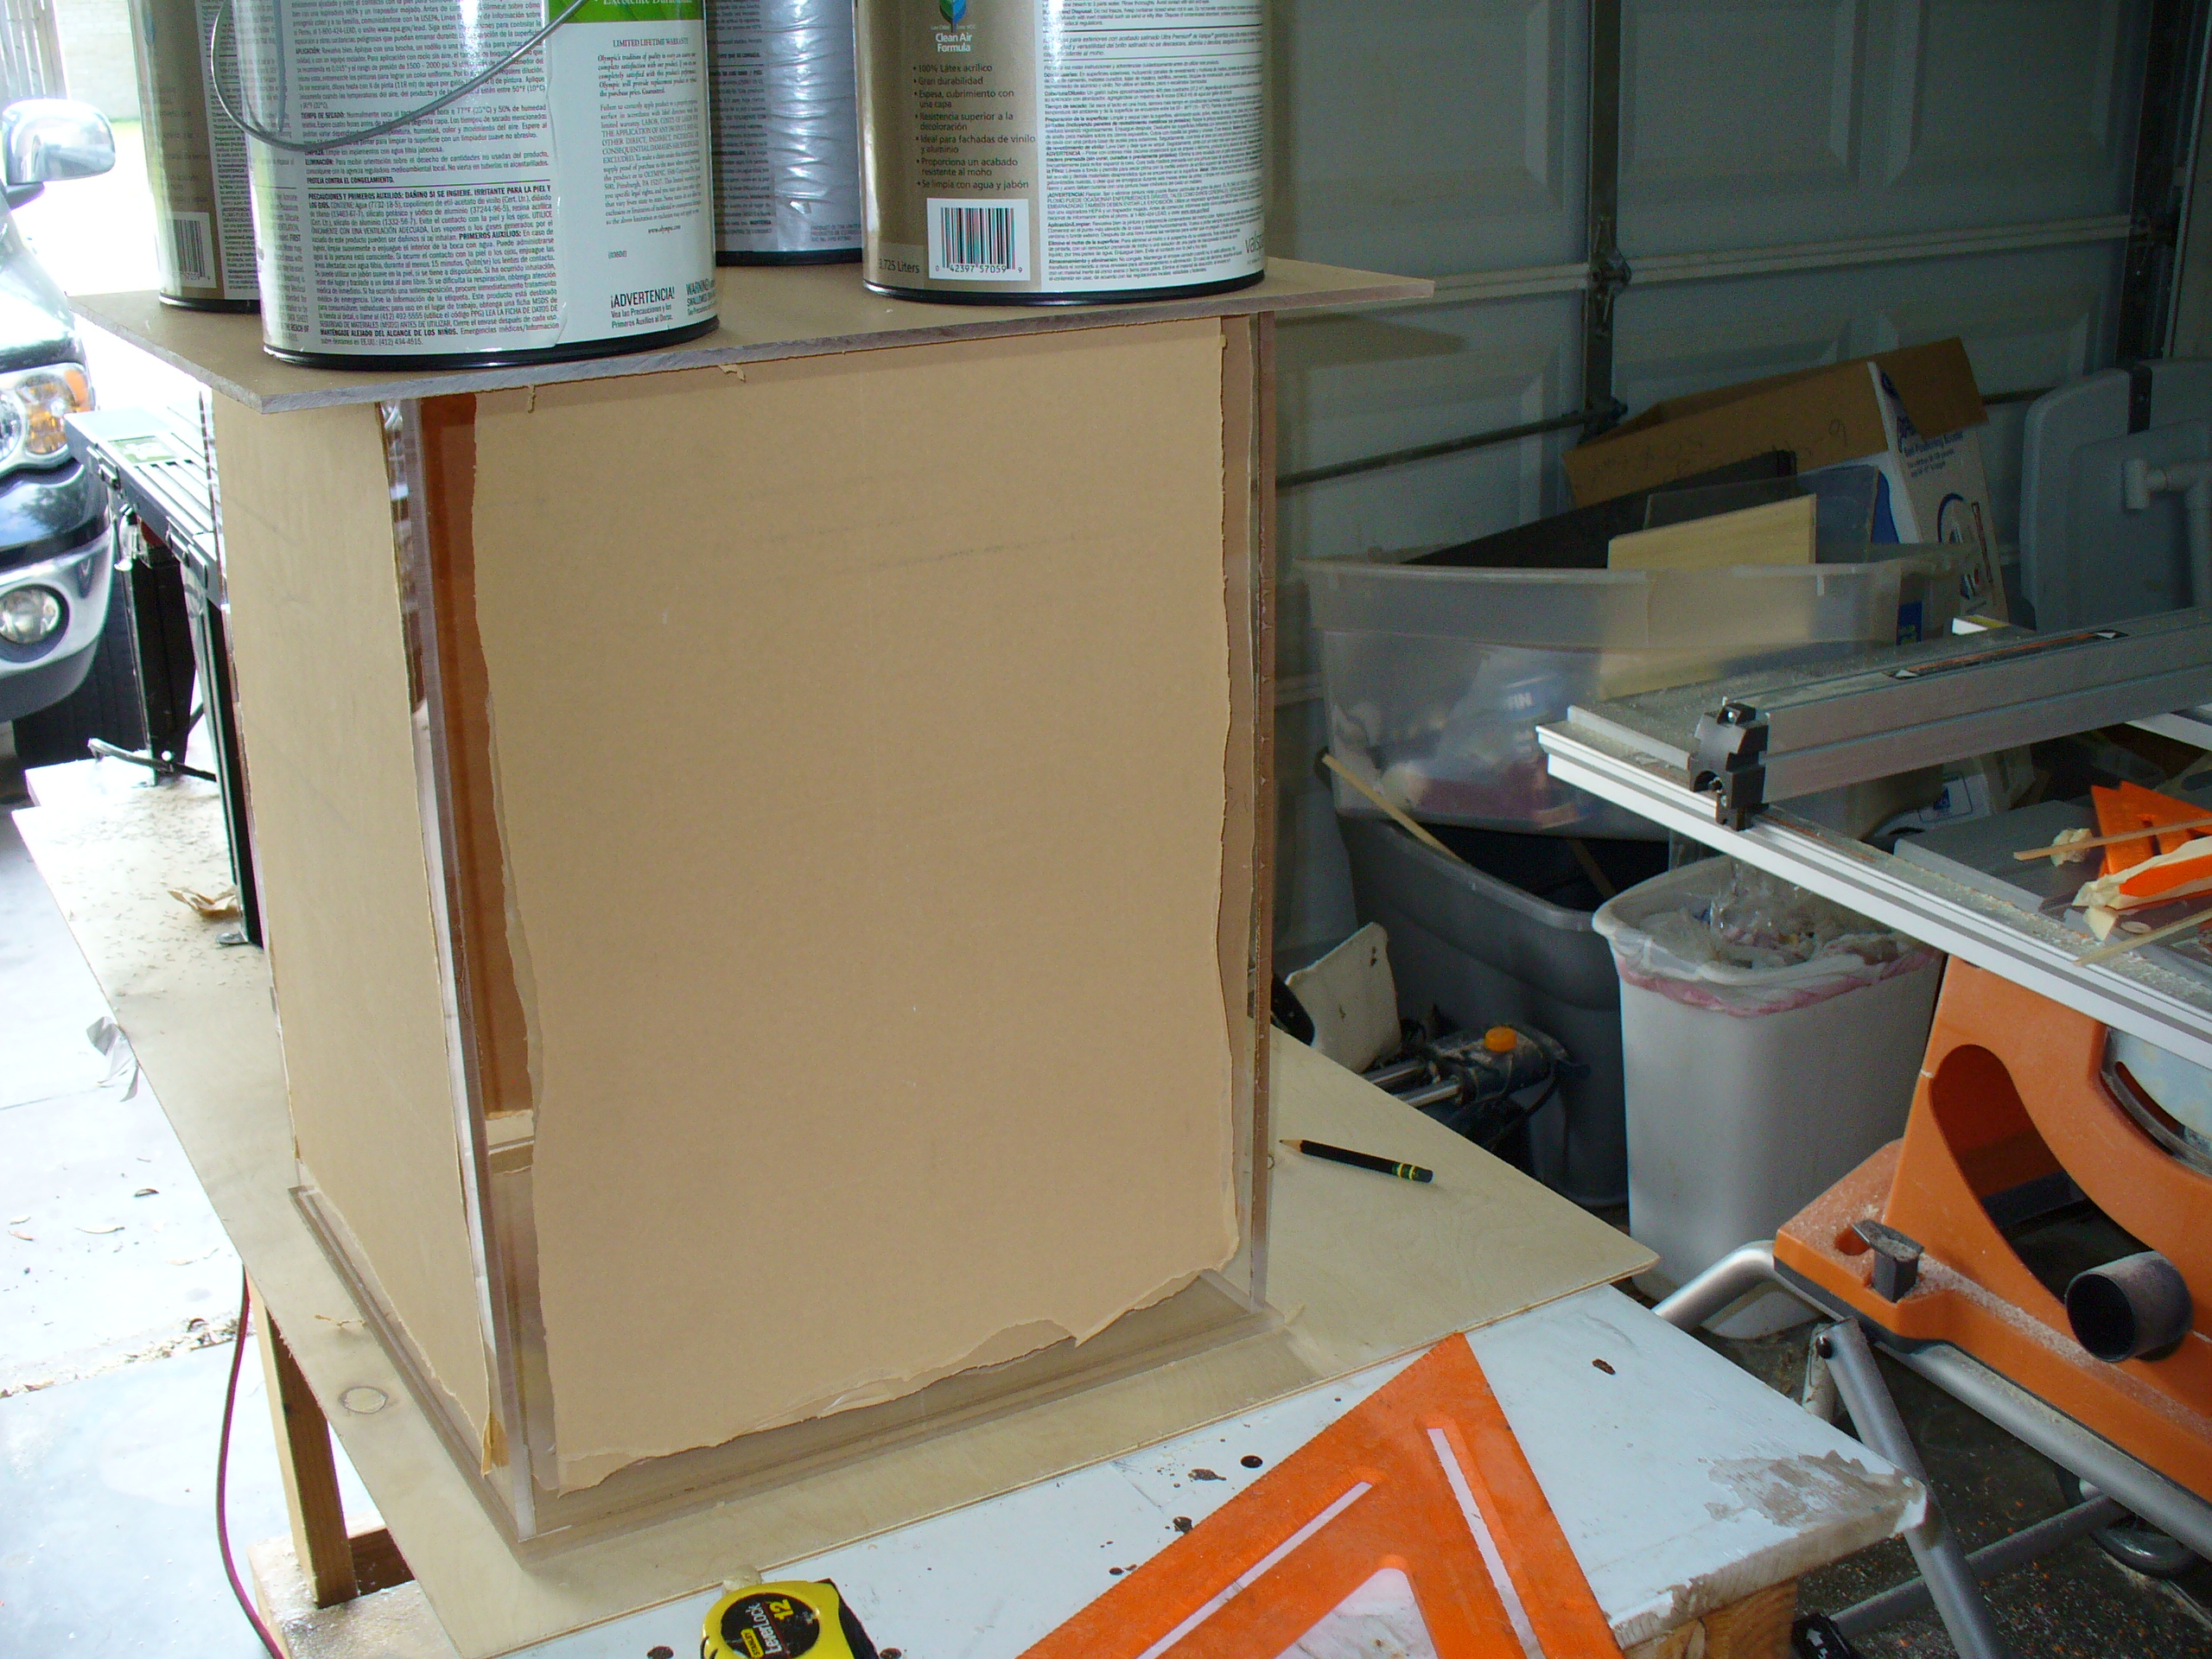
Thanks, I think you guys talked me into it. Just got back from lowes and dropped a cool $82 and all I got was a new piece of crown molding and 2 - 6ft pieces of poplar boards. I didn't buy any of the smaller trim molding yet, I'm going to see if I can salvage and re use the old stuff.
Originally Posted by Cipher43 http:///forum/thread/378912/2quills-120g-re-build-thread/400#post_3382746
I think its a sign that your stand didnt like the door either..... if your stand is alive that is.........
I would go with option B also cause this is something that should last longer than your tank if taken care of. You just as well have it the way you like instead of having problems with it for a long time.
Sometimes I think it is alive and that it likes to taunt me.
Quote:
Originally Posted by Kiefers http:///forum/thread/378912/2quills-120g-re-build-thread/400#post_3382743
i liiiiiiiike looooowesss. that place is just dangerous.
Me too, very dangerous. Even worse if I go in there on a pay day weekend.
Quote:
Originally Posted by sweatervest13 http:///forum/thread/378912/2quills-120g-re-build-thread/400#post_3382754
That made me cringe when i saw the broken door. Crappy.
I would go with option B as well. Might as well have it the way you want it. I know that would get annoying to have to do maintenance on the tank that way. Plus you might end up having the same thing happen and have the door fall again.
That stand looks amazing BTW. I can't wait to see it in the house.
Thanks, I think you guys talked me into it. Just got back from lowes and dropped a cool $82 and all I got was a new piece of crown molding and 2 - 6ft pieces of poplar boards. I didn't buy any of the smaller trim molding yet, I'm going to see if I can salvage and re use the old stuff.