2Quills, 120G Re-build thread.

2quills

Well-Known Member
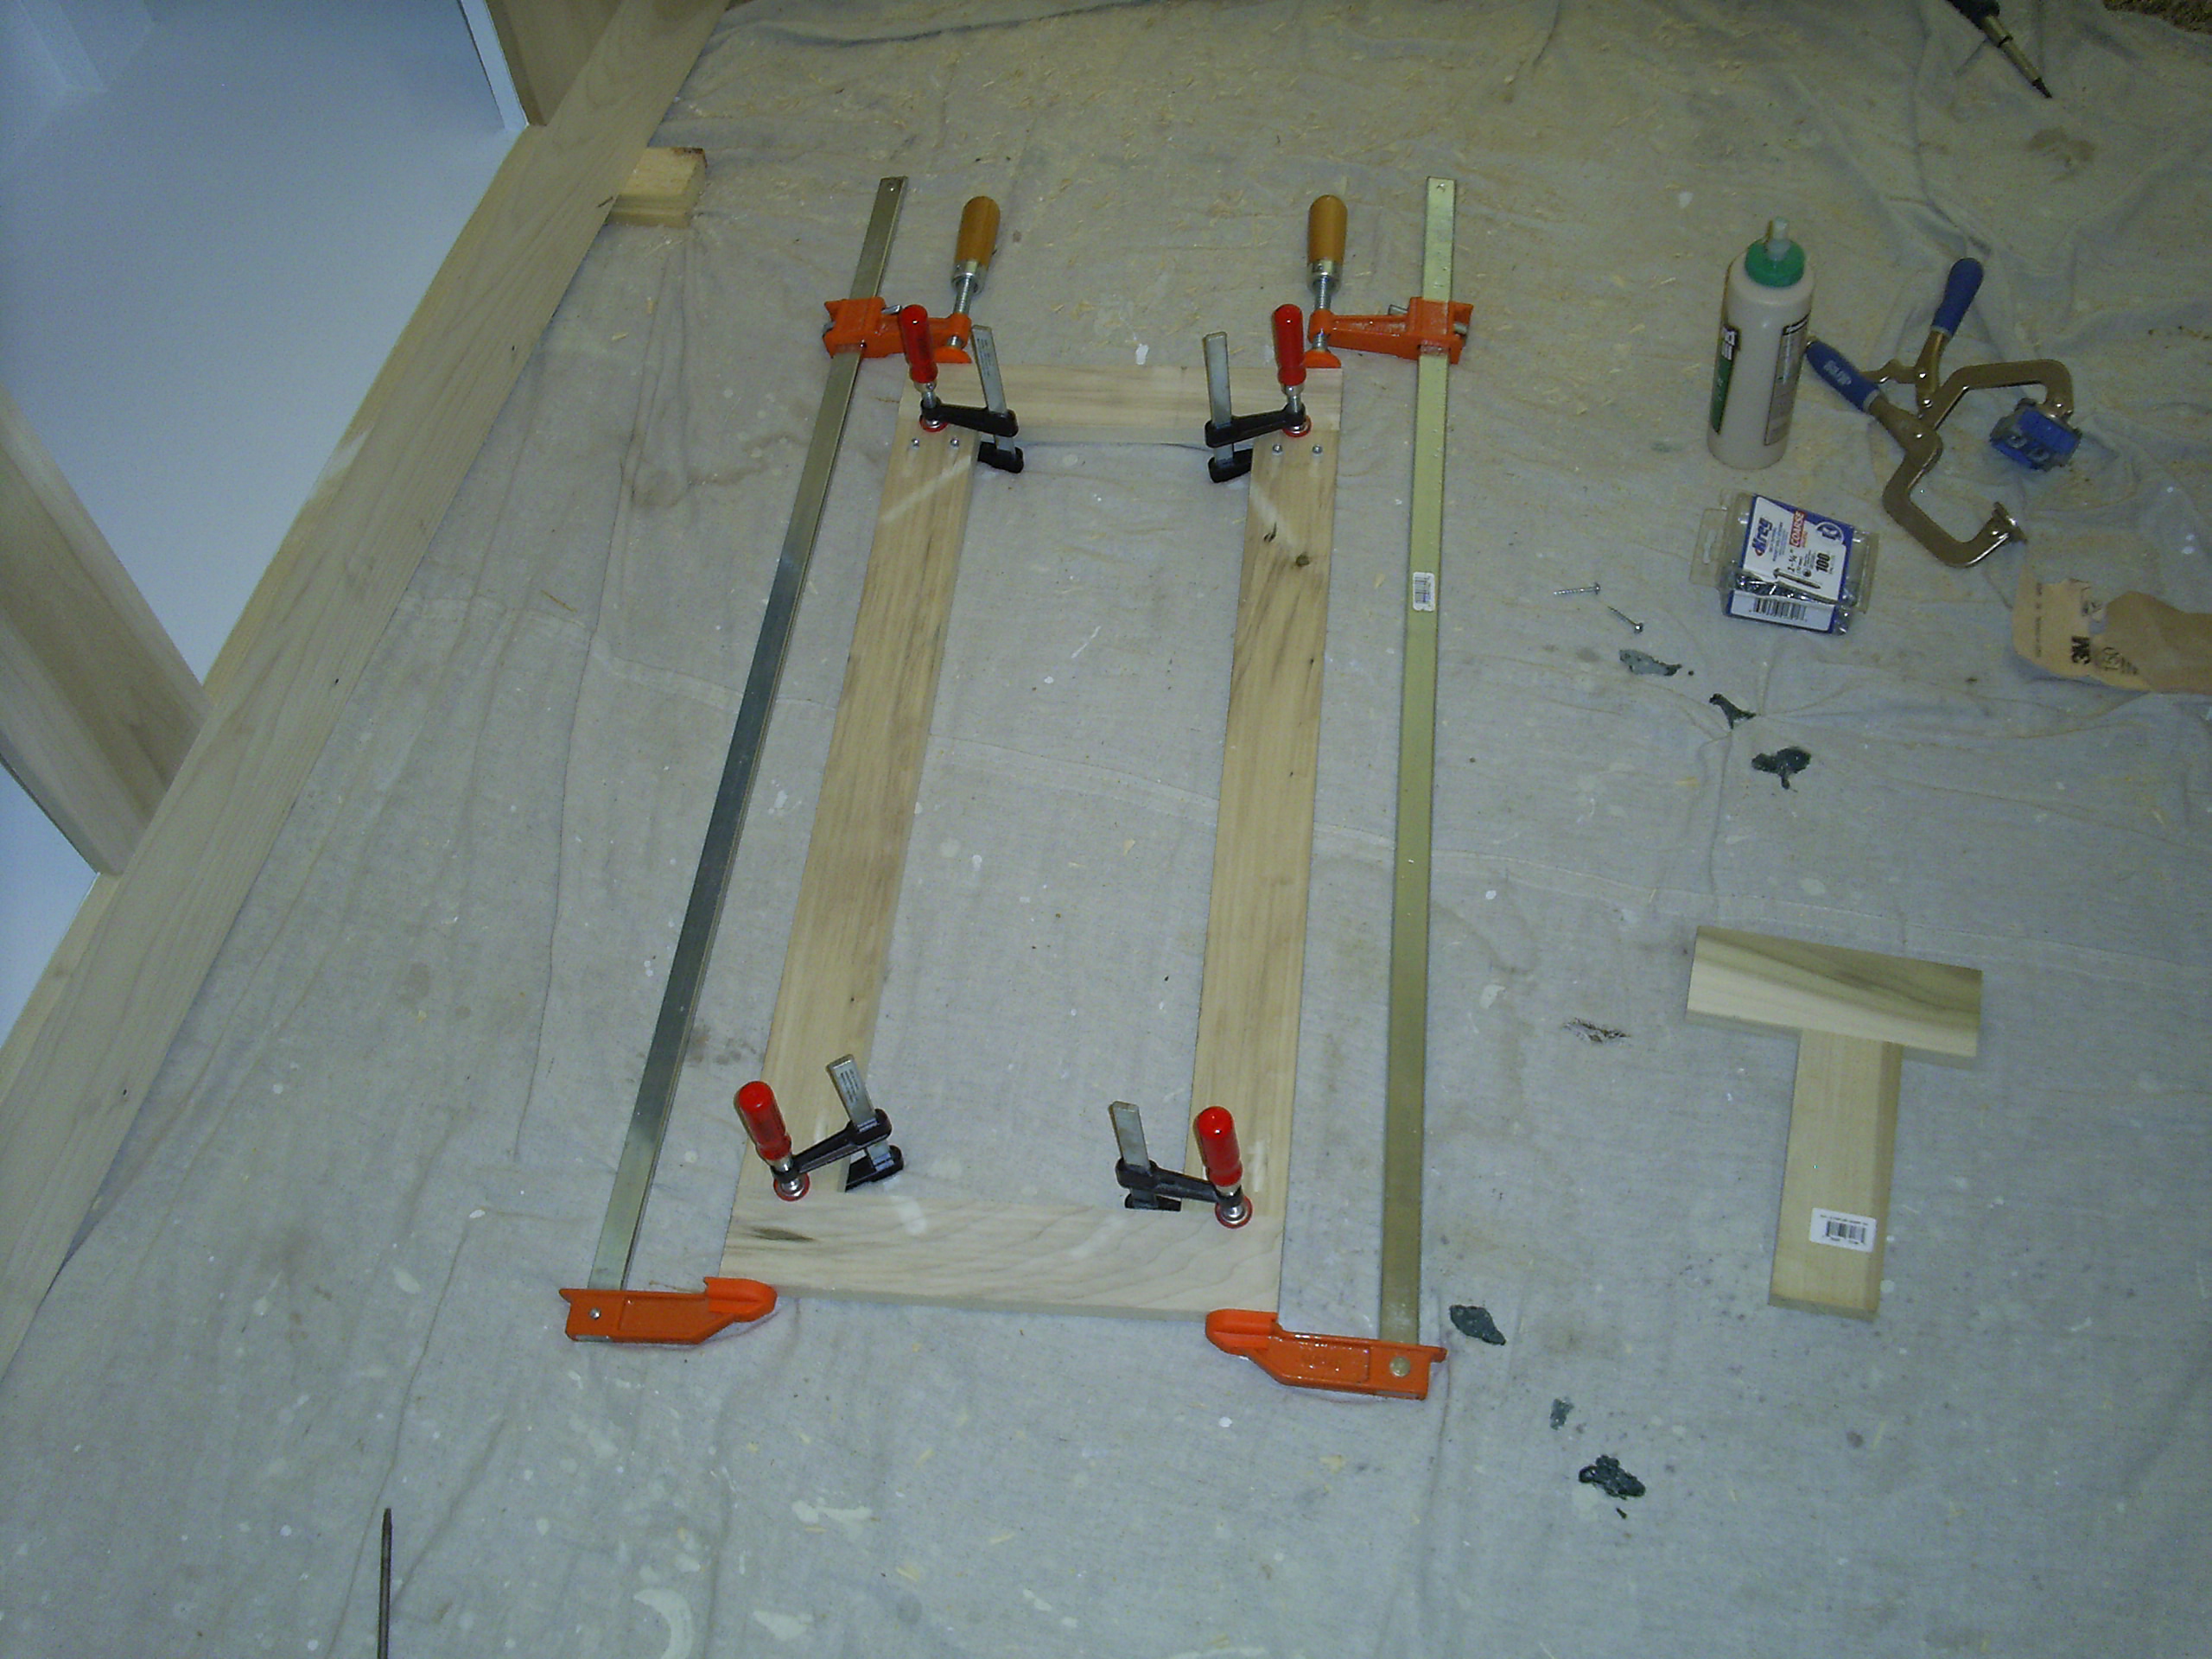
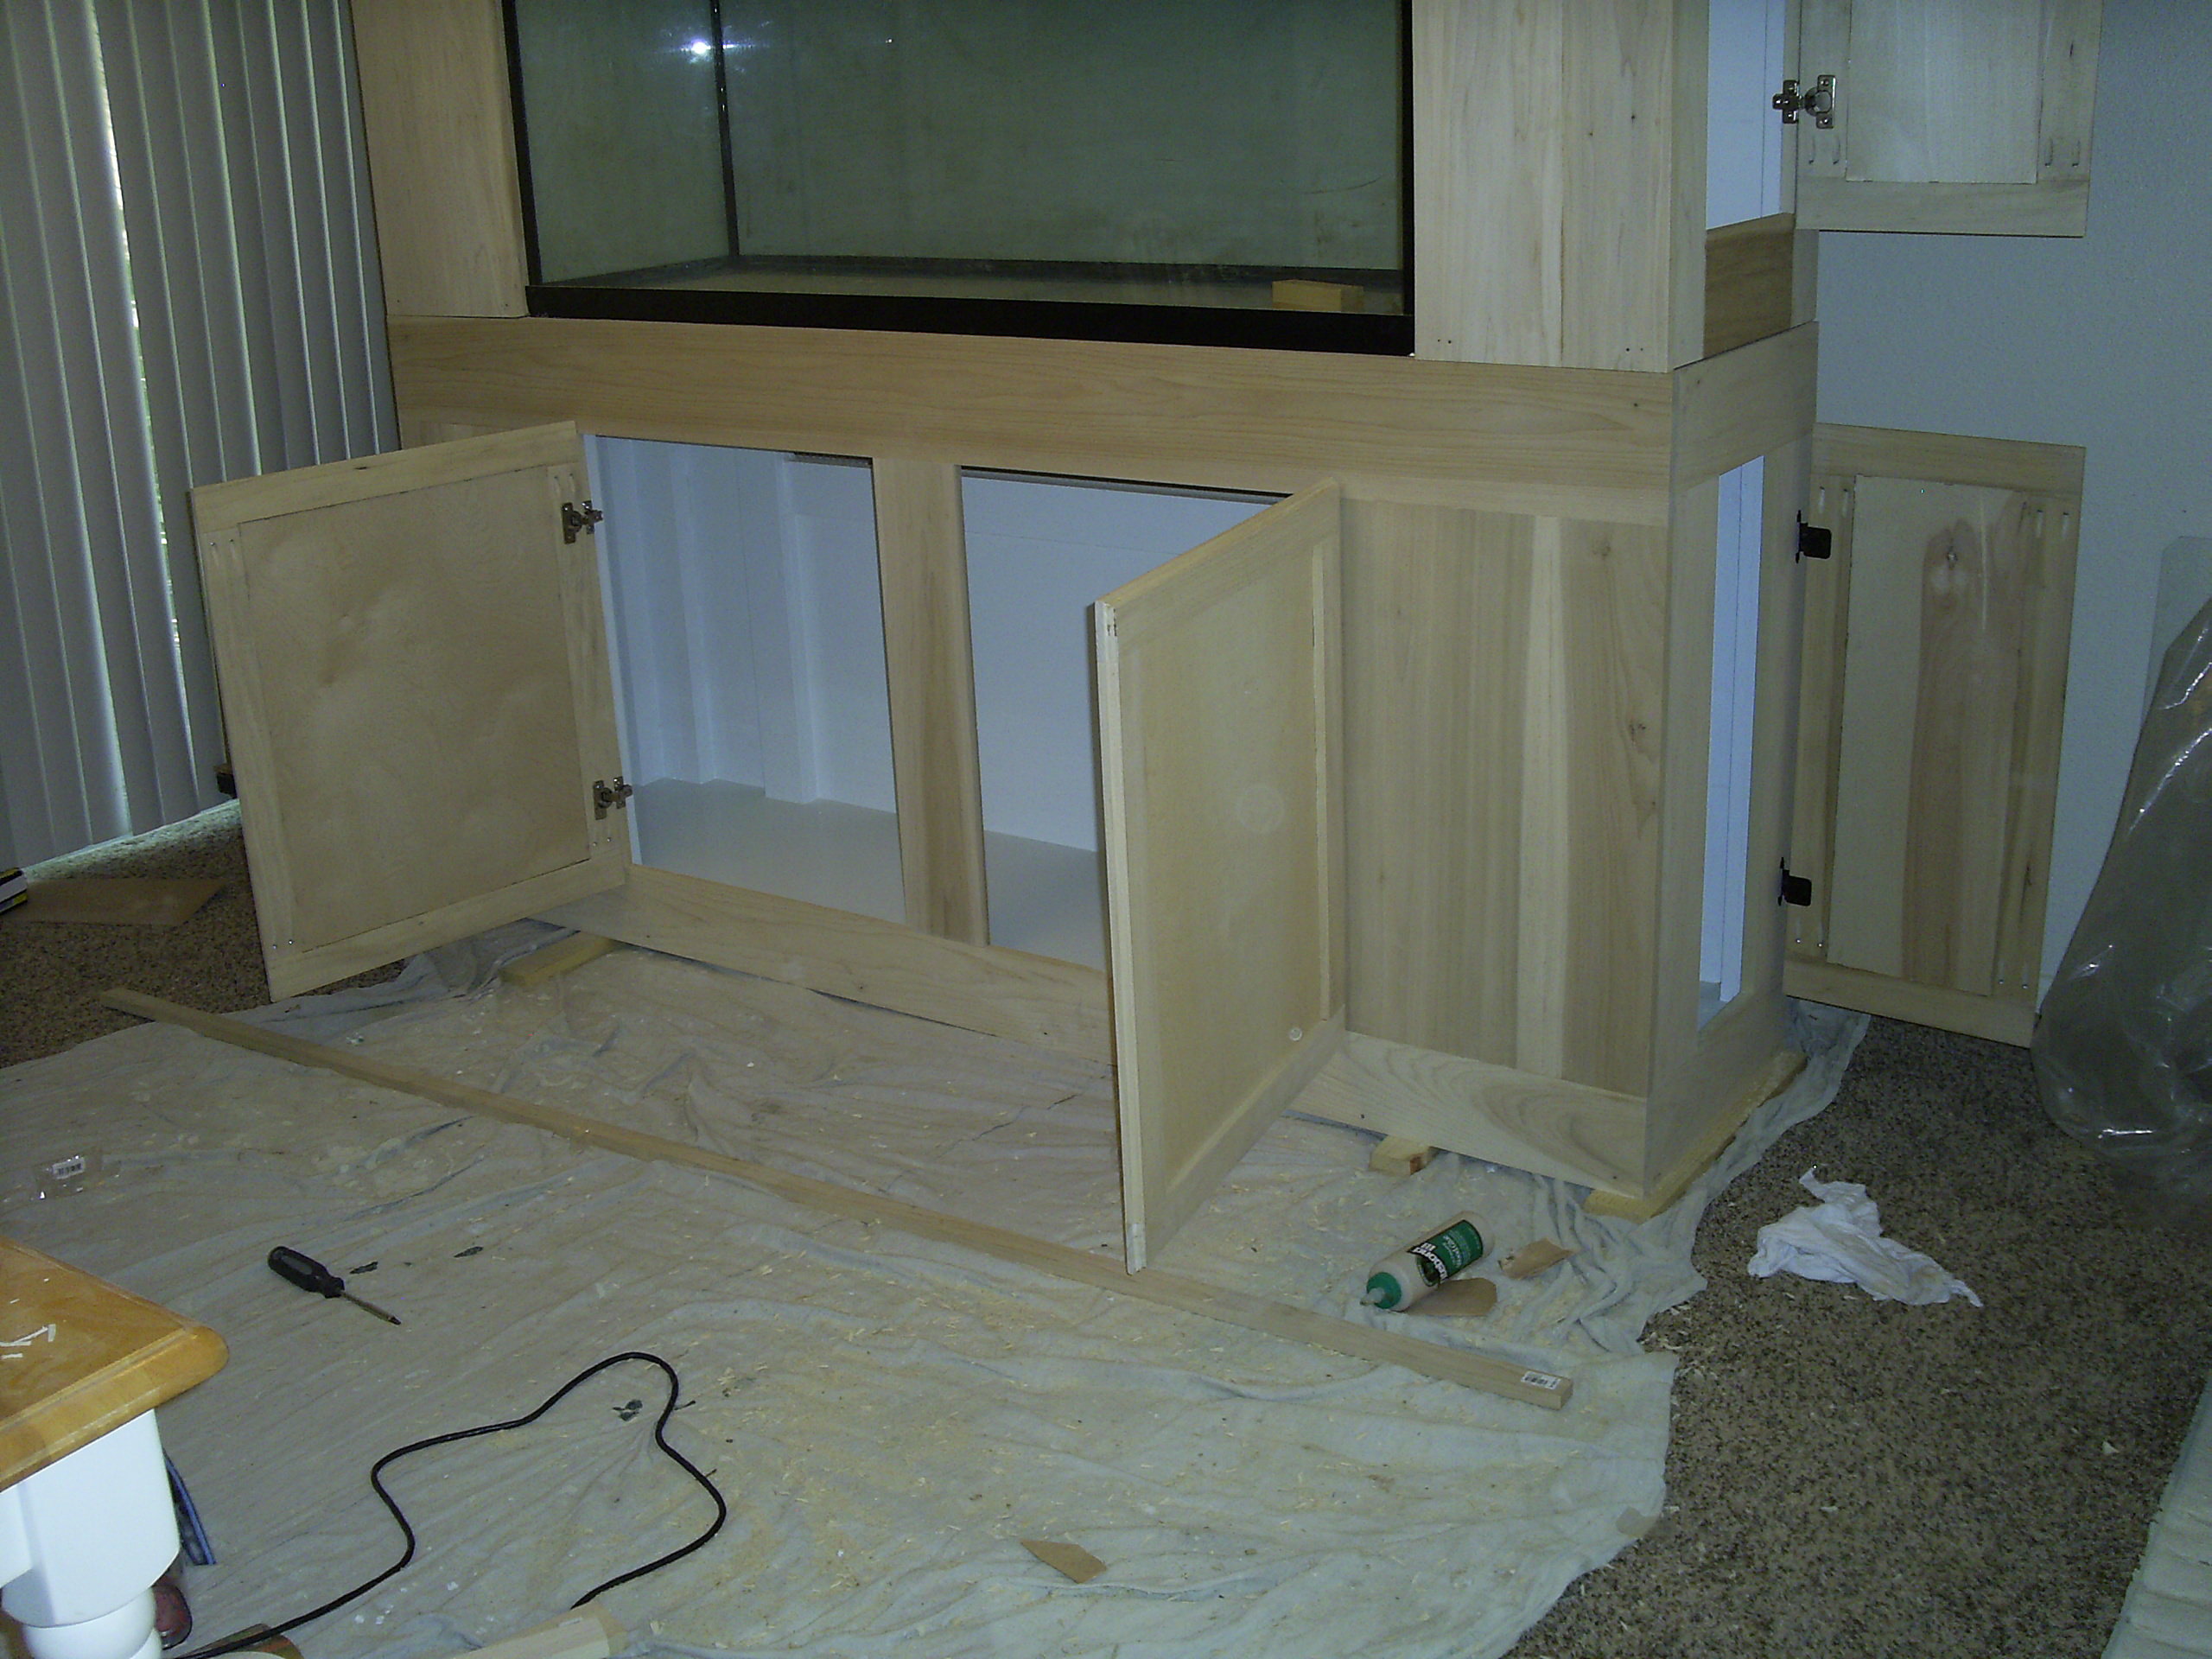
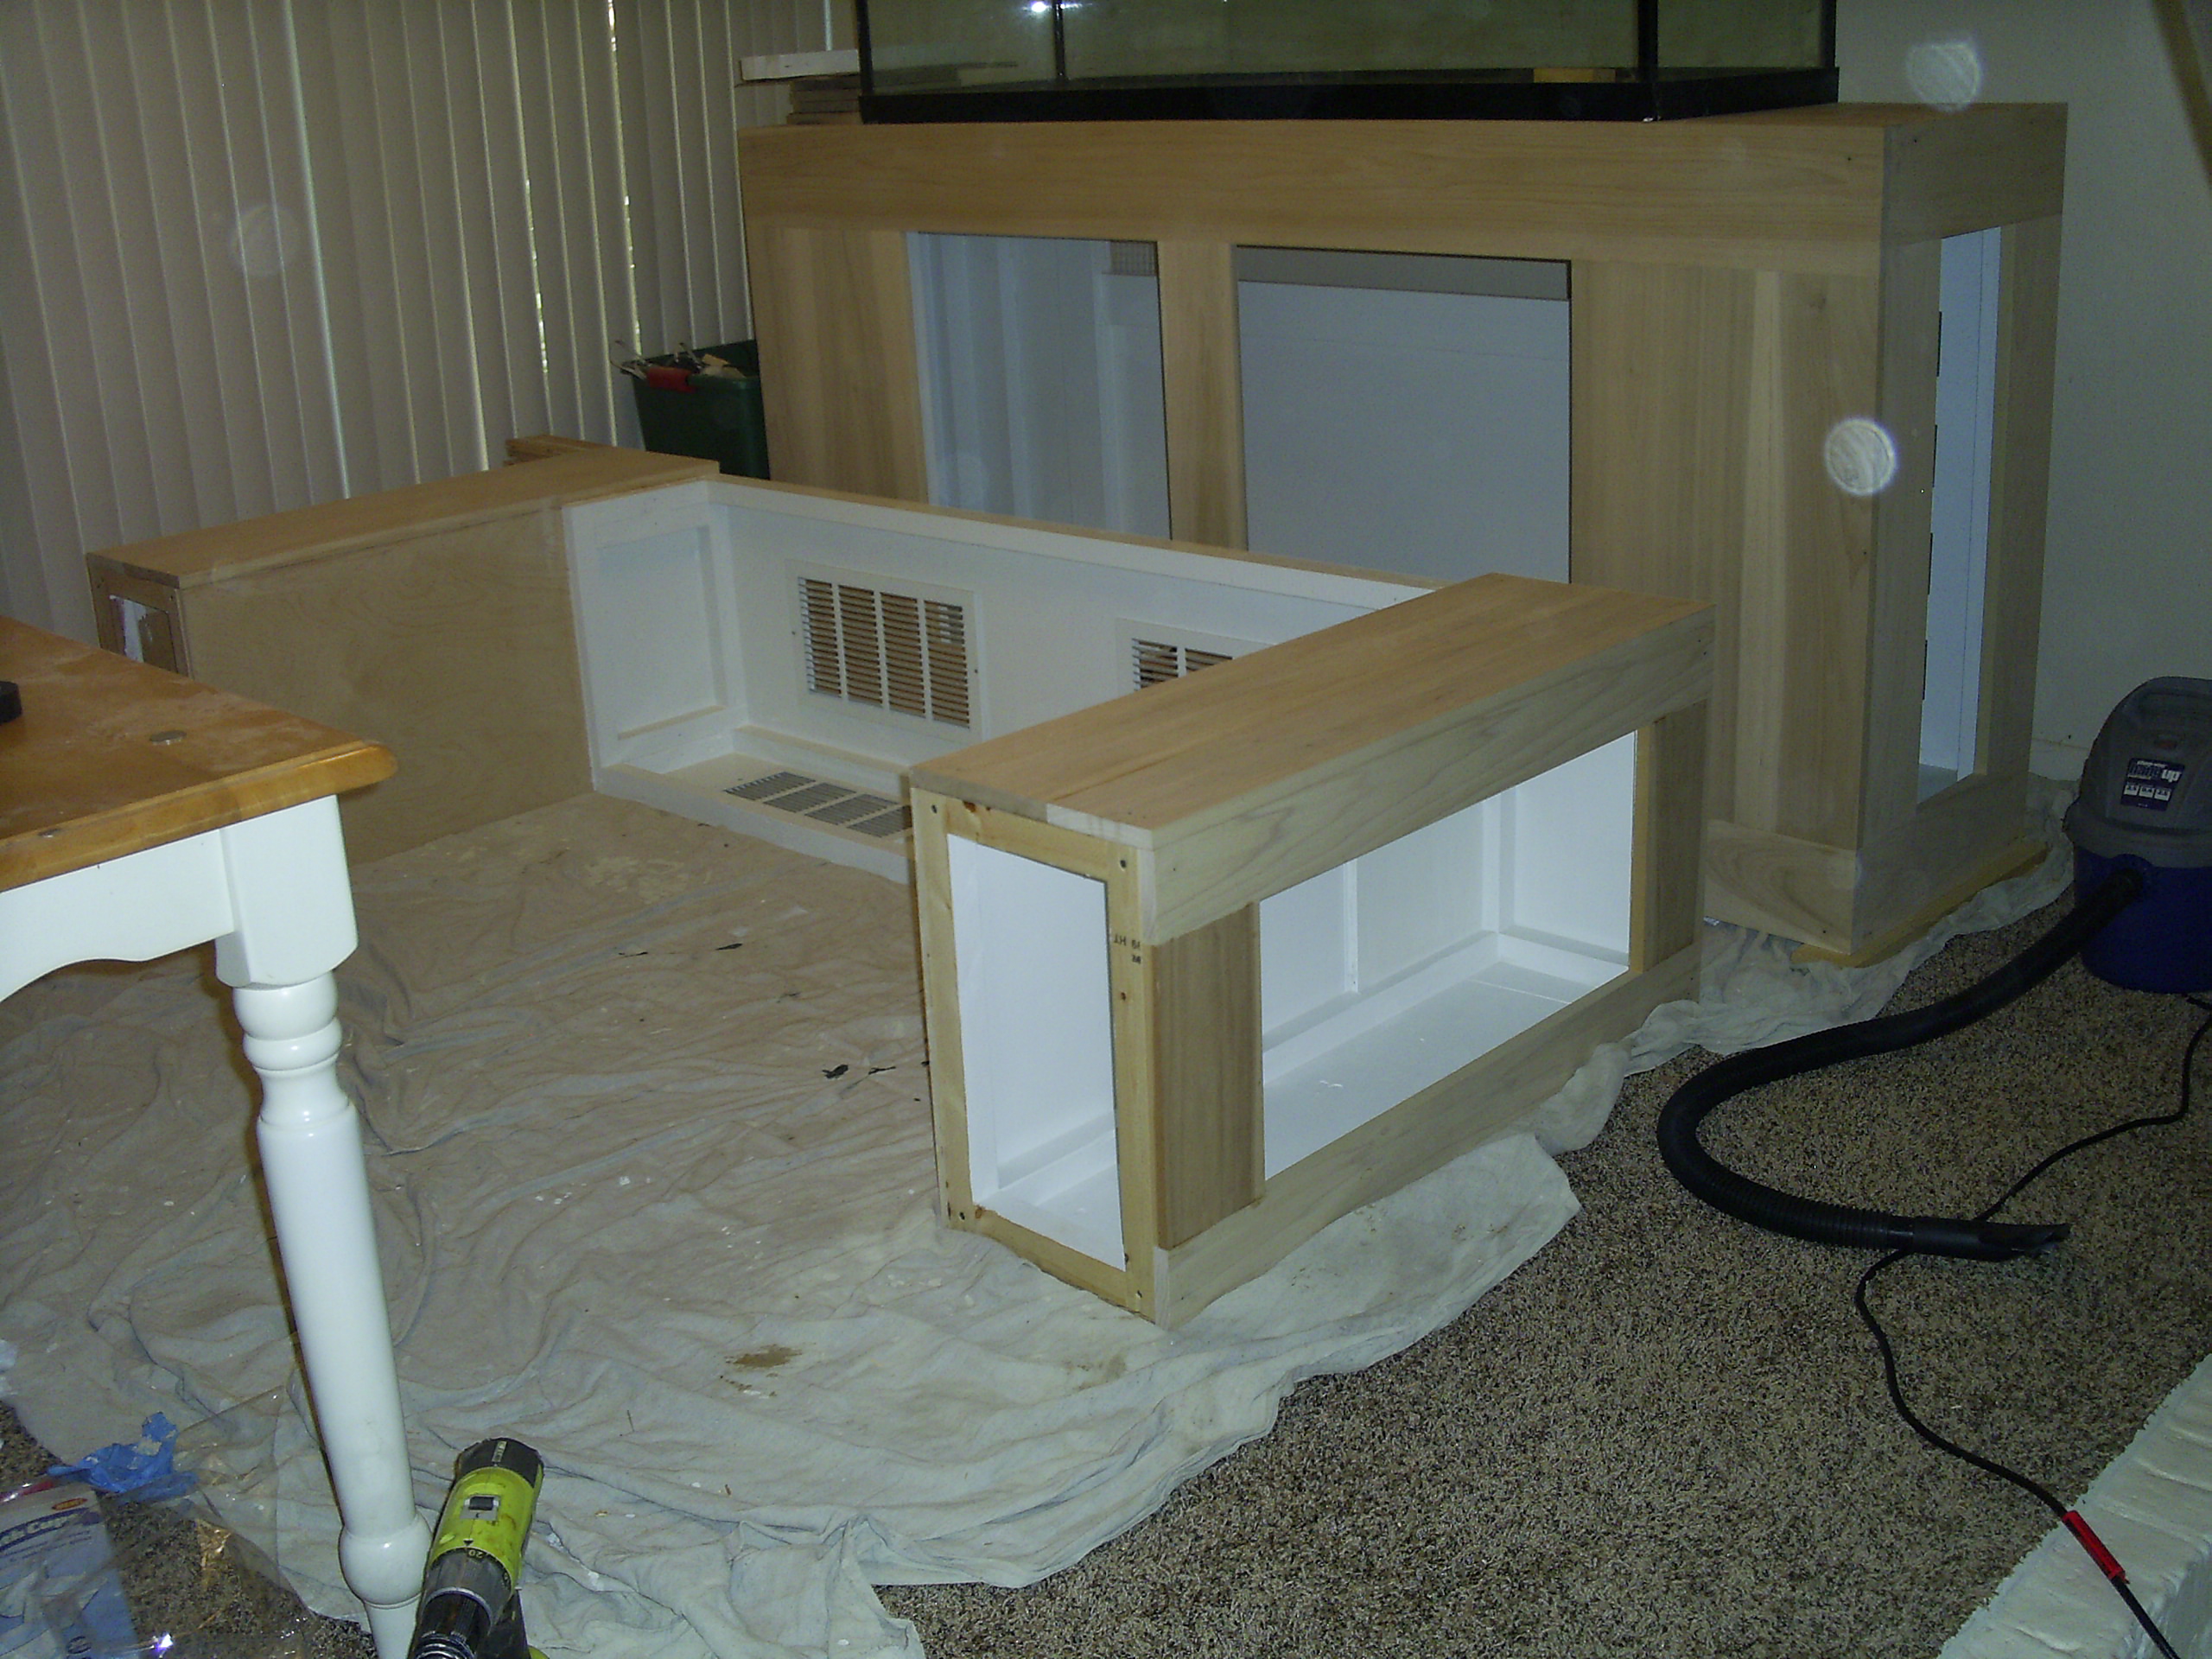
Alright, It's been a while since I've updated this thread and it's starting to get a little bit dusty in here so I thought I would bring you all up to speed with what's going on. Inbetween work, family stuff and a few other things going on that have taken my attention away from this project I feel that's it time to get back down to business.
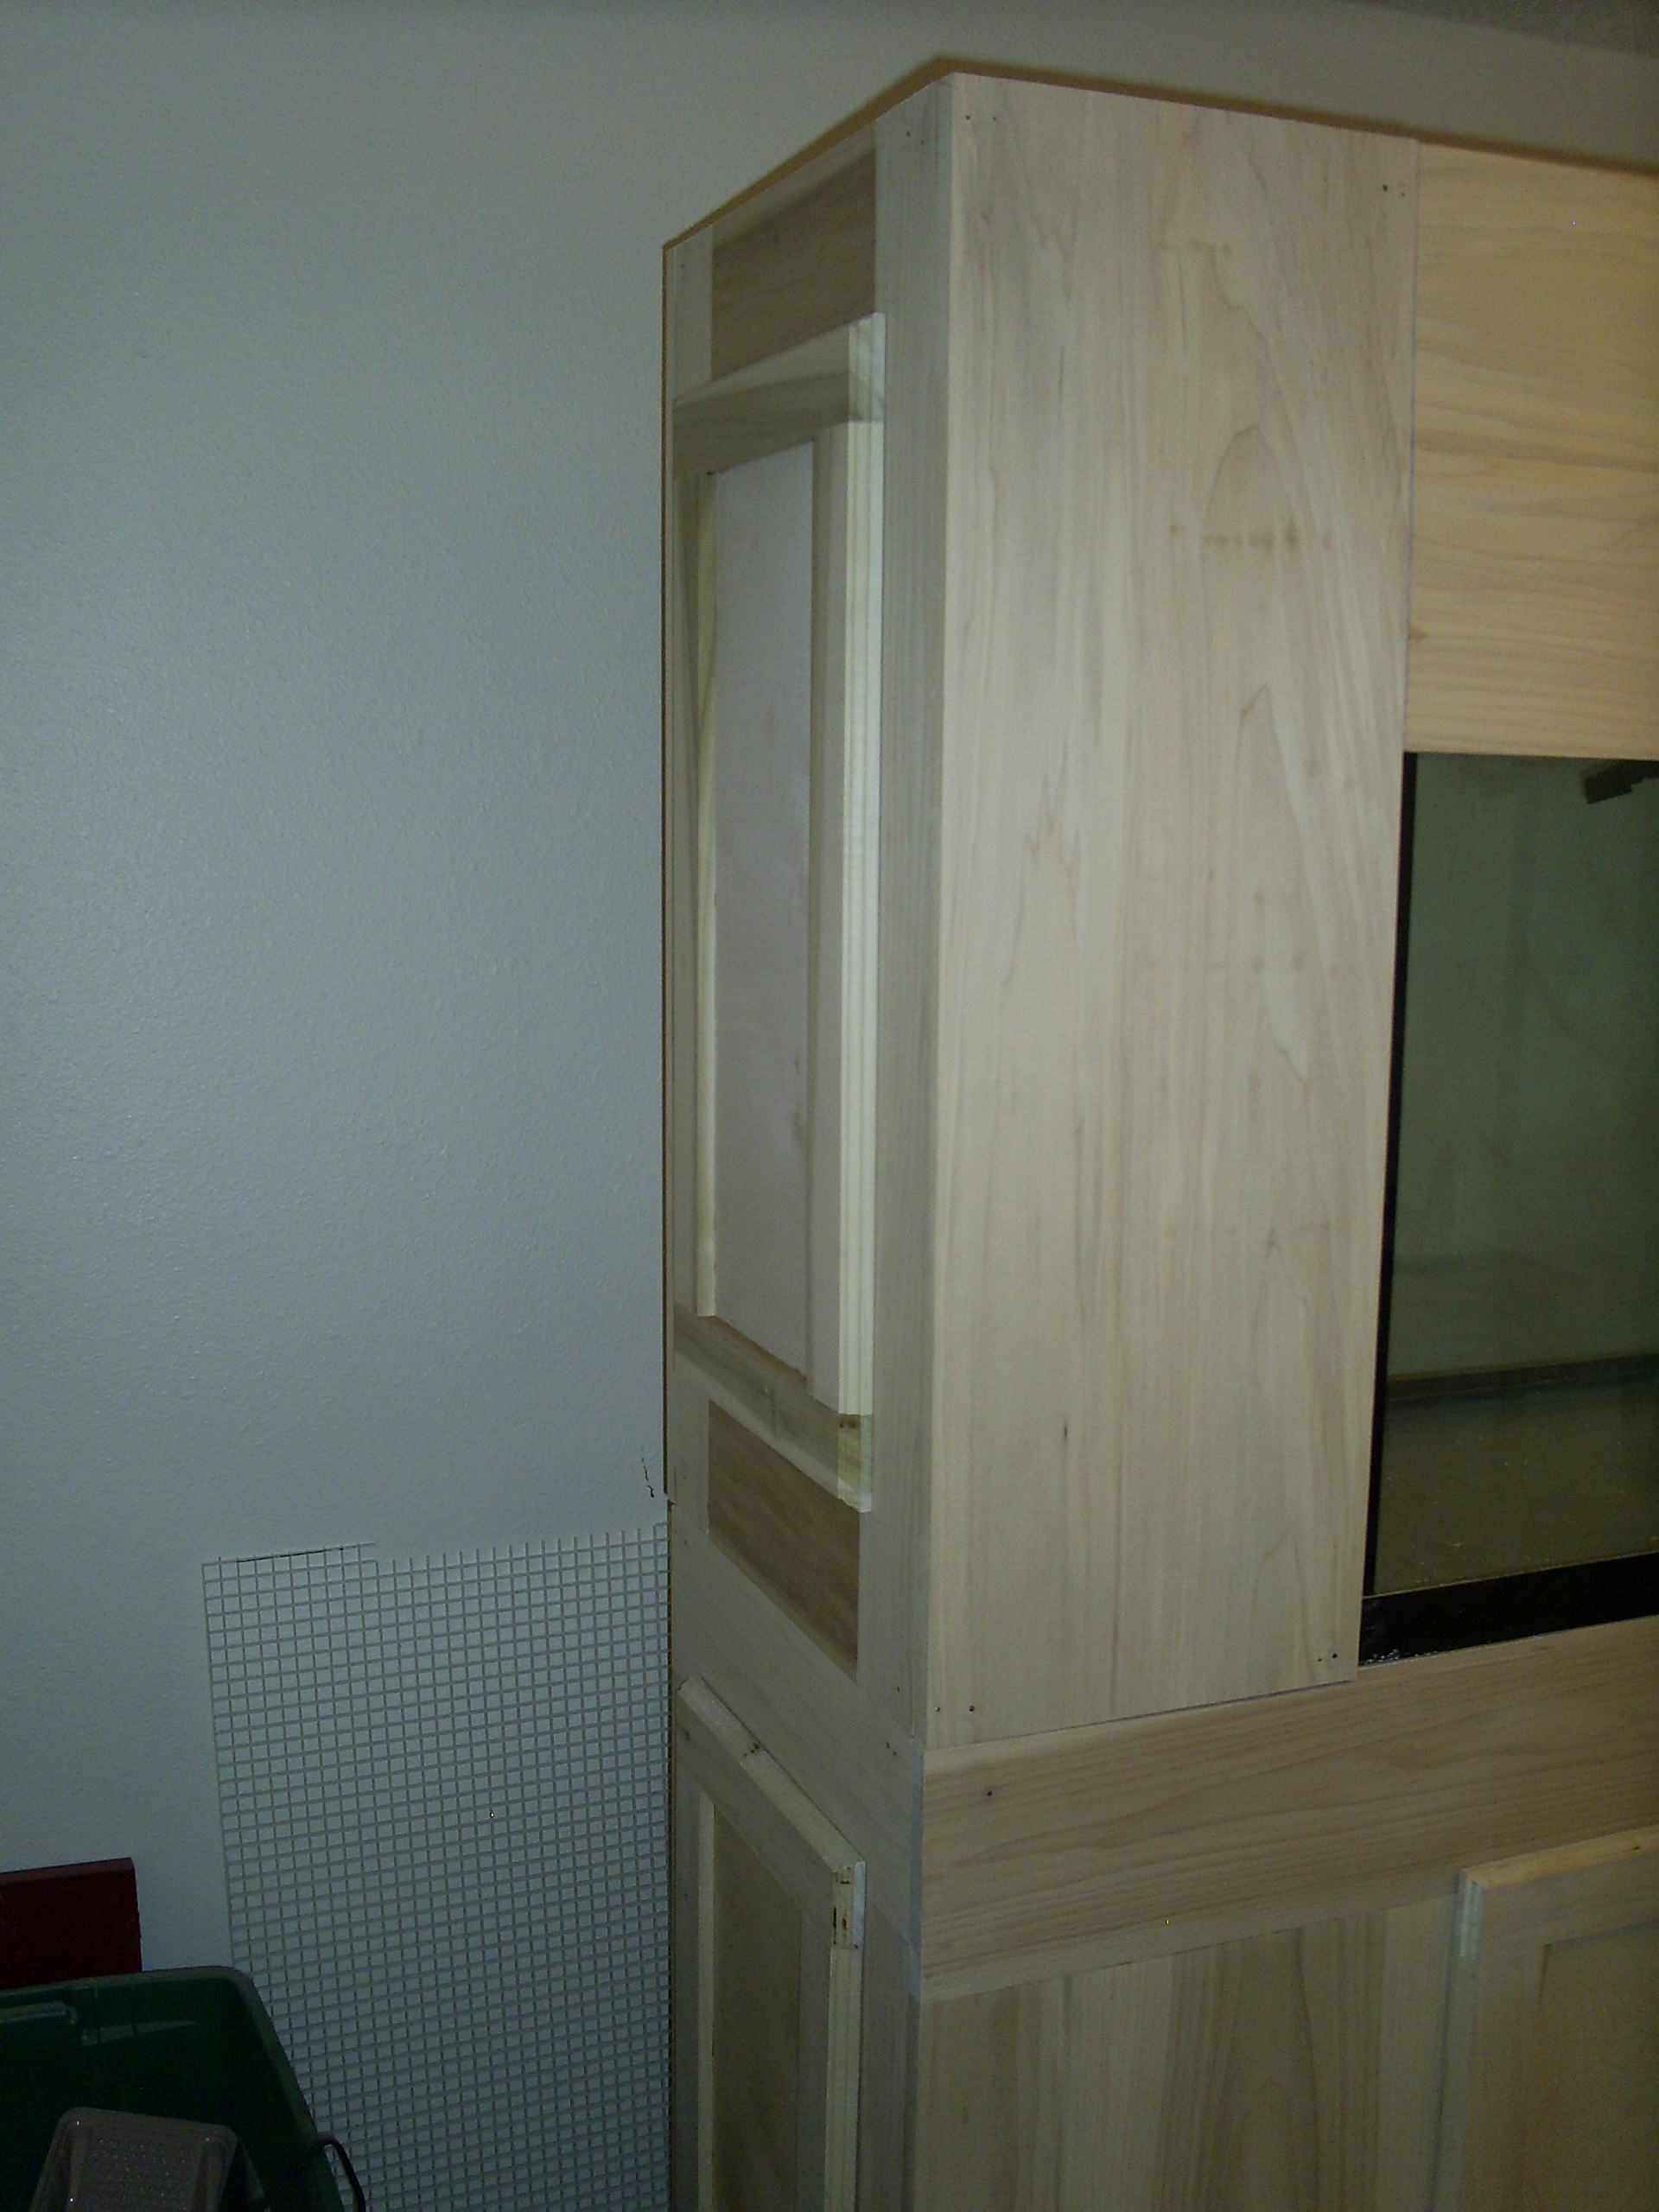
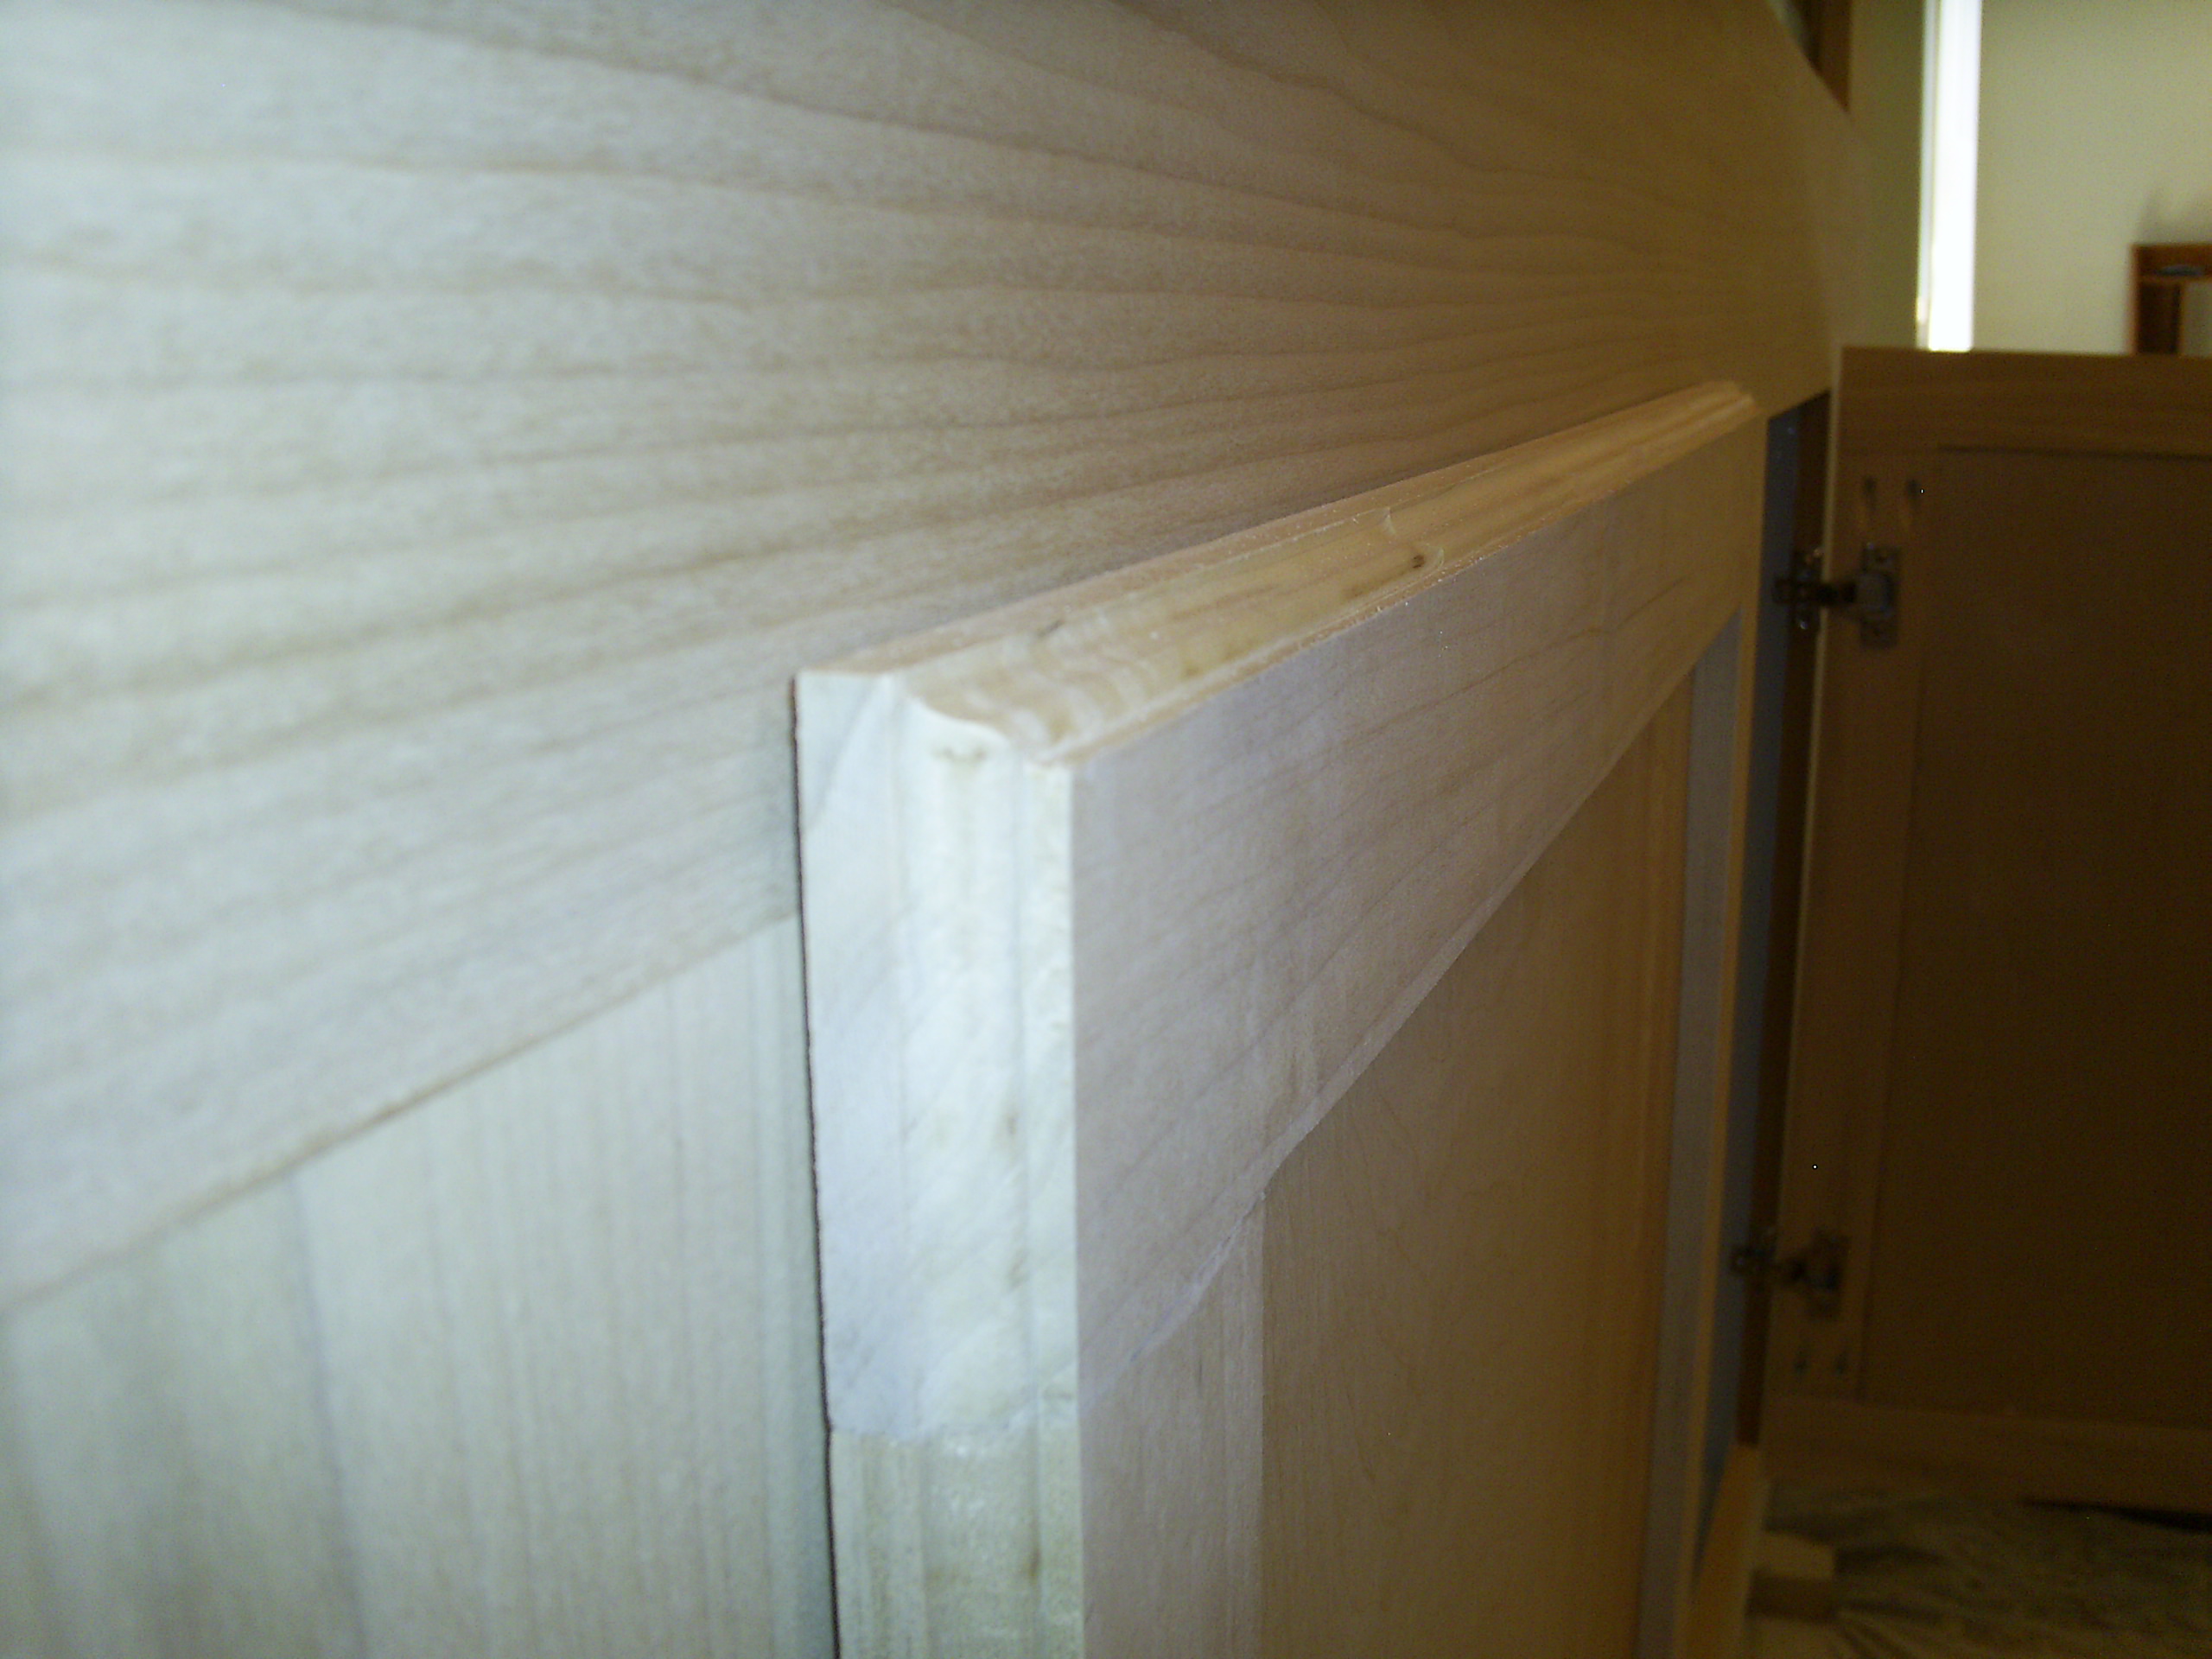
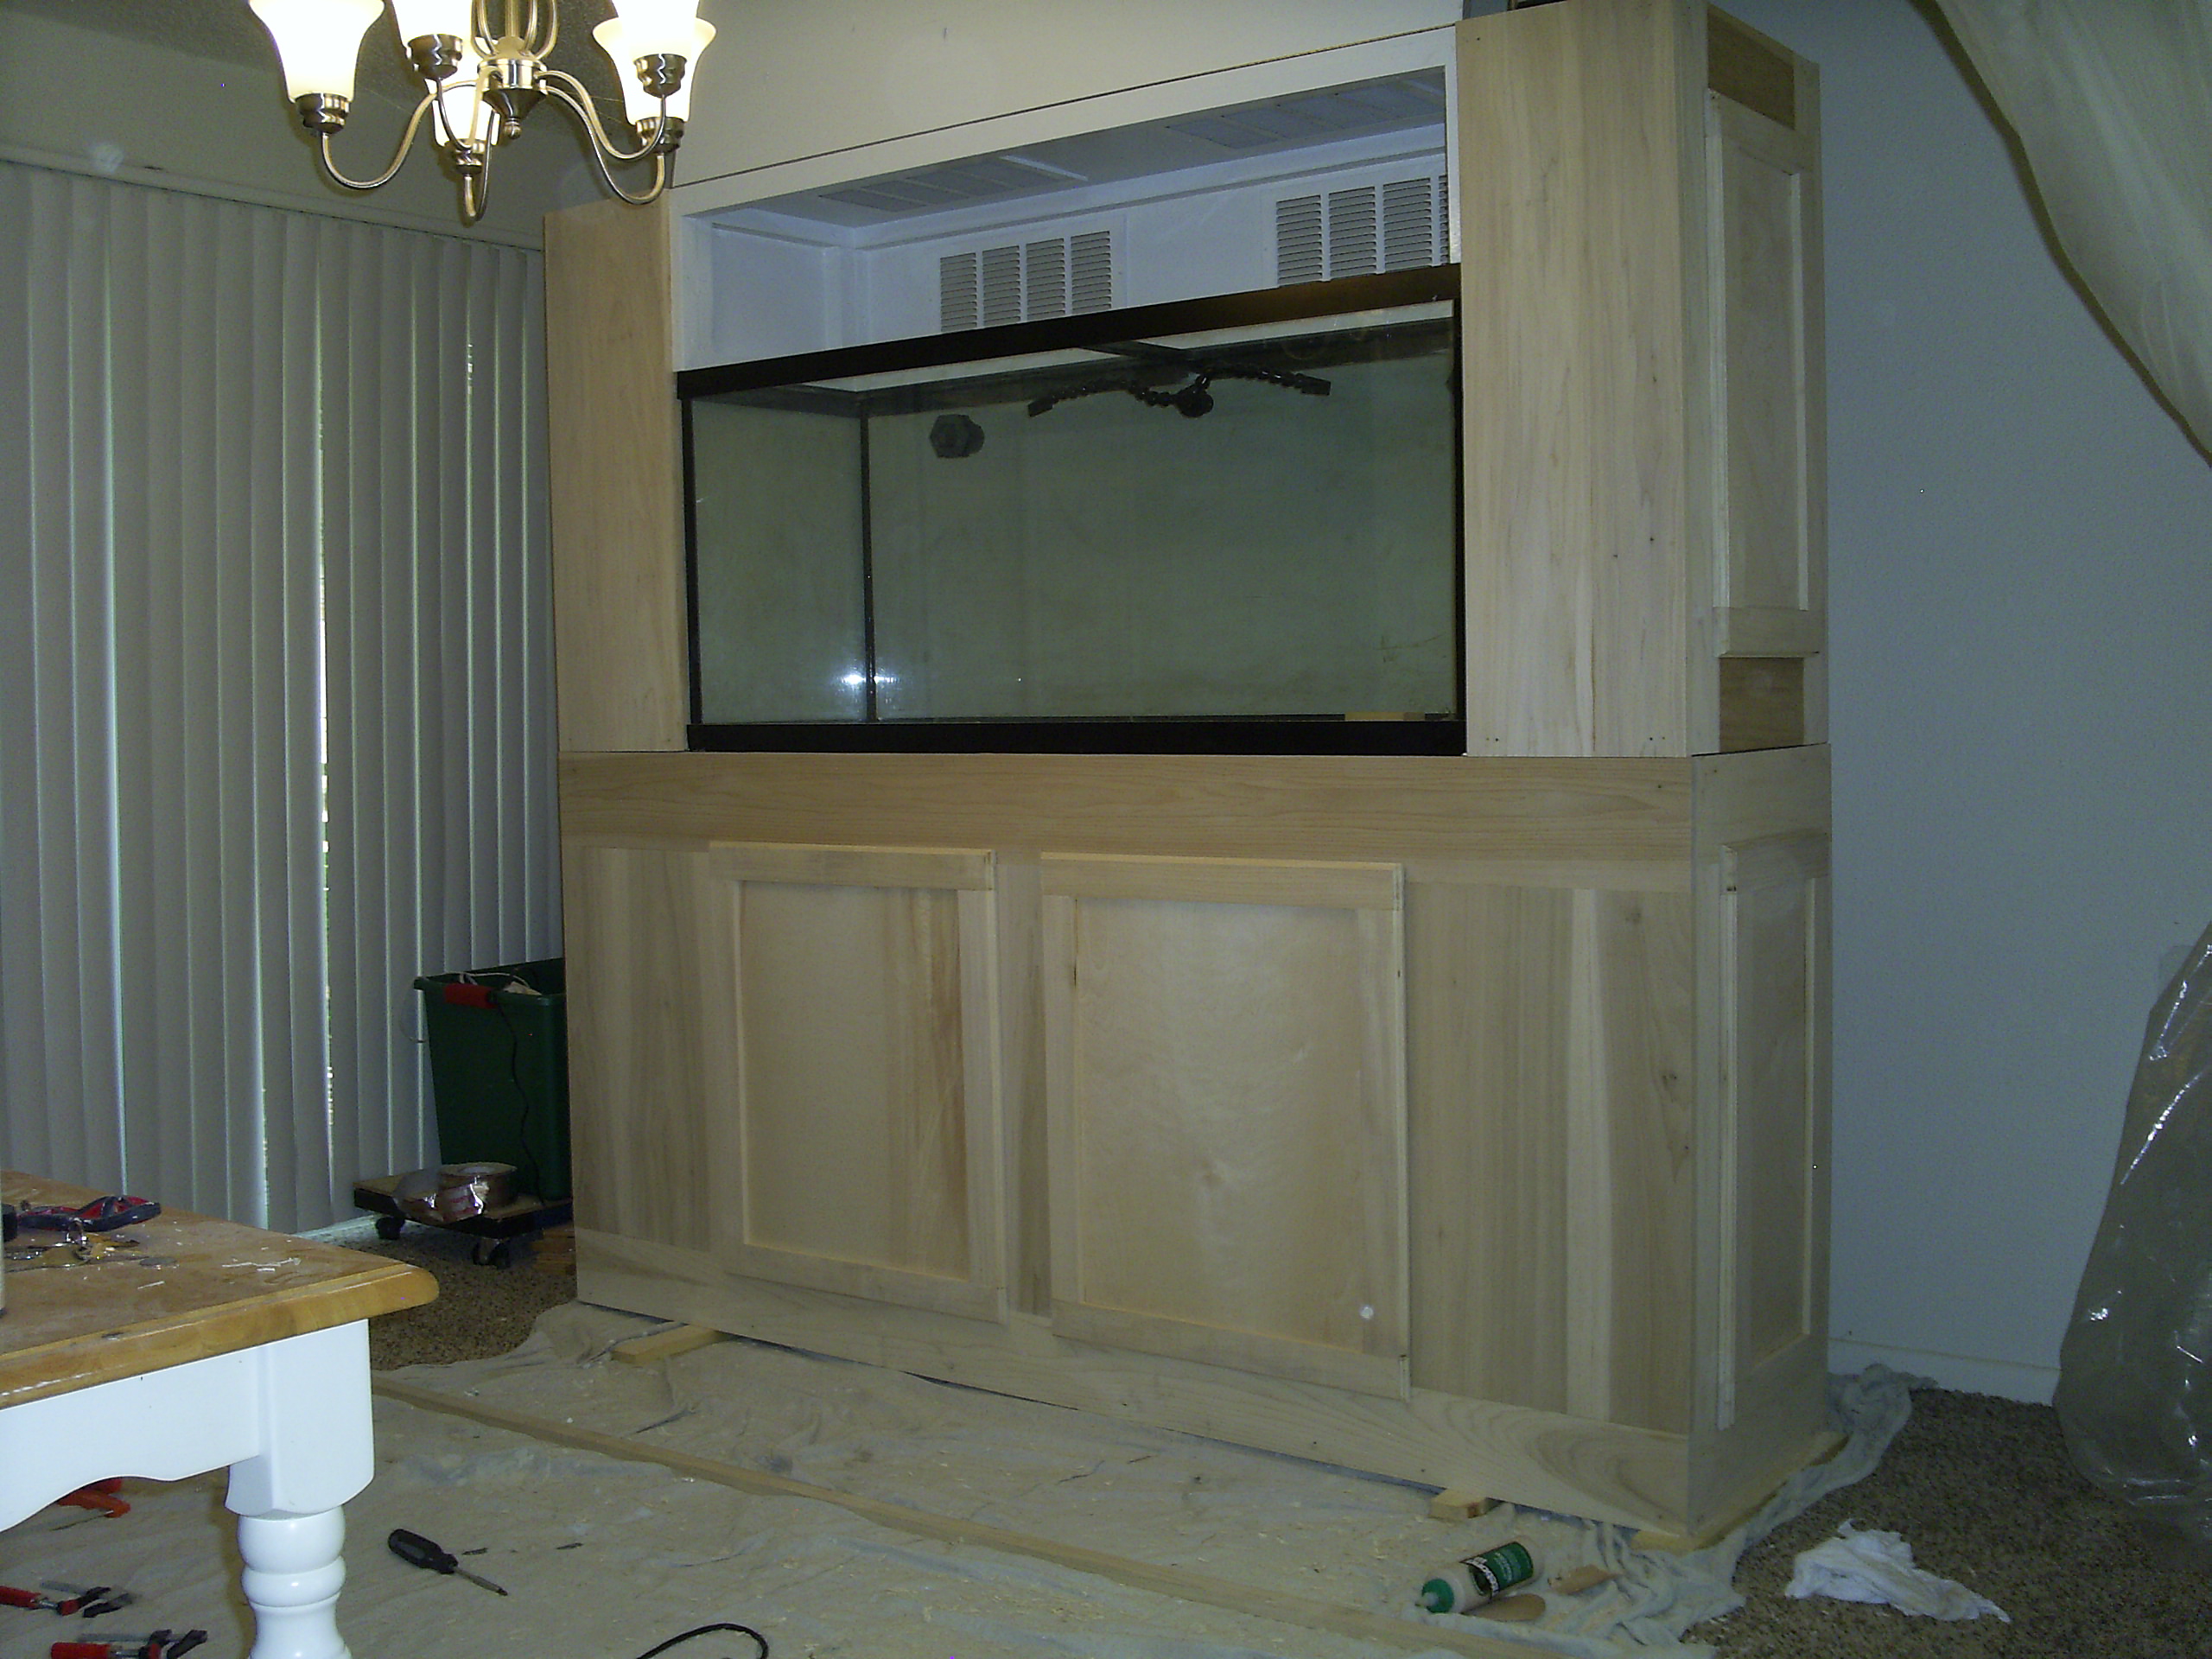
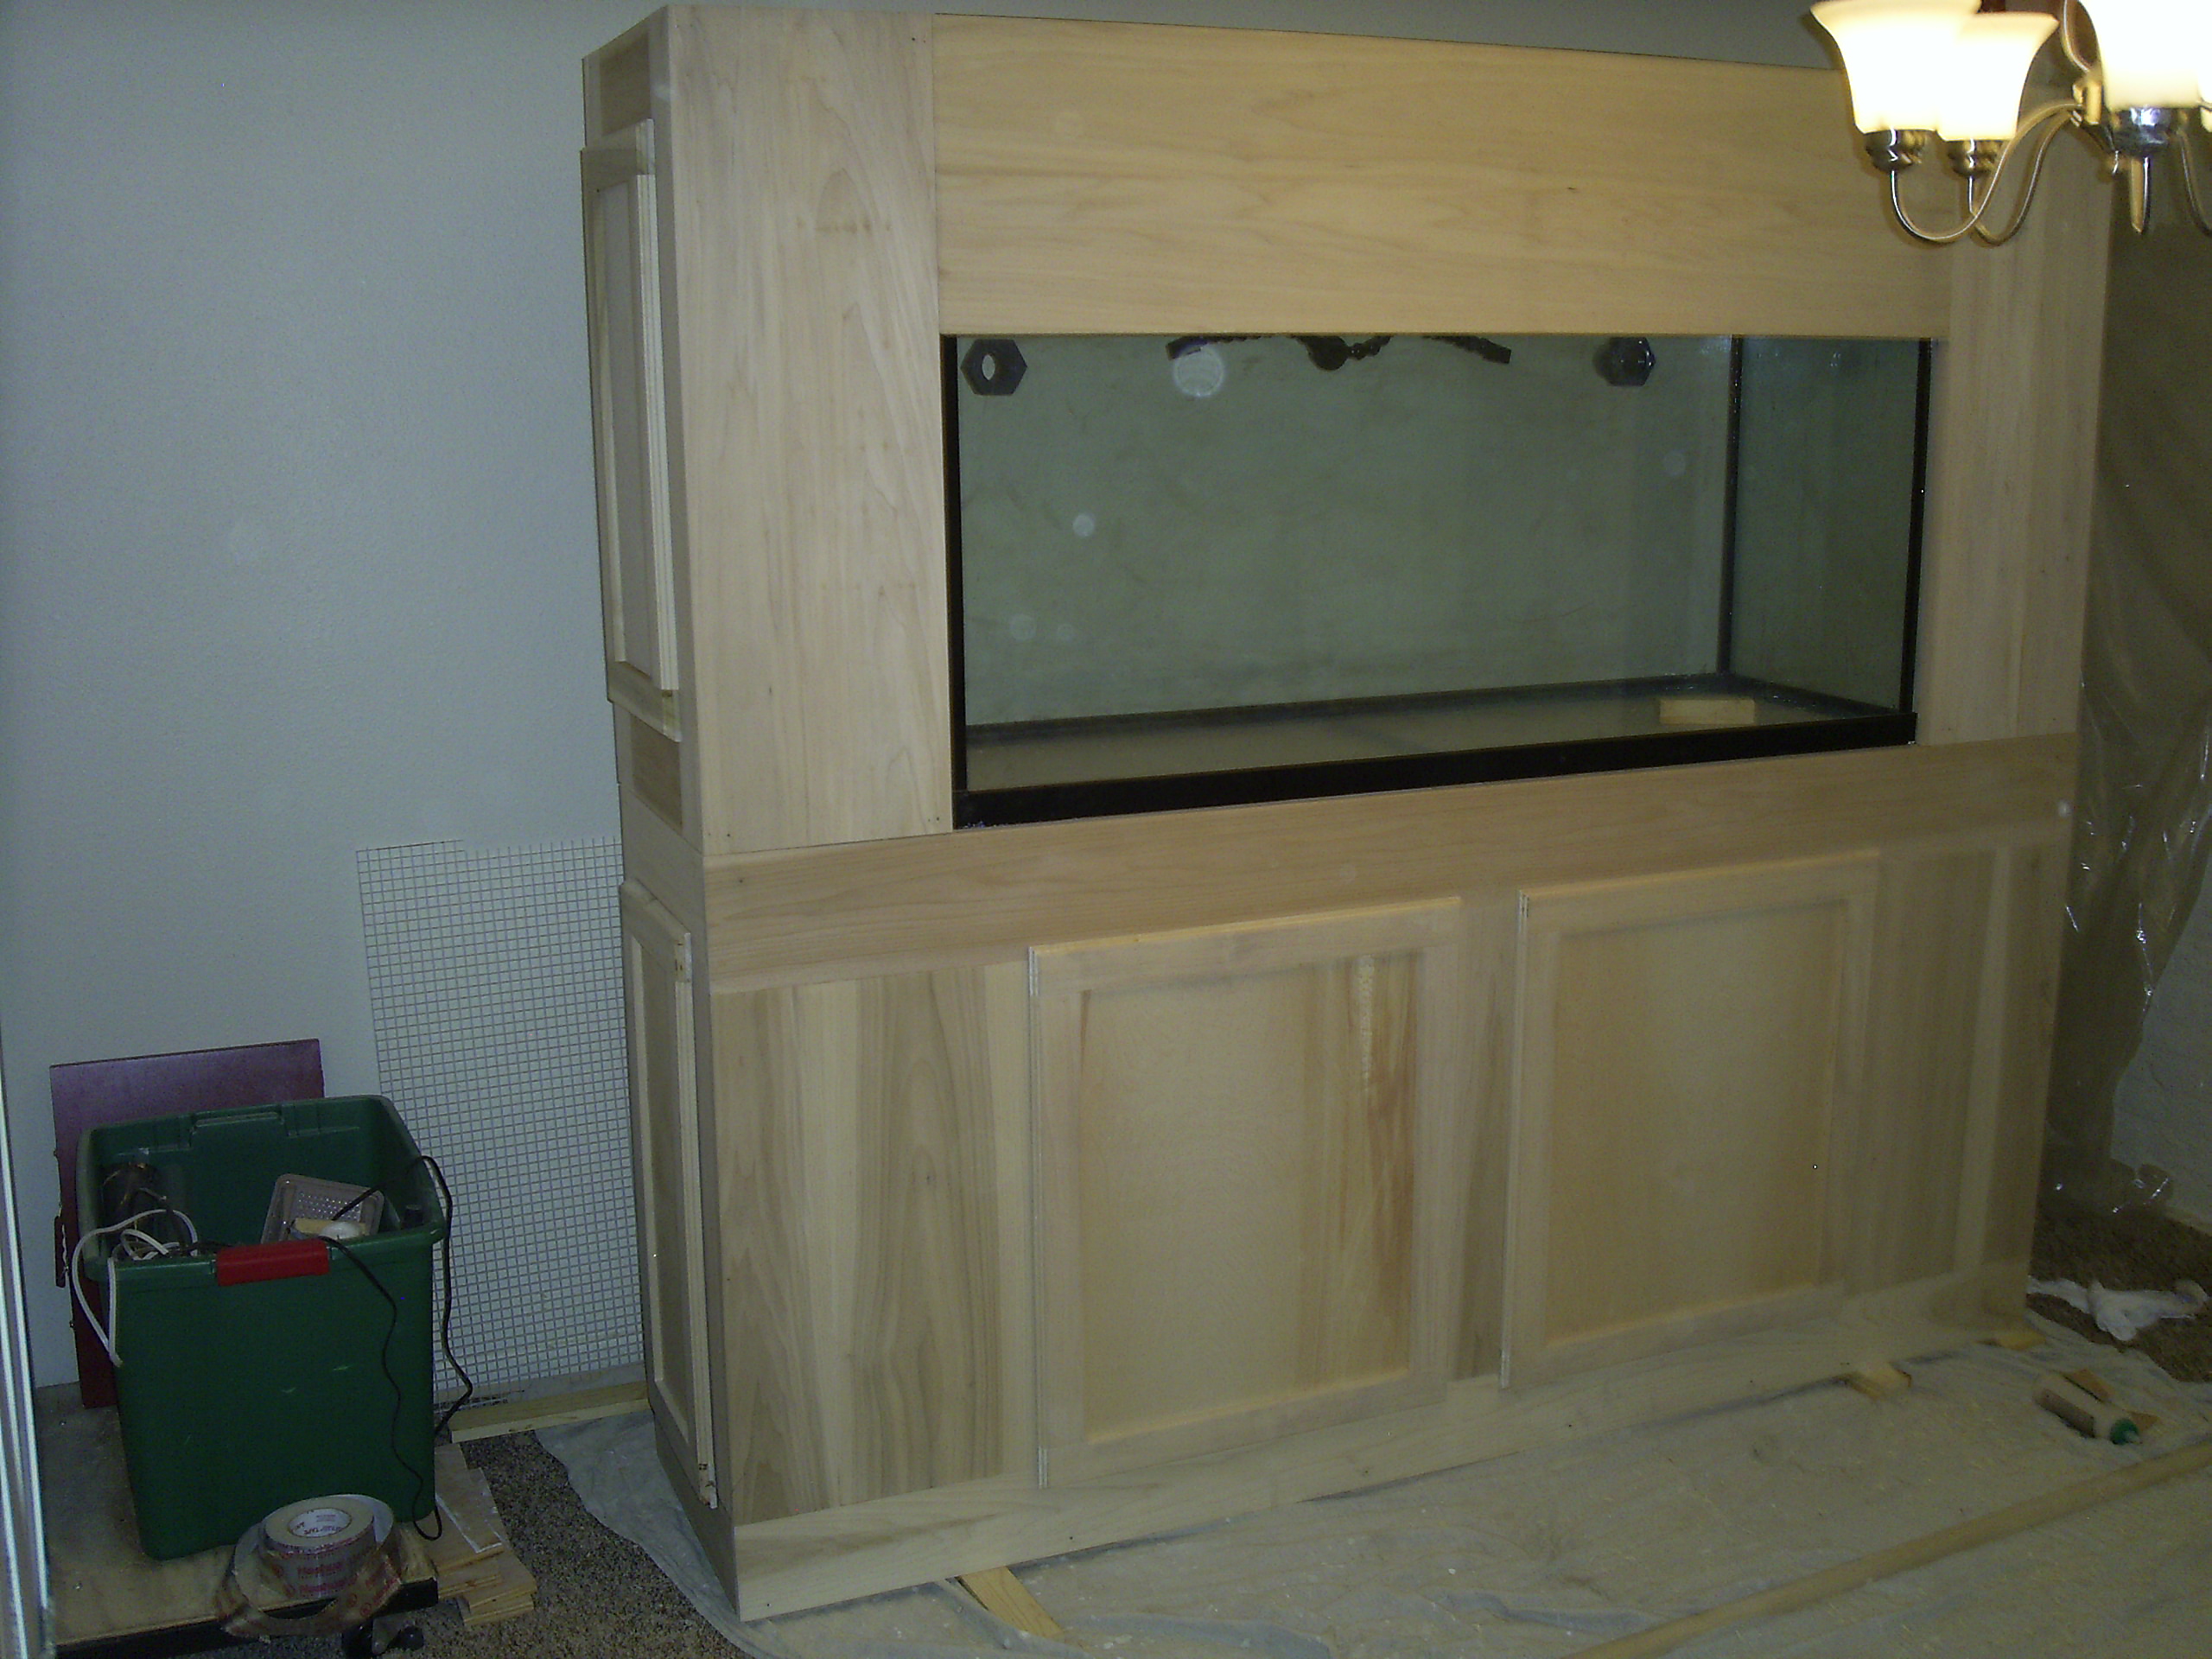
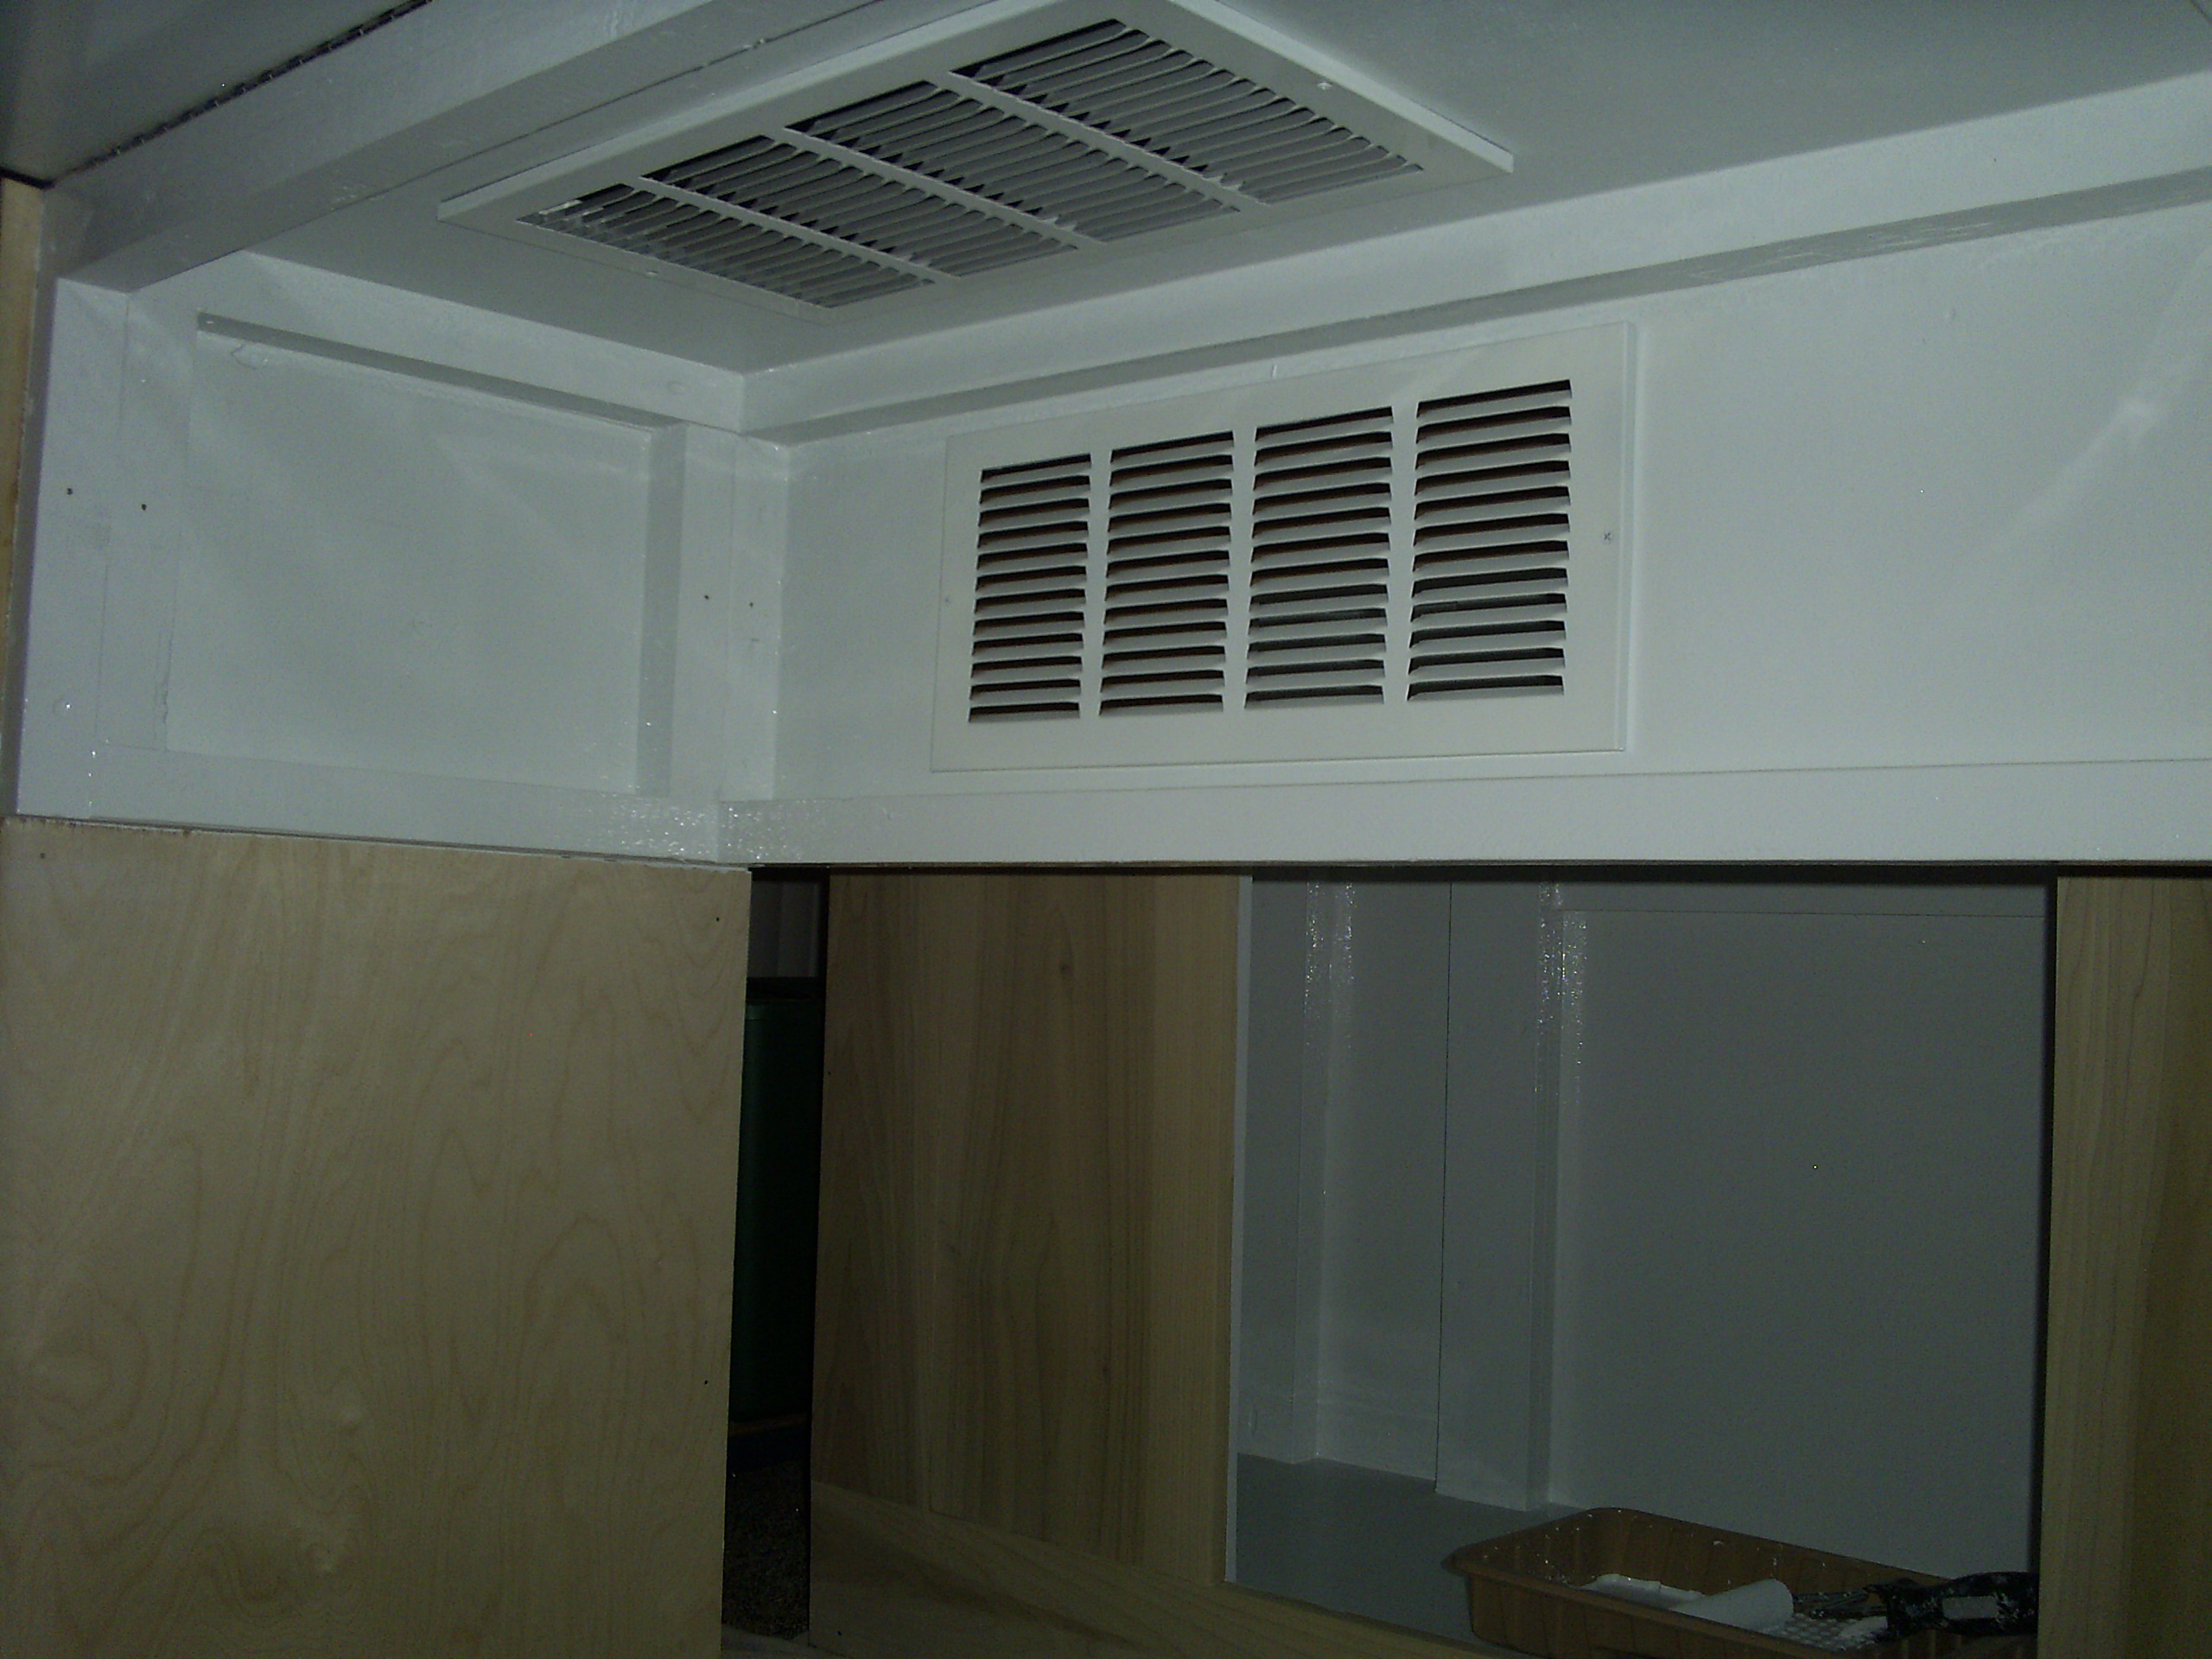
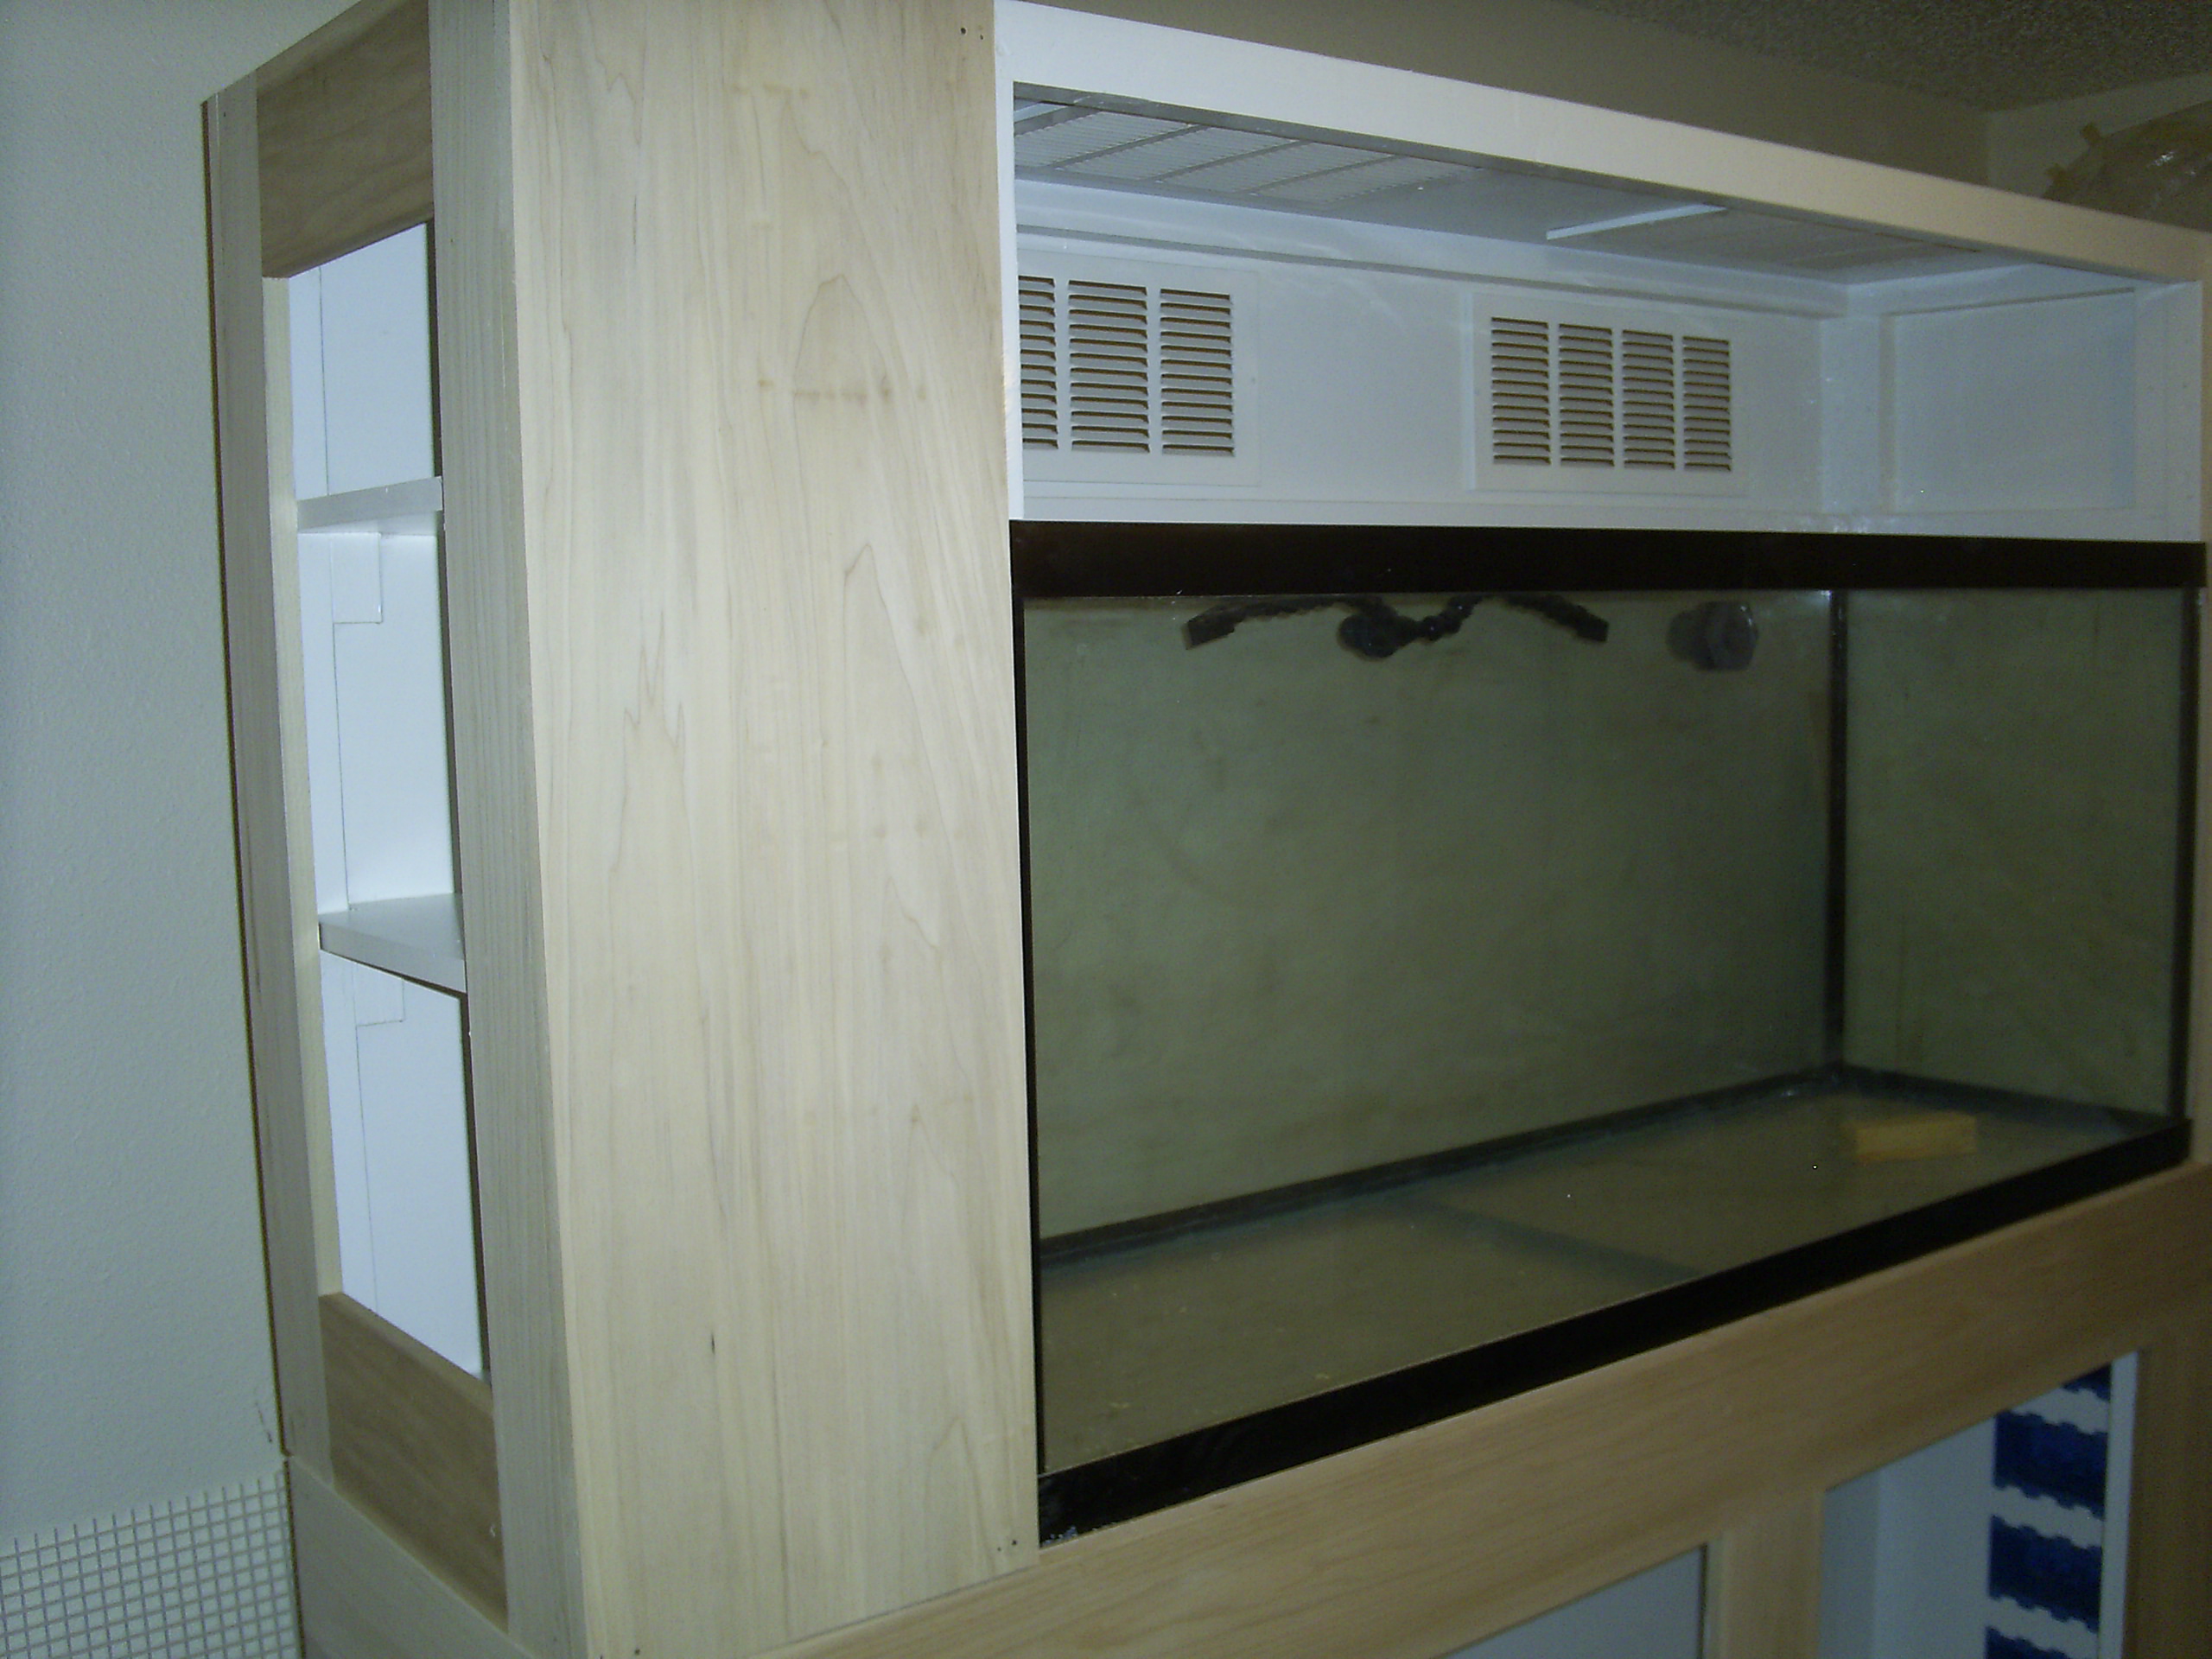
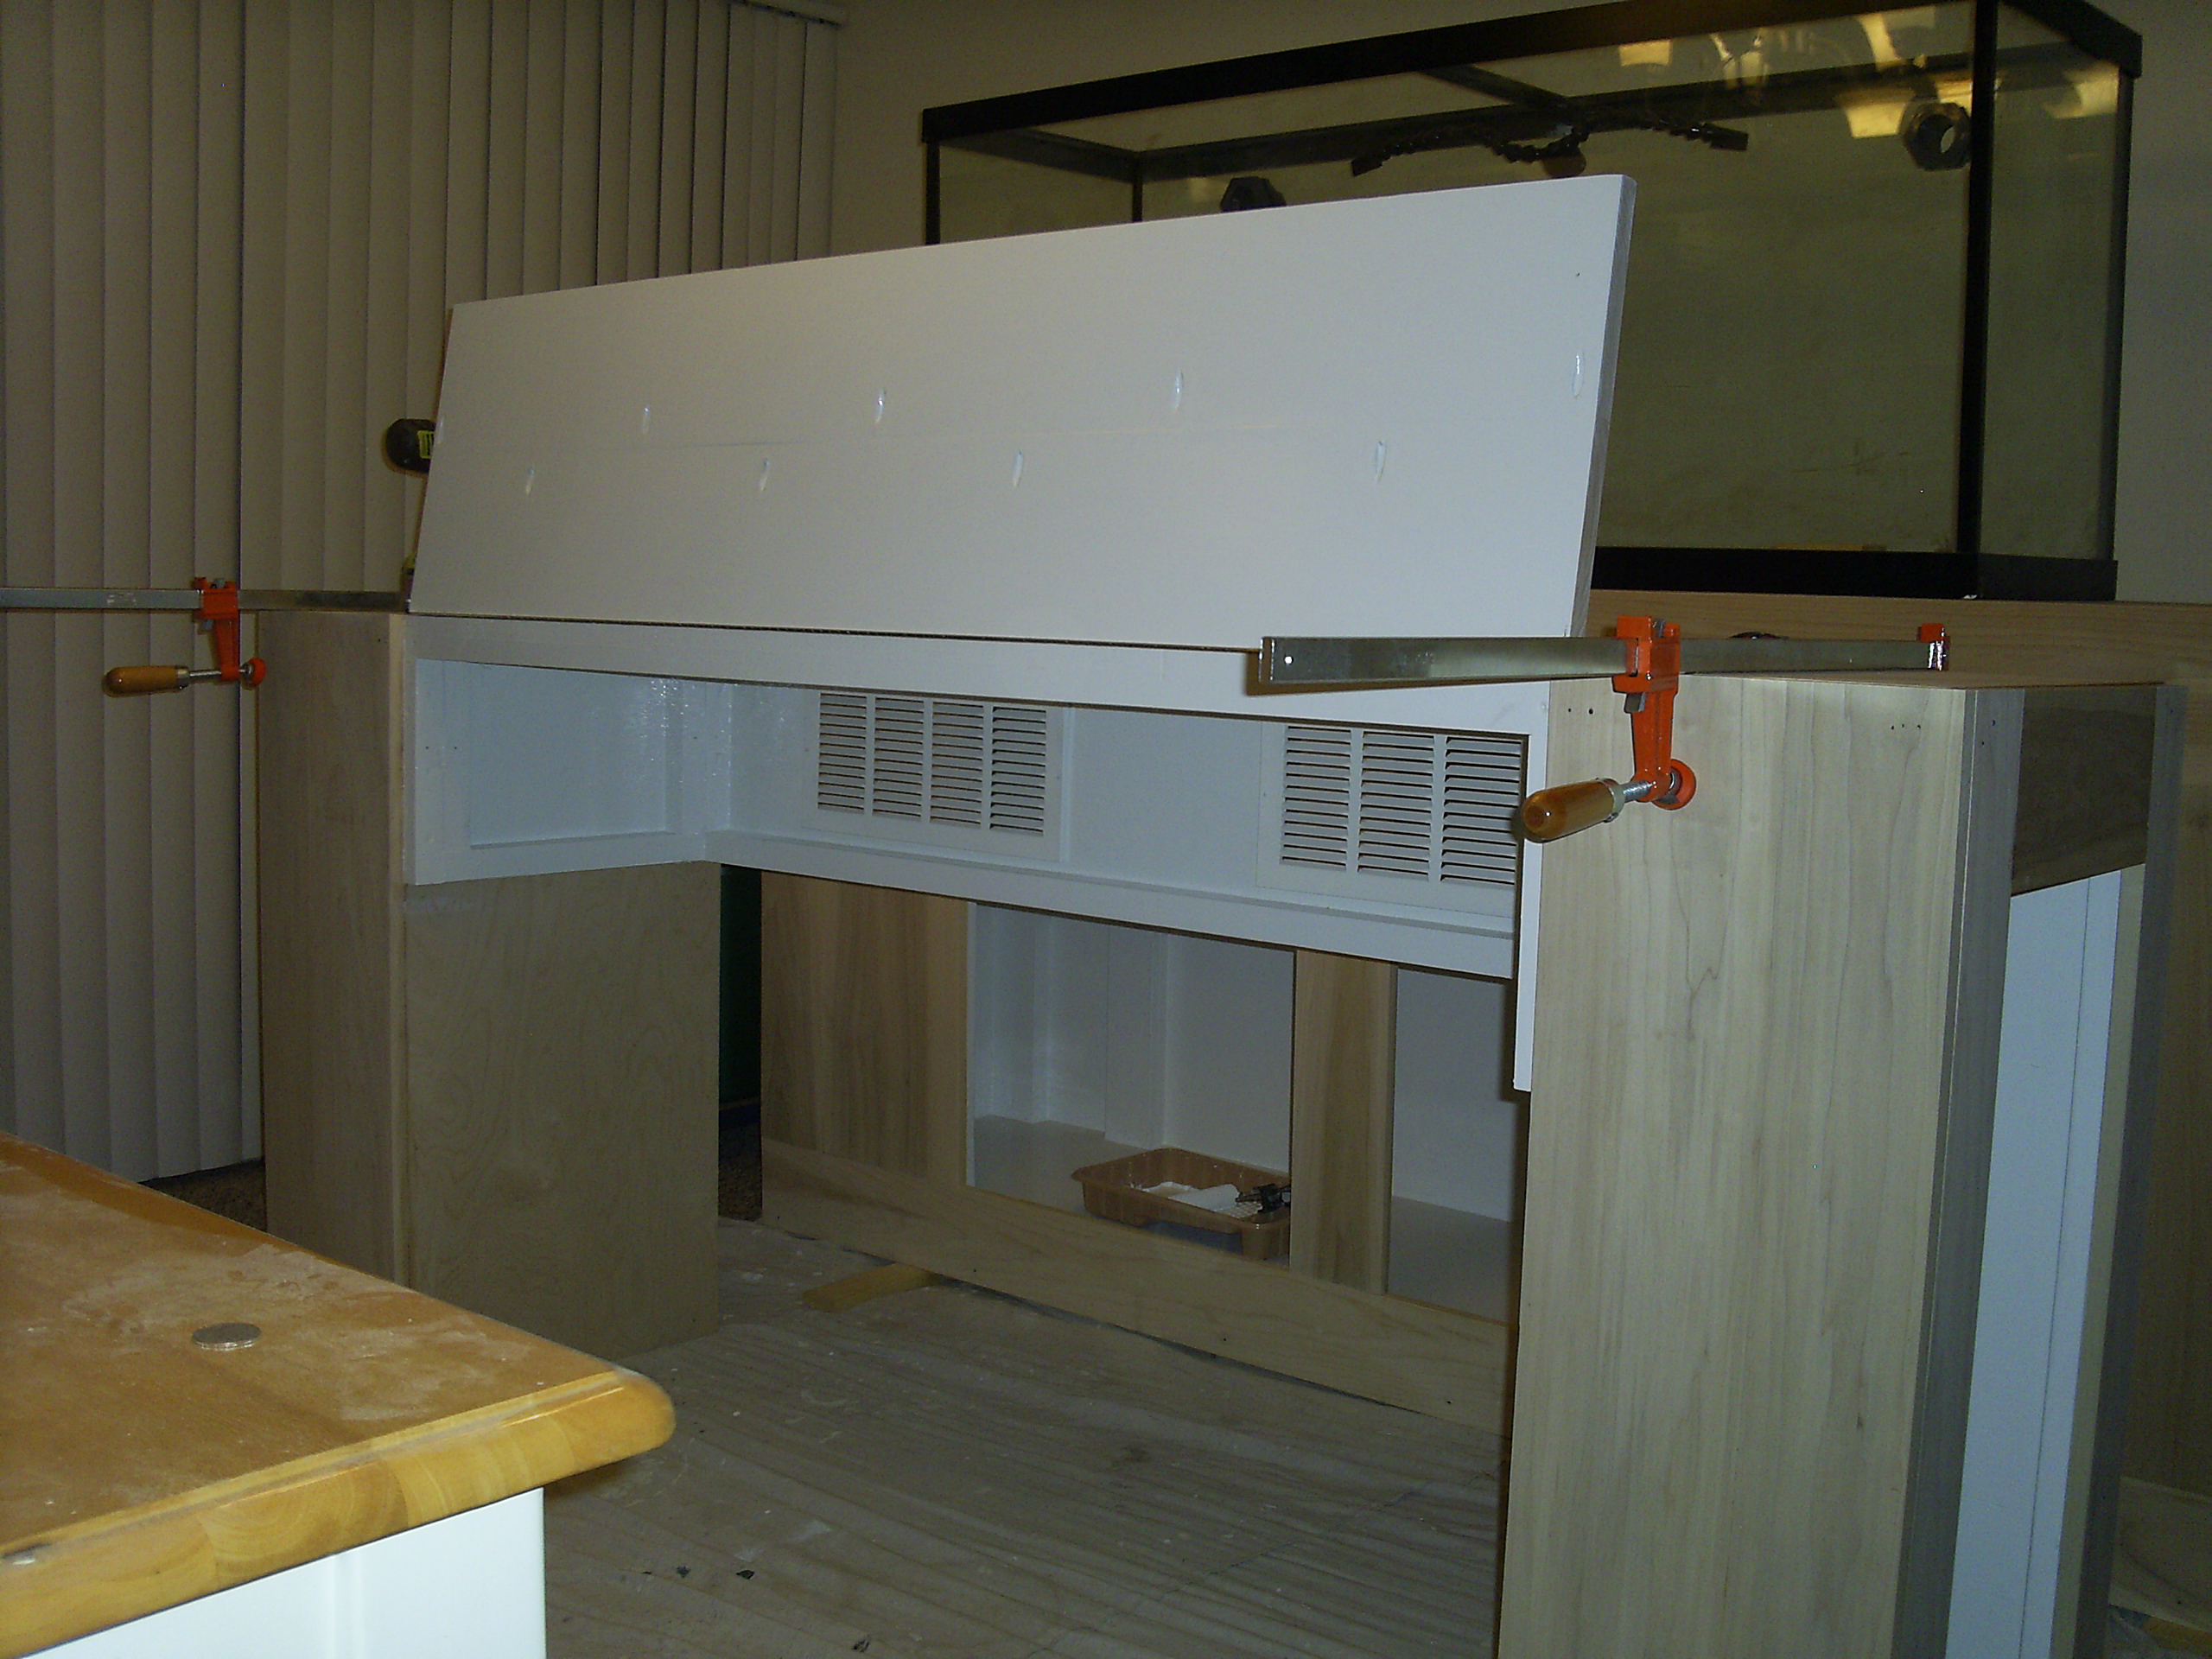
Since my last update I've made a little bit of progress, not a ton....but a little bit. I did manage to get the ******** of the side cabinets of the canopy as well as the ******** of the canopy itself painted with the urethane enamel paint. I think it looks pretty sharp...super shiny and bright white. I also made the cut outs for the ventilation and install those on the top and back of the canopy as well. The vents themselves are simple ventilation grills that I picked up at lowes for cheap...I also gave them 3 coats of appliance epoxy spray paint to help prevent against rust.
Here's some shots of that stuff....


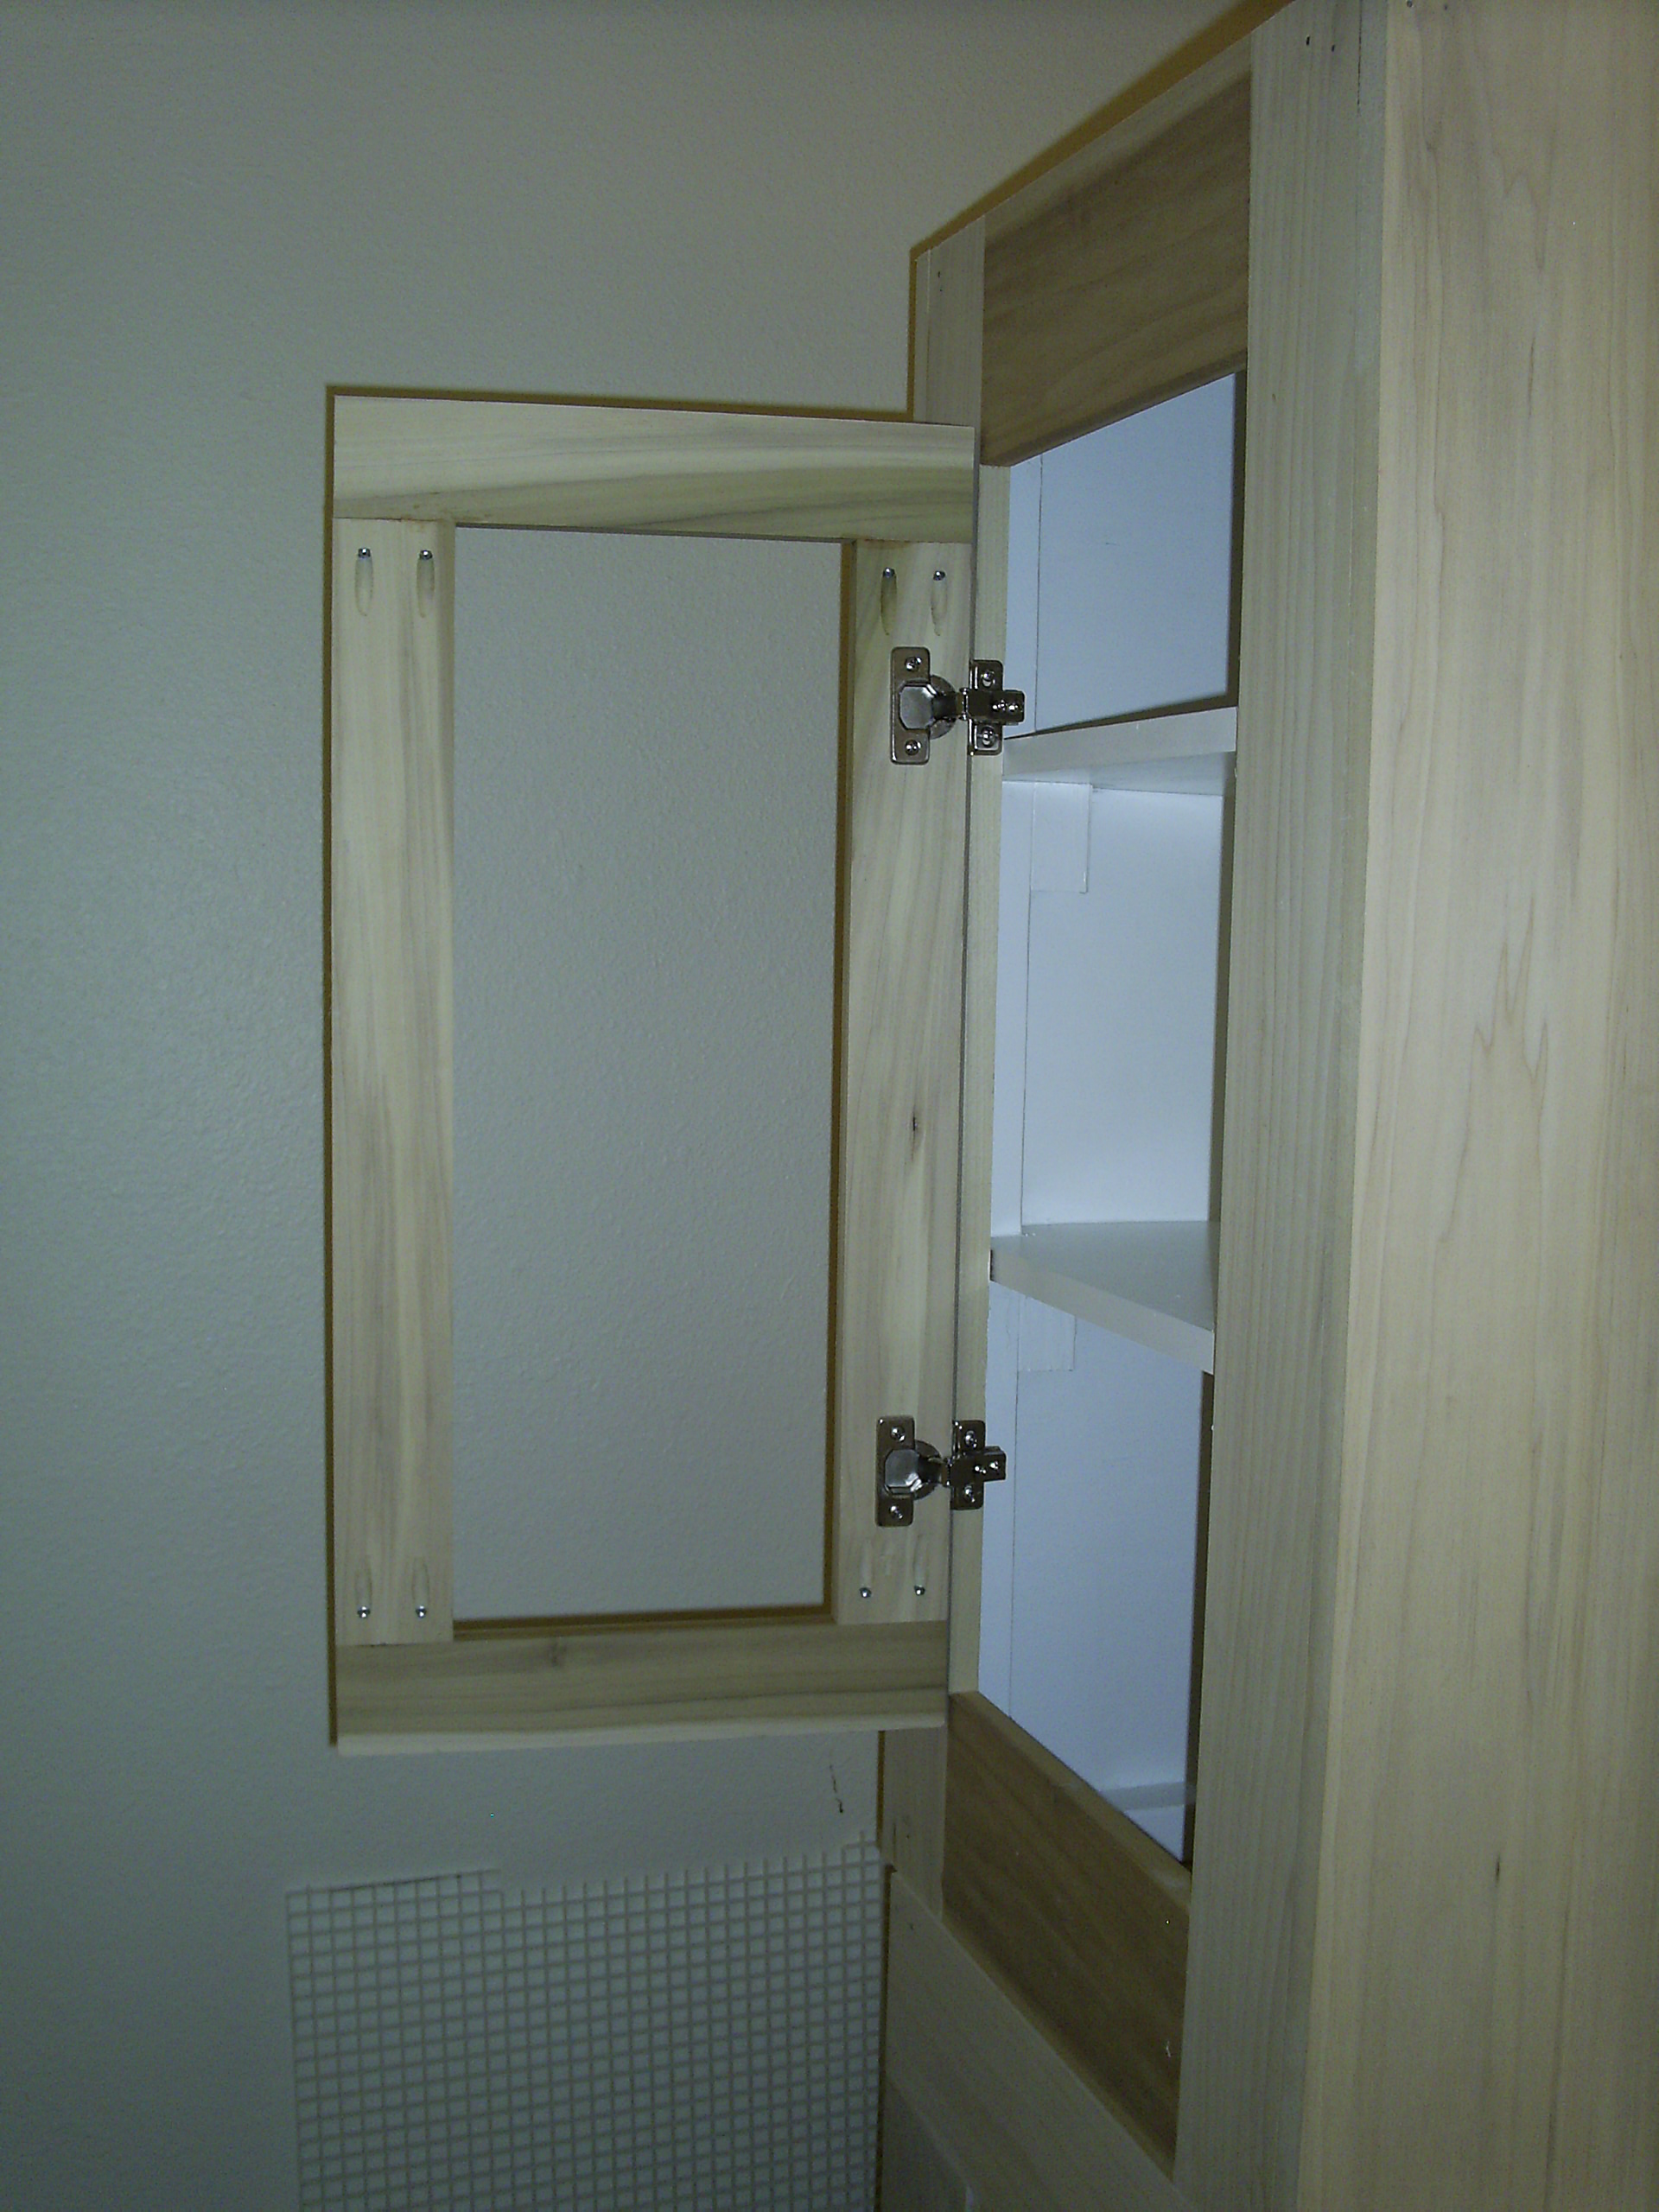
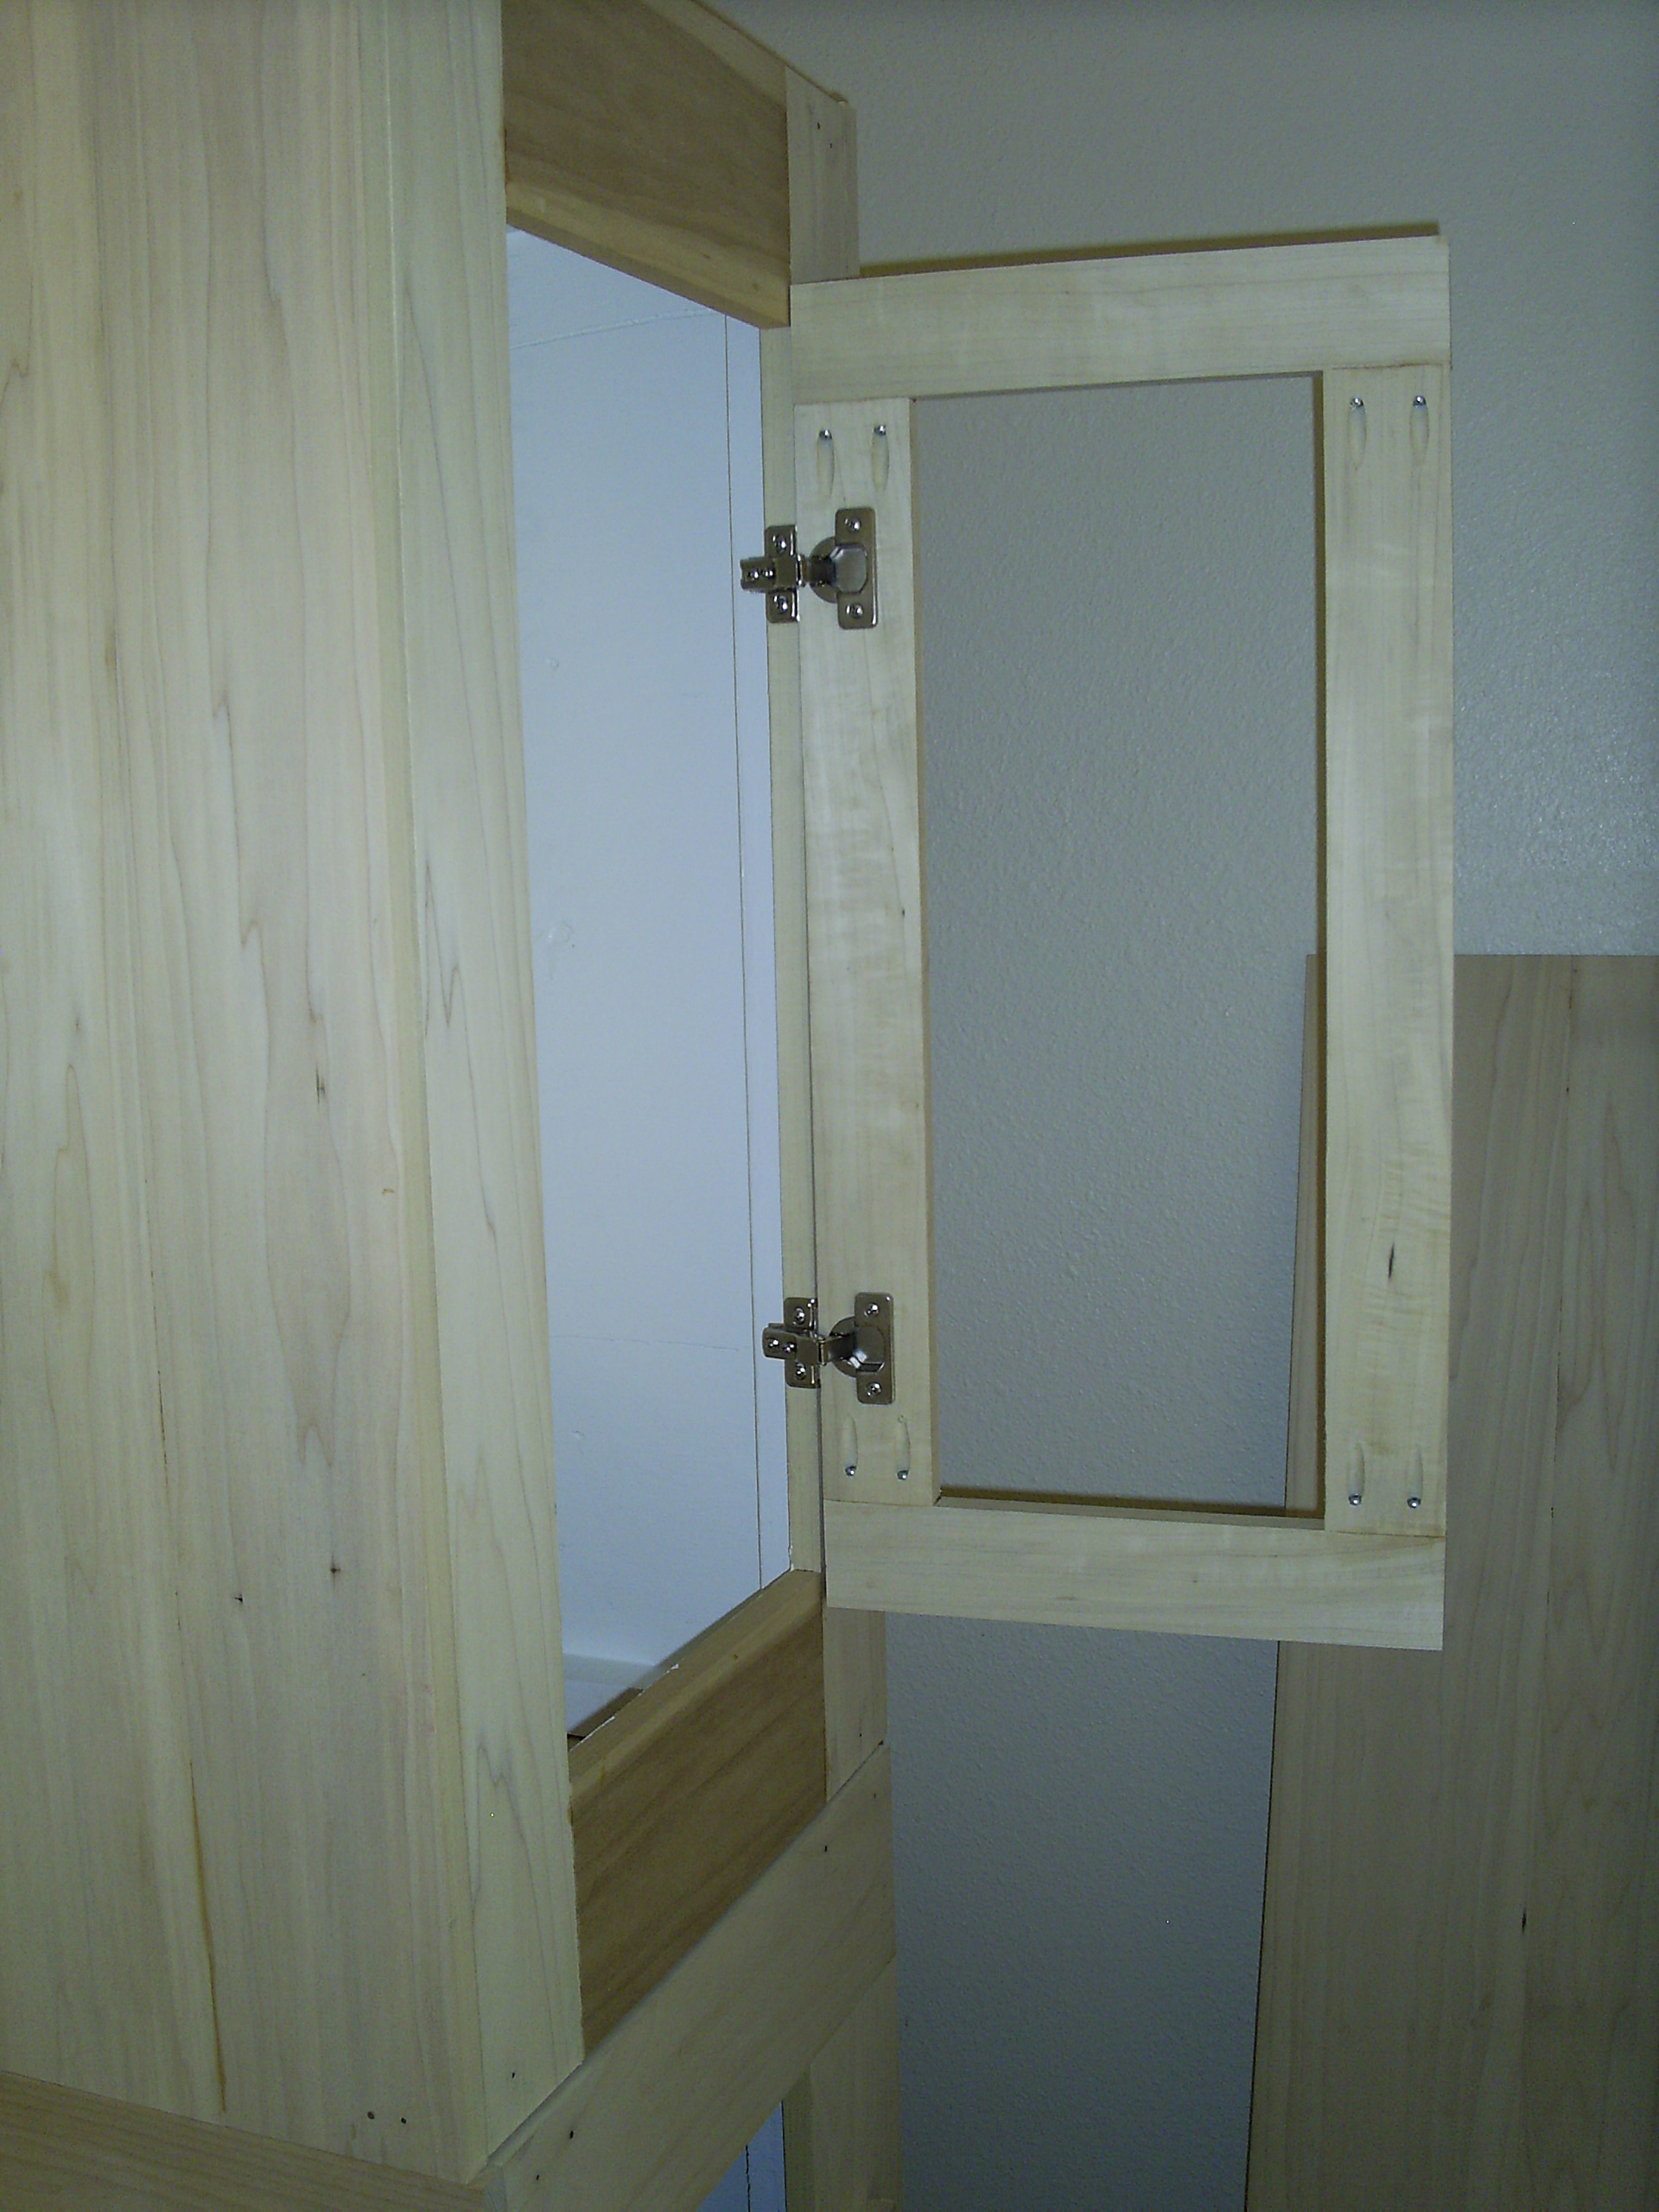
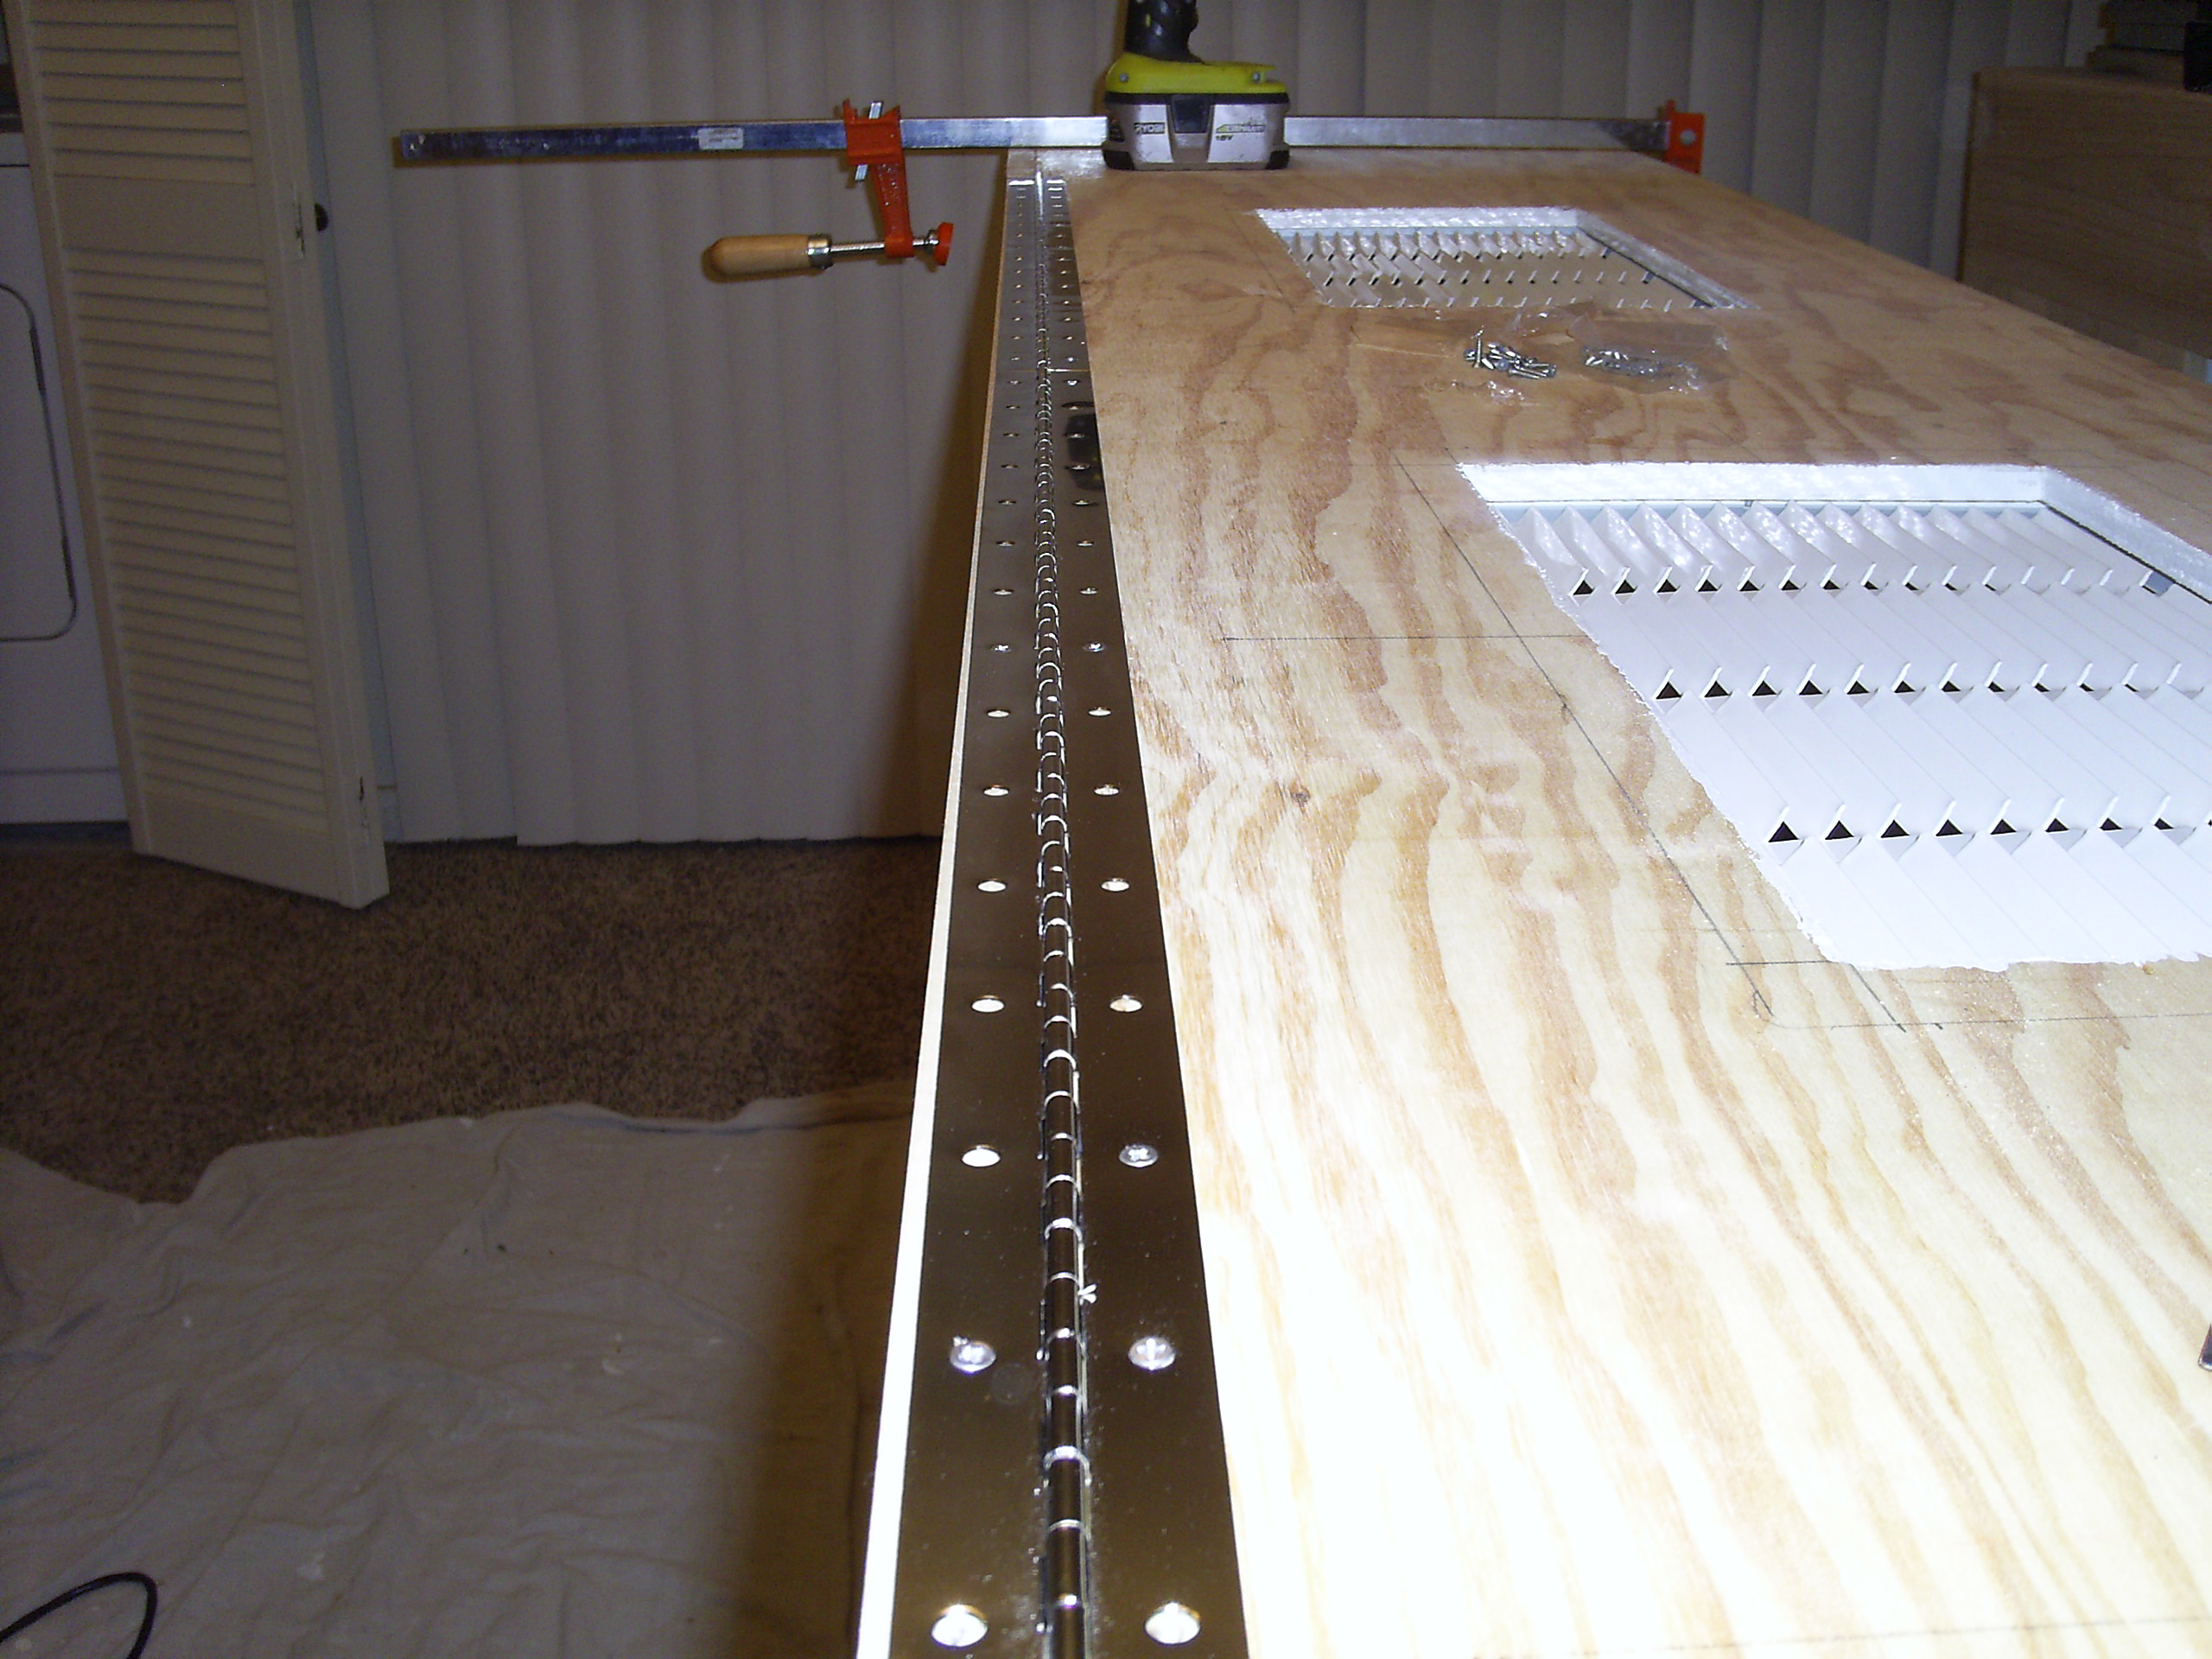
Here's a few shots of the conitnuous hinges that I'm using for the canopy door itself. They are two 30" stainless hinges that I found at Lowes for $20 a piece. Since the canopy door is 61" the two 30" hinges worked out perfect....


2quills

Well-Known Member
Here's some pictures of the door frames coming together. Nothing to technical, just some simple pocket hole screws and glue joinery.


flower

Well-Known Member

WOW...What a blessing to be that handy...It looks great, I really like the shelves on the side.
 

2quills

Well-Known Member
Some more shots of the doors on the stand. They are just about complete. I still have some accent trim that I'd like to add around the inner perimeter of the door frames to finish them off. Again, nothing terribly technical with the construction of the doors...I simply used a rabbeting bit with the router to make a relief cut in order for the panels to sit flush within the frames. Then I glued and tacked them in with staples. Once they are stained and finished I think they'll look fine.


I had to do something a little bit different on the bottom side doors. Since the face frame on the bottom is wider where the bottom doors are as apposed to the top since I needed to cover the vertical supports on the stand...I ended up just making over sized doors for the bottom to match the doors on the top. But since I did this I wasn't able to use the concieled hinges on the bottom doors...instead I just used flush mount hinges. Since they are towards the back and are dark they should blend in just fine with the stand and no one will ever know accept me...well, and you guys too.
 

2quills

Well-Known Member
Quote:
Originally Posted by Flower http:///forum/thread/378912/2quills-120g-re-build-thread/140#post_3318243

WOW...What a blessing to be that handy...It looks great, I really like the shelves on the side.
Hey, Flower. I almost didn't see you sneak in there while I was still posting. haha
Thank you for the kind words. I'm about ready to get this thing finished up hopefully by next month when my family comes into town. Maybe we'll actually be able to eat Thanksgiving dinner in there. We'll see...
 

flower

Well-Known Member
Quote:
Originally Posted by 2Quills http:///forum/thread/378912/2quills-120g-re-build-thread/140#post_3318250
Hey, Flower. I almost didn't see you sneak in there while I was still posting. haha
Thank you for the kind words. I'm about ready to get this thing finished up hopefully by next month when my family comes into town. Maybe we'll actually be able to eat Thanksgiving dinner in there. We'll see...


You were further along than I realized...Are you going to get the entire tank up and going by Turkey day? Or Just be able to use the room by then...LOL
 

2quills

Well-Known Member
Quote:
Originally Posted by Flower http:///forum/thread/378912/2quills-120g-re-build-thread/140#post_3318277

You were further along than I realized...Are you going to get the entire tank up and going by Turkey day? Or Just be able to use the room by then...LOL
Probably just be able to use the room by then. I do plan on having the stand and canopy finished at least though. But once that's done then I still have all of the new equipment left to aquire, which is....
Skimmer = $400
Power heads = $800
Pump = $200
Lights = $1200 + pluss I have to build them from scratch.
Re-do Sump = $60 pluss time to build.
R/O Unit = $300
ATO = undertermined
So you can see it will still be a little while before I have everything in place. With a little luck I should have everything up and going by the end of December (fingers crossed). Then I'll probably want to let everything cycle and flourish for a few months before I start adding anything back to the tank as far as livestock is concerned. That is if my patience can hold out that long.
 

2quills

Well-Known Member
Quote:
Originally Posted by meowzer http:///forum/thread/378912/2quills-120g-re-build-thread/140#post_3318292
GEESH....I would never have the patience

Normally I don't have much patience for alot of things. I certianly didn't have much when I first got this tank or any of my other freshwater tanks in the past. But it's been something that has grown on me a little bit lately as far as this hobby is concerned. I'm fairly confident that all the hard work will be worth it in the end. I fully expect to hit many bumps in the road along the way. But they tell me that patience is a virtue, so....I guess I gotta trust in that.
 

2quills

Well-Known Member
Quote:
Originally Posted by acrylic51 http:///forum/thread/378912/2quills-120g-re-build-thread/140#post_3318312
I don't think I've ever been on the "good" list..... Very impressive Corey.....love the doors!!!!!!

Thanks, bud! It's amazing what you can get done on a weekday with no one home and no one coming in and out.
A full shot with the canopy door closed...I'm still trying to think of a good way to tie all of the trim in. I'm thinking about adding some pieces around the canopy door to make it look like the other doors. It would actually extend over the seams so that you wouldn't see them. I'm just not sure how I'm going to make it work yet with the crown molding that I want to put on there and have it all blend together. I don't think I'm going to get the custom carved stuff this go around. It just seems a little more than I want to spend right now. I think I can do it a little cheaper and still have something pretty nice. Maybe get a little creative like you did on your trim work.
 

acrylic51

Active Member
Very nice!!!!! Are you talking about hiding the vertical seams on the canopy door? I'd like to figure that trick myself......The only thing I could come up with to try to get a seamless look was to cut the canopy door frame at a 45 with a 45 chamfer router bit and the same cut opposite on the door itself....You still see the line though, but helped it lay better, in my situation.....I honestly wouldn't try to hide the vertical though.....It's obvious it has to open some way, but molding along the bottom cut at 22.5 could possible help as well.....I did that trick as well on the bottom of the canopy door.....
 

acrylic51

Active Member
Nice router work on the door edges!!!!!! What bit did you choose? I'd love to have a nice router table.....man that would make things so easy and steady feed rates!!!!! Any ideas or quick glimpse of your molding choices?
Quote:
Originally Posted by 2Quills http:///forum/thread/378912/2quills-120g-re-build-thread/140#post_3318246
Some more shots of the doors on the stand. They are just about complete. I still have some accent trim that I'd like to add around the inner perimeter of the door frames to finish them off. Again, nothing terribly technical with the construction of the doors...I simply used a rabbeting bit with the router to make a relief cut in order for the panels to sit flush within the frames. Then I glued and tacked them in with staples. Once they are stained and finished I think they'll look fine.


I had to do something a little bit different on the bottom side doors. Since the face frame on the bottom is wider where the bottom doors are as apposed to the top since I needed to cover the vertical supports on the stand...I ended up just making over sized doors for the bottom to match the doors on the top. But since I did this I wasn't able to use the concieled hinges on the bottom doors...instead I just used flush mount hinges. Since they are towards the back and are dark they should blend in just fine with the stand and no one will ever know accept me...well, and you guys too.
 

acrylic51

Active Member
What's your skimmer choices??? I think you had mentioned about using the Eheim compact as your pump choice????? What about PH choices? Honestly build your own RO/DI unit, will save you tons of cash......For the ATO check out the Tunze units....very nice IMO.....
Quote:
Originally Posted by 2Quills http:///forum/thread/378912/2quills-120g-re-build-thread/140#post_3318291
Probably just be able to use the room by then. I do plan on having the stand and canopy finished at least though. But once that's done then I still have all of the new equipment left to aquire, which is....
Skimmer = $400
Power heads = $800
Pump = $200
Lights = $1200 + pluss I have to build them from scratch.
Re-do Sump = $60 pluss time to build.
R/O Unit = $300
ATO = undertermined
So you can see it will still be a little while before I have everything in place. With a little luck I should have everything up and going by the end of December (fingers crossed). Then I'll probably want to let everything cycle and flourish for a few months before I start adding anything back to the tank as far as livestock is concerned. That is if my patience can hold out that long.
 

2quills

Well-Known Member
Quote:
Originally Posted by acrylic51 http:///forum/thread/378912/2quills-120g-re-build-thread/140#post_3318387
Nice router work on the door edges!!!!!! What bit did you choose? I'd love to have a nice router table.....man that would make things so easy and steady feed rates!!!!! Any ideas or quick glimpse of your molding choices?

What's your skimmer choices??? I think you had mentioned about using the Eheim compact as your pump choice????? What about PH choices? Honestly build your own RO/DI unit, will save you tons of cash......For the ATO check out the Tunze units....very nice IMO.....
Went with the old favorite Roman Ogee bit on the doors. I have a small router table that my plunge router mounts to...but nothing like a nice full sized router table. I'd love to have one. No pics as of yet for the molding choices, but I think I'm going to do something along the lines of what I was origionally thinking and incorporating some moldings with Dentil accents. I just like the look for some reason and I haven't used anything like that before.
Skimmer...Octo XP 2000 is going to be the one. I had kicked around the idea of the Tunze Master DOC...but I think the Octo is pretty much the winner in that arena.
Powerheads...origionally wanted some Vortechs...but with the way my canopy sits so close to the sides of my tank I've decided on Tunze Nano Streams with controller.
Pump...either the Eheim Compact 5000...or the WaterBlaster 5000. Thinking of rolling the dice here and trying something new, see what happens. I'll be sure to write lots of reviews either way lol.
I haven't done alot of looking into it yet, but I did look briefly into putting together an R/O unit. I'll have to look into it a little more...any suggestions on a good place to go for that?
I was looking at the Tunze ATO's...I do like them, they are on the top of the list.
 

sweetlillady

New Member
I think it looks so good babe...it has truley been a real treat watching this from the ground up..you really should be proud of yourself because I know I am so proud of you..
 
Top