415 Gallon Plywood Tank Build

acrylic51

Active Member
I know what your saying Spanko.....I thought a bit about that afterwards....The 1 problem I see with the snap track something like the transition pieces is that wood itself doesn't hold up very good to repeated taking apart. Haven't ruled it out though. 2Quills suggestions made me start looking alittle further, and getting the bit, I could cut my own into the panel, and with using the T bolts I could actually adjust the tightness of the trim piece to the rest of the skin. I still have to factor into play the finish being applied to the stand, which might affect how the trim actually sits. The skin will be stained, but I'm considering using the Bar Top mirror 2 part epoxy instead of poly??? So the thickness level will be slightly more than what I would achieve with a poly finish......Like I said need the input!!!!!!!
 

acrylic51

Active Member
Ok guys a couple more options/suggestions from the masses....I can't believe nobody other than 2Quills and Spanko have any suggestions or tips.....
I'm getting ready to call the supplier for the epoxy and such, still looking for ideas as to what color of tint I want for the epoxy for the bottom and back. I know we had talked about white for the bottom, and I had made the suggestion of using the laminate backing on the back, but still looking and need feedback.....
I'm fine with doing the bottom white. I would give it a clean look, but wondering if it wouldn't be an algae magnet at the start, and not totally sure if I'm going to go BB or SSB. The back I'm just not to thrilled with doing either black or blue. Both just seem kind of boring....I want to give a deeper depth perception.
So......Here's my questions:
1. What color would you use for the bottom of the tank?
2. What color would you use for the back of the tank?
 

spanko

Active Member
Bottom in my mind depends on whether or not you will use a substrate. If not substrate then white, if substrate then no use in using any other color that the rest of the tank. For the back the nicest tanks I have seen are blue. I wish I could find the picture of the star-burst pattern in blue I saw, it was really nice.
 

acrylic51

Active Member
With the 2 part epoxies, they have to be protected against UV and that being with some sort of paint or such like the SweetWater paint. That is the real purpose for the tint. Guess I should have added that part in earlier....and agree with you Henry, I'm looking for a little more than just your standard blue.
 

2quills

Well-Known Member
Ok...I know you're looking for others to chime in but I've got one more idea. I also thought about it after the fact of how well the wood would actually hold up after repeated use popping in and out of the track. How about just installing some threaded rod sticking out of the back of the trim...if the trim is thick enough to do so, ofcorse. With the right size hole u could just use some glue and thread the rod right into the trim. Then you could just drill holes for the threaded rod to slide through the skin and tighten the trim down with some washers and nuts...and that way you wouldnt have to worry about it being loose of not fitting tight enough.
 

acrylic51

Active Member
You guys are good....Didn't think of magnets, and honestly hadn't even thought of threaded rod epoxied to the trim panel......Hmmmmmm....been busy with some other stuff have to get back on board here and get my head to the grind stone.
 

2quills

Well-Known Member
I'll help build yours if you come help build mine...I know my stand is going to be a heavy son of a gun by the time it's all finished. All my bulkheads and bits just came in so I think I'm gonna make the holes in the tank this weekend. Would you have any objection if I post pics of the method?...I wanted to ask since it was your idea...don't wanna give away any trade secrets, ya know.
 

acrylic51

Active Member
Well this long weekend turned out to be pretty productive on my part.....Also broke in the process, but what else is new....
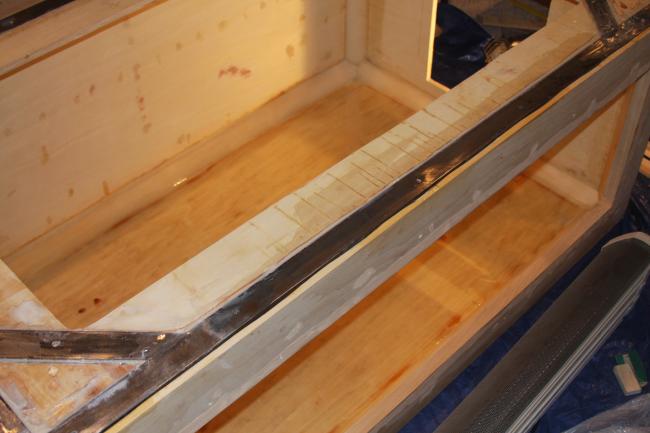
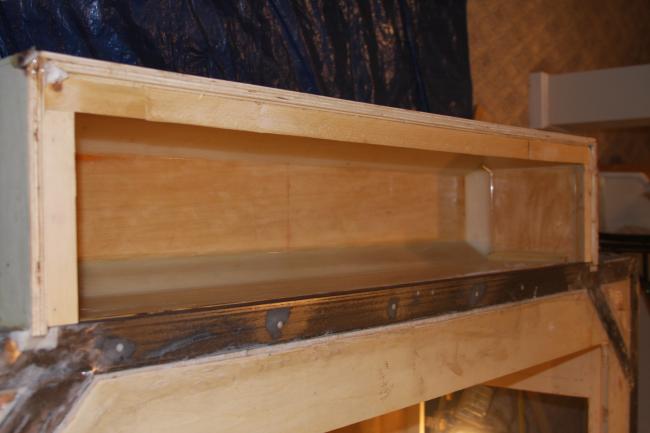
I got the first batch of epoxy in, and started by mixing equal amounts of epoxy, and then when that was throughly mixed I added 404 High Strength filler to it to thicken it just a tad, and started pouring my joints. I am paying extra attention to the joints in this build, because that is where I feel your real issues might come into play. To get the tank at the proper 45 degree angle, I used my trusty jigs I built that I use to square my sump during the build process. The 45 jigs actually held the tank at a 45 degree angle while I poured the epoxy, and held the tank in place till the epoxy set up. I did this to all the joints inside the tank, and then waited, and then roughed it a bit, which I actually didn't need to do, since the epoxy has a window that you don't need to sand, but after talking to West Tech's felt it was perfectly fine.....Each coat was thin, which allows you to work the epoxy easier and less air bubbles, and easier to work out any imperfections in a thin coat.
After all the corners where done I turned my attention to pouring the bottoms, back and sides. I poured again 2 thin coats of epoxy as well, allowing proper setup time, and curing, and a light sand between the coats. A neat trick is any little air bubble you might encounter; if you take a propane torch and quickly run it over the air bubble, it will pop and self level itself. It's rather tedious, but actually fun trying to produce and ultra smooth finish.......
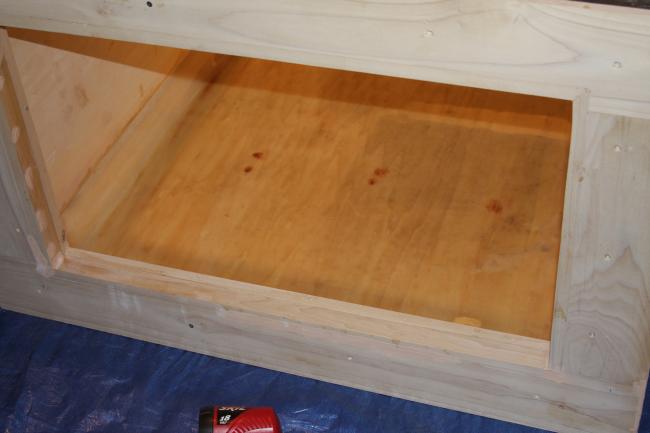
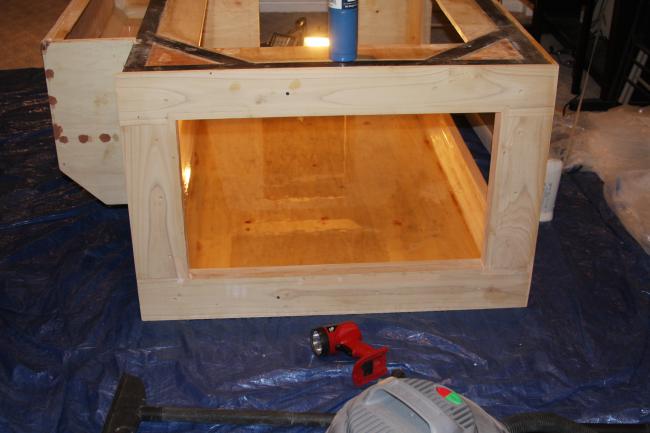
Here are couple pics of the progress........


acrylic51

Active Member
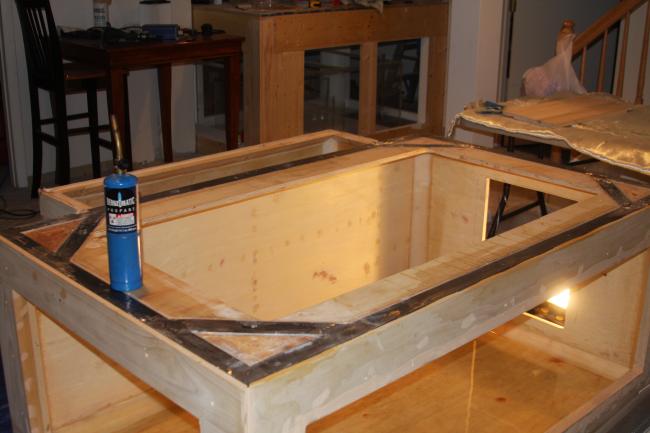
Since I was busy with the epoxy and had all the tools already scattered all over the place I decided I would go ahead and start attaching the outer skin of the tank that will hide the angle iron as well. Also you notice in 1 of the pics the propane torch close at hand......I have sorta figured out it's easier for me to mix my epoxy in a flatter squared container vs the round deeper mixing containers you can purchase from the suppliers.....Maybe it's just me, but I've tried both a couple times and the cheap old containers from Dollar General work perfect, and are easy to clean up.......For the bottom of the tank, I did buy a special roller type tool that I will have to take a pic of to give you guys an idea of what I'm talking about....Neat tool, but have mixed options on it though....it's suppose to eliminate or minimize air bubbles......
You'll also see in the pics the space heater near the tank.....Once I get all the air bubbles, which are very few out, I fire up the heater and this helps in the setup/cure process.....Different hardners have different working area temps, and the family room never gets above 65, so needed to add alitttle heat..
Couple more pics......


acrylic51

Active Member
Yeah....the first couple coats are clear.....you don't add any tint during the early stages of pouring, just near the end.....They say its easier to see bubbles with it clear.....I have learned to look across to find bubbles not downwards.....it's a pain working the bottom out though.....the width of the tank is insane to me now......but love it!!!!!!
 

acrylic51

Active Member
Another update shot on the epoxy work in progress on the tank.....this is the start of the overflow being poured....Now it seems the tank is getting heavier, and I haven't even add the biaxial fiberglass cloth yet!!!!!!
Still heck of alot light than a traditional glass tank though.....
 
Top