415 Gallon Plywood Tank Build
- Thread starter acrylic51
- Start date
acrylic51
Active Member
Yep......Insurance will cover water damage just doesn't cover your fish/coral loss as normal....The concept is that new as far as building plywood tanks though.....There are bigger tanks than mine out there.......that have been up and running for quite some time.....That's why I'm putting a few more safety things into mine...Definitely no guarantees, but peace of mind. Thank you IbanEz!!!!!
2quills
Well-Known Member
If I were a gambling man I would have to put my money on your build. I think you've come up with an excellent plan for this tank to insure it's success. Can't remember right this moment which site i saw it on but I was checking out another plywood tank build. I don't think that it was built half as good as your is going but when the guy finally got to the point where he filled the tank with water for the first time the guy all of a sudden disapeared and his user account had been closed
 I can only imagine some type of catistrophic failure must have occured. I'd still put my money on this build though. Keep the pics coming!
After this you may have to consider changing your user name from acrylic to epoxy...


After this you may have to consider changing your user name from acrylic to epoxy...

acrylic51
Active Member
I like the name change..... Honestly there's no more risk in this tank than any others.... Others have gone alot bigger than mine. There is a 1000 gallon plywood tank that's been running for awhile, with no issues. Some people just have to over anxiety. I've had an Oceanic glass tank blow out, and still hasn't dicouraged me, so anything is possible. I've just taken the extra steps I feel is necessary for my own piece of mind. Heck most plywood builds don't use fiberglass all the way through. Some good tanks are Dsanford, Acrosteve, DMWZ, all great builds. Check them out!!!
acrylic51
Active Member
Sorry for the lack of progress this week.....I had to deal with my parents well taking a crap and replacing 180' of pipe, foot valve, and the whole 9 yards....So just recovering from a fun end of the week......
A little more progress on the build...Went back to working on the the stand. I've been tossing around in my mind as to how to go about securing the skin to the stand itself. I had come up with several ideas, and bought tons of parts, and started on my first idea of using threaded rod an threaded inserts, and after getting more than 1/2 way I decided I didn't like the threaded rod idea....
 . So back to the drawing board I went and went back to my original idea about using a pin.
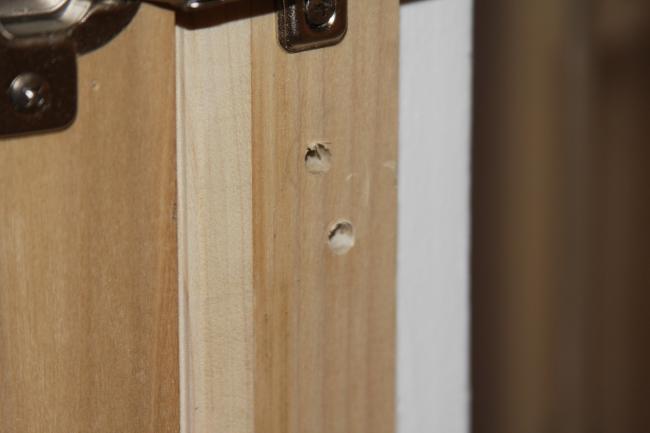
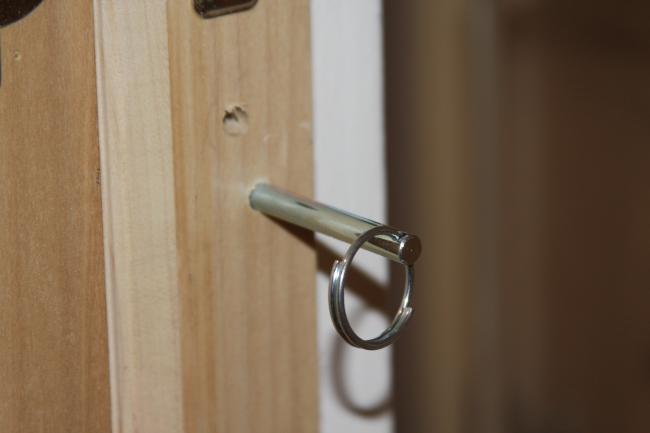
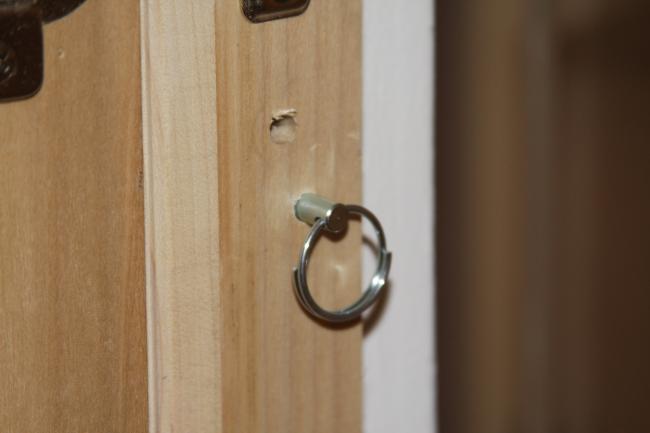
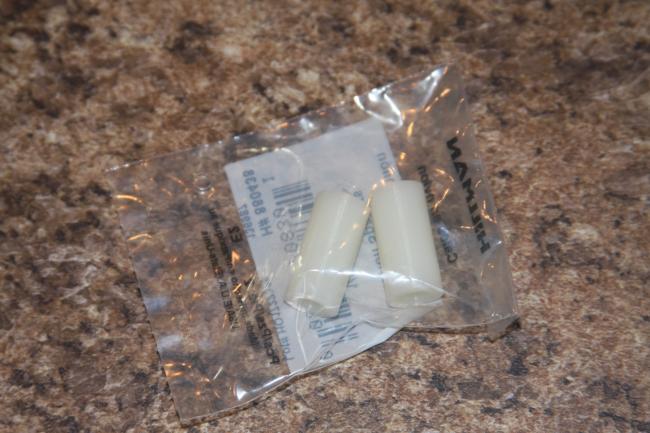
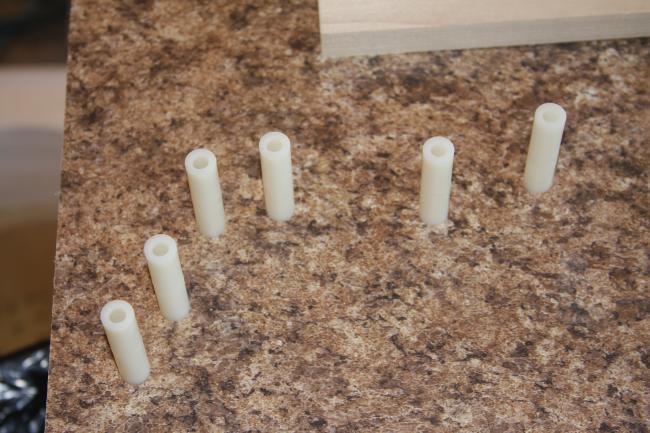
I wanted the pins to be easily removable, so the skin could be pulled away with a matter of seconds with no tools required...What I did was locate where I wanted the pins located; which is 2 on each side top and bottom and drilled pilot holes. Next I took a forstner bit and drill the holes to the required depth. I used the Forsnter bit so the bottom of the hole was flat not rounded. I was alittle concerned about the pins possibly wearing on the wood of the stand, so I used plastic inserts in the holes. The longest inserts I could find were 1/2", so I took super glue and glued them together end to end.
A couple quick pics......
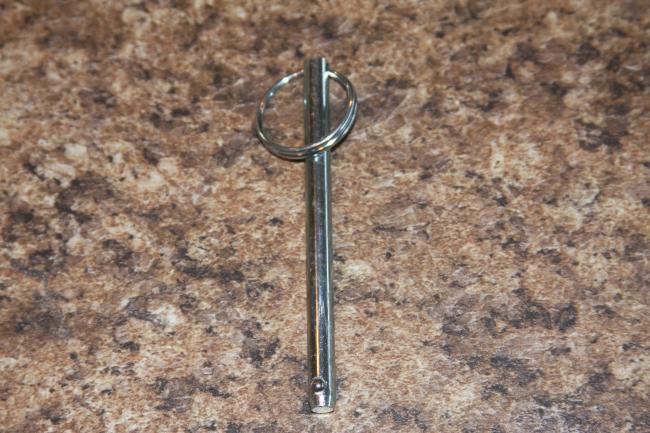
A little more progress on the build...Went back to working on the the stand. I've been tossing around in my mind as to how to go about securing the skin to the stand itself. I had come up with several ideas, and bought tons of parts, and started on my first idea of using threaded rod an threaded inserts, and after getting more than 1/2 way I decided I didn't like the threaded rod idea....

I wanted the pins to be easily removable, so the skin could be pulled away with a matter of seconds with no tools required...What I did was locate where I wanted the pins located; which is 2 on each side top and bottom and drilled pilot holes. Next I took a forstner bit and drill the holes to the required depth. I used the Forsnter bit so the bottom of the hole was flat not rounded. I was alittle concerned about the pins possibly wearing on the wood of the stand, so I used plastic inserts in the holes. The longest inserts I could find were 1/2", so I took super glue and glued them together end to end.
A couple quick pics......


acrylic51
Active Member
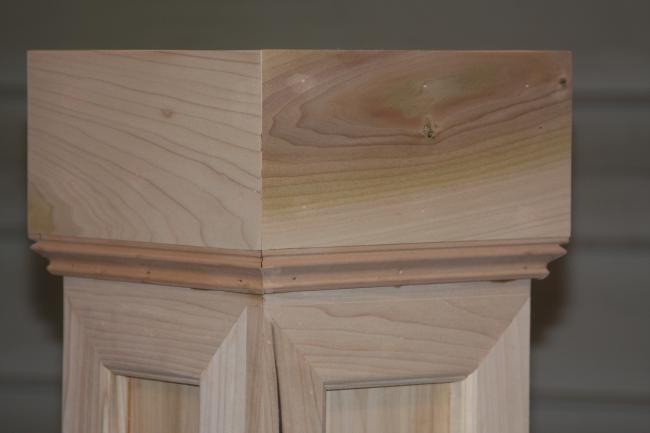
Ok guys!!!!!!! I know everyone has to have an opinion......I'm looking for feedback on this area.....I've been working the stand quite hard and getting down to trimming it out.....I have settled on the trim I'm going to use with the advice of a few people here responding......., but really want to hear more input.....I've been playing around with the trim, and nothing is nailed into place, just cutting, fitting and looking to see what I like and don't like......
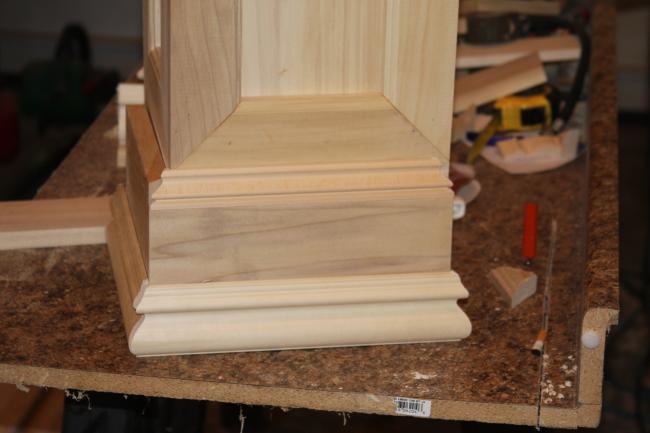
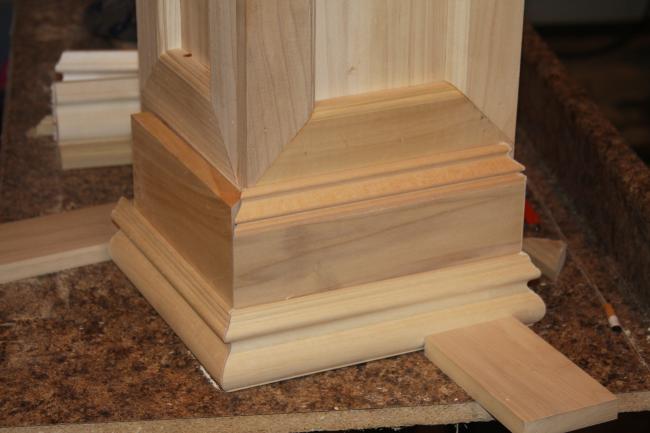
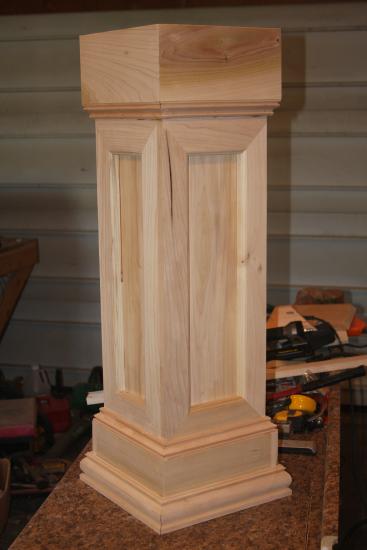
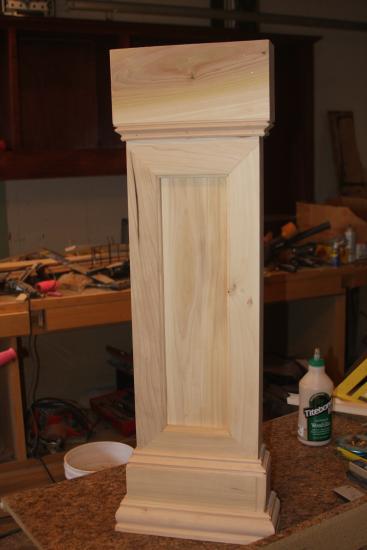
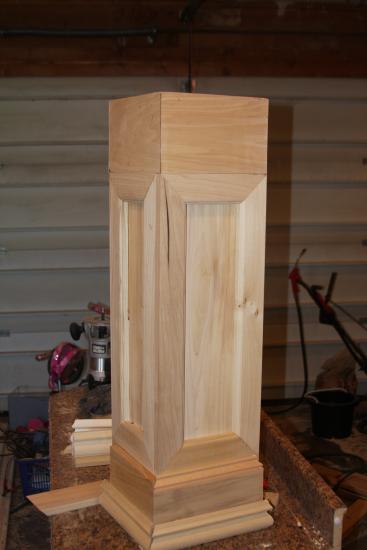
Here are a couple pics of the trim.....Pic 1 is just the basic trim nothing added.....Pic 2 is with the same trim molding, but alittle higher and a extra piece added to the look. Which pic do you guys like? Why? What would you change?????? Come on guys, lets hear it!!!!!!!!
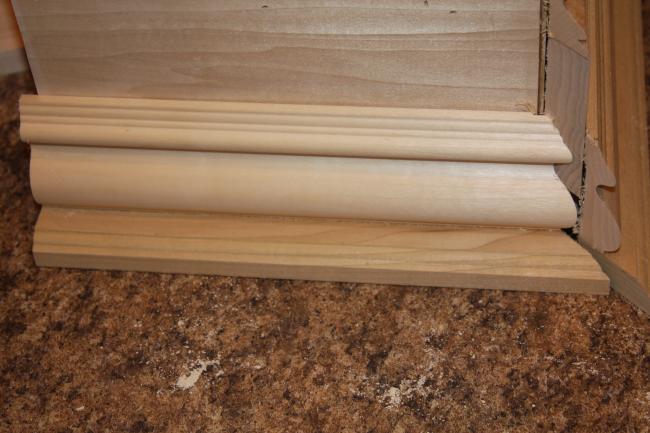

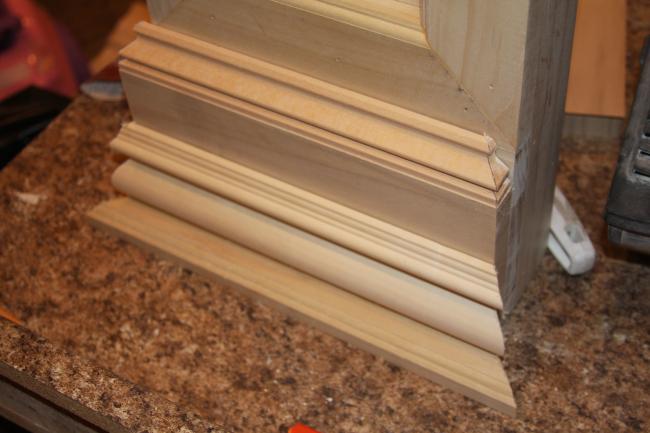
Here are a couple pics of the trim.....Pic 1 is just the basic trim nothing added.....Pic 2 is with the same trim molding, but alittle higher and a extra piece added to the look. Which pic do you guys like? Why? What would you change?????? Come on guys, lets hear it!!!!!!!!


2quills
Well-Known Member
The pins look good, you have them on the inside of the doors so you can't see them when the doors are closed, am I correct?
I kind of like this look here, without the bottom two pieces. Not sure if that's doable or not because it looks as the the two pieces directly above the bottom piece is actually one piece...maybe you can rip it into two?
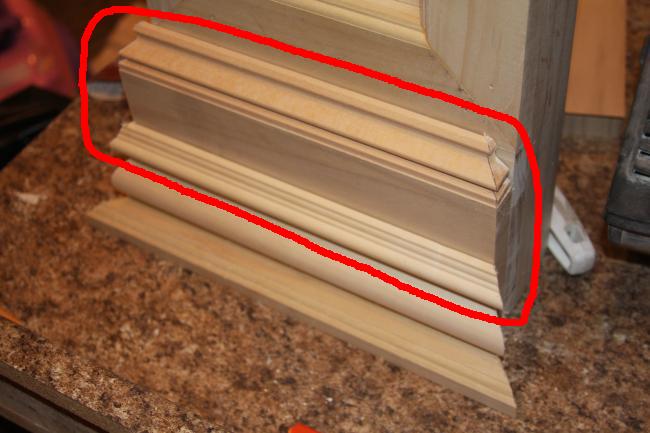
I kind of like this look here, without the bottom two pieces. Not sure if that's doable or not because it looks as the the two pieces directly above the bottom piece is actually one piece...maybe you can rip it into two?

acrylic51
Active Member
Thanks guys!!!!! Henry to need or purpose for the cotter pin on the other side...just never took it off, actually a good place to grab it quick and pull!!!!!
2Quills you are correct the pins are behind the doors, so when the doors are shut you would never see them and even with the doors open you probably wouldn't pay to much attention to the pins...
As far as the trim......I've just been playing with it.....I was leaning a little more towards Pic 2.....Pic 2 & 3 are the exact same trim setup, just pic 3 shows a little of the molding detail from the side view. 2Quills the very bottom piece under the molding is the actually add on piece I slide underneath the actual trim....I will have to take a pic of the actual molding and show you how I came up with the crazy configuration I'm trying to work....Actually I will have to take a pic of that "infamous" corner that I'm working on to help set the "tone" of the molding work......
Come on people still looking for opinions.....Henry and 2Quills can't be the only ones alive around here!!!!!

acrylic51
Active Member
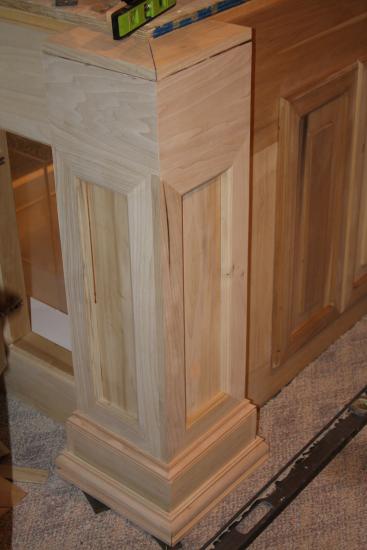
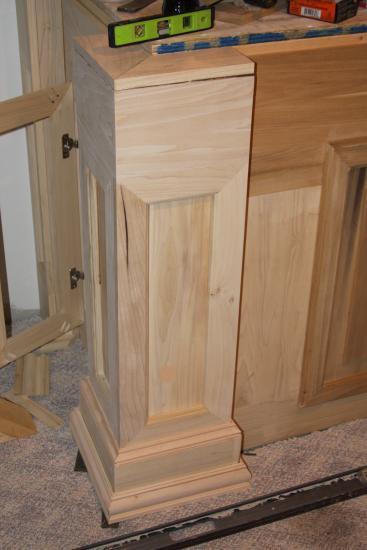
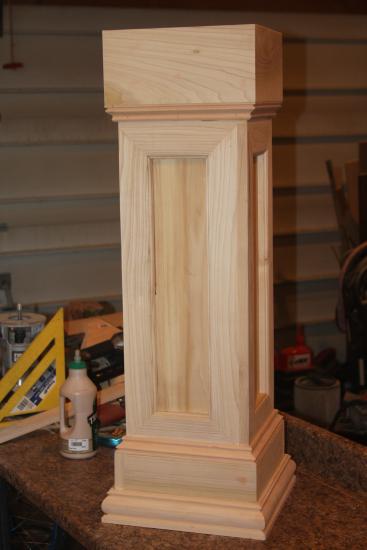
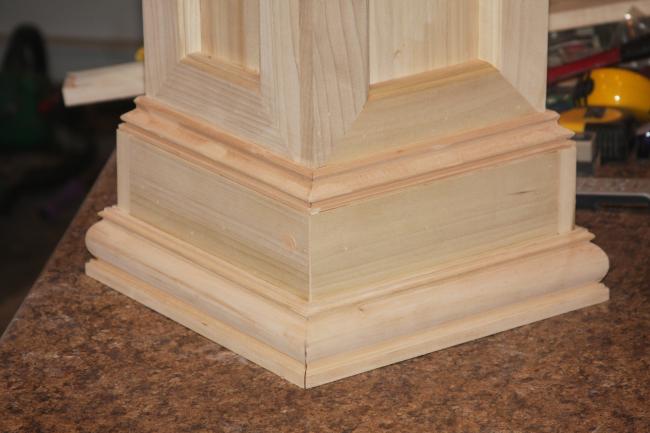
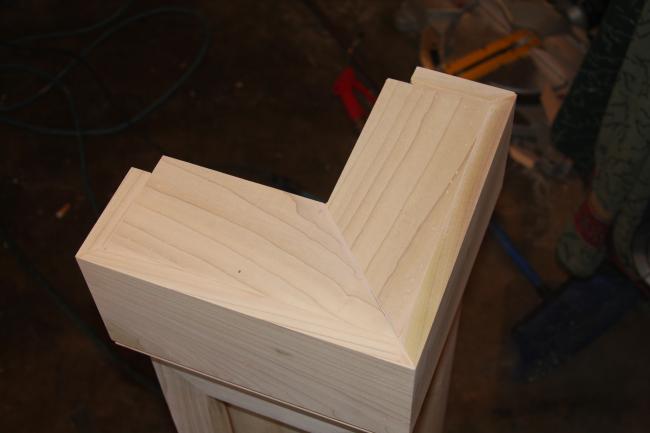
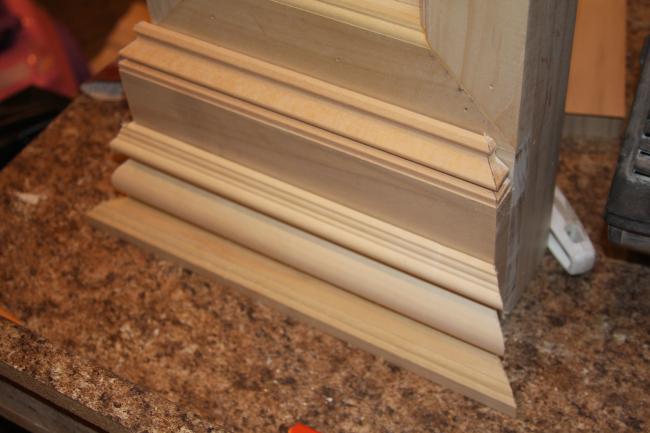
Alright!!!!!! Still playing with the molding...Here is a couple quick pics to show the corner piece I'm working and progress, and a different look with the trim. This is just the stock trim with nothing added under it. The very top trim piece is a separate piece all together....
Again more options!!!!!!!!
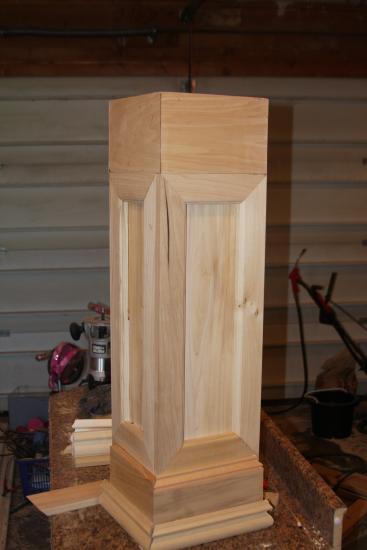
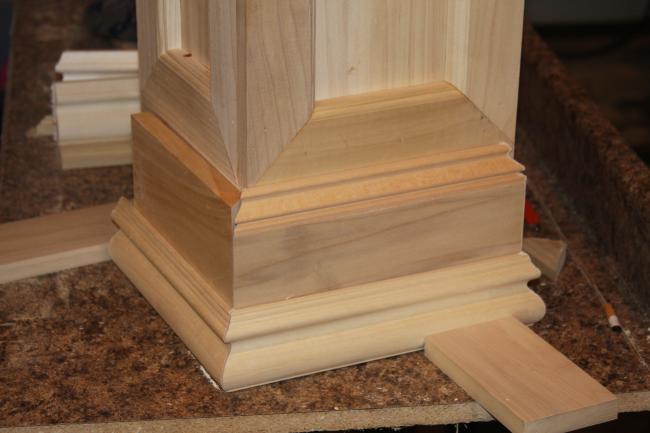
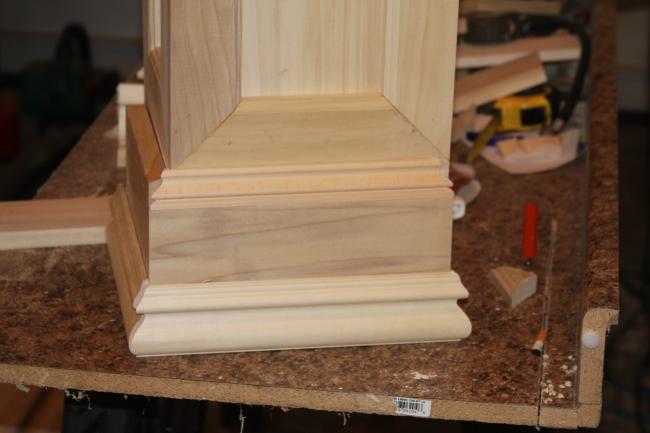
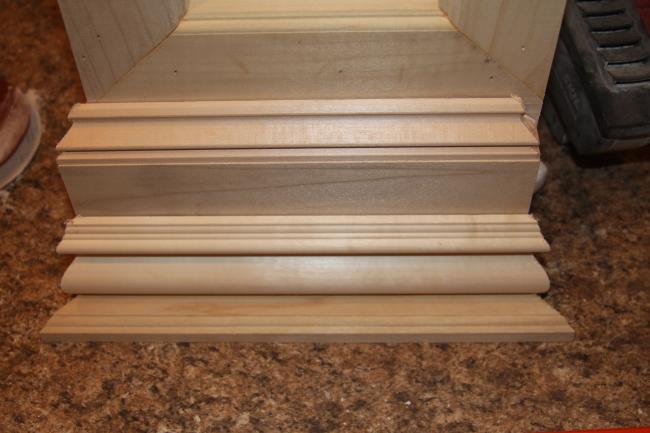
Again more options!!!!!!!!


wangotango
Active Member
Looks pretty good. Fancy but not over the top.
acrylic51
Active Member
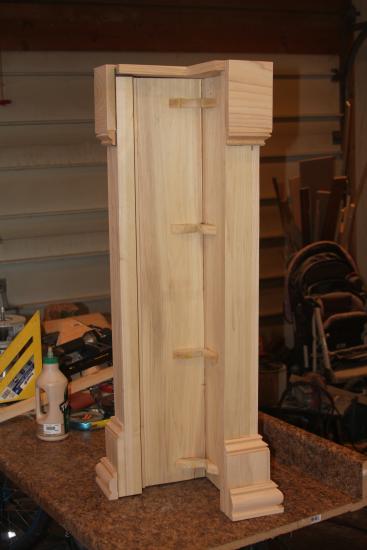
Here is a pic of the corner cap from the back side to give an idea of it's construction. The corner cap will be totally removable to allow the entire skin of the stand to be removed for what ever reason. Still working on ideas of how to actually attach it....Have a couple things on hand that were suggested by 2Quills and Henry(Spanko) to play around with......

acrylic51
Active Member
Originally Posted by spanko
http:///forum/post/3287581
Sorry for the stupidity but this is the corner you are going to use the pin fasteners on correct? You have some nice woodworking skills. Must have a Norm Abrahms workshop!

Dang your quick.....Yes this is the corner I'm going to use some type of pin system as far as connecting.....No, I wish I had a workshop like Norm......I find I do things alot of time the hard way.....which takes more time than it should...Alot of tools I want, but can't honestly justify buying.....Being a diesel mechanic I've spent more than my fair share of cash on SnapOn and such, and for whatever reason I can't justify the woodworking tools I really want.....I've been eyeing a planer here of late, and it would come in handy for this project......
I'll have to take a mess of my garage one day to show you the organization!!!!!!

http:///forum/post/3287581
Sorry for the stupidity but this is the corner you are going to use the pin fasteners on correct? You have some nice woodworking skills. Must have a Norm Abrahms workshop!

Dang your quick.....Yes this is the corner I'm going to use some type of pin system as far as connecting.....No, I wish I had a workshop like Norm......I find I do things alot of time the hard way.....which takes more time than it should...Alot of tools I want, but can't honestly justify buying.....Being a diesel mechanic I've spent more than my fair share of cash on SnapOn and such, and for whatever reason I can't justify the woodworking tools I really want.....I've been eyeing a planer here of late, and it would come in handy for this project......
I'll have to take a mess of my garage one day to show you the organization!!!!!!


