The week started off not very productive.....I sit at work and think about all the things I can work on or plan to get accomplished, and then you pull into the driveway and open the garage, and the coffees brewing.......
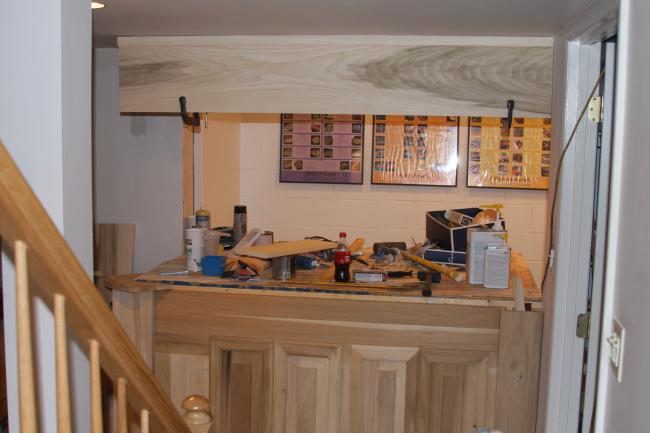
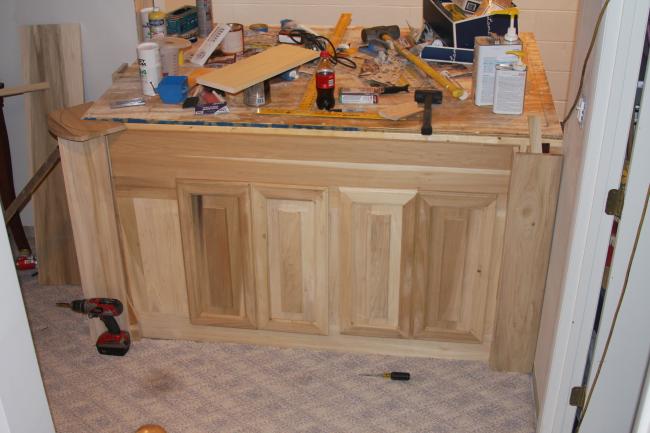
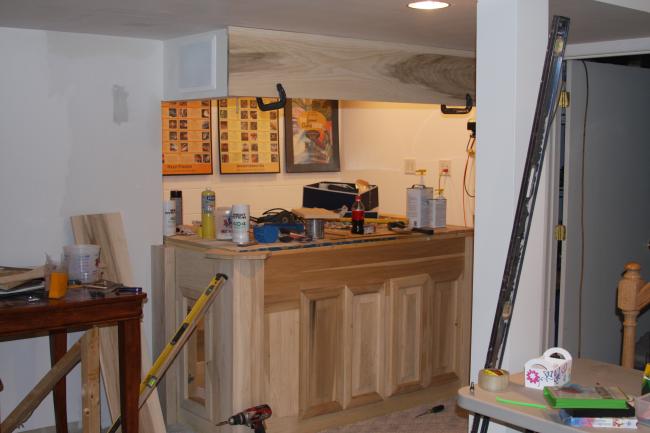
......Got pretty busy this weekend working on the tank, splitting my time between the tank, stand, and light rack......Hopefully I can get the last couple coats of poly on the racks and get them mounted up out of the way......
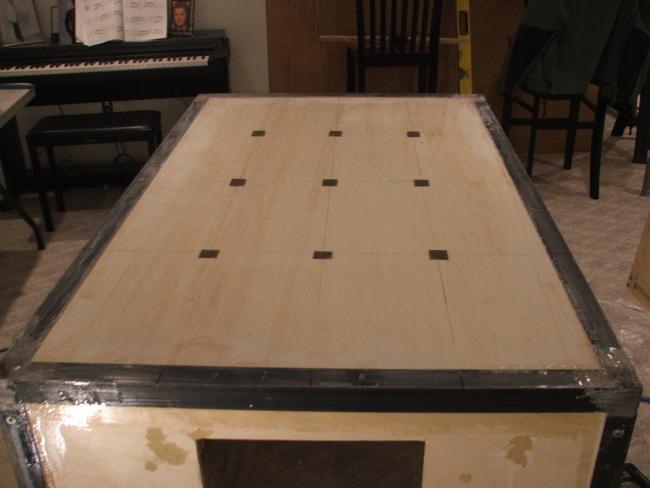
I had gotten the 2"x2" angle iron from the metal shop earlier, and had started dry fitting the pieces.....Then I realized that I had to cut dado joints into the tank where the angle iron would be seated......That was a very tedious process and rather messy.....Messy being that I did this in house in the family room.....Imagine my wife's suprise
I did take the time to tarp the work area to minimize the dust.......I got all the joints cut and went back to dry fitting all the pieces and making the necessary cuts on the metal chop saw. With all that in place it was time to get down to business.
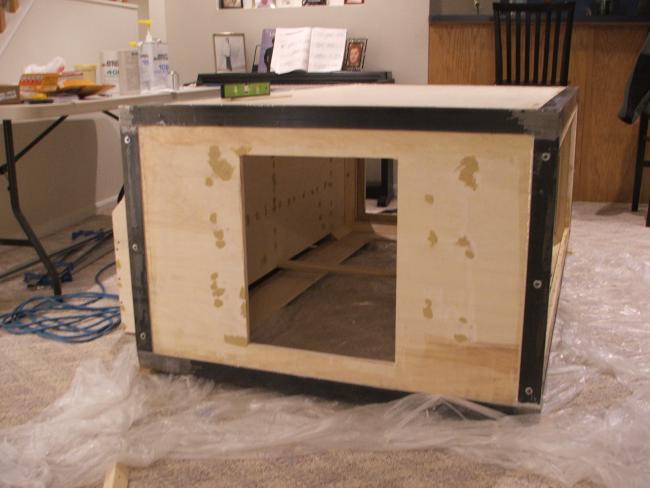
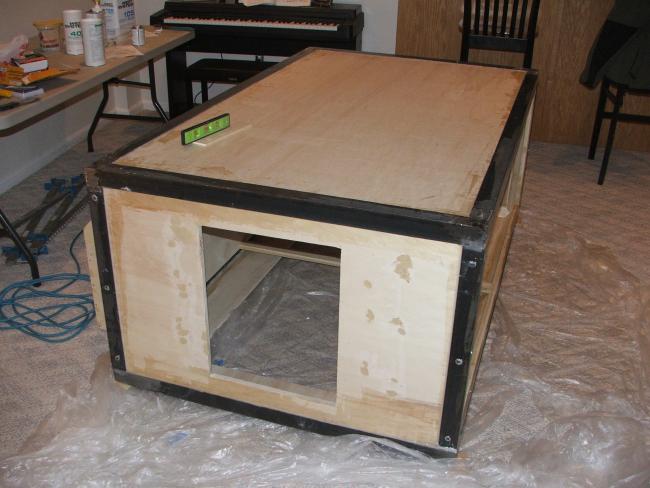
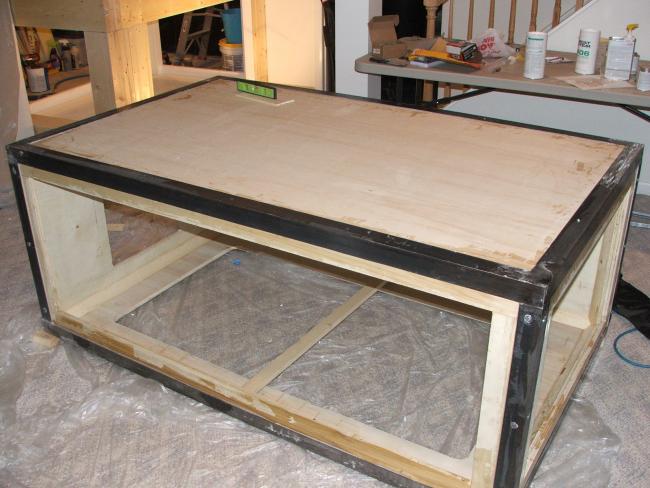
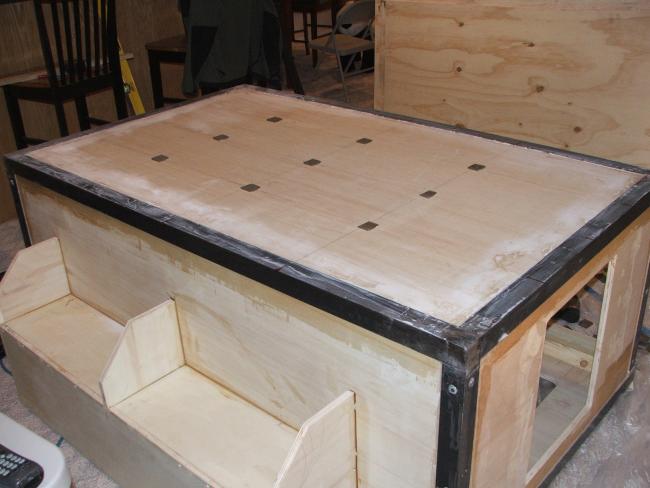
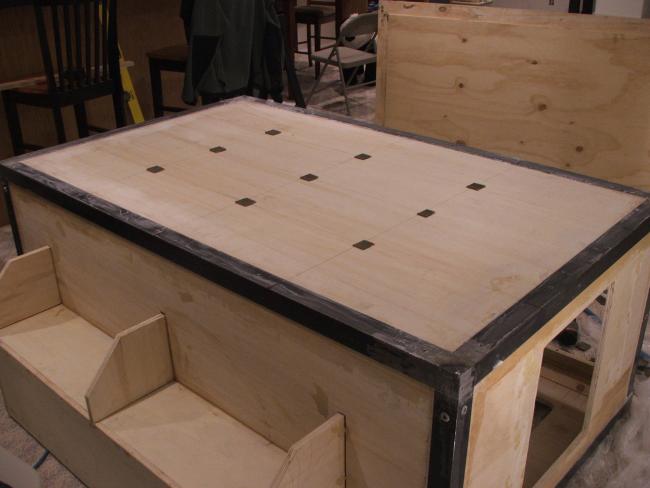
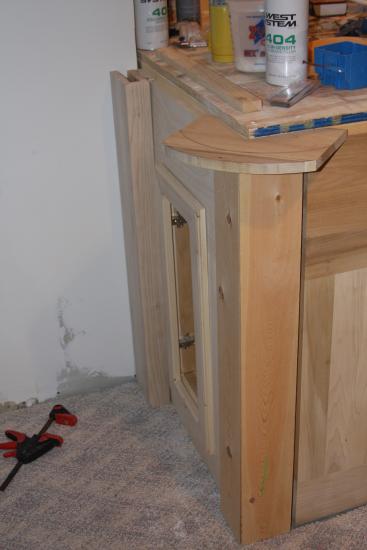
How I went about the process was to tack weld the assembly in stages....being top frame and then the bottom frame. I only tacked them at first to make sure all the measurements were correct and the fit was good....Had to do alittle tweaking, but got everything done nice and neat. The next step was to mix up the West System Epoxy...This is the primary epoxy I will be using for this build. Definitely not the cheapest, but I like the companies reputation of their product. I mixed up the 2 part epoxy and after mixing, I added the West Systems 404 High Density Filler, which is used for high strength applications and joints, and for bonding brackets and such......With that said it takes the epoxy from a real runny state, to a more thickened mix....I applied the thickened epoxy to both the groove cut into the tank and also to the underside of the 2"x2" angle iron frame and set it into place....There was a bit of oozing, but that was easily cleaned up. I repeated the same process for the bottom of the tank. The sides were alittle more tricky.......The trick was that I couldn't weld them into place before the epoxy was added, and didn't want to weld on the tank, while the epoxy was still setting up.....I know I shouldn't have, but YES....I drug the welder in the house while the wife and daughters were gone after the epoxy was setup and got everything welded into place....It took me a bit of practice throughout the week getting the right settings on the welder as to not disturb the epoxy underneath and not to transfer extreme amounts of heat to the tank(wood) itself.....PRACTICE, PRACTICE AND MORE PRACTICE

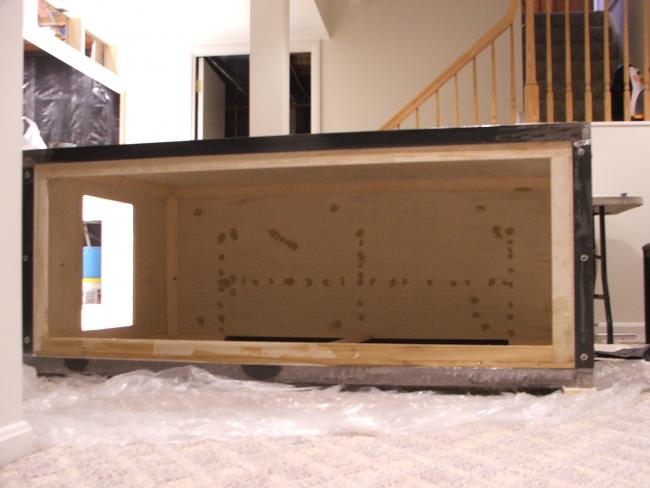
. Finally it's complete....the metal framing is in
I should have mentioned I predrilled holes accordingly to run screws down in to use as clamps till the epoxy setup and prior planning, which I sometime forget about, I had countersunk the holes so the screw heads weren't exposed, which will make it super sweet when I apply the skin over the angle iron to conceal it......
A couple of pics of the progress.........
