415 Gallon Plywood Tank Build

2quills

Well-Known Member
Originally Posted by acrylic51
http:///forum/post/3279461
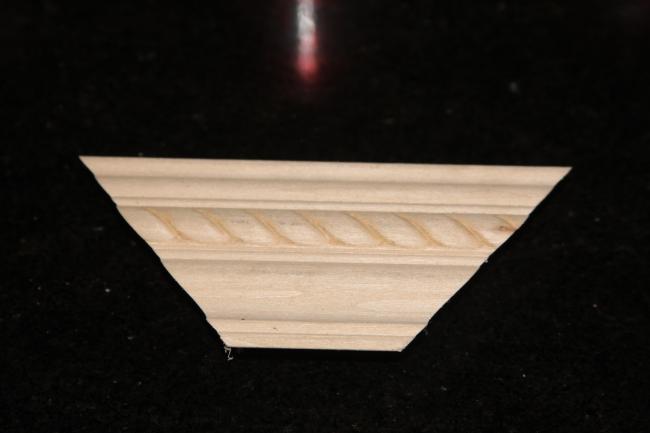
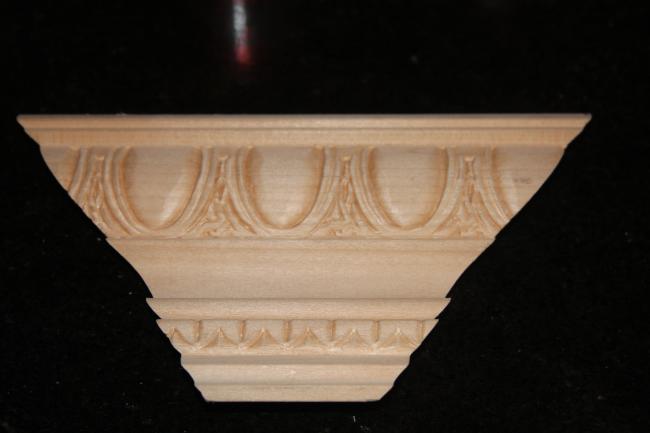
Started looking at different moldings for the stand and around the tank area and need some opinions? I've narrowed it down to 2 choices and need your opinion. Which of the 2 molding styles do you like? If you have some other good pics please post them......
I don't see any pics, Shawn.
I'm going to incorporate a couple of different styles of dentil molding into mine...I really like that kind of look. Pluss maybe a couple of other decorative ideas that I've been kicking around.
Any progress on the curved door idea?
 

meowzer

Moderator
LOL...I want everything to come already done....and you are ripping out walls and ceiling building your stuff....
I hate work
Can't wait till this is done....:)
 

acrylic51

Active Member
Sorry had a major brain fart this morning.....trying to take care of business for work, having issues with my camera.... working on other things got side tracked with the pics of the molding.......
Meowzer yes, I took apart a couple walls and basically started from scratch in building a new wall, vapor barrier, electrical whole nine yards. Building everything I can. More fun IMO, but sooner or later will get done......Here are the pics I forgot to post.....


acrylic51

Active Member
I do like that molding and have used it in the past on builds, but sometimes it seems a bit busy?? Sometimes simply seems to be more elegant. Plus I want to pour epoxy for bar tops instead of using poly. The epoxy will be harder, better shine, and wear better IMO.
 

2quills

Well-Known Member
Poly has it's uses but I think you're right to go with the epoxy. I was thinking of painting the inside of my cabinet/stand with white epoxy for it's durability.
What are your thoughts on Tung Oil as an exterior finish over stain?
 

acrylic51

Active Member
The deal with the epoxy your first coat or so will have to be straight epoxy and then your following coat you could add the white pigmentation to it. The key with the epoxy is thin coats.
 

acrylic51

Active Member
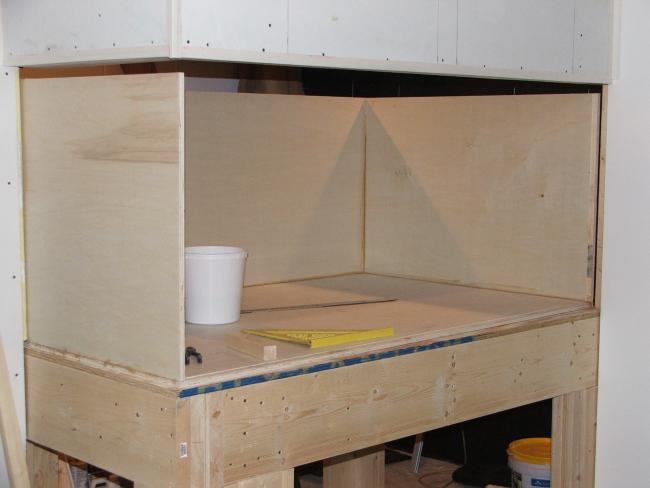
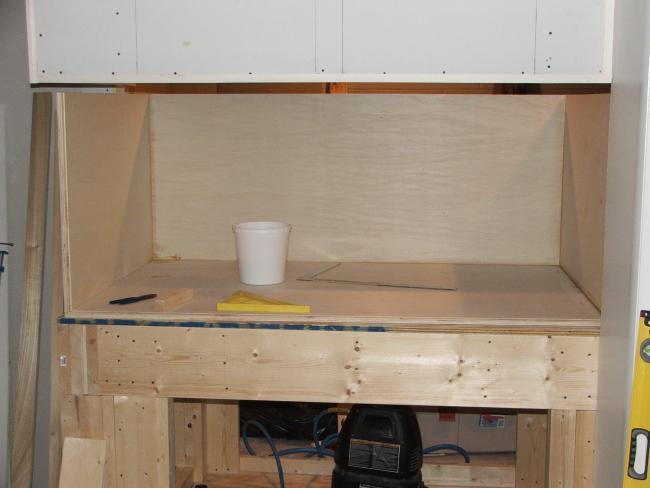
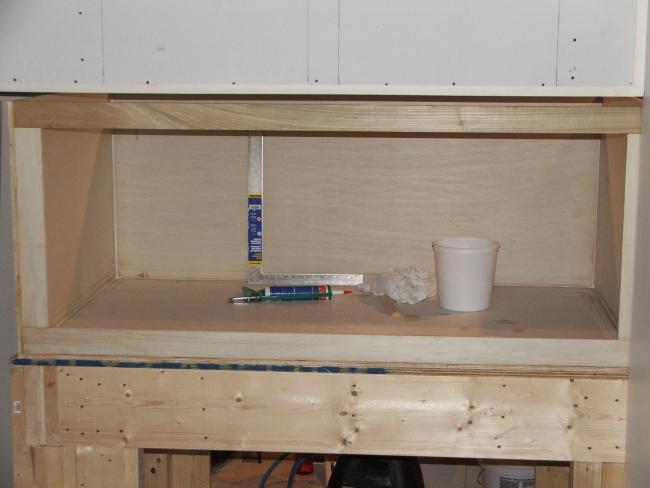
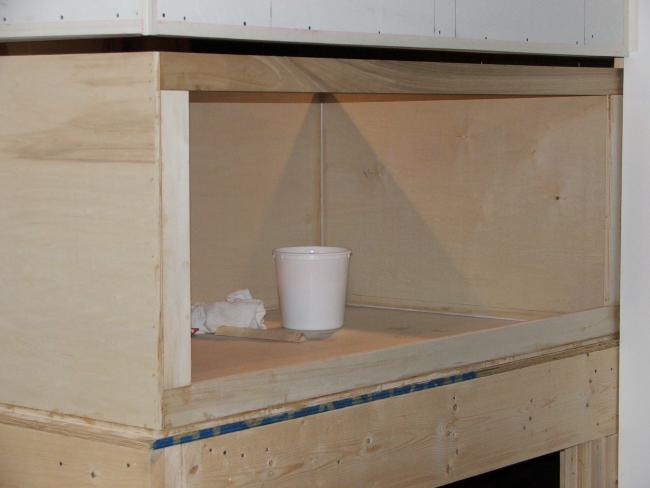
Just a bit of an update......been super busy with work and all and not tons of work on the tank and issues with my camera after letting my daughter borrow it.....The first pic shows the other side of the tank installed, and then the following pics show the front of the tank in place. The front portion of the tank is done in solid poplar lumber. I chose to use dimensional lumber vs plywood more for strength. Honestly I don't know if there is a whole lot of strength difference, but at least it makes me feel better.....


acrylic51

Active Member
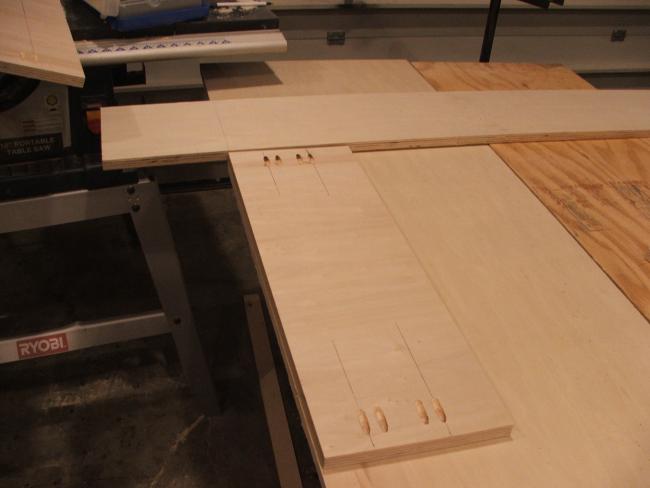
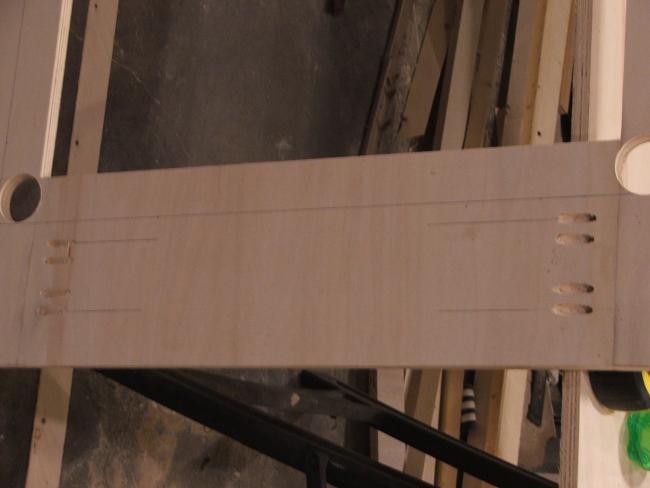
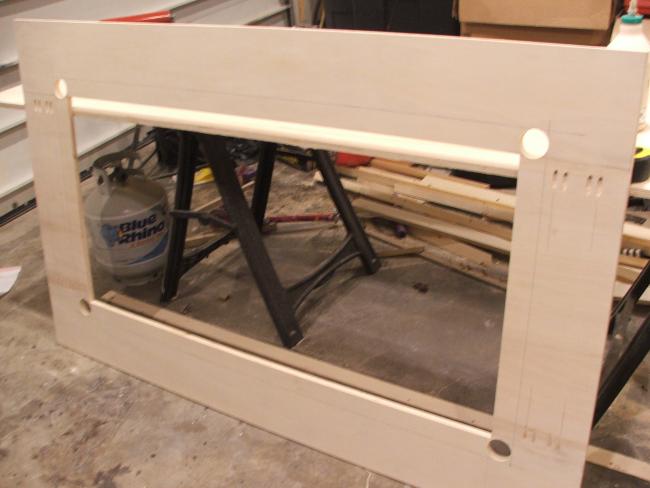
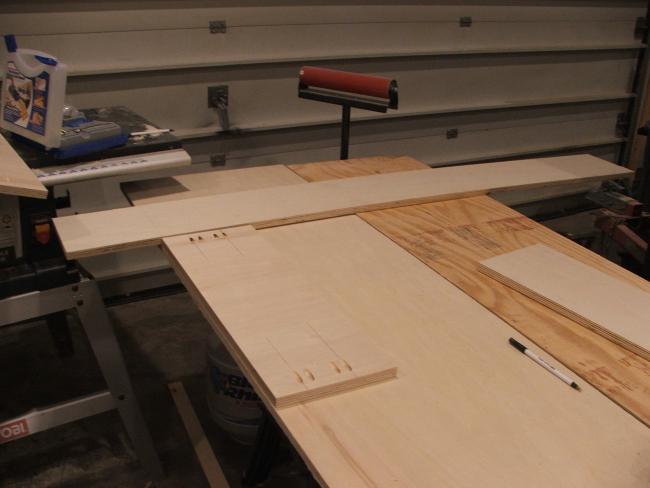
More pics of the progress made so far.....I had stated early on in the build thread that I wanted to the top to be open as much as possible, and try to eliminate any cross bracing if possible....I'm building this with the built ins, that in the event I do notice bowing, a crossbrace can be added in a pinch with no extra work involved or undermining the integrity of the tank and expoxy. With that being said the tank will feature 6" eurobracing the whole perimeter of the tank and will also tie the external overflow into the pic as well. Here' a couple build pics of the eurobracing I again pulled out and used my trusty, dusty Kreg pockethole kit......


acrylic51

Active Member
The holes drilled into the corners are there for reference, so when it comes time to clean everything up and put the radius in for the corners it will give me a reference point. I'm taking the lead or build procedure that you would use on working with acrylic when eurobracing the top of a tank or sump. You see alot of people use squared corners, which actually could become a stress or weak point in the build. By using a radius you spread the load out or reduce the stress in that area.........
 

acrylic51

Active Member
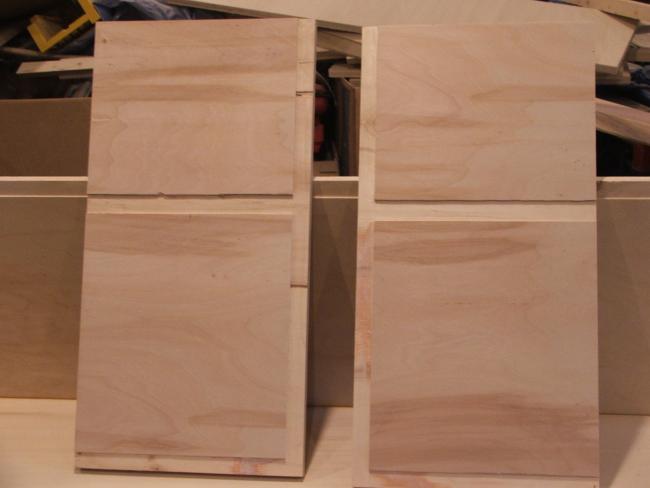
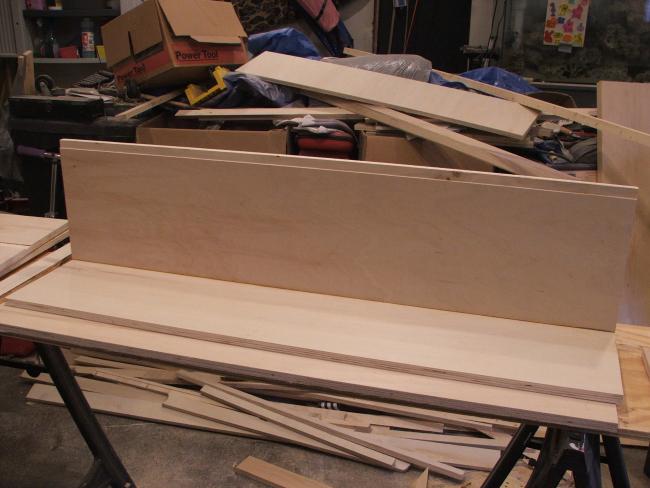
And the last bit of update so far on the tank is I started the build process of the external coast to coast overflow box....The dimensions of the overflow box will be 48"L x 13"H x 12"W. I have plans to drill the overflow(of course), but I will be drilling either using 1 1/4" or 1 1/2" schedule 80 bulkheads....They are the heavy duty bulkheads and willing to pay the hefty price for the added insurance. I'm also going to drill the overflow with the option as to be able to feed my skimmer directly from the overflow, but also have the ability to just cap it off if I choose not to do it this way. I am leaning more towards running an in sump Octopus, but plans could change. I will be using BeanAnimals take on safe, failproof, and super silent overflow. There is a huge thread on this and very good material, so a definite good read and worth the time........
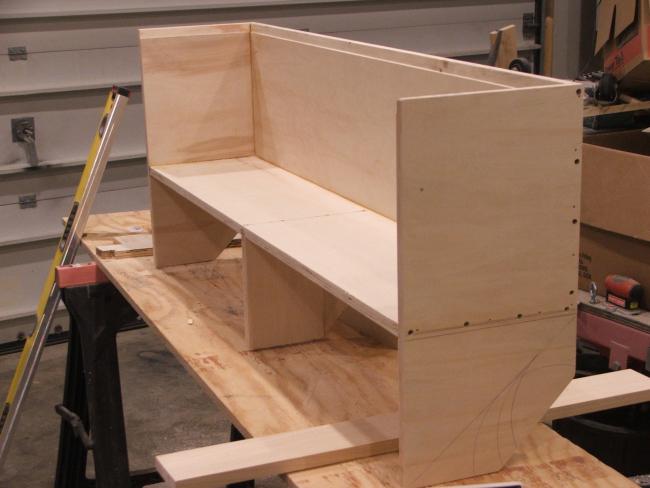
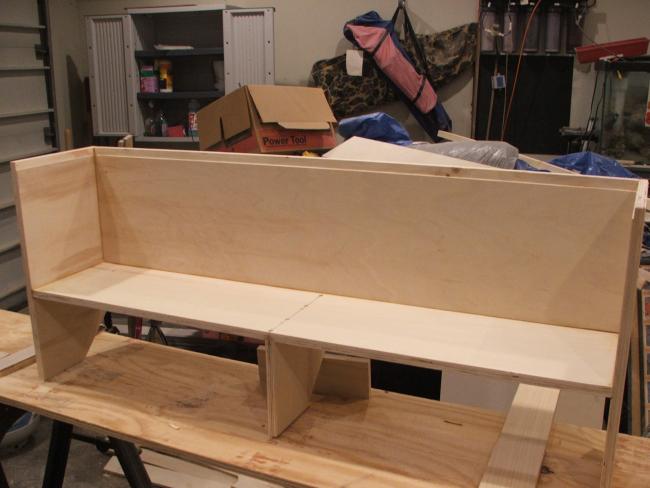
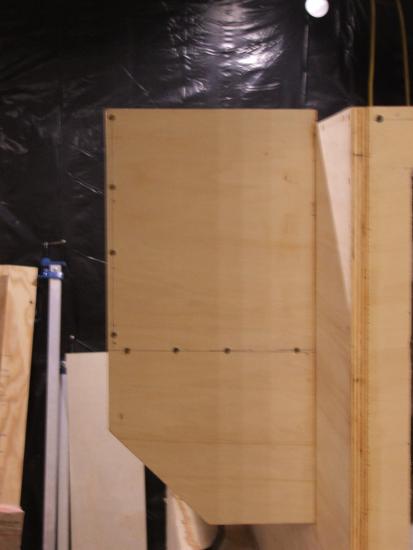
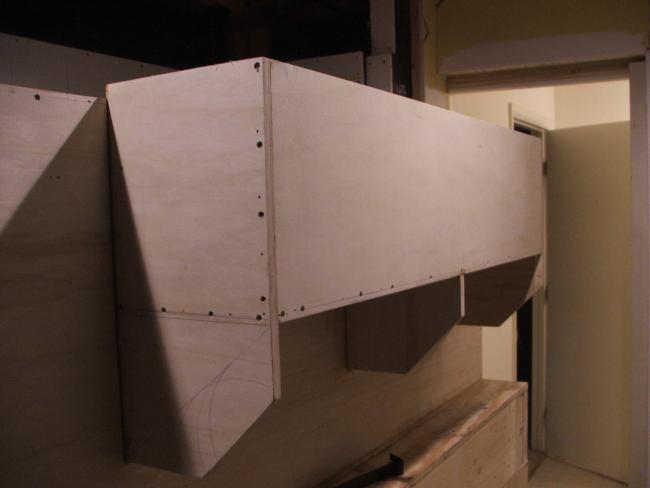
The fist 2 pics again illustrate the use of rabbet joints throughout the tank construction. Yes it takes more time, but it gives a better bond, than just relying on fastners alone....The 3rd pic shows the start of the assembly.


acrylic51

Active Member
Not much progress today....did more work on the overflow or the tank......Was busy today tied up doing favors for friends installing ceiling fans and such.....FRIENDS......
They always need you when your starting to have some fun. Hopefully tomorrow I won't be tied up all day, so I can get the overflow mounted to the tank, which should be interesting to say the least. A couple of pics of the progress


acrylic51

Active Member
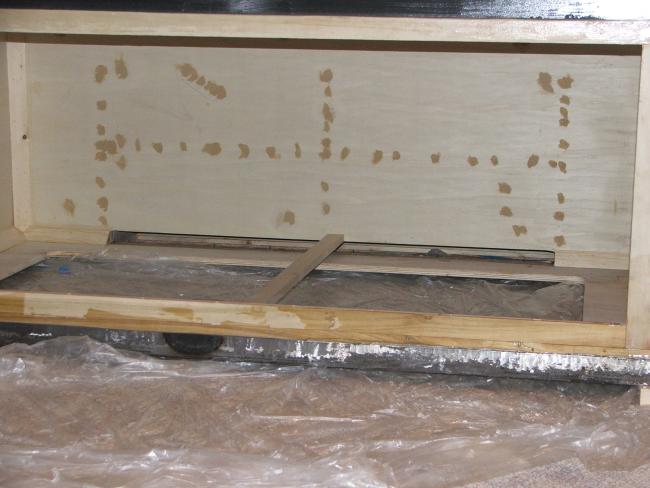
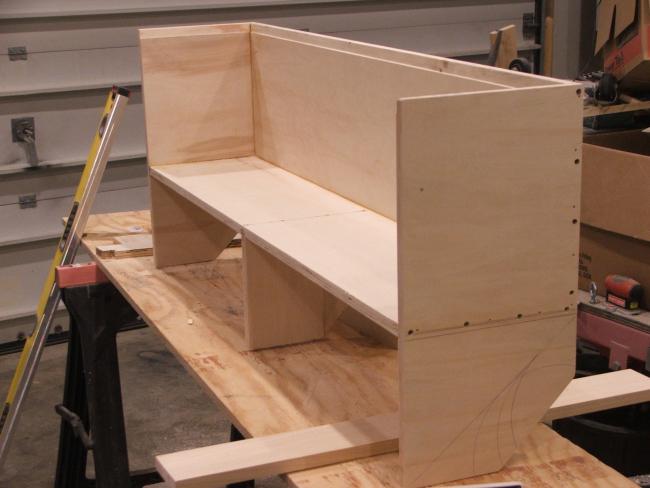
A bit of an update so far today.....Got the overflow mounted to the tank....that was a chore, with the size of the overflow and just me trying to get things lined up....Where the overflow meets the tank, the back panel was cut with rabbet joints for better connection to the rest of the tank. I again used wood glue and tacked into place, and then the overflow box was drilled and holes countersunk and screws were installed like the rest of the constrction of the tank to this point. The screw holes were covered with wood, putty and will be sanded flush. This isn't really necessary since epoxy will be poured to seal everything, it's more a personal, clean appearance thing to me.
In the last pic the tank is actually upside down and I've taken the router to the tank and have already cut the "slit" in the tank to allow water to spill into the overflow box. This lip "slit" will be fiberglasse as well.
Still haven't made up my mind as far as clear coat epoxy on the floor. 2Quills suggested I should, and I'm leaning that way. What do others thing on sealing the floor with the clear epoxy???
Couple pics of the progress.....


2quills

Well-Known Member
Very nice, it looks like that is going to allow for a good amount of surface skim and no need to create a syphon. The joints on the 45's came out good too.

What size are the drains going to be, how many?
 

acrylic51

Active Member
Yes plenty of surface skimming area......Tentatively I'm planning on (3) 1.5 drains, going to use BeanAnimals setup...very good thread IMO.....I'm thinking of doing possible a 1" bulkhead to be able to feed the skimmer if I decided to go that route....Still up in the air. I know what skimmer, but don't know if I want to go in sump or external Octopus skimmer......
I'm still trying to layout the CL stuff, but still kinda early I think, but the tank will either have (2) 2" bulkheads to feed the CL pump or (4) 2" bulkheads if I decide to run 2 separate CL's. I'm going to run OM's again, but might run 2 4Way OM instead of running just 1 8Way OM.....I still have extra revs, but they take careful mounting and placement to make them work....I'll post alittle more in a bit.....Hafty do the icecream thing with the family.
 

acrylic51

Active Member
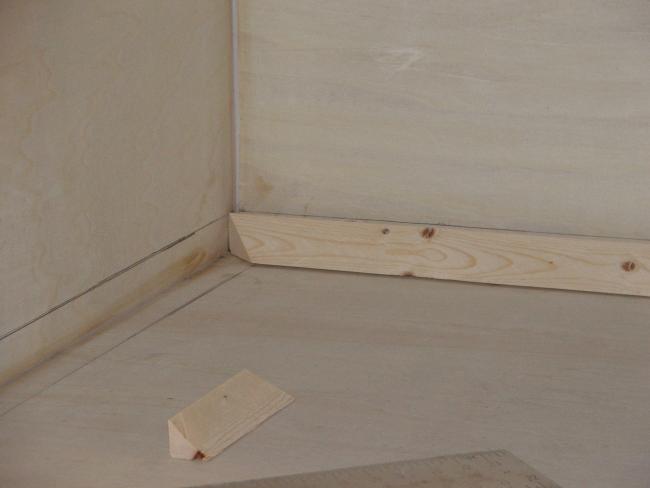
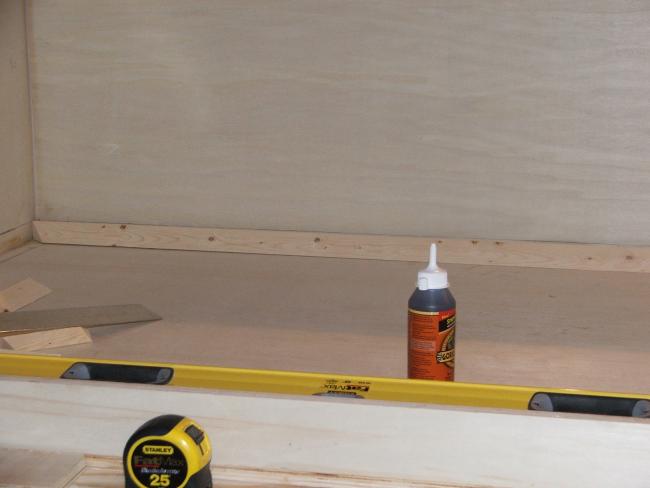
A couple pics of the 45's going in the tank....The 45's IMO are vital to the build....It reinforces the tank in the corners and seems and ties all the panels together.......
Hopefully I can get out to my buddies metal shop tomorow and pickup the materials to start the metal reinforcement around the tank....


acrylic51

Active Member
I'm curious and haven't had any luck, but is there a way to draw something up in sketchup and post it in a thread???
 

2quills

Well-Known Member
Originally Posted by acrylic51
http:///forum/post/3280411
I'm curious and haven't had any luck, but is there a way to draw something up in sketchup and post it in a thread???

Draw it out...scan it an save...post it like a normal picture. That's what Ive done in the past...or if your handy with some photo editing software you can go that rout too. I'm old fashioned though, I still like to sketch by hand.
I'll be currious to see how you layout the OM setup. I've been checking em out...they look pretty niffty.
 
Top