Flower's Canopy Build

snakeblitz33

Well-Known Member
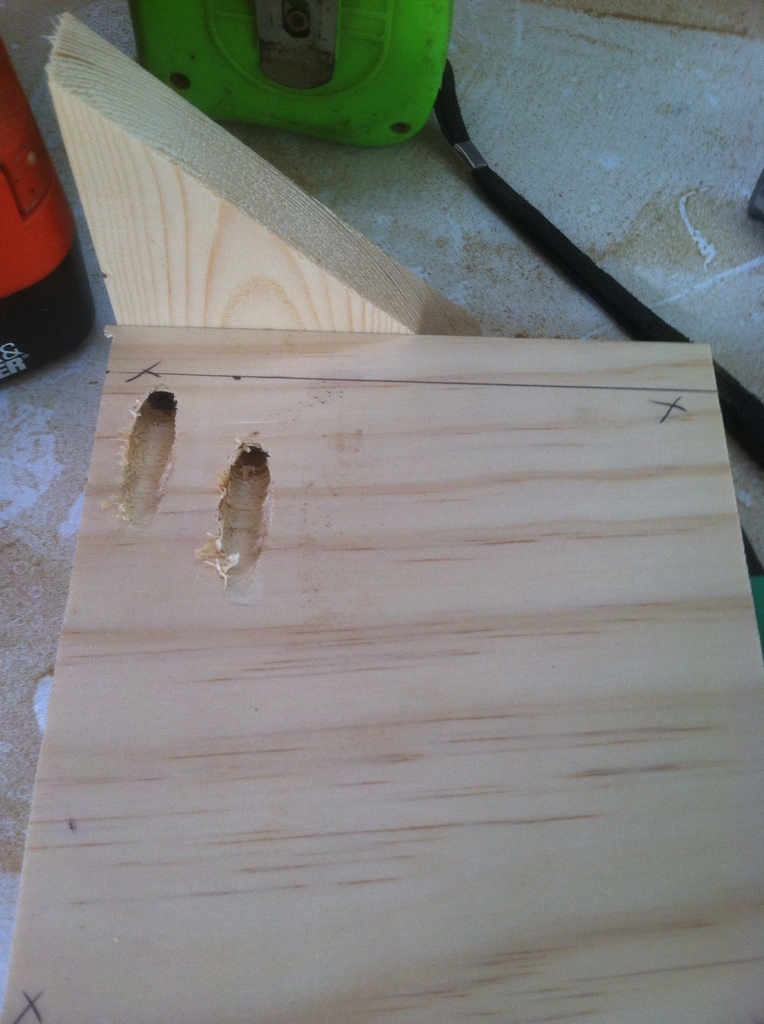
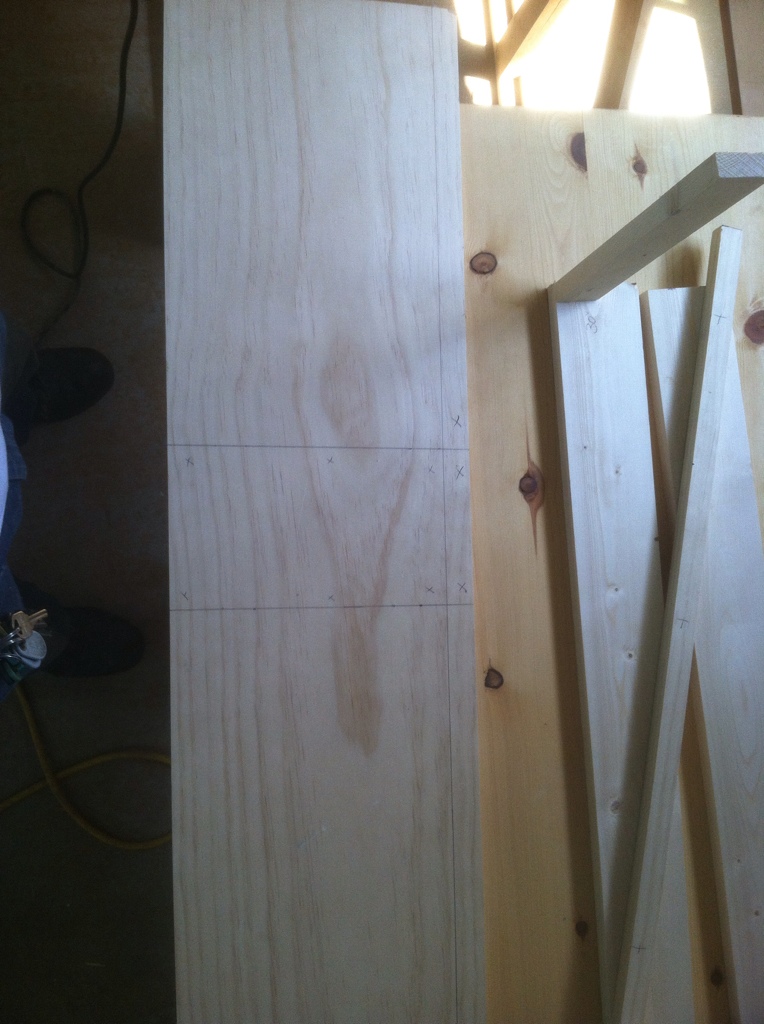
Next, I marked out the sides of the canopy at 18 1/8" long minus 3/4" because of the front boards width. I also ran this piece on the table saw first - all the way through - before I used the miter saw to cut the two sides of the canopy out.

The x's still signify the unused portions of the wood that will be cut off. That middle piece right there is a "test piece" for pocket holes, (or stain if it weren't being painted) or anything that I need it to be. As indicated here...
 

snakeblitz33

Well-Known Member
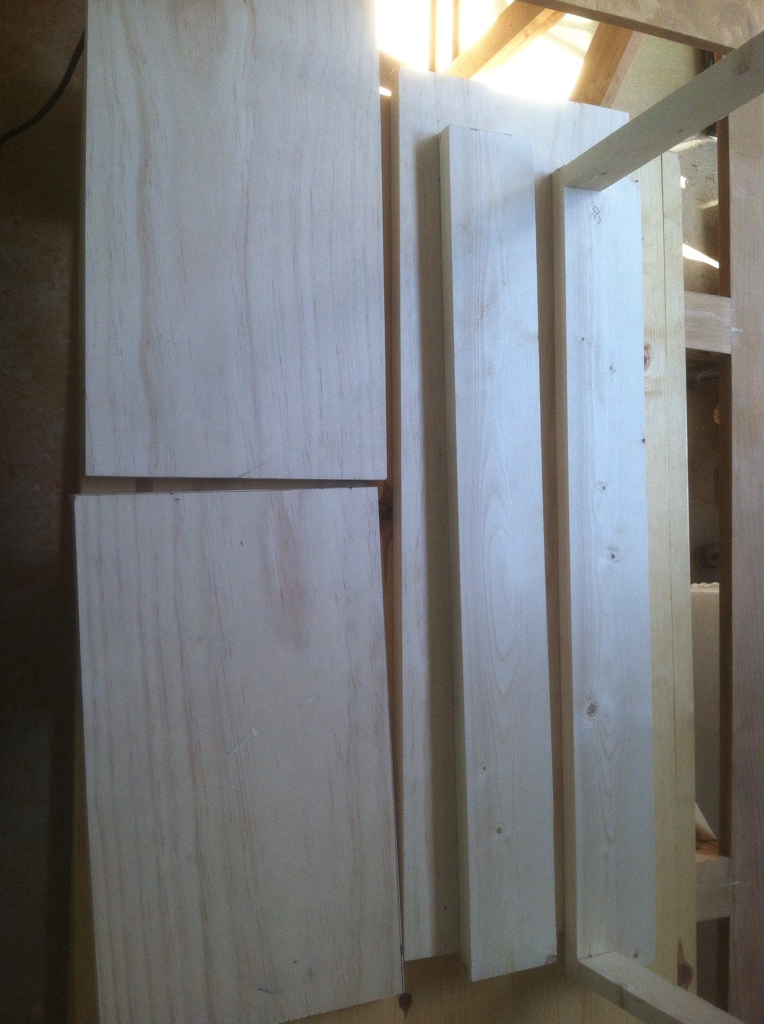
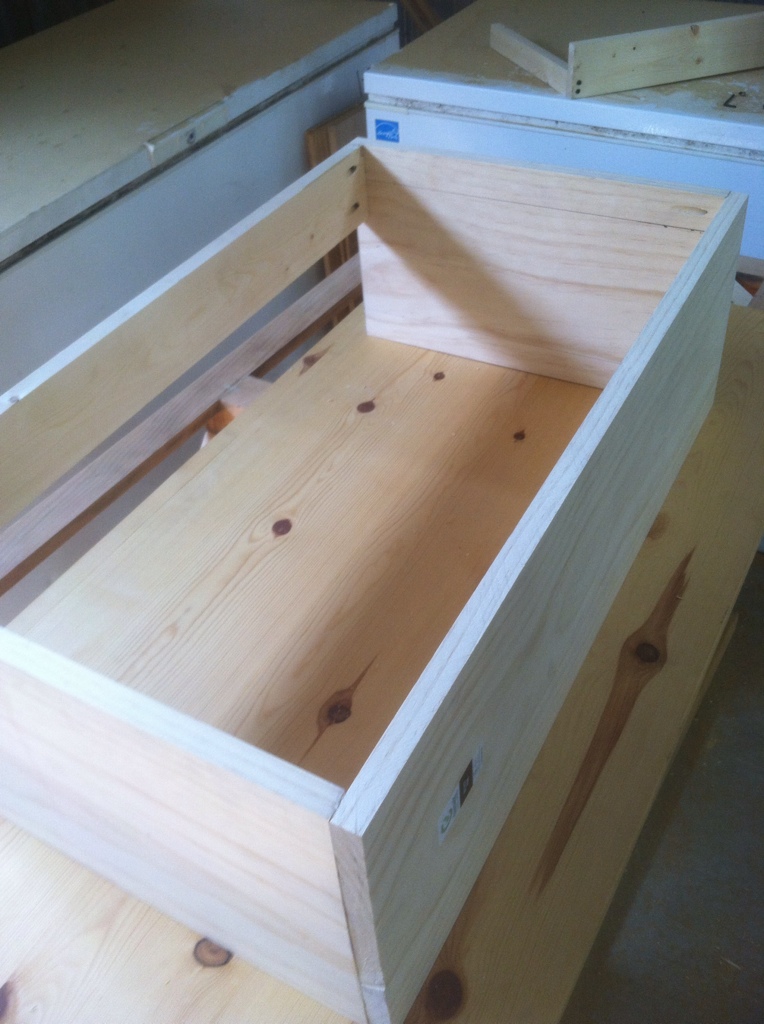
So, by now almost all of the cuts have been made.

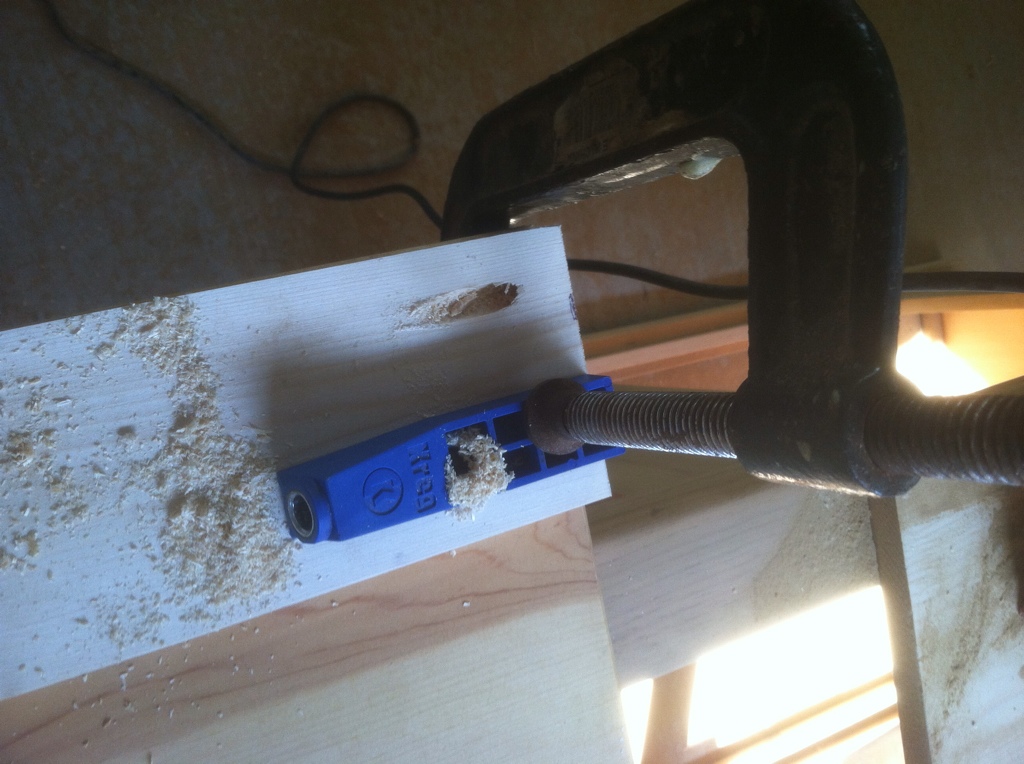
I skipped over a lot of making pocket holes in the wood... but here is one picture of the jig that allows me to make pocket holes.
 

snakeblitz33

Well-Known Member
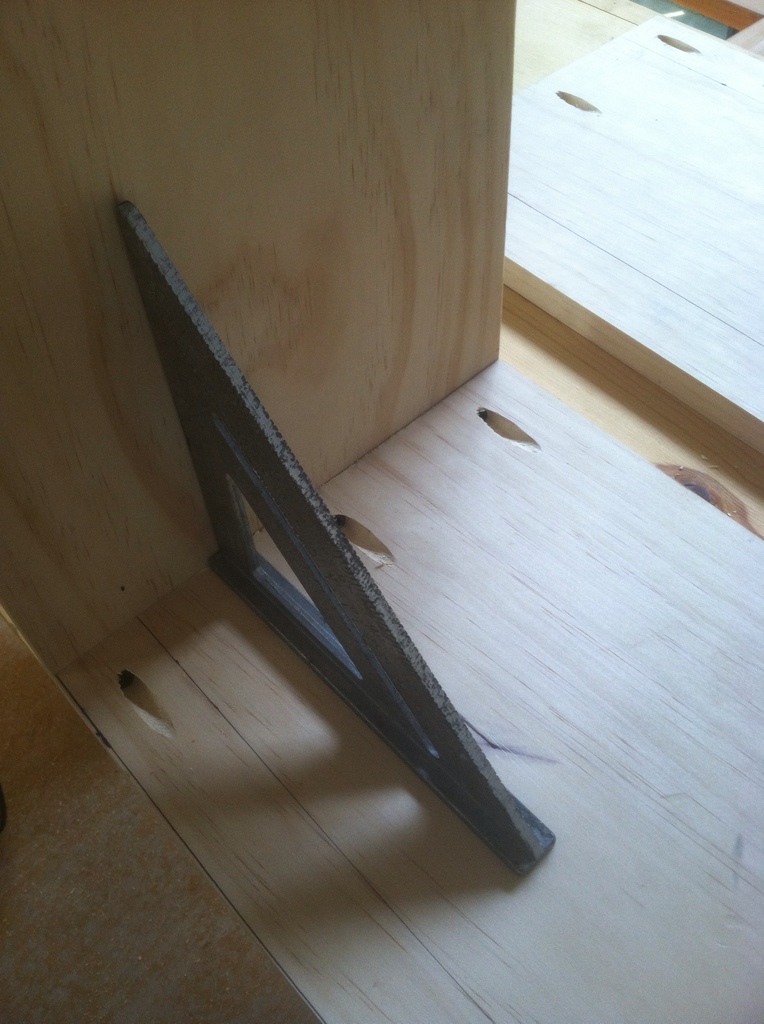
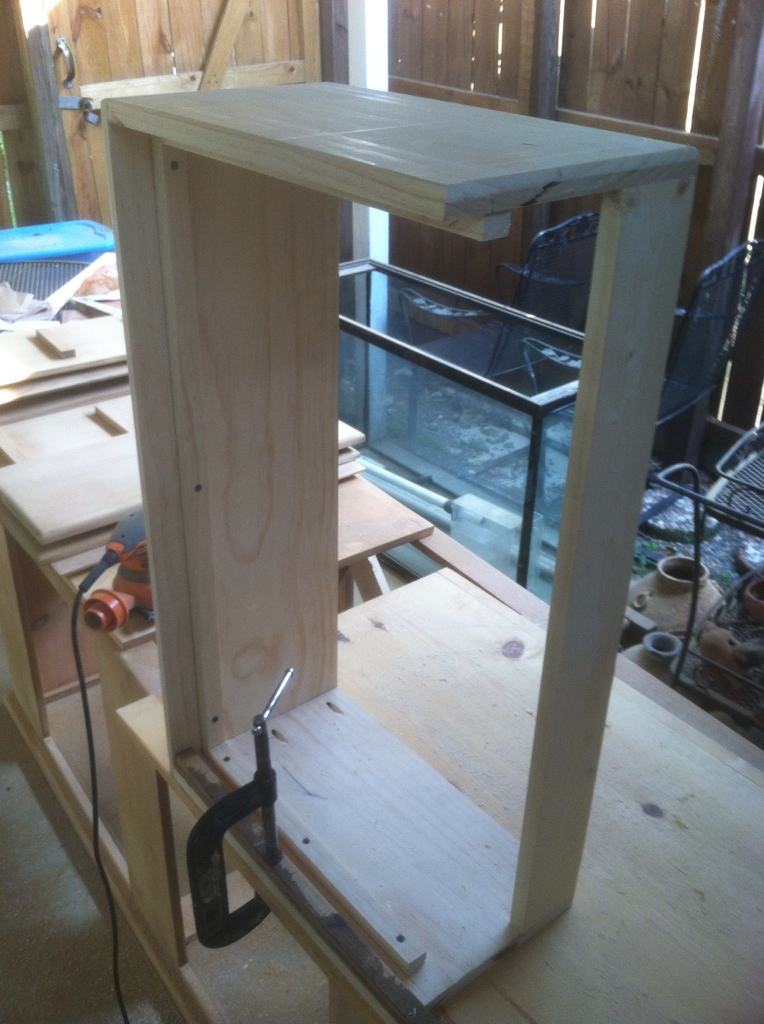
So, I took my square tool and made absolutely sure that the wood that I was screwing together was completely square. If you don't do this step, you end up with a lot of kinks and twists in the finished product that you normally wouldn't. (and it would have a kink in it that wouldn't allow the canopy to slide off easily) Not many people that I know of do this step.

So, now the BASICS of the canopy are starting to take shape.
 

snakeblitz33

Well-Known Member
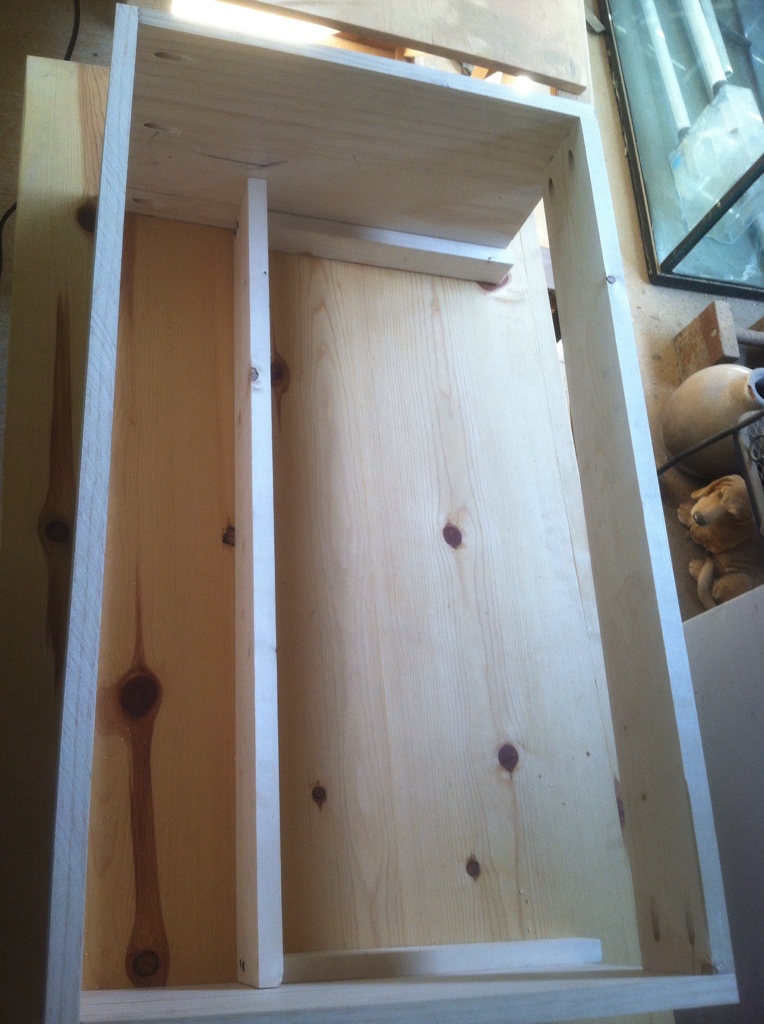
I used the jig that I made in the beginning to make sure that the canopy will slide onto and off of the top of the aquarium easily, but not so easy that it would slip off or let light through. This is a very important step because if the canopy were kinked in any way, now is the time to correct it. But, because I squared it right off the bat, there were no problems.

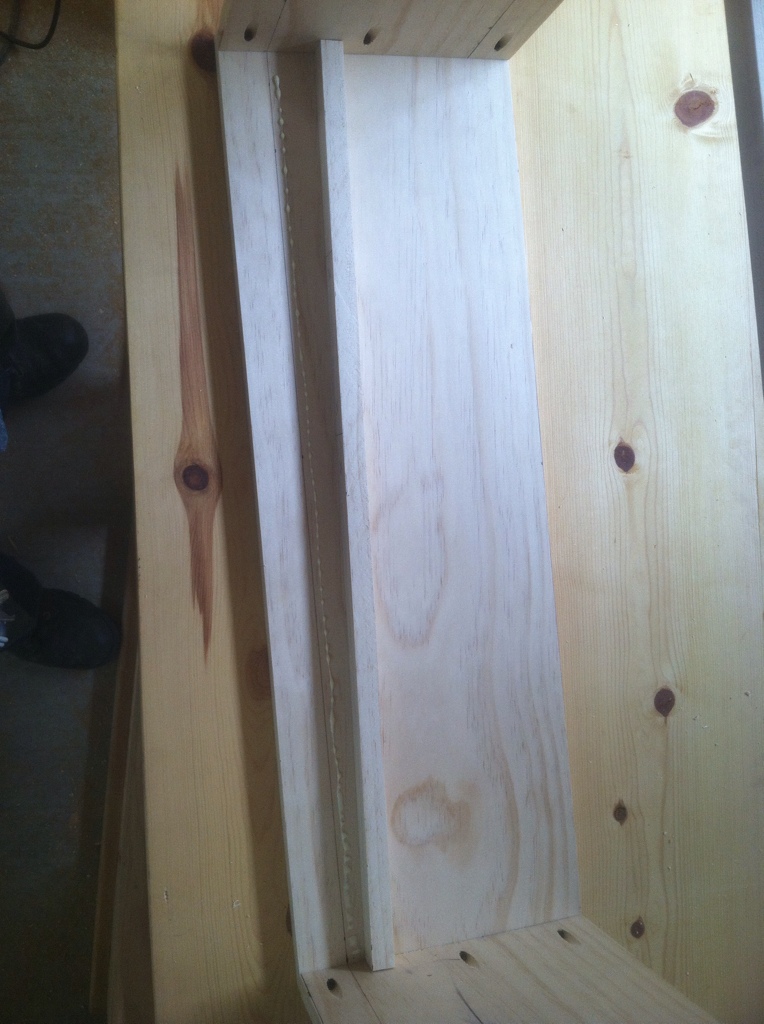
Now comes the time to make the canopy be able to actually sit on top of the tank... I used the leftover pieces that I cut off with the table saw to make the boards that sit on the rim of the aquarium. I used a high quality wood glue and three screws on the side rails and wood glue and four screws in the front rail.
 

snakeblitz33

Well-Known Member

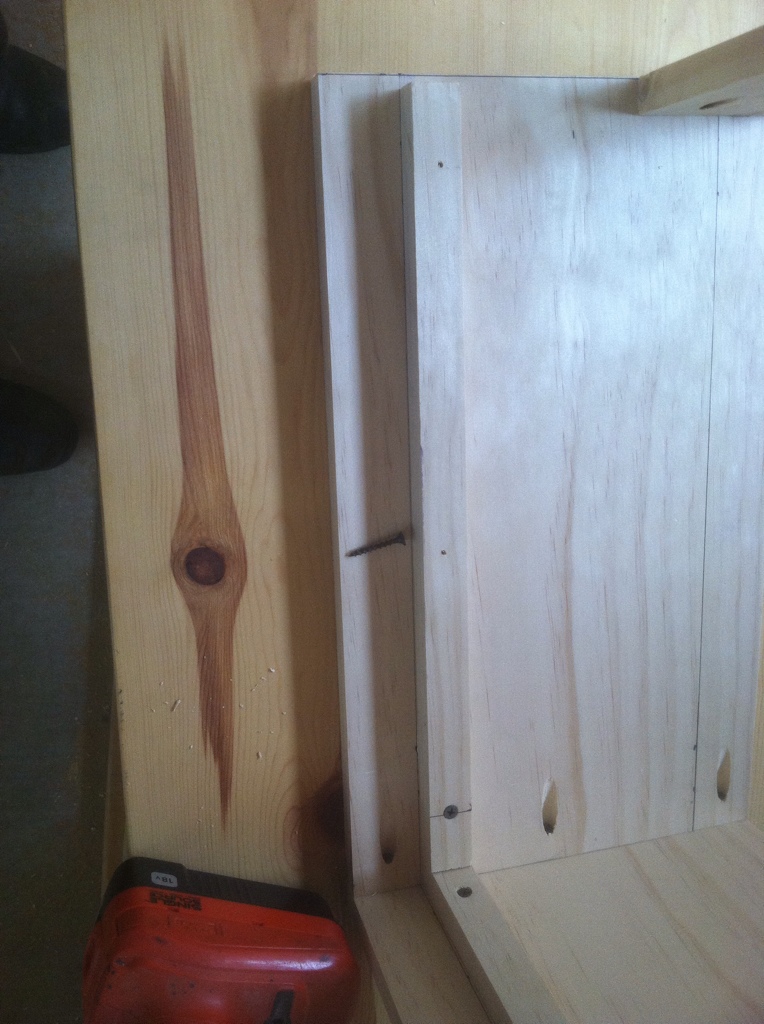
When you are screwing in screws in such a small piece of board, the board will almost indefinitely crack. I don't like cracks in my woodwork. So, I drilled pilot holes in each one of the rails for the screws to prevent the wood from cracking.
 

snakeblitz33

Well-Known Member
Oh, by the way - I did check for level. lol Also, at this point, I want to make sure that I tell you that I followed your specs and made the rails 1 5/8" up from the bottom of the boards. This should be enough to cover just the rim of your tank, and not hide any of the glass.
 

travelerjp98

Active Member
Looks good, professor V!
Deb is definitely going to appreciate all the time, hard work, and attention to detail that you put in.
Nice job.
 

snakeblitz33

Well-Known Member
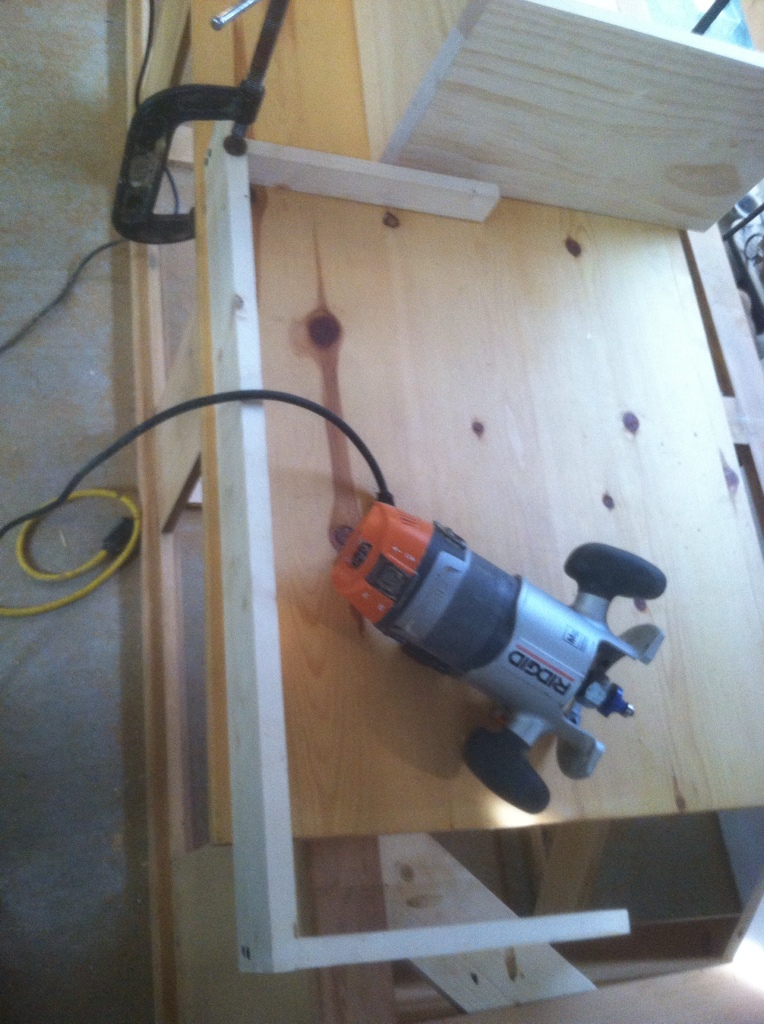
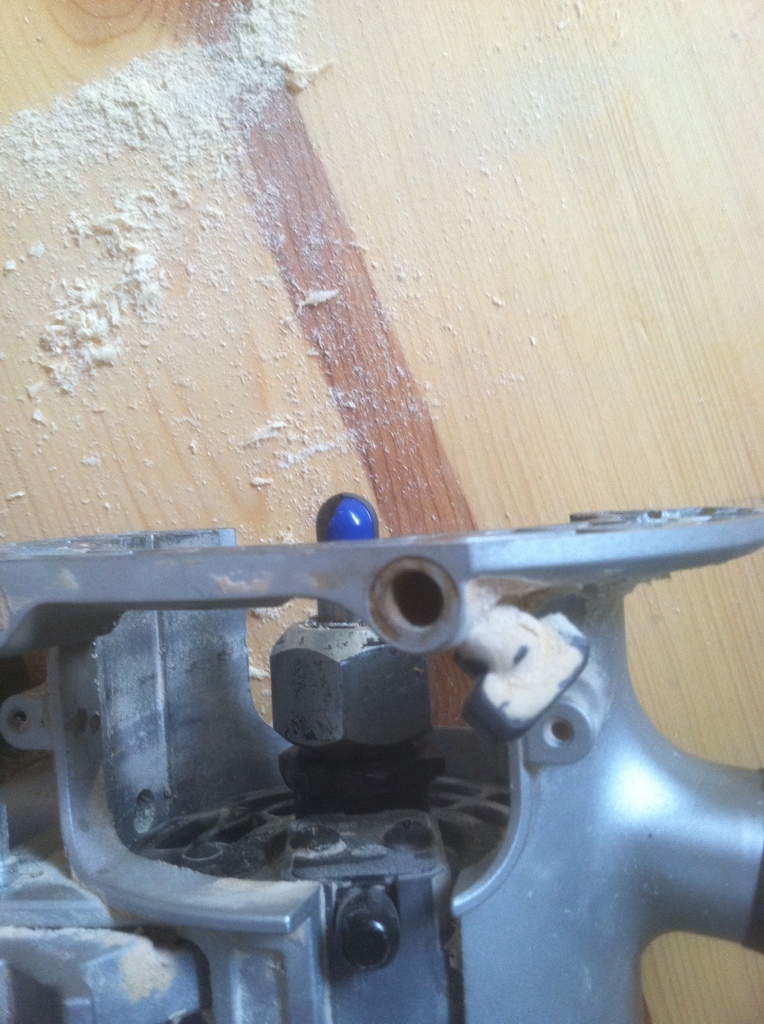
Time to break out the router! and all of my helpful little router bits. ... Yes, I love routers. lol. Before you can do any kind of routing on a semi-finished product, you want to test it out on a scrap piece of wood.

The bit that I am using in this photo is called a "smooth edge"

Before you can route anything, you have to make sure that the piece of wood you are working on is clamped down well and that you have a clean work area. Note that in the picture, I am using a C-clamp and an extra block of wood. The extra block of wood keeps the C-clamp from making a round impression in the wood.
 

snakeblitz33

Well-Known Member
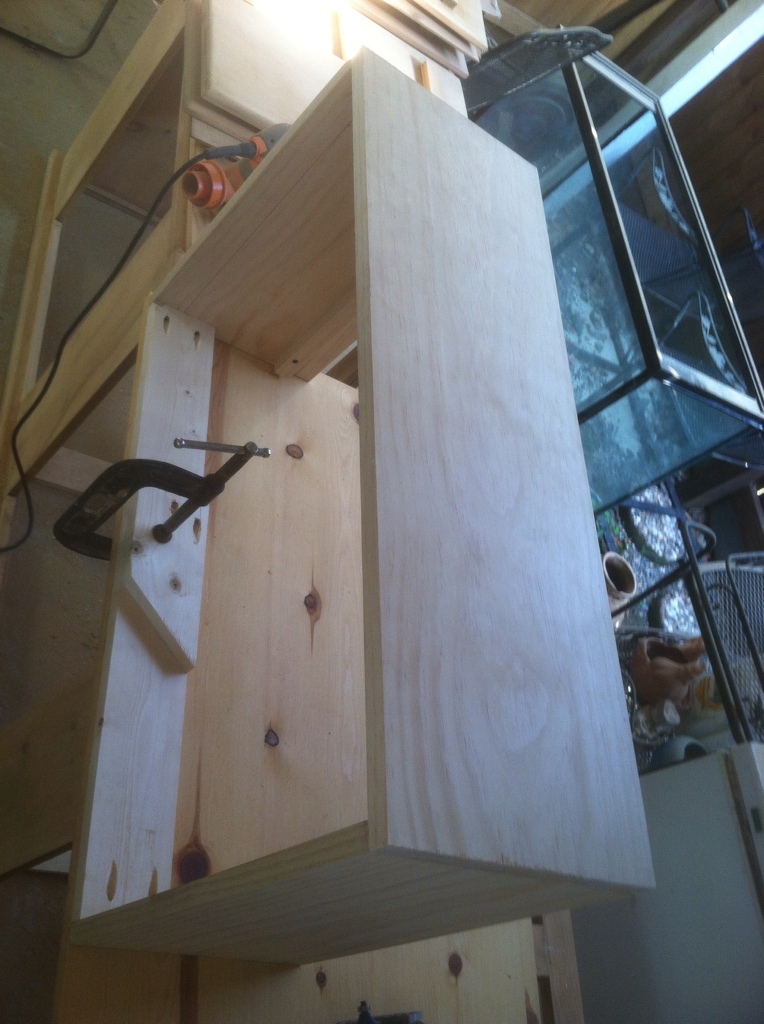
Some of the smooth edging is done in this photo. I had to clamp it down on either side so that I could get the sides smoothed.


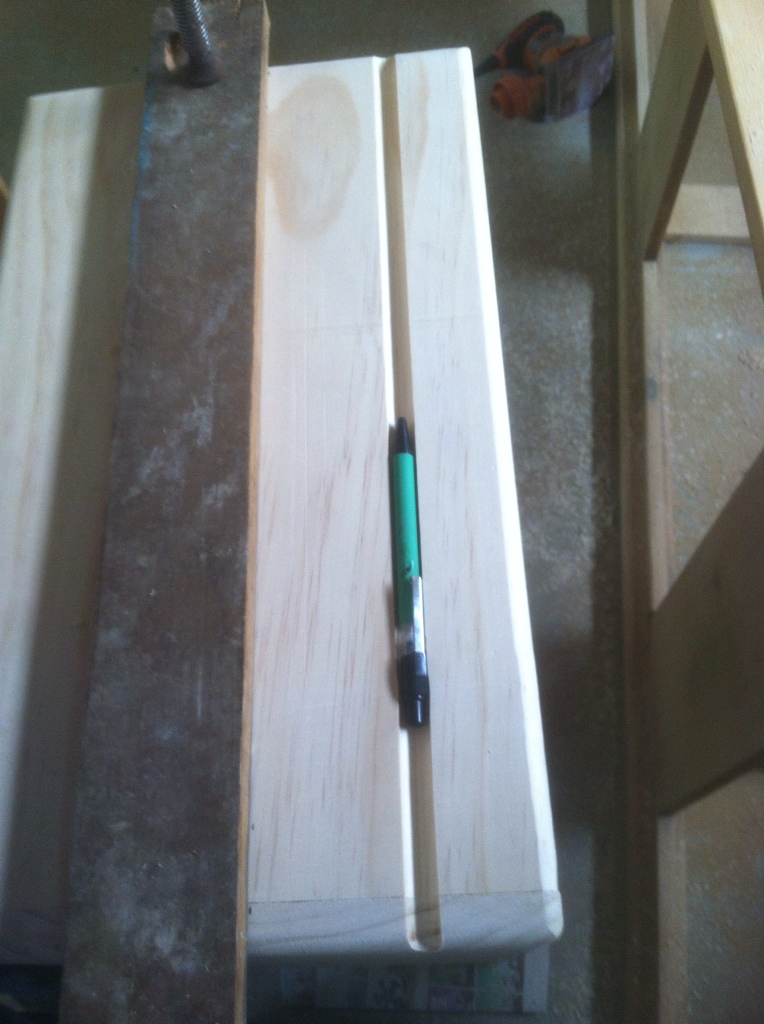
As per the specs of the build, Flower wanted a "pen groove" in the canopy so that her netting will have something to fit into. She described it to me as being able to fit an eye pencil in the groove. So, I chose a 3/8" groove bit and adjusted it as necessary.
 

snakeblitz33

Well-Known Member
I cut the first grove with the router by setting up a fence. Usually, I would have a router jig, but somehow I misplaced it. Oh well - a fence is just as good for this little project. Now, in this picture, I put the pen in the groove so that you can get a better idea of what it is.
I couldn't just cut grooves at the top of the canopy, so I made another decorative groove all the way around the bottom as well, and made it all symmetrical.
 

snakeblitz33

Well-Known Member
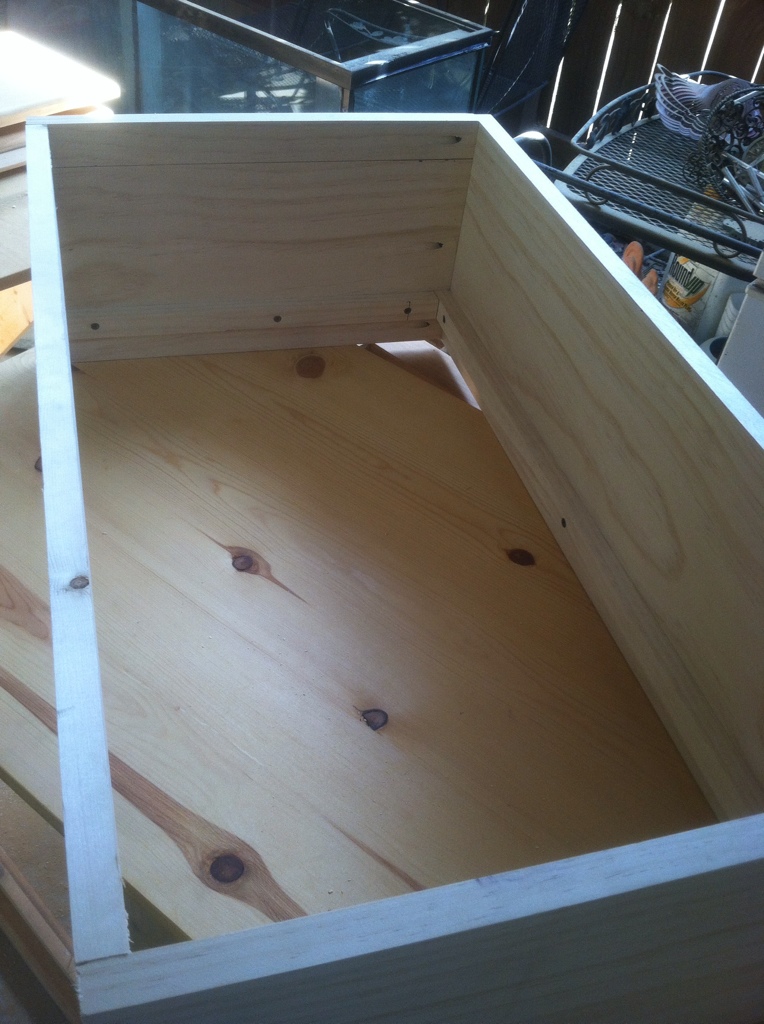
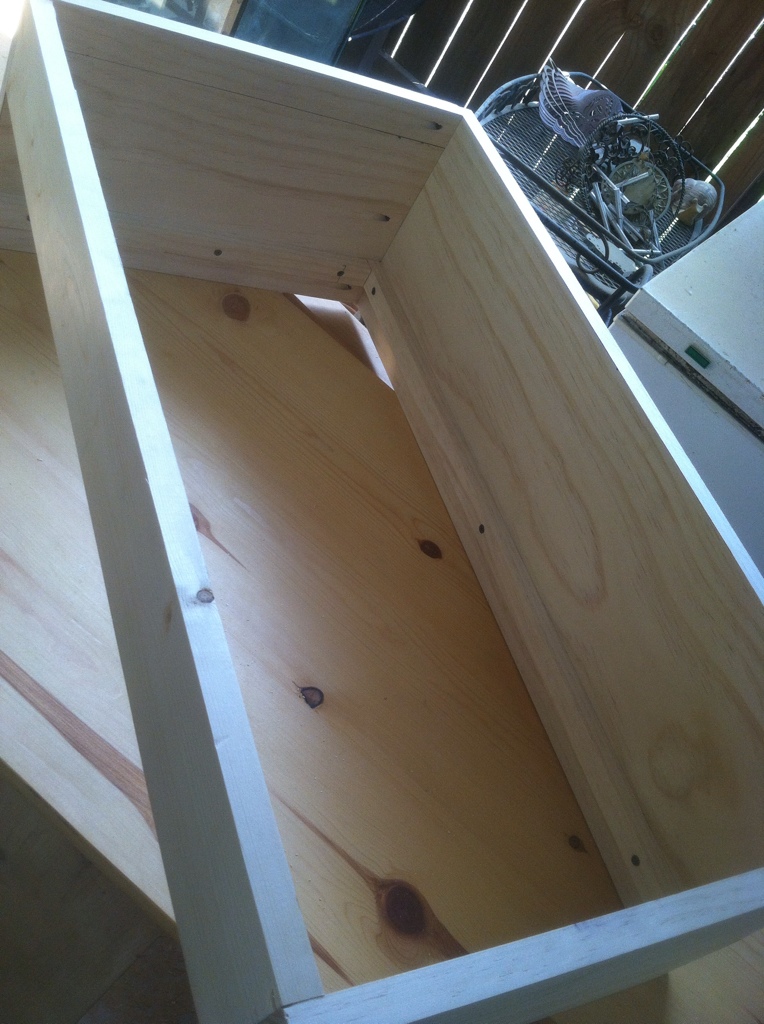
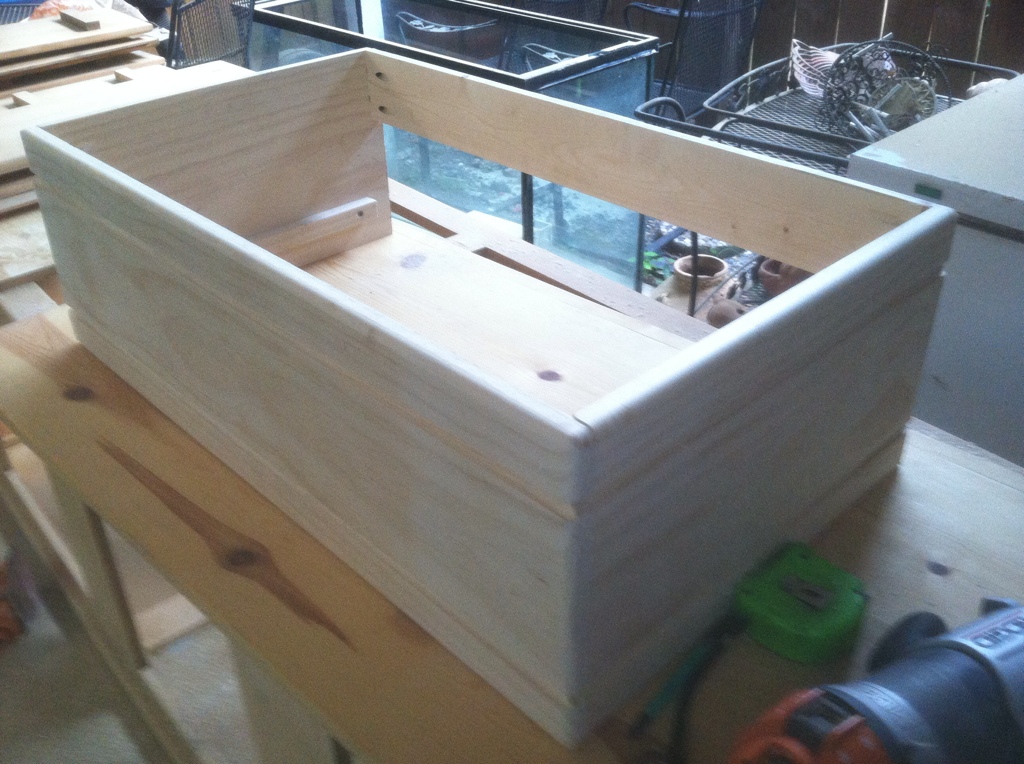
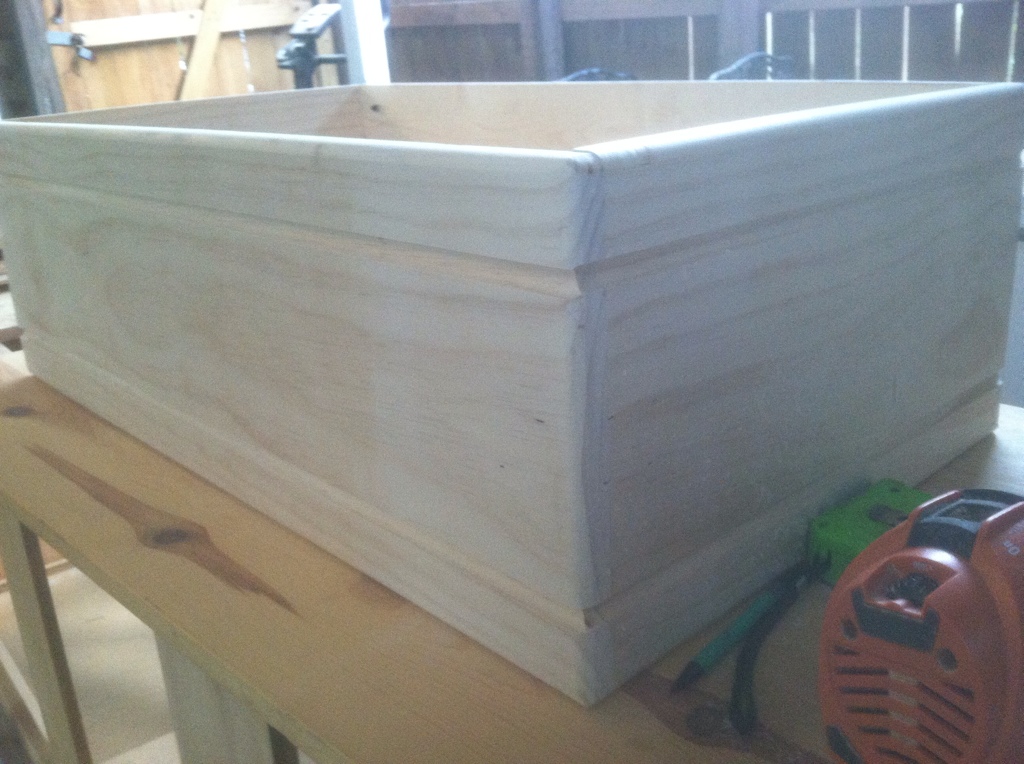
And now for most of the routing being done for today... this is what I have ended up with...

I think you can see the smoothed out edges and the grooves better in this next picture.
 

snakeblitz33

Well-Known Member
There are a couple of little boo boo's here and there. My router slipped once, but I don't think it will be a major issue.
Tomorrow I am going to sand the whole thing down really smooth,.... starting with 100 grit sandpaper to mold some of the edges into place and then going up to 150 grit for a light sanding and then to get that really smooth texture I'll finish with 220 grit sandpaper.
If I can get it all sanded down tomorrow (which is not doubtful) I'll go ahead and prime it all in.
Too bad this canopy has to be painted black. I think it would look great with a nice dark stain. But, Specs are specs!
Flower - There are ten screws that is holding this together. Once it is done, I'll be unscrewing them and taping the screws into place with masking tape.
 

flower

Well-Known Member
Wow Seth! That's just perfect!
I knew I found a true artist who loves what he is doing when you decided it would look better with another groove at the bottom to bring it all together. It went from four boards put together into a true canopy in an instant.
All this time when I tried to ever make something, I always assumed the first piece from the lumber store was a straight edge so I really learned allot from your details. You could teach in a woodworking shop. You explain every step in perfect detail....LOL, when I can understand something done with wood...you did real good.
I agree it is too pretty to cover up with black paint...but sadly, it has to match my stand, so black it must be. LOL...I felt my sump made by Acrylic and Al&burke was too nice to put under the stand out of site. LOL...every once in a while I still open my stand doors to look at it, and just remember all the joy of watching it all come together and everyone pitching in.....Yep, good memories indeed.
Everytime I look at that bottom groove, I'm going to remember the extra care you took to make it for me. I'm so excited! I can't wait to see more. I am gong to take some before pictures of my stand and tank so I can post it right next to the one I will take with the canopy on it...I can hardly wait!
Oh and have I said Thank You yet?
 

snakeblitz33

Well-Known Member
Thank you Flower!
Today it is going to get a really good sanding to smooth everything over some more. I'm not going to sand on the inside of the grooves because I want the net to be able to catch and hold on really easily. Once I sand it down and use an air hose to blow it off, I'll prime it in today. The primer I bought dries in one hour. So, it might be getting a coat of black paint today afterall.
Now, I bought gloss black paint - which I think is what your stand should be as well, if I have looked at it closely enough. The old paint I was going to use was all dried up.
The whole canopy is ~ 31.5" long X 18 1/8" wide and 10" tall. So, do you think you still want me to disassemble it for shipping? Once finished, I can go to the carrier of your choice and have them measure it and weigh it assembled and not.
 

flower

Well-Known Member
Quote:
Originally Posted by SnakeBlitz33 http:///t/392458/flowers-canopy-build/40#post_3486839
Thank you Flower!
Today it is going to get a really good sanding to smooth everything over some more. I'm not going to sand on the inside of the grooves because I want the net to be able to catch and hold on really easily. Once I sand it down and use an air hose to blow it off, I'll prime it in today. The primer I bought dries in one hour. So, it might be getting a coat of black paint today afterall.
Now, I bought gloss black paint - which I think is what your stand should be as well, if I have looked at it closely enough. The old paint I was going to use was all dried up.
The whole canopy is ~ 31.5" long X 18 1/8" wide and 10" tall. So, do you think you still want me to disassemble it for shipping? Once finished, I can go to the carrier of your choice and have them measure it and weigh it assembled and not.
Wow...This is the first time my computer would let me on the site. I don't know what's wrong with it.
Ship the canopy in sections unassembled...that way I feel it has the best chance of arriving safe and in one piece. Maybe have each piece wraped in bubble wrap and then box tape it all together and put in in a box and stuff all around it so it can't shift inside...LOL..Thats how I would pack it anyway.
Bubble wrap the screws or they might dig into the wood if you tape it to the actual canopy. Assume UPS, FedX or USPS is going to release a gorilla to play with it during shipping...package the canopy accordingly....LOL
Thank you so much...I don't know if I can get back on the computer later, but I have to go help my mom right now.....
 
Top