So, i talked my dad into building me a stand
I only have to buy the wood and come over to his house and help him out. I am excited. I found some plans online, i dont understand them. any adivse would be great. Here are the ones I found...any advise from all you talented carpenters would be GREAT!! thanks
Stand Dimensions
Stand Height = 28 1/4"
Stand Width = 13 1/8"
Stand Length = 49 1/8"
Materials List
PartThicknessWidthLengthMaterialQty
A. Front & Back Rails3/4"4 1/2"17"Lumber8
B. Front & Back Stiles3/4"4 1/2"27 1/2"Lumber6
C. Side Panels3/4"11"27 1/2"Plywood2
D. Floor Frame Rail3/4"3 3/4"47"Plywood2
E. Floor Frame Cross Braces3/4"3 3/4"10 1/8"Plywood3
F. Tank Top Center Brace(s)3/4"4"11"Plywood1
G. Center Brace Supports3/4"4 1/2"4"Plywood1
H. Stand Top3/4"13 1/8"49 1/8"Plywood1
I. Stand Floor3/4"11"47"Plywood1
J. Door(s)***3/4"19 1/8"20"Plywood2
***Raised Panel Calculator
Stand Construction Procedure
A. Inspect all pieces for rough or flawed edges. Sand as needed.
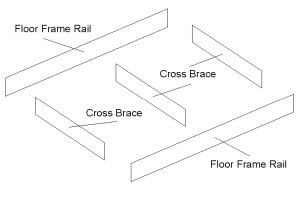
B. Lay out boards for the floor frame.
C. Using wood glue and nails, assemble the frame as in figure 1.
Figure 1.
Floor Frame
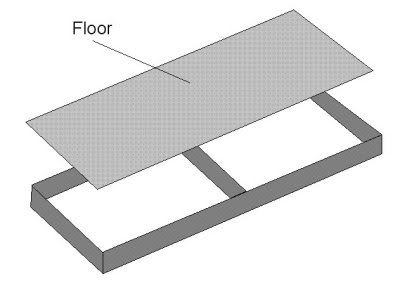
D. Place the floor on top of the floor frame and fasten as shown in Figure 2..
Figure 2.
Floor
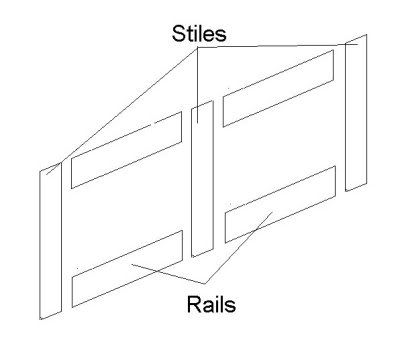
E. Lay out boards for the front and back frames as shown in Figure 3. The figures below show a stand that is built with 2 doors therefore it has an extra stile in the center of the front and back. The Single door will have no stiles and the 3 door will have 4 stiles on the front and back.
F. Using bar or pipe clamps, glue the frames together and let dry 24 hours. I like the extra strength I get from using pocket holes and screws, biskets, or dowells.
Figure 3.
Front & Back Frame
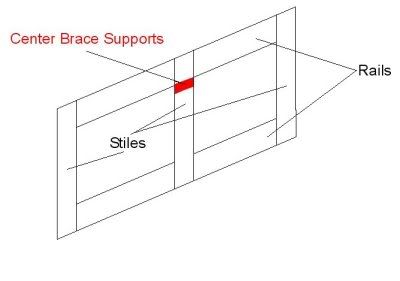
G. Refer to figure 4. Using wood glue and 1 1/4" nails, mount the center brace supports.
Figure 4.
Center Brace Supports
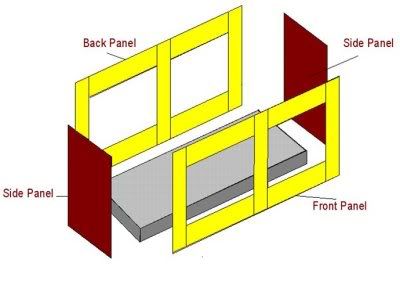
H. Refer to figure 5. Assemble the front, back and side panels using wood glue and finishing nails or pocket hole screws. also
Figure 5.
Front, Back and Sides
I. Refer to figure 6. Install the center braces using wood glue and finishing nails.
/Fig6.jpg" border="0" alt="" />
Figure 6.
Front, Back and Sides
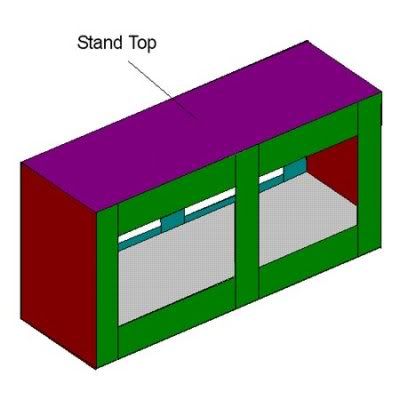
J. Fasten the 3/4" plywood top on the stand. It should lay on top and be the same size as the top of the stand as shown in Figure 7
Figure 7.
Stand Top
K. At this time you may want to add additional trim like crown molding if desired. The plywood top of the stand will be exposed and will not be too pretty
L. Stain if desired then seal the stand with a marine finish. I prefer to seal the inside of the tank with an epoxy paint for extra protection
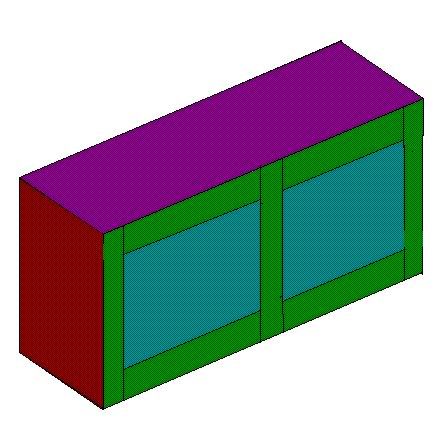
M. I like to finish and install the doors seperately. The doors are designed to overlap each opening by 3/4" on all sides. I personally like to use stainless steel European style cup hinges to mount the doors. The stainless steel hinges resist corrosion and will not rust. Figure 8 will give you a rough idea of what the stand will look like.
Figure 8.
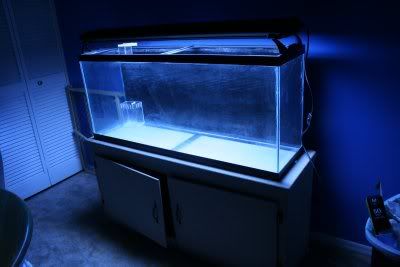
Completed Stand
i am not sure where i got these from...


")