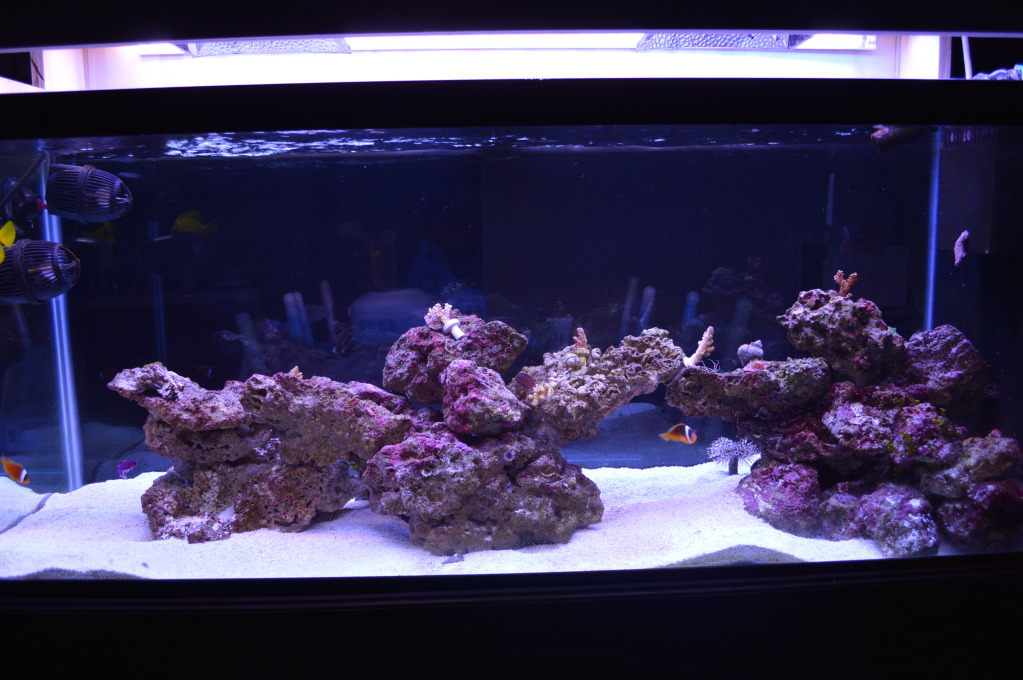
Richard, you don't NEED photoshop to balance the whites...but I admit it can be much easier with 'shop. Especially if you happen to have a white/grey/black card that you can hold up in one of the pictures. Say you're doing a 30-shot photoshoot under the same conditions. You don't need the card for all 30 pics. Just photograph the tank and card in the first shot. When you get to Photoshop, open all of the images you want as a group. I use Photoshop 7.0, but this works for most newer versions too.
Find your first picture with the white/grey/black card (or whatever you chose to use) and look at its layers dialog box. It's very important that you make this adjustment in layers. On the bottom of the layers palette, you will see a pop-up for adding adjustments...it's a little half-white, half-black circle. Click on this, then select "Curves." The curves dialog appears, and you will see three little eyedroppers on the bottom of that window: White, Grey, and Black. Yup. You can probably see where I'm going with this.
BUT....don't get ahead of yourself. If you're using Photoshop, you will want to set the correct values for these three tones. Start by DOUBLE-clicking the black eyedropper. A color picker will appear. Make sure it's set to RGB (these values would be different for CMYK, but you're not sending this to a printing press, are you?), and set your black to 20/20/20. This is a good neutral black that's not TOO black....we don't want the depths of the innermost circle of hell here, just plain old regular black. Click OK, then in the curves dialog, double click the white eyedropper. Again, use RGB...and enter 240/240/240. Once again, click OK...then double click the midtone eyedropper. For this one, use 128/128/128, and hit OK. There. Your shadows, highlights, and midtones are set. NOW...back to the pictures.
So, you've set your preferences, and you're back to the curves dialog in the layers field. Click the black eyedropper, then click a section of the black card. You should see a noticeable change. Select the white eyedropper by clicking on it once, then click somewhere on the white field of your card. Making these two adjustments usually does a lot for fixing your image, but if you have that grey section (midtones) you'll be surprised at how much better the subtle midtones correction can look. Select the grey dropper, click on the midtone section of the card, and sit back in awe.
Now, before you do anything else....you may want to lighten the image a little after these corrections are done. Click on the center of the actual curve graph in the dialog and drag it up a little. This will lighten midtones, and it's totally up to you as to how much you want to adjust this, if at all. Once it looks good to you, click OK in the curves dialog and it will close.
"BUT WAIT!" you say. "How do I do this to the OTHER pictures?"
Well, remember how I told you to make this change in the Layers palette? Here's why. Take a look at your layers again. You'll see that a new adjustment layer was created with the curves data. You may have to expand the palette to see the actual word "curves" but it's there. Photoshop has a great feature: you can layers from one photo to another to duplicate them. SO.....drage the CURVES layer of your fixed image onto another open photo on your workbench, and watch all those changes you made to the first image be applied automatically to the next. Continue to do this for however many photos you took in that session.
Now, it's up to you to decide if you want to take your cards and photograph them outside the tank or inside. They do make waterproof cards. In fact, here: http://www.amazon.com/Optek-Premium-Reference-White-Balance/dp/B001KNP3MQ/ref=pd_cp_p_1
Amazon, such a wonderful friend. I think I'm going to buy these, actually.
OK, tutorial mode off. Yes, I'm a bit of a Photoshop freak. Just enough to be dangerous, so to speak.


