2Quills, 120G Re-build thread.
- Thread starter 2quills
- Start date
al&burke
Active Member
Hi Corey, looking really good, great, nice to follow along with you. I am a bit of a woodworker myself and this hobby does lend to great projects like yours. Can't wait to see it done. I have a question about your tank, if I may, I notice you have a spray bar in the middle and one drain on both ends. Are you going to make an box /overflow around the drains. The reason I ask I am doing a 65 gallon goldfish tank for my son's room and I want to make a sump for it. I think I should drill my tank like you have. Any thoughts - I hope I am not breaking into your thread inappropriately or should I start a new thread (but it is a goldfish tank ) Thanks for now, Al
2quills
Well-Known Member
Thanks, Gemmy!
I know how it can be a bit of a drag living in an apartment. We actually live in a townhouse and unfortunately I've had to turn the dinning room into my workshop for the time being. Luckily we have a little fenced in yard where I take my saws and do the cutting. Thanks again for dropping in.
Hey, Meow!
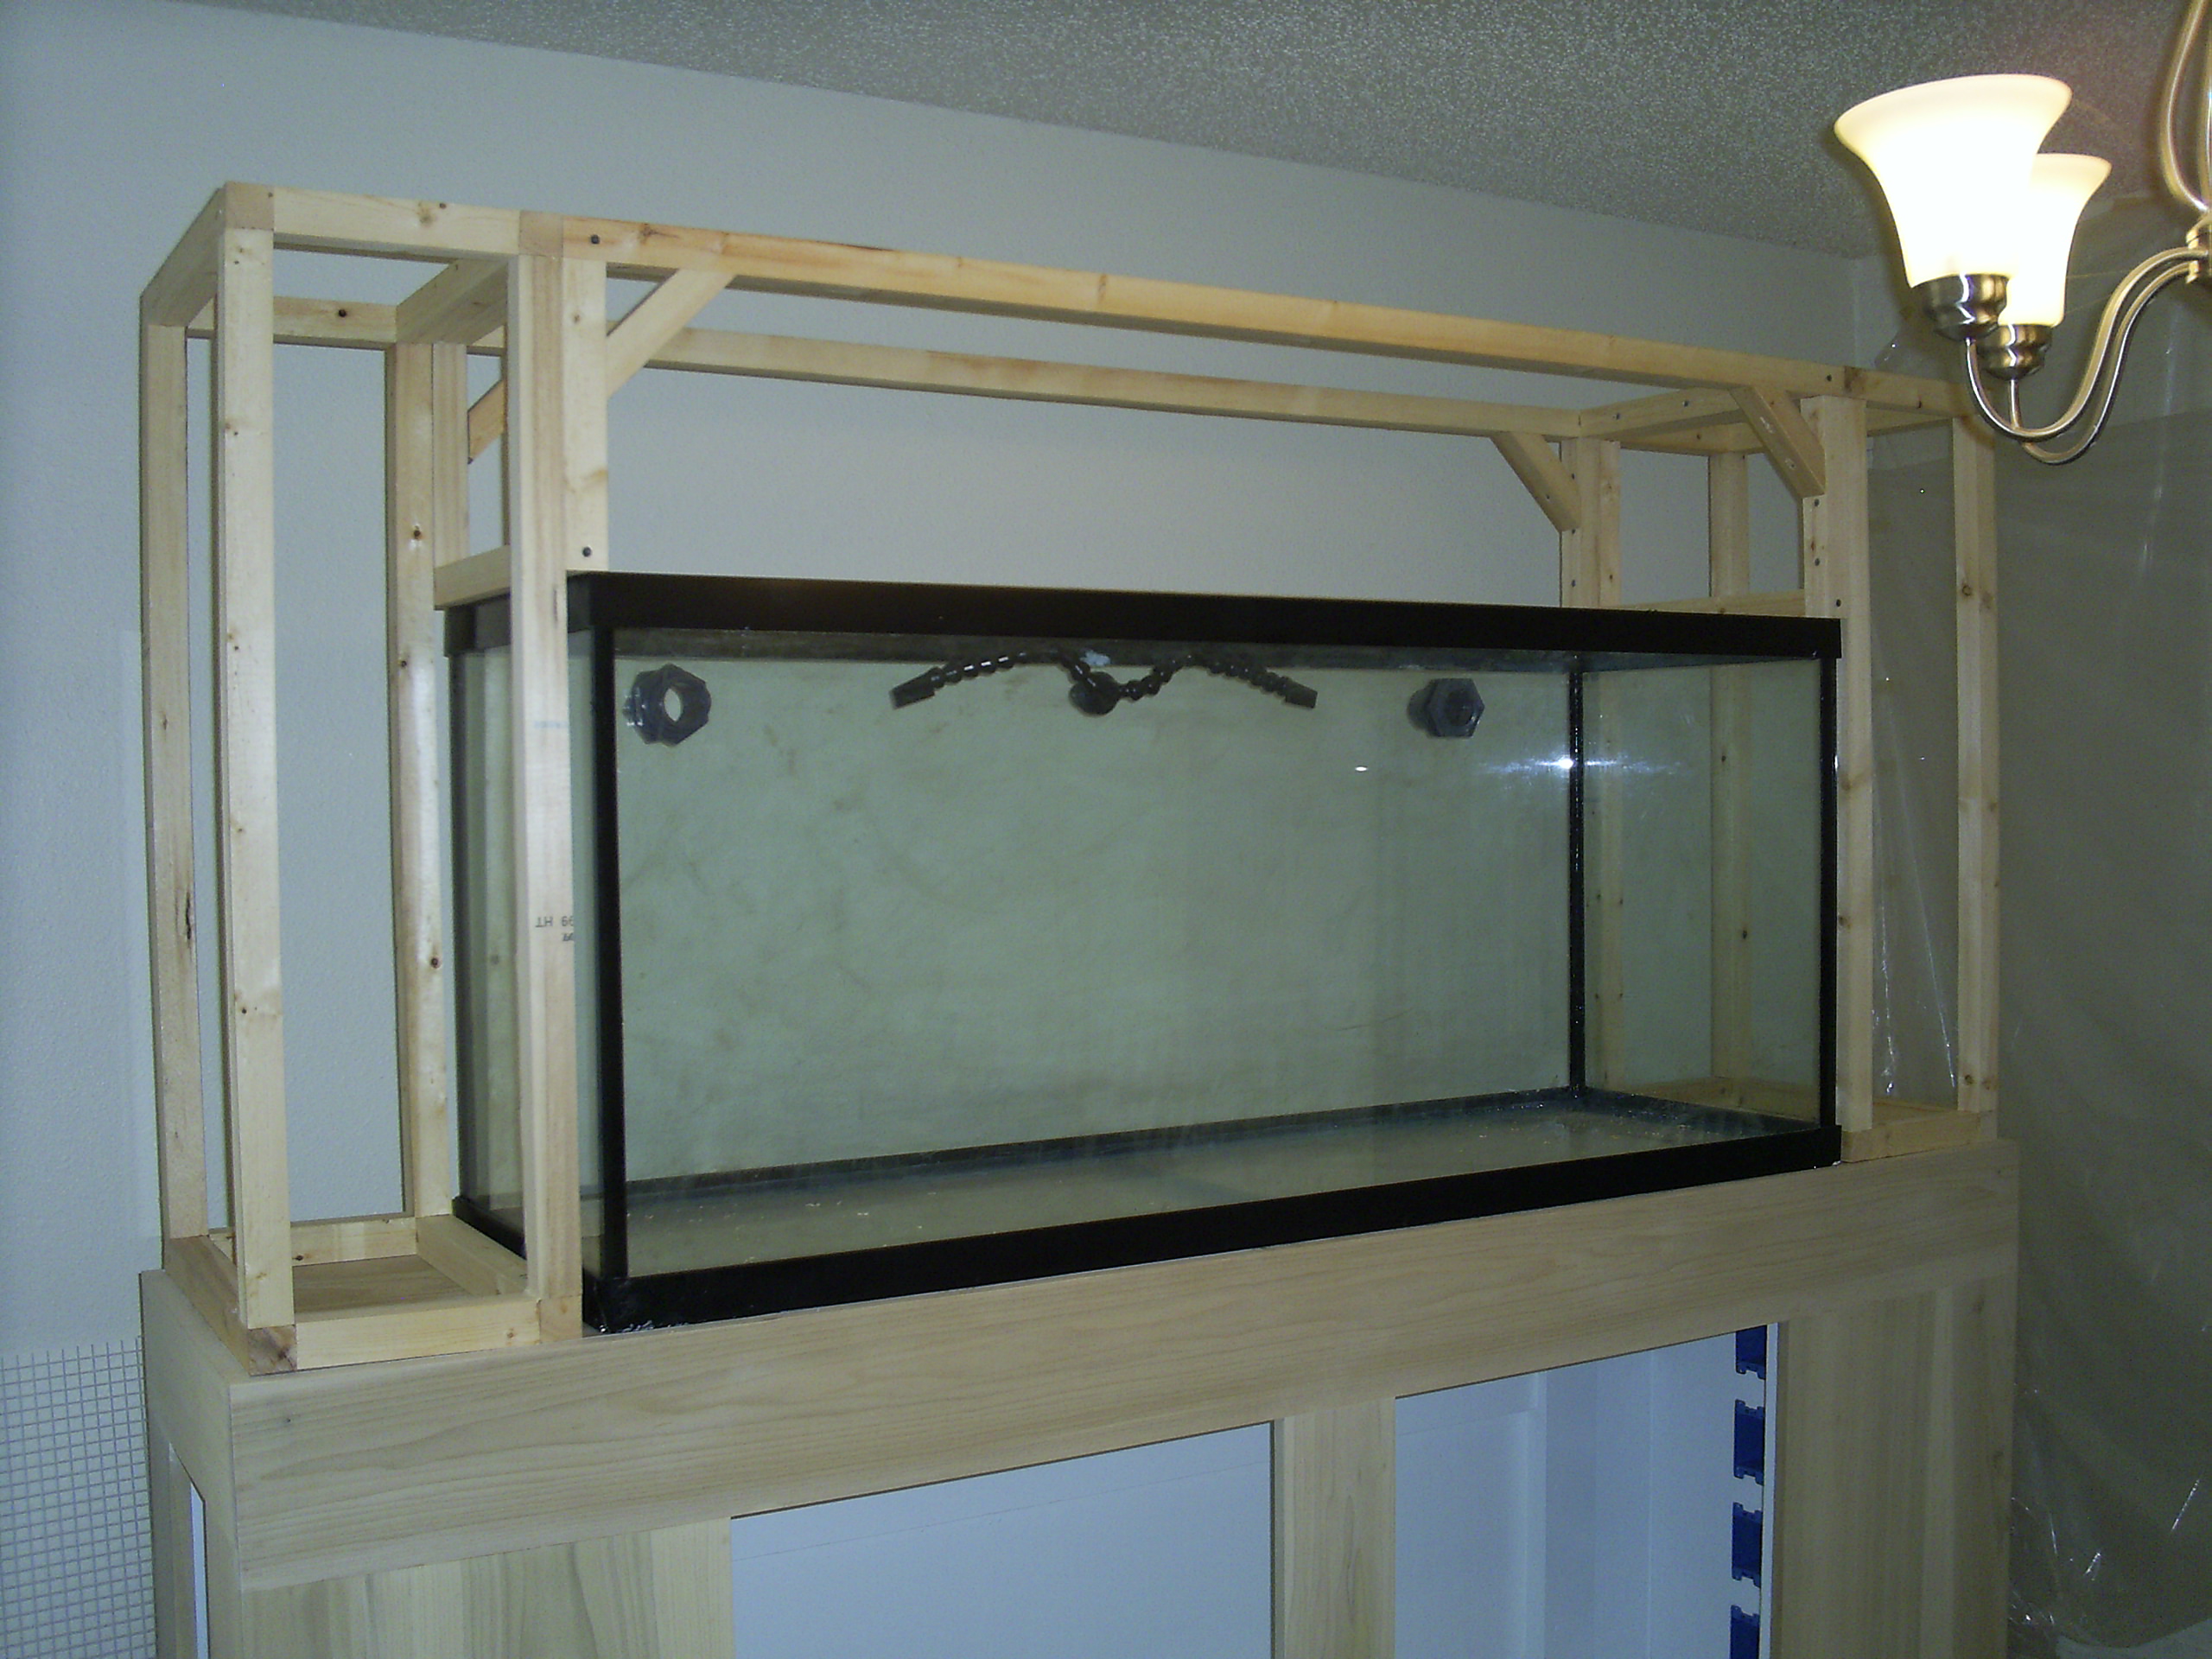
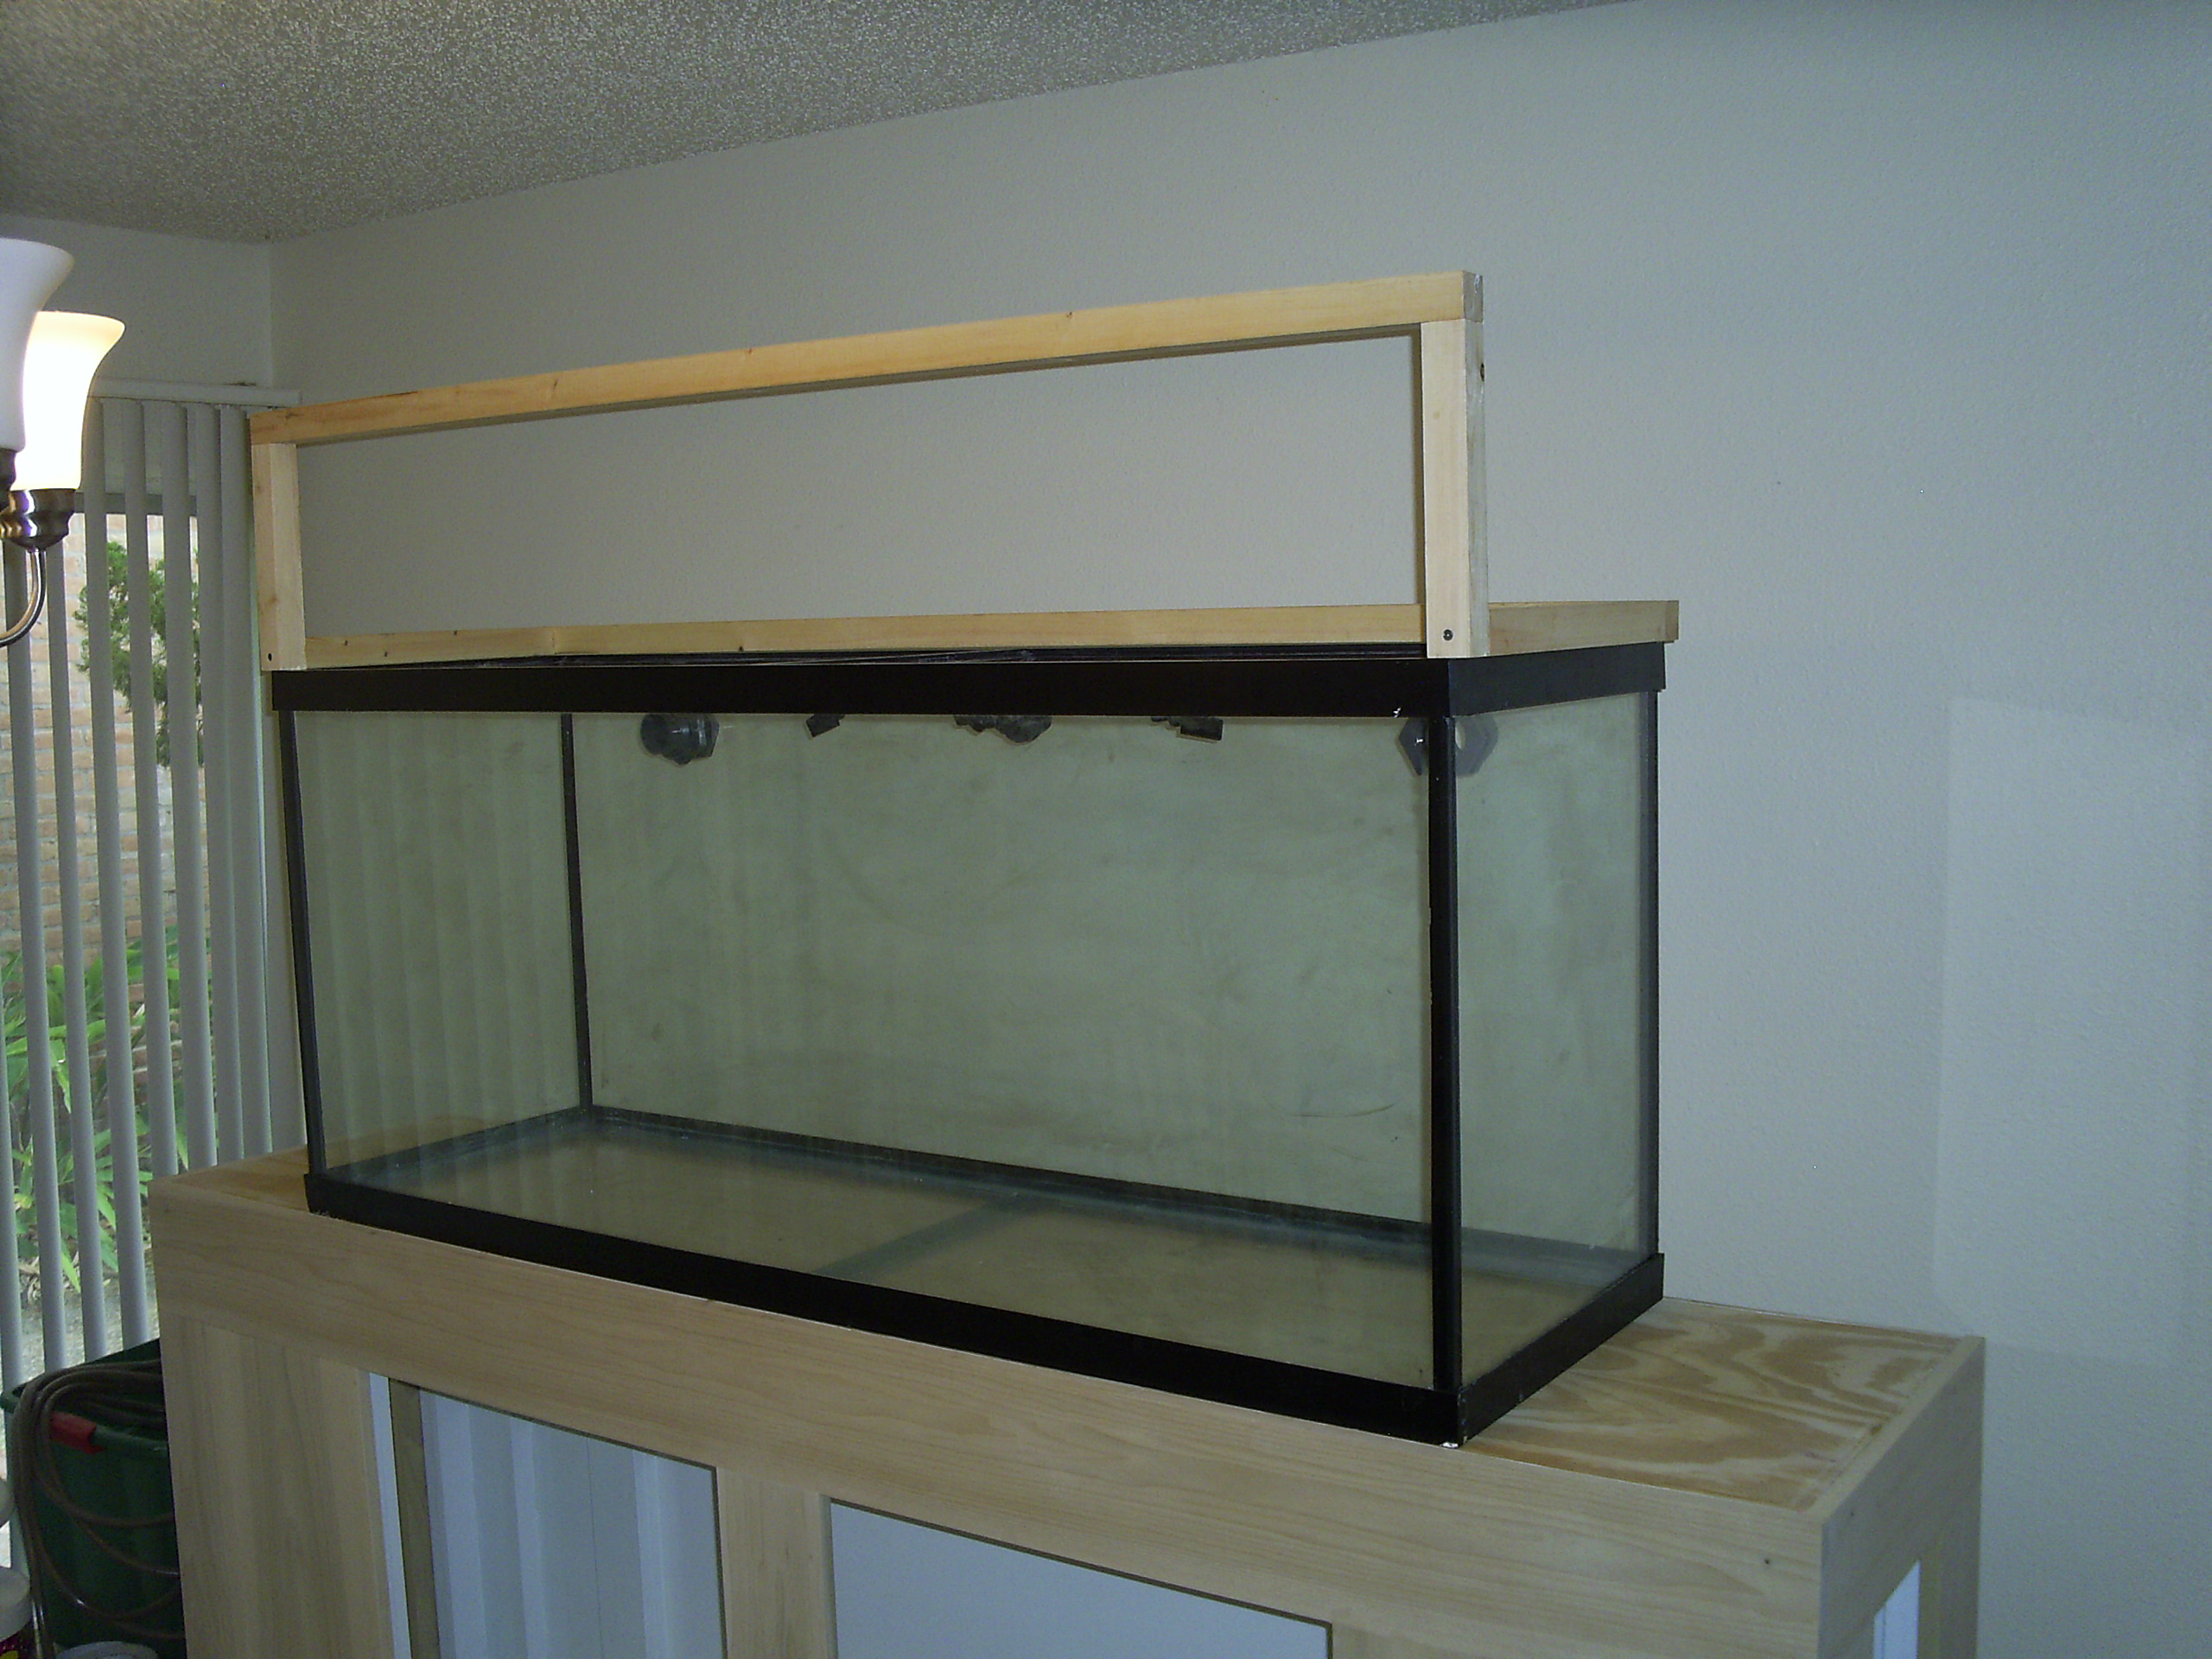
Yep, it's coming along nicely. Can't believe how much of a difference it makes with the tank finally sitting ontop and the canopy starting to come together. There's still lots of work to be done but it feels as though progress is being made.")
Thanks, Al!
Indeed, I am going to put overflows over the bulkheads, just haven't gotten around to that yet. I haven't decided if I want to make them or just order them pre-made since they're not very expensive and can save myself some time. But then again, I've done so much work on the tank and build already I may just go ahead and make them. There's a certain satisfaction that comes with being able to say that I've pretty much made and done just about everything on this project.
You're not breaking into the thread so feel free to ask whatever questions that you may have. Drilling the tank was alot easier than I had anticipated, so if you wan't to do it on your sons tank than I say go 4 it.
Thanks again, guys!
I know how it can be a bit of a drag living in an apartment. We actually live in a townhouse and unfortunately I've had to turn the dinning room into my workshop for the time being. Luckily we have a little fenced in yard where I take my saws and do the cutting. Thanks again for dropping in.
Hey, Meow!
Yep, it's coming along nicely. Can't believe how much of a difference it makes with the tank finally sitting ontop and the canopy starting to come together. There's still lots of work to be done but it feels as though progress is being made.
Thanks, Al!
Indeed, I am going to put overflows over the bulkheads, just haven't gotten around to that yet. I haven't decided if I want to make them or just order them pre-made since they're not very expensive and can save myself some time. But then again, I've done so much work on the tank and build already I may just go ahead and make them. There's a certain satisfaction that comes with being able to say that I've pretty much made and done just about everything on this project.
You're not breaking into the thread so feel free to ask whatever questions that you may have. Drilling the tank was alot easier than I had anticipated, so if you wan't to do it on your sons tank than I say go 4 it.
Thanks again, guys!
2quills
Well-Known Member
Quote:
Originally Posted by acrylic51 http:///forum/thread/378912/2quills-120g-re-build-thread/80#post_3301070
Looks very good!!!!! I like the color choice, I'm still partial to a bit more red....The one sample you is pretty close to the custom cabinet/workbench I did in the garage!!!!!!!! I'll have to look and see what the name is on the stain I used on the cabinets......
Thanks! I believe the color you are refering to is probably the Cabernet? Kind of like a wine color. The other color (the water base one) of which I didn't really post a picture of is the Sangria that I had mixed. The Cabernet was both my wife and my second choice...it was close. I've just used so much of the red mohogany in the past I wanted to do something a little different/
Sent you a pm btw. Got questions lol.
2quills
Well-Known Member
No, it doesn't quite match the rest of the house. All our other furniture is pretty new and everything in the living room is of a a darker color with a redish tinge to it, like red mohogany, from our tables to our shelves, picture frame, clock and even our other aquarium stand. But since we'll be getting new furniture in the dinning room before long anyway I wanted to go with something different in there. I'm really leaning towards a richer/warmer golden brownish look.
posiden
Active Member
Quote:
Originally Posted by 2Quills http:///forum/thread/378912/2quills-120g-re-build-thread/80#post_3301142
No, it doesn't quite match the rest of the house. All our other furniture is pretty new and everything in the living room is of a a darker color with a redish tinge to it, like red mohogany, from our tables to our shelves, picture frame, clock and even our other aquarium stand. But since we'll be getting new furniture in the dinning room before long anyway I wanted to go with something different in there. I'm really leaning towards a richer/warmer golden brownish look.
Gotcha.

The stand is really looking good. I'm waiting to see the top part finished up.

Originally Posted by 2Quills http:///forum/thread/378912/2quills-120g-re-build-thread/80#post_3301142
No, it doesn't quite match the rest of the house. All our other furniture is pretty new and everything in the living room is of a a darker color with a redish tinge to it, like red mohogany, from our tables to our shelves, picture frame, clock and even our other aquarium stand. But since we'll be getting new furniture in the dinning room before long anyway I wanted to go with something different in there. I'm really leaning towards a richer/warmer golden brownish look.
Gotcha.
The stand is really looking good. I'm waiting to see the top part finished up.
gill again68
Active Member
Wow I need to check in more often. The build is looking great. Is that a pecan or walnut stain? I like it. I think you should post more pictures lol.
2quills
Well-Known Member
Quote:
Originally Posted by Gill again68 http:///forum/thread/378912/2quills-120g-re-build-thread/80#post_3303284
Wow I need to check in more often. The build is looking great. Is that a pecan or walnut stain? I like it. I think you should post more pictures lol.
Thanks! The stain is called English Chestnut. I'll try to post extra pics in the future lol. Wasn't able to get anything done to it this weekend with the addition of the new pups that we got yesterday, still trying to get them all settled in.
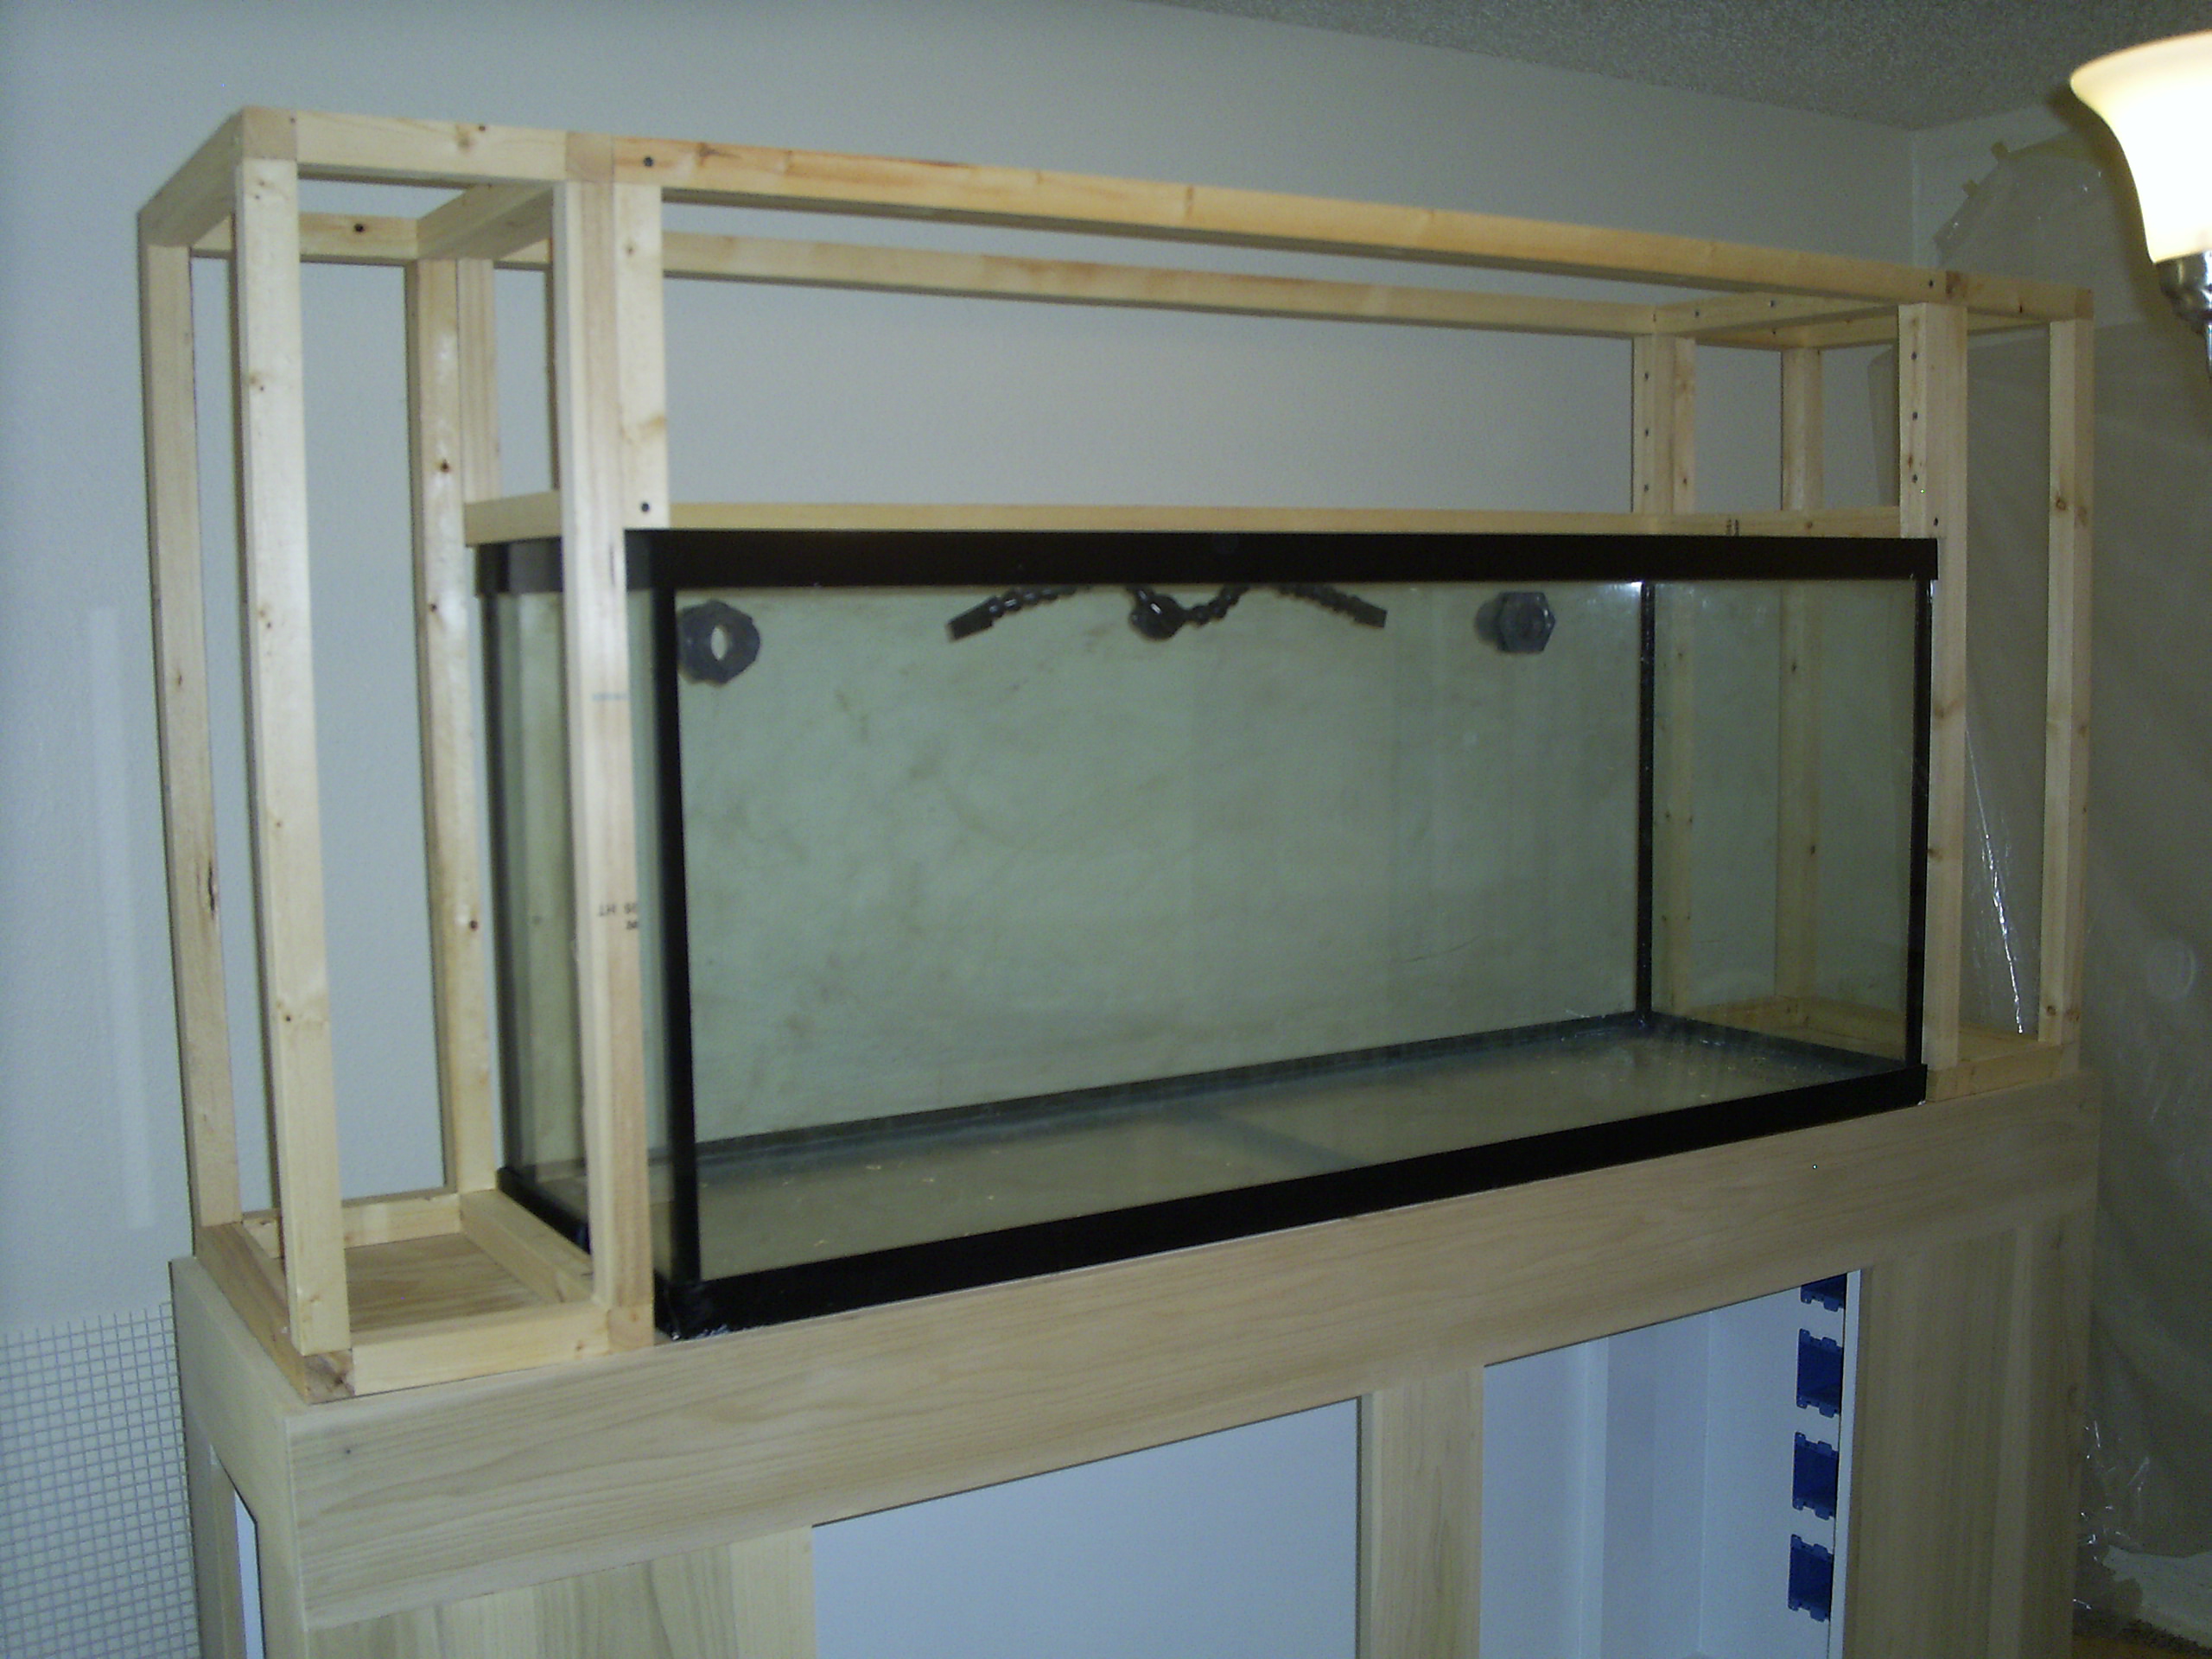
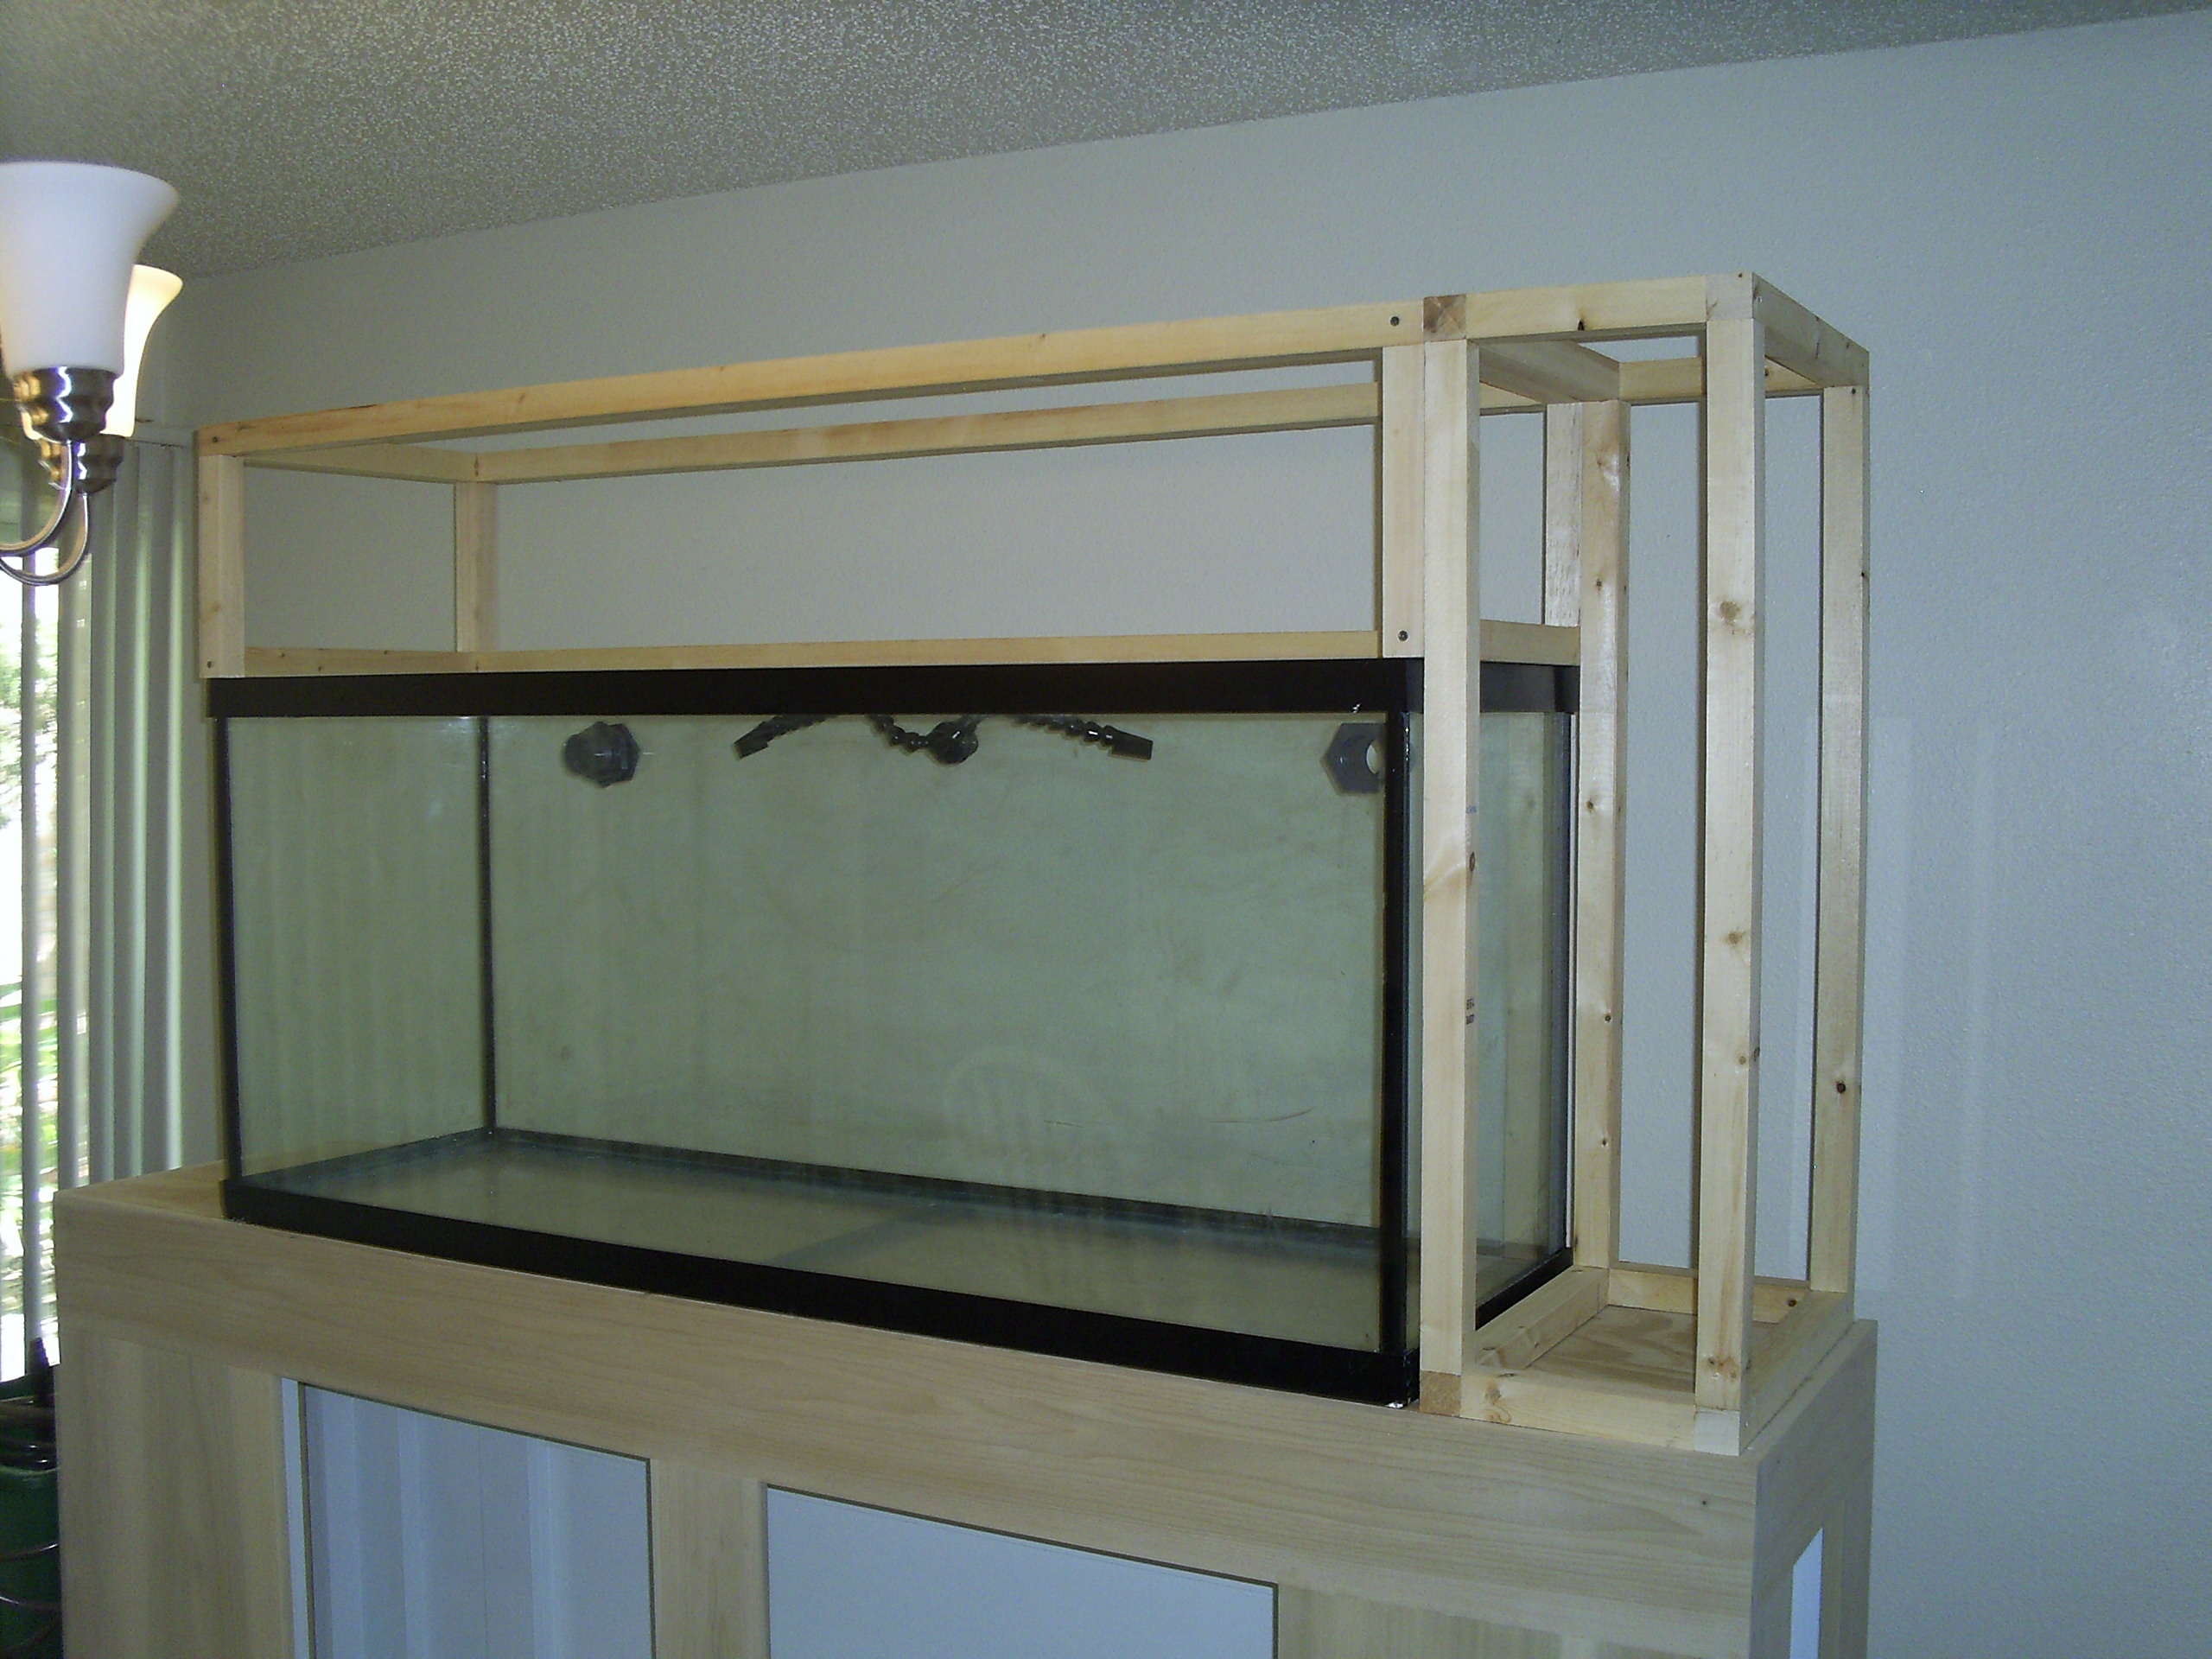
I made up my mind and decided that I'm going to build a DIY LED array for my light set up. I'm going to have to make a couple of slight modifications to the canopy frame to incorporate them. Not a big deal, basically just going to take out a couple of the 45 degree braces that I have on there so that I can mount the lights approx. 8" above the water surface. So I'll probably be switching gears a little bit here and doing that and then I'll come back to working on the stand and canopy once the lights are done.
Originally Posted by Gill again68 http:///forum/thread/378912/2quills-120g-re-build-thread/80#post_3303284
Wow I need to check in more often. The build is looking great. Is that a pecan or walnut stain? I like it. I think you should post more pictures lol.
Thanks! The stain is called English Chestnut. I'll try to post extra pics in the future lol. Wasn't able to get anything done to it this weekend with the addition of the new pups that we got yesterday, still trying to get them all settled in.
I made up my mind and decided that I'm going to build a DIY LED array for my light set up. I'm going to have to make a couple of slight modifications to the canopy frame to incorporate them. Not a big deal, basically just going to take out a couple of the 45 degree braces that I have on there so that I can mount the lights approx. 8" above the water surface. So I'll probably be switching gears a little bit here and doing that and then I'll come back to working on the stand and canopy once the lights are done.
jaxfishgirl
Active Member
That stand is pretty sweet!!!
2quills
Well-Known Member
Quote:
Originally Posted by JAXFishGirl http:///forum/thread/378912/2quills-120g-re-build-thread/80#post_3303639
That stand is pretty sweet!!!
Thanks, I can't wait to get everything finished so we can start enjoying the tank again. There's still lots of work to be done, but over all I'm pretty happy with it so far.
acrylic51
Active Member
Quote:
Originally Posted by 2Quills http:///forum/thread/378912/2quills-120g-re-build-thread/60#post_3300556
And here's some shots of the canopy starting to take shape...
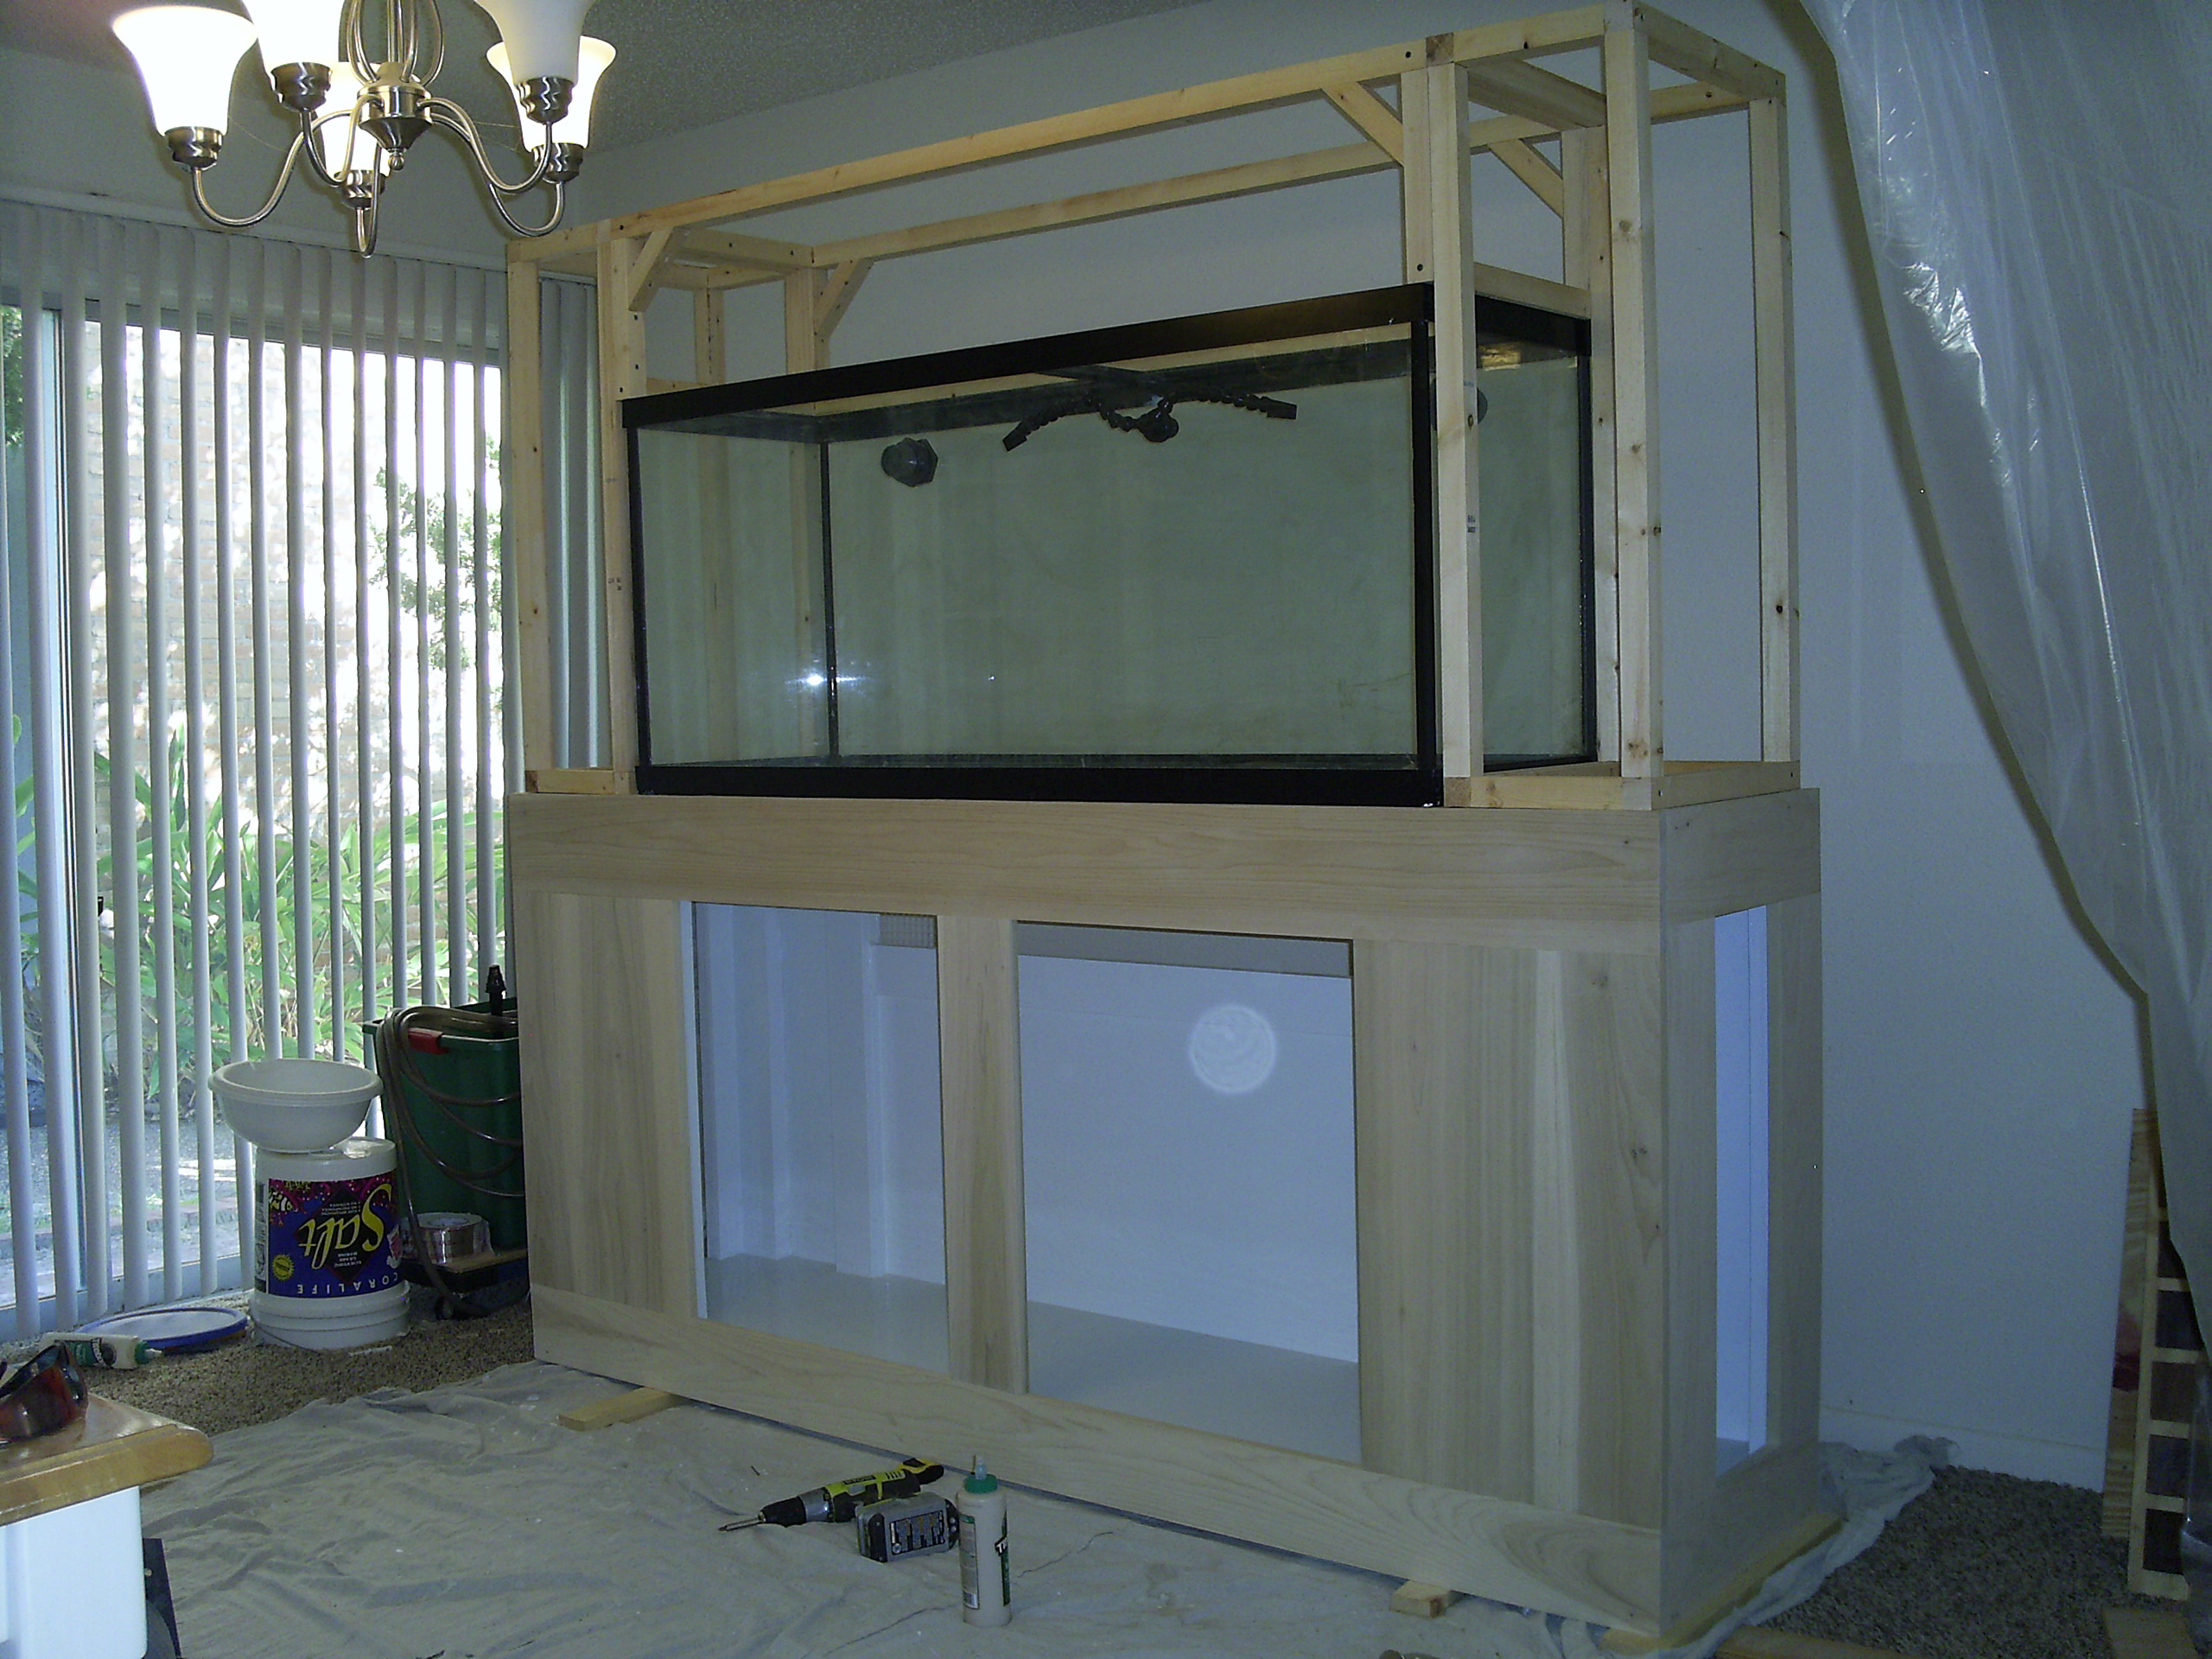
By chance are the areas on the side of the tank going to be some nifty storage cabinets???? I did that on a 150 I had awhile ago!!!!! Which stain did you chose? I started looking over your samples again, I'll have to PM you, and get specifics!!!!
2quills
Well-Known Member
Yeah the areas on the sides are going to be cabinets with the doors on the side as well. The plan is (at least on one side) is to mount all of the drivers and controlers for the lights and the fans in there. It will all be sealed up with the urethane enamel paint of course to water proof everything. Then I'll run the wires from the controlers to the fixture in the canopy and incorporate some quick disconnects for the wires. That way I'll be able to unplug (disconnect) the wires going to the fixture so that I can easily slide the fixture out of the canopy for maintenance when need be while leaving everything else inside the cabinet intact and away from the moisture. It should also make the fixture a little bit lighter and less cluttered. That's the idea, anyway...we'll see how it goes lol.
spanko
Active Member
Quote:
Originally Posted by 2Quills http:///forum/thread/378912/2quills-120g-re-build-thread/80#post_3304069
Yeah the areas on the sides are going to be cabinets with the doors on the side as well. The plan is (at least on one side) is to mount all of the drivers and controlers for the lights and the fans in there. It will all be sealed up with the urethane enamel paint of course to water proof everything. Then I'll run the wires from the controlers to the fixture in the canopy and incorporate some quick disconnects for the wires. That way I'll be able to unplug (disconnect) the wires going to the fixture so that I can easily slide the fixture out of the canopy for maintenance when need be while leaving everything else inside the cabinet intact and away from the moisture. It should also make the fixture a little bit lighter and less cluttered. That's the idea, anyway...we'll see how it goes lol.
Will there be fans in there to dissipate any heat from the electronics?
2quills
Well-Known Member
Quote:
Originally Posted by meowzer http:///forum/thread/378912/2quills-120g-re-build-thread/80#post_3304083
I can not wait to see both of your projects completed
Me two, Meow...me two!!!
Originally Posted by meowzer http:///forum/thread/378912/2quills-120g-re-build-thread/80#post_3304083
I can not wait to see both of your projects completed
Me two, Meow...me two!!!
2quills
Well-Known Member
Quote:
Originally Posted by spanko http:///forum/thread/378912/2quills-120g-re-build-thread/80#post_3304088
Will there be fans in there to dissipate any heat from the electronics?
Yes there will. The drivers themselves, which, will be mounted in one of the side cabinets on the canopy don't put off a lot of heat but I probably will at least install a vent on the top of each of the side cabinets just to let whatever heat that does build up dissipate up and out of the cabinet. The important thing is pulling the heat away from the LED's themselves. The LED's will be mounted on the heatsinks, the heatsinks help to dissipate the heat from the LED's so there will be fans mounted on the heatsinks themselves. And since the fixture will be mounted so close to the top on the inside of the canopy there will be probably 2 long vents/grills for the fans to push warm air out. As well as a couple of fans on the back of the canopy to pull some fresh/cool air into it.
acrylic51
Active Member
Quote:
Originally Posted by 2Quills http:///forum/thread/378912/2quills-120g-re-build-thread/80#post_3304069
Yeah the areas on the sides are going to be cabinets with the doors on the side as well. The plan is (at least on one side) is to mount all of the drivers and controlers for the lights and the fans in there. It will all be sealed up with the urethane enamel paint of course to water proof everything. Then I'll run the wires from the controlers to the fixture in the canopy and incorporate some quick disconnects for the wires. That way I'll be able to unplug (disconnect) the wires going to the fixture so that I can easily slide the fixture out of the canopy for maintenance when need be while leaving everything else inside the cabinet intact and away from the moisture. It should also make the fixture a little bit lighter and less cluttered. That's the idea, anyway...we'll see how it goes lol.
Ideas always seem and play out in our minds logically and simply, but as the builds go it's the little simple things that we overlooked or didn't seem as major then as they are at hand.....You can come help me speed things up Meowzer!!!!!!!
I think your cabinet plans/looks sound outstanding......Lets get the skin on!!!!!!