Flower's Sump/Fuge Build

2quills

Well-Known Member
Ok guys, this is a rough mock-up of the return. I still need to pick up some more parts for it like the proper sized hose barb fitting for the bottom and some more nozzles as this was some leftovers that I had laying around.
Will have a maximum of two 90 degree elbows. Still looking at different ideas and I might change the side flow elbow with a standard elbow and just go with a loc-line Y fitting to split the returns. I was thinking of incorporating all side flow nozzles in order to get the spray bar effect that Flower wants, but still have the option of directing some of the nozzles in different directions.
I figure we can add 2' ft to our head pressure for the height.
again not a complete version by any means....
 

flower

Well-Known Member

I knew it!...you guys just wait till I leave and post the cool stuff...LOL...I had to peek before running out the door Everything looks awesome...Corey I like those black whatever they are called.
Shawn...Wow.....you outdo yourself.
 

acrylic51

Active Member
Quote:
Originally Posted by 2Quills http:///forum/thread/380517/flower-s-sump-fuge-build/460#post_3316724
Ok guys, this is a rough mock-up of the return. I still need to pick up some more parts for it like the proper sized hose barb fitting for the bottom and some more nozzles as this was some leftovers that I had laying around.
Will have a maximum of two 90 degree elbows. Still looking at different ideas and I might change the side flow elbow with a standard elbow and just go with a loc-line Y fitting to split the returns. I was thinking of incorporating all side flow nozzles in order to get the spray bar effect that Flower wants, but still have the option of directing some of the nozzles in different directions.
I figure we can add 2' ft to our head pressure for the height.
again not a complete version by any means....

Very nice mock up Corey.....I'm with you on the Eheim pump.....Flower just has to give us the go ahead!!!!
Flower everyone needs alittle eye candy before heading off to work....That's what makes us want to go to work, but then the anticipation of getting home seeing what was added or talked about next......

Quote:
Originally Posted by Flower
http:///forum/thread/380517/flower-s-sump-fuge-build/460#post_3316753

I knew it!...you guys just wait till I leave and post the cool stuff...LOL...I had to peek before running out the door Everything looks awesome...Corey I like those black whatever they are called.
Shawn...Wow.....you outdo yourself.
 

acrylic51

Active Member
Ok....Corey you've tempted me and I shouldn't......but I couldn't resist the temptation myself....Kinda like a kid at Christmas....The real treat I will wait till Flower is home from work, and give her a visions of sugar plums dancing in her head!!!!! It'll make it hard for her to sleep, but that is all I'll say......Anyways the paper coming off !!!!!

TEASER!!!!!!!
I didn't say coming off right away did I??? Anyways, I said I get a little itchy at times, and you can see in the pic if you look hard enough the dark area the paper is masking???? What might that be??? It's the water line...Water actually circulating inside....

Not the greatest of pics.....Need some photography lessons, maybe someone would give me a class on!!!!! But anyways you can see the bubble trap is completed, and it's dry fitted, and snugged into place and ready to be glued!!!!!

You can get a little better look at the bubble trap, but you can see the saw marks in the acrylic....No fear a little elbow grease, and air die grinder I can smooth that out pretty quick and be off to wet sanding.......The piece of acrylic off the right side is just used to snug things; using it as a shim.....

Ahhhhhhh......I did mention something briefly about taking the paper off......Here you guys go....some real eye candy for you now Flower!!!!!! You can also make out the teeth in the bubble trap.......The paper on the bubble trap kind of distracts a little, but so far I am super pleased !!!!!! Thanks Flower for the chance and confidence in me!!!!!
 

acrylic51

Active Member
I left the paper on the bottom and top, and just forgot to pull it off the sides....I want to leave it on the bottom since I don't want any scratches on the bottom from sliding it around....The top paper will come off tomorrow after I take the smaller round over bit, and round over the inside edge of the eurobracing....Again everything will be rounded over and highly polished......
Flower hopefully I can pull off your surprise tomorrow, if not I'll be asking you computer people for your help.........
 

acrylic51

Active Member
Thanks!!!!! Kicking around the build now somewhat on the fuge section....Any objections to using black acrylic for the bottom or should we stick with clear? Also tossing the idea on a skimmer stand to get the skimmer up as well????? Ideas, suggestions????
 

al&burke

Active Member
Quote:
Originally Posted by 2Quills http:///forum/thread/380517/flower-s-sump-fuge-build/460#post_3316724
Ok guys, this is a rough mock-up of the return. I still need to pick up some more parts for it like the proper sized hose barb fitting for the bottom and some more nozzles as this was some leftovers that I had laying around.
Will have a maximum of two 90 degree elbows. Still looking at different ideas and I might change the side flow elbow with a standard elbow and just go with a loc-line Y fitting to split the returns. I was thinking of incorporating all side flow nozzles in order to get the spray bar effect that Flower wants, but still have the option of directing some of the nozzles in different directions.
I figure we can add 2' ft to our head pressure for the height.
again not a complete version by any means....

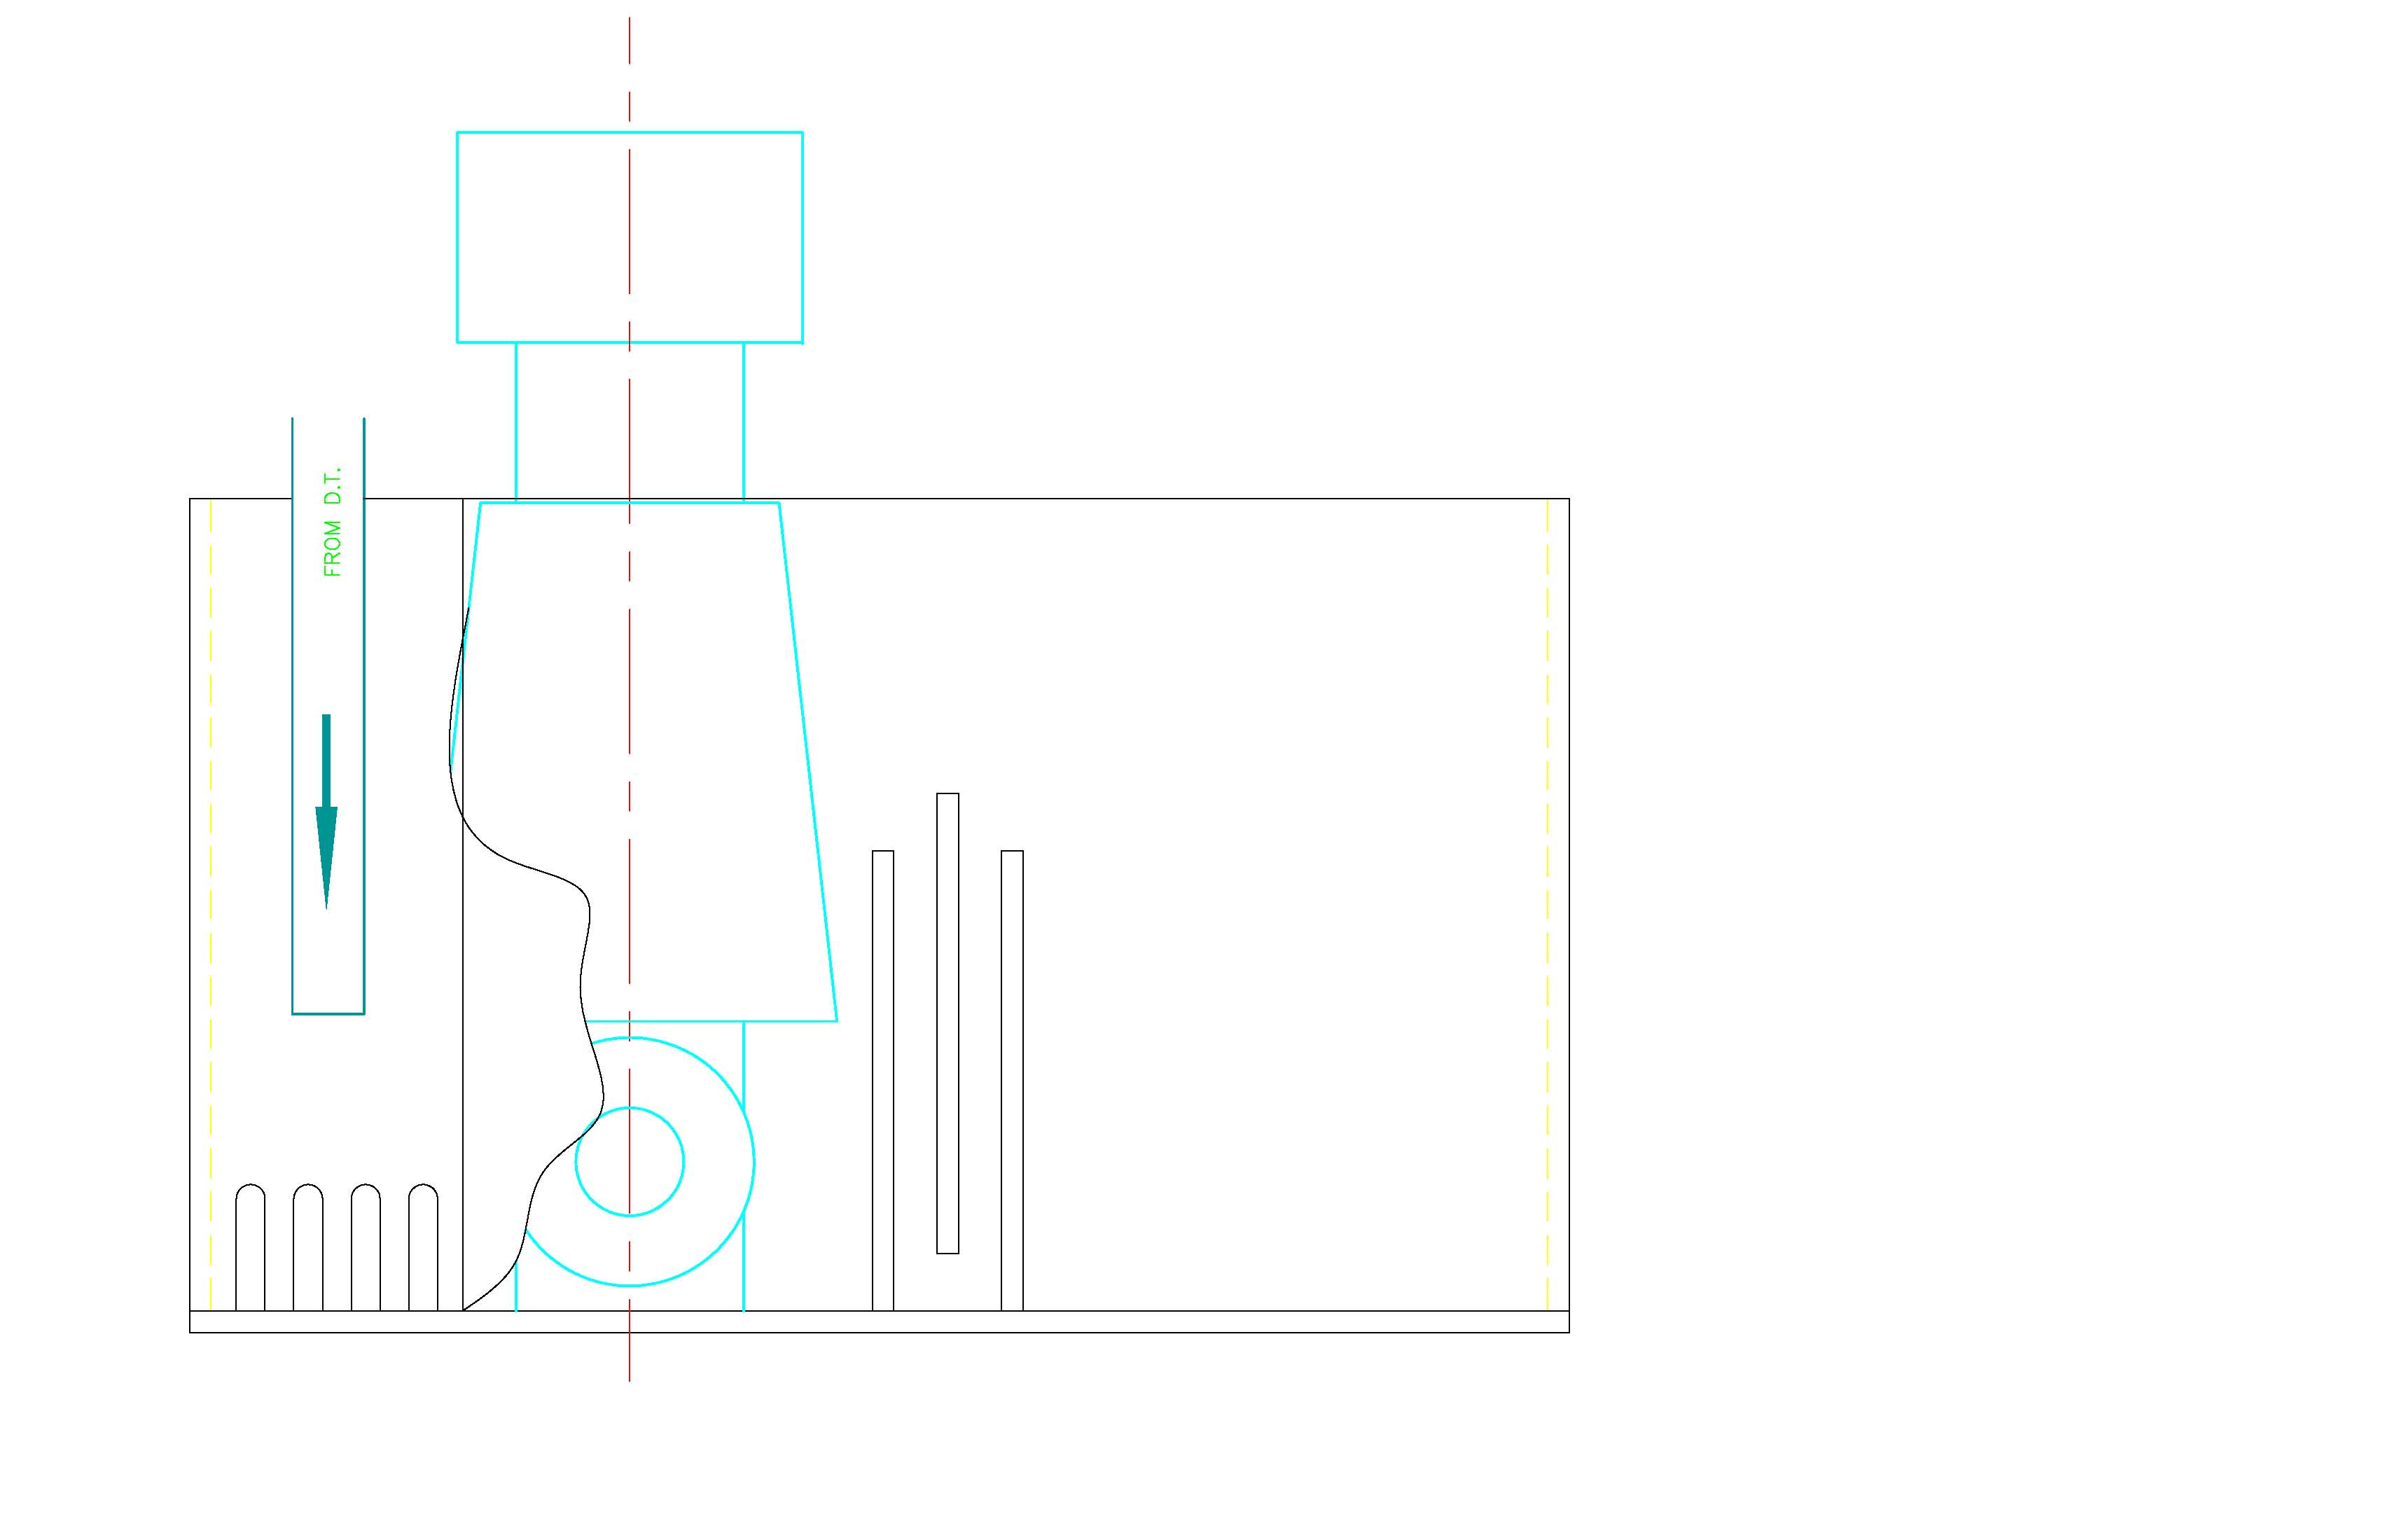
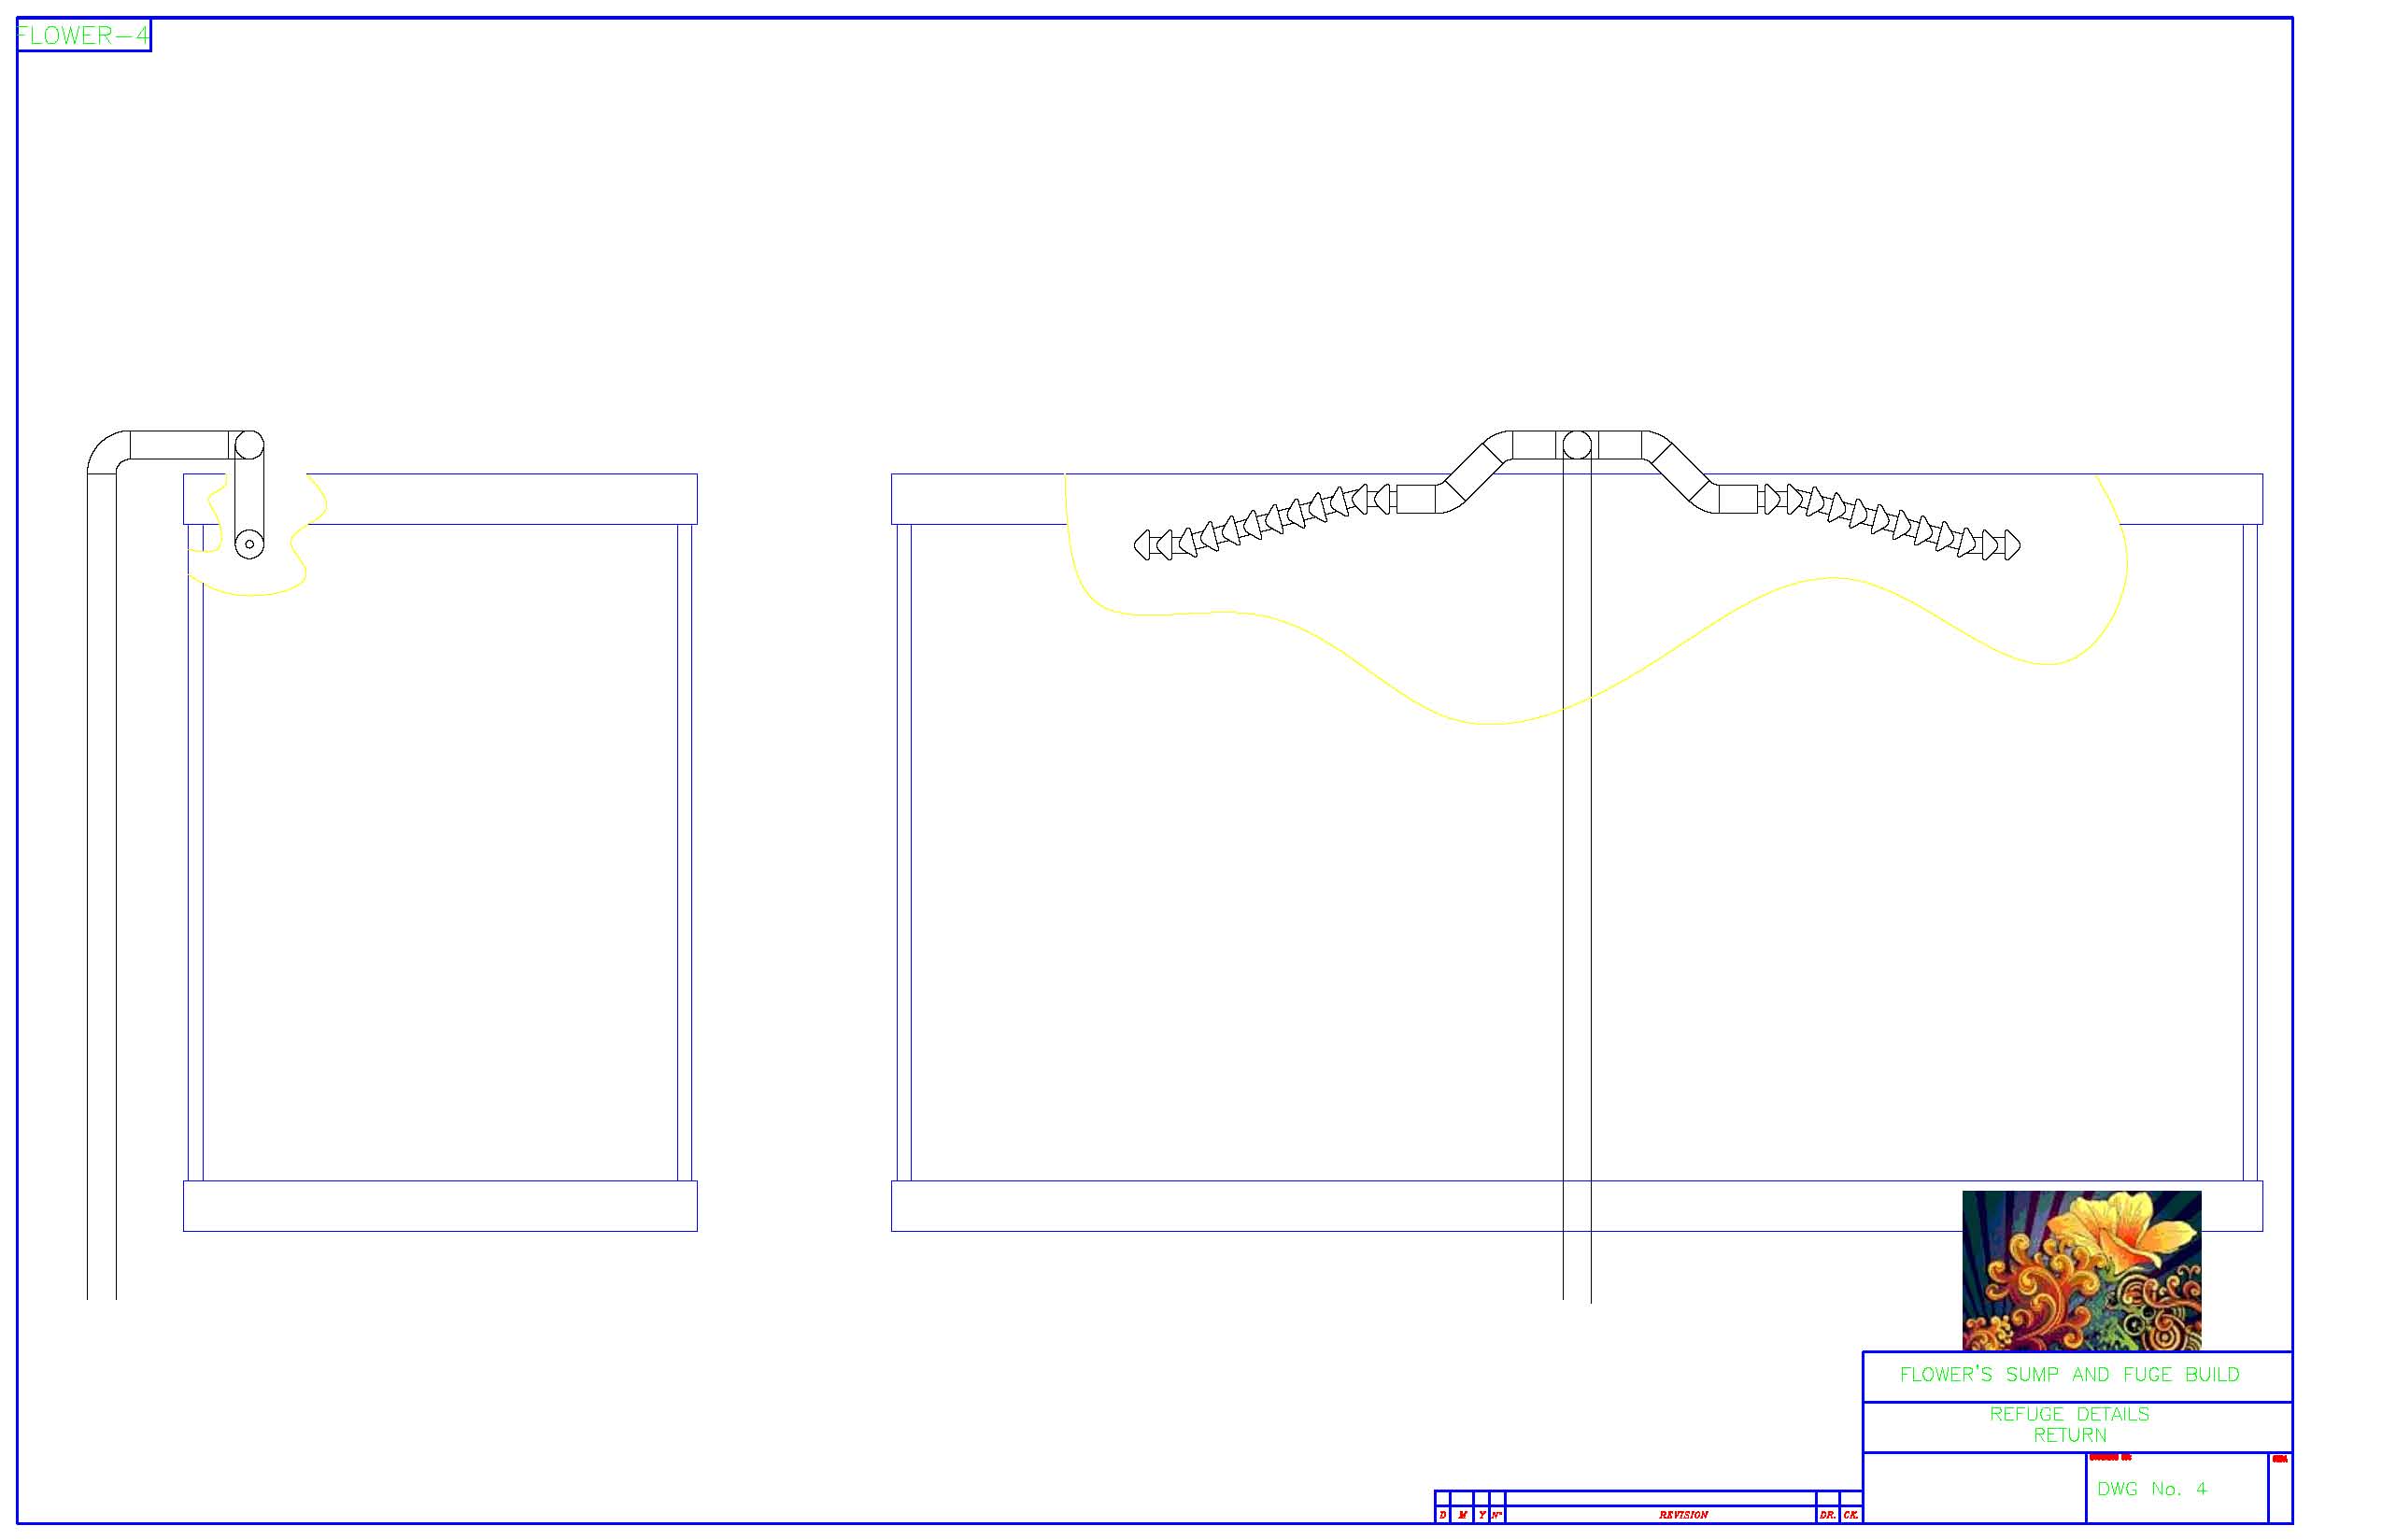
Hi everyone, Corey here is an idea I think might work. There are some extra 45 deg elbows and i understand you want to keep it to two 90 deg elbows, however the 45 deg elbow wont add that much more pressure drop, if you give me the pipe sizes, expected flow i can make some calculations based on this design or any others. Just an idea see what everyone thinks. Al
 

acrylic51

Active Member
Thanks Al&Burke....now were cooking.....I knew you'd pop in here shortly......Again the drawings make it super easy!!!!!!!
Your a master of all trades....will be waiting for the flow specs......As Corey said earlier....."Love it when a plan comes together"
 

al&burke

Active Member
Thanks Shawn, the sump looks great - really good job, like you said before "if we lived in the same town" dangerous. I really enjoy this hobby and everything that I have learned from all of you. have a good night.
 

monsinour

Active Member
I say if the black is cheaper, why not? There will be lots o sand sitting on it so are you really going to see it?
The sump looks great and its coming along nicely. I would say, depending on the height within the stand, why not add a skimmer stand? What would be the drawback to having it up higher? I am sure that if there is room, Flower wouldnt mind not bending down so far to reach the cup.
 

u mike

Member
I was looking for a pic of how much room there is inside the cabinet incase you want to make a stand for the skimmer can't find a good one. i will take a couple after i get home from work tonight.I am pretty sure i also have the same cabinet as Flower.must leave for work now.
PS LETS GO PHILLIES !!!!!!!!!!!!!!!!!!!!!!!!!!!!!!!!!!!!!!!!!!!!!!!!!!!!!!!!!!!!!!!!!!!!!!!
 

2quills

Well-Known Member
Quote:
Originally Posted by Al&Burke http:///forum/thread/380517/flower-s-sump-fuge-build/460#post_3316798
Hi everyone, Corey here is an idea I think might work. There are some extra 45 deg elbows and i understand you want to keep it to two 90 deg elbows, however the 45 deg elbow wont add that much more pressure drop, if you give me the pipe sizes, expected flow i can make some calculations based on this design or any others. Just an idea see what everyone thinks. Al

Thanks, Al...I actually have some 45's laying around and played with that excact configuration. When I hooked them both up to the powerhead on my mixing container I wasnt entirely happy, that's kind of why I'm kicking around the idea of just having two regular 90's and then just splitting the returns with one of the loc-line Y's. I'm thinking it might work a little better that way. I'll try to get some more pics later of what I mean. But I will need to test it out on a larger pump and get the rest of the fittings to have a better idea of what I had in mind.
 

flower

Well-Known Member

There’s more??? Oh show me, show me! I was excited to see what you have already posted and I haven’t been able to really sleep for days now. My poor mom, I had to actually go sit and watch TV with her last night. I have been like a vulture sitting over the computer looking for any little post you guys might put up.
I don’t know what go ahead you might need from me. You have my go ahead, I trust you guys to do a fantastic job, all I do is sit here in anticipation. You guys are staying with clear hose, not PVC…that’s my only real need. I expect the plastic hook up and such…I love the idea of Corey’s black spray bars in the center like AL drew it.
Are you guys planning a double overflow or a single? I believe the picture AL drew was of a single and the spray bar mock up looks like the single as well. I like single…I’m just asking.
Last..about a skimmer stand. If you make the sump too perfect for what we are building now, in the future if I need a new skimmer, I don’t want to be limited to a certain exact size. While our size skimmer is very popular now..a few years in the future that may not be the case. So I was thinking the skimmer area needs to be as generic as possible.
I don’t care if the refugium is orange as long as it’s functional. One side clear facing out so I can see what is going on inside is fine. I will have a refugium…I’m so happy I could burst! Don't the critters like it dark anyway?
Oh and inside the Stand...
 

acrylic51

Active Member
The sump actually isn't to specialized, and shouldn't be an issue getting another skimmer in there as long as you don't upgrade to something to monstrous Flower!!!!!!! As far as the skimmer stand goes, it wouldn't be anything permanent or glued into place. The skimmer stand would be nothing more than a little rack to raise the skimmer up in the sump. How it sits, the skimmer would be sitting in roughly 8" of water.....I thought I've seen operating depth of 6" somewhere????
The deeper the skimmer sits in the water, the less real; true adjustment I believe you'll have on the skimmer. I'd like to try to get the skimmer to sit maybe 7" in depth. If you find the skimmer is still to deep we just add a small piece on top to raise it a bit more in the water......Kind of like a little step stool for your skimmer.
As far as the fuge bottom was more curious.....I was thinking of just doing the bottom with black 1/2" material. Like the contrast of the black and clear, and a little beefier looking material. Can anybody confer any advantages to the fuge being somewhat dark; being more beneficial for critter population? It appears logical to me, but not sure????
 

al&burke

Active Member
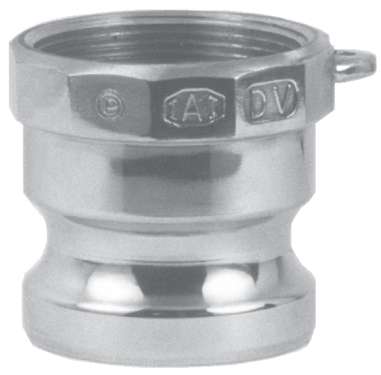
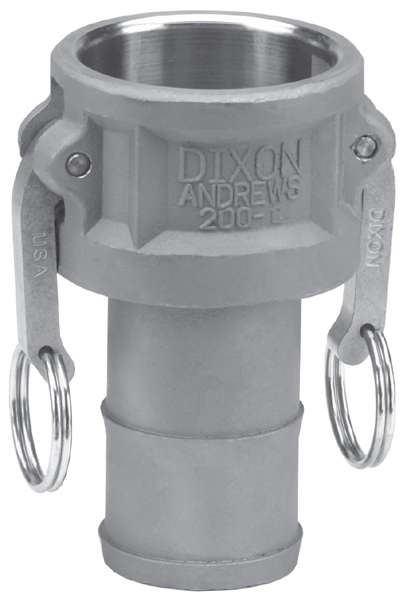
Corey - I think if you use a Y fitting going into the DT the pressure loss (head loss) will be even less, great idea - use a couple of 45's and I think we will have a winner. What size is the return line. Also I see you have a union in the return line, would a plastic cam lock fitting help Flower out with the set -up I understand from her posts that she has a little trouble working with her skimmer cup. They do make them out of plastic. Just a thought!!
 
Top